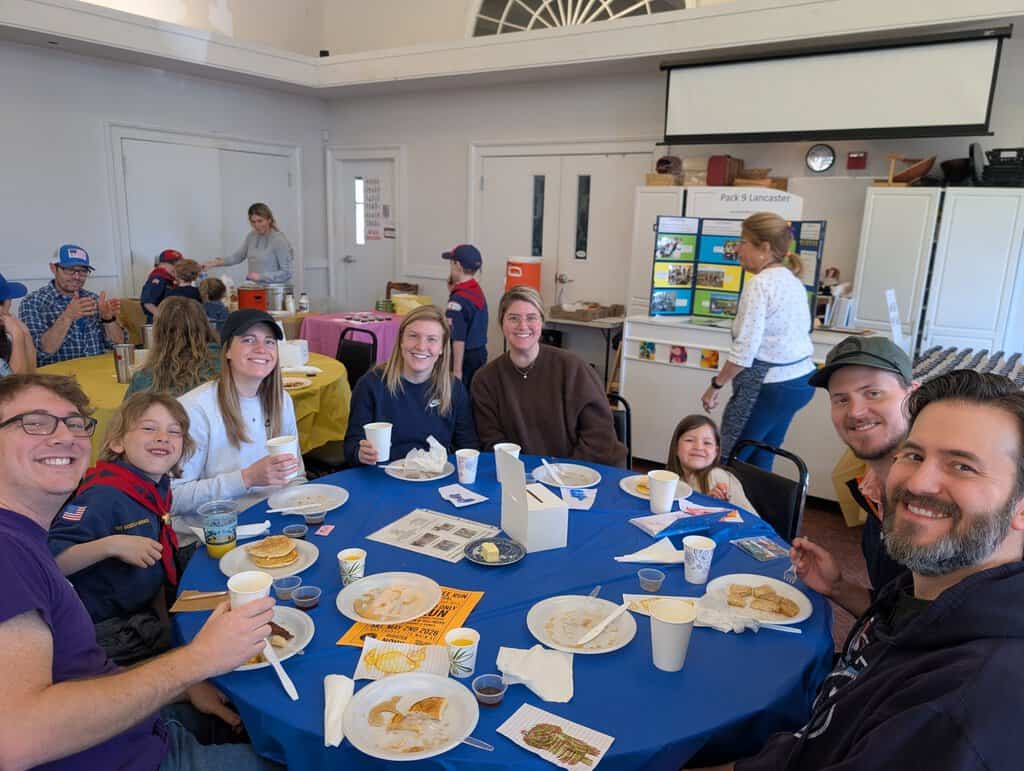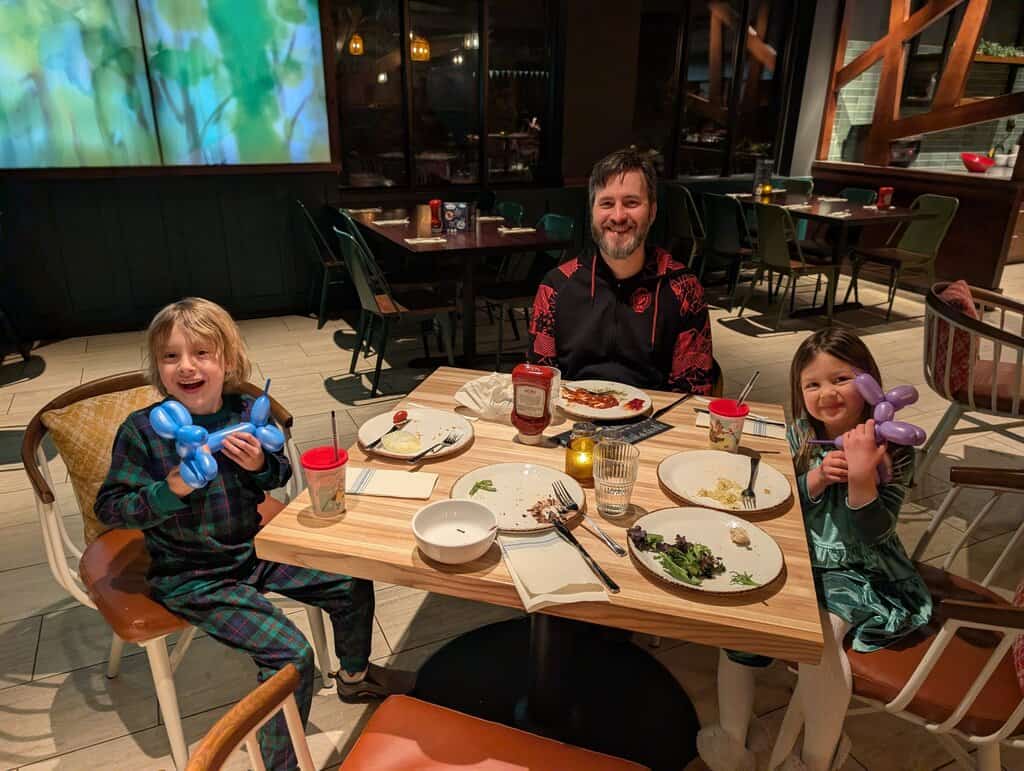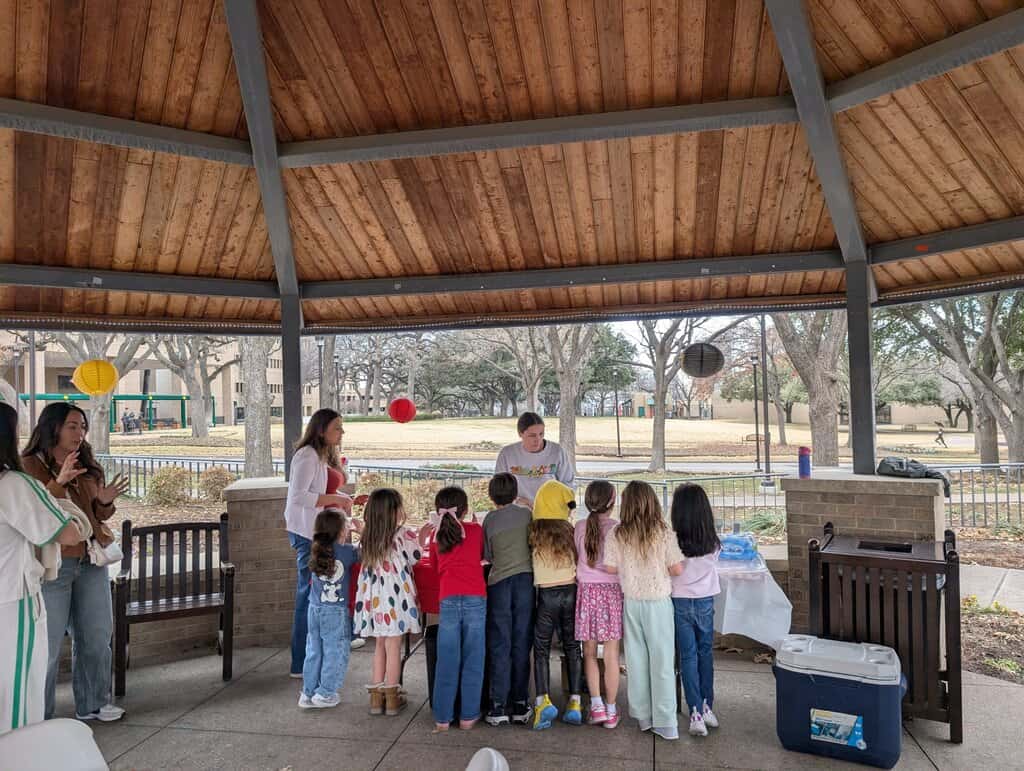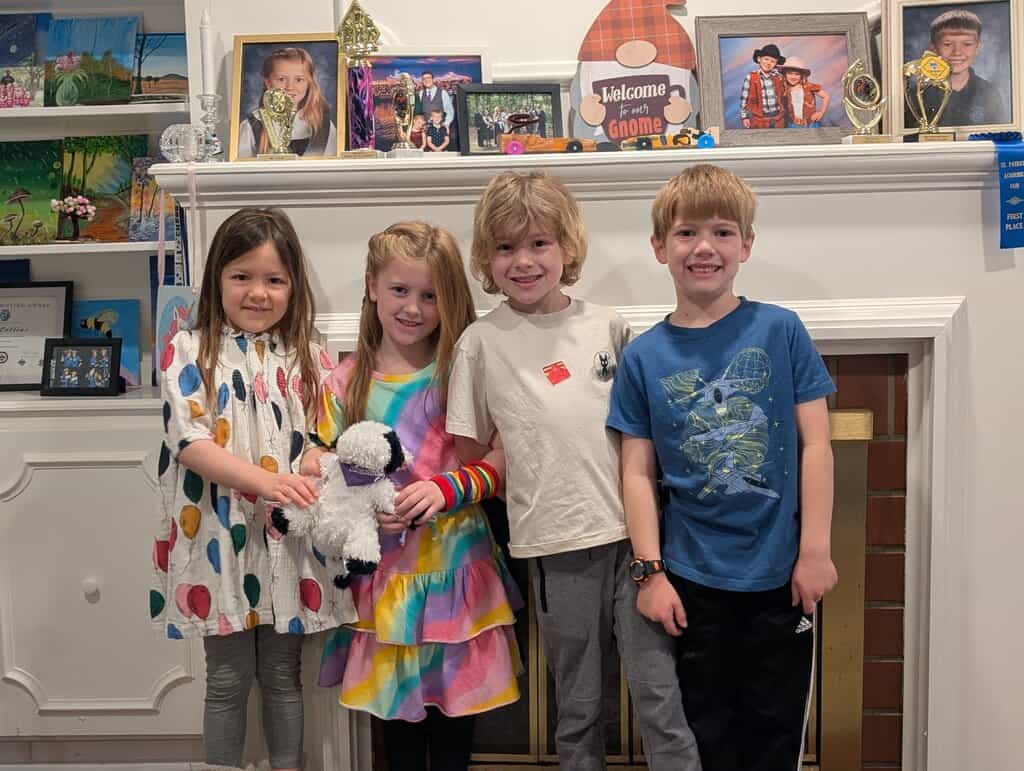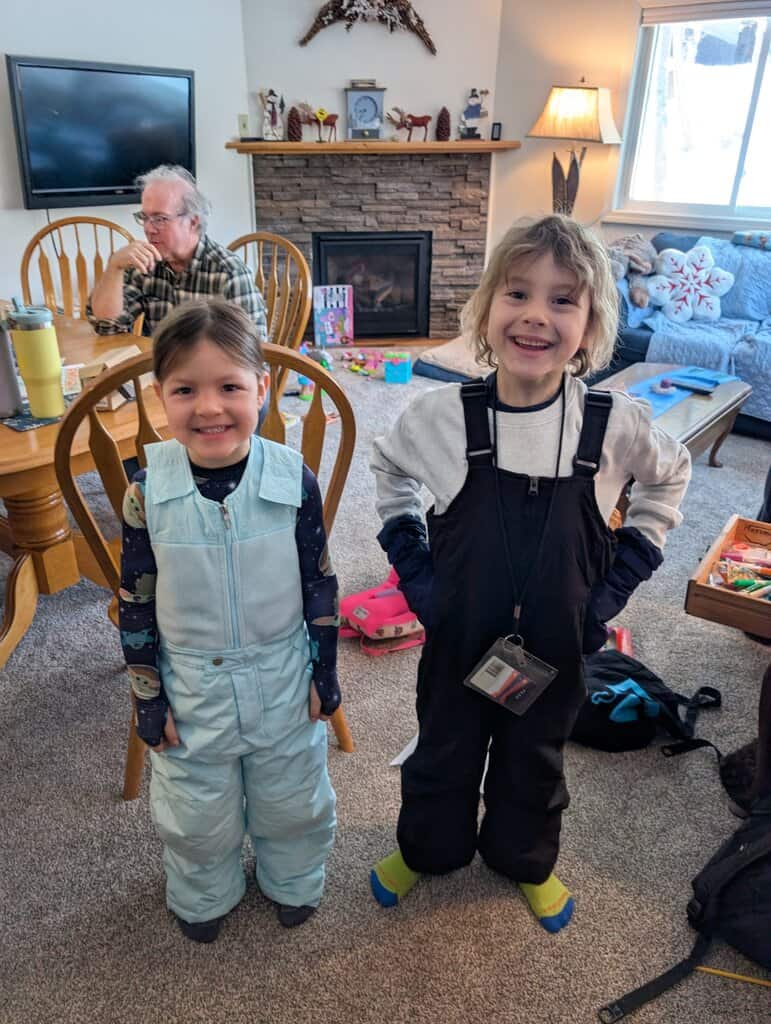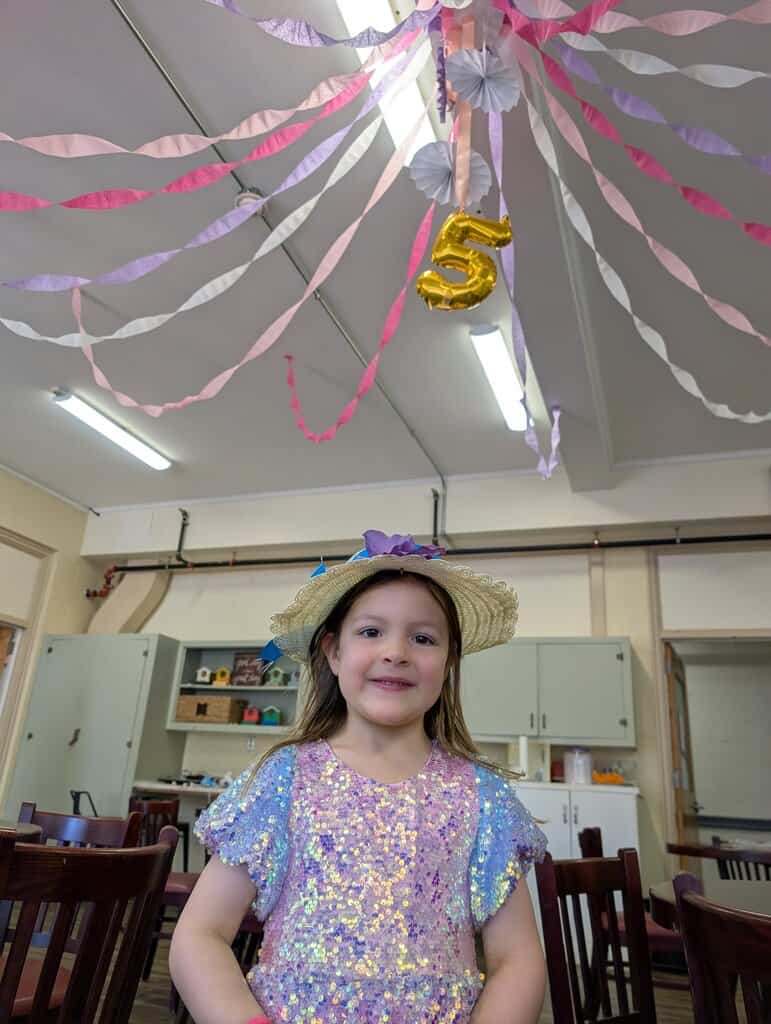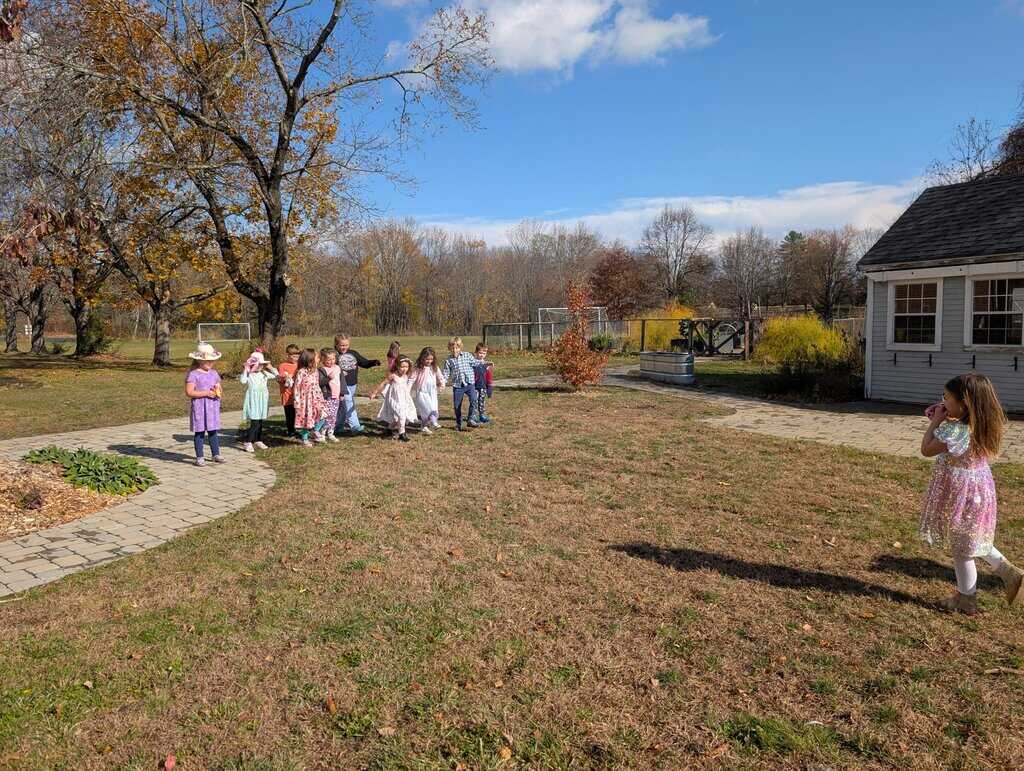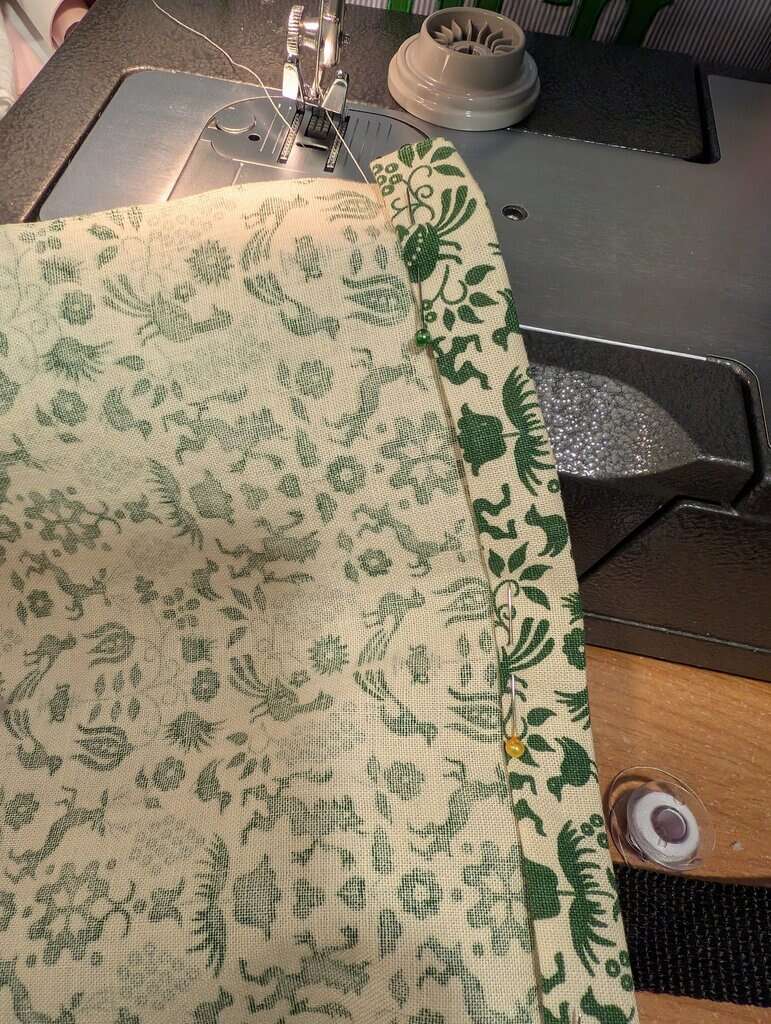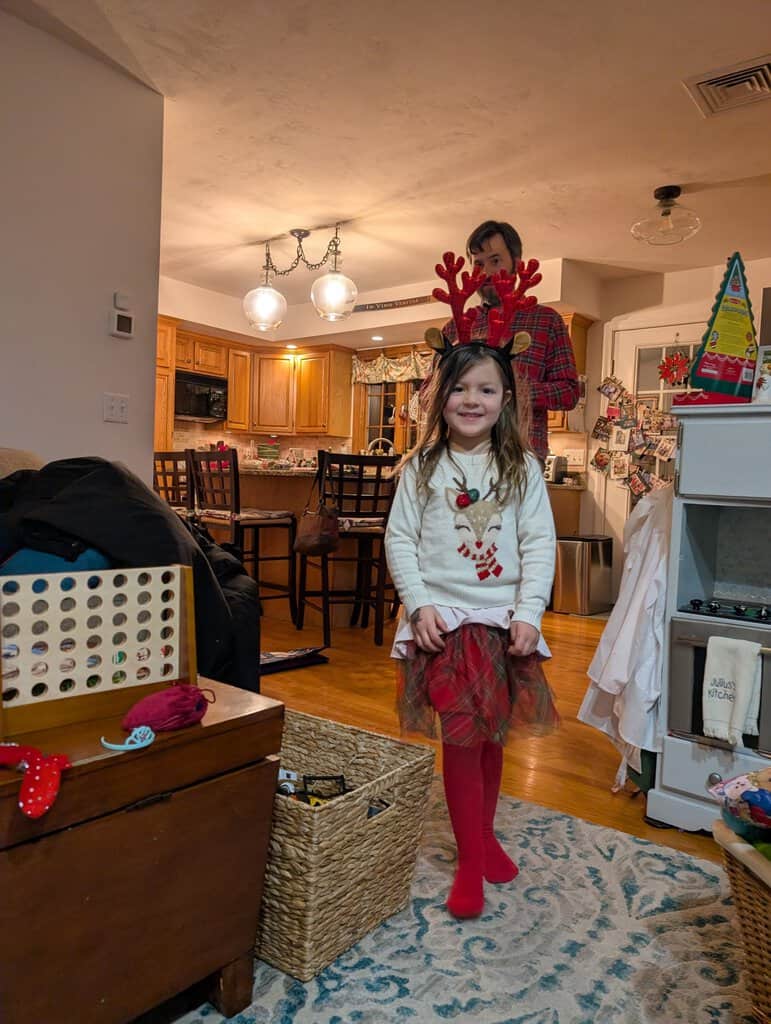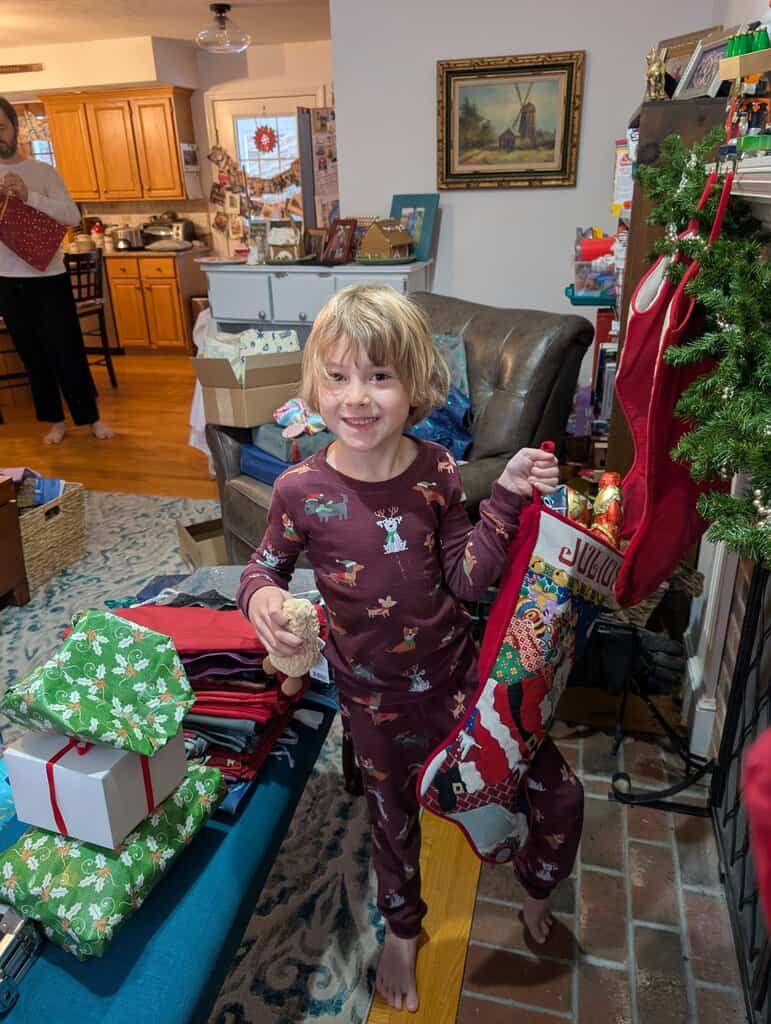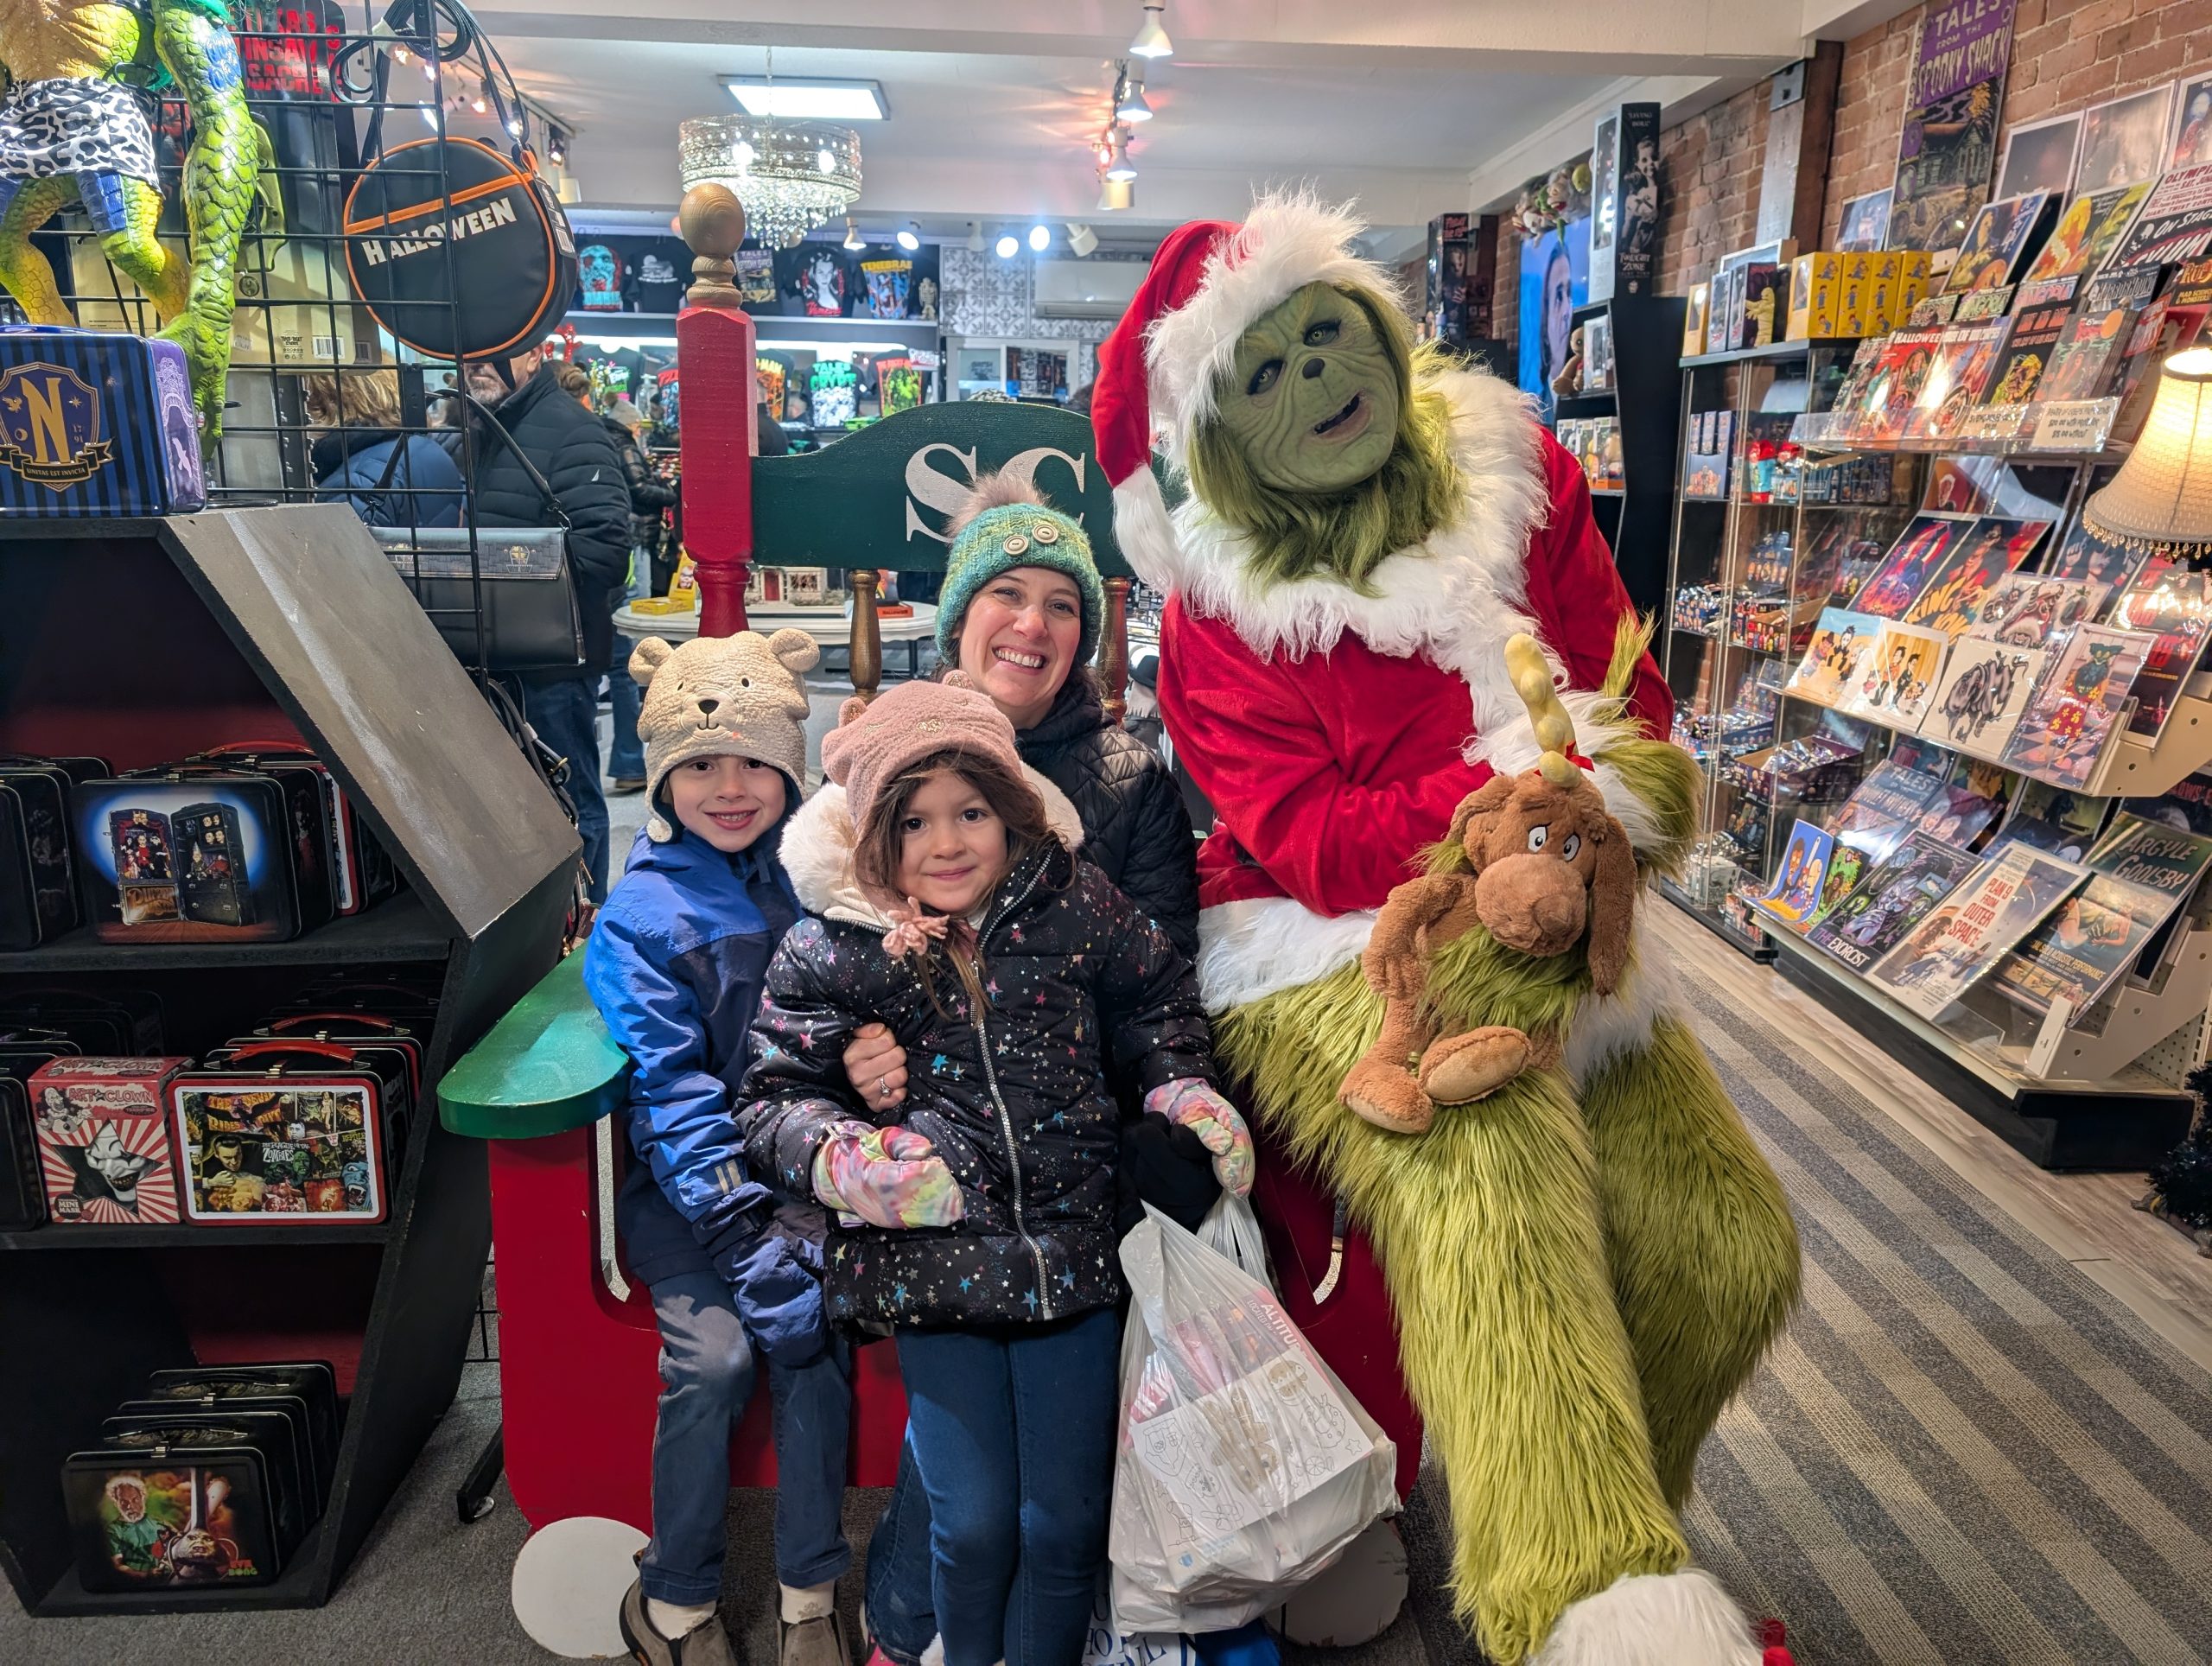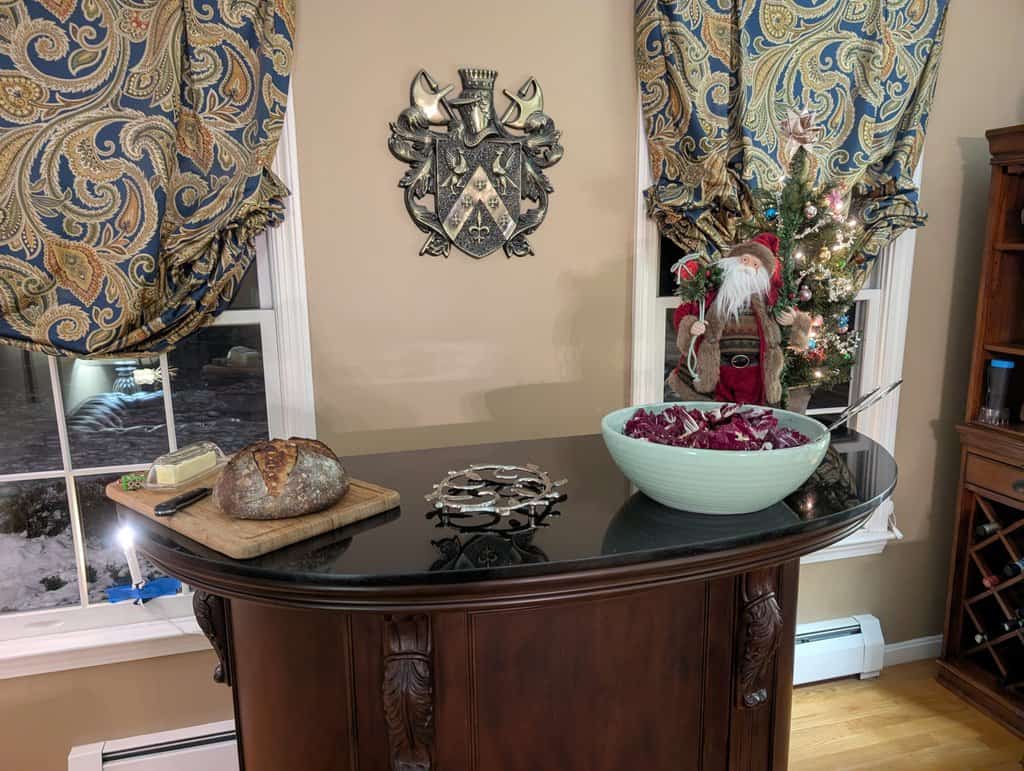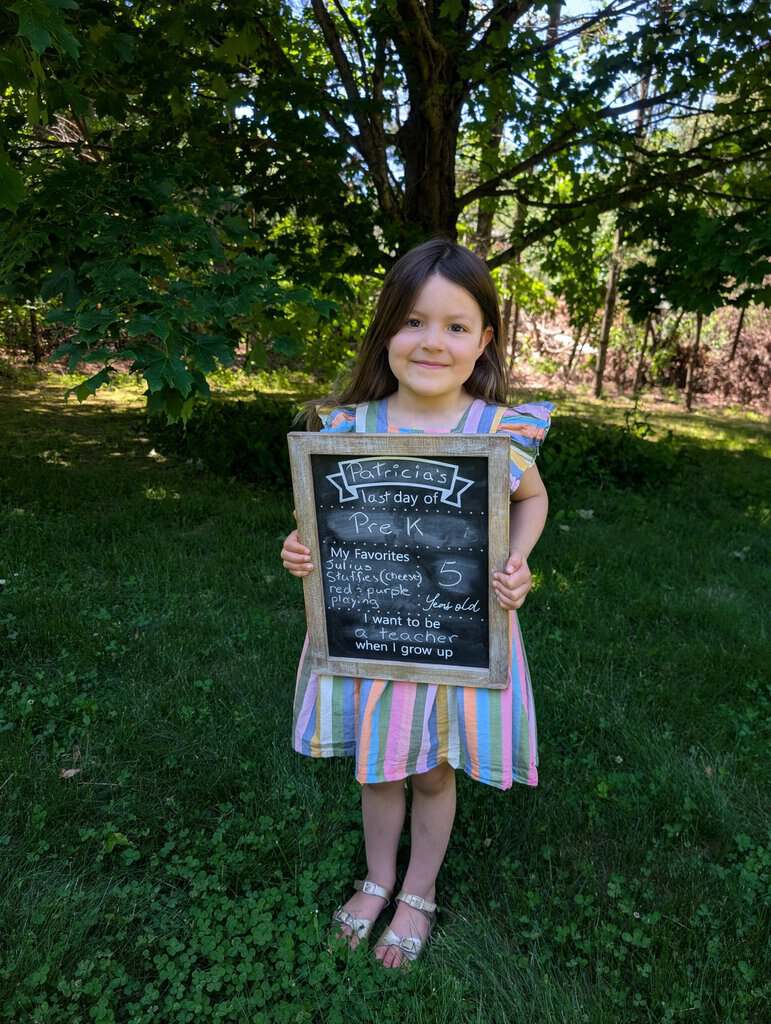
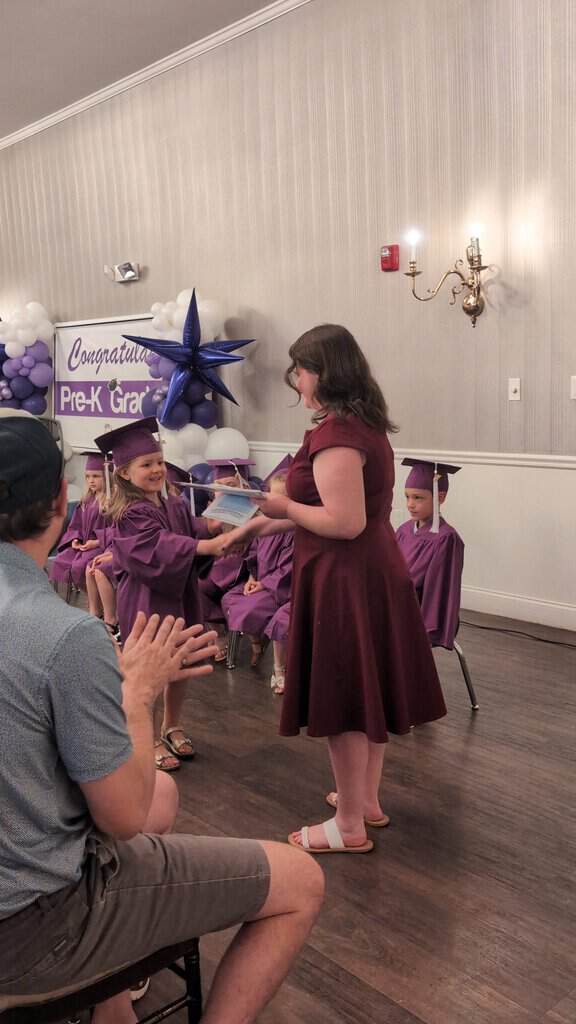

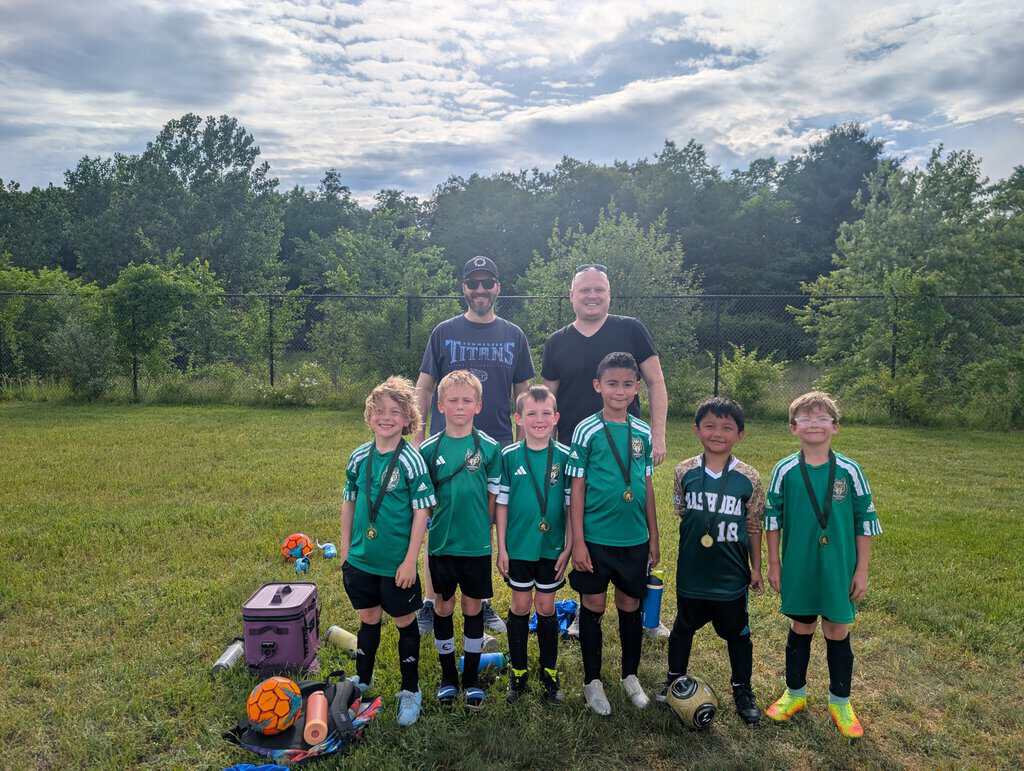
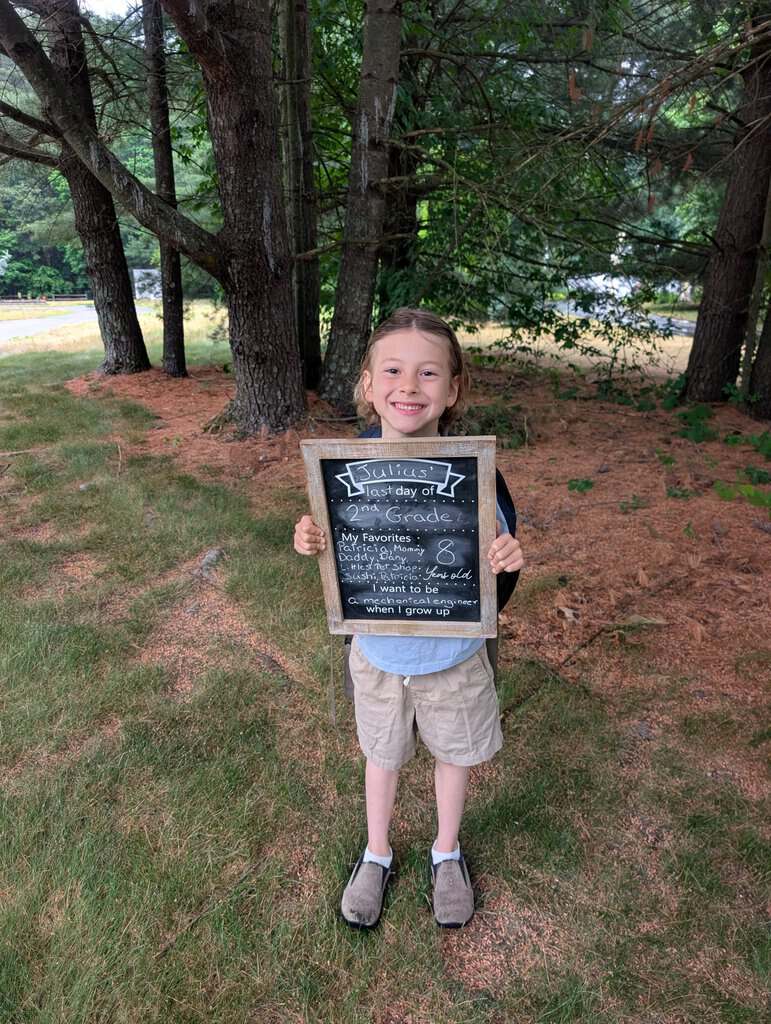
Whew! So much stuff again. More school committee, cub scout campout, gymnastics and soccer end of year celebrations and Patricia’s preK graduation. Busy, busy, busy! This is Julius’ last week of school. Today he was allowed to bring in a stuffie so he chose his giant Totoro that I made for his 2yo birthday! I’m happy to report that he still sleeps with it every night.
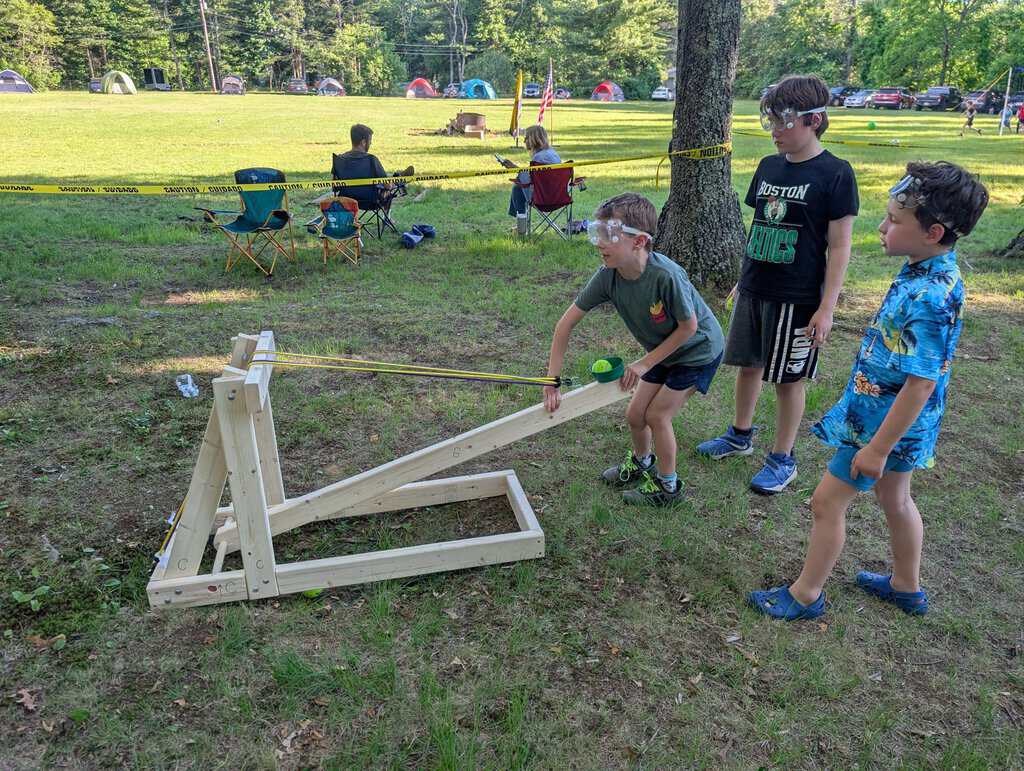
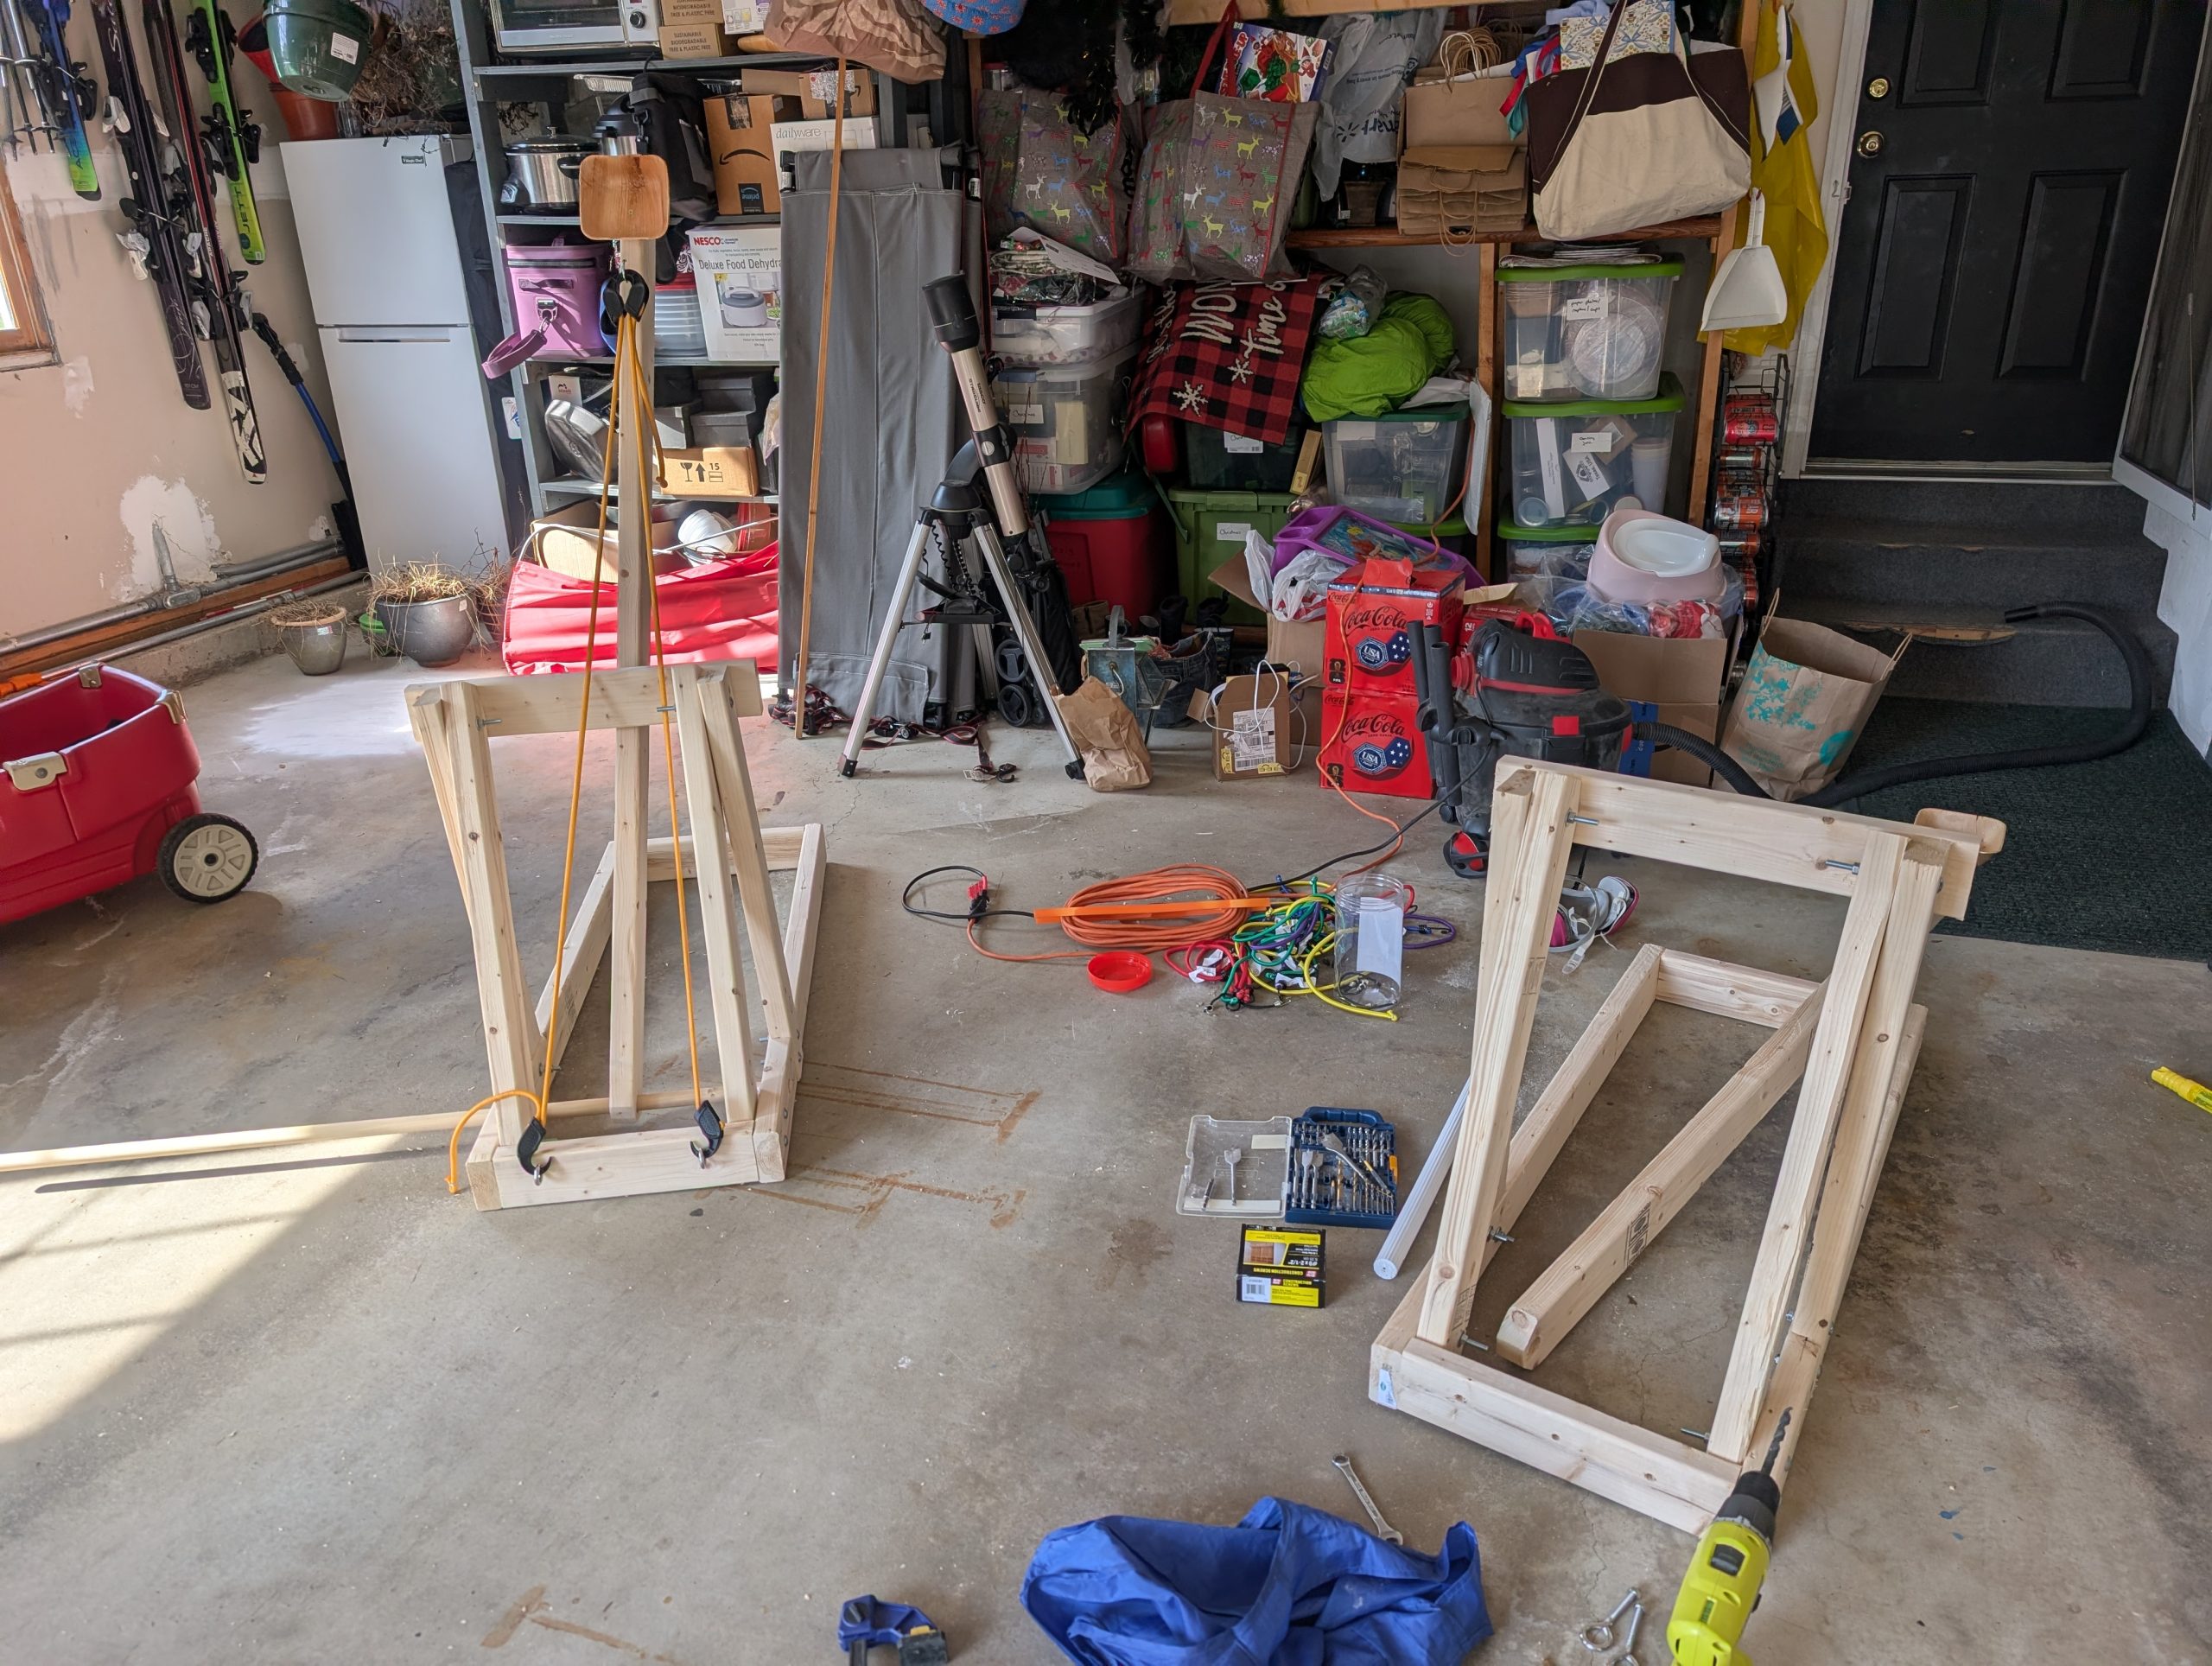
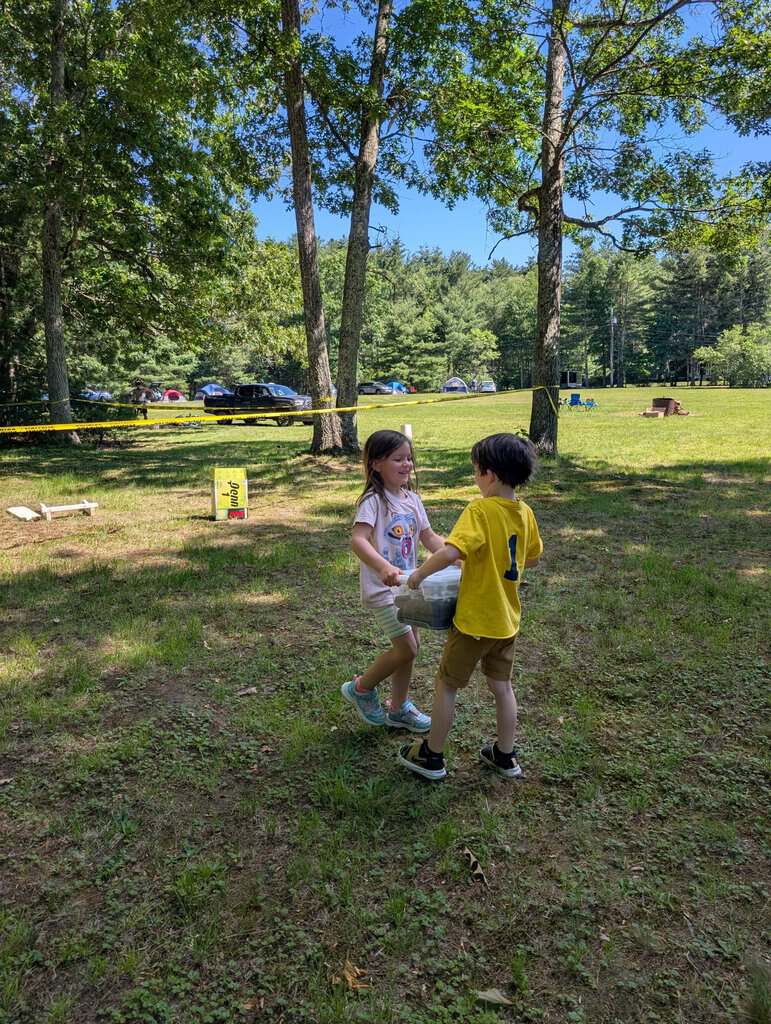
For the campout I ended up building a couple giant catapults that I guess I’ll tell you about today. Right now I’m watching my kids in swim lessons and for the first time ever they are in lanes right next to each other. Patricia and Julius keep high fiving each other after each lap it is really cute.
The catapult was a replacement for an activity that was way too risky for a group of k thru 5s (but I of course do at my own medieval parties outside of scouts). I figured I could build some catapults and if they end up violating the cub scout rules down the road (they change every 5 minutes) I can just use it for the medieval party. When I ran the event the catapults met all the specs for Scouting America rules (to my knowledge). Disclaimer: if you’re using these plans for scouts give the range rules a gander yourself because I am not the authority here just a scout leader trying to do her best.
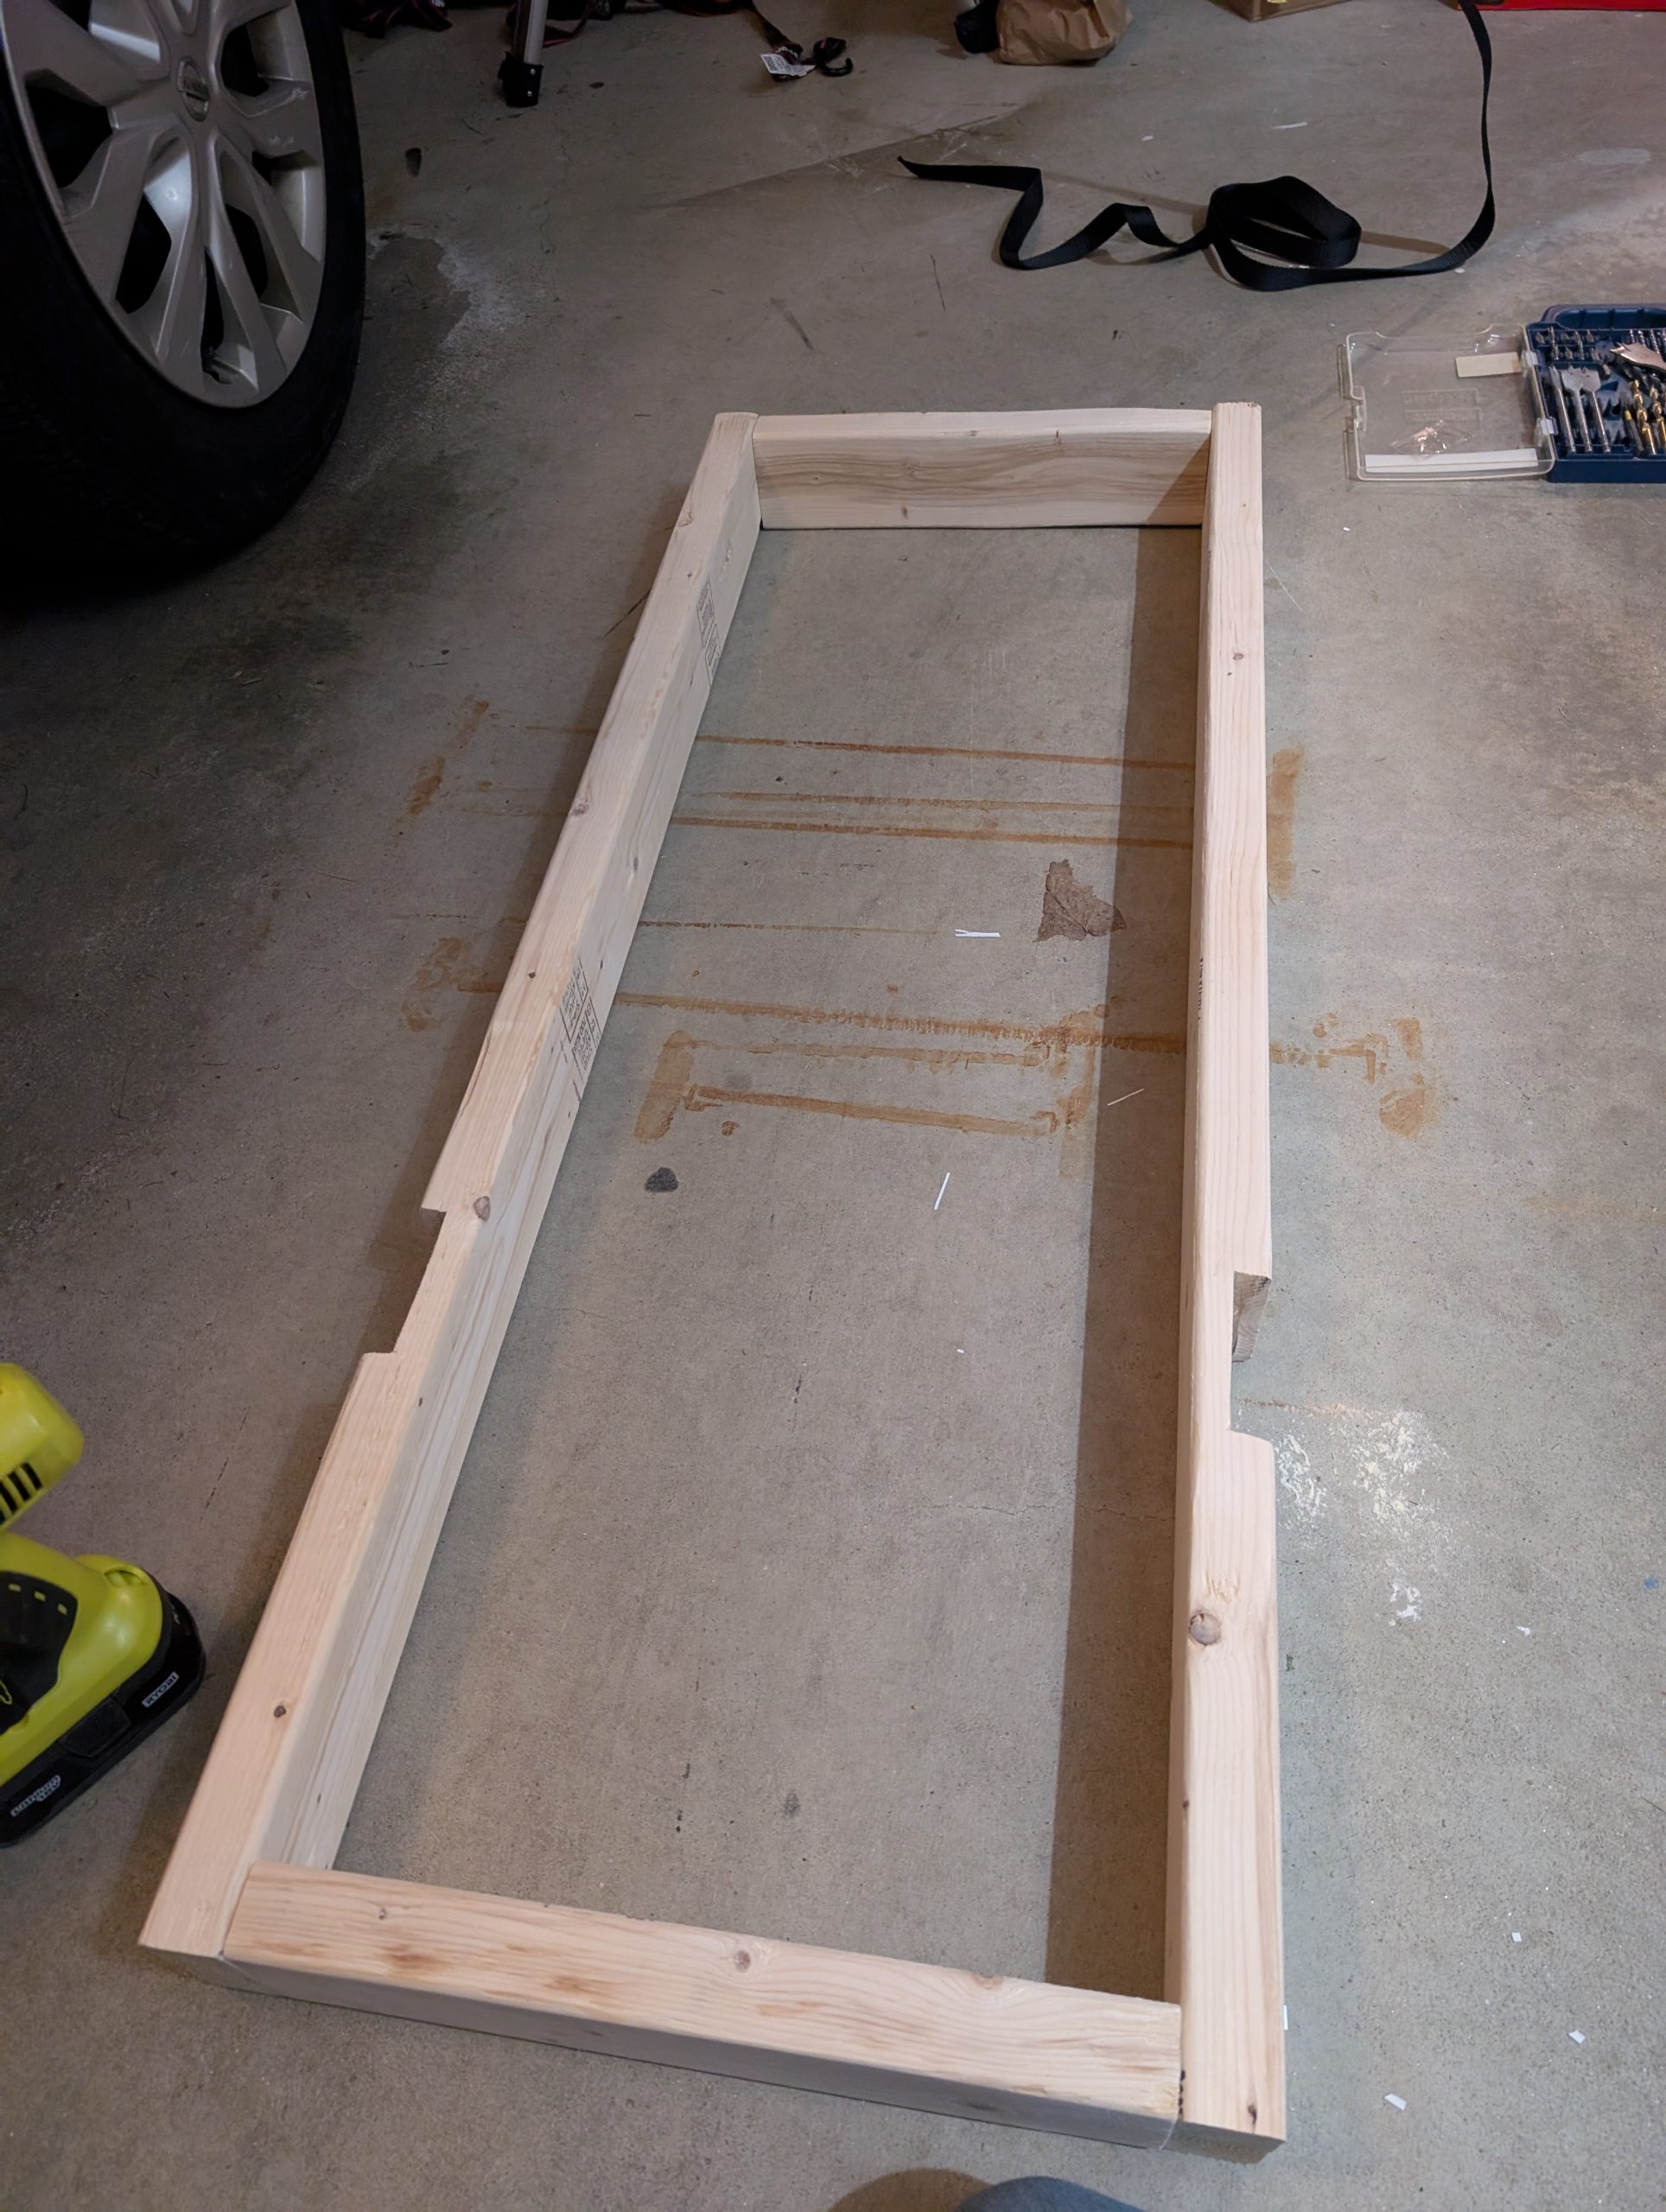
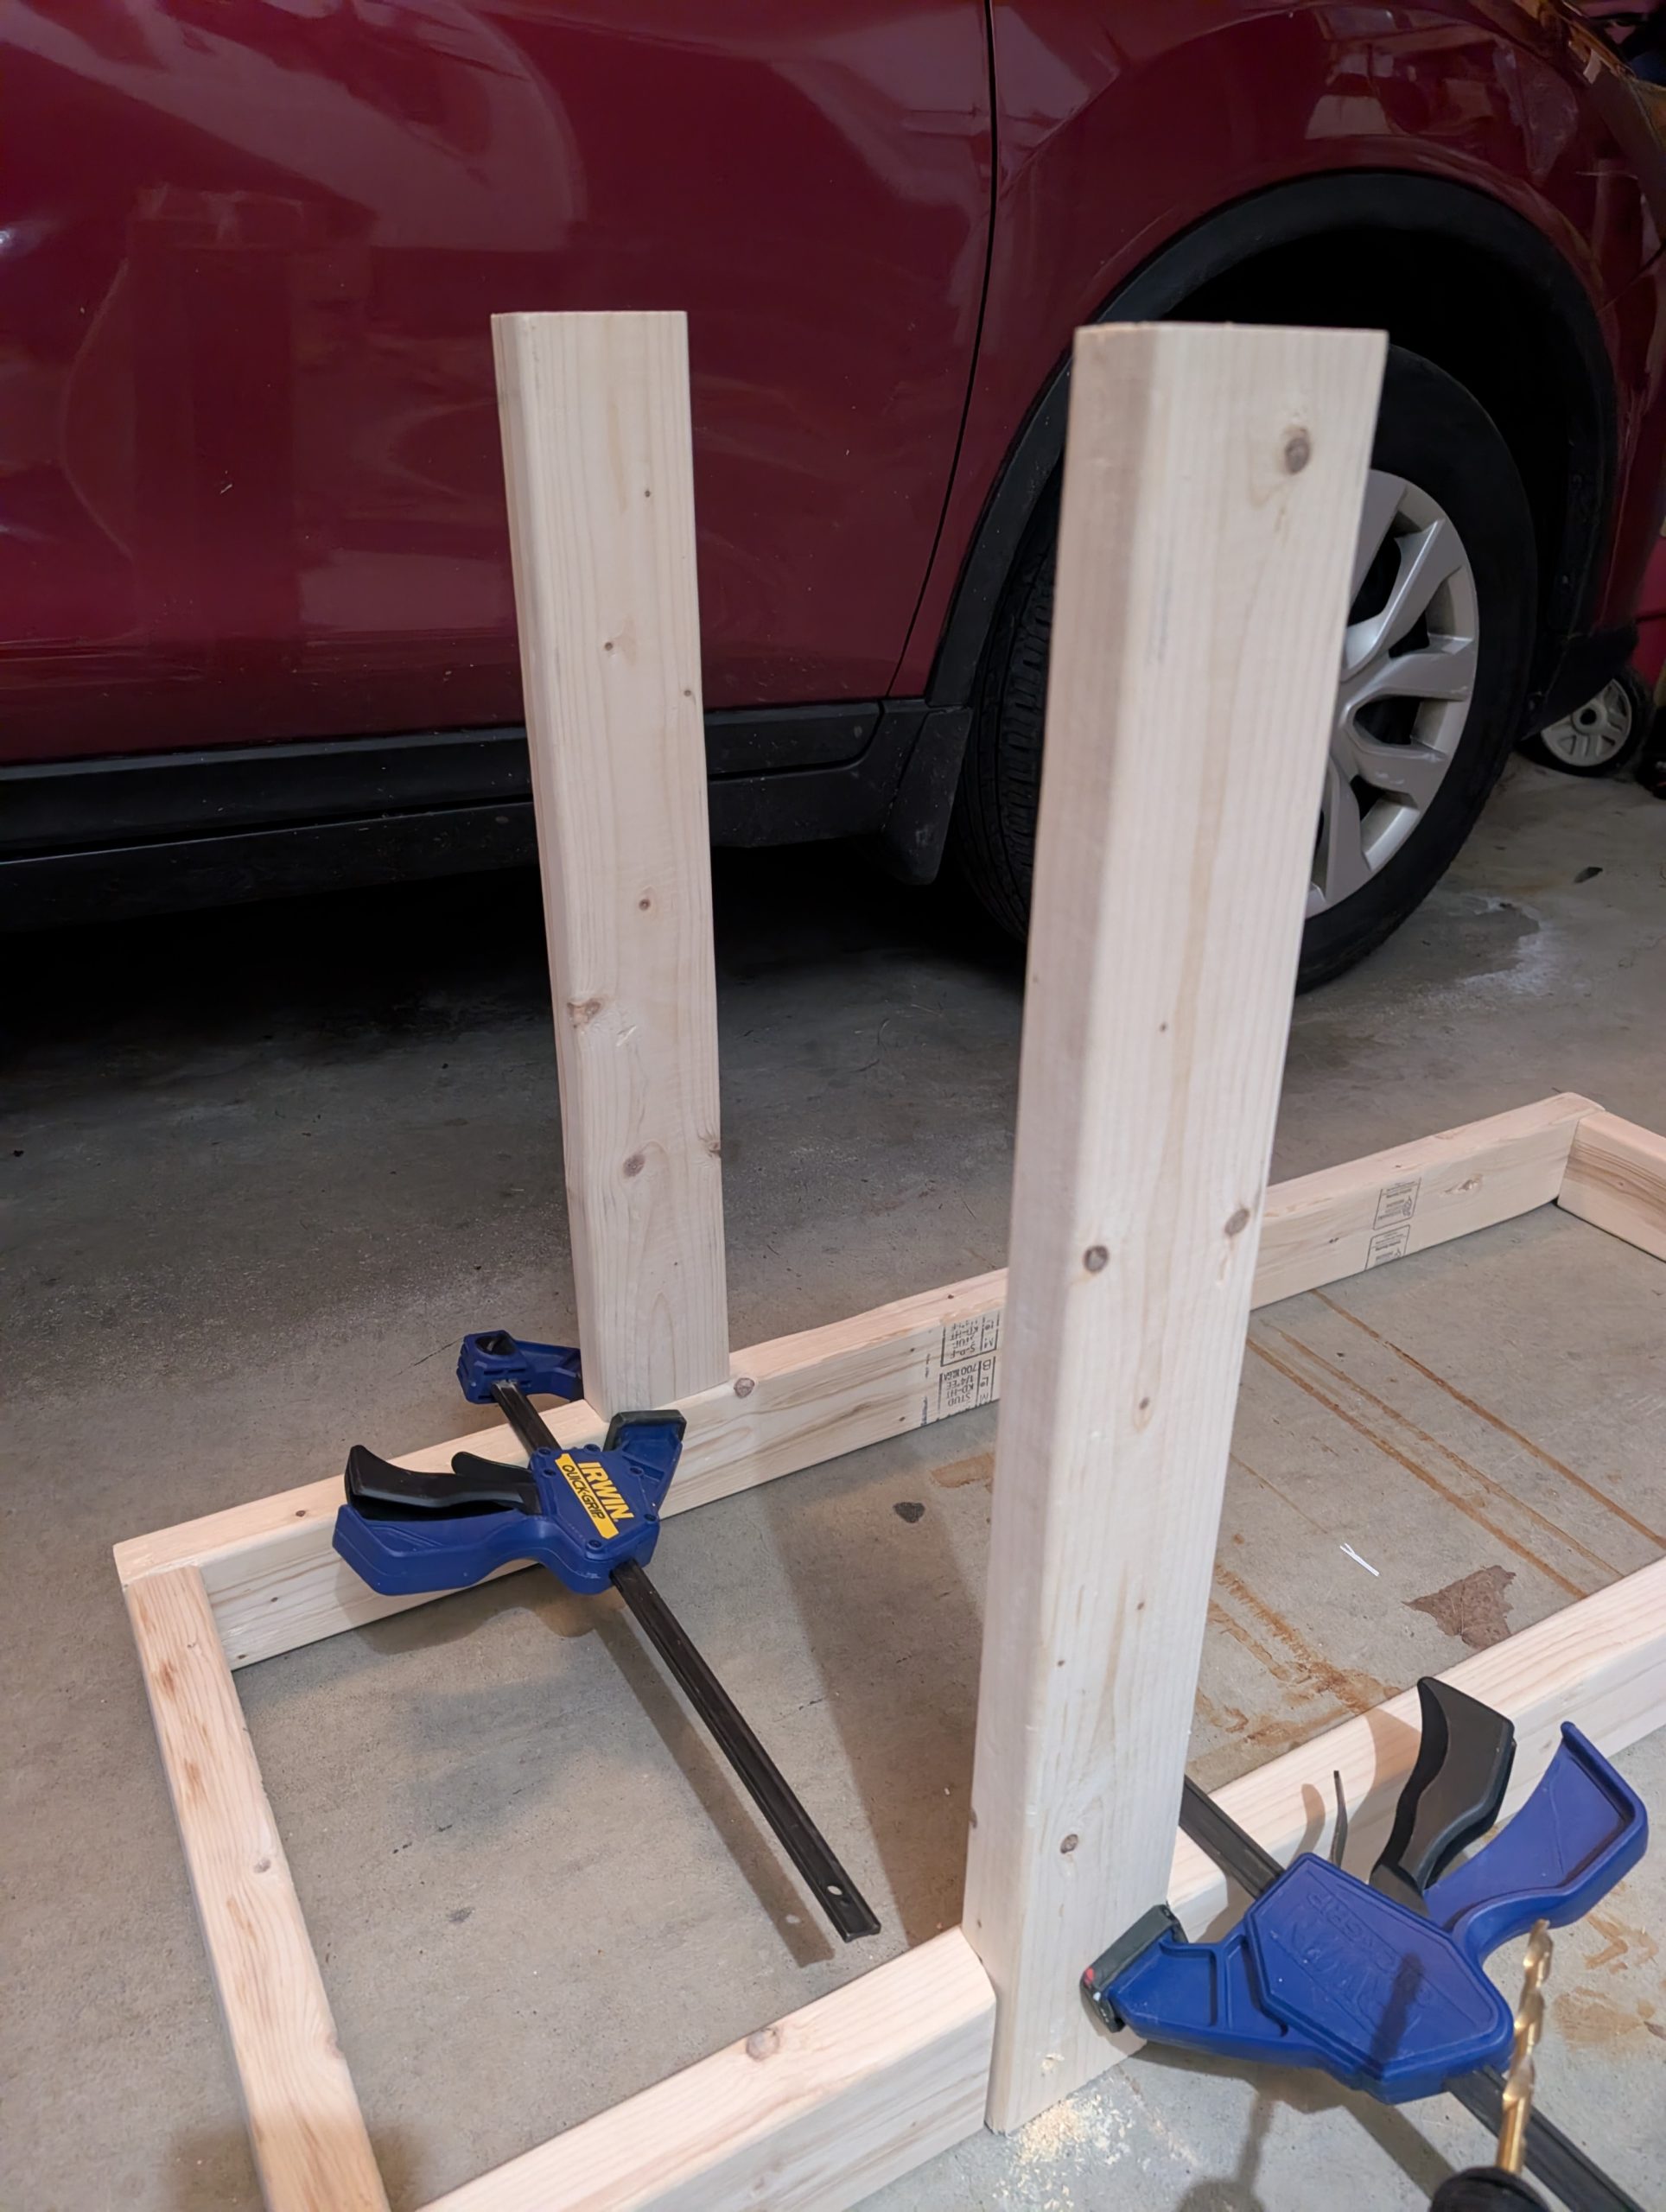
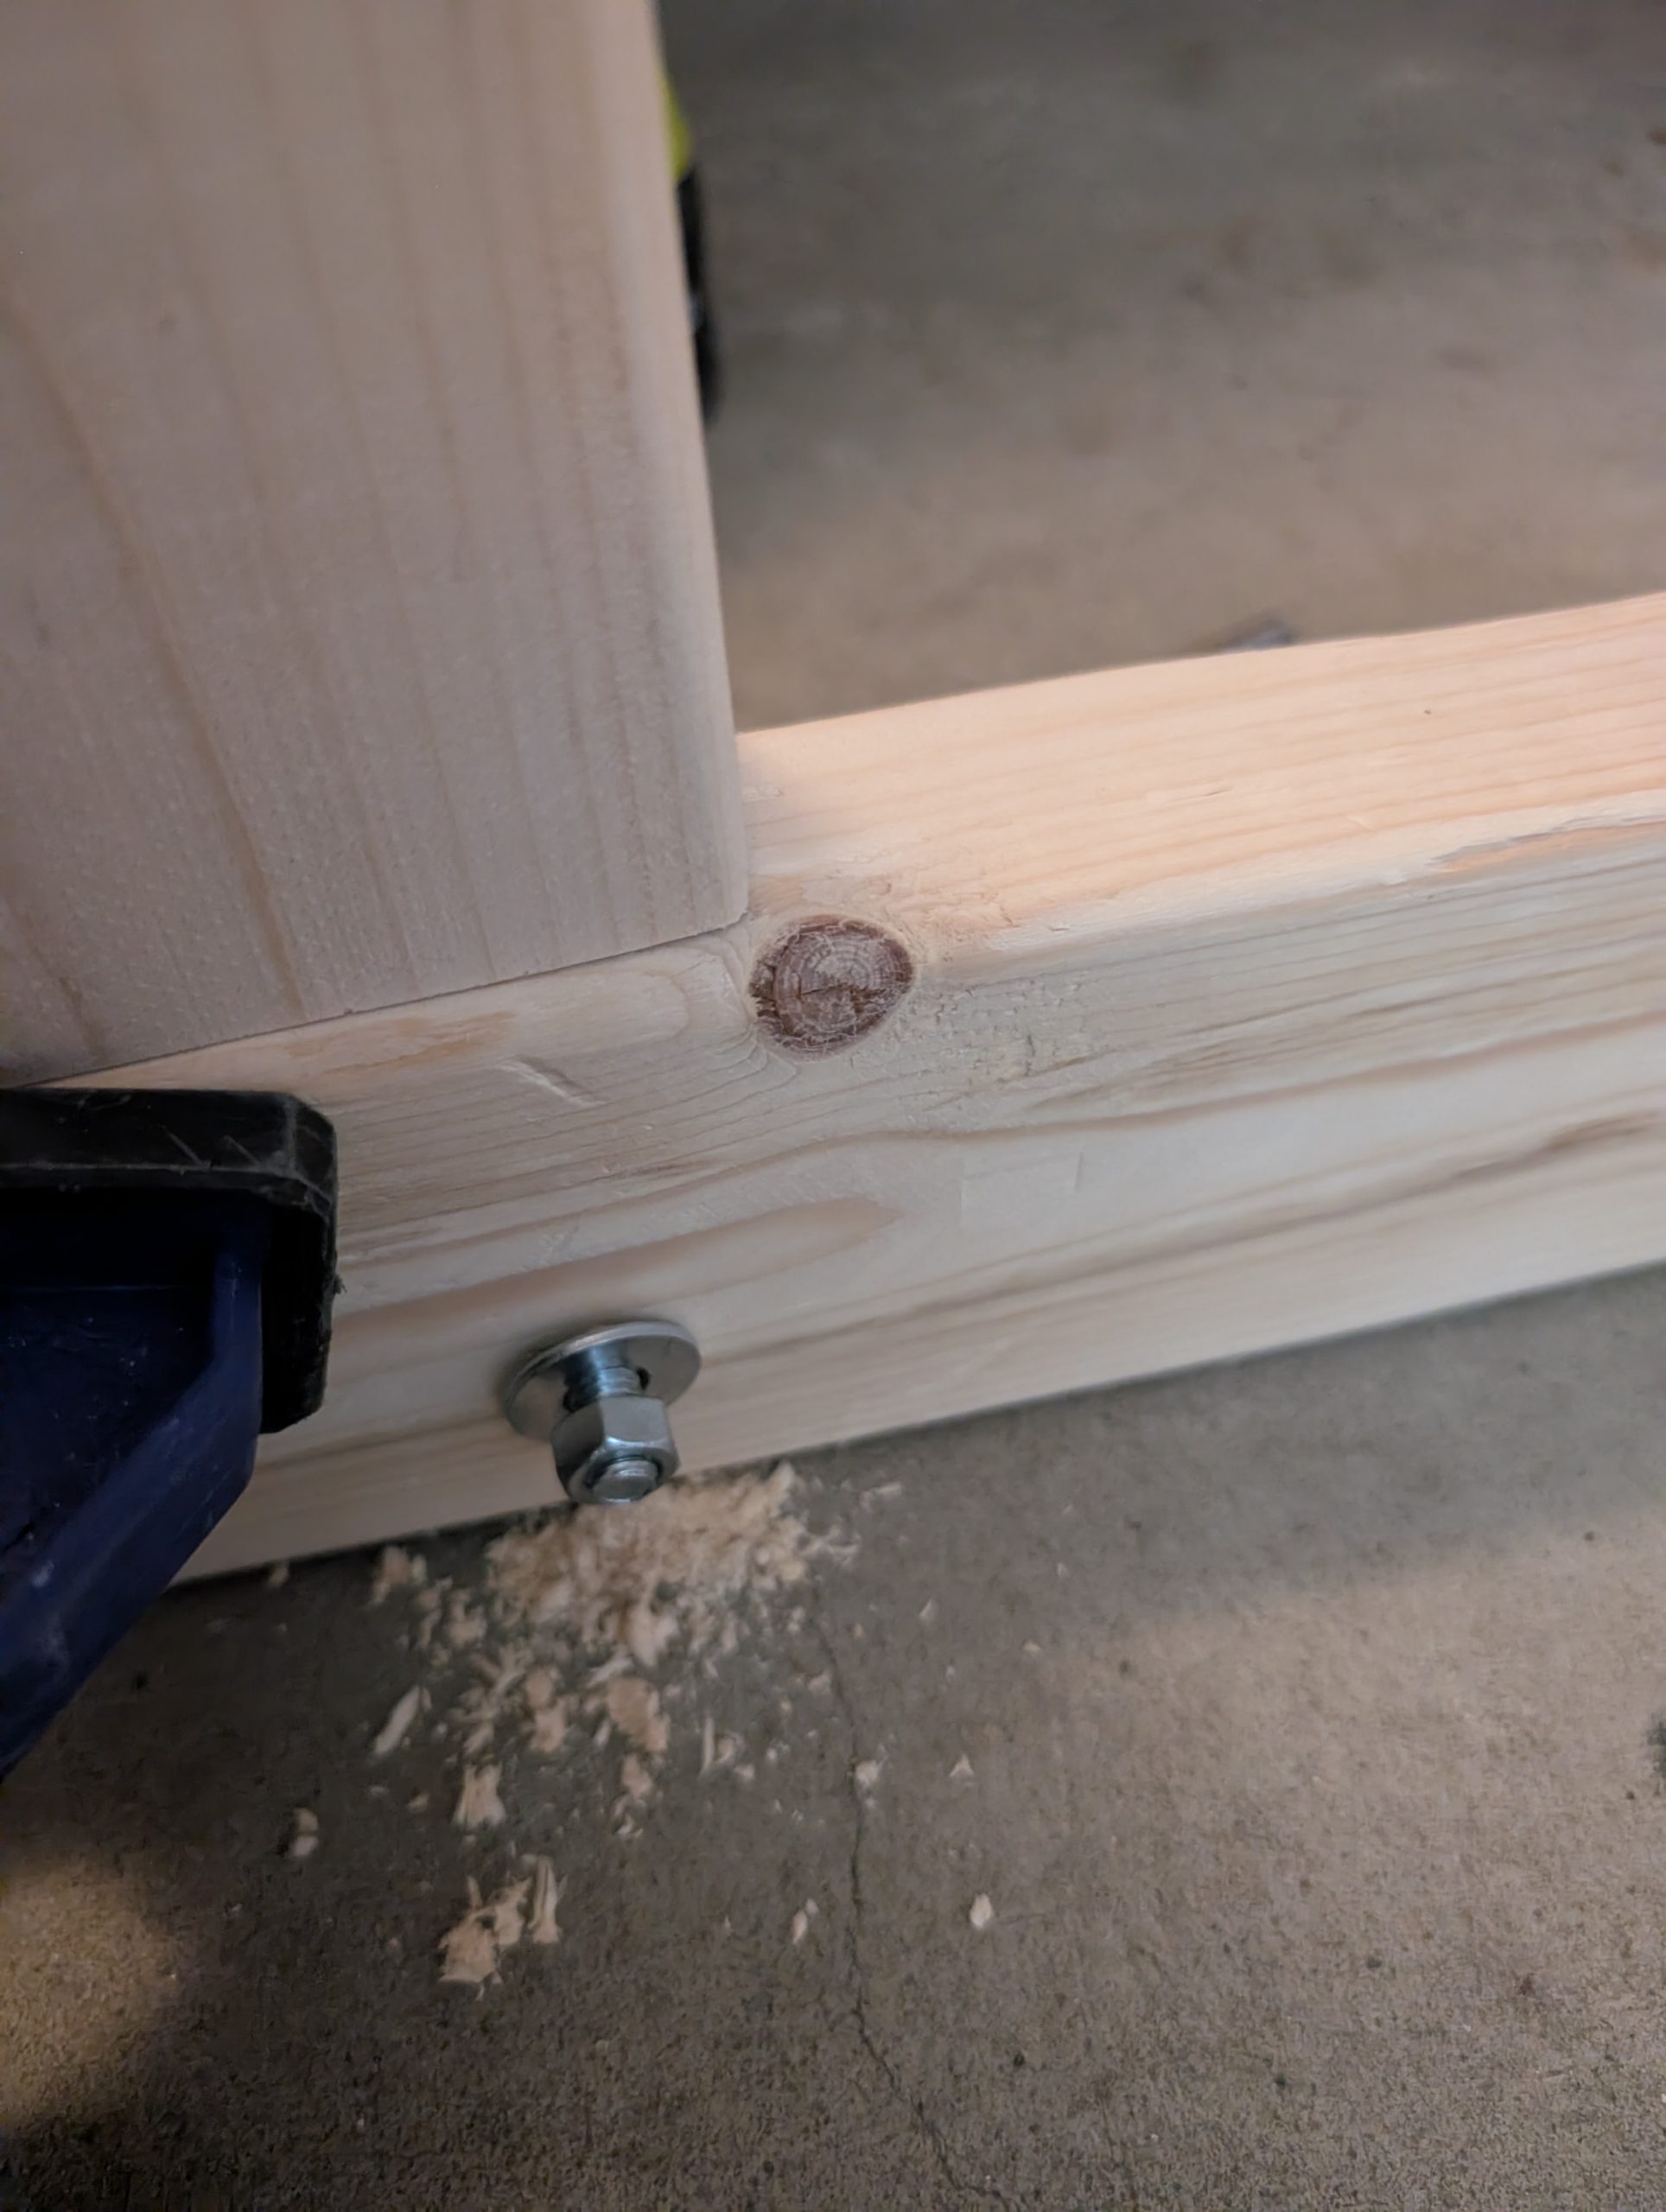
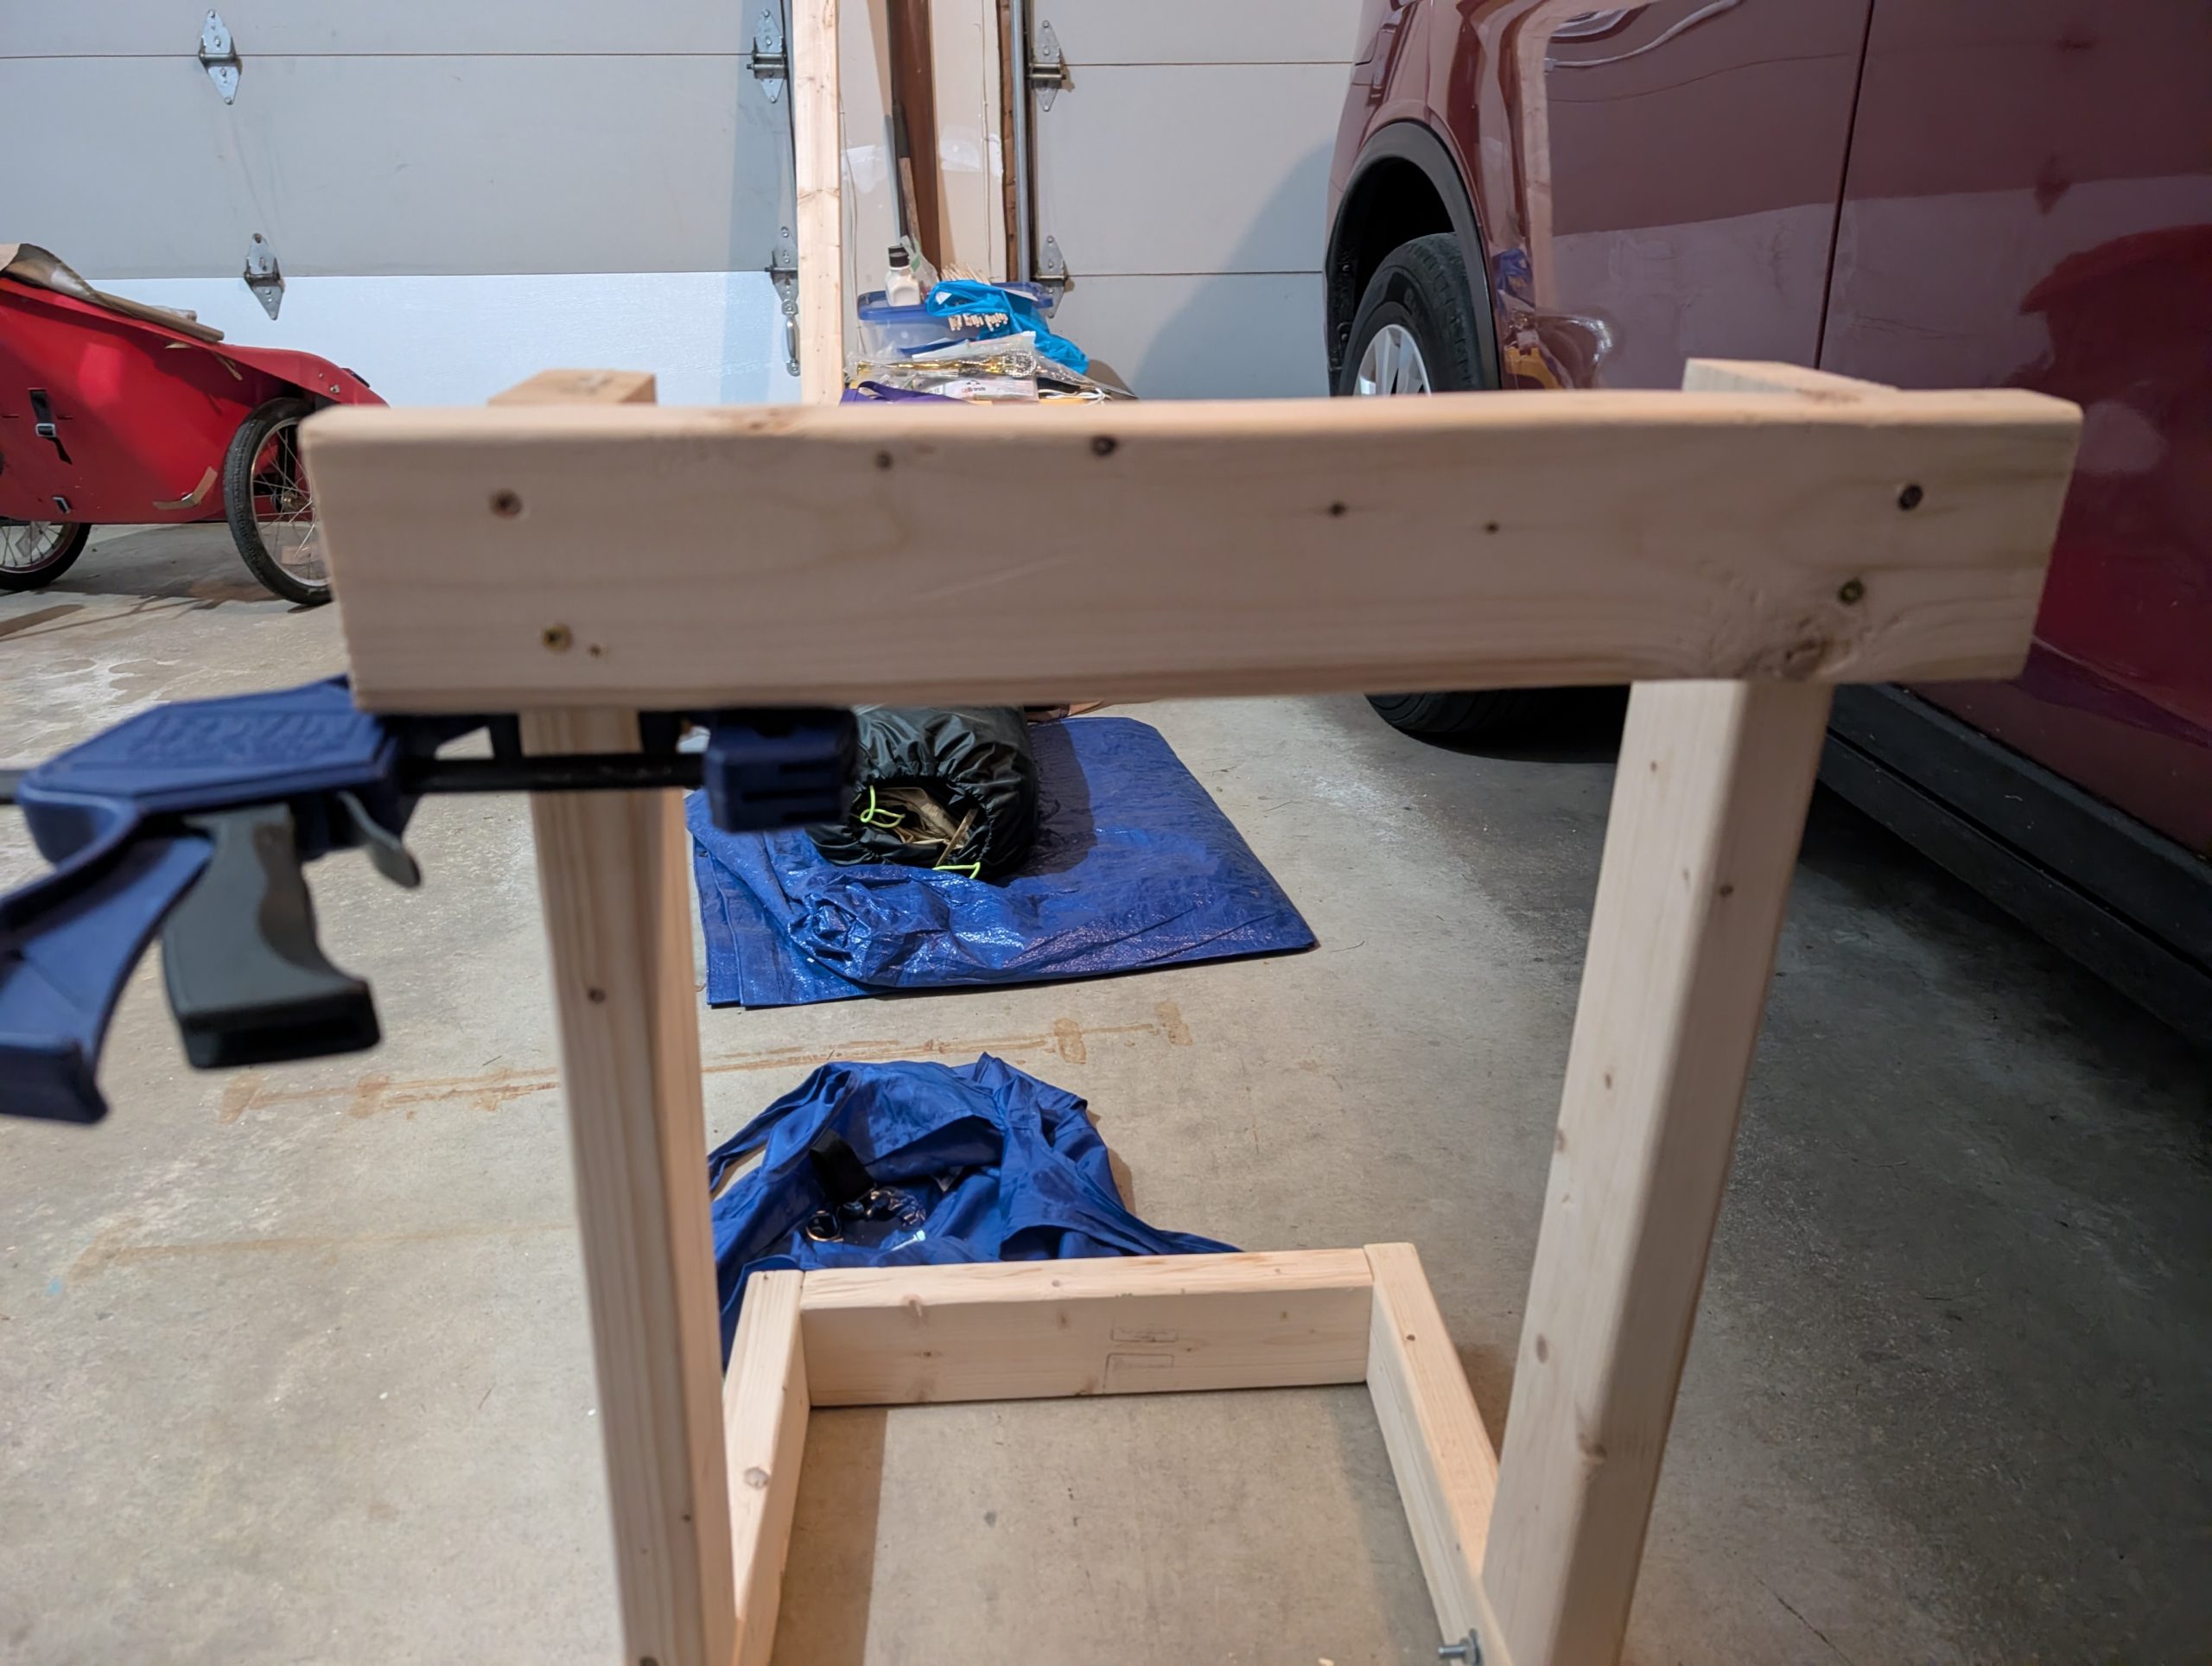
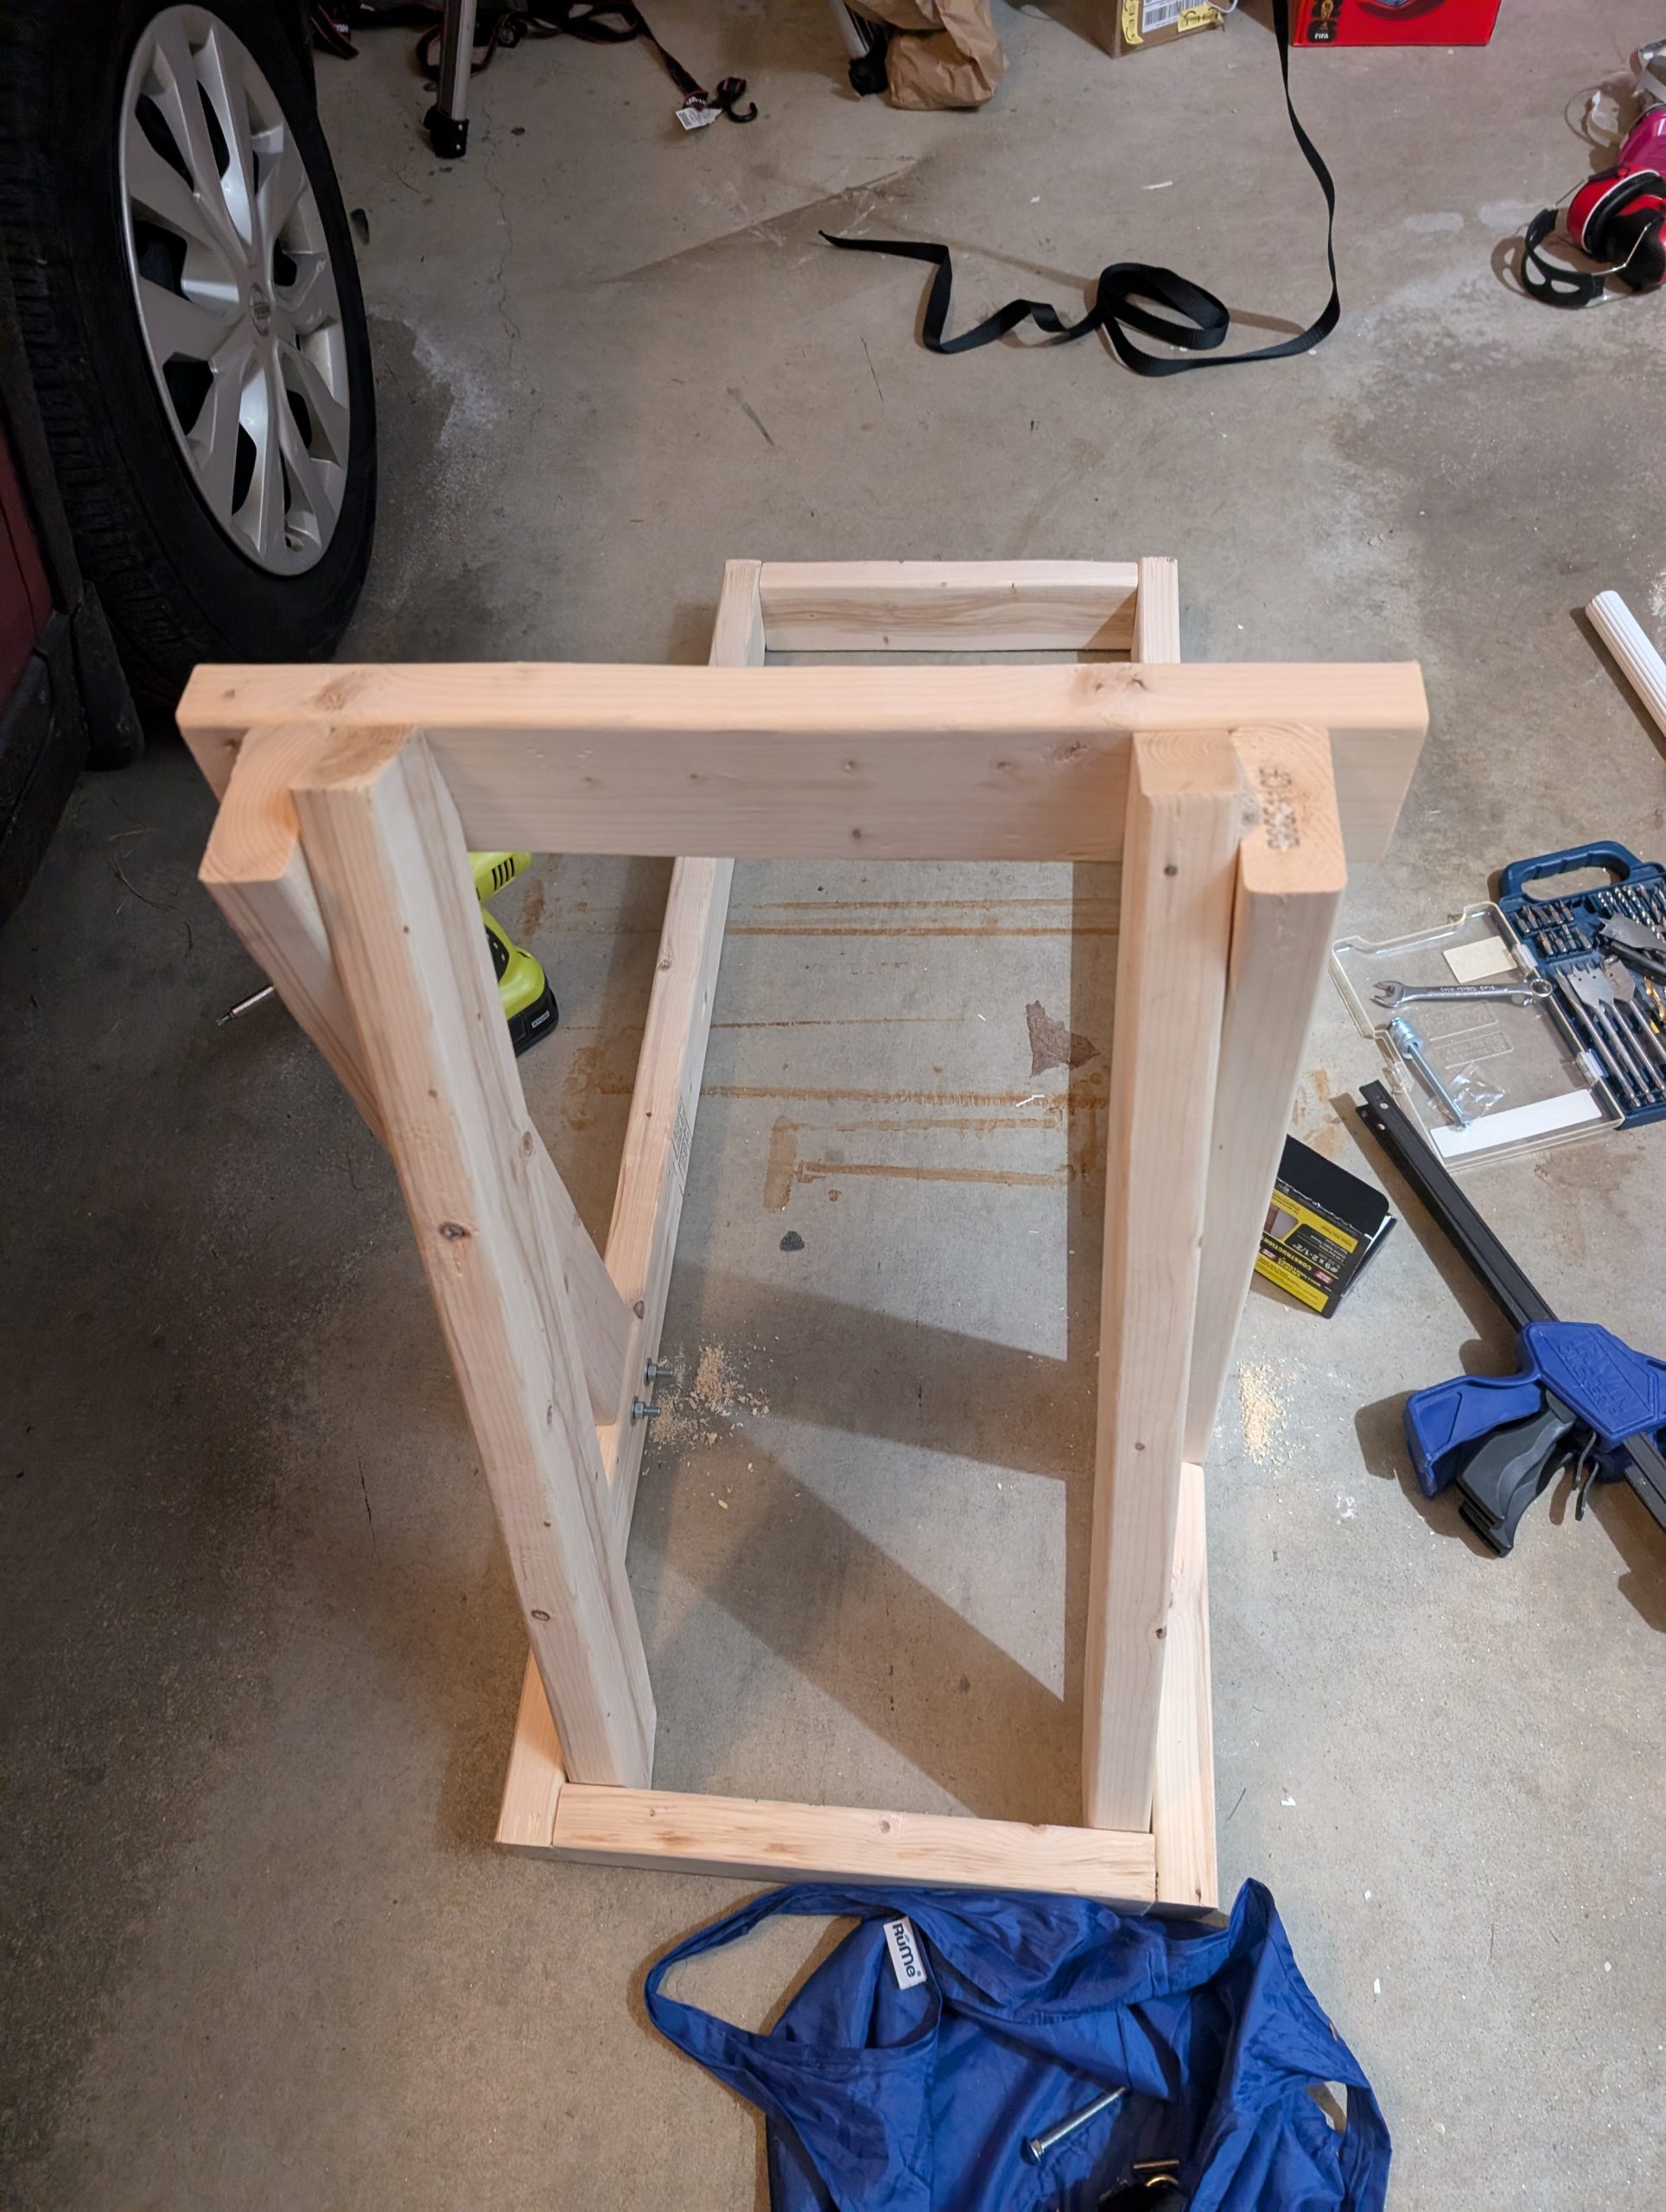
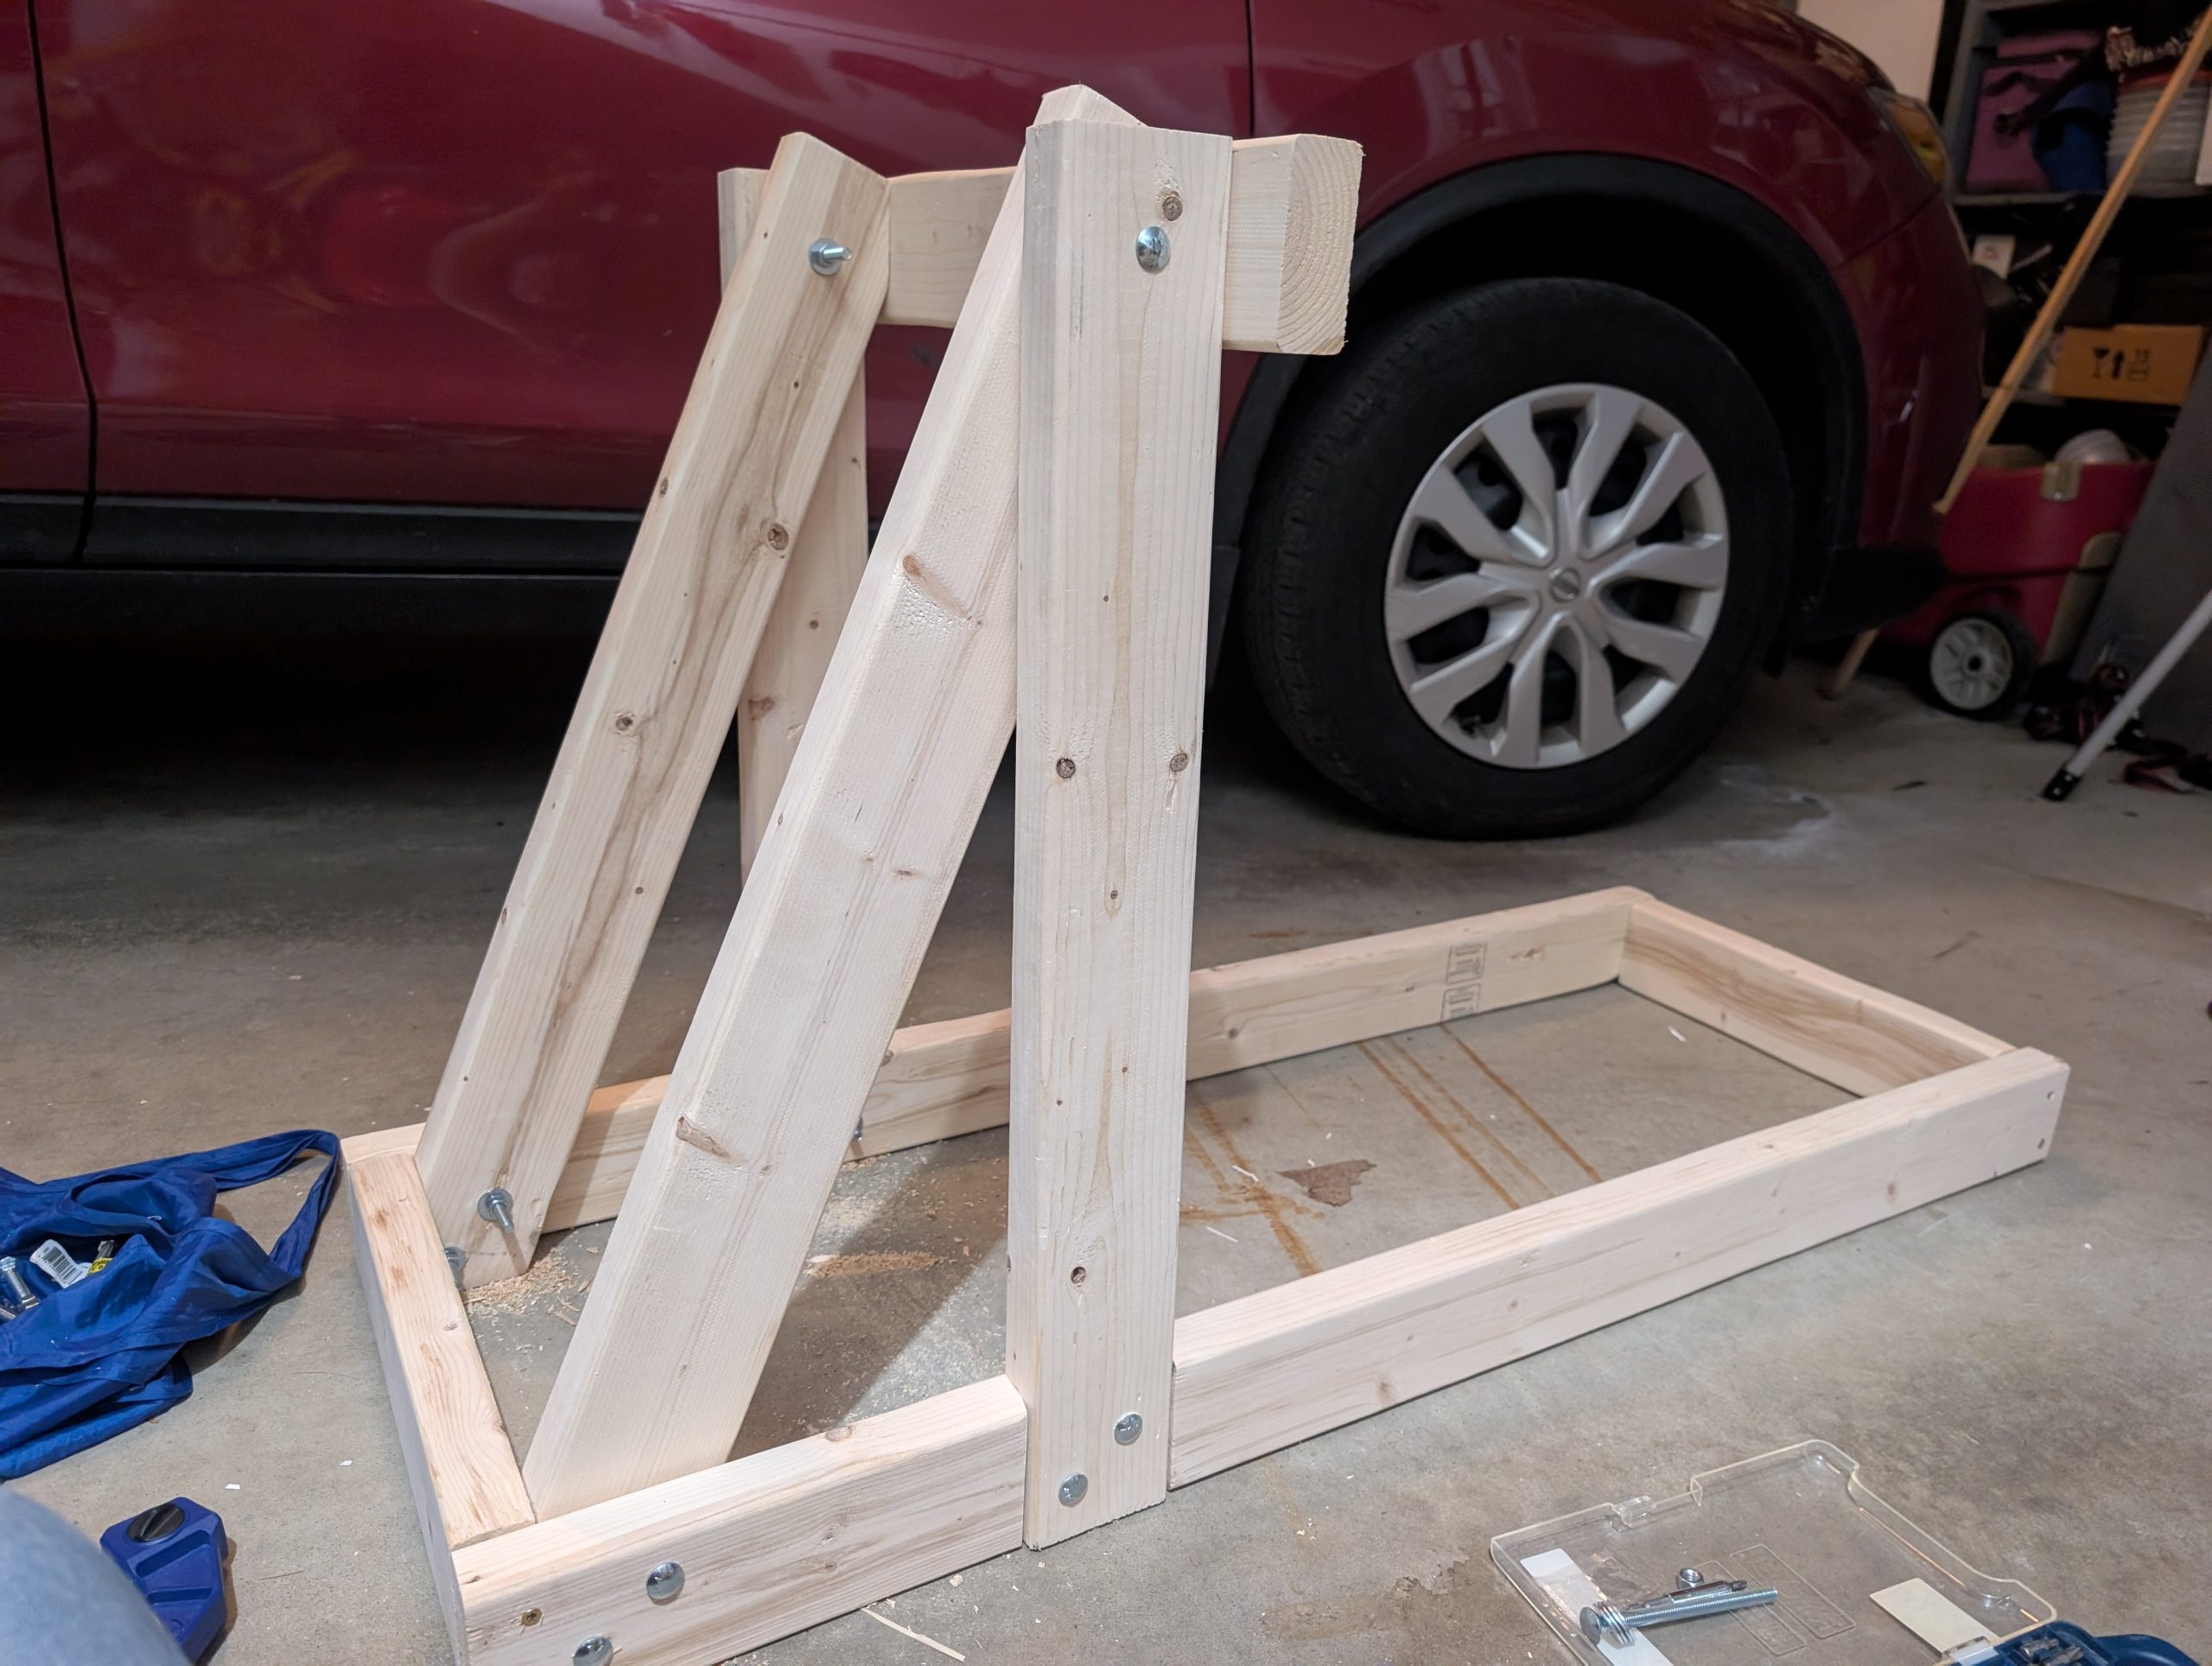
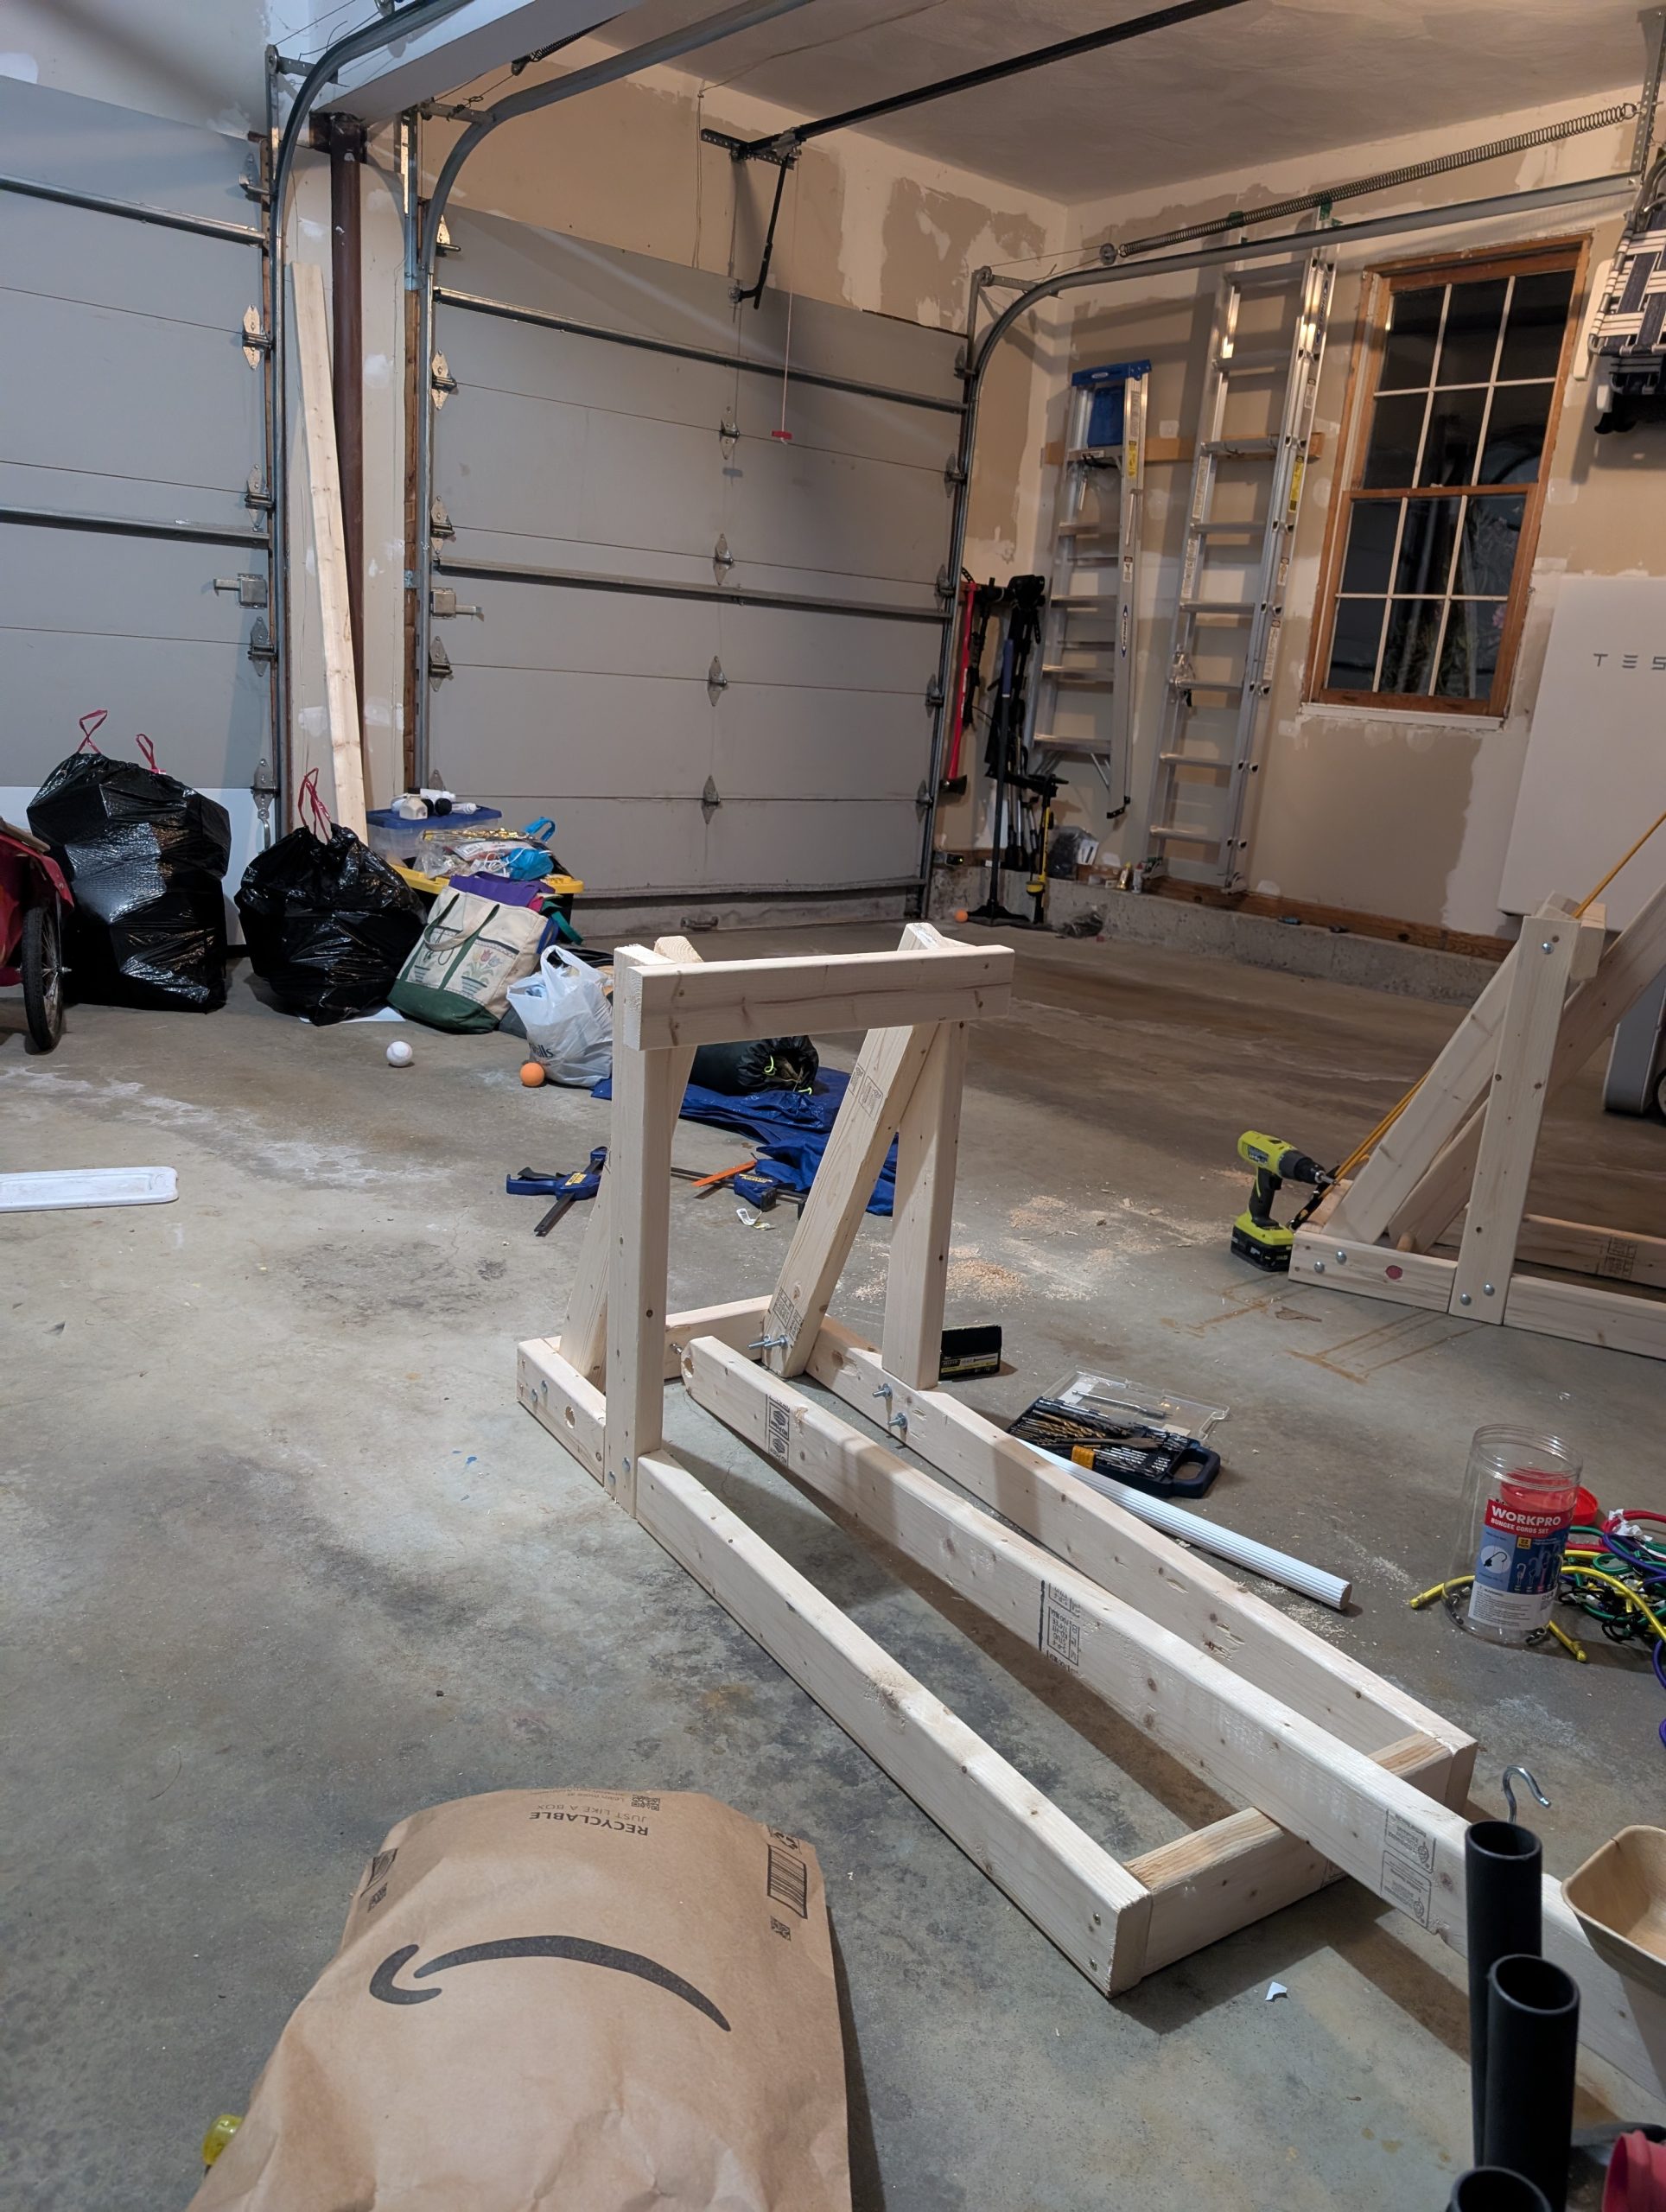
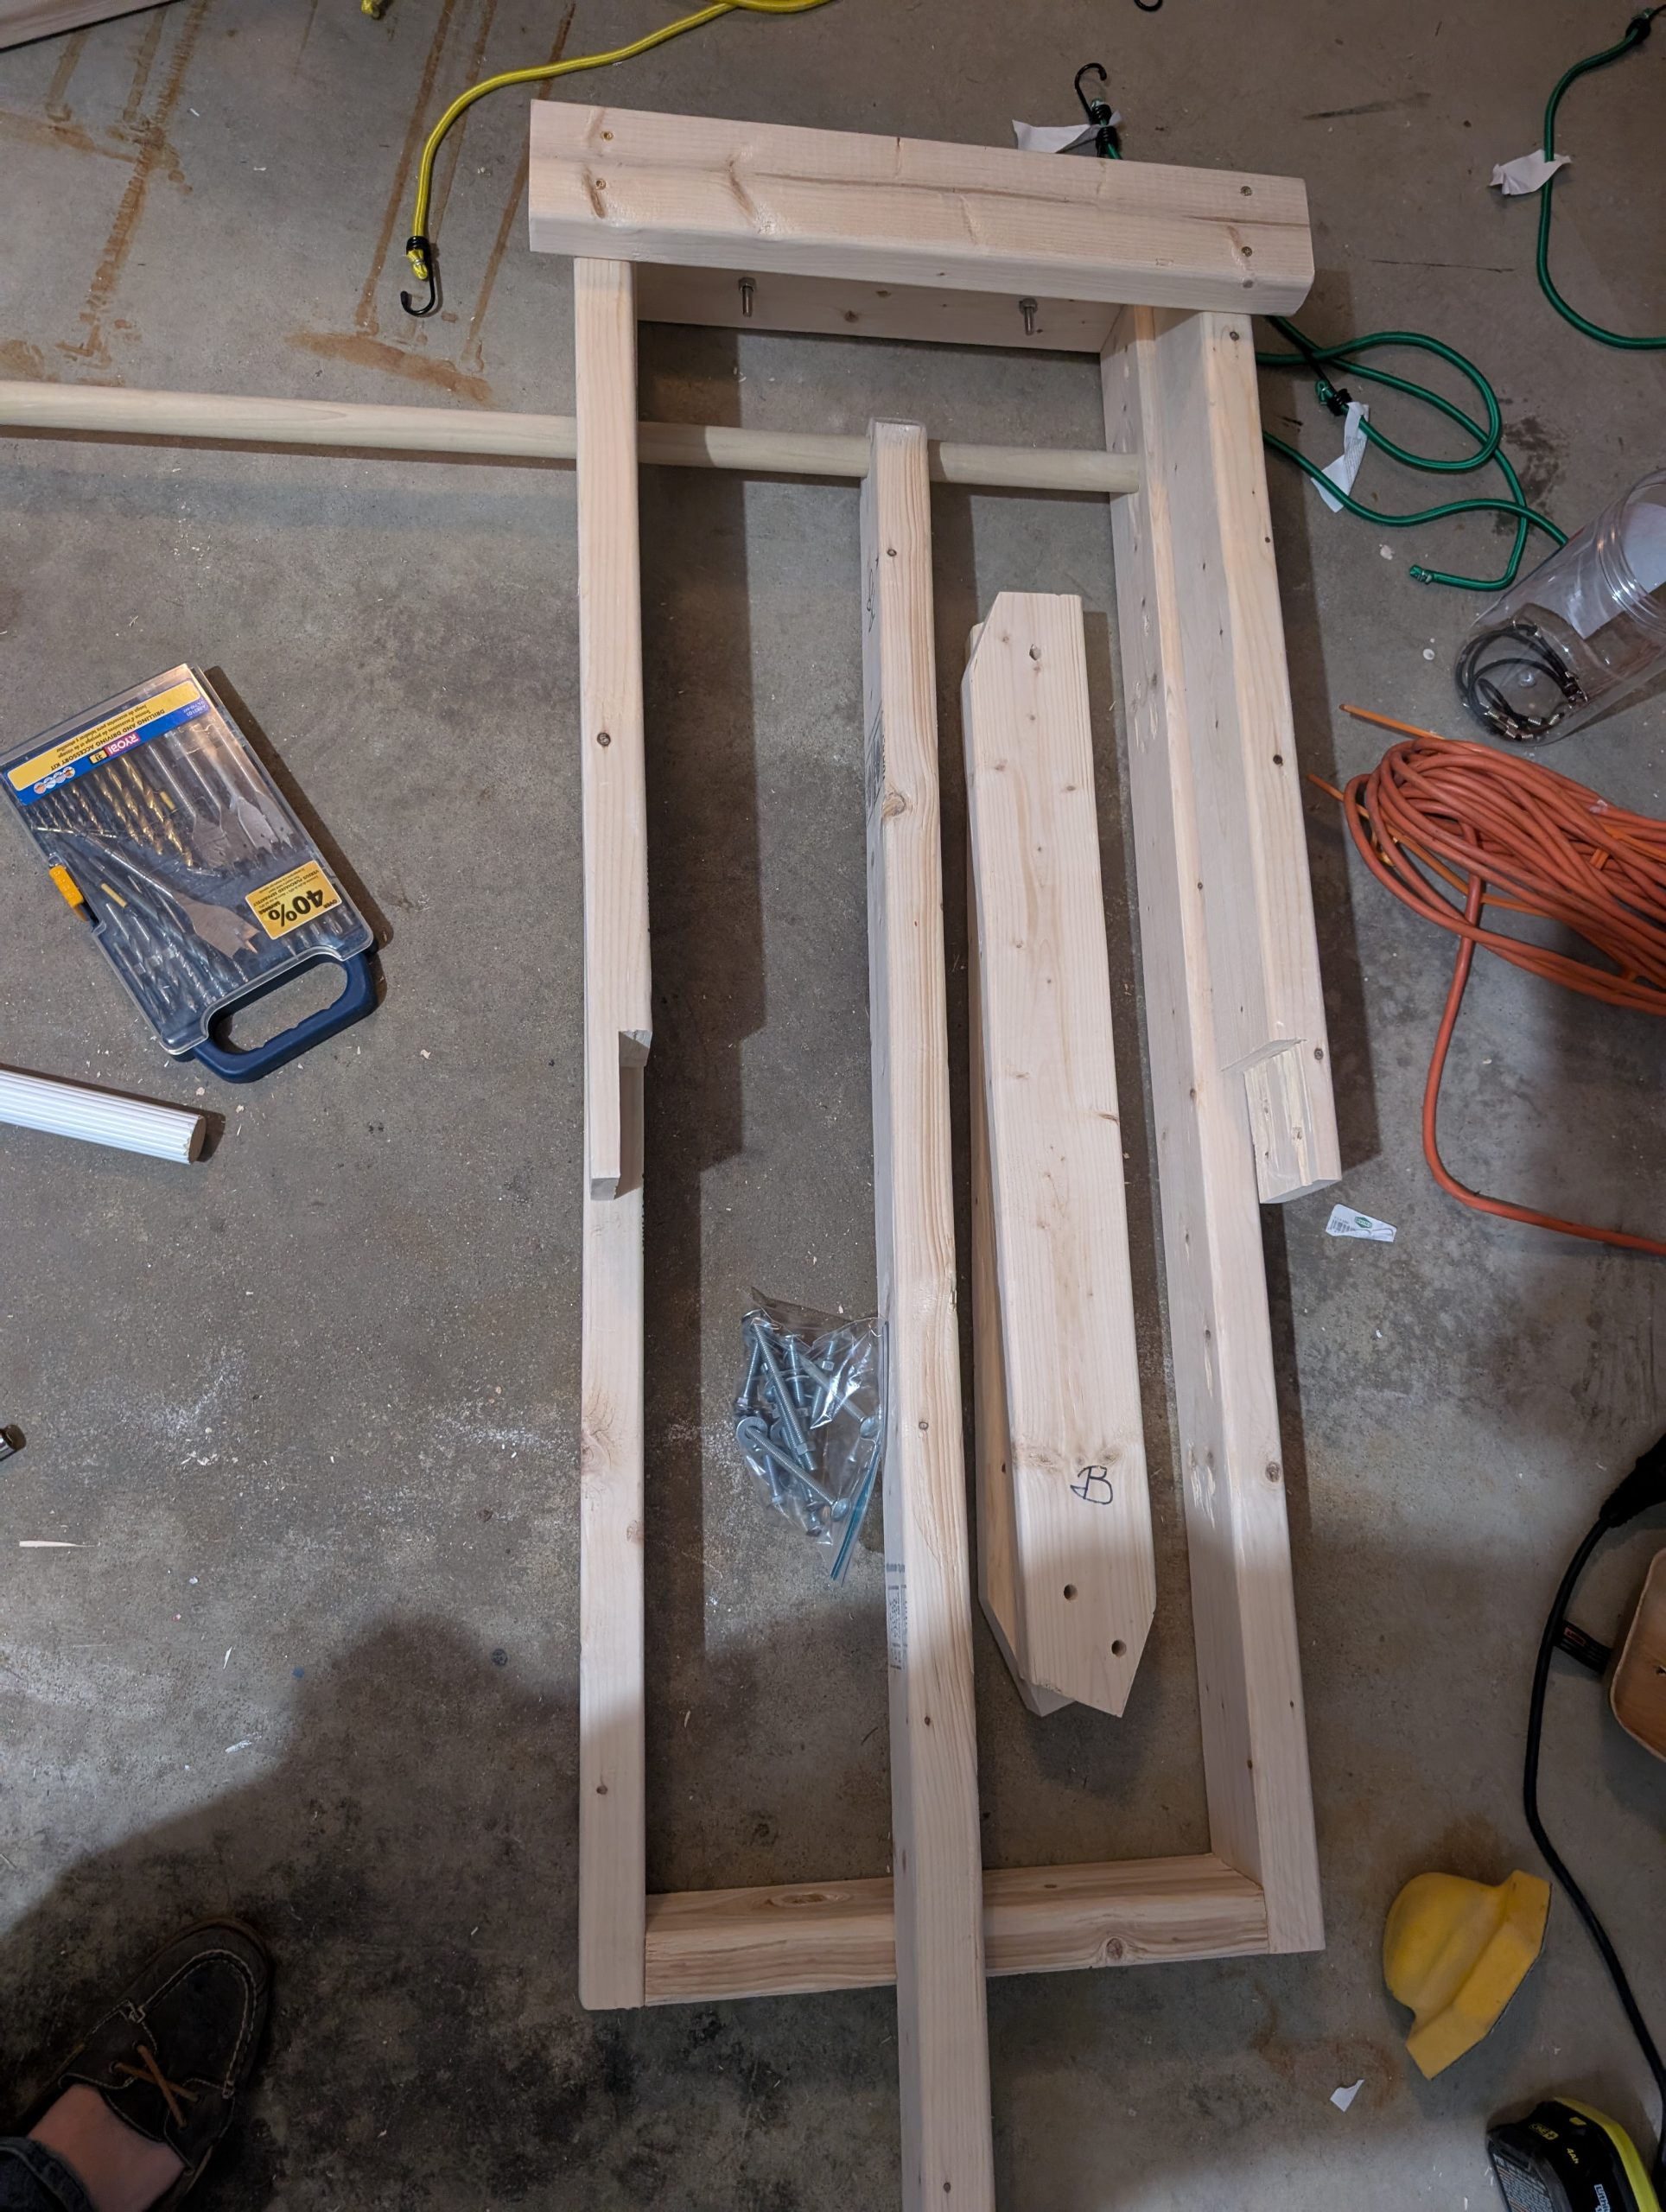
I nearly completely used the design here but I doubled all the dimensions. For elastics I used 3 foot bungees but they vary wildly in strength. I think it’s best to mess around and test this. The main adjustments I made to the design (other than doubling the side) were to use 2x4s, and make it possible to disassemble and reassemble using bolts. This meant instead of having one main post to hold up the stopper, I used two, held thru the main post by bolts into the frame. Ultimately it comes apart into 6 pieces (though I left the throwing arm attached to the frame for the scouts) that can be transported more easily. The whole thing is assembled by 10 bolts.
The idea was to have a large number of scouts (6 to 8 per catapult) divided into two teams. Half would race to build the catapult using my instructions below, the other half would race to build a structure with cardboard bricks as tall as possible. Then we’d have the first team storm the castle and then swap. We in reality had half the number of kids I was expecting so it took the small teams much too long to assemble the catapults. I think in theory the design is pretty good because you can choose how much they have to setup, but unfortunately I hadn’t really tested it with a group of kids to judge speed.
So I think the catapult is pretty safe. The worst thing that could happen is the bungee snaps or the arm hits you in the face. For that reason we have eye protection (as per Scouting America guidelines). It doesn’t hurt at all to get hit with the balls so while it is run as a ranged sport, the stakes are far lower if someone were to cross the boundaries.
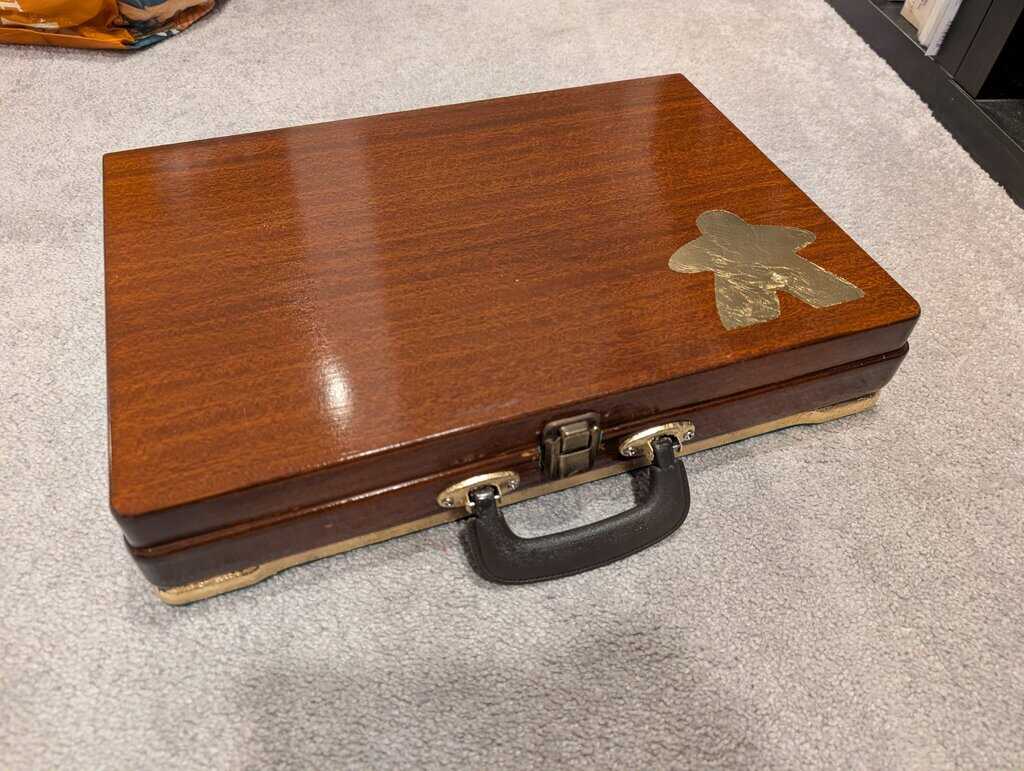
The real problem now is trying to figure out where to store it…