So all my free time right now is pretty much consumed by Pokemon Go. I’m mostly joking, but in all honesty, Will & I have been going out every night to hit up Pokestops. Super silly. We went out to main street in Clinton at 10:30pm on Friday and there were at least 20 other people doing the exact same thing. After departing a conversation with one of the other groups, we heard one of them remark “I never thought anything like this would happen in our lifetimes!” Again very silly. But seriously, if you played red or blue as a child this game was literally made for you. You know you always wanted to catch pokemon in the real world. And now you can!
As an example of how great it is, Saturday we went to my parent’s summerhouse and went out in the paddleboat to catch water pokemon. Totally worked, look at a couple I caught…

Fishing for Pokemon on the Lake
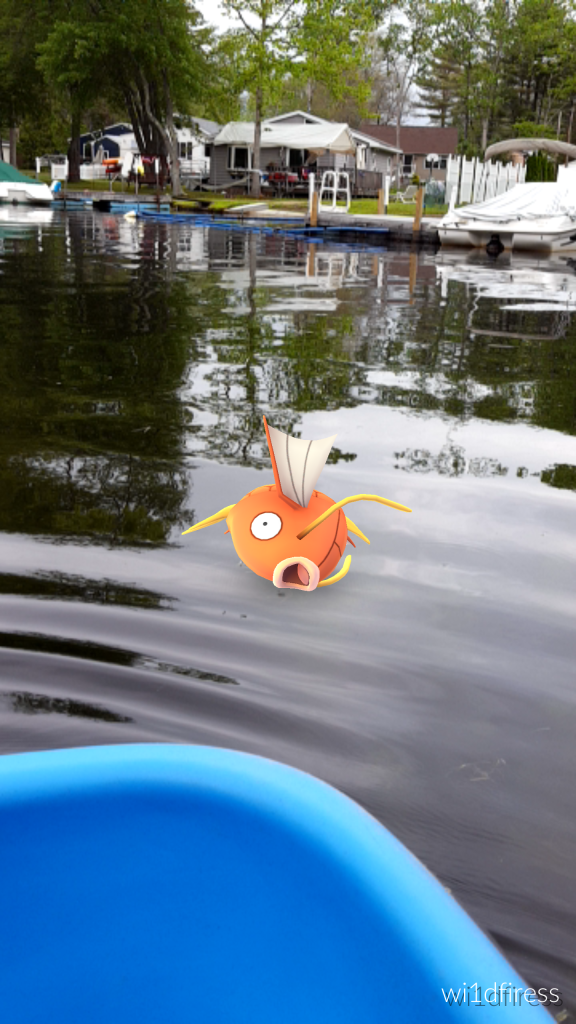
A wild magikarp appeared!
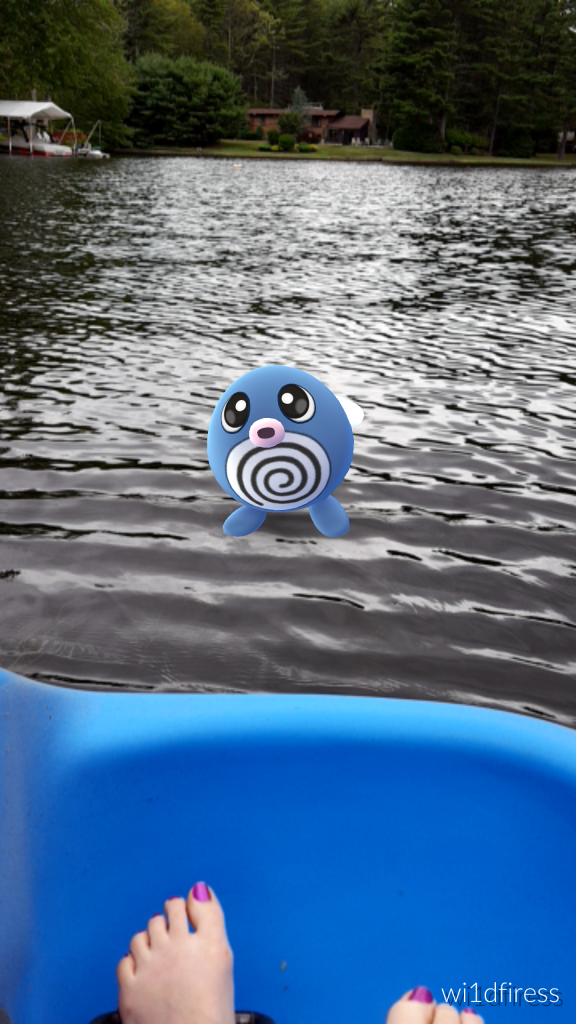
A wild poliwag appeared!
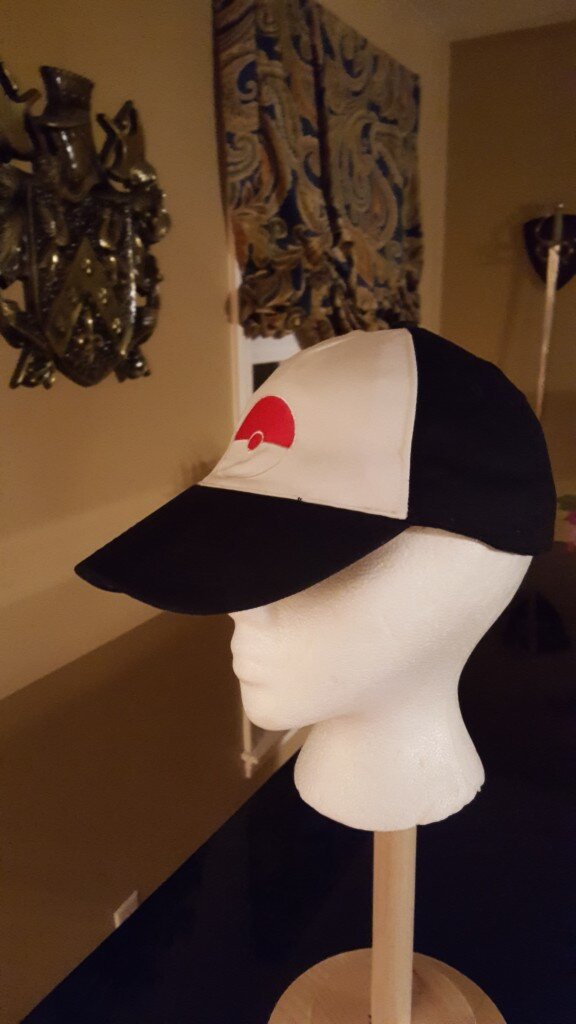
Well given all the pokemania – I thought I would post something pokemon related. I am fairly short on time (what with leveling up all my pokemon and becoming a pokemon master) so I decided to refashion a hat and add an embroidered pokeball to it. I will never attempt to re-make a baseball cap again. Everything was super easy except the brim. I redid the brim about 45 times until I got something that even looked remotely okay. The problem was in finishing the hat they had trimmed the excess material, making it impossible to stitch it back together properly. Never again.
I’ll try to post the tutorial for re-doing a hat later this week in case anyone is adventurous, but for now here’s a free embroidery file of a pokeball for you to adorn everything with. You’ll need to change the extension from .zip to .pes. Though it is fully functional and looks great, it is really not a great example of elegant machine embroidery, so I’ll try to post a less teflon-tough version when pokemon mania subsides.
https://www.ladybeekeeper.com/wp-content/uploads/2016/07/pokemon.zip
Go Team Blue!
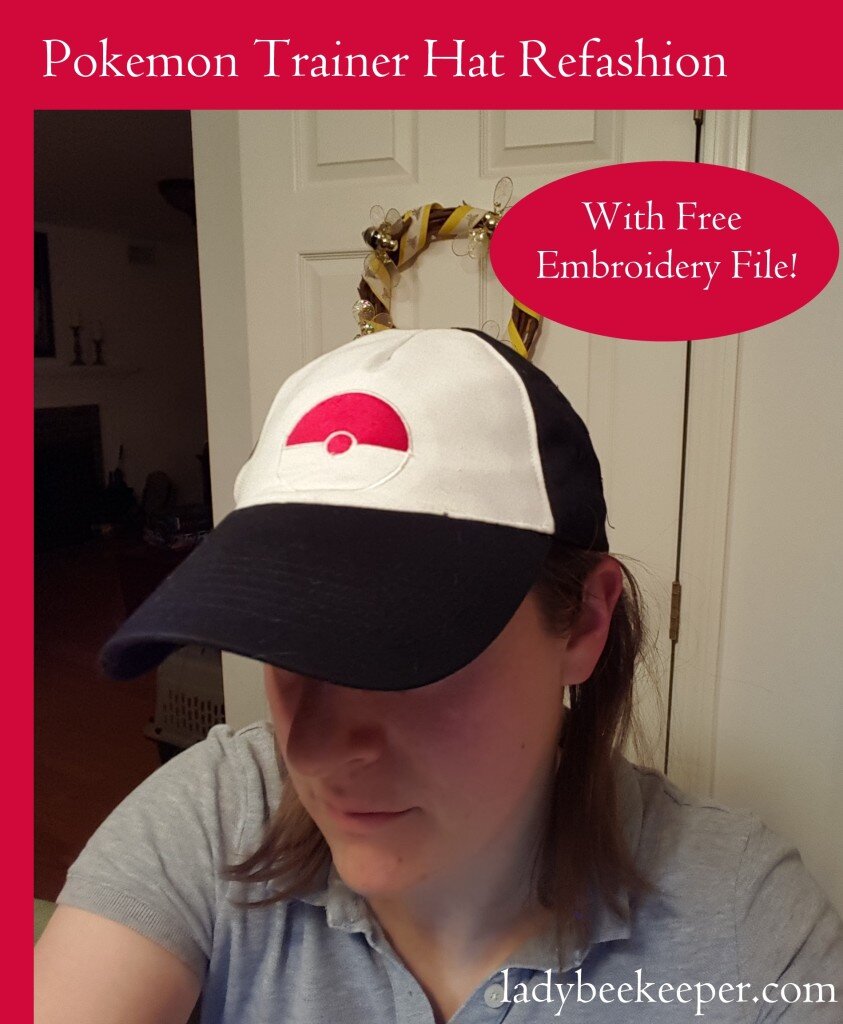
How to Refashion a Baseball Cap into a Pokemon Trainer Hat
What you need:
- embroidery machine and the embroidery file here (rename from .zip to .pes)
- red and white embroidery thread
- old baseball cap (I used a hat Will got from a friend’s wedding since Will doesn’t wear hats – I still have mine Matt & Maren ;) )
- thick white material (like canvas)
- recycled pattern paper
- white thread
- seam ripper
- First you’ll need to disassemble the hat starting at the little button on top. I found that you could remove the two pieces of the button by using a screw driver.
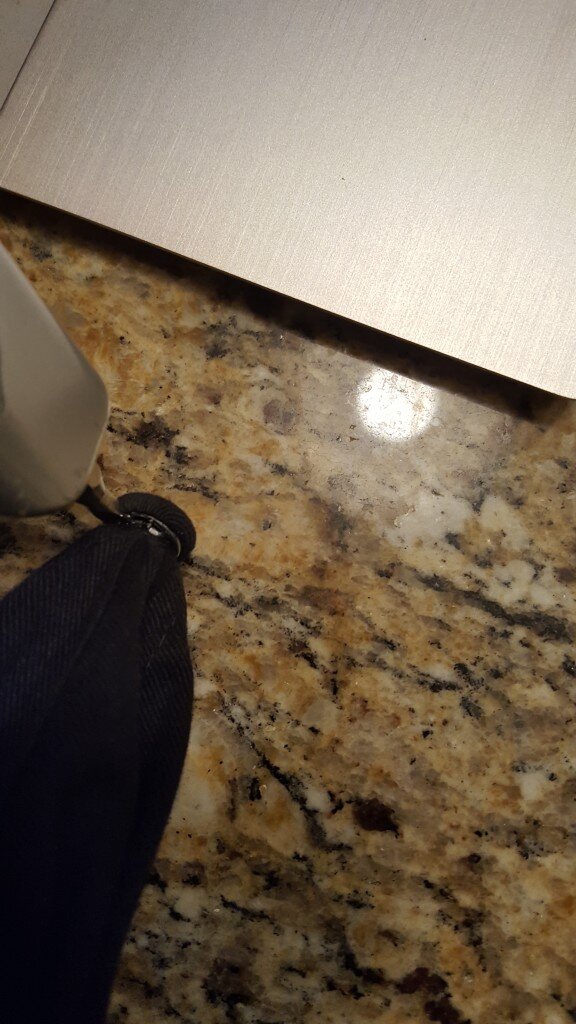
Pry off metal button
- Begin removing the brim and front panel of the hat. This is all you’ll want to remove. Make sure to keep the hat band intact when you remove the front panel and brim. You’ll want to take pictures so you can remember how to put it all back together as it may be slightly different than my hat.
- Take the front piece and lay it flat, tracing a pattern for your new front panel.
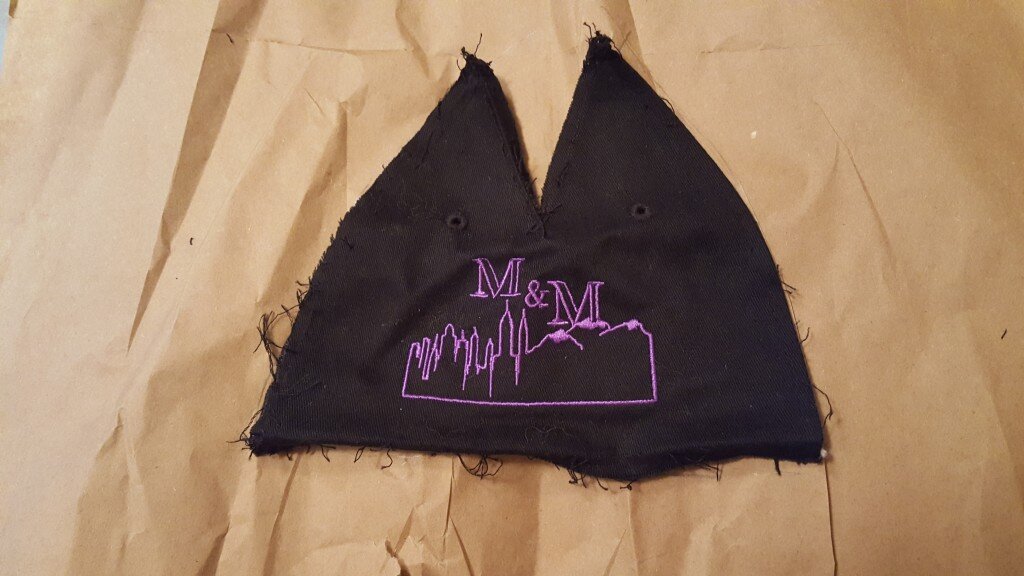
Remove the front panel of the hat, trace for new pattern
- Trace your pattern on the white canvas, leaving room for 1/2″ of seam allowance all around.
- Using your embroidery machine and a 4×4″ hoop, stitch the pokeball in the center of your canvas panel, switching colors from red to white when prompted.
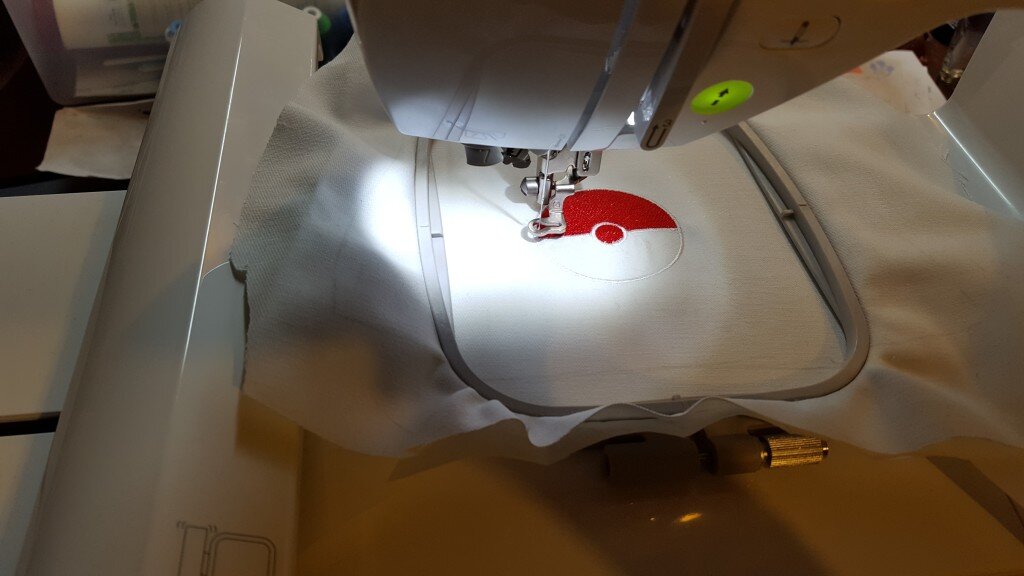
Embroider pokeball on front panel
- Cut out your pattern leaving 1/2″ seam allowance all around. Cut a slit at the top of the hat like the original panel.
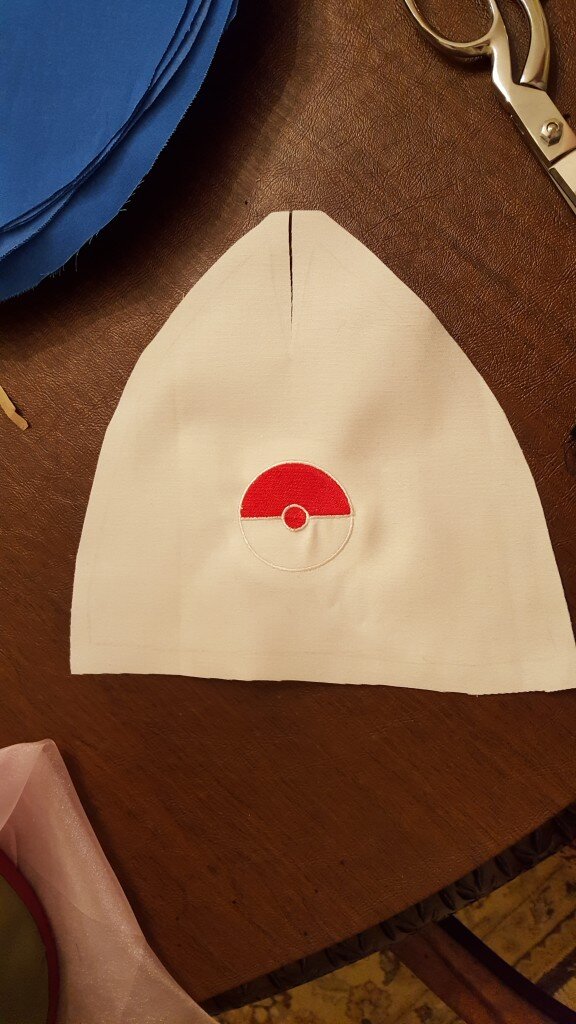
Cut out front panel
- Overlap the two edges of the slit and stitch closed, forming a three dimensional panel for your forehead.
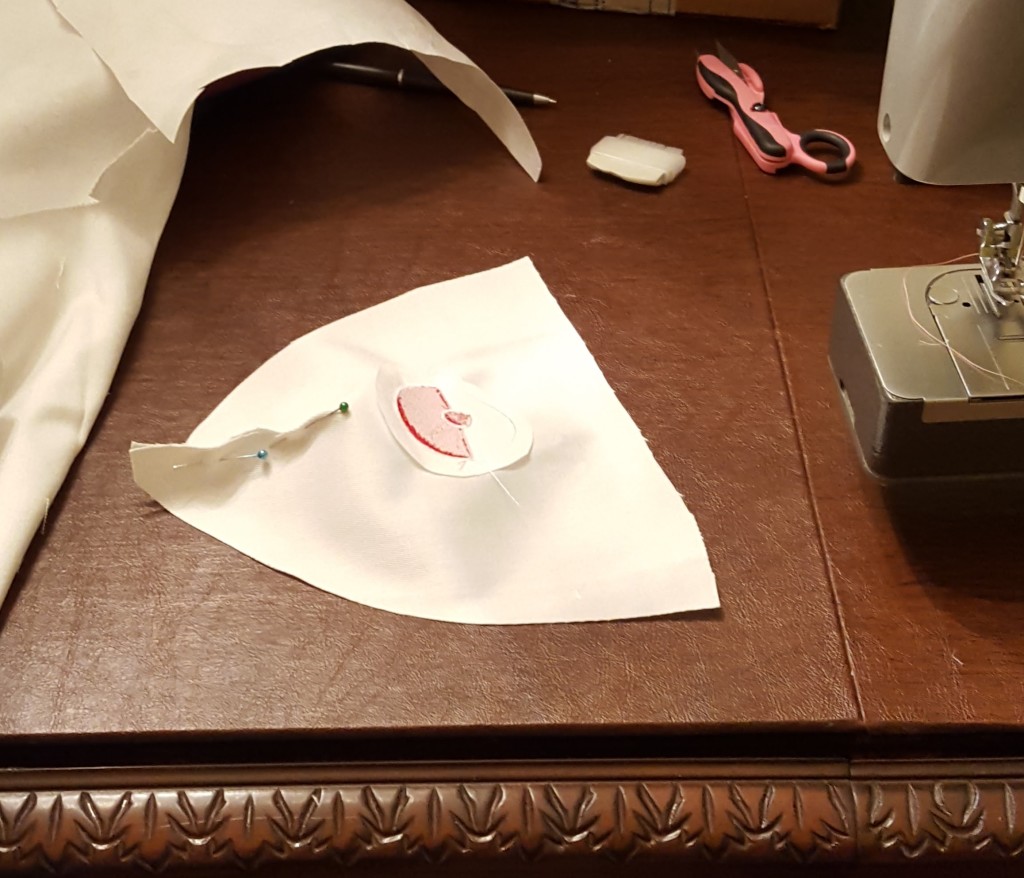
Pin dart at front of hat
- Pin each side of the panel to each side front of the hat, making sure to line up the point properly.
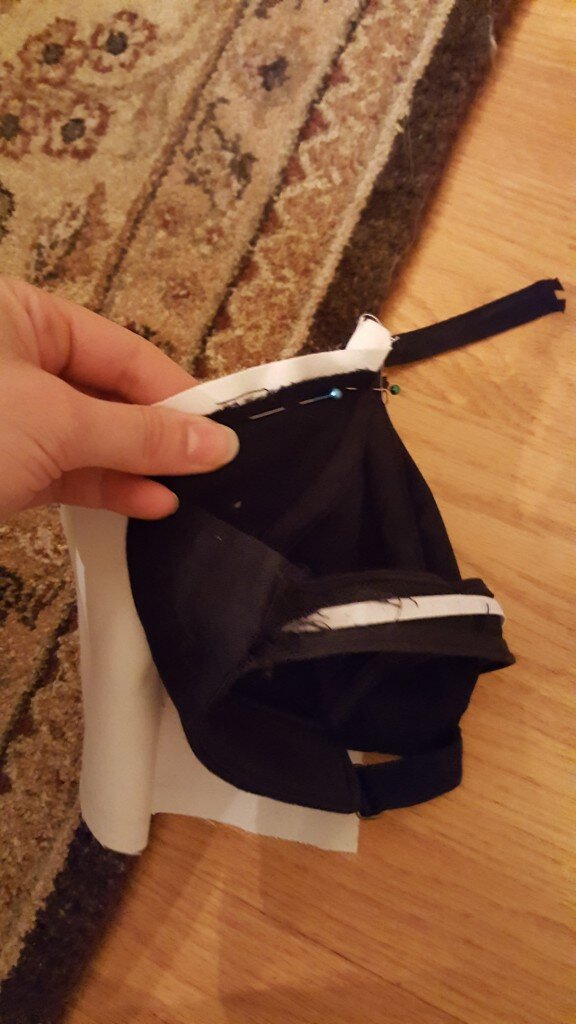
Pin front panel
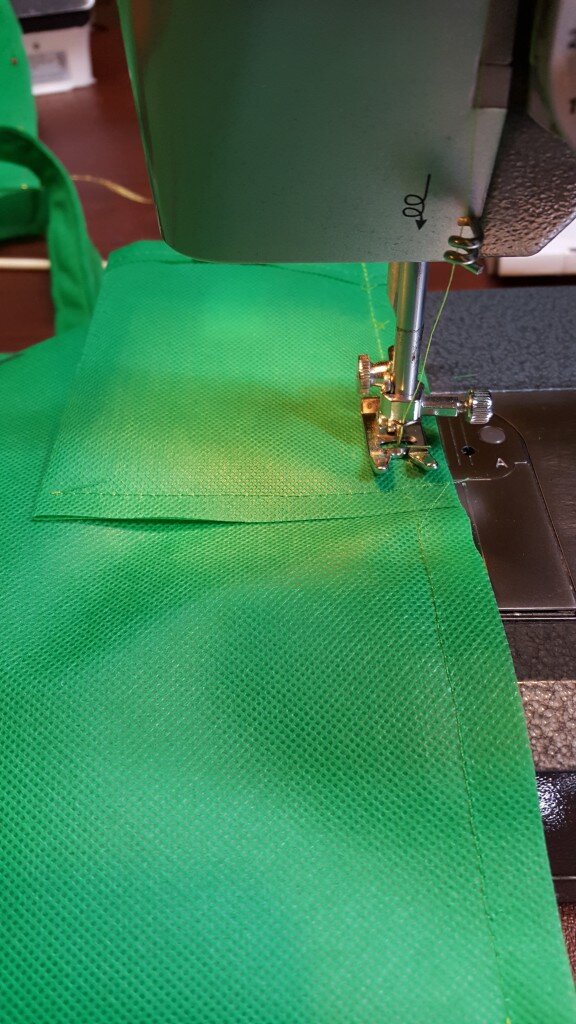
- Sew each side.
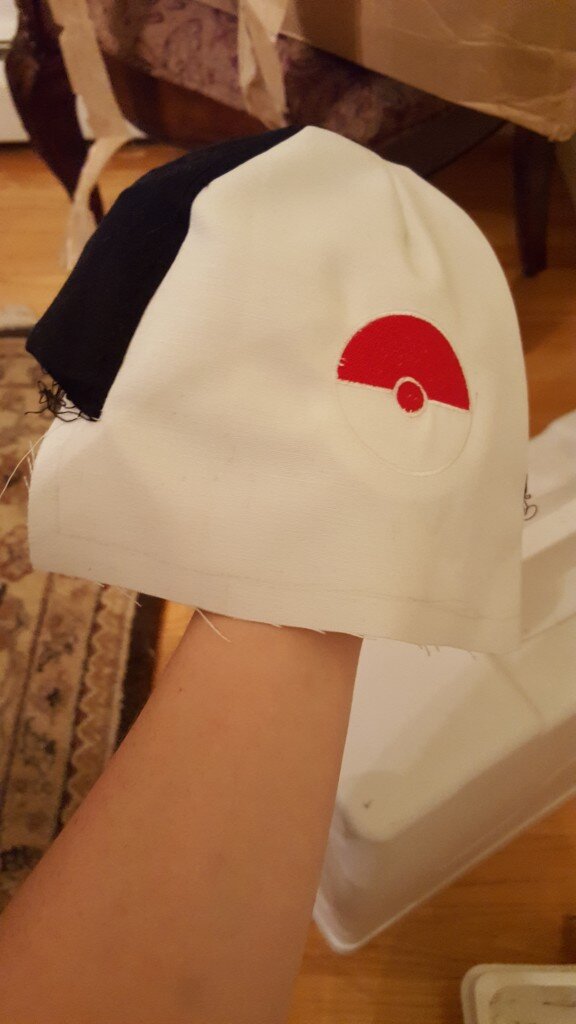
Stitch front panel
- Top stitch slightly to the inside of where you just stitched on the front panel sides.
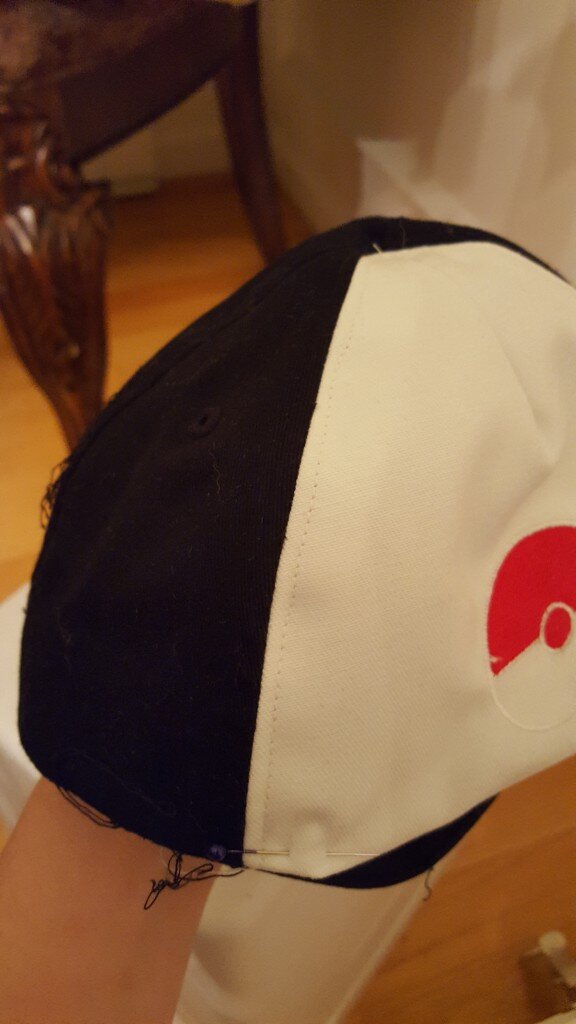
Top stitch
- Reattach the brim by pinning the brim right sides together to the outside of the front panel of the hat. This was the biggest challenge for me because I could not fit the brim between the feed dogs and the presser foot.
- After I got it to sit as nice as possible, I made it look a bit better by top stitching along the edge of the brim and the front panel.
- Finally reattach the button. (I just tapped the two pieces together with a hammer.)


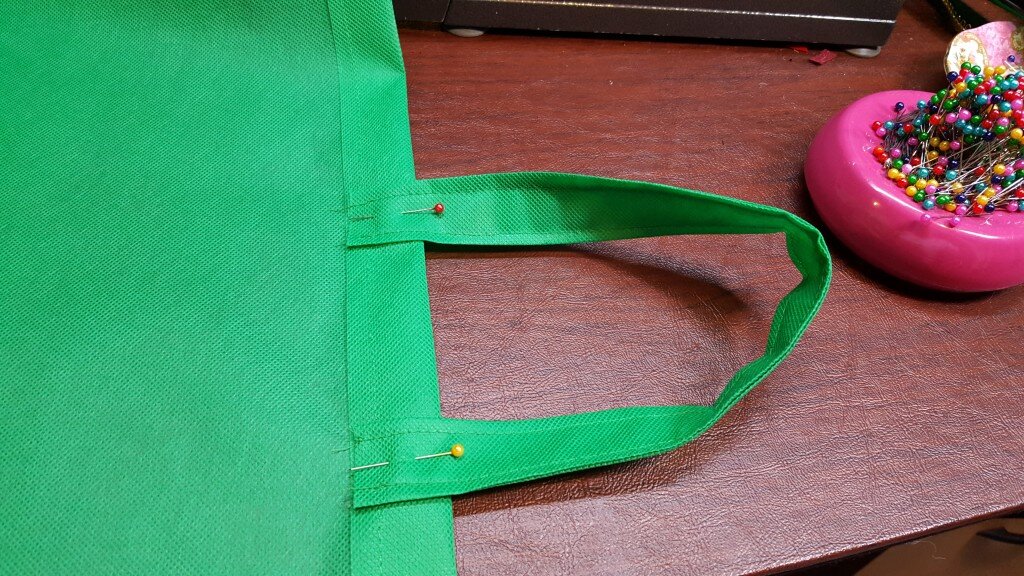
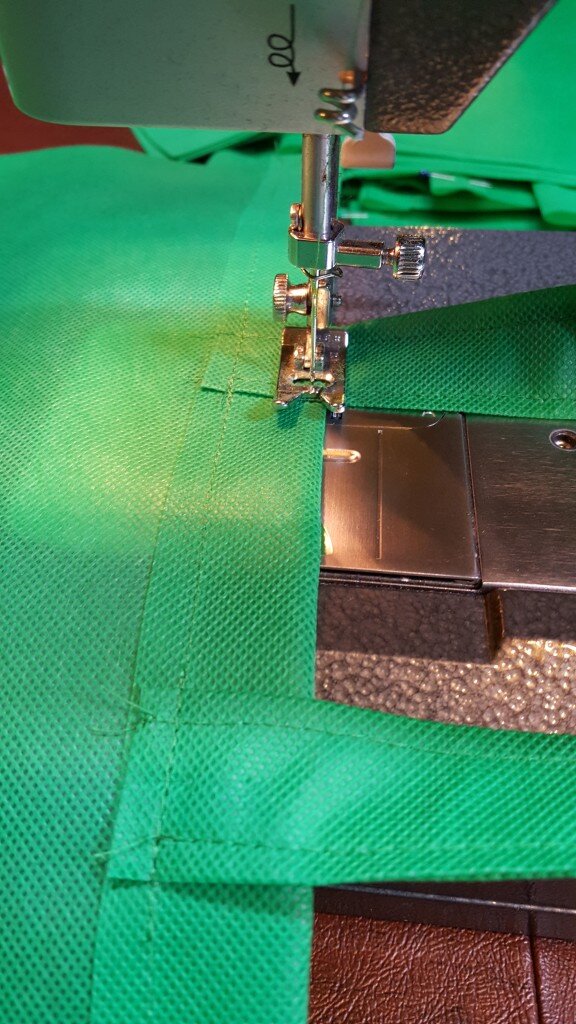
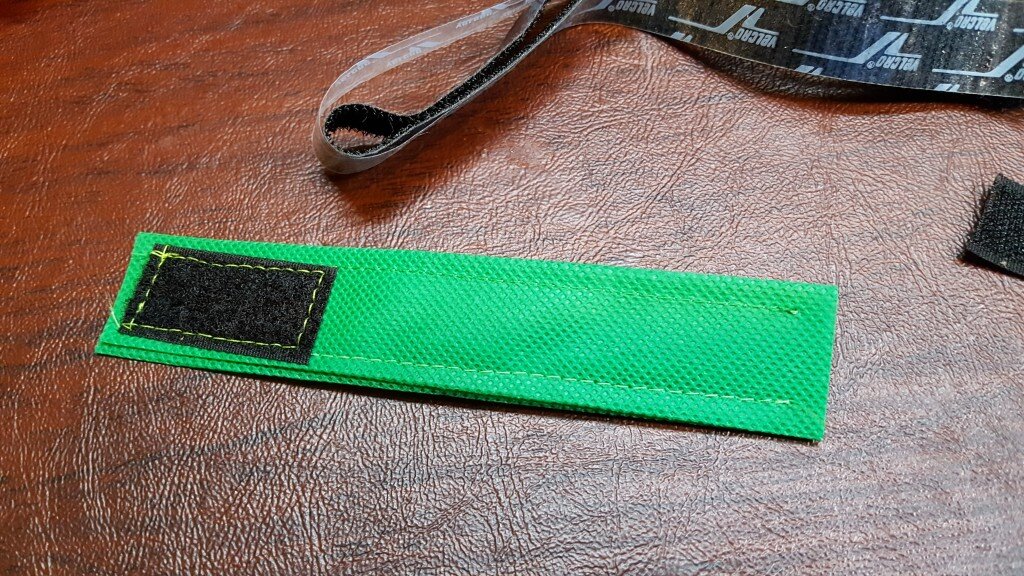
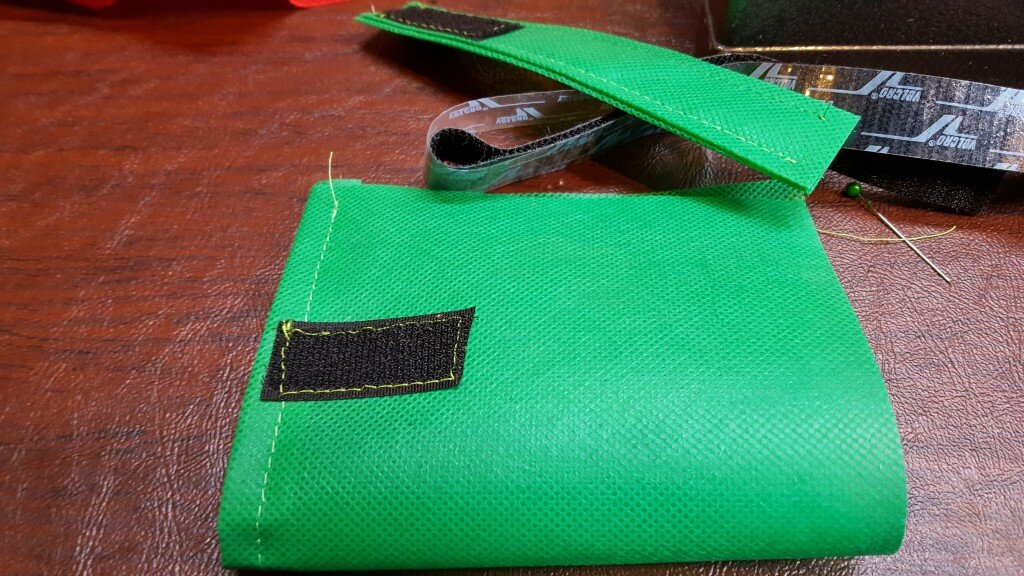
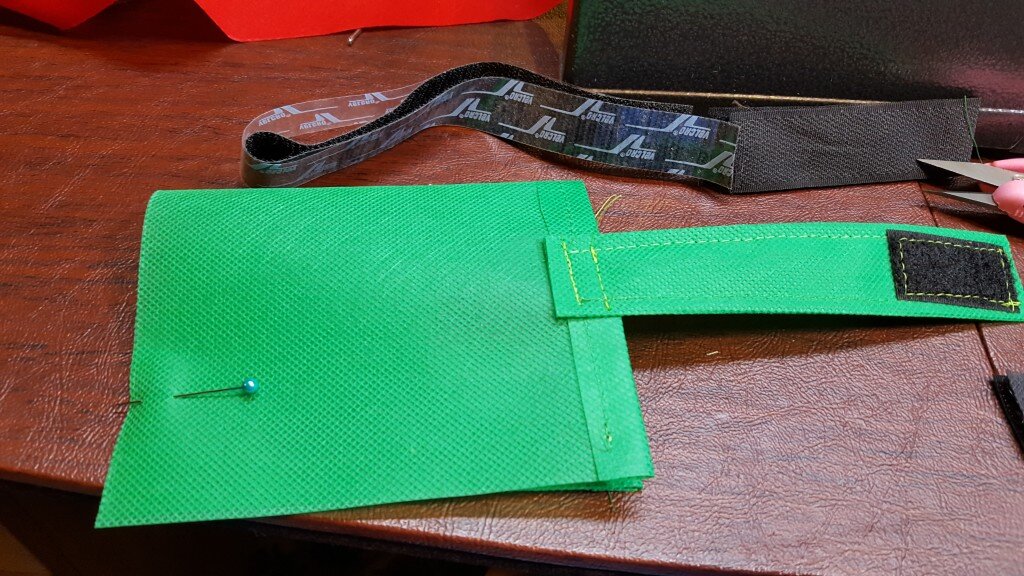
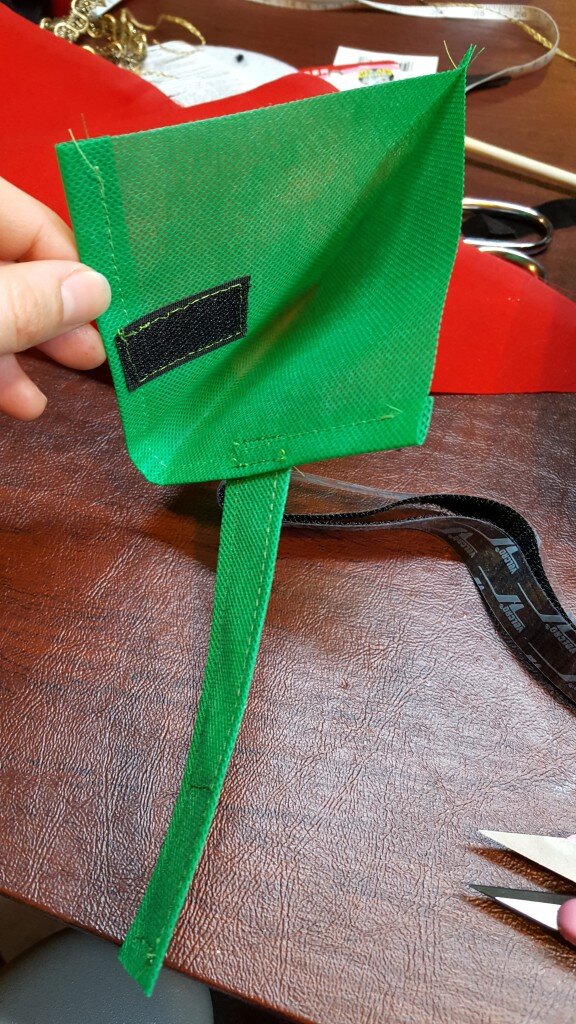
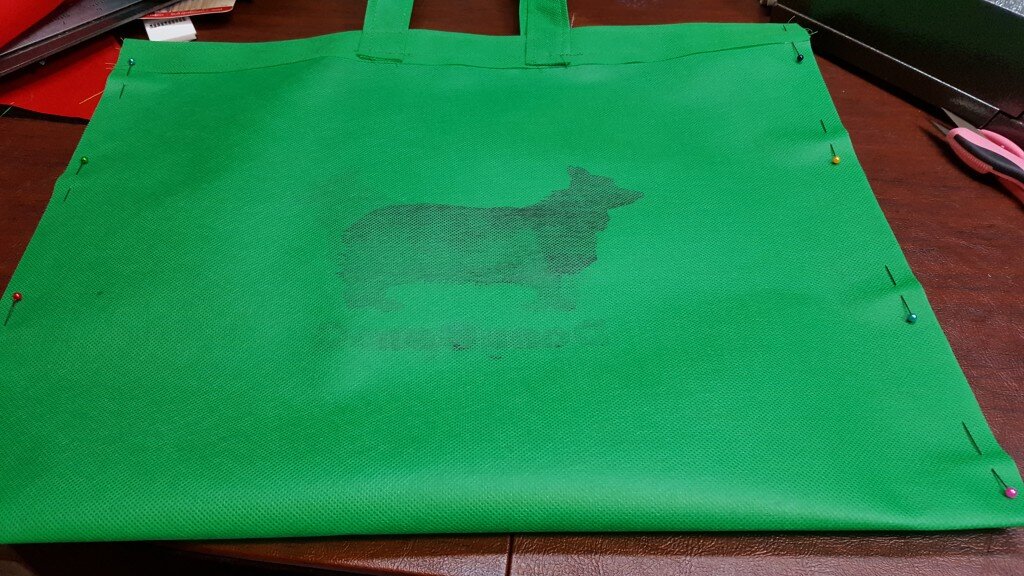
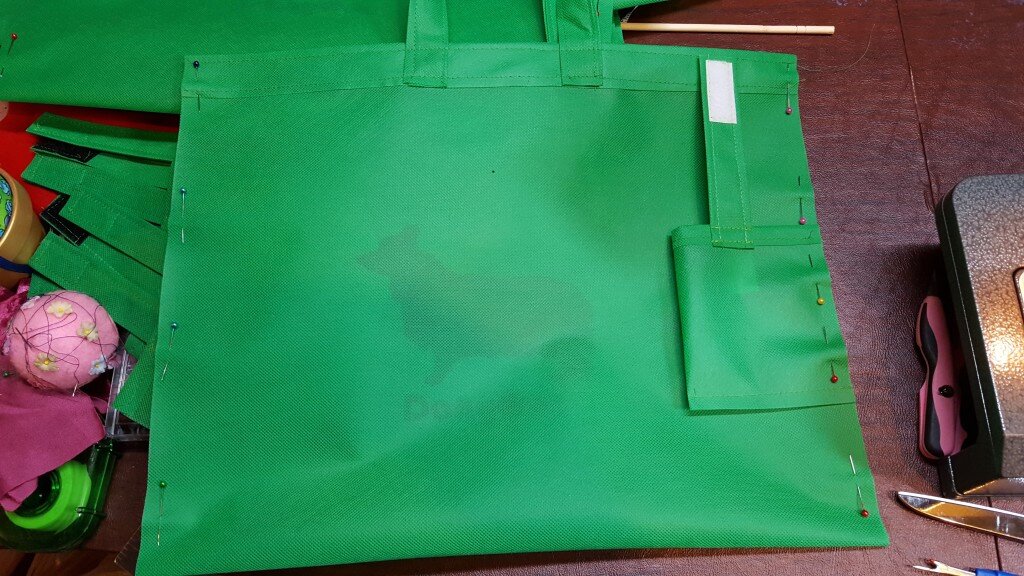
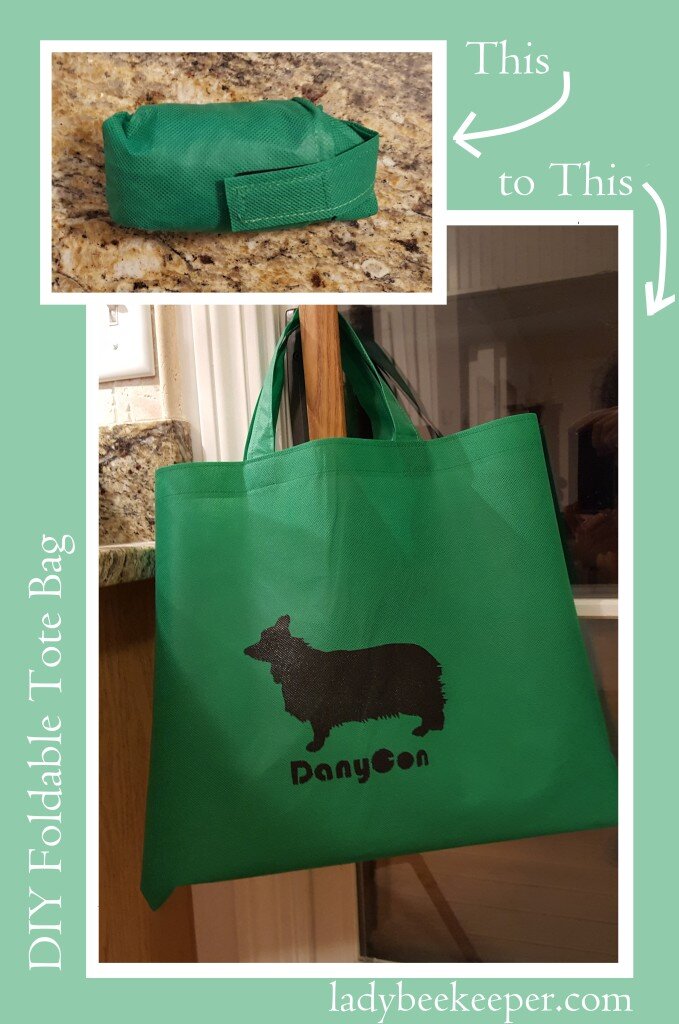 DIY Foldable Tote Bag (for 63 cents…)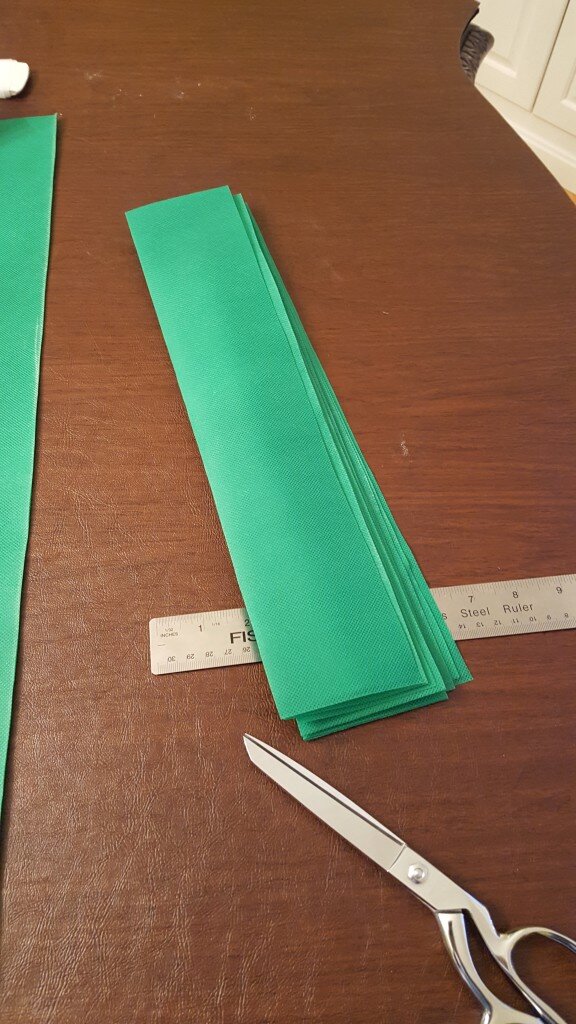


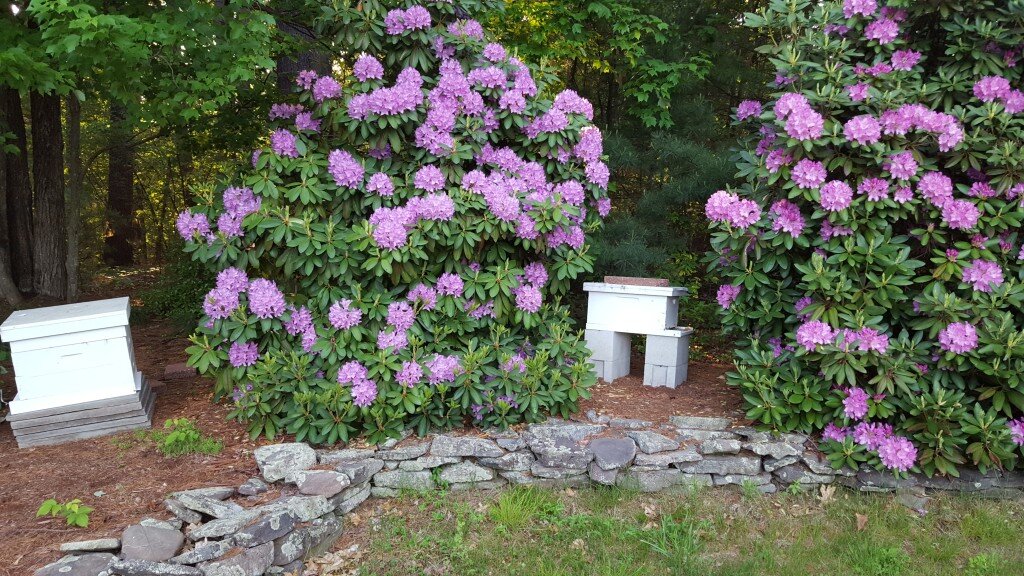 Last Wednesday I got a second package of bees. I had yet another new experience when installing this package. This time when I was trying to remove the feeding can full of sugar syrup I couldn’t get it free. I thought it was just heavy and that I did not have a good grip on it, but eventually I was able to wiggle it out of the package. By the time I finally got it wiggled free I noticed that the queen cage was sitting at the bottom of the pile of bees and there was a 3×3 patch of comb attached to it. They must have built a chunk of comb between the can and queen cage which explains how difficult it was to remove the can of syrup. Talk about industrious! All they had available to them was the tiny can of sugar syrup and they chose to start building comb! I decided to name this queen Ingrid. No real reason – but I just looked up the name meaning and it seems appropriate because it is Norse for “Ing is beautiful” and Ing is the name of a Germanic fertility God.
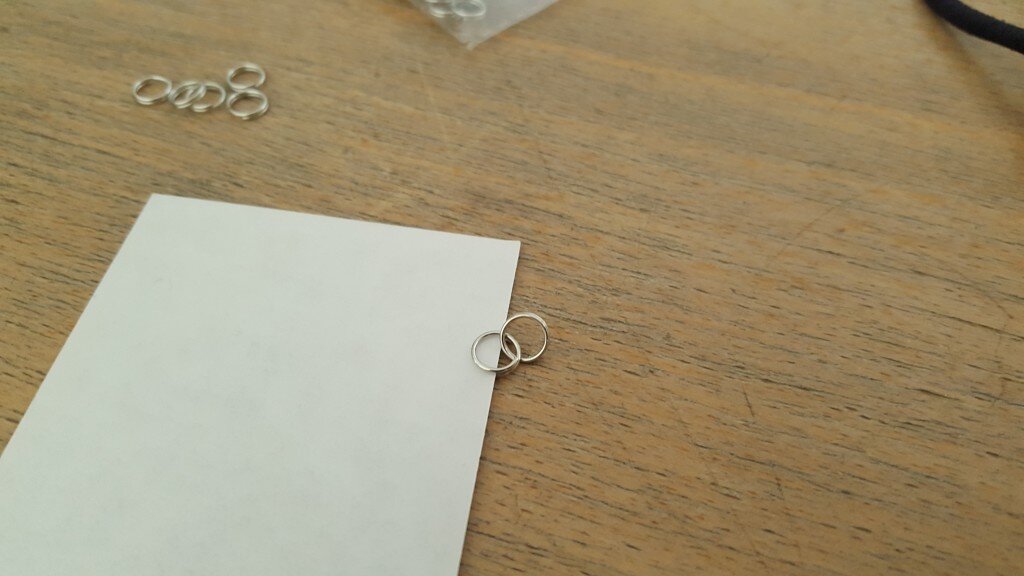 4. Link the split rings/rings together to form a chain. I find the easiest way to do this with split rings is to open up the split ring using a piece of card stock then slide another ring on.
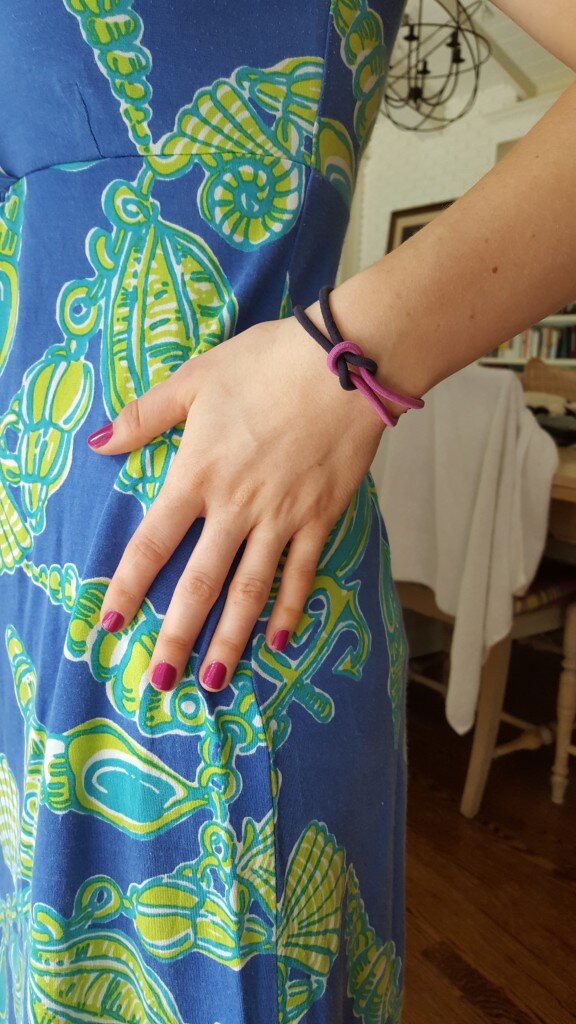
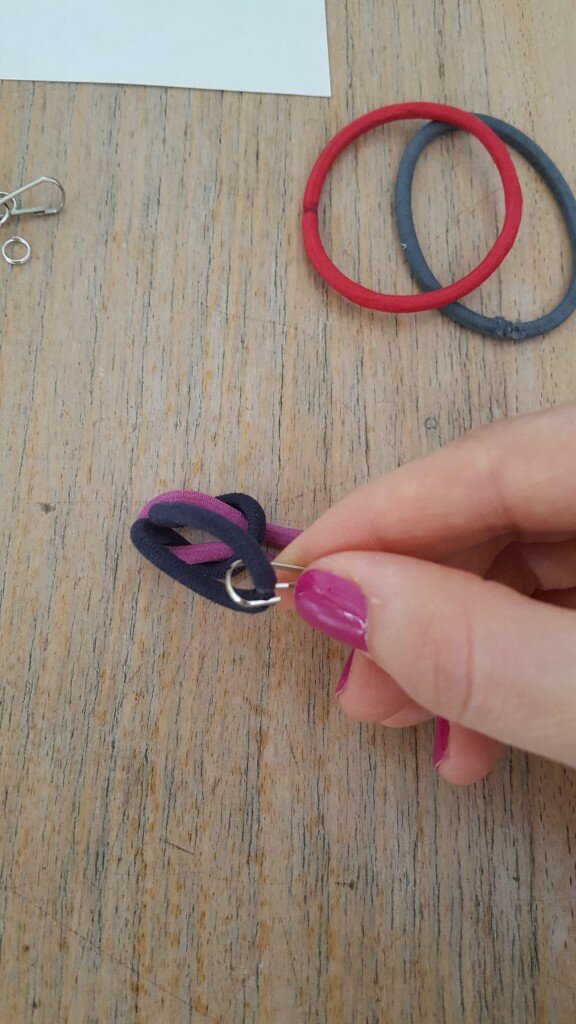 5. Once your chain is long enough, insert a hook on each side of the chain. Attach each hook to one end of an elastic.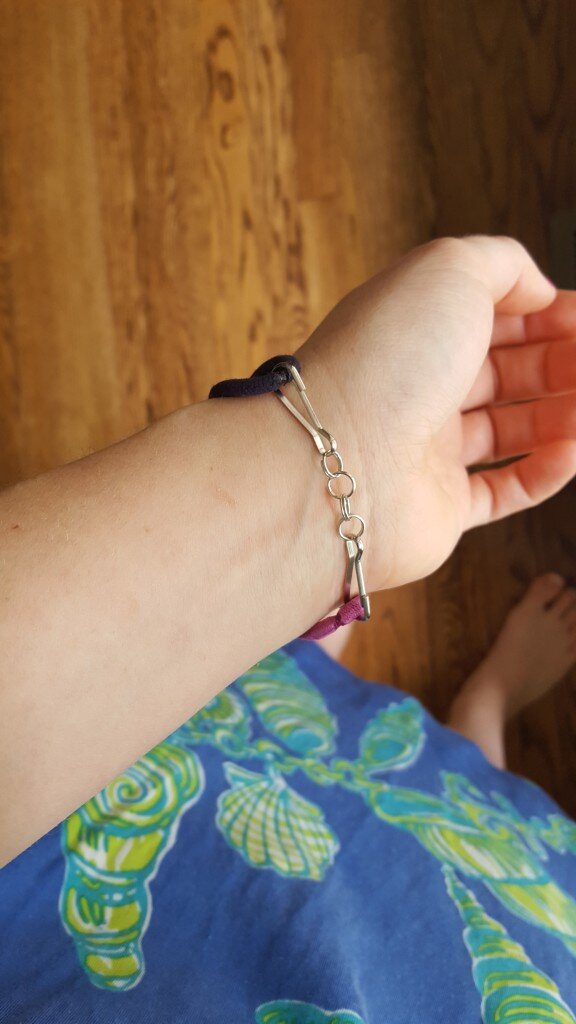
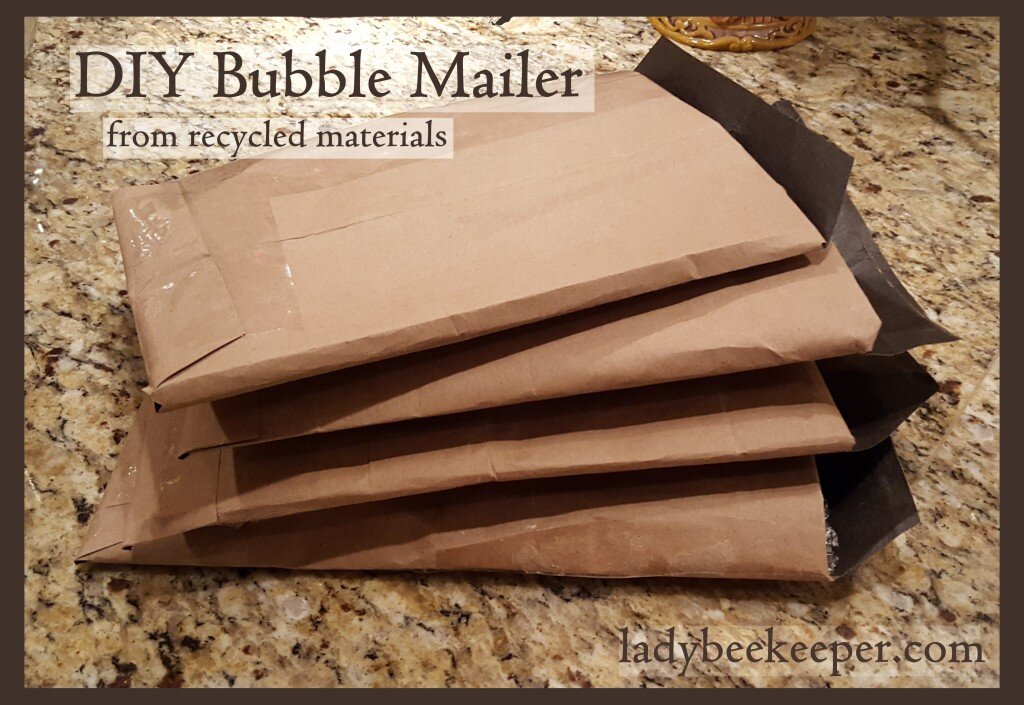
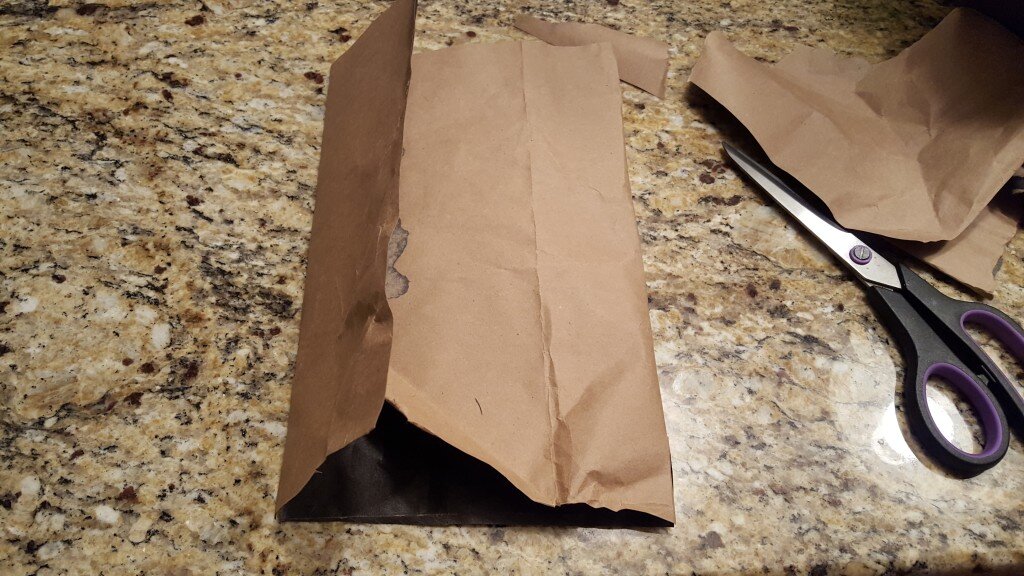
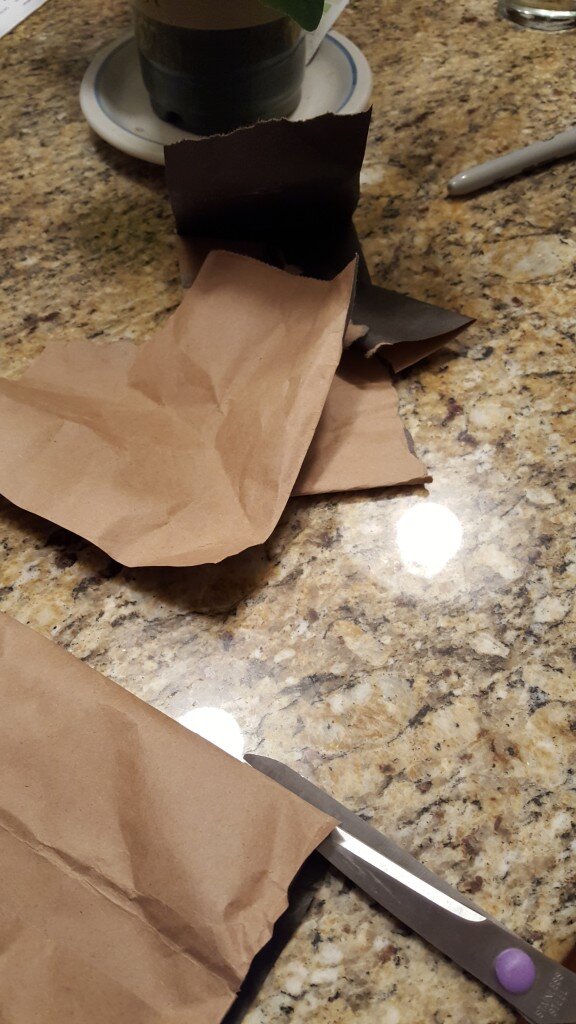
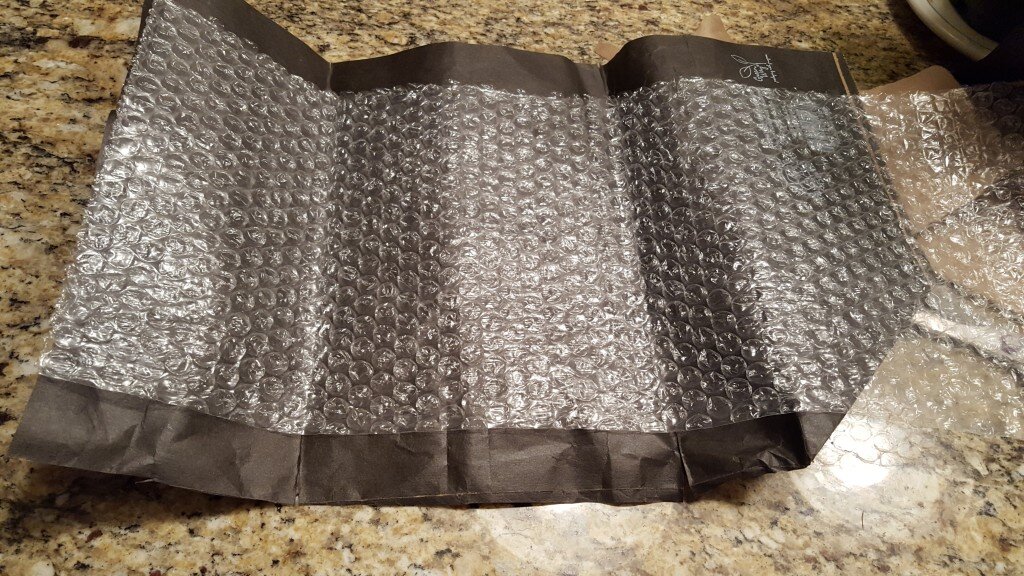
 Tape the side and ends to form a pouch.