
We had a great weekend visiting our college BFF Ryan and his lovely wife Lydia in LA. Ryan had a billion amazing things planned for our visit to LA, including, the highlight for me, a Death Cab for Cutie and The Postal Service concert. The last time I saw Death Cab was in college with Ryan. They’ve apparently become a bit bigger since then, but were just as awesome. It’s not every day I get to see my favorite band with some of my favorite people in the world. I’m always sad when a vacation ends and I’m especially down this time. The ray of sunshine is that I had happy kiddos waiting for me when I got home.
Now that I’m home, it’s real crunch time for Halloween/double birthday extravaganza season. I’ve already been staying up way too late for the last week making Halloween costumes. I finished Julius’ right before my trip, but I’ll probably show you that next week. He was delighted with his costume and wants to wear it all the time, so I consider that a win.
I should have written this on our 6 hour plane flight back, but since I didn’t, and it’s crunch time I’ll keep this short. I’m going to show you a tutorial for a renaissance garment I made many years ago, but recently perfected. It is a pocket! It is such an easy thing to make, but can hold all the things! I actually resurrected this pocket a few weeks ago because the awesome leather belt/pouch I got doesn’t really work over my more elegant ren dresses (which is basically all of them, because let’s be real, I’m a wanna be princess).
Ren Pocket to Hold all the Things
What you’ll need:
- 1/4 yard of structured fabric (scraps are great – I used scrap corduroy fabric)
- 1.5 yards 1/2″ ribbon
- Cut out fabric as per pattern above.
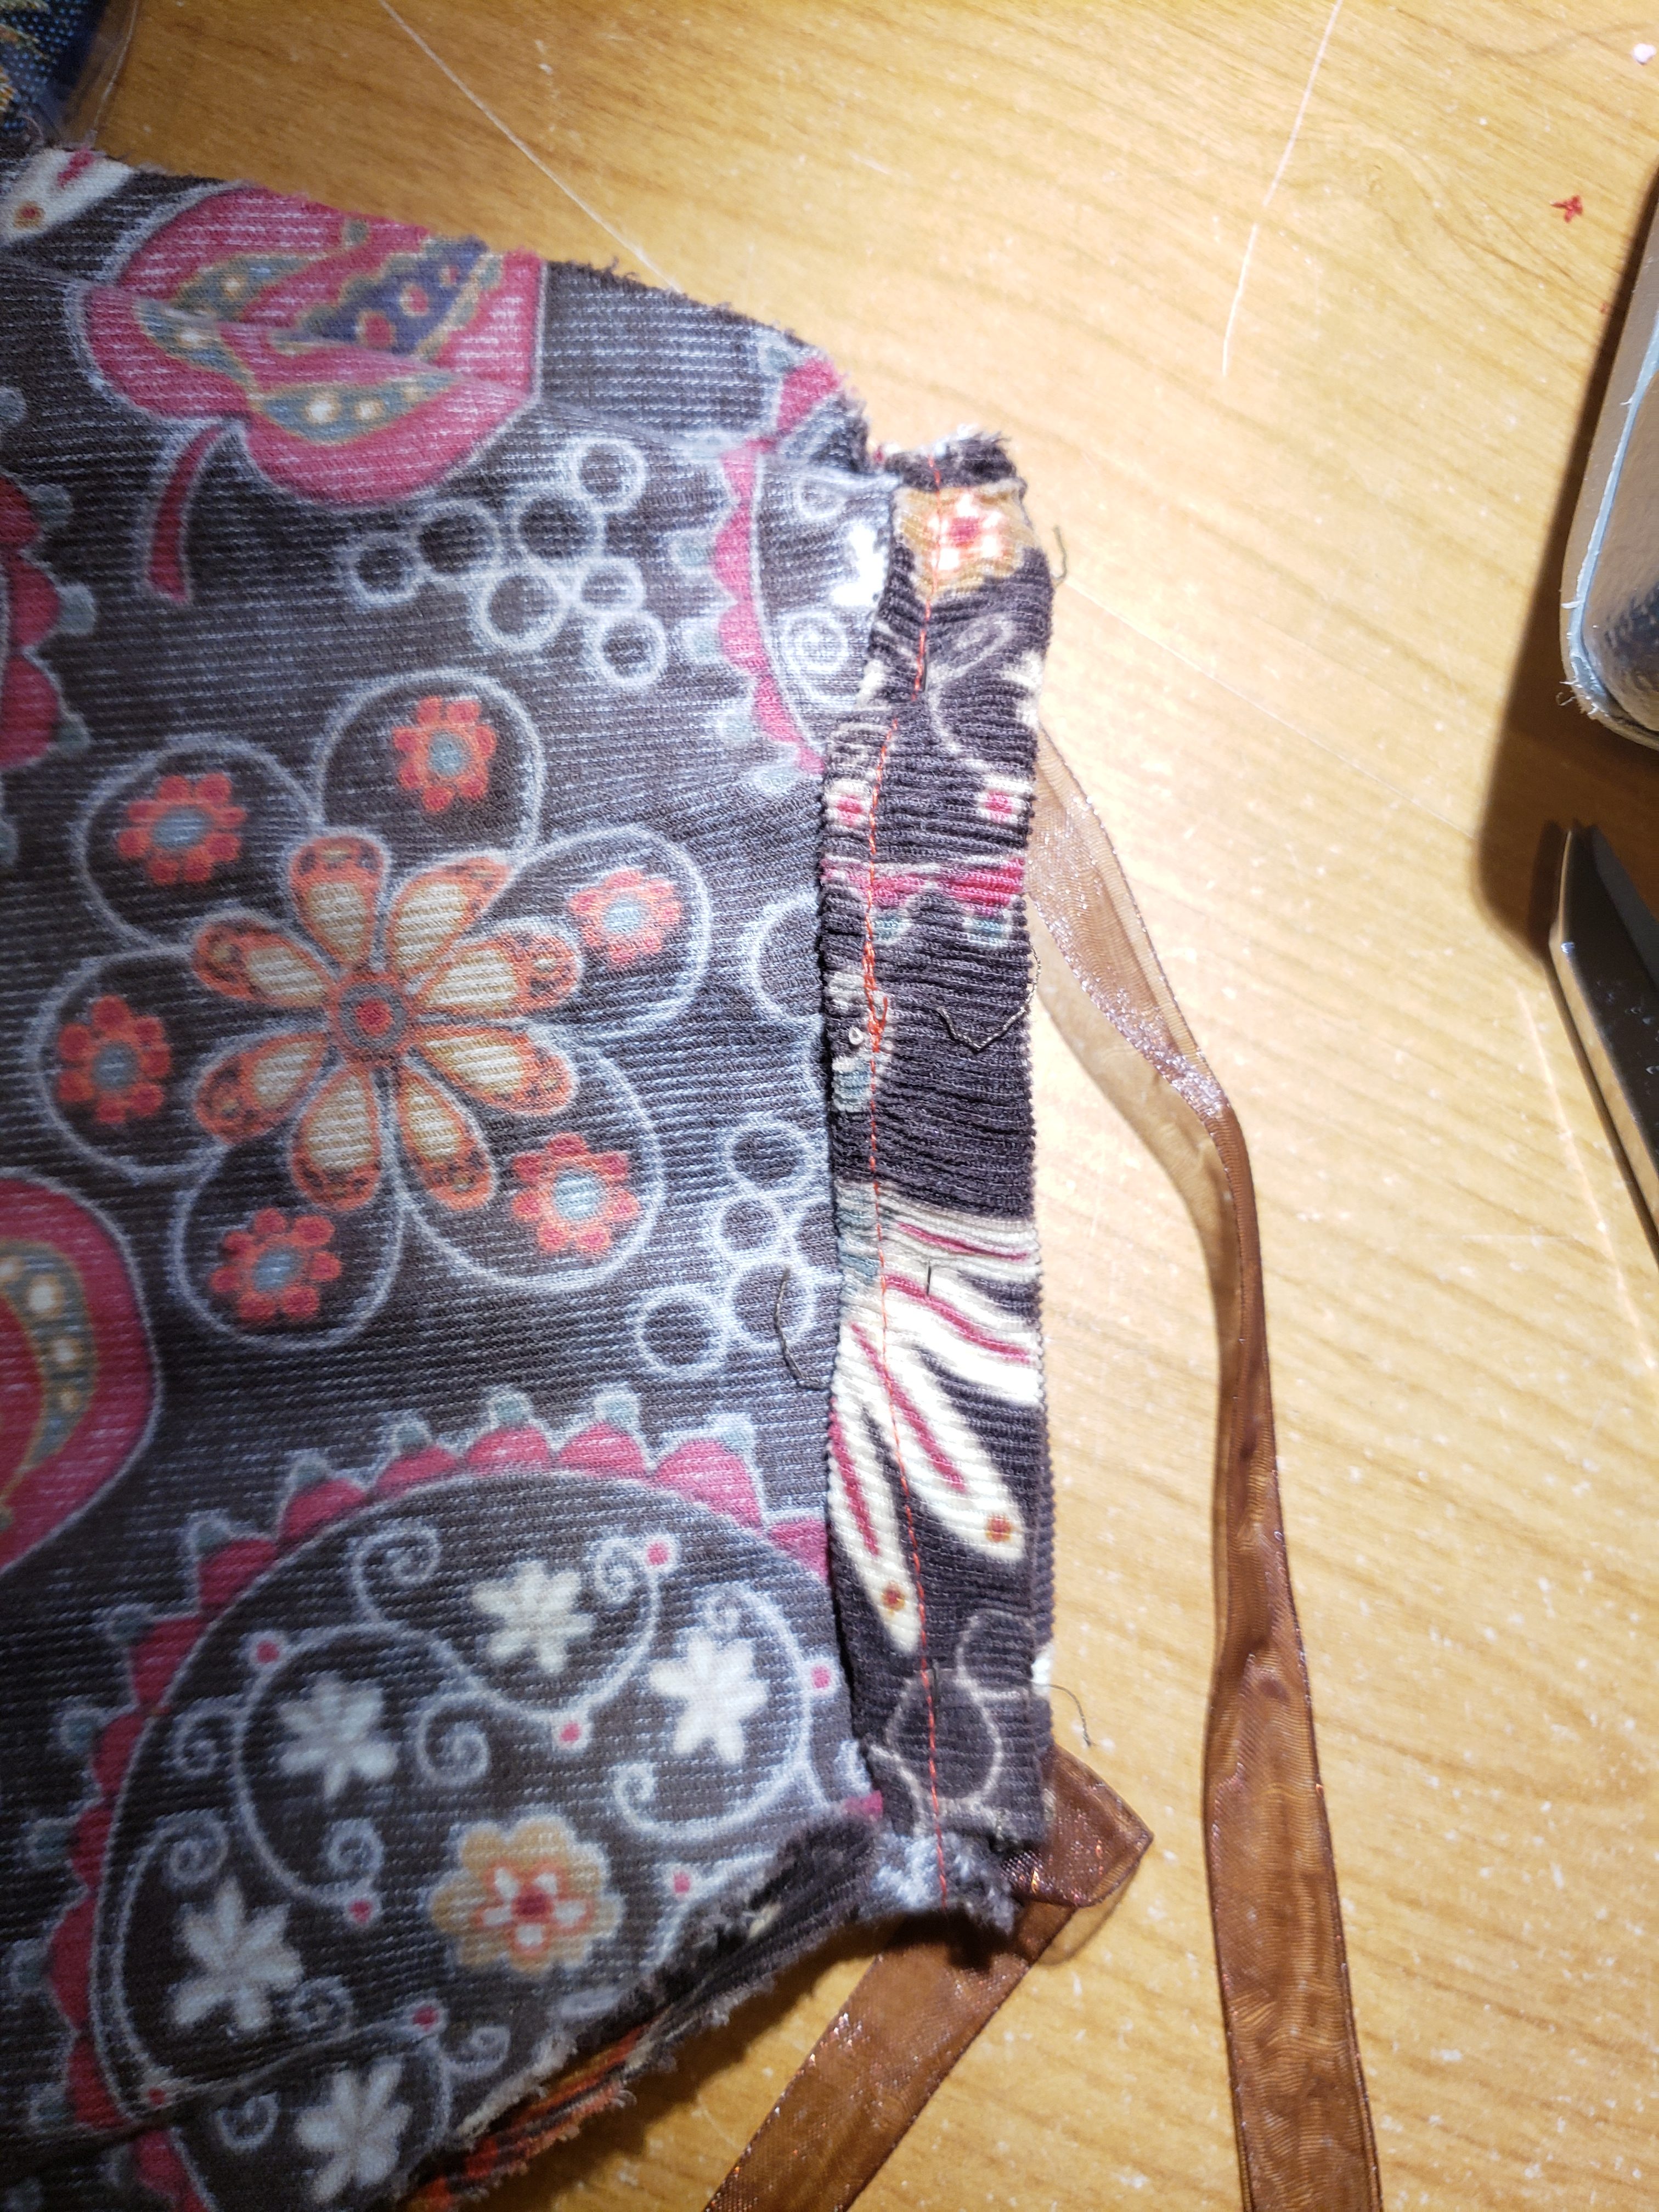
- Fold fabric down 3/4″ on the top of one of the pouch halves (right side out). Stitch. Repeat with second half. Note: the picture shows step 2 after step 3, but I do not recommend doing it in this order.

- Place pouch halves on top of each other (right side in).
- Stitch all around the pouch, leaving the top hem side opened. Turn right side out.

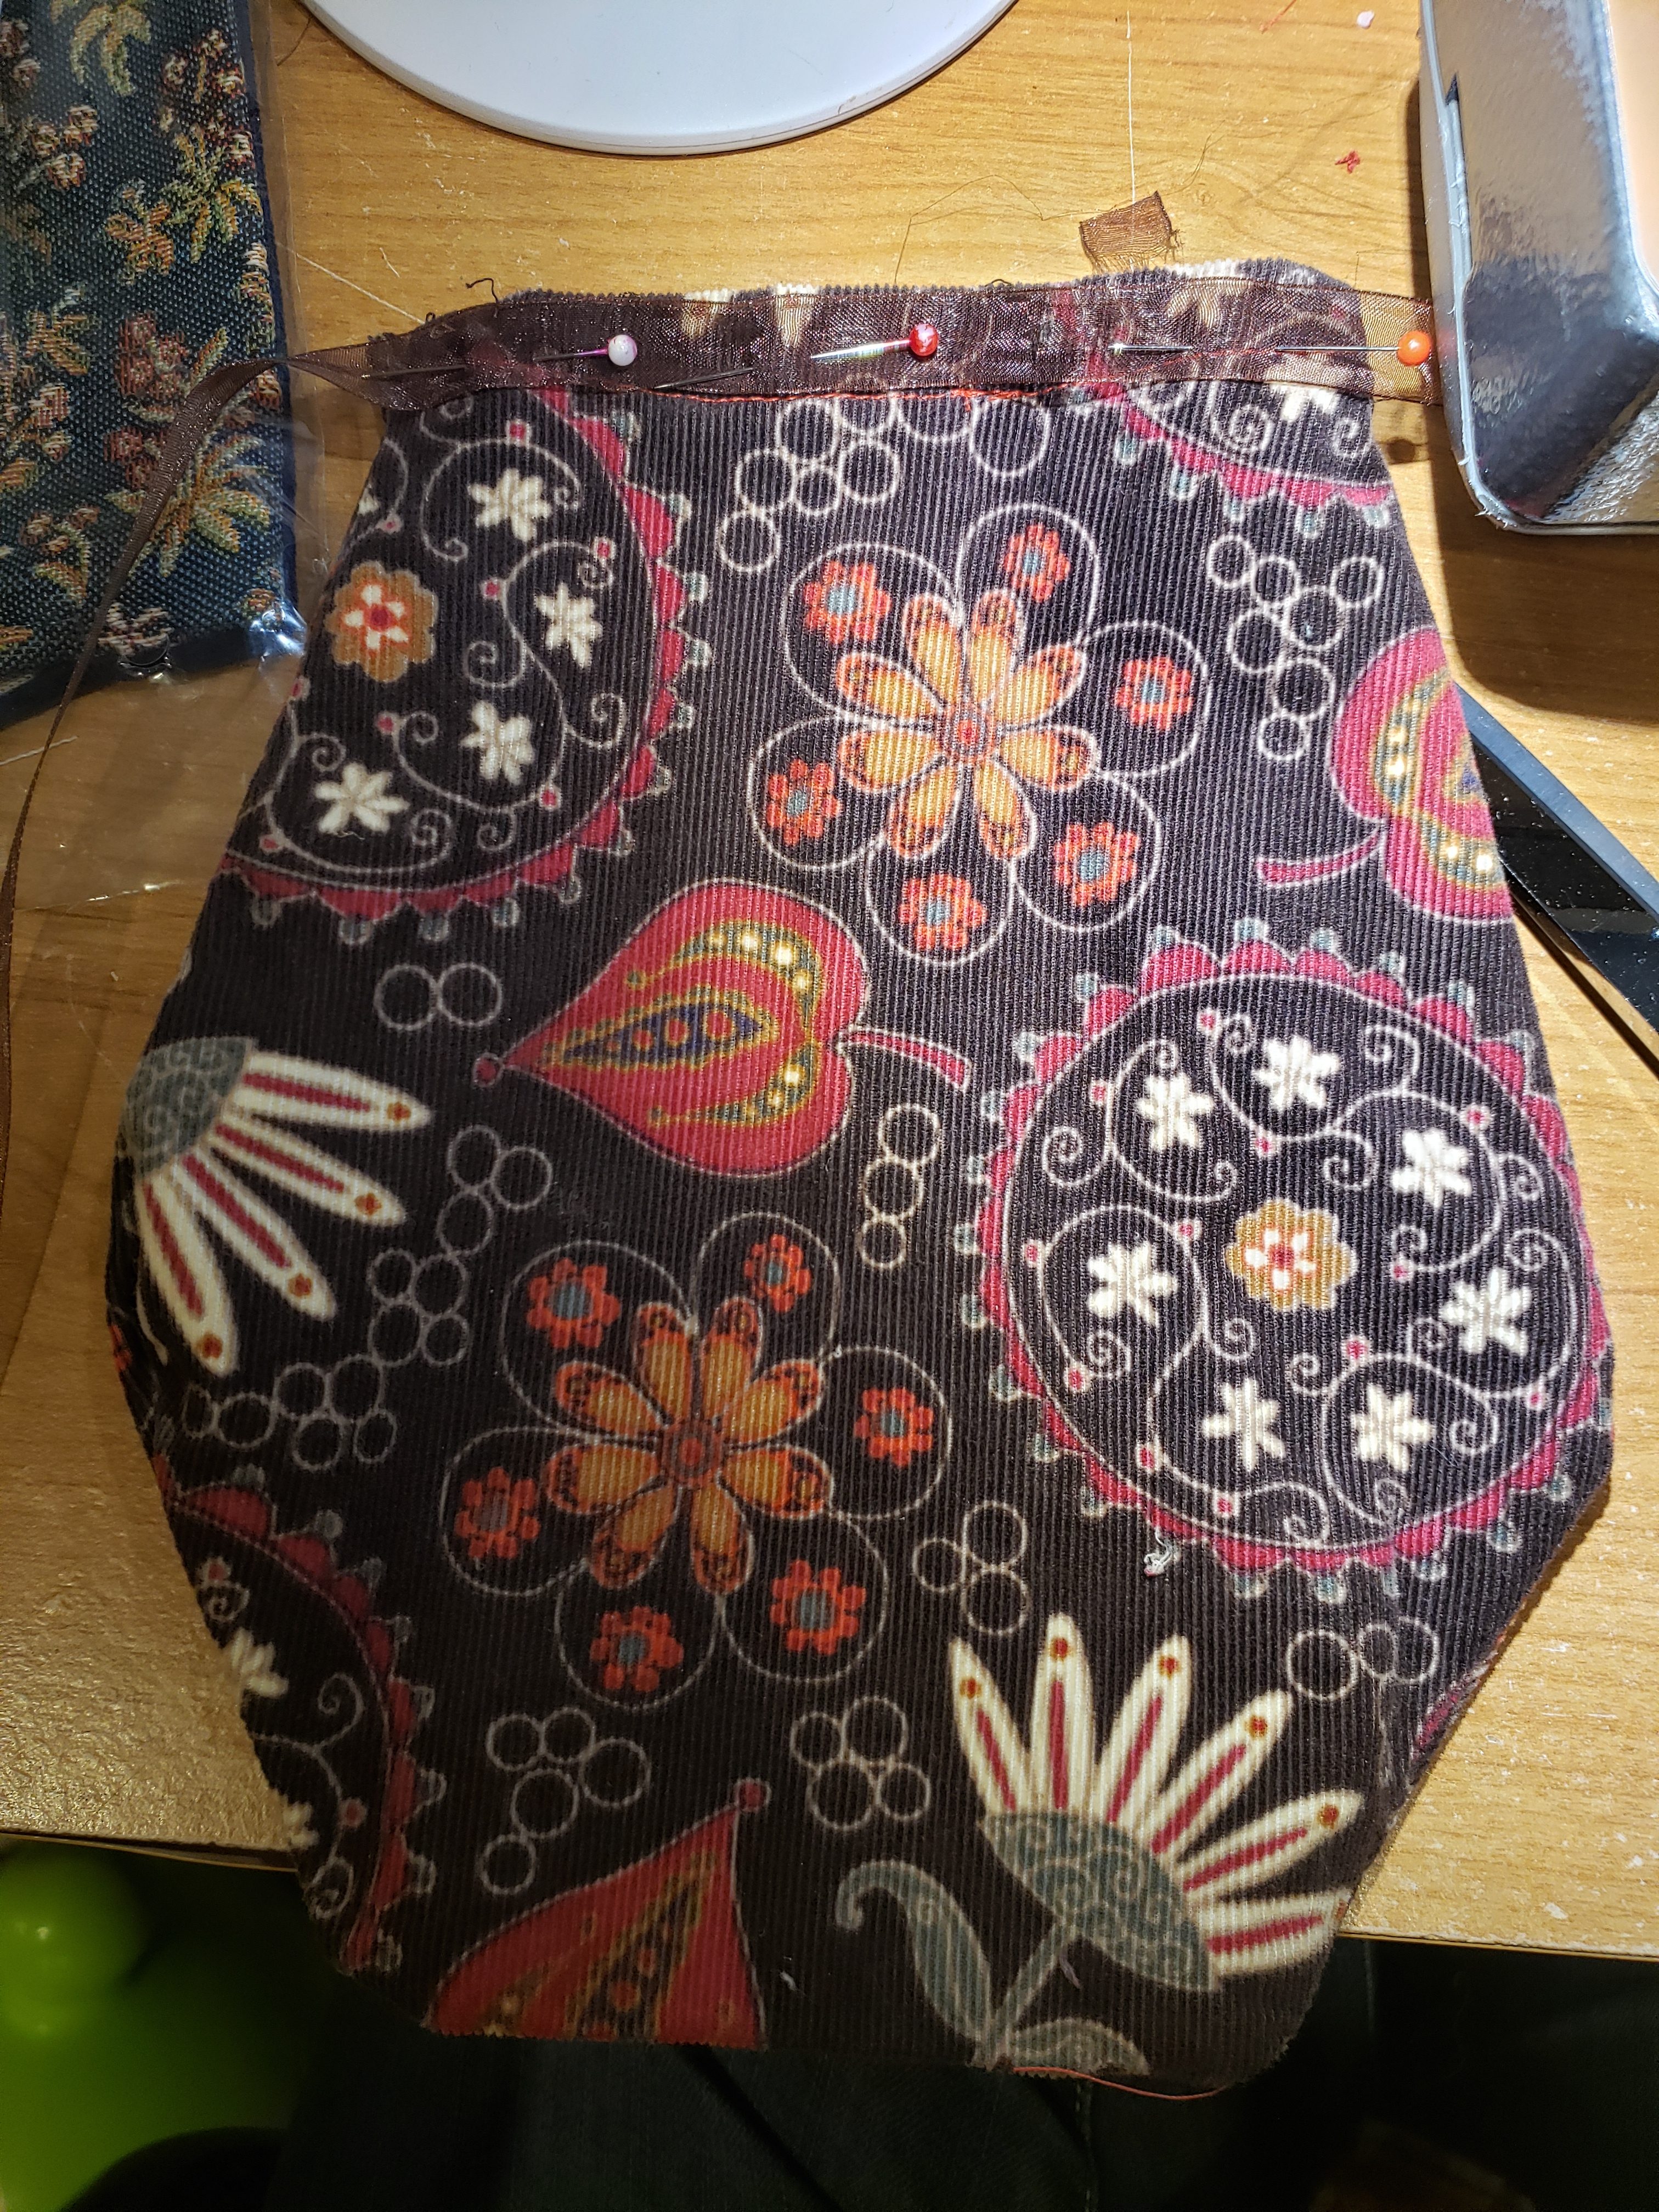
- Pin the ribbon to one side of the pouch opening, in the center of the ribbon length. Stitch.

- One more thing – if you used polyester ribbon you can move the ends close to the flame to melt the ribbon and prevent it from fraying.
- Tie around your waist to wear!


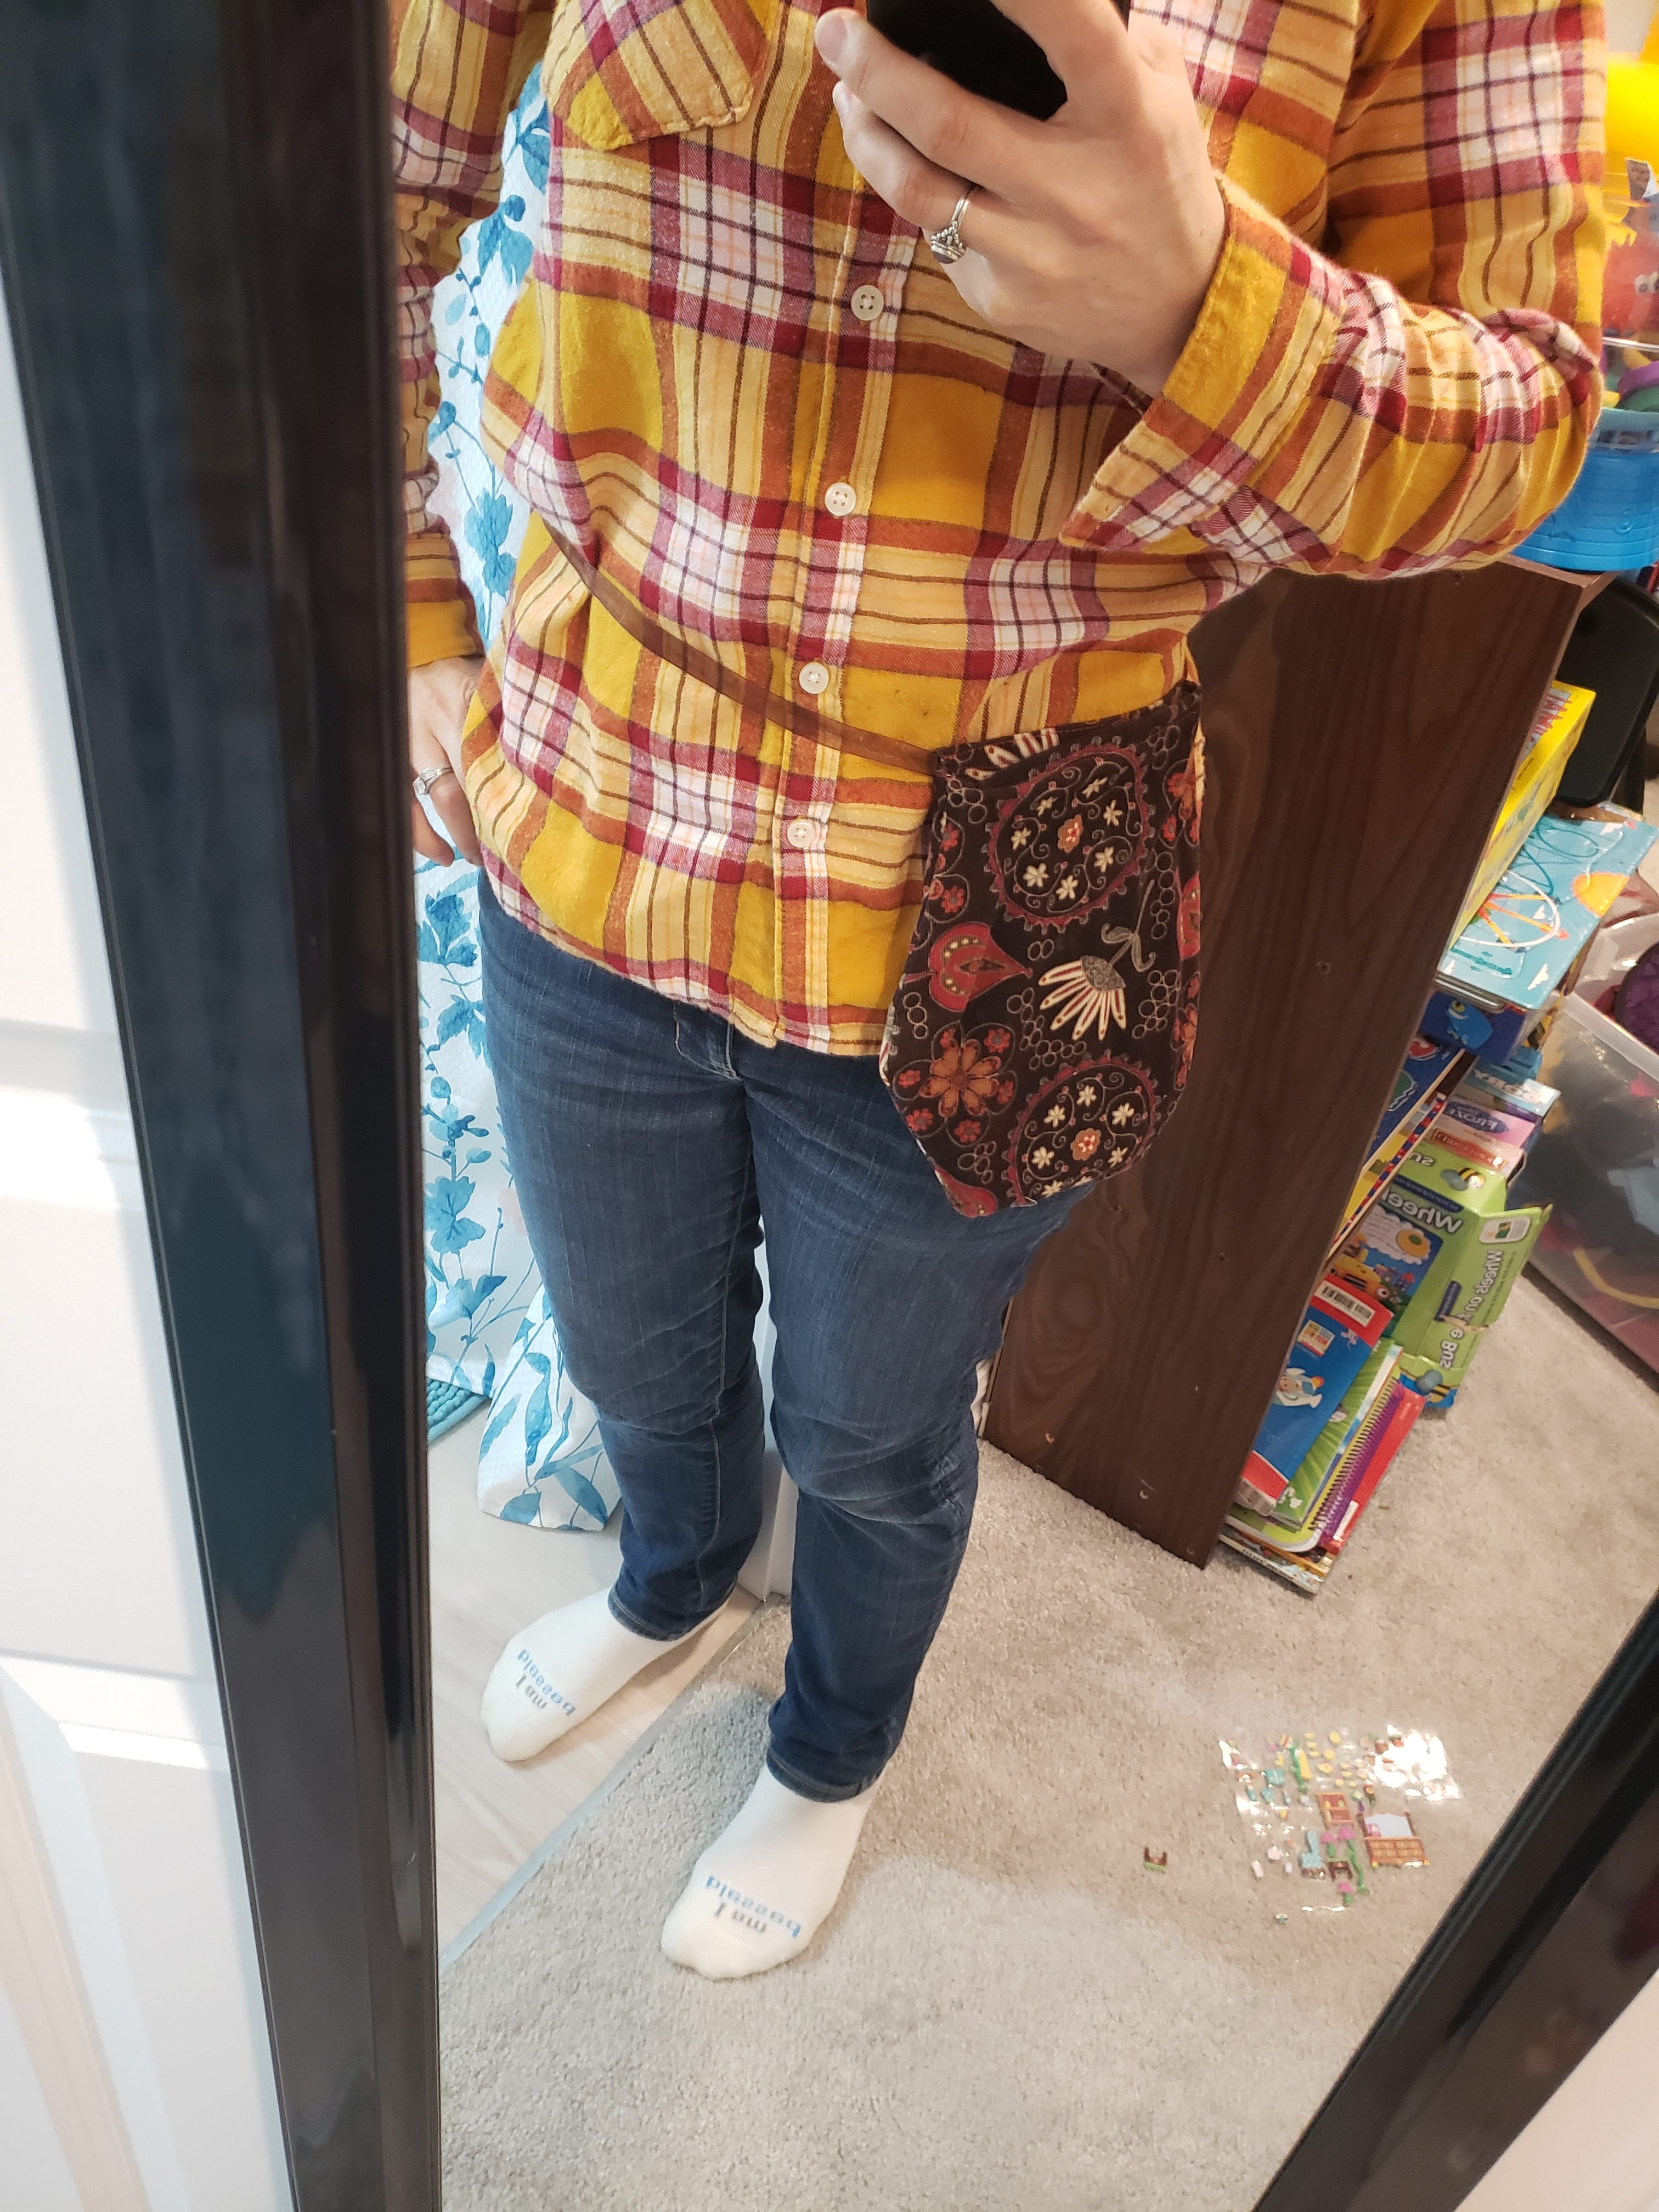

See the pocket over my dress here? It blends in rather nicely!
