Wow I have SO MANY things that I have been working on that I cannot wait to show you! I feel like I can relax finally. Between working 14/7 and Halloween plus two kiddos birthdays within a 2 week window, I have been pretty burnt out. I also have been sick the last week which didn’t help. The good news is that we had a fun time with the kids’ parties and Halloween and now I have a backlog of crafts to share!
Speaking of birthdays… I cannot believe I have a one year old now! It seems like just yesterday I was pregnant with my little bunny (and scared of leaving my house at all costs). She has grown up so quickly. She’s been walking for a couple months and is completely mobile. Yesterday we went for a walk and she was annoyed to be pushed in the stroller. She wanted to run around and chase Julius. My mom took her to get shoes a few weeks ago and they only had one pair of shoes in her tiny size in the whole store!
Patricia has been doing a lot more communication lately both verbal and nonverbal. She claps whenever she likes something (I guess if you’re happy and you know it really drilled that in) and she is constantly pointing to things. Today she pointed to the mermaid tail I made her (more on that in a future post) and plopped onto my lap so I could put it on her. It was adorable. She babbles a lot too. I feel like I can see the gears turning when I talk to her too, and I really believe she understand me. And she still ADORES her brother. Even though she goes to daycare and have other toddler “friends” she adores Julius. She’s constantly chasing him, giggling at him and hugging him.
I know I started the Halloween posts and should post more on that, but I’ll just take a quick break to show you yet another craft that I considered making when I had Julius, and only implemented a couple months after Patricia was born… Age blocks! They were not hard to make, but I wish I’d done a couple things differently… since I’ll never make them again I’ll share the feedback so you crafters can incorporate it! I should also mention that the cost of wood when I made this project was like 2/3 what it is now…


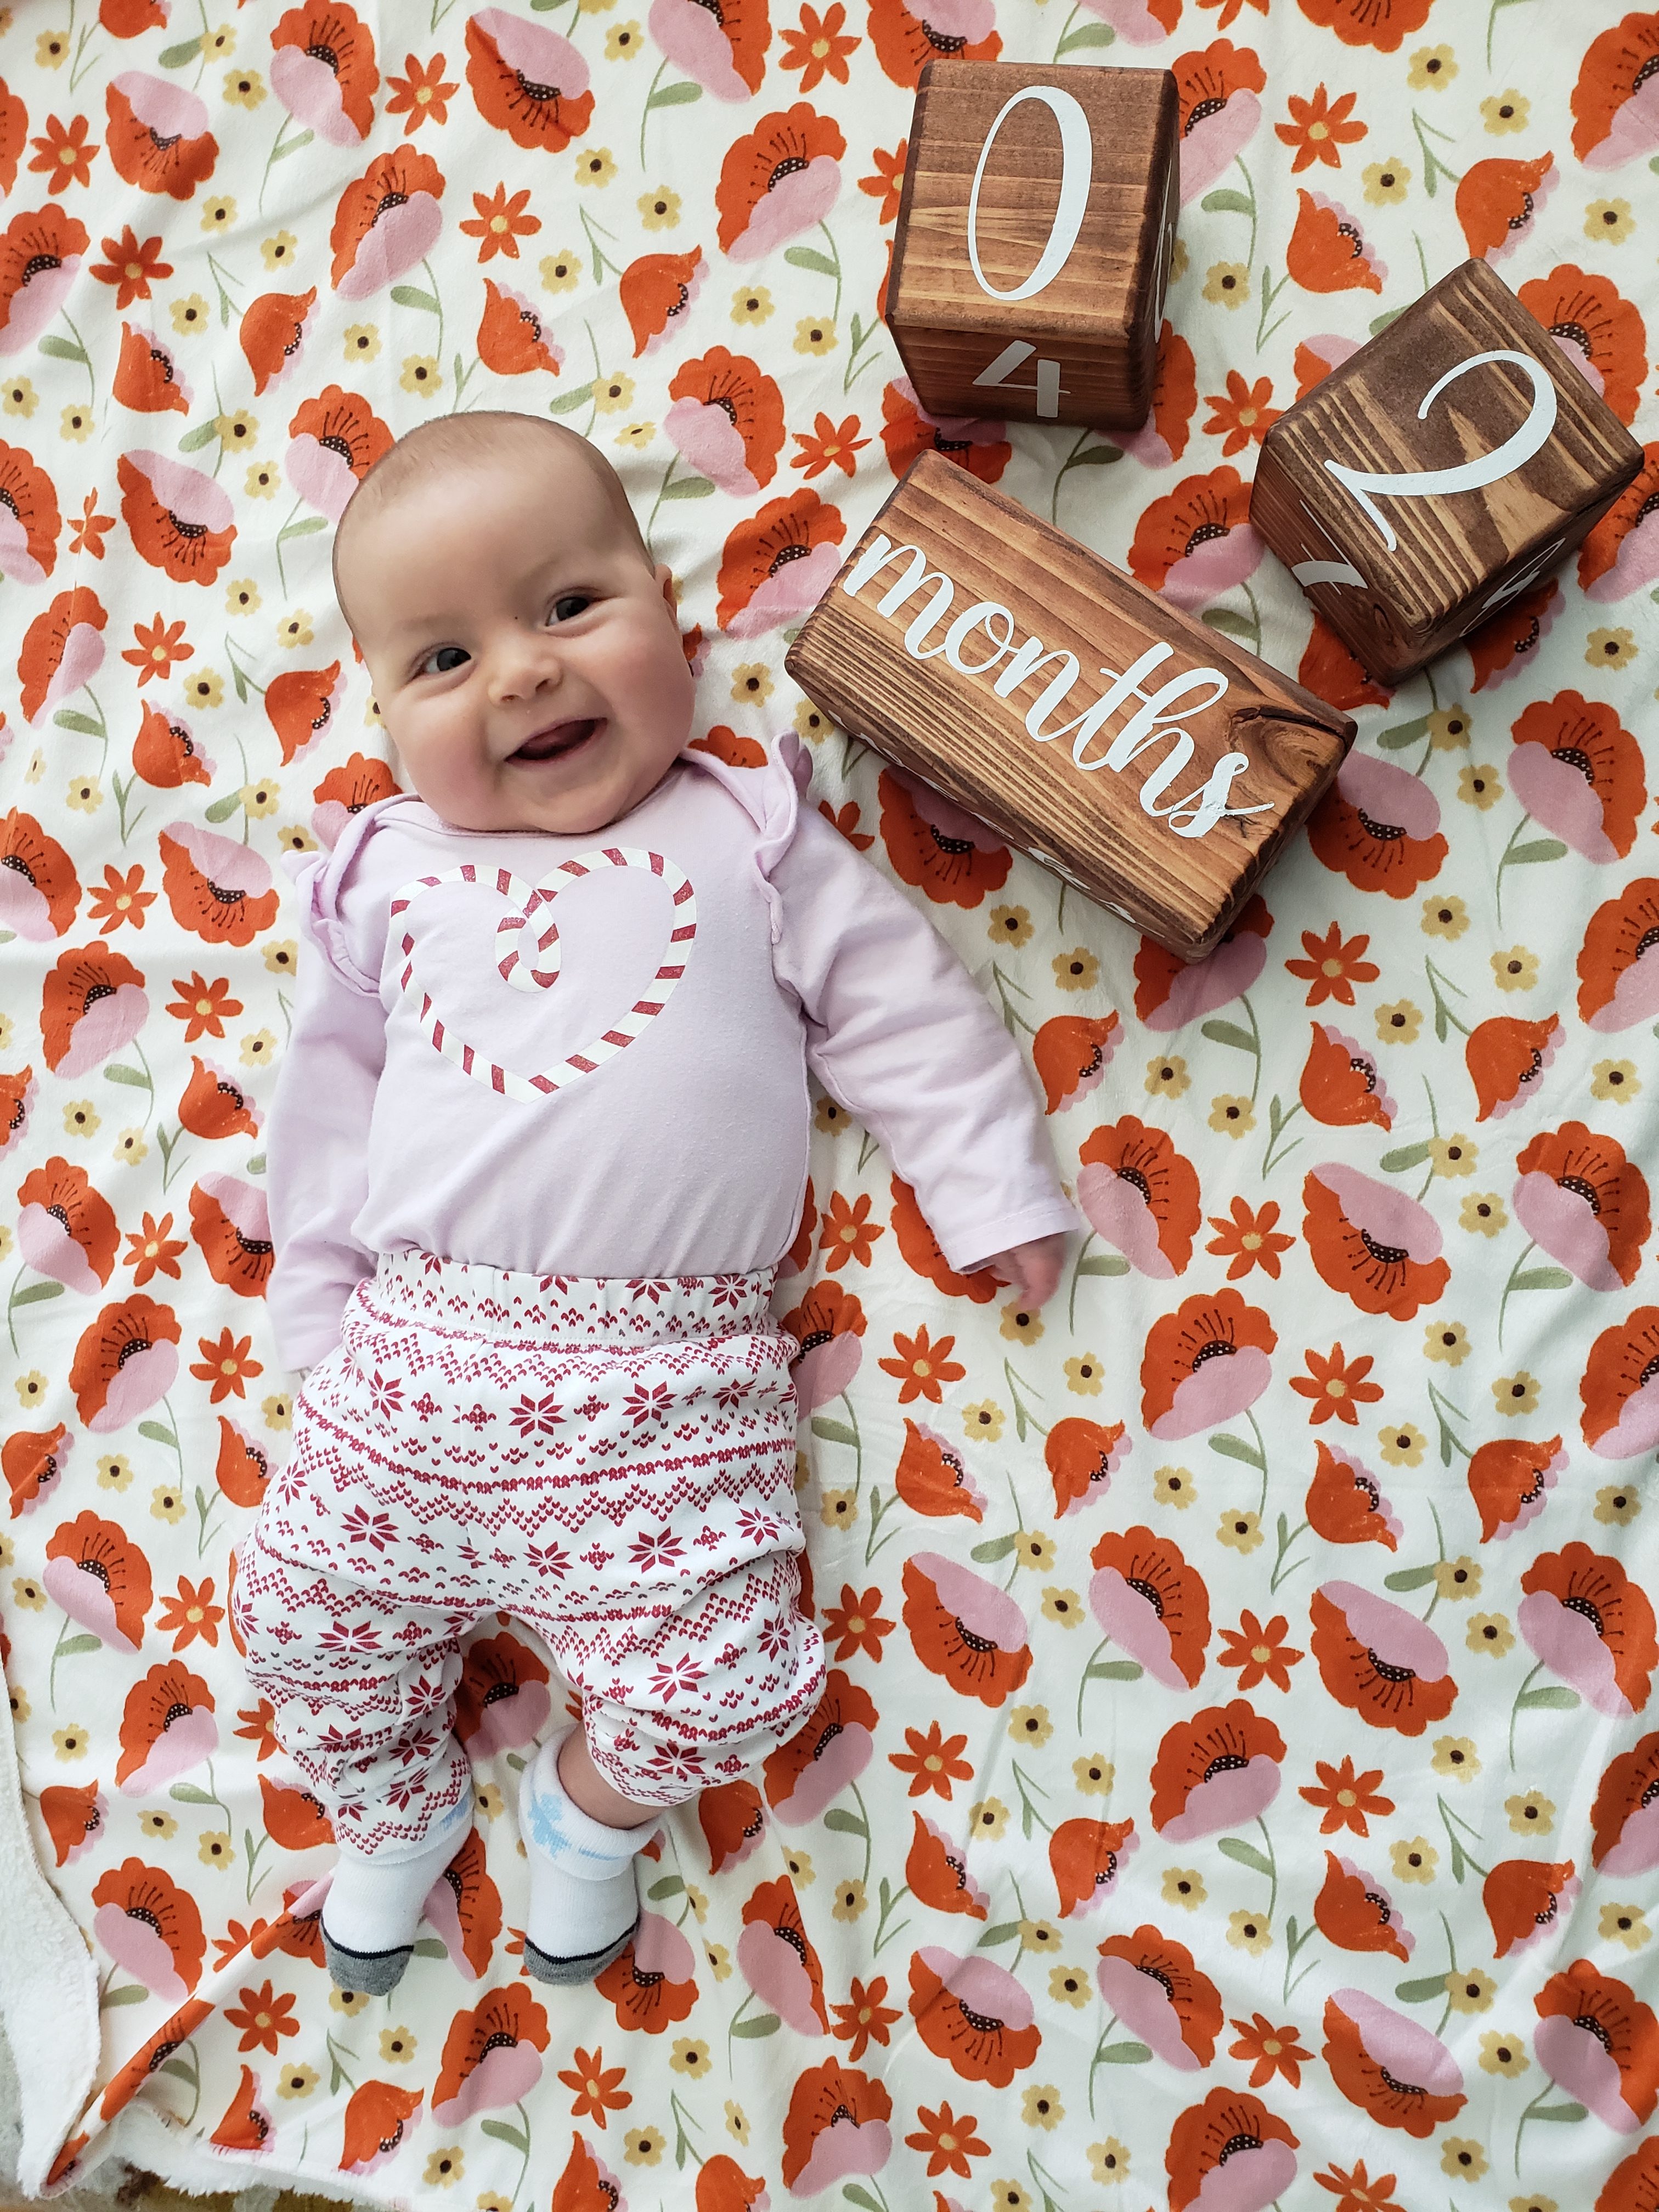

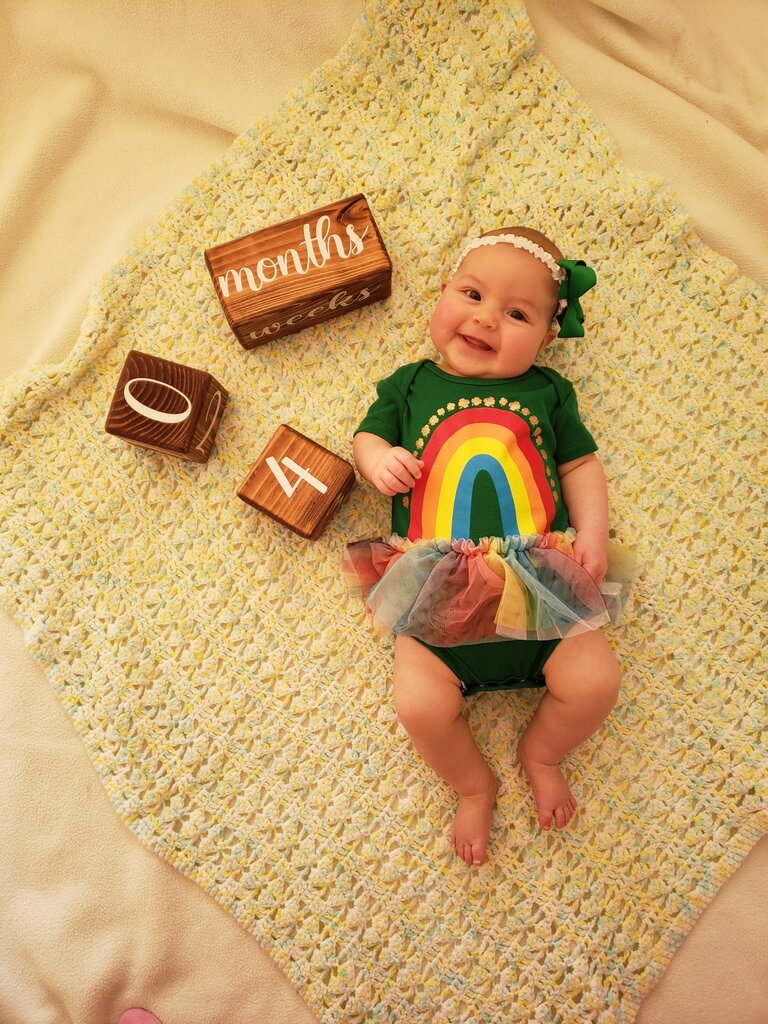
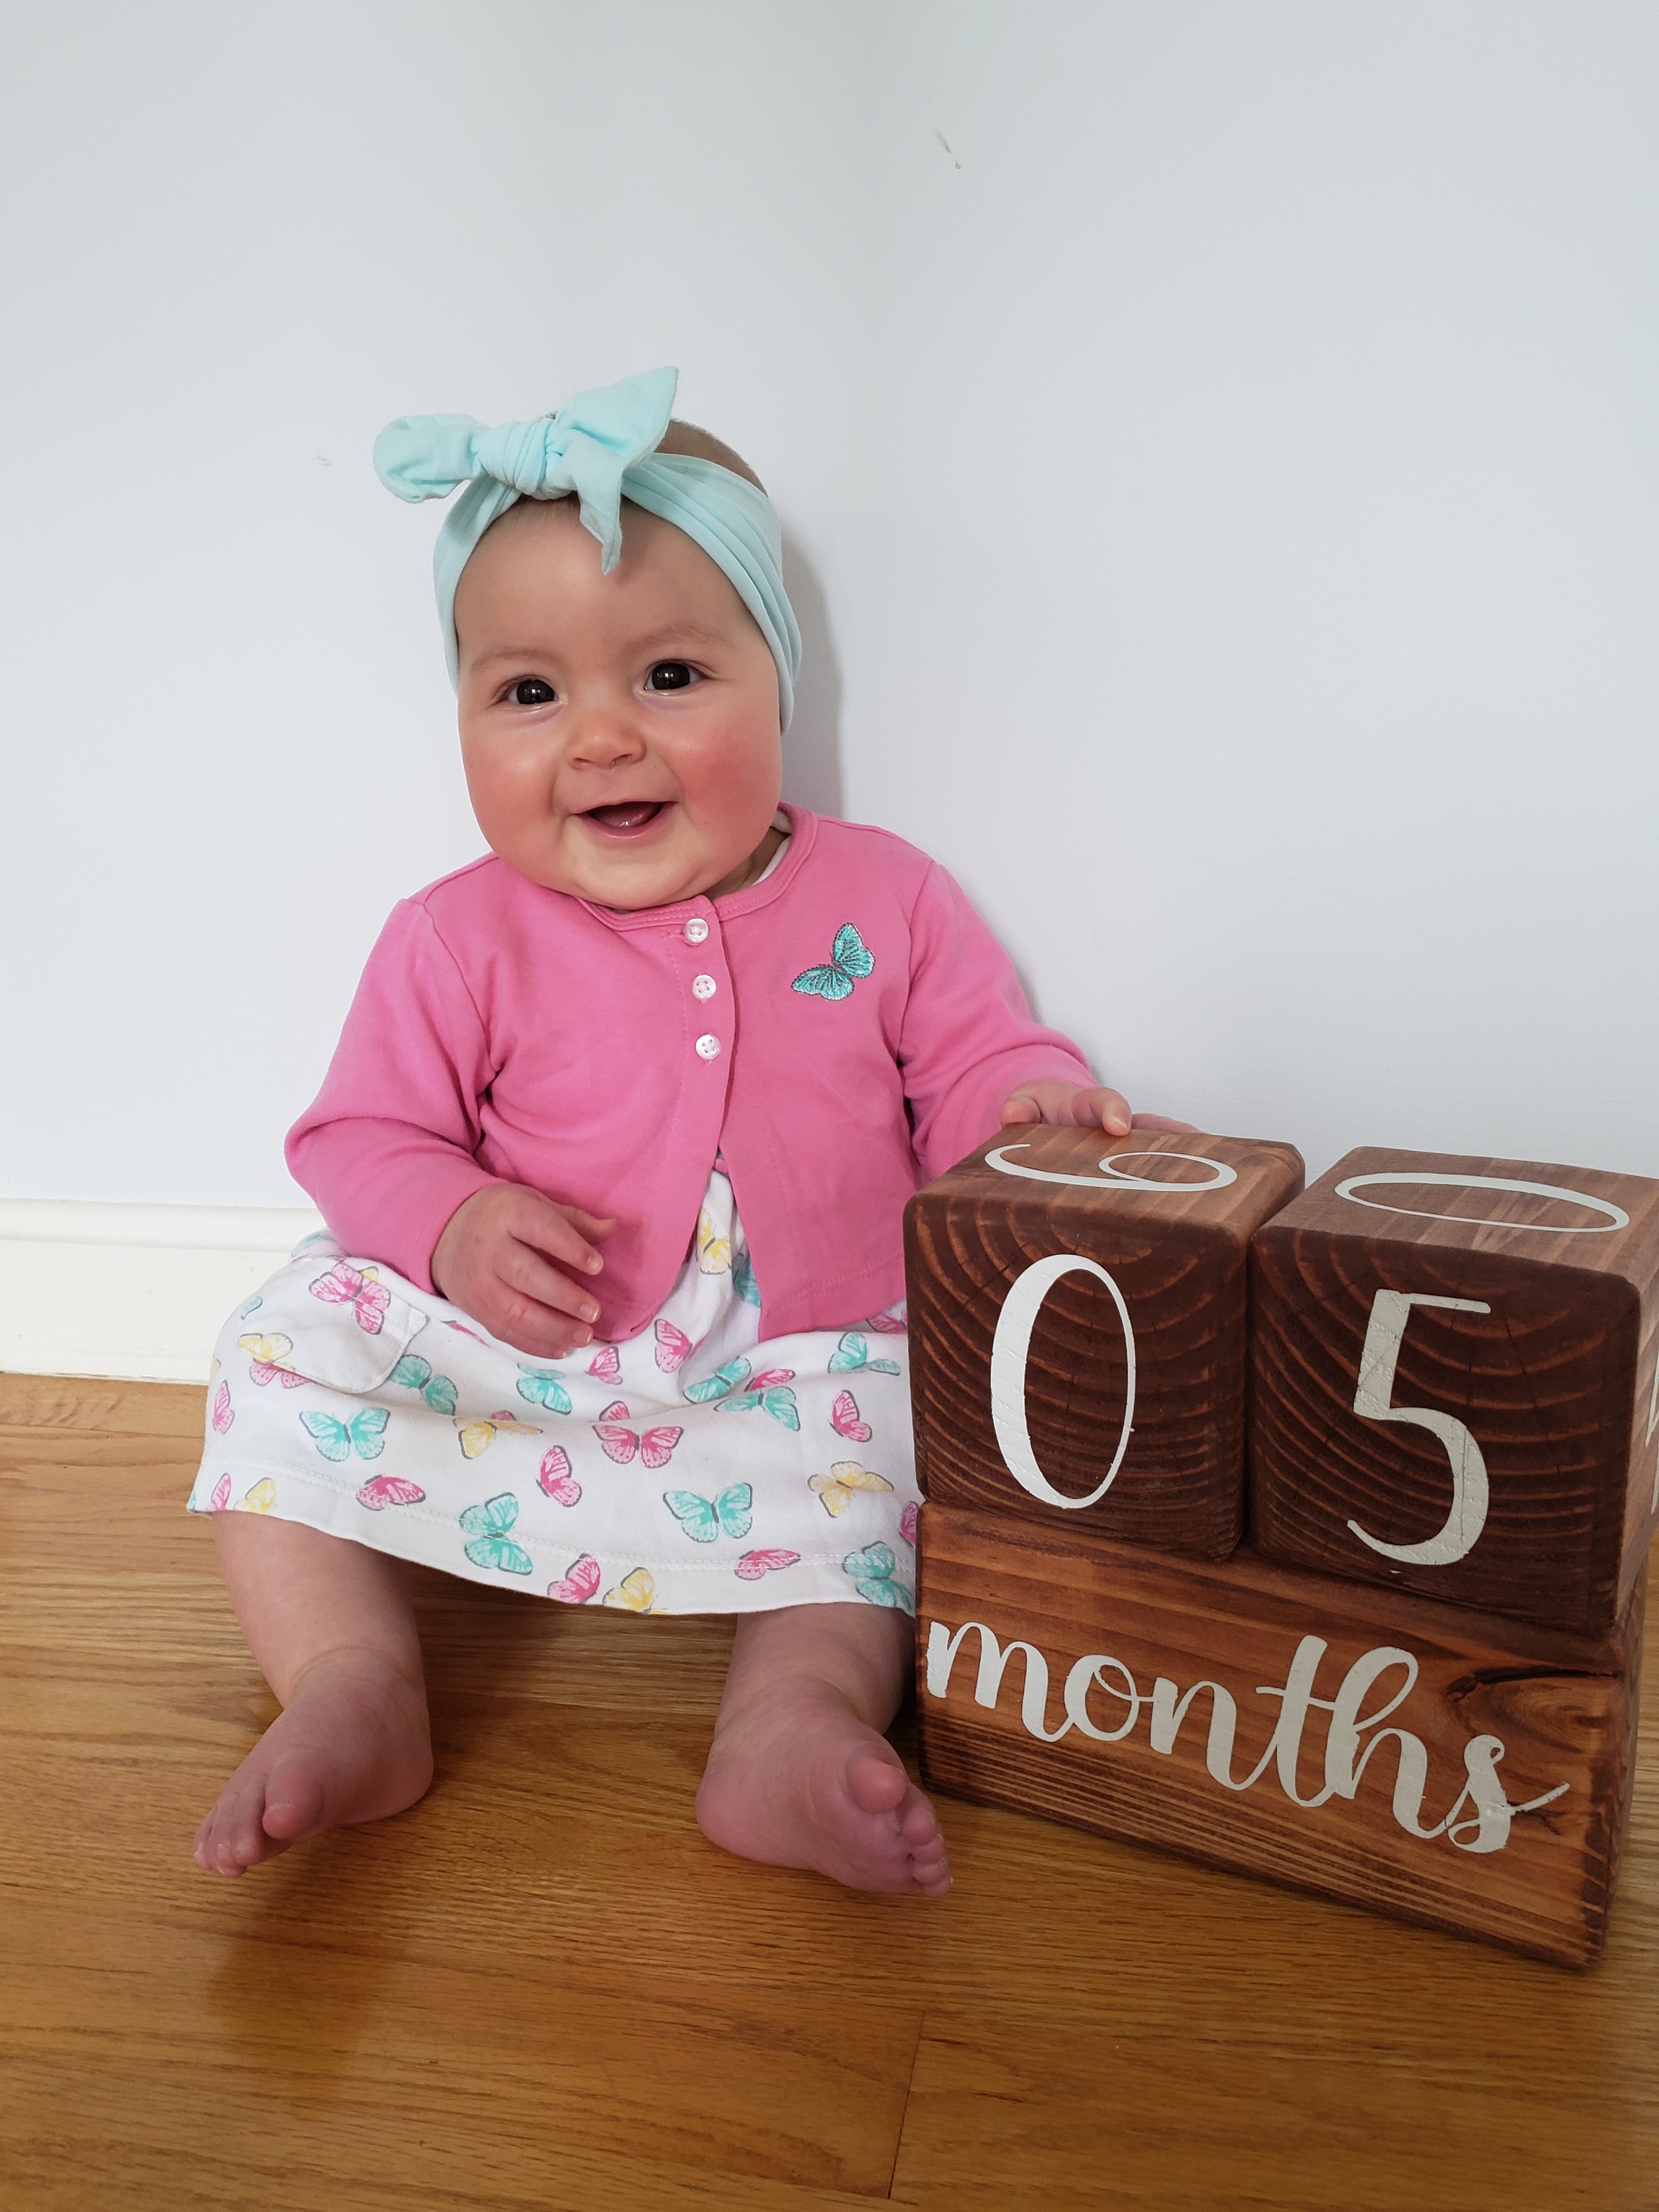
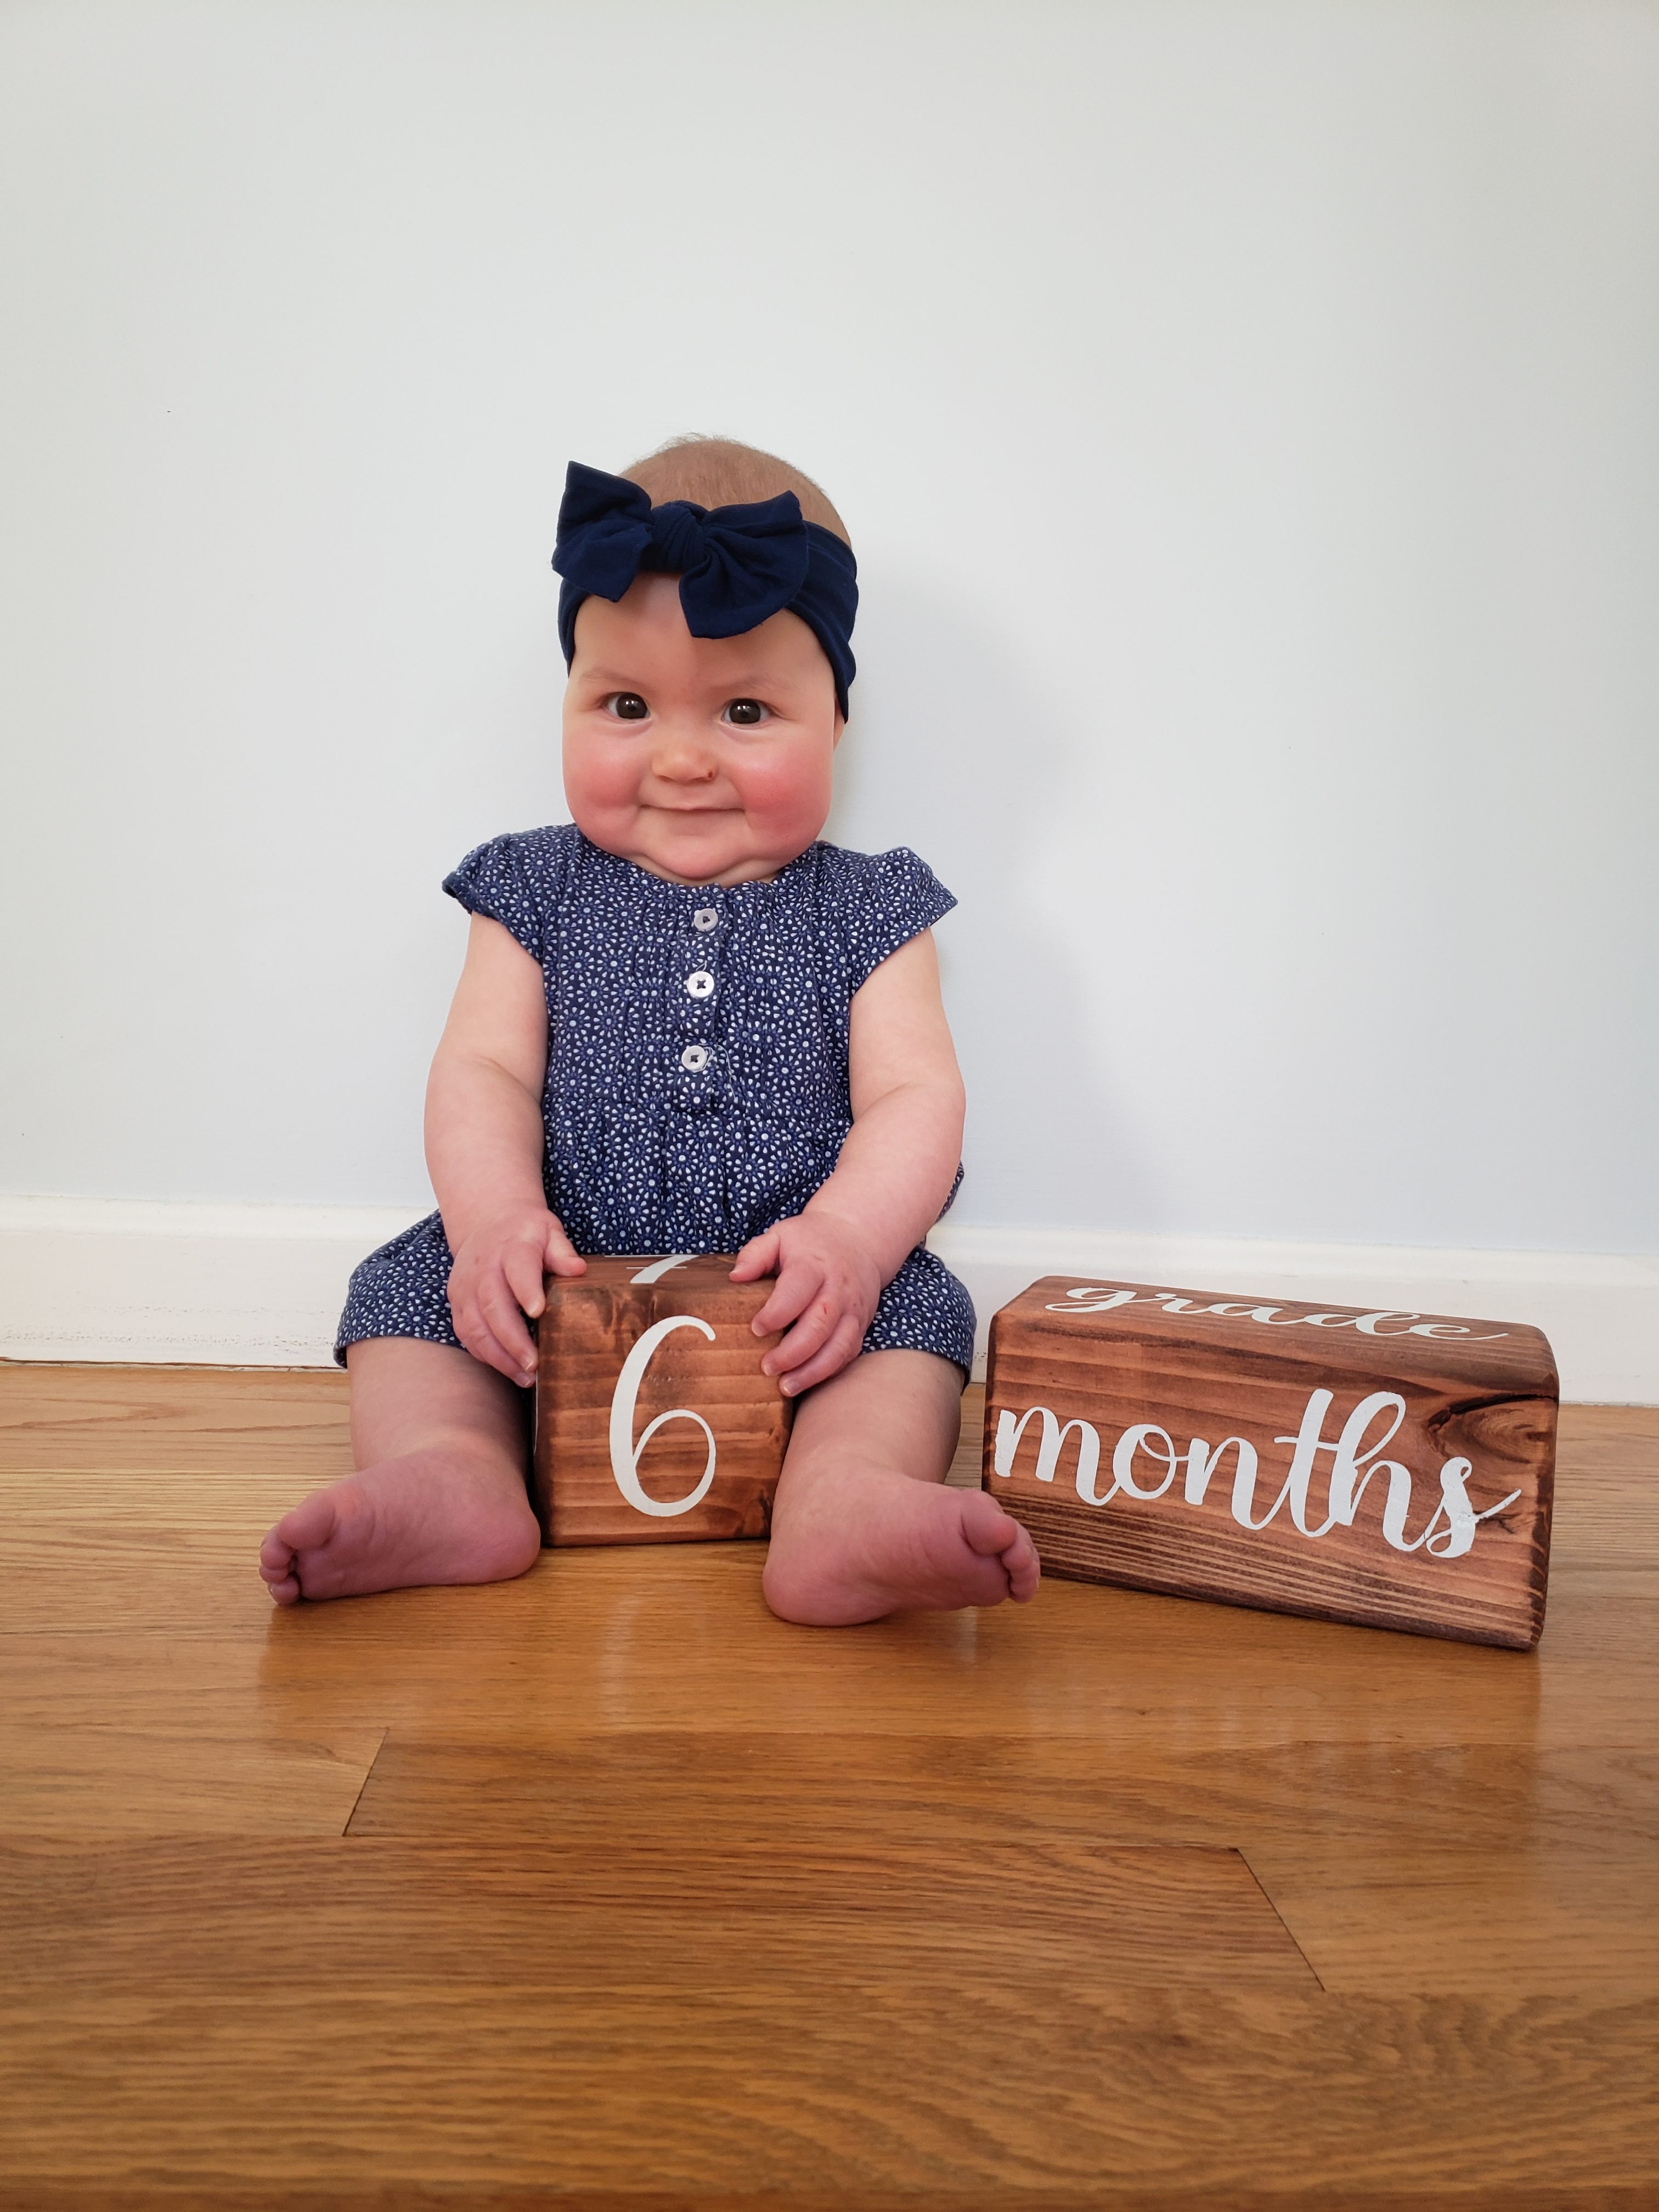

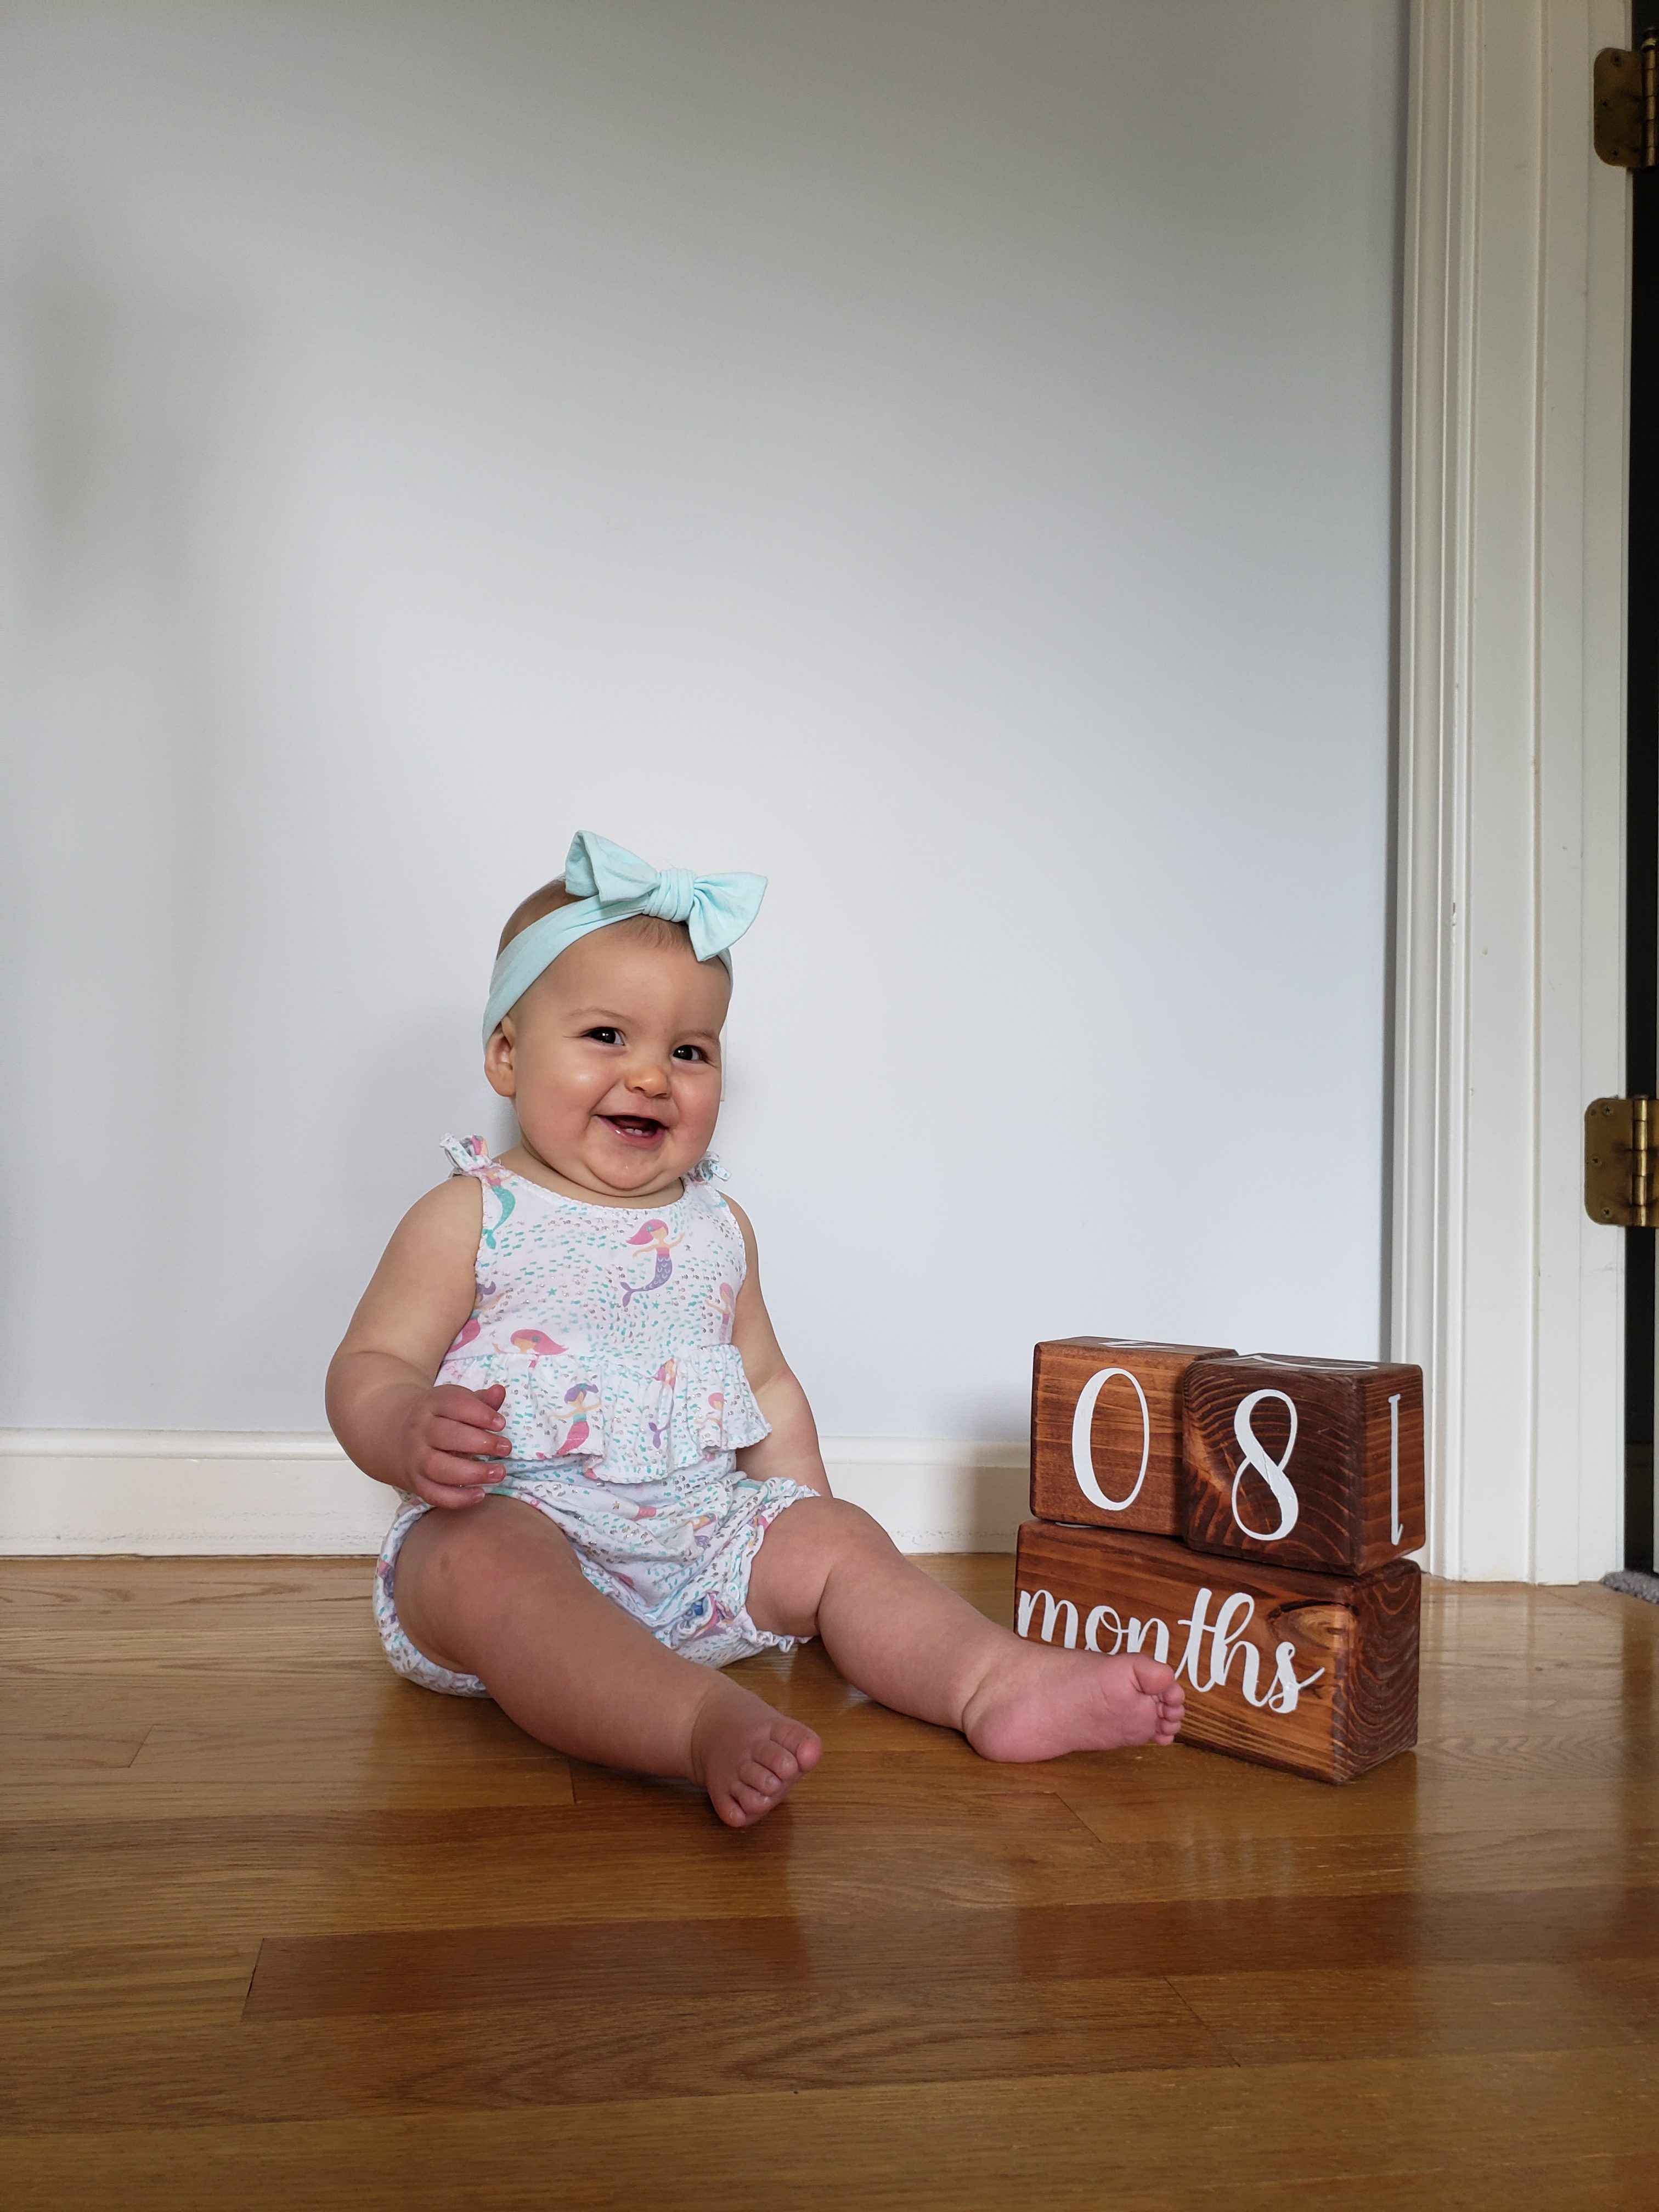
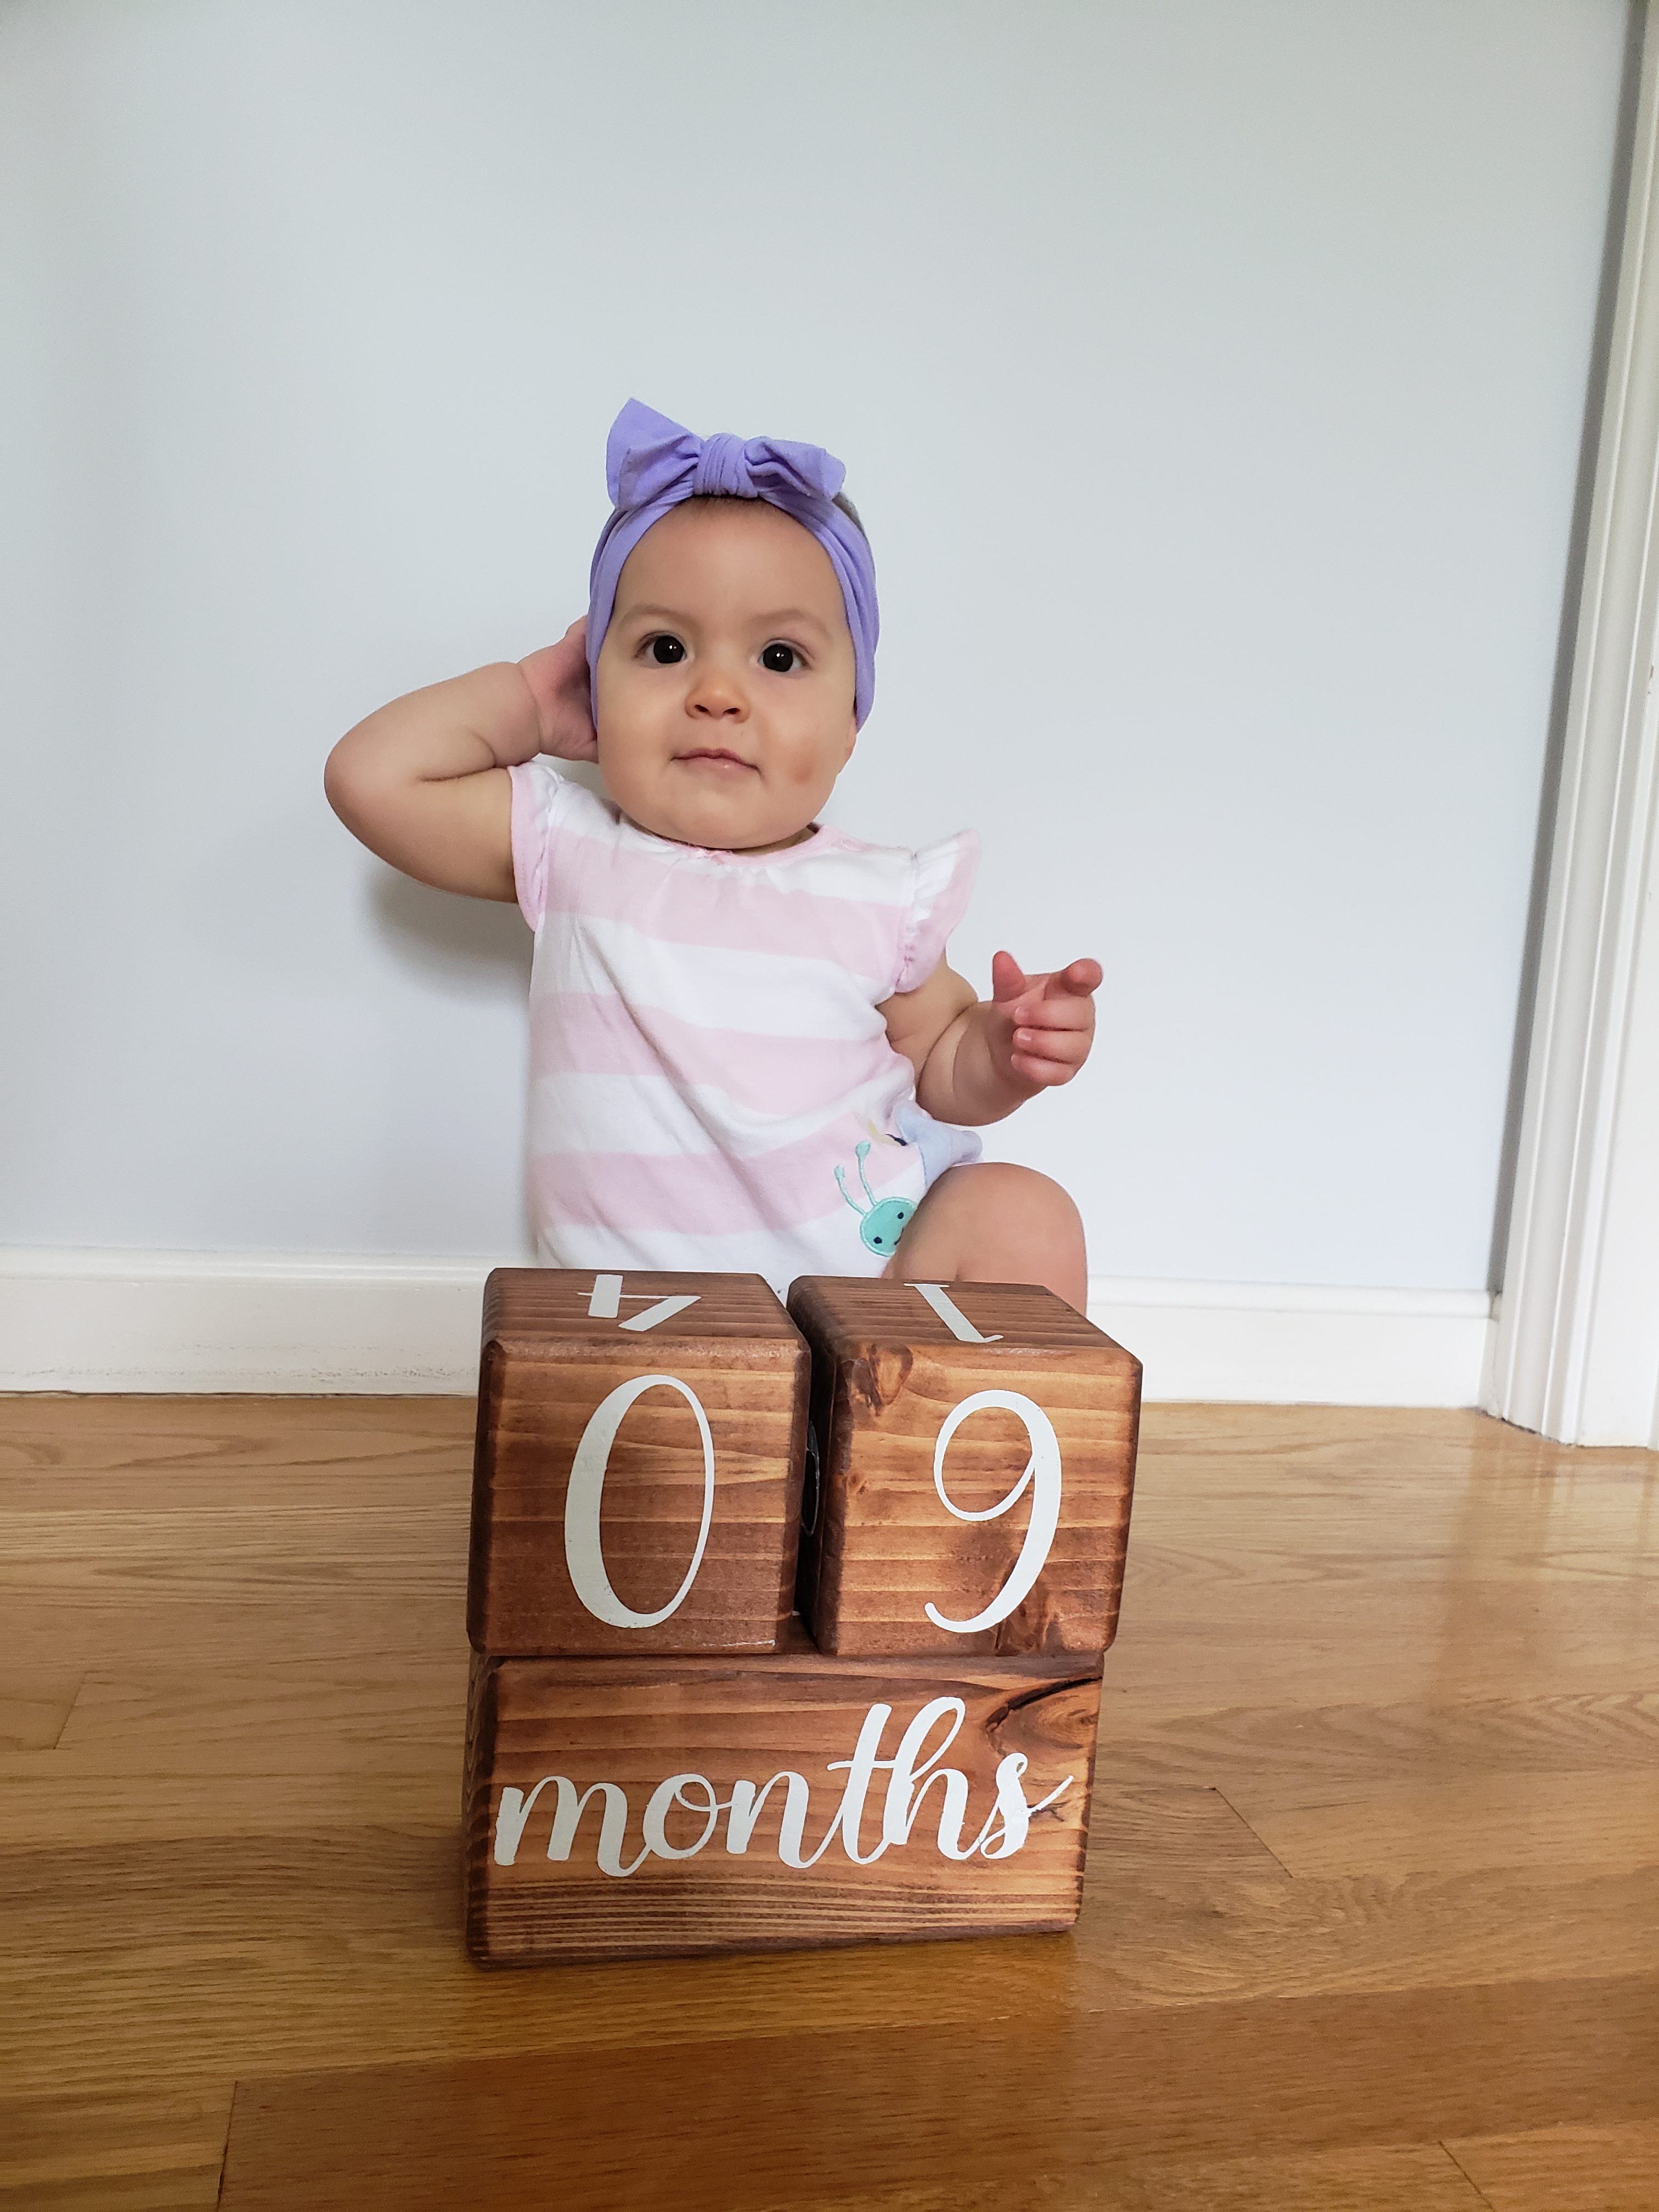

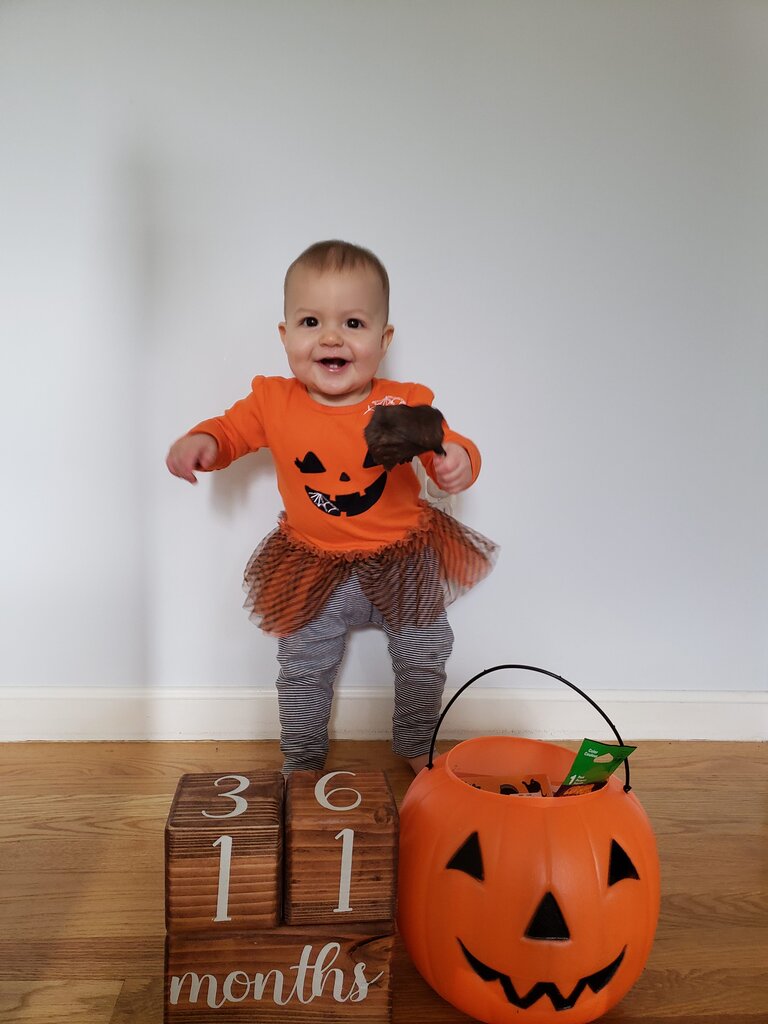
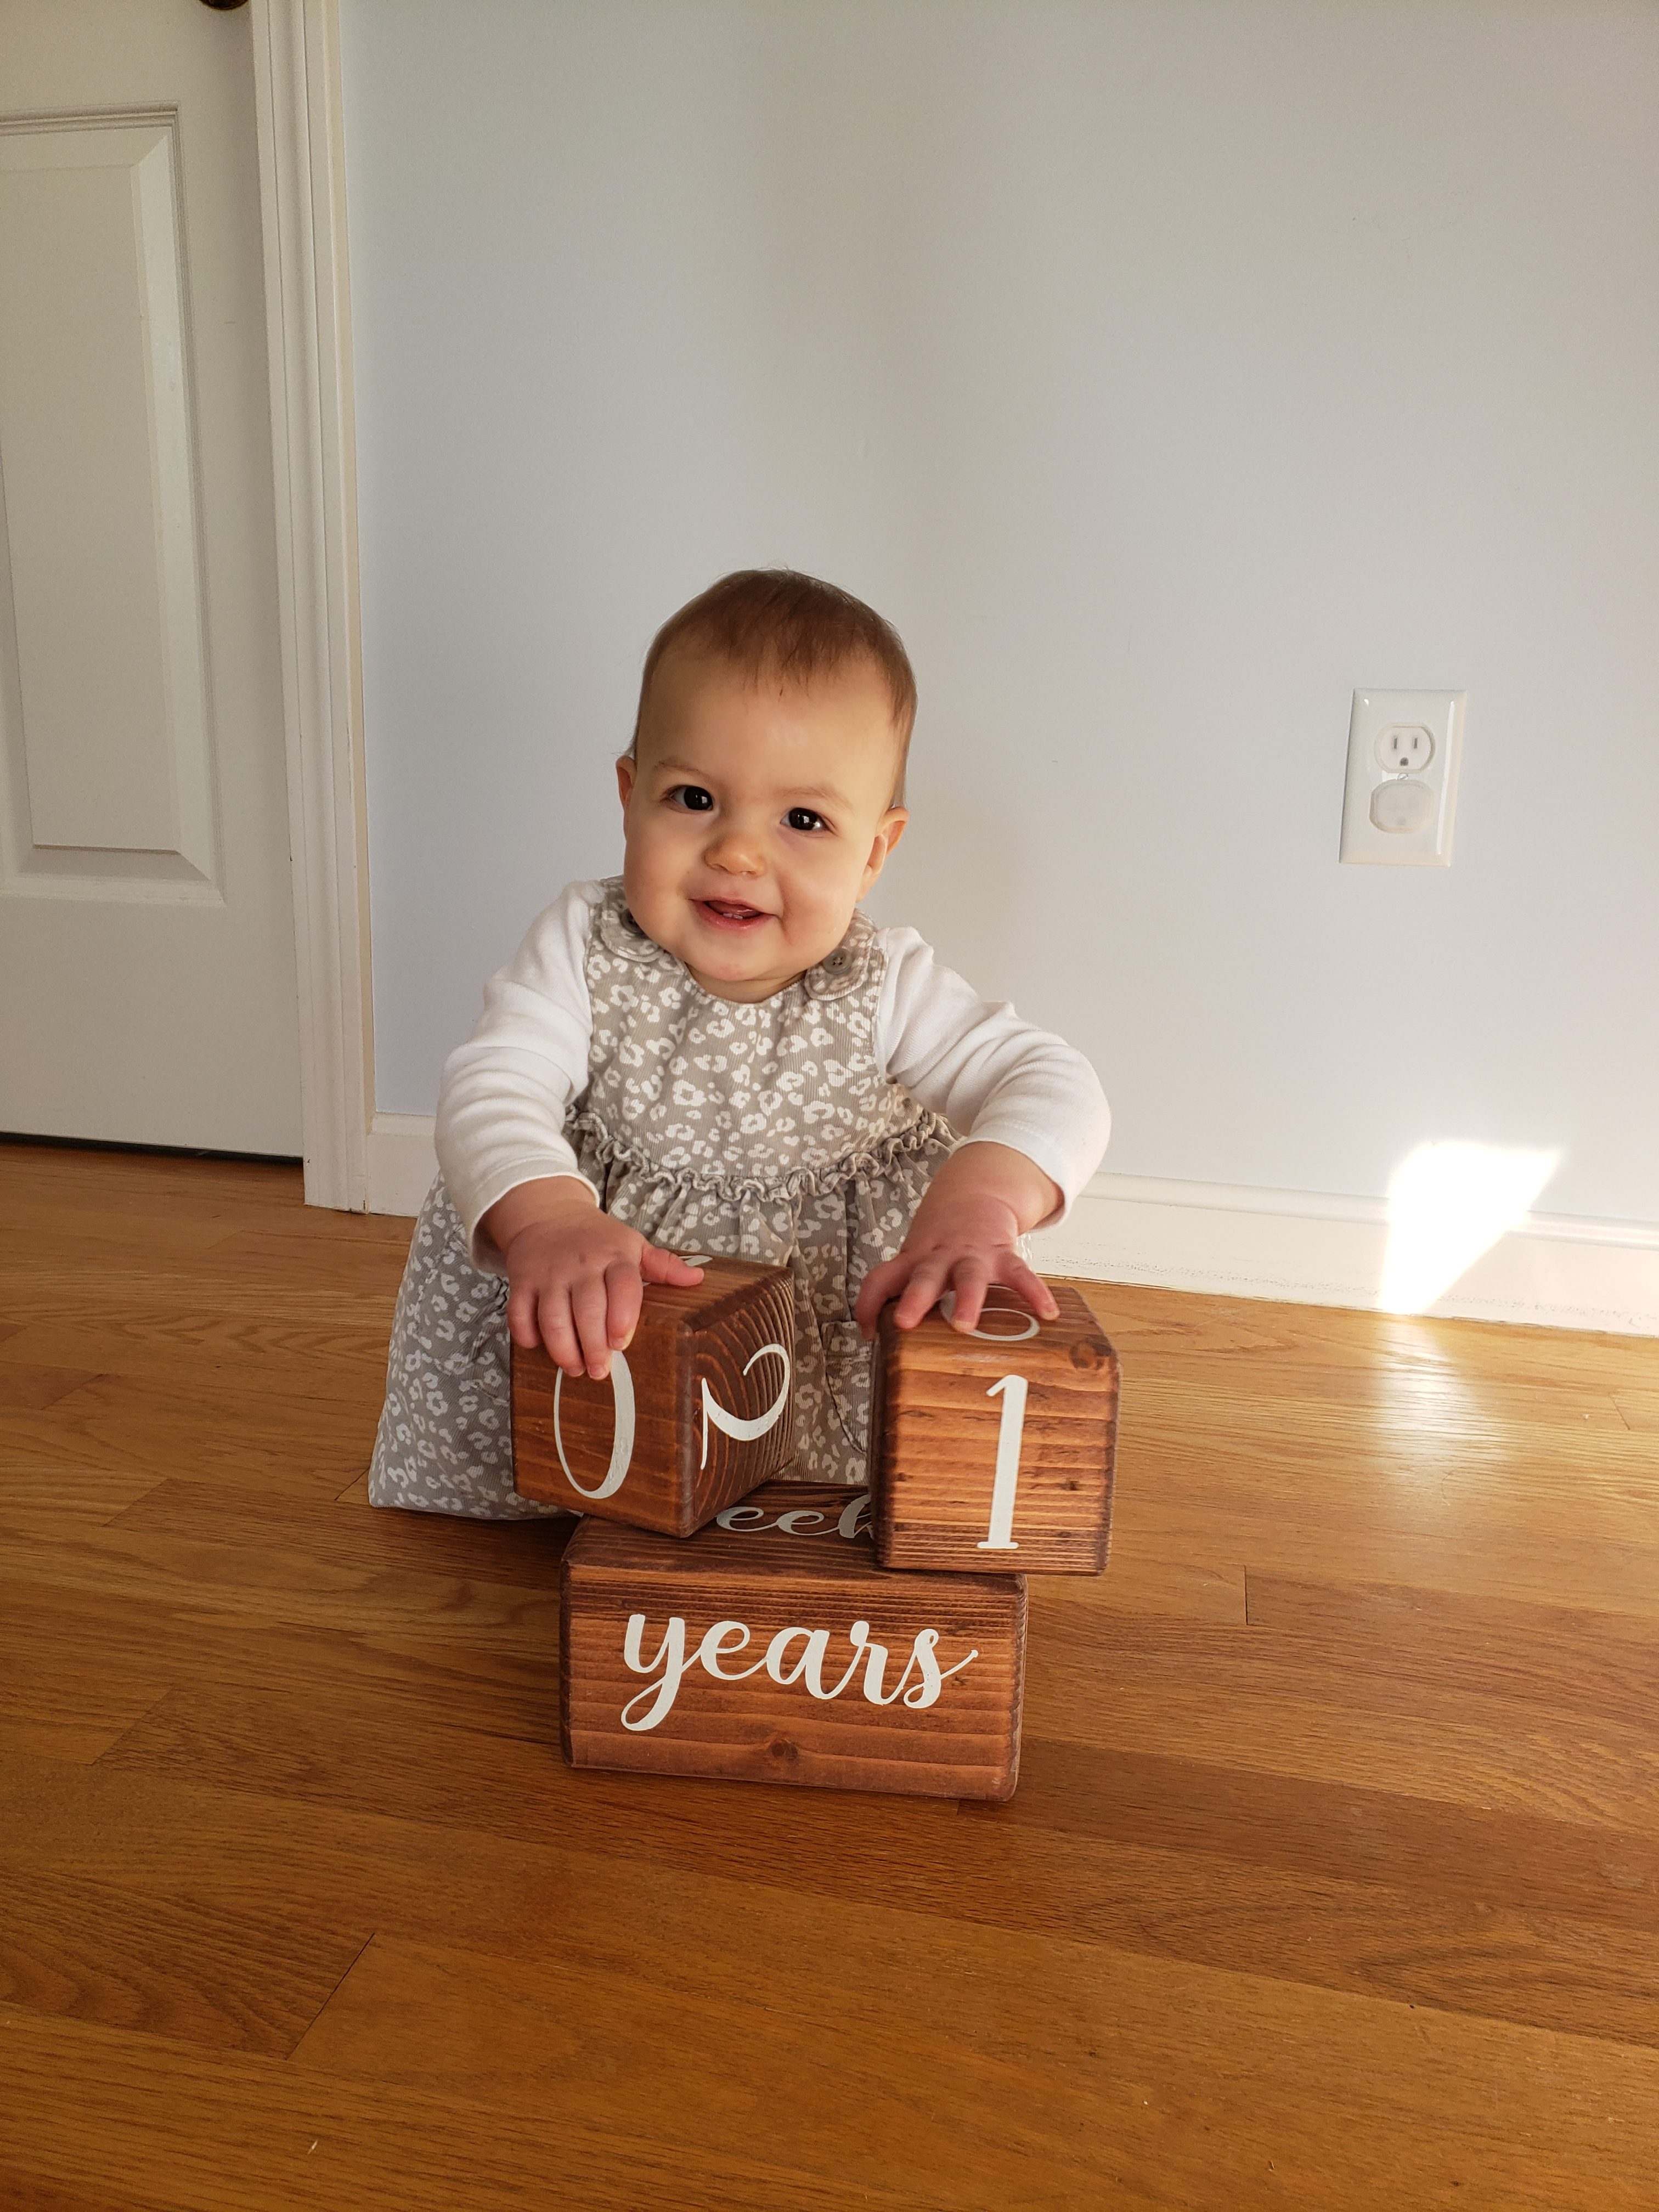
Age Blocks
What you’ll need:
- 4″x4″x8″ piece of untreated lumber
- 2 12″x12″ pieces of contact paper or removable vinyl
- Paint
- mod podge
- Stain (optional)
- stencil pattern here
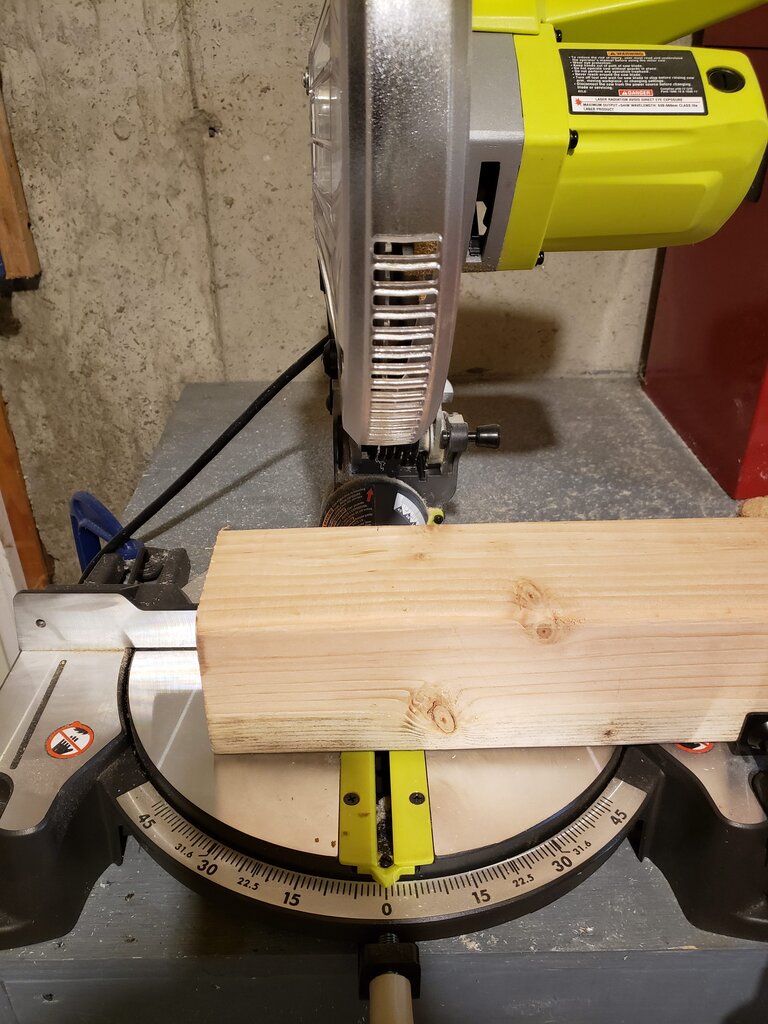
- With chop saw cut 2 4″ long pieces of wood and 1 8″ piece of wood.

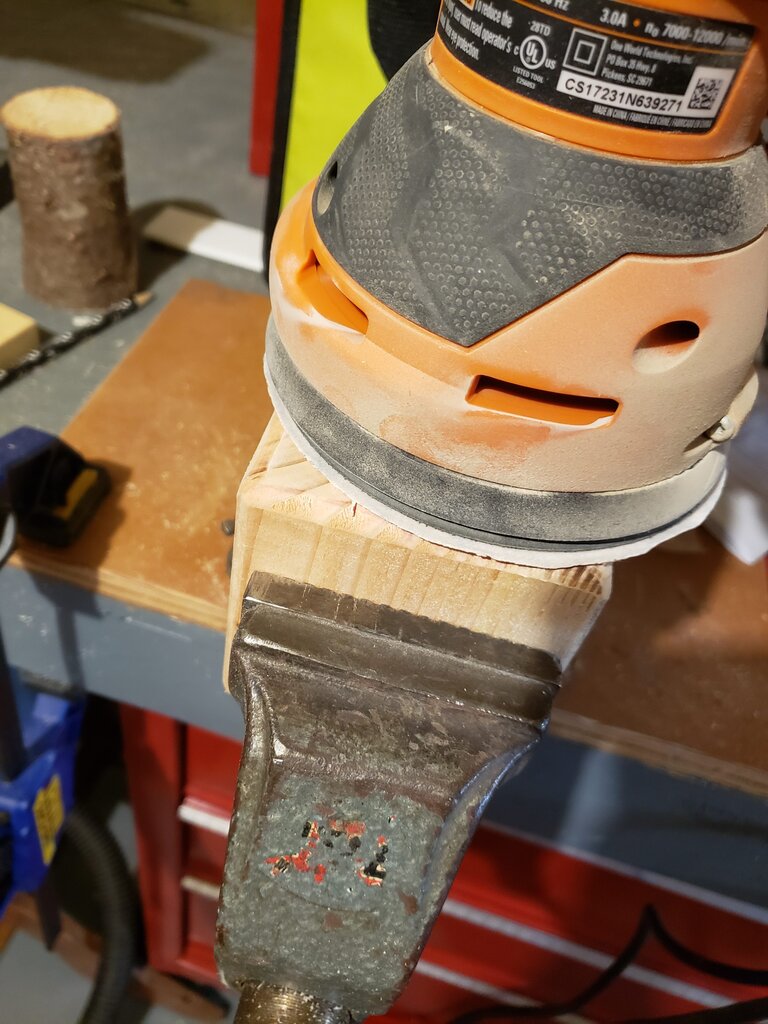
- Route all the ends of the cubes and column with roundover bits.

- Sand all faces.

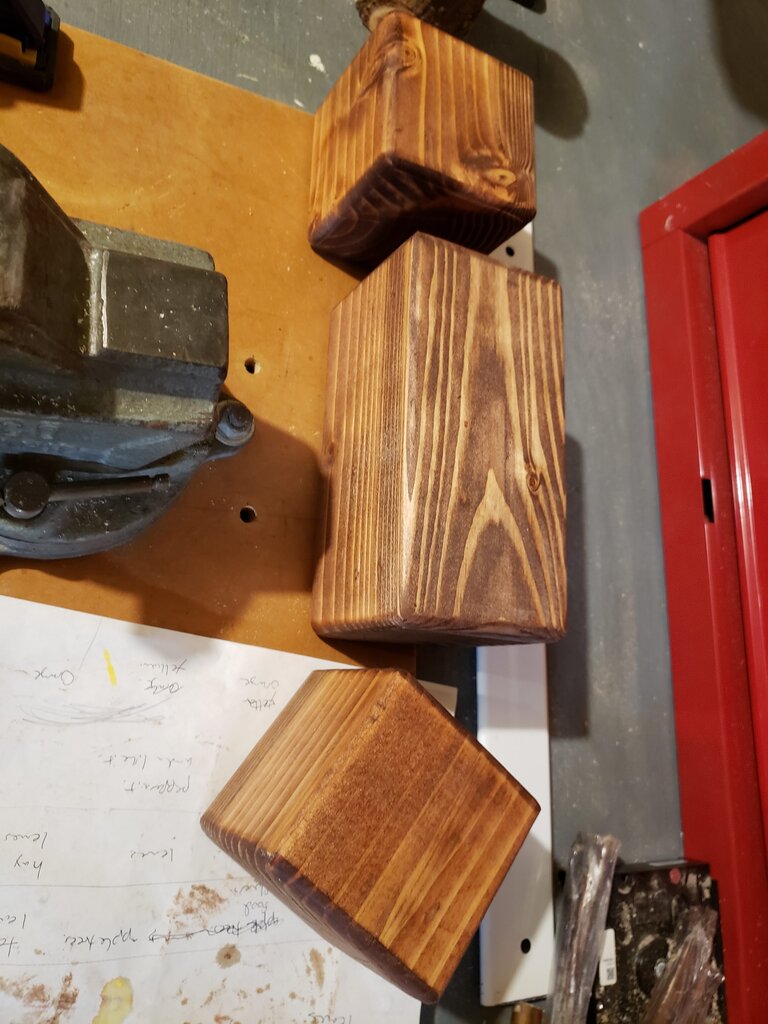
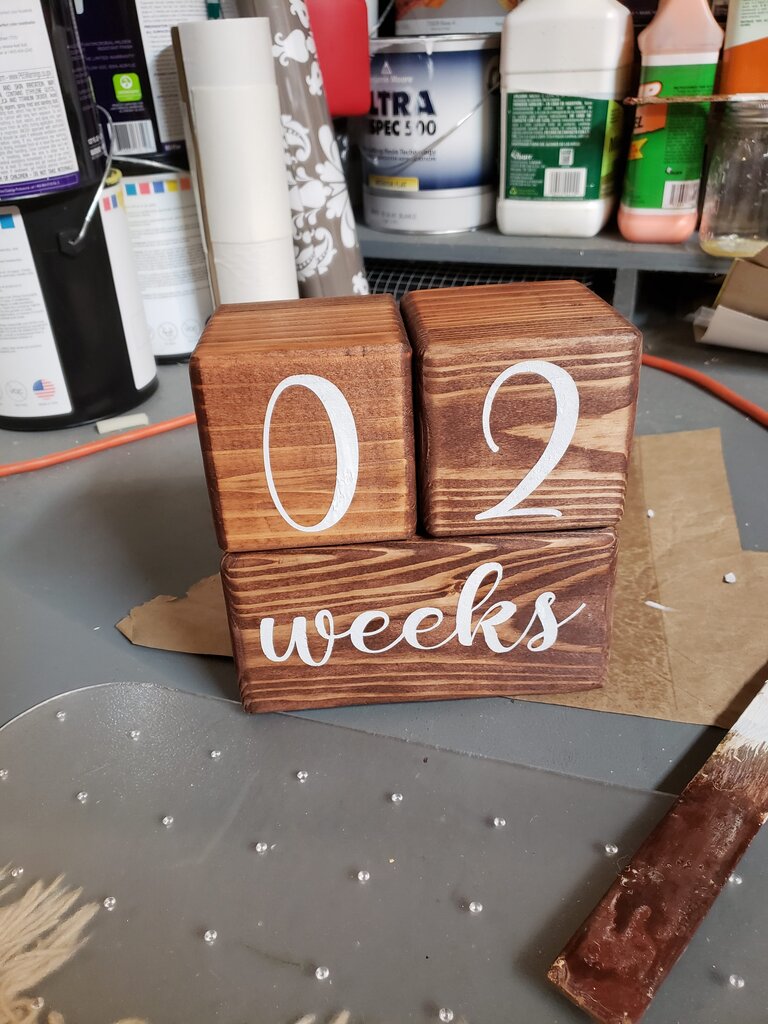
- Apply stain (if desired). This is where, if it did it again I might not stain… the stain made the paint difficult to stick, and I decided not to finish the cubes, so the paint was prone to pulling off before it cured. Also if you want your child to be able to chew on the blocks, stain is not food safe…

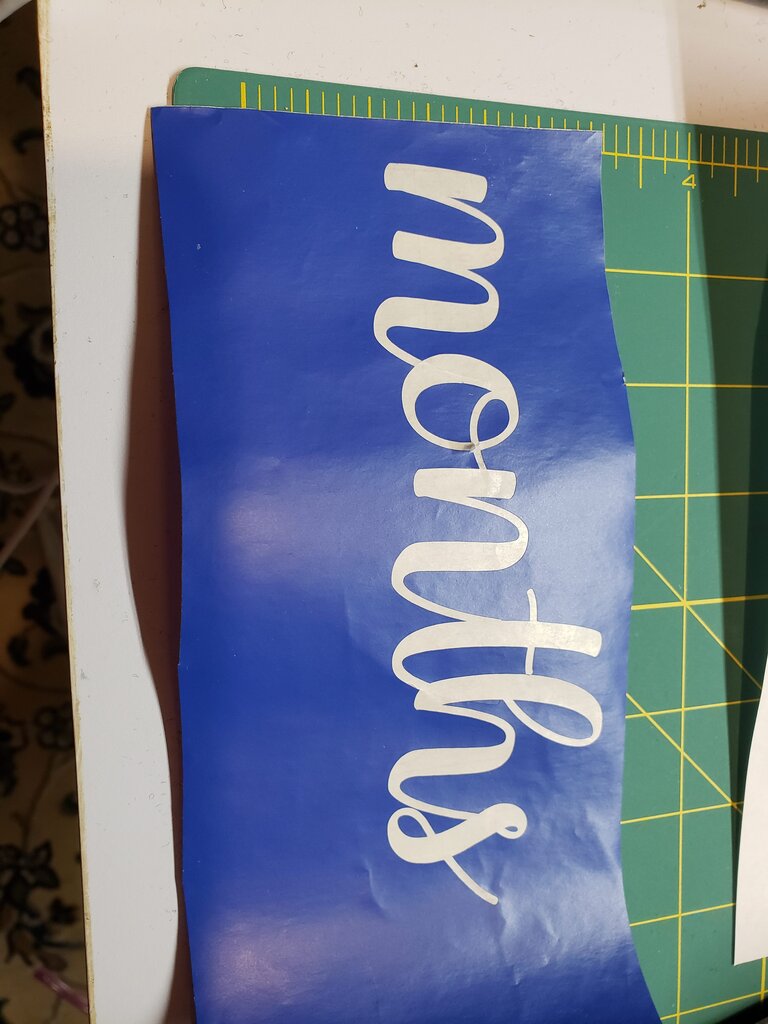
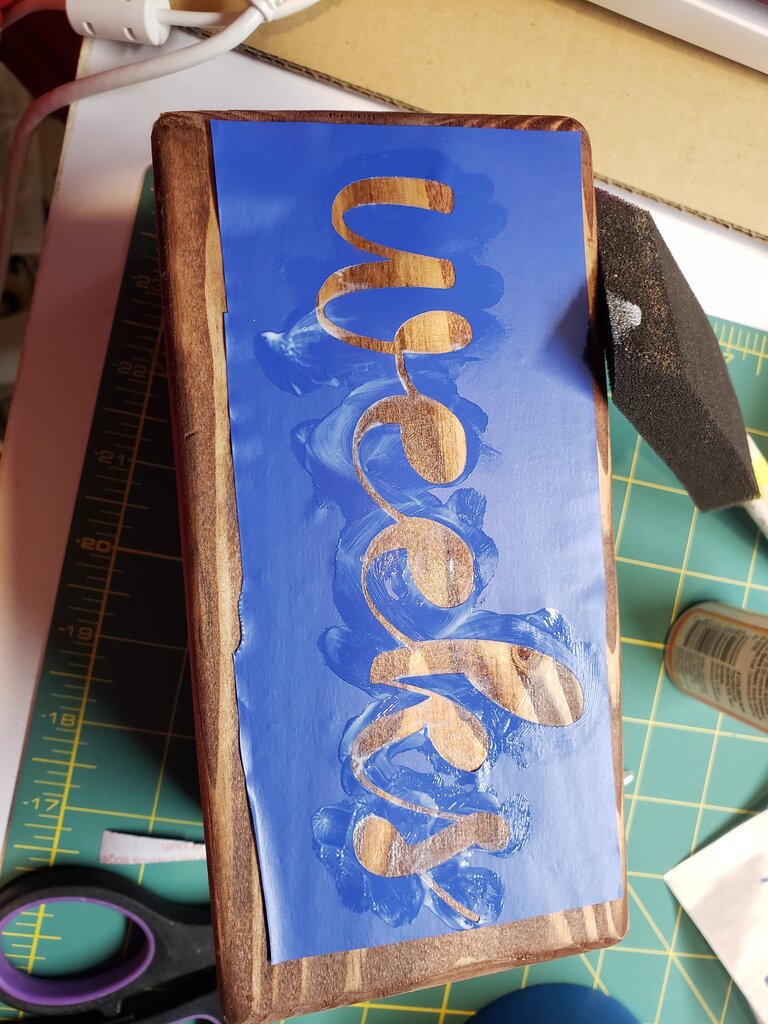
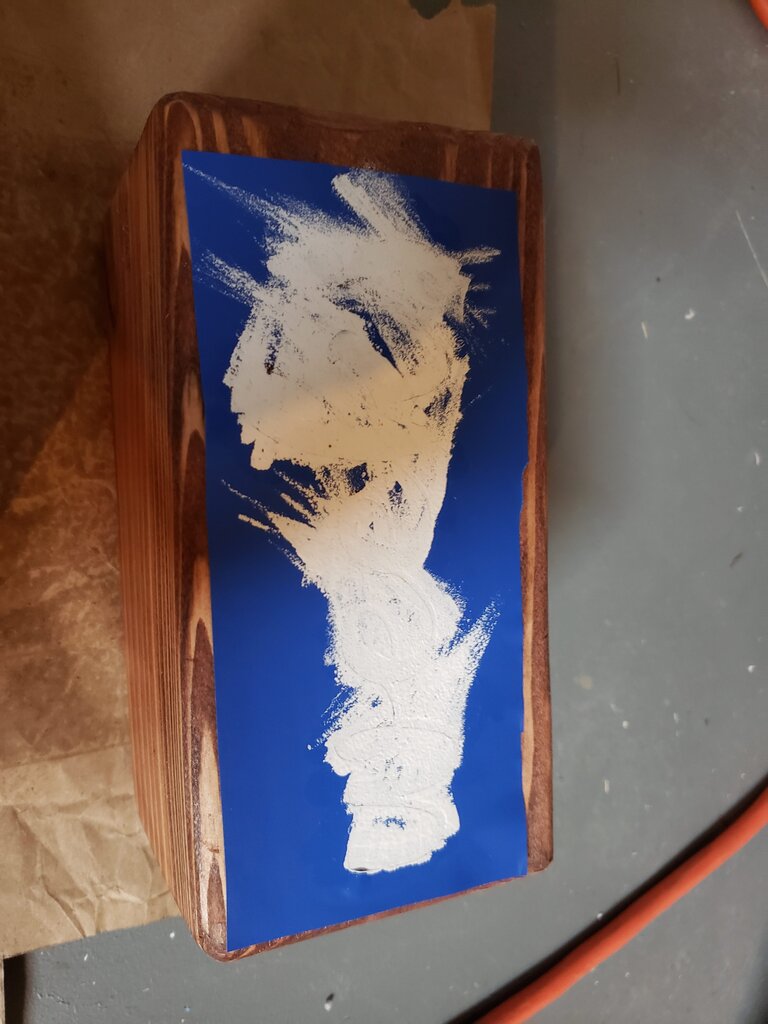
- Cut out stencils on vinyl using Cricut. Set your machine to the vinyl setting

- Cut around each stencil, leaving a wide border. Apply to the face of your block.
- Cover with mod podge and let dry.

- Paint over the mod podge.

- Remove stencil. Repeat for all faces. The long block will be month, years, weeks, grade. One cube should have 0,1,2,3,4,5 other cube should have 0,1,6,7,8,9).