
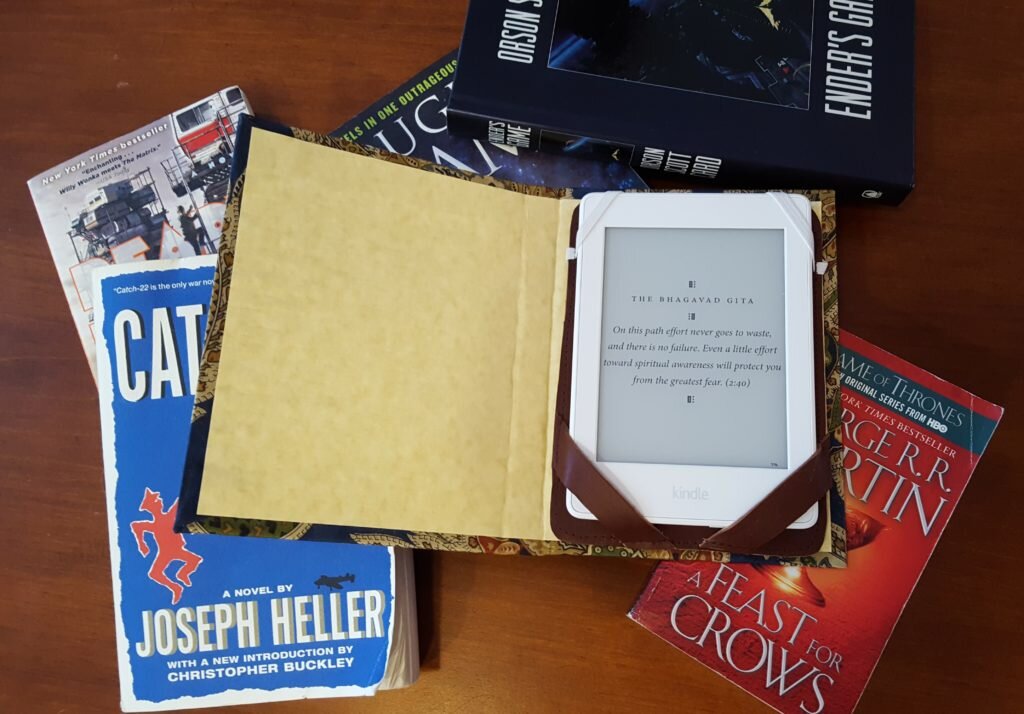
Did I mention that Will’s siblings challenged us to read 20 books this year? That probably doesn’t sound like a lot to most of you, but the last few years I haven’t gotten through more than 3 or 4 a year (especially if I’m reading George R.R. Martin). Well we accepted the challenge and I’ve started reading a bunch of books that have been on my list for a while! I’m on my 8th one this year.
The challenge all started when Will’s Aunt Elizabeth gave everyone a Kindle Paperwhite for Christmas! I have secretly always wanted a kindle, but have never actually gone out and purchased one. The technology is just so darn neat. Well now that I have one I realize that it is not just cool – it is SO CONVENIENT! If you’re in Massachusetts you can even download library books directly to your kindle using overdrive! This means I don’t even have to leave my house to have new books delivered to me! Of the 7 books I’ve read this year, I’ve read 3 on my kindle, and I’m in the midst of my 4th. The other 4 books I already had in hard copies on my shelf or had borrowed from friends.
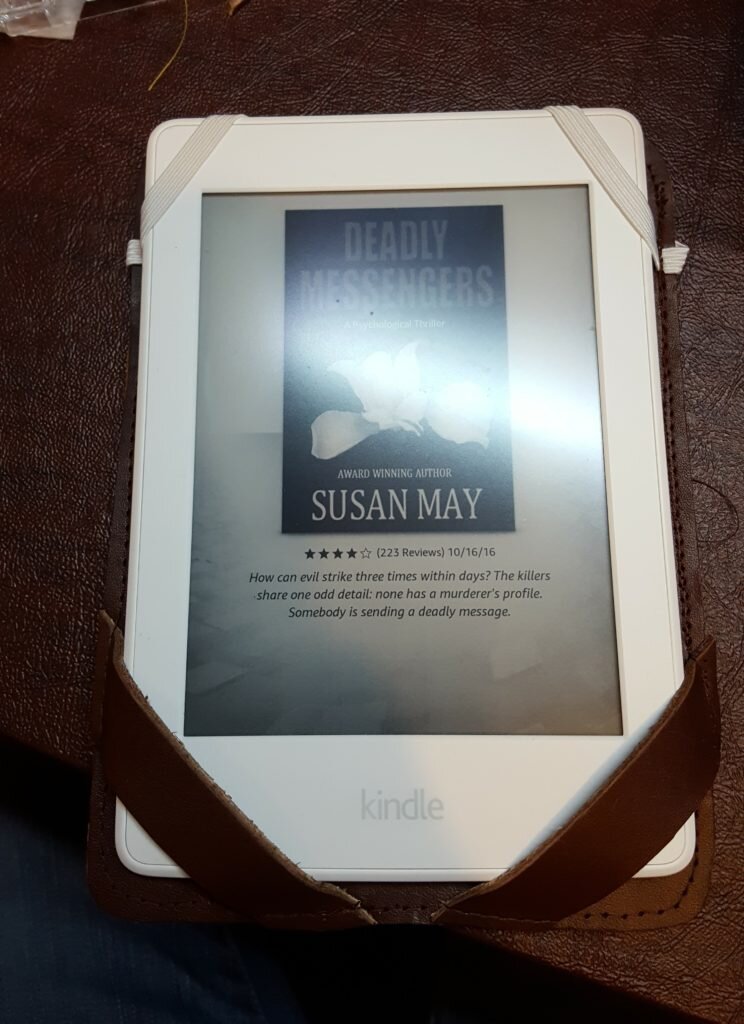
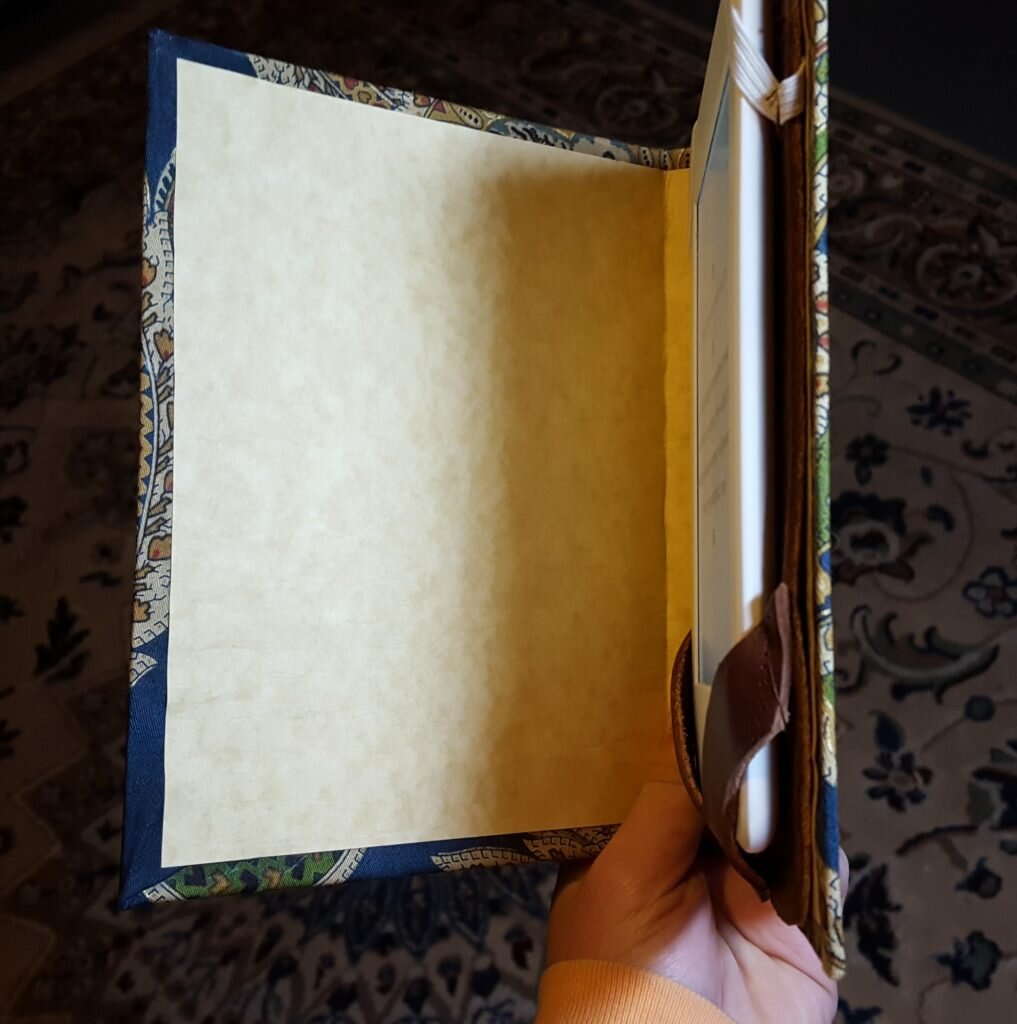
While the kindle is convenient, light and portable it does have some drawbacks. I have the problem of accidentally tapping the screen while I’m holding it, causing the page to turn prematurely. This makes it a little awkward to hold. Since there is no cover you have to gingerly hold the edges of the Kindle to avoid touching the “page”. For this reason it doesn’t feel like you’re holding a book at all. Of course they have dozens of types of covers you can purchase to remedy the situation. My favorite solutions all look like books on the outside, and open to reveal the Kindle on the right hand side.
I decided to try my hand at making one. If you’ve ever made a hardcover book before the process will look very familiar. The good news is since I’ve made the cover I no longer hit the screen anymore with my fingers and accidentally turn the page. I don’t have to be so darn careful with my finger positioning on the device when I hold it. Make your Kindle feel like a book!
DIY Kindle Bookcover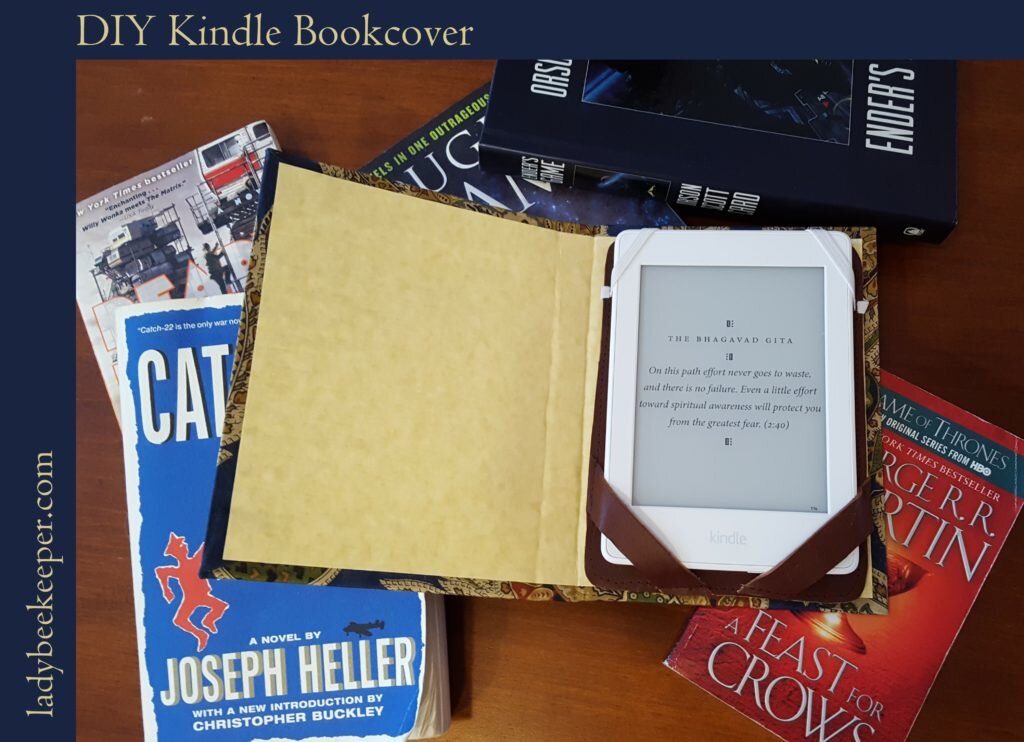
What you need:
- 12×12″ chipboard sheet
- 12×12″ piece of scrapbook paper for inside
- 12×16″ piece of scrap fabric for the outside cover
- 7×6″ piece of leather
- 4″ of 1/4″ elastic
- Elmer’s White Glue
- E6000 Glue
- Cut your chipboard sheet into 2 5.5″x7.5″ rectangles and one .5″x7.5″ rectangle.

Cut chipboard into covers and spine.
- Lay your rectangles out on your scrap fabric like a book with the .5″ wide rectangle as the spine. Leave 1/4″ between each rectangle of cardboard.
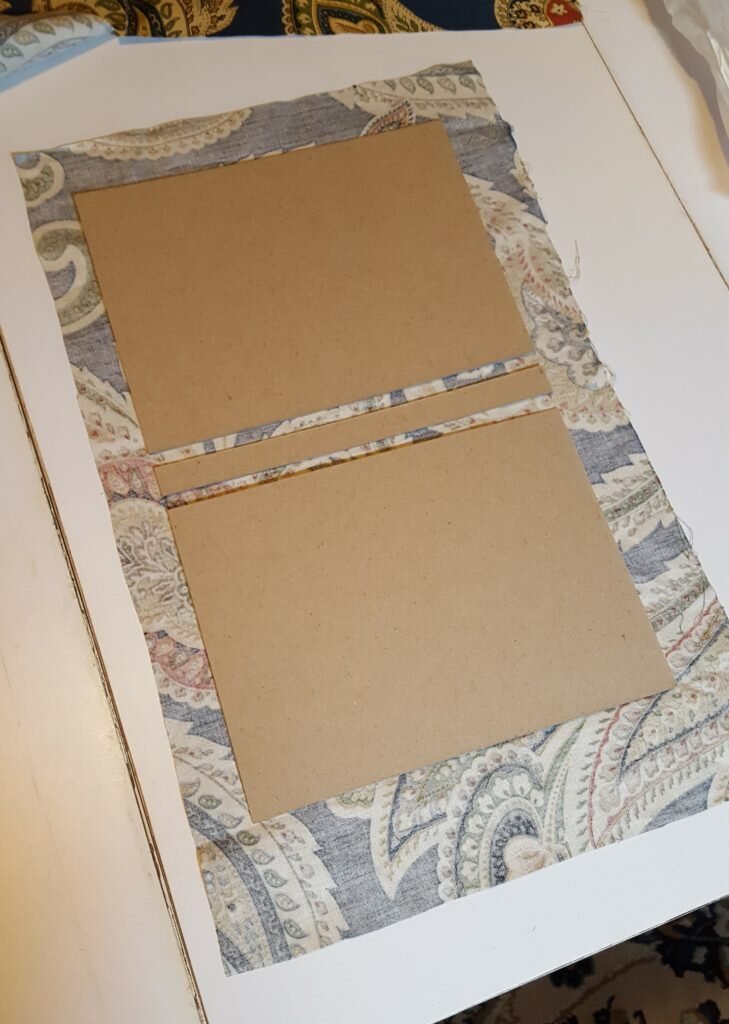
Lay out chipboard on cover fabric.
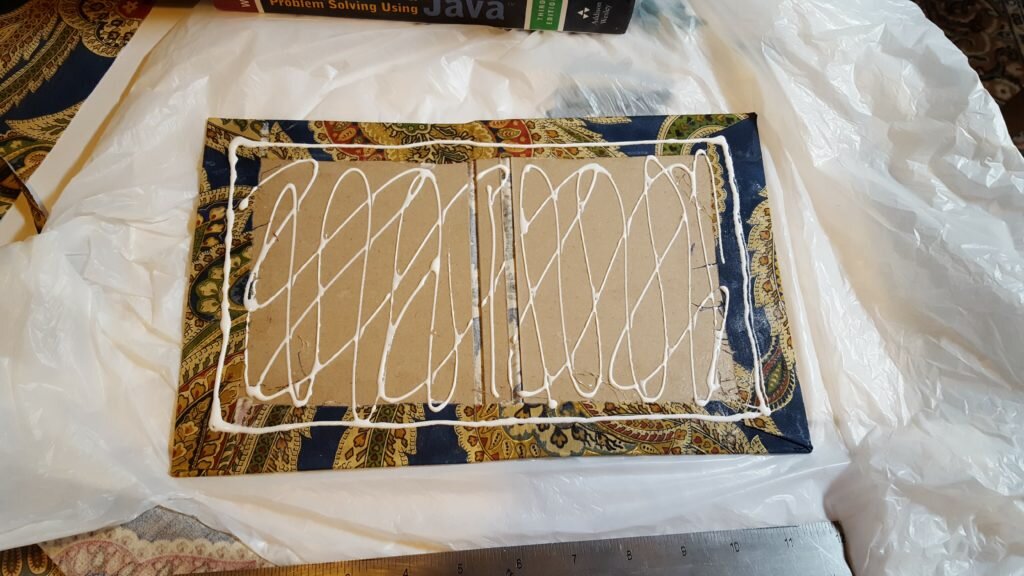
- When you are happy with your arrangement, cover the back of each piece of cardboard with glue.
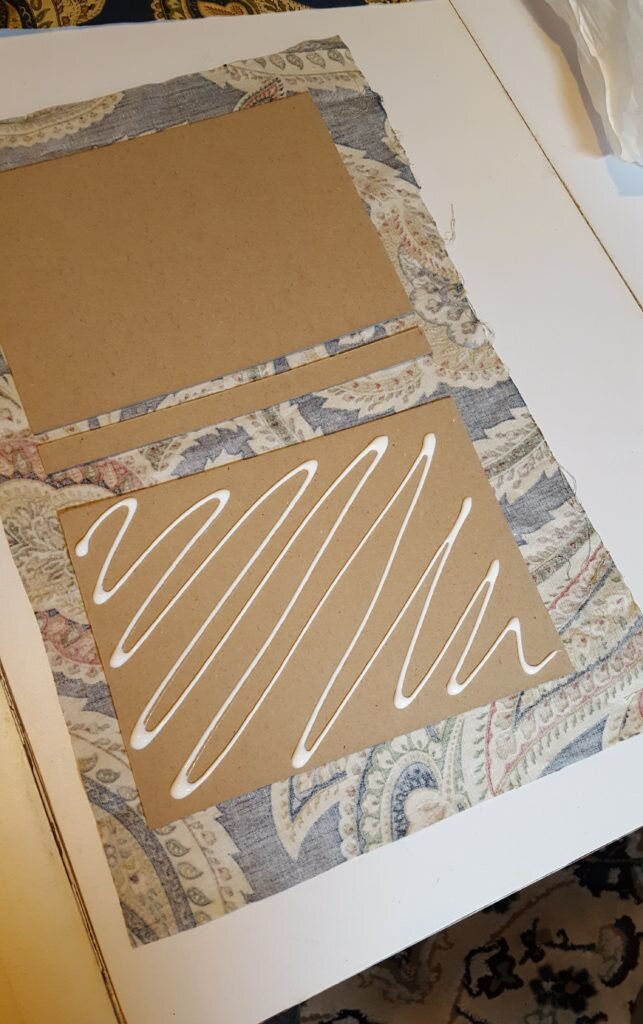
Cover the back of each piece of cardboard with glue.
- Smooth the fabric onto the cardboard so there are no wrinkles.
- When all 3 pieces are glued to the fabric, then fold up the excess material on the top and bottom and glue, smoothing flat like the front.
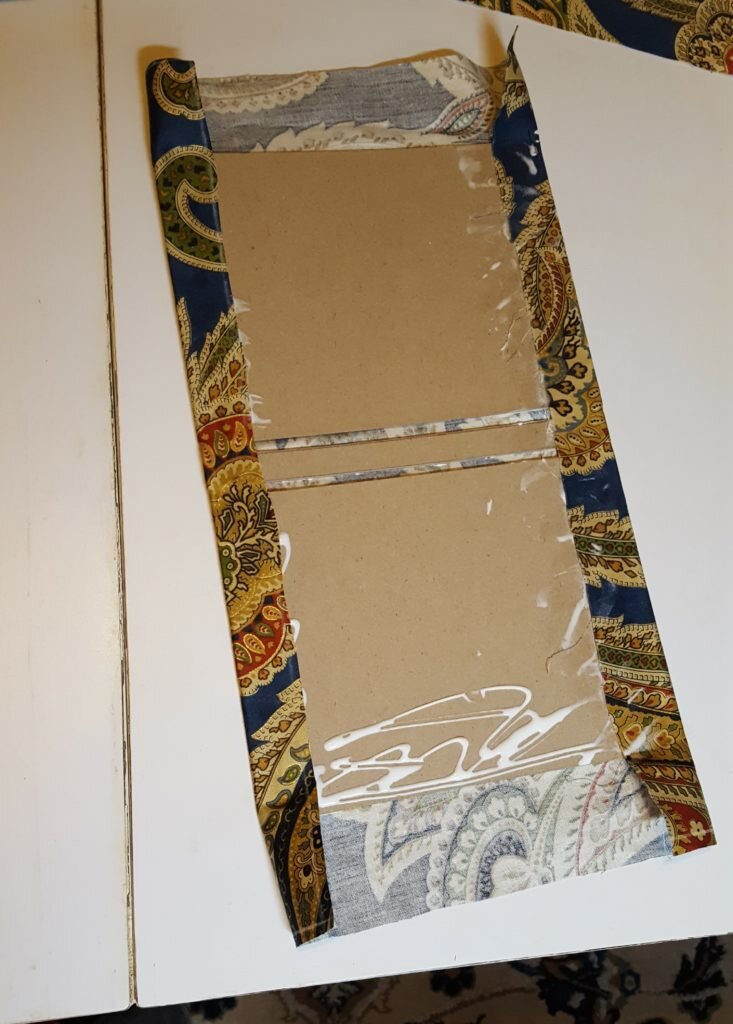
Fold up and glue the edges.
- Repeat with the sides, folding the fabric under into a triangle then gluing.
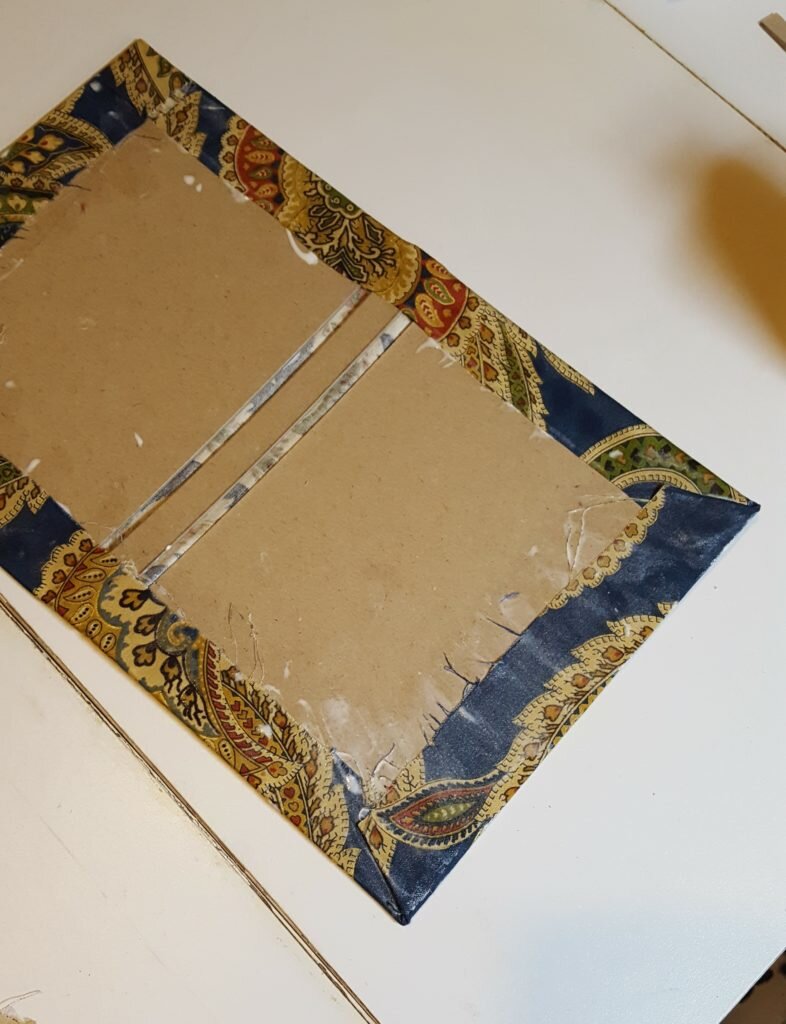
Fold and glue the sides, pleating at corners.
- Put cover between 2 layers of saran wrap (or a large grocery bag) then put heavy books on top.
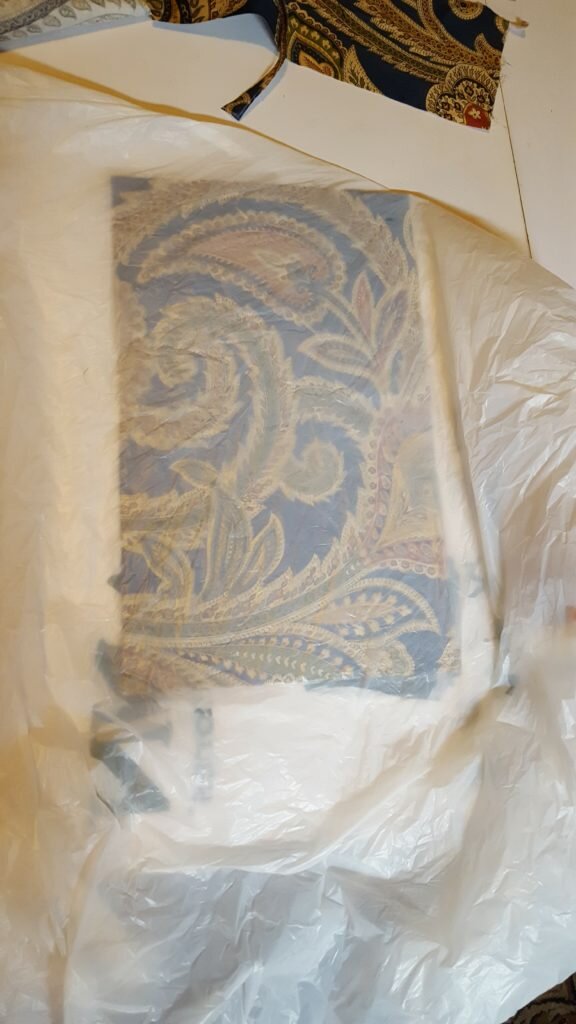
Place cover between saran wrap or a grocery bag.
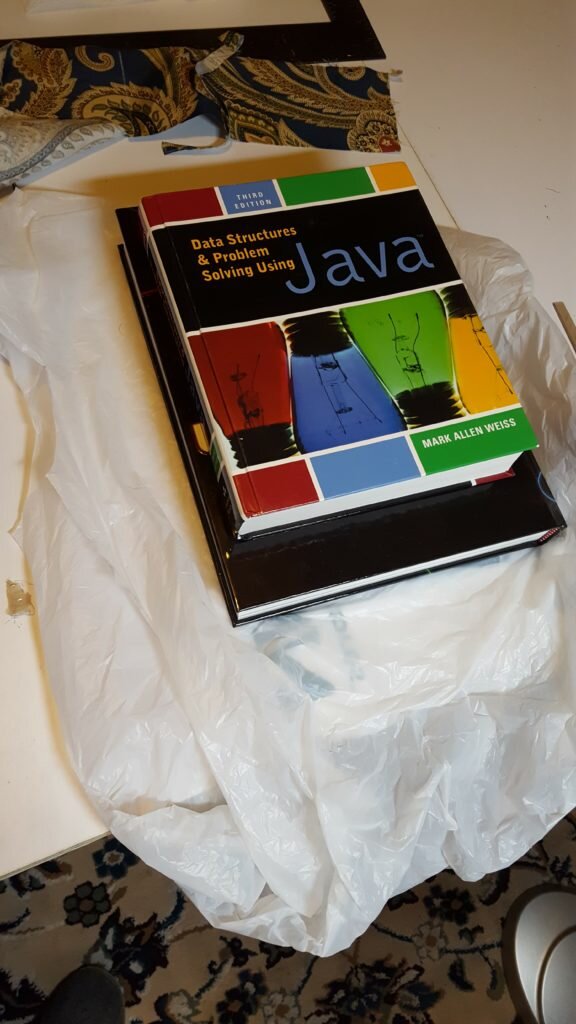
Place books on top.
- Remove after an hour and let air dry completely.
- Cut your paper lining to 11.5″x7″.
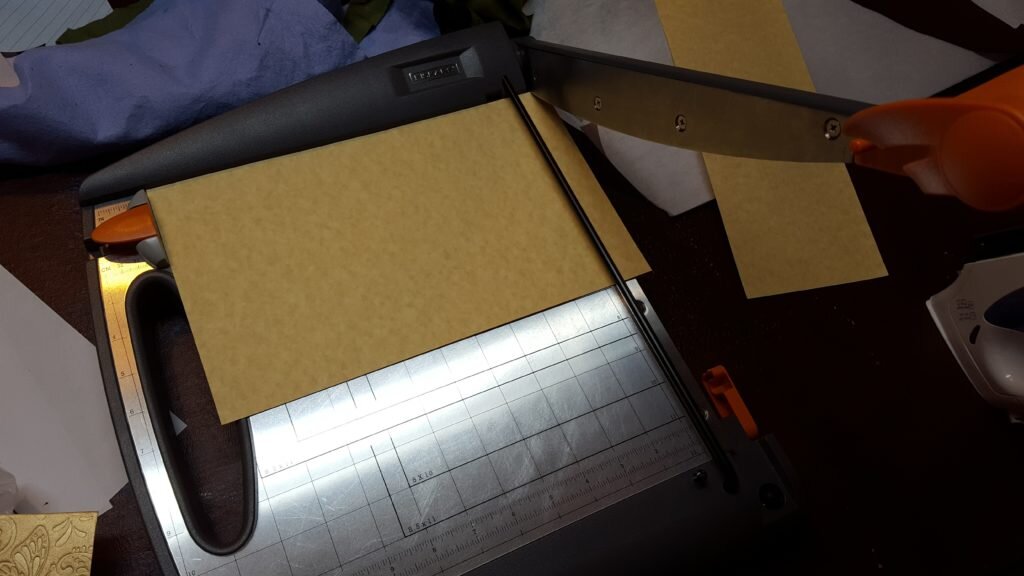
Cut lining.
- When the fabric has dried completely, cover the inside of the book with glue, leaving a 1/2″ edge.
Cover inside with glue.
- Carefully center the paper lining on top of the glue and smooth out.
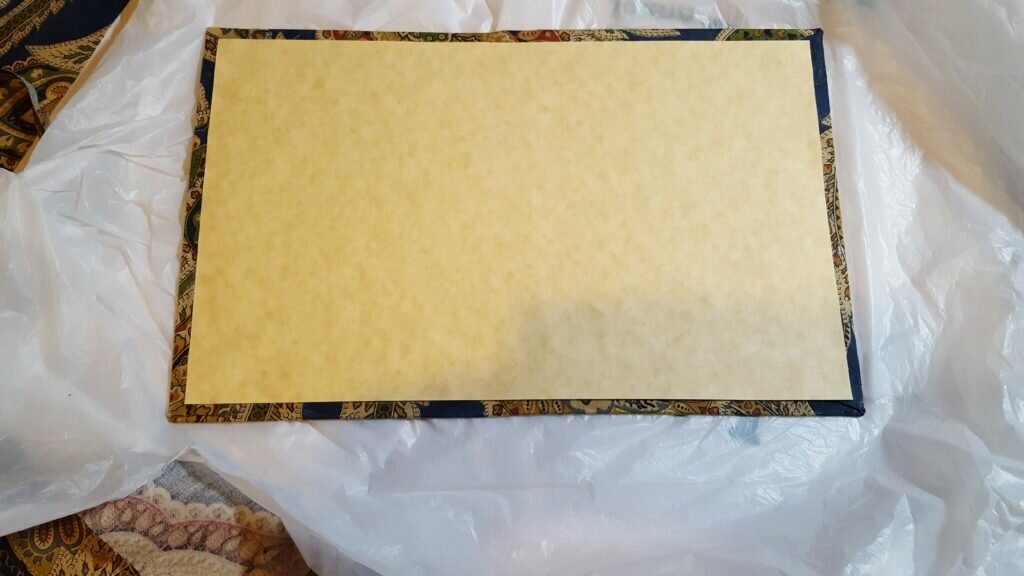
Center the lining on top and smooth out.
- Again place a piece of saran wrap and a heavy book on top until dry. When it dries you should be able to bend it to look like a book.
- Cut a 5″x7″ rectangle from your scrap leather. Gently trim the corners so they are curved.
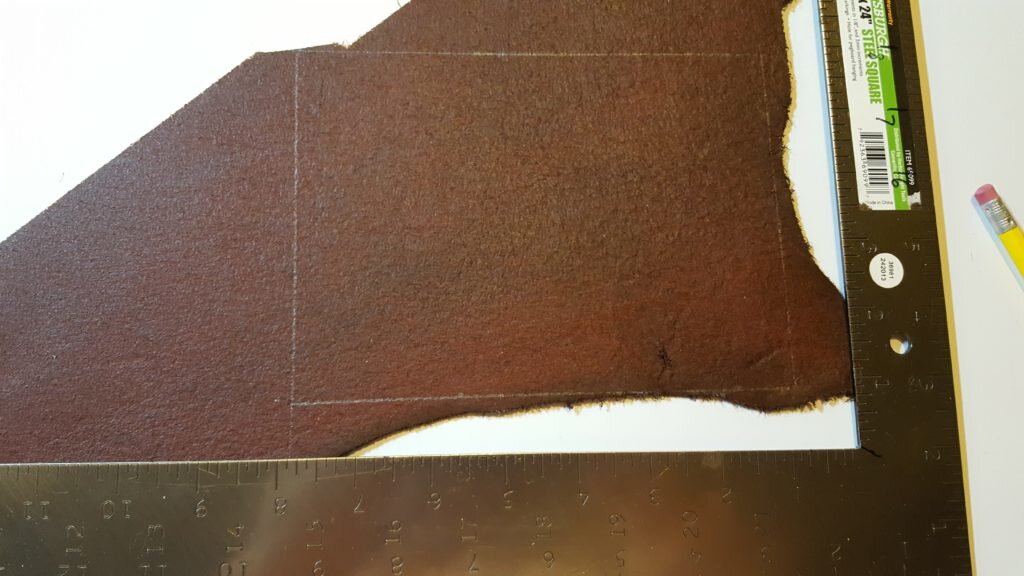
Cut rectangle from leather.
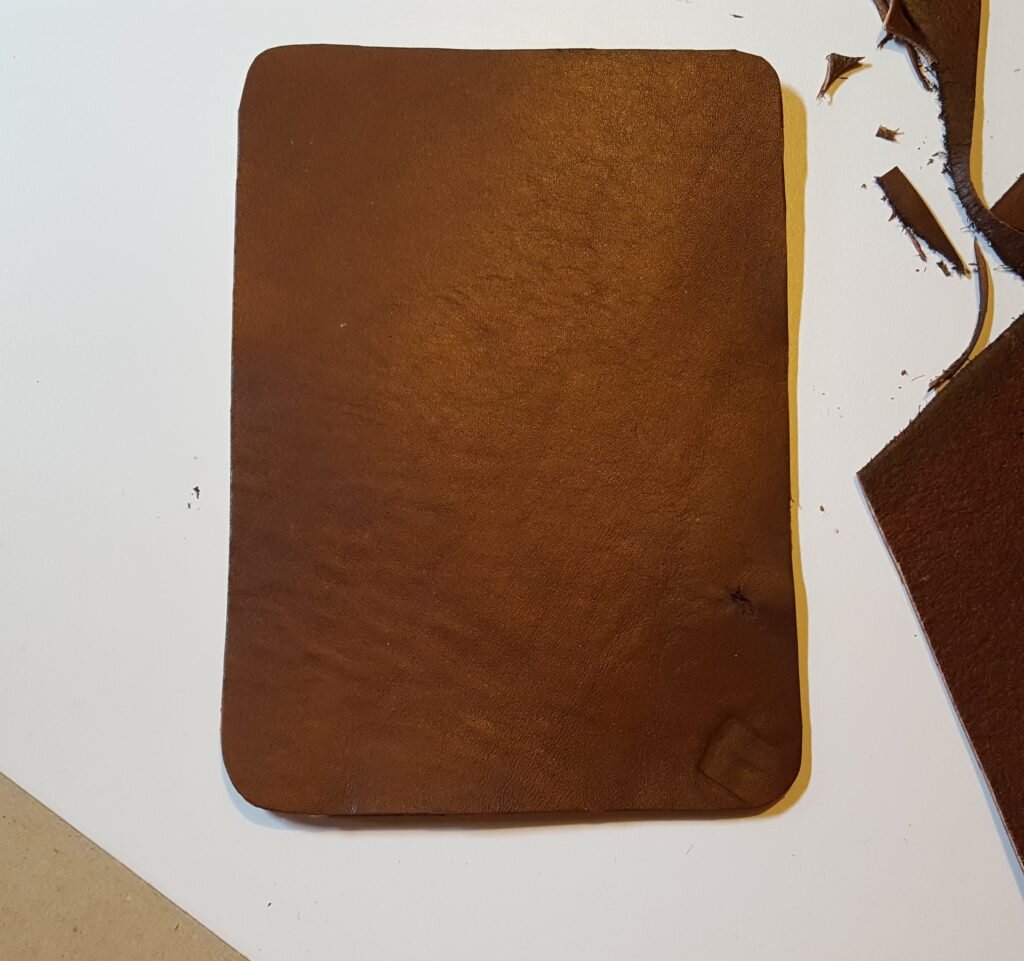
Curve corners.
- Cut 2 1/2″ strips of leather and using your kindle as a guide, lay them over the bottom corners of the kindle. Mark the length of leather you need and also the location on the backing. Make sure you avoid covering the location for the cable and the power button.
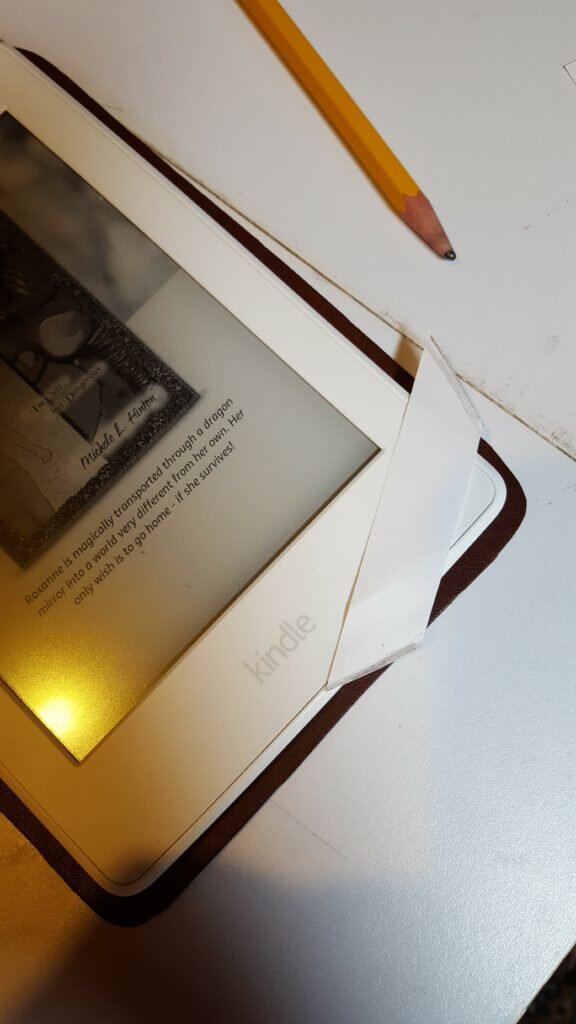
Using scrap paper, position where the leather straps will go, avoiding the power button or charging area.
- Cut elastic in half and follow the same procedure as step 14 to line up where the elastic should go in the top corners.
- Using a leather needle and heavy duty thread, stitch very close to the edge of the leather backing. When you get to the location of the elastic, make sure the unfinished edge of the elastic is under the leather backing. Sew through the whole thing: elastic, leather, elastic.
- When you get to the location of the leather straps, position the strap where you want it on top of the leather backing and sew through both pieces of leather.
Stitch elastic and leather holders to leather backplate.
- Trim leather straps as necessary.
- Finally, using the E6000 (and being careful not to breathe it in or get it on your hands) glue the leather backing to the right-hand side of the book cover.
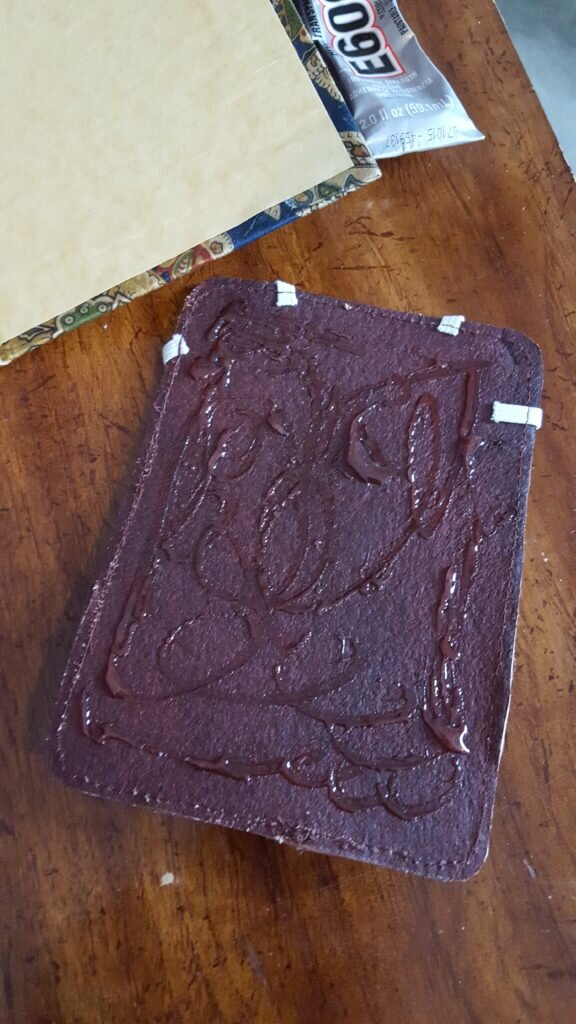
Glue leather to cover with E6000
- Let dry
- Enjoy!!


I can’t believe you MADE a Kindle cover. Your DIY skills are a constant source of amazement to me.
Glad you are enjoying your Kindle!!! & the book competition!!
Hahaha! You are too kind! It was a really fun project. I am SO enjoying my kindle! I can’t believe I never owned one until now! Thank you so much for it! :D