
I really don’t want to harp on more things that make child-rearing difficult, so I’ll try and make this the last one (though I have a sneaking suspicion it won’t be). For the record, I am honestly not trying to complain about or dissuade anyone from parenting, just trying to document all the things that have been surprising to me as a new mom. What can I say? I’m an engineer so I’m taking the analytical approach. Maybe it will make it easier to look back and empathize when my other friends are raising children and I’ve forgotten everything.
Anyway, today’s topic is breastfeeding. All I’m going to say is that it is difficult, and I was warned it was difficult by pretty much everyone I know. You’d think something that humans have been doing for hundreds of thousands of years would be pretty innate by now. Unfortunately it seems that even if you don’t have any problems with latching or supply, it is still a learning experience for both mom and baby. And once you do get the hang of it there are still times where things are frustrating for one reason or another.
But luckily, because we live in the 21st century, there are many products created to make things easier! I can tell you that my #1 favorite is the “My Brest Friend” nursing pillow – affectionately referred to as “the shelf” by my family. The thing is amazing for positioning baby – and since it is strapped to you, it doesn’t move around when baby squirms unlike the Boppy type pillows. In fact, you can even walk around with the thing on! It’s great. If you plan to breastfeed you need to put one on your registry.
Another useful item for nursing is a nursing journal. Its sort of a pain in the butt, but up until recently I wrote down the time of every feeding, soiled diaper or pumping session. In addition I would record the side Julius nursed on. Early on it was very helpful to make sure Julius was eating enough. Over the last couple weeks I’ve finally stopped recording the soiled diapers, because its pretty obvious if there are enough or not during a day. I only record nursing and pumping sessions now, since it is still very useful to know when the last time he ate was. At night though its not as important that I track the time – I just hope he goes as long as possible without eating! So I don’t bother waking him every three hours like I do during the day (that would be crazy!) So all I need to know at night is what side I need to nurse him on. My co-worker gave me a set of magnetic nursing side indicators that address this problem.
Unfortunately, while they stay on well during the day, I find that they frequently fall off in my sleep, defeating the purpose. To solve this problem I created a version that uses snaps instead of magnets to hook over your bra strap. These worked better than the originals (and I almost posted about them a couple weeks ago – so if you want the instructions, shoot me a message) but after using them for a while they still had some problems. Frequently I’d forget to switch the indicator over to the other bra strap until after I was done nursing, which means I would need to lift up my shirt and fiddle around under there to fix it. This makes using them in public iffy. Then I realized, why not just wear a bracelet? It’s not under your clothes so you can switch it easily from hand to hand after a nursing session without awkwardly groping around under your shirt if you forget. Of course, any old bracelet will do, but preferably one that is easy to slip on and off. Well, that wasn’t good enough for me, so I created one that solves one additional nursing problem!
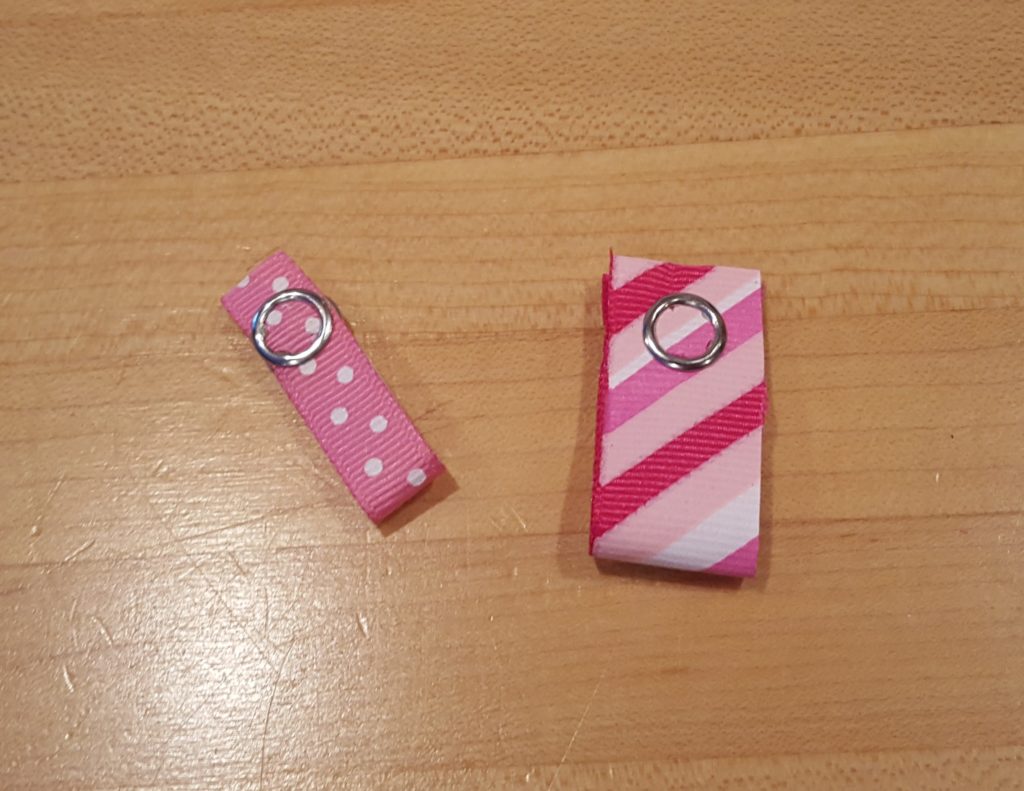
My version of the under shirt nursing indicator using snaps instead of magnets (let me know if you want my instructions).
Another problem I have is that if I’m not wearing a nursing friendly shirt (think buttons, or big pull down collar) I have to lift my shirt up to nurse. The shirt inevitably falls down on baby and annoys him and/or gets covered in milk. This bracelet doubles as a way to hold up your shirt while you’re nursing!
Nursing Bracelet
What you’ll need
- 1 coat hook from a package of “Dritz 4 Coat Hooks and Eyes”
and either
- 10″ of elastic
- small glass beads
- Beading wire
- Bead tip or to cover knot in elastic*
- bead glue
or
- knotted elastic hair tie (like these)
To make the beaded bracelet
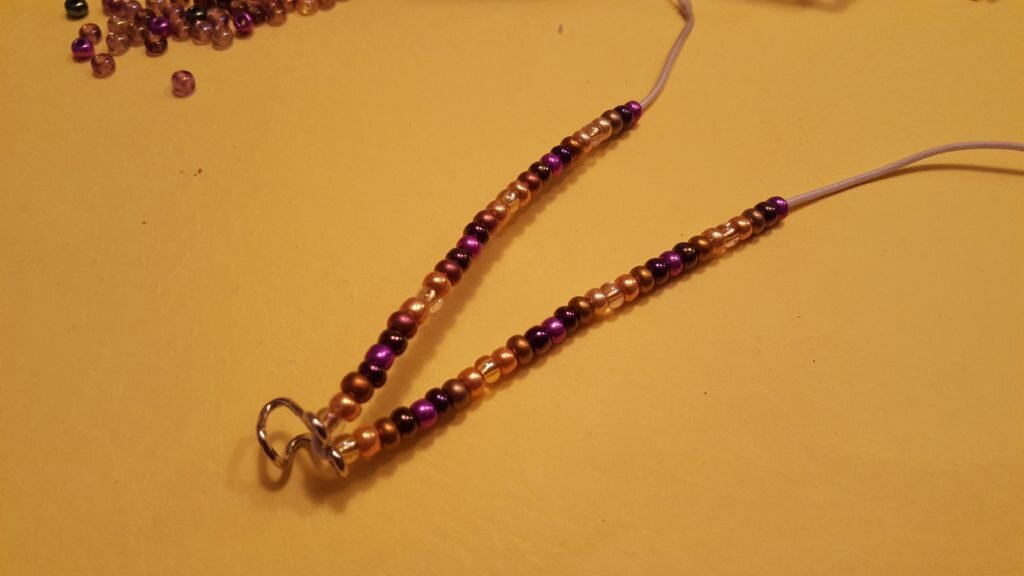
- Cut a 3″ piece of beading wire, fold in half and twist around one end of the elastic to form a needle.
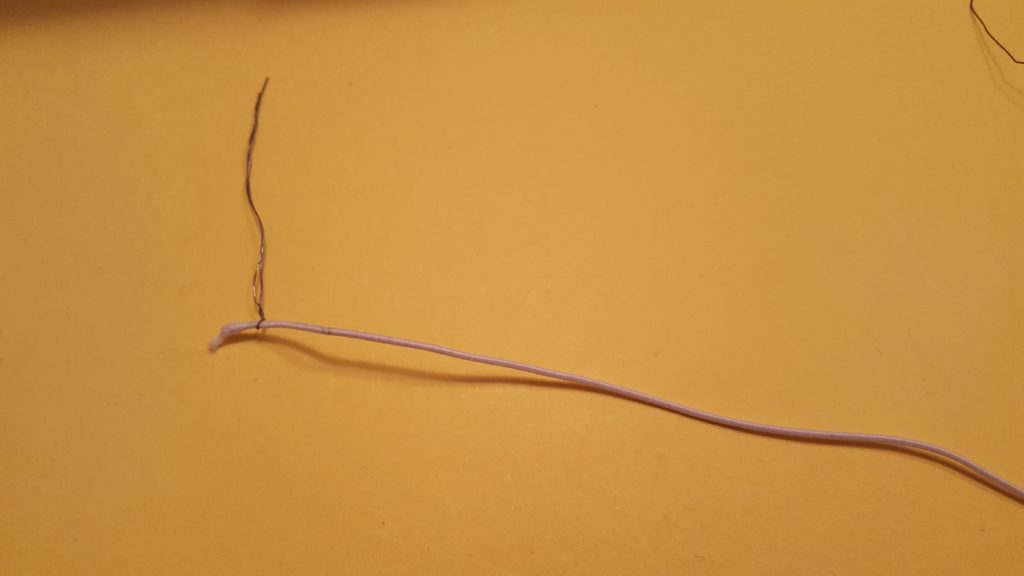
Thread wire around end of elastic to form a needle.
- Thread 4″ of beads onto the elastic.
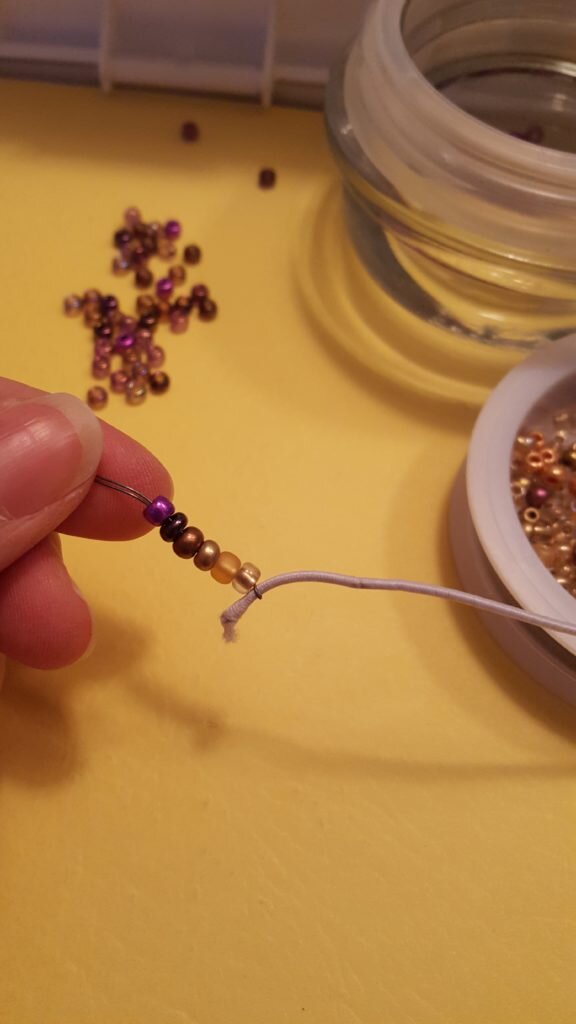
Thread 4″ of beads onto elastic .
- Thread coat hook onto elastic.
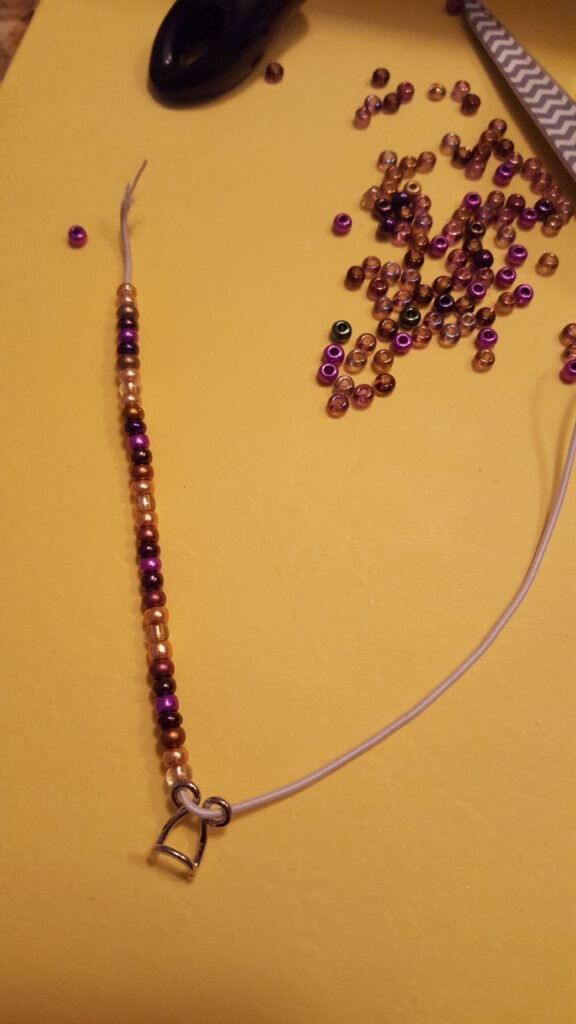
Thread coat hook onto elastic
- Thread another 4″ of beads onto the elastic.
Thread rest of beads onto elastic.
- *Add a crimp bead or tube if desired.
- Knot the ends of the elastic together.
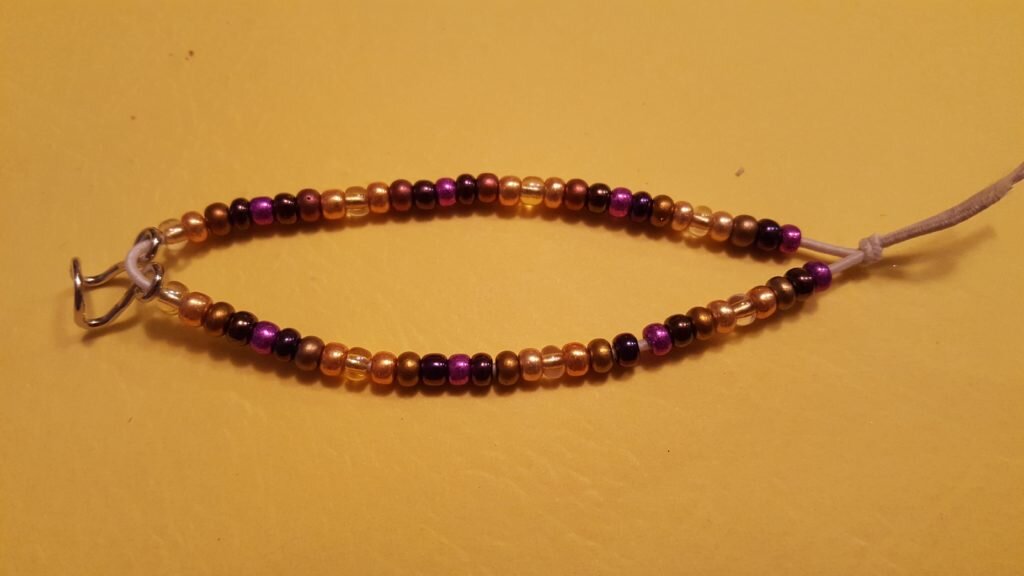
Knot ends of elastic.
- Trim the ends of the elastic then put a drop of glue on the knot.

Trim ends of elastic then put a drop of glue on the knot
- Cover knot with a bead or crimp tube.
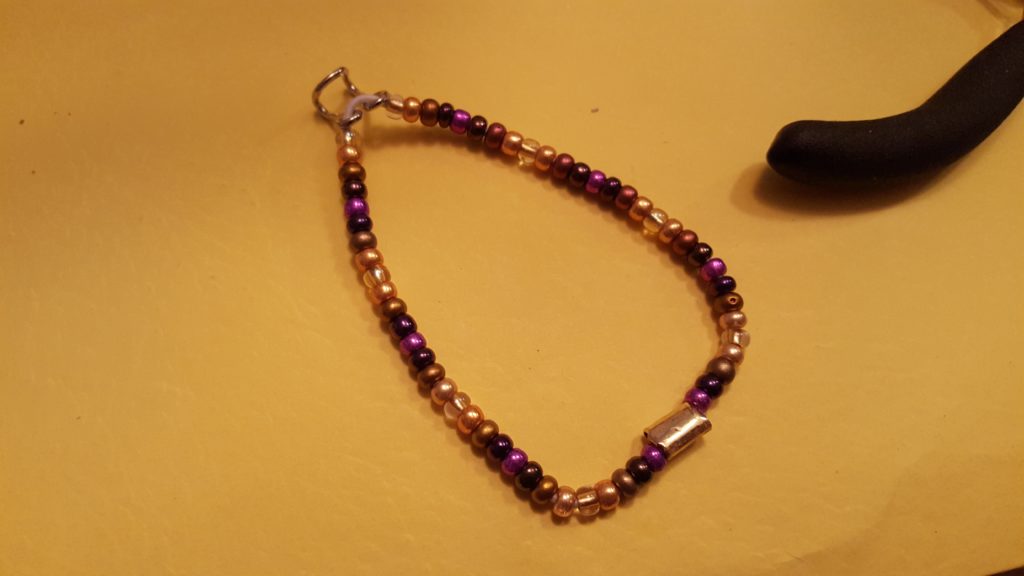
Cover elastic with crimp bead or tube
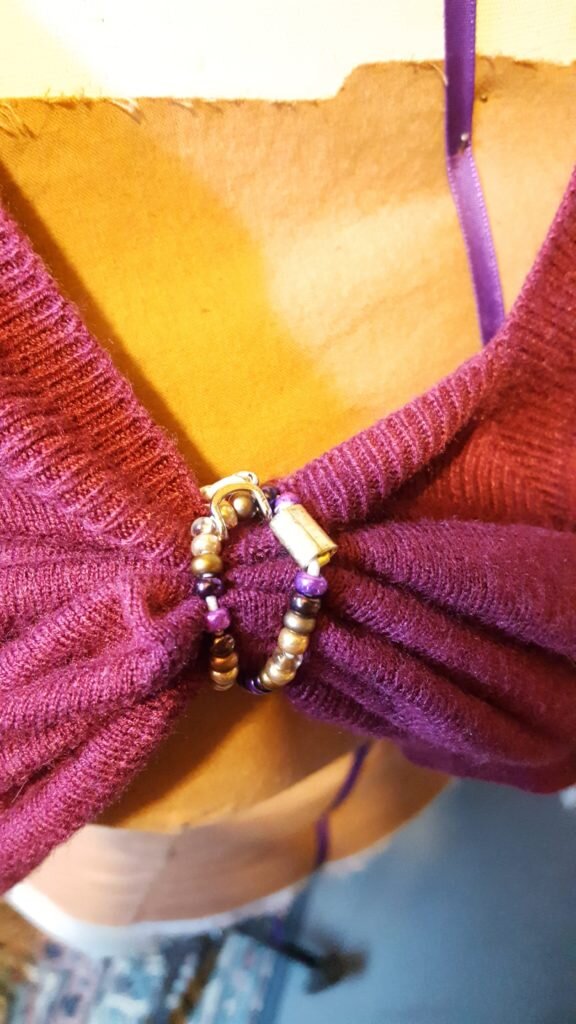
- ** Note if your beads are too large, you may have to open the hook part of the coat hook slightly so it will fit over your beads when using.
Finished bracelet
To make the hair tie bracelet
- Unknot hair tie.
- Thread coat hook onto hair tie.
- Re-tie hair tie.
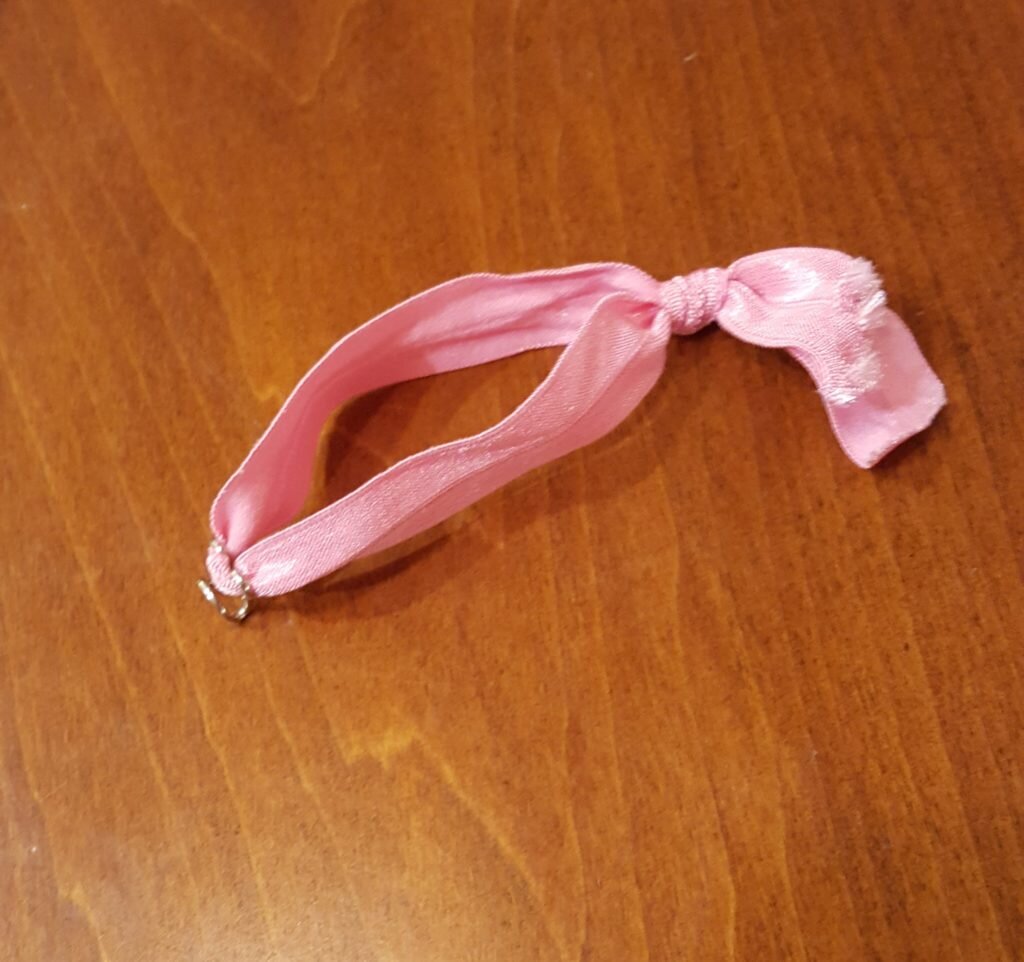
Finished bracelet from hair tie
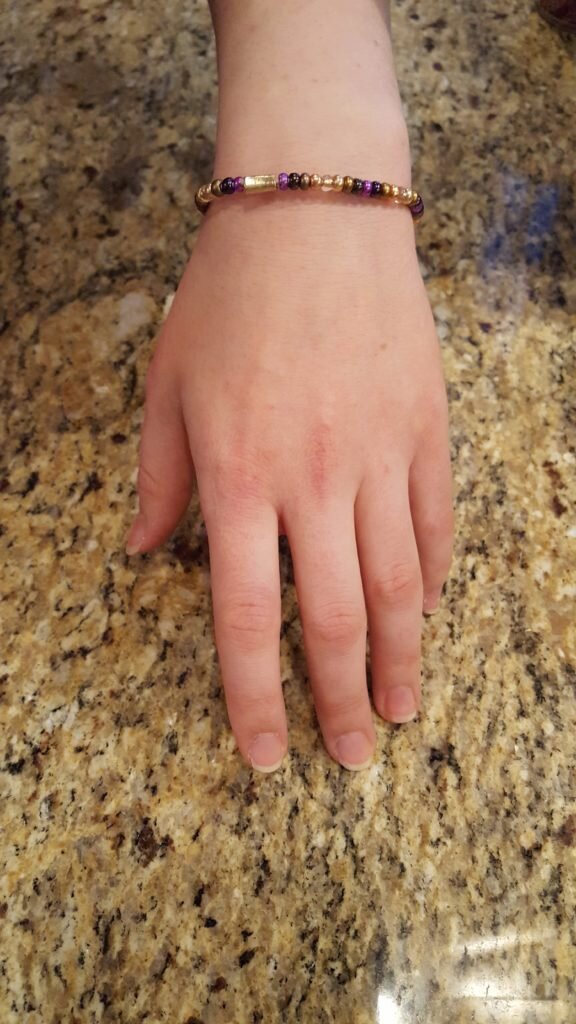
To use – simply loop the bracelet around your neckline and the bottom of your shirt. Hook the coat hook onto the opposite end of the bracelet.
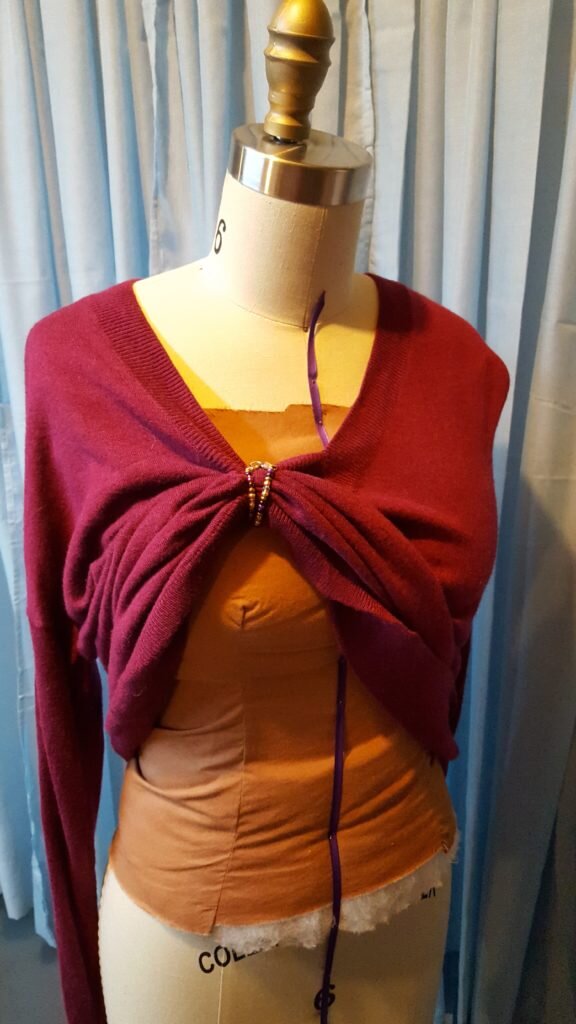
Bracelet holding up shirt for nursing access.
Loop bracelet around shirt and hook onto other end of bracelet to hold shirt in place.
