We just put up our Halloween decorations decorations this week, so it’s officially the most wonderful time of the year. I just love the fall! The leaves turning, the weather getting cooler, apple picking, pumpkins, harvest and craft festivals, then costumes, ghosts, bats, scary stories, warm apple cider and wrapping it all up with Thanksgiving. What isn’t to love?! I cannot tell you. It is the perfect season and it brings me great joy. Maybe that’s why both my babies were born in the fall, because my body knew all good things happen in fall.
I don’t know if it’s the fall or what, but I’ve picked up my motivation levels a bit. Perhaps it’s all the crafts I need to complete in the next month – renaissance costumes, Halloween costumes and TWO birthday parties and birthdays. Despite the looming deadlines I finally managed to finish up a project I started ages ago – chair pads for my kitchen chairs.
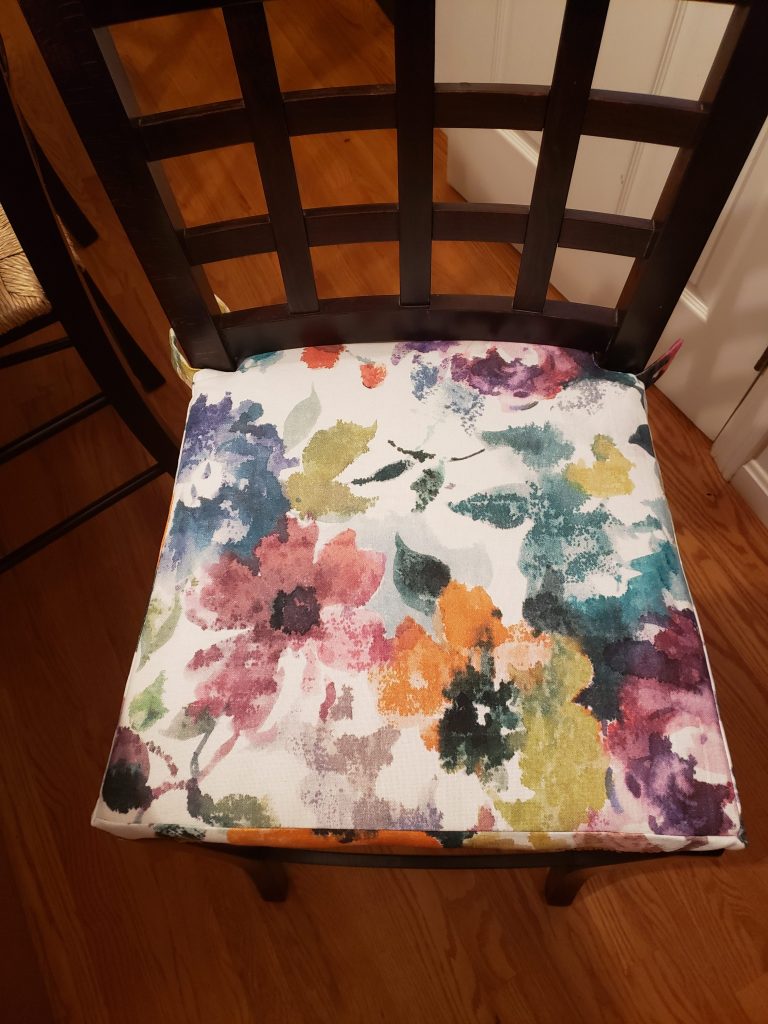
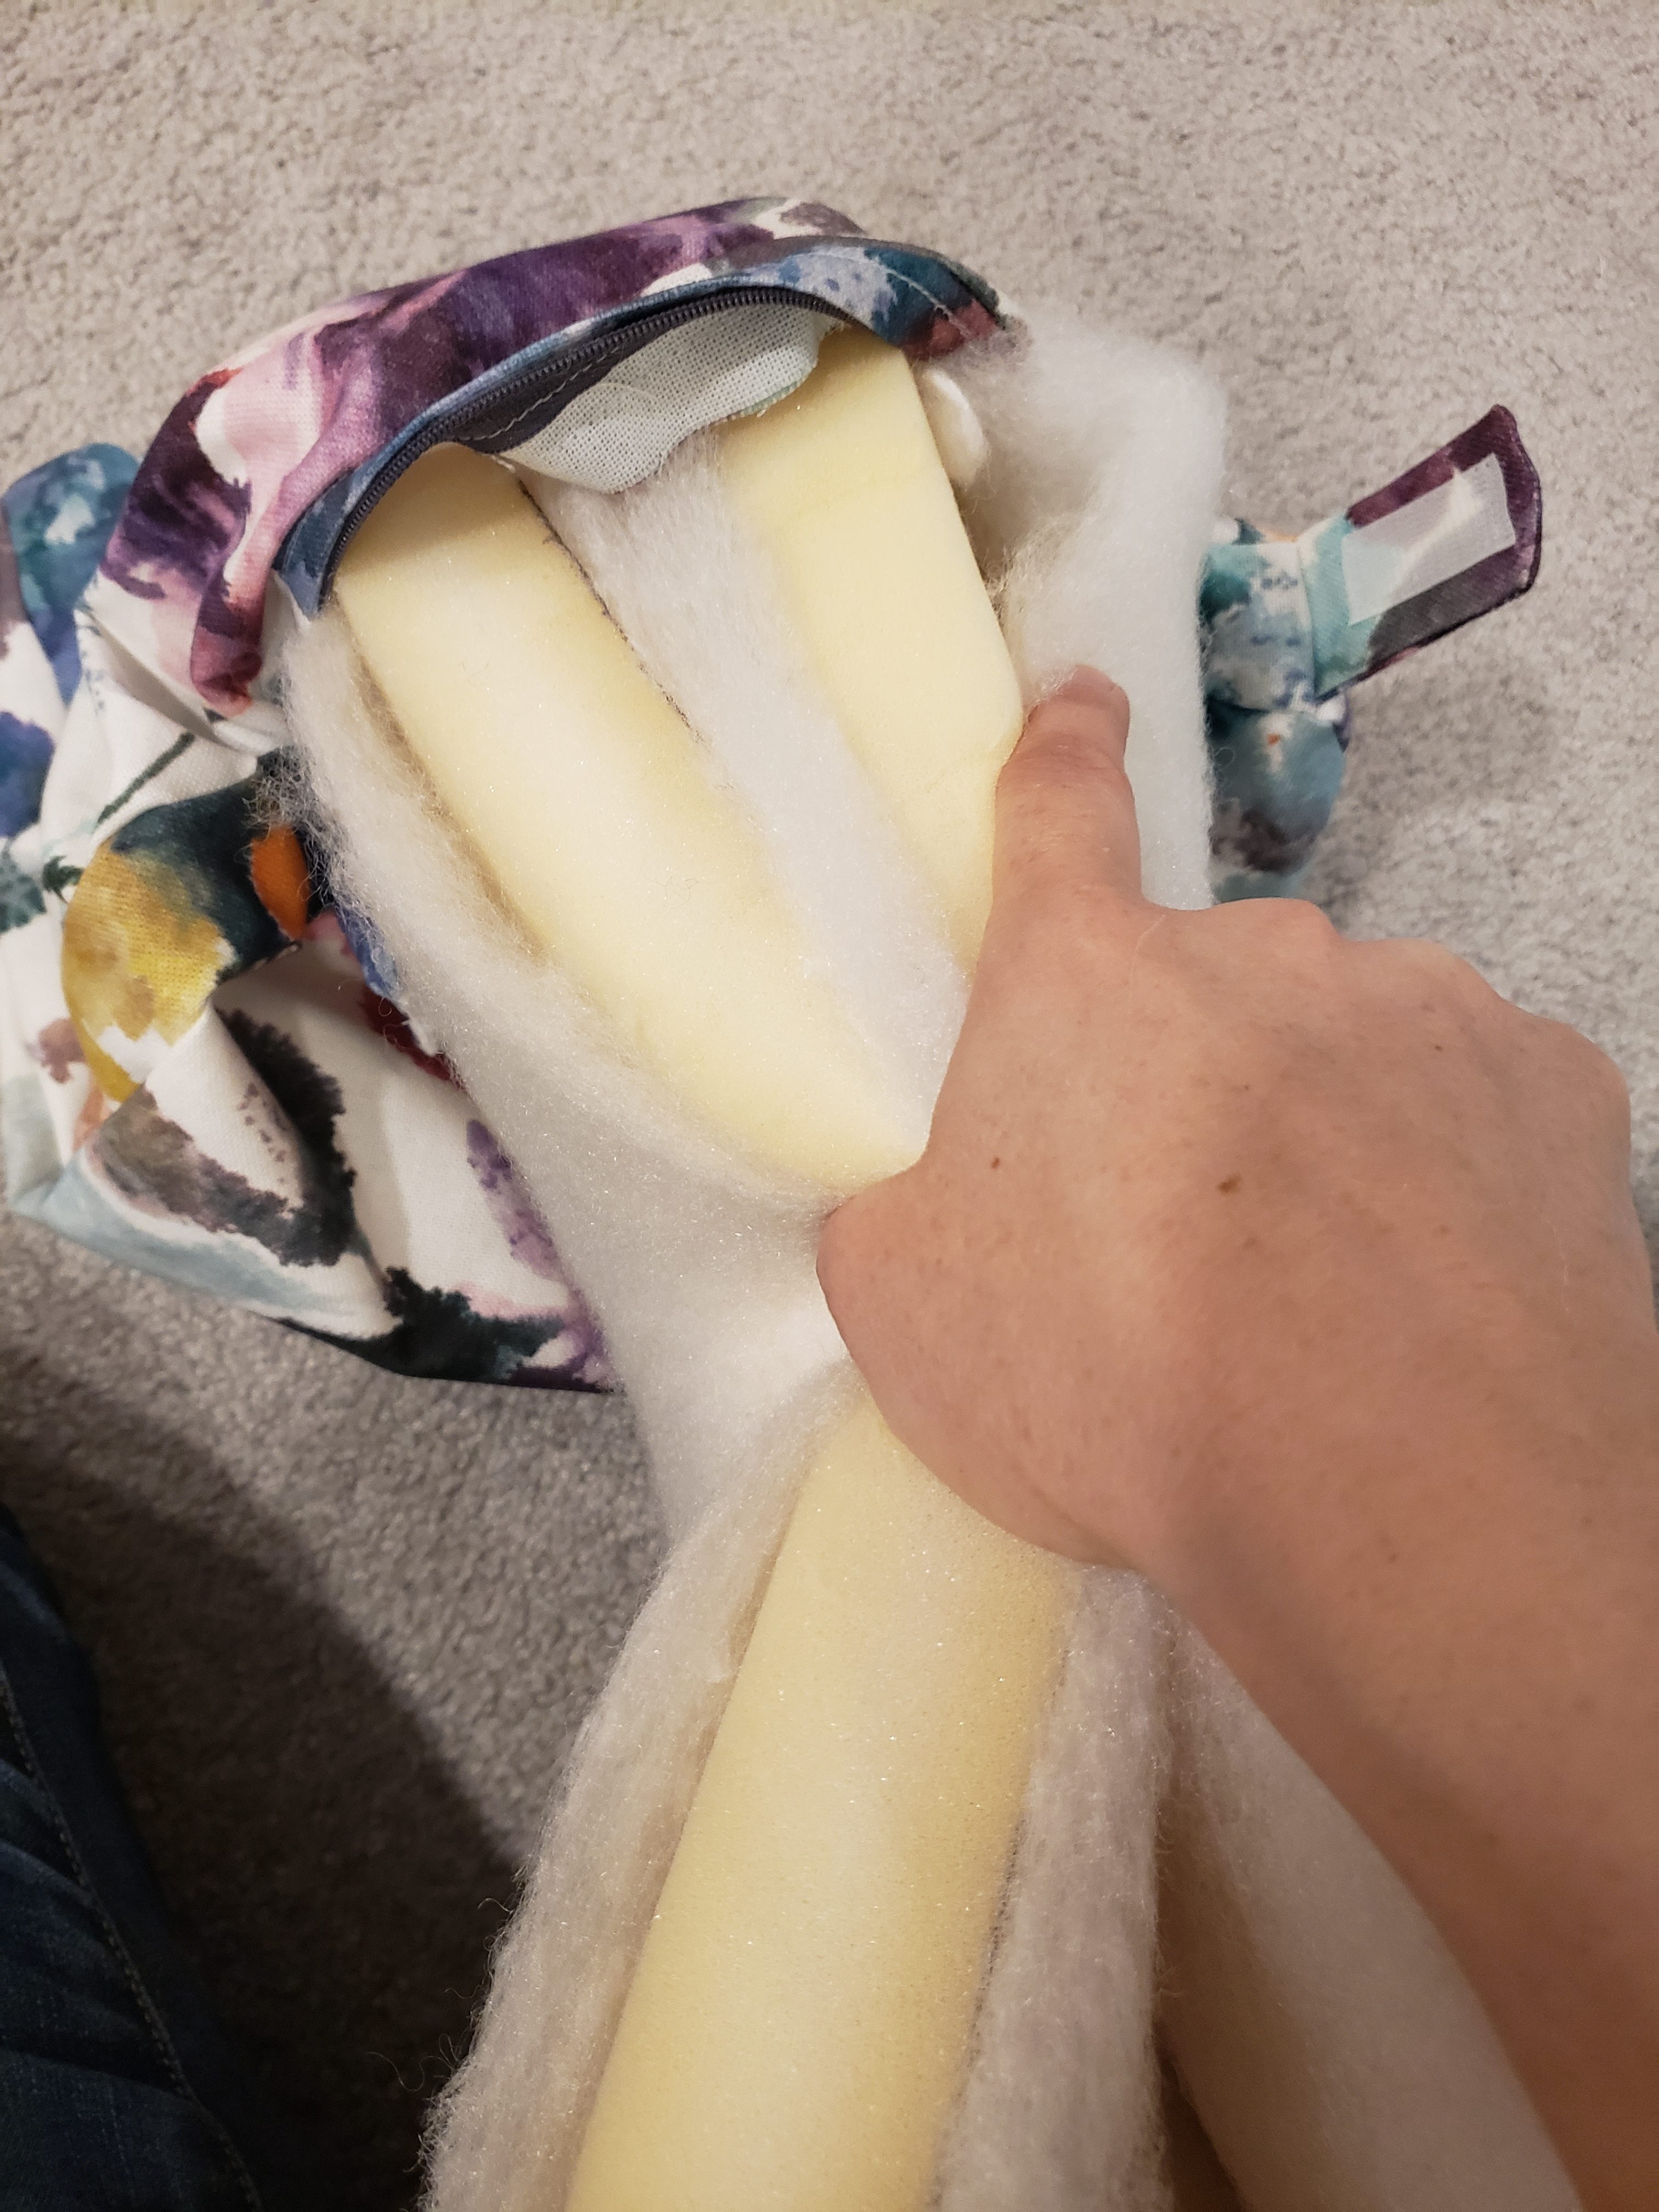
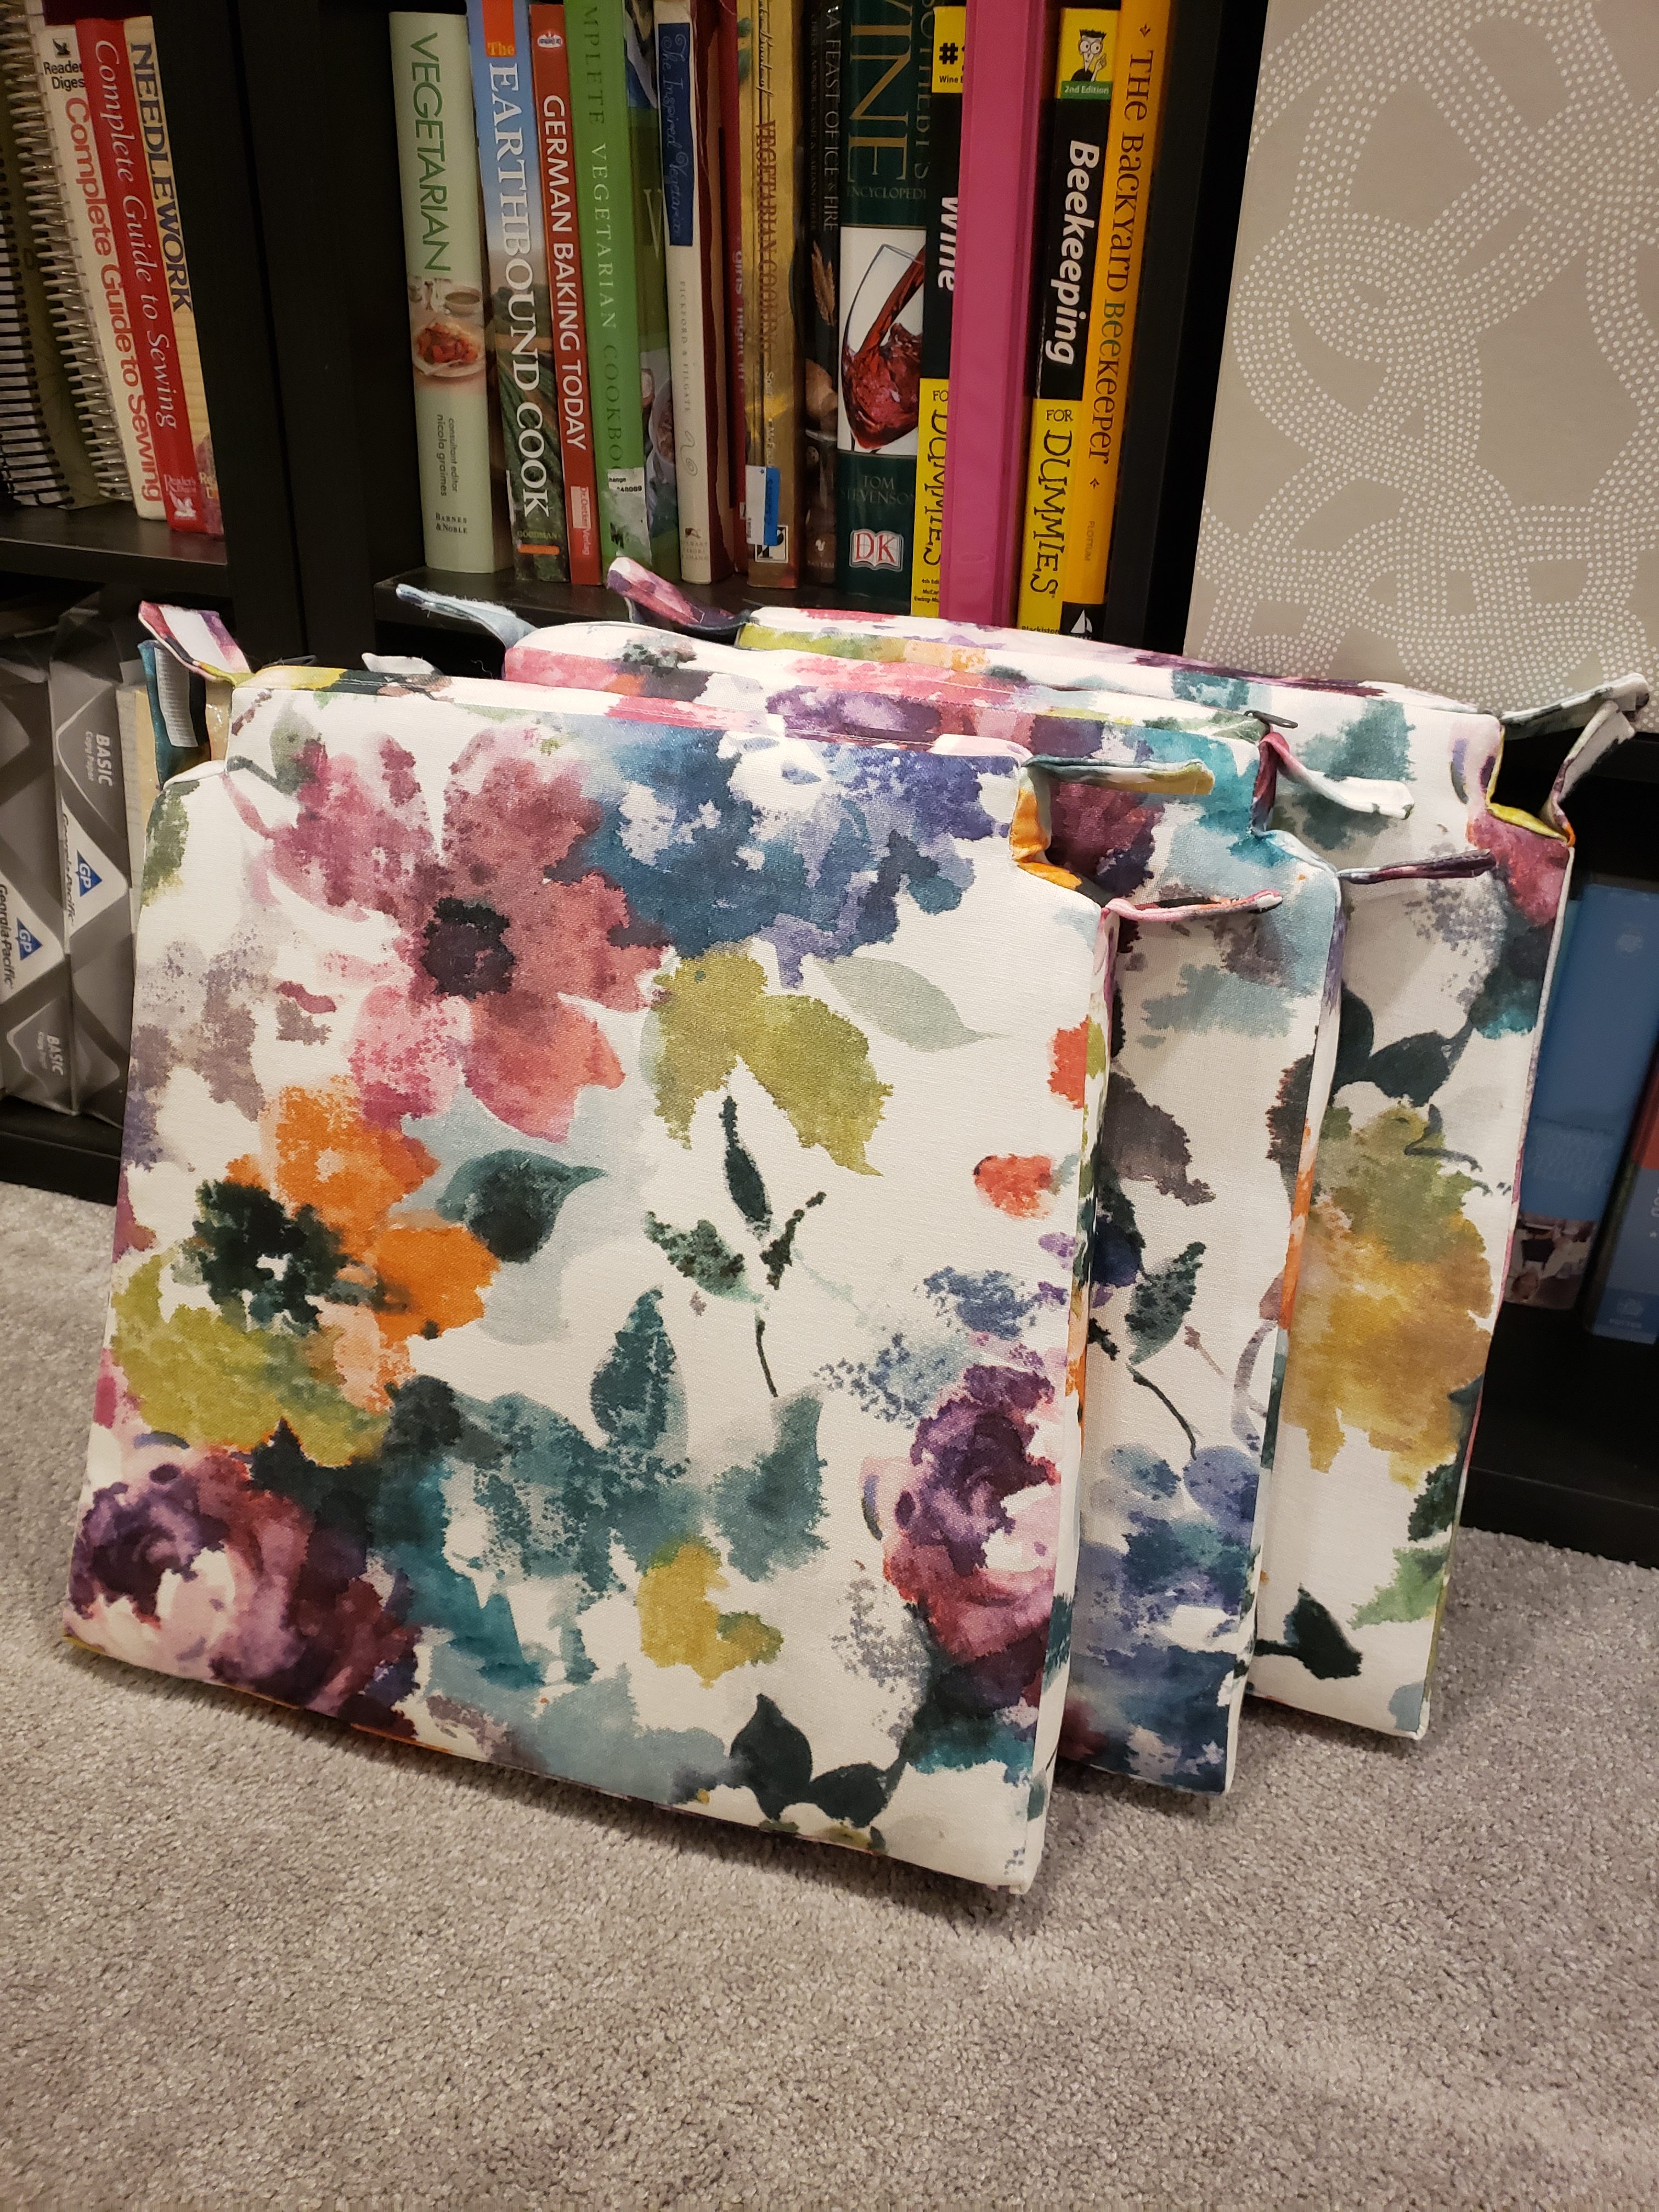
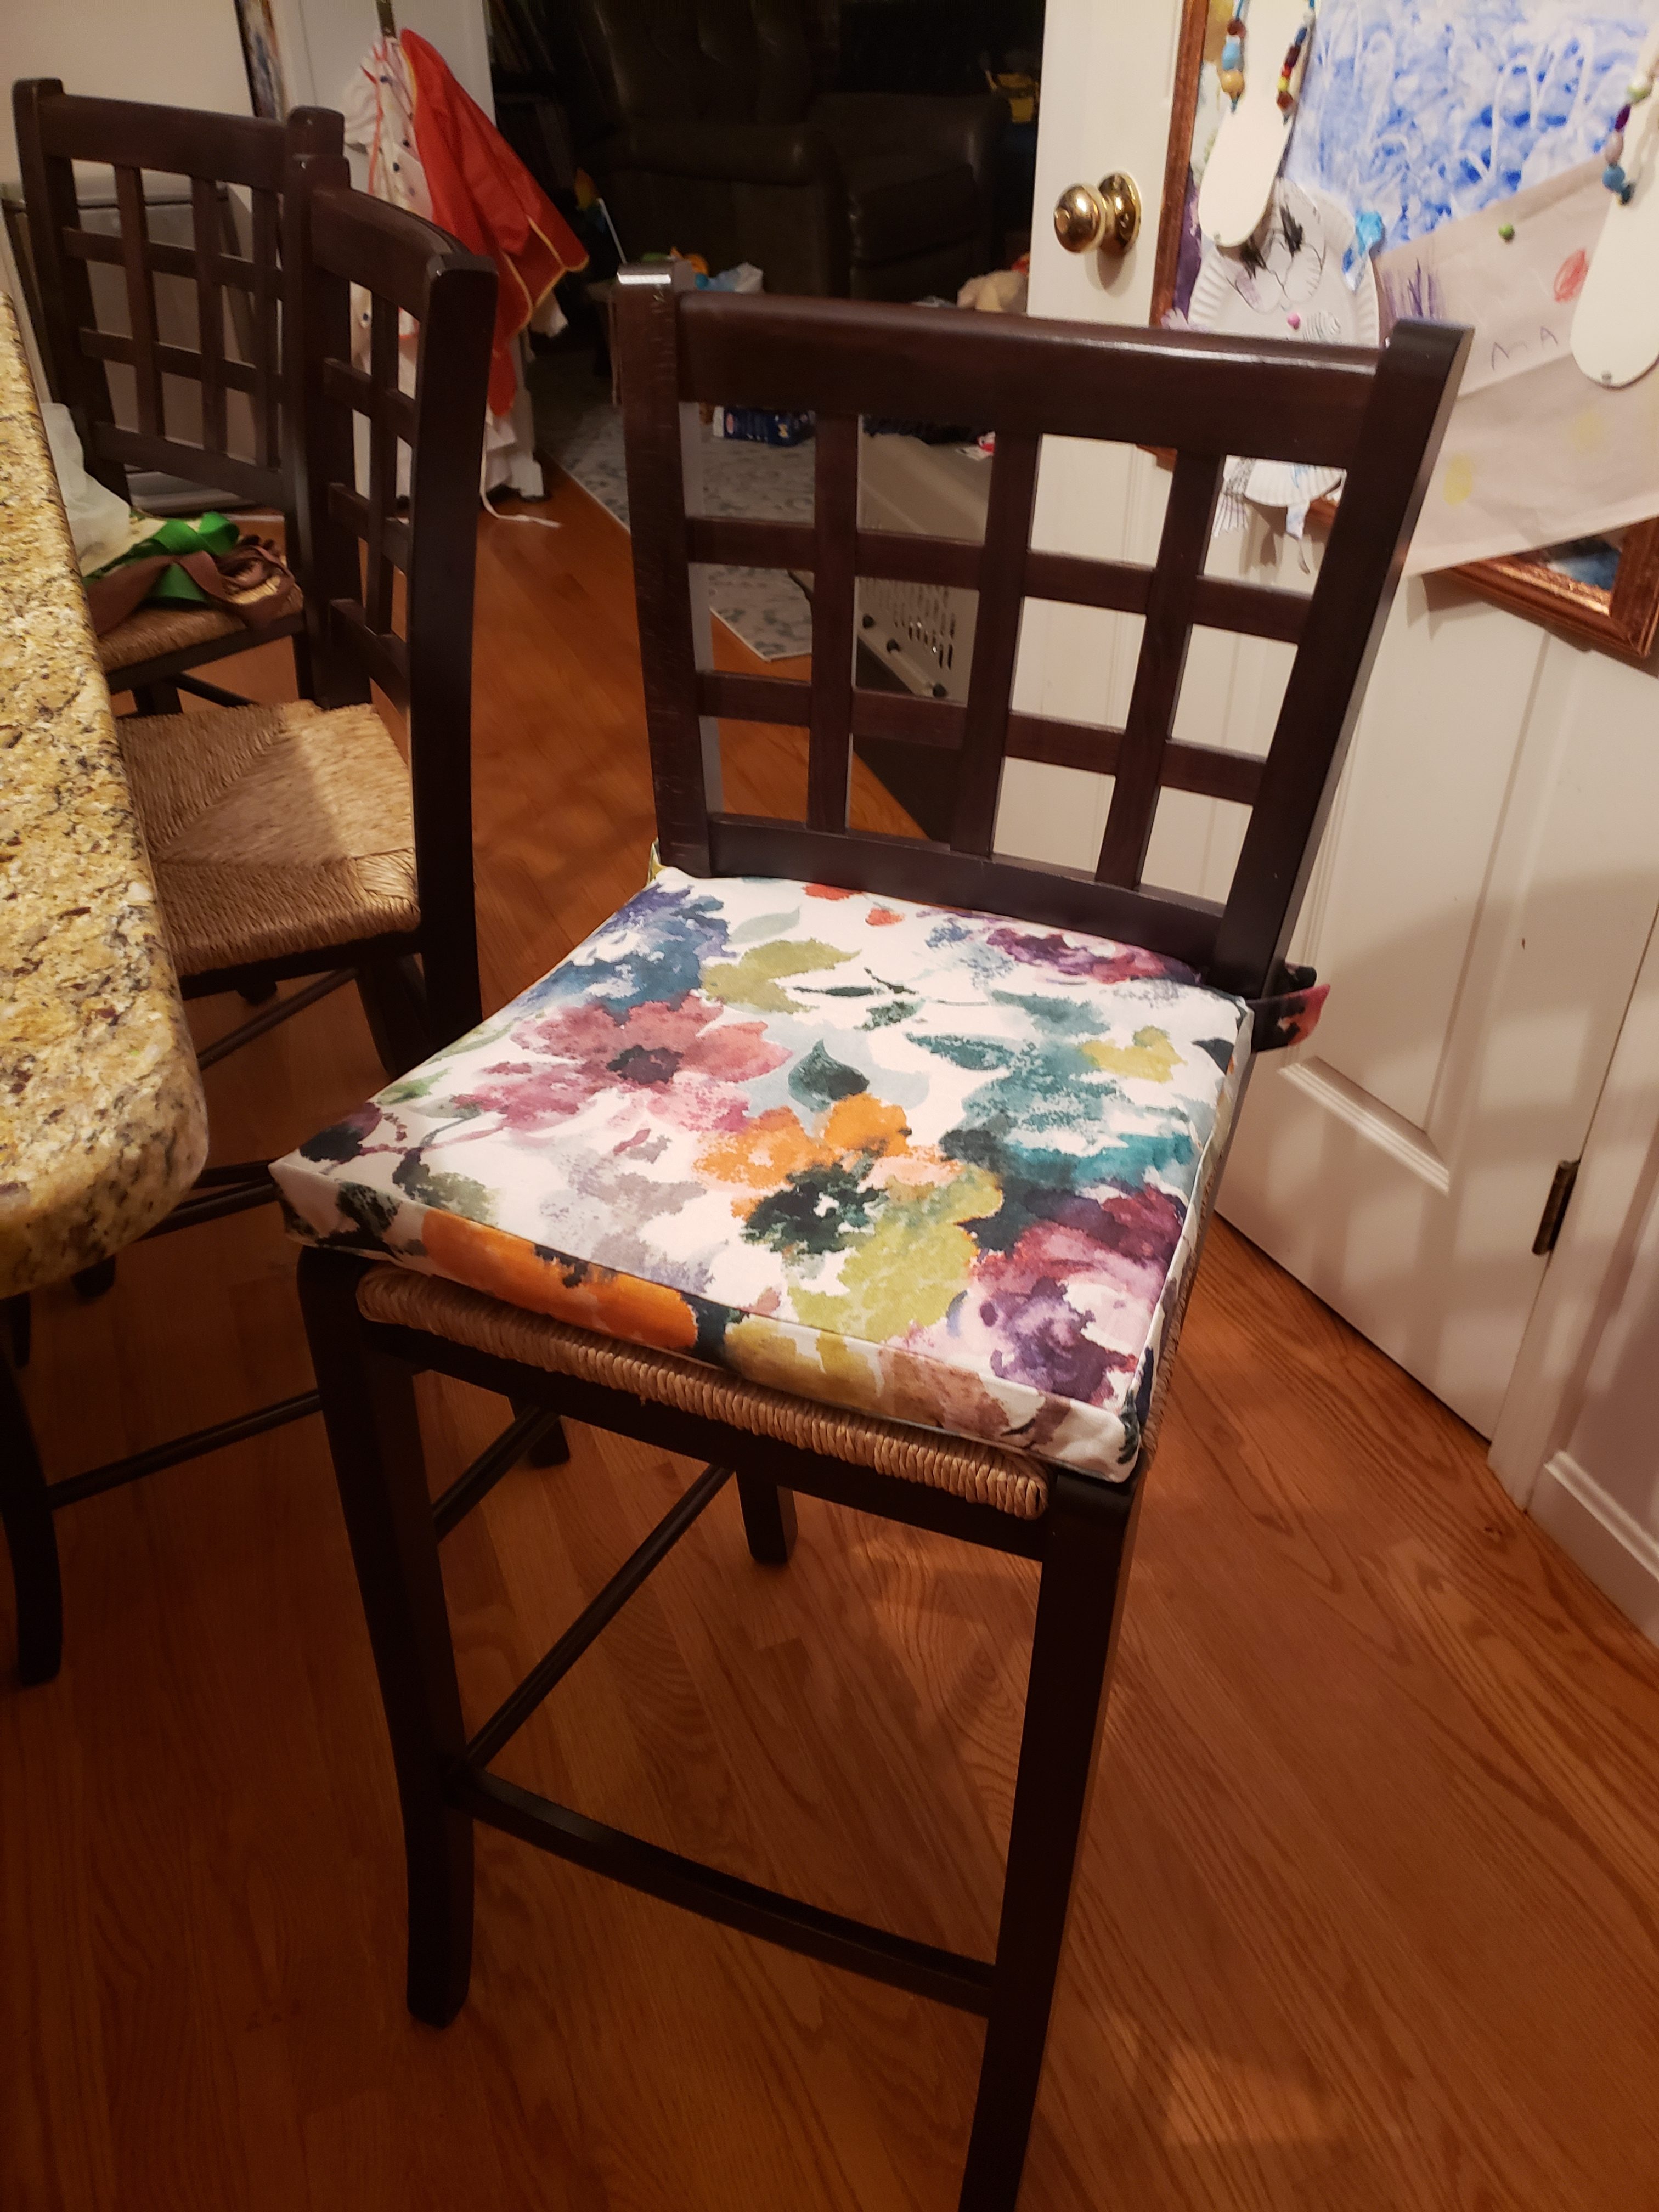
You may remember that my children were offended when I replaced the kitchen chairs with rush chairs. I think the rush chairs are beautiful, but Patricia is constantly smashing crumbs into them, so I wanted something that might be easier to clean. Someone was giving away some outdoor chair pads that were pretty beat up and I knew I could save them from the garbage and also get some free stuffing! I disassembled all the cushions and removed their foam and zippers. I’m not sure if I can do anything with the fabric since it’s outdoor fabric and pretty beat up, but I’m still thinking. The first pad took some time including the pattern creation, but after that the other 3 were a breeze! Oh and you may recognize this fabric when I made the play kitchen back less ugly a work of art. This fabric is awesome for chair pads. The morning after I made Patricia’s chair pad she covered it in blueberry juice. You can’t even tell. It looks like part of the artwork.
 Custom Chair Pads
What you’ll need:
- upholstery fabric
- 1.5″ foam
- zipper
- velcro
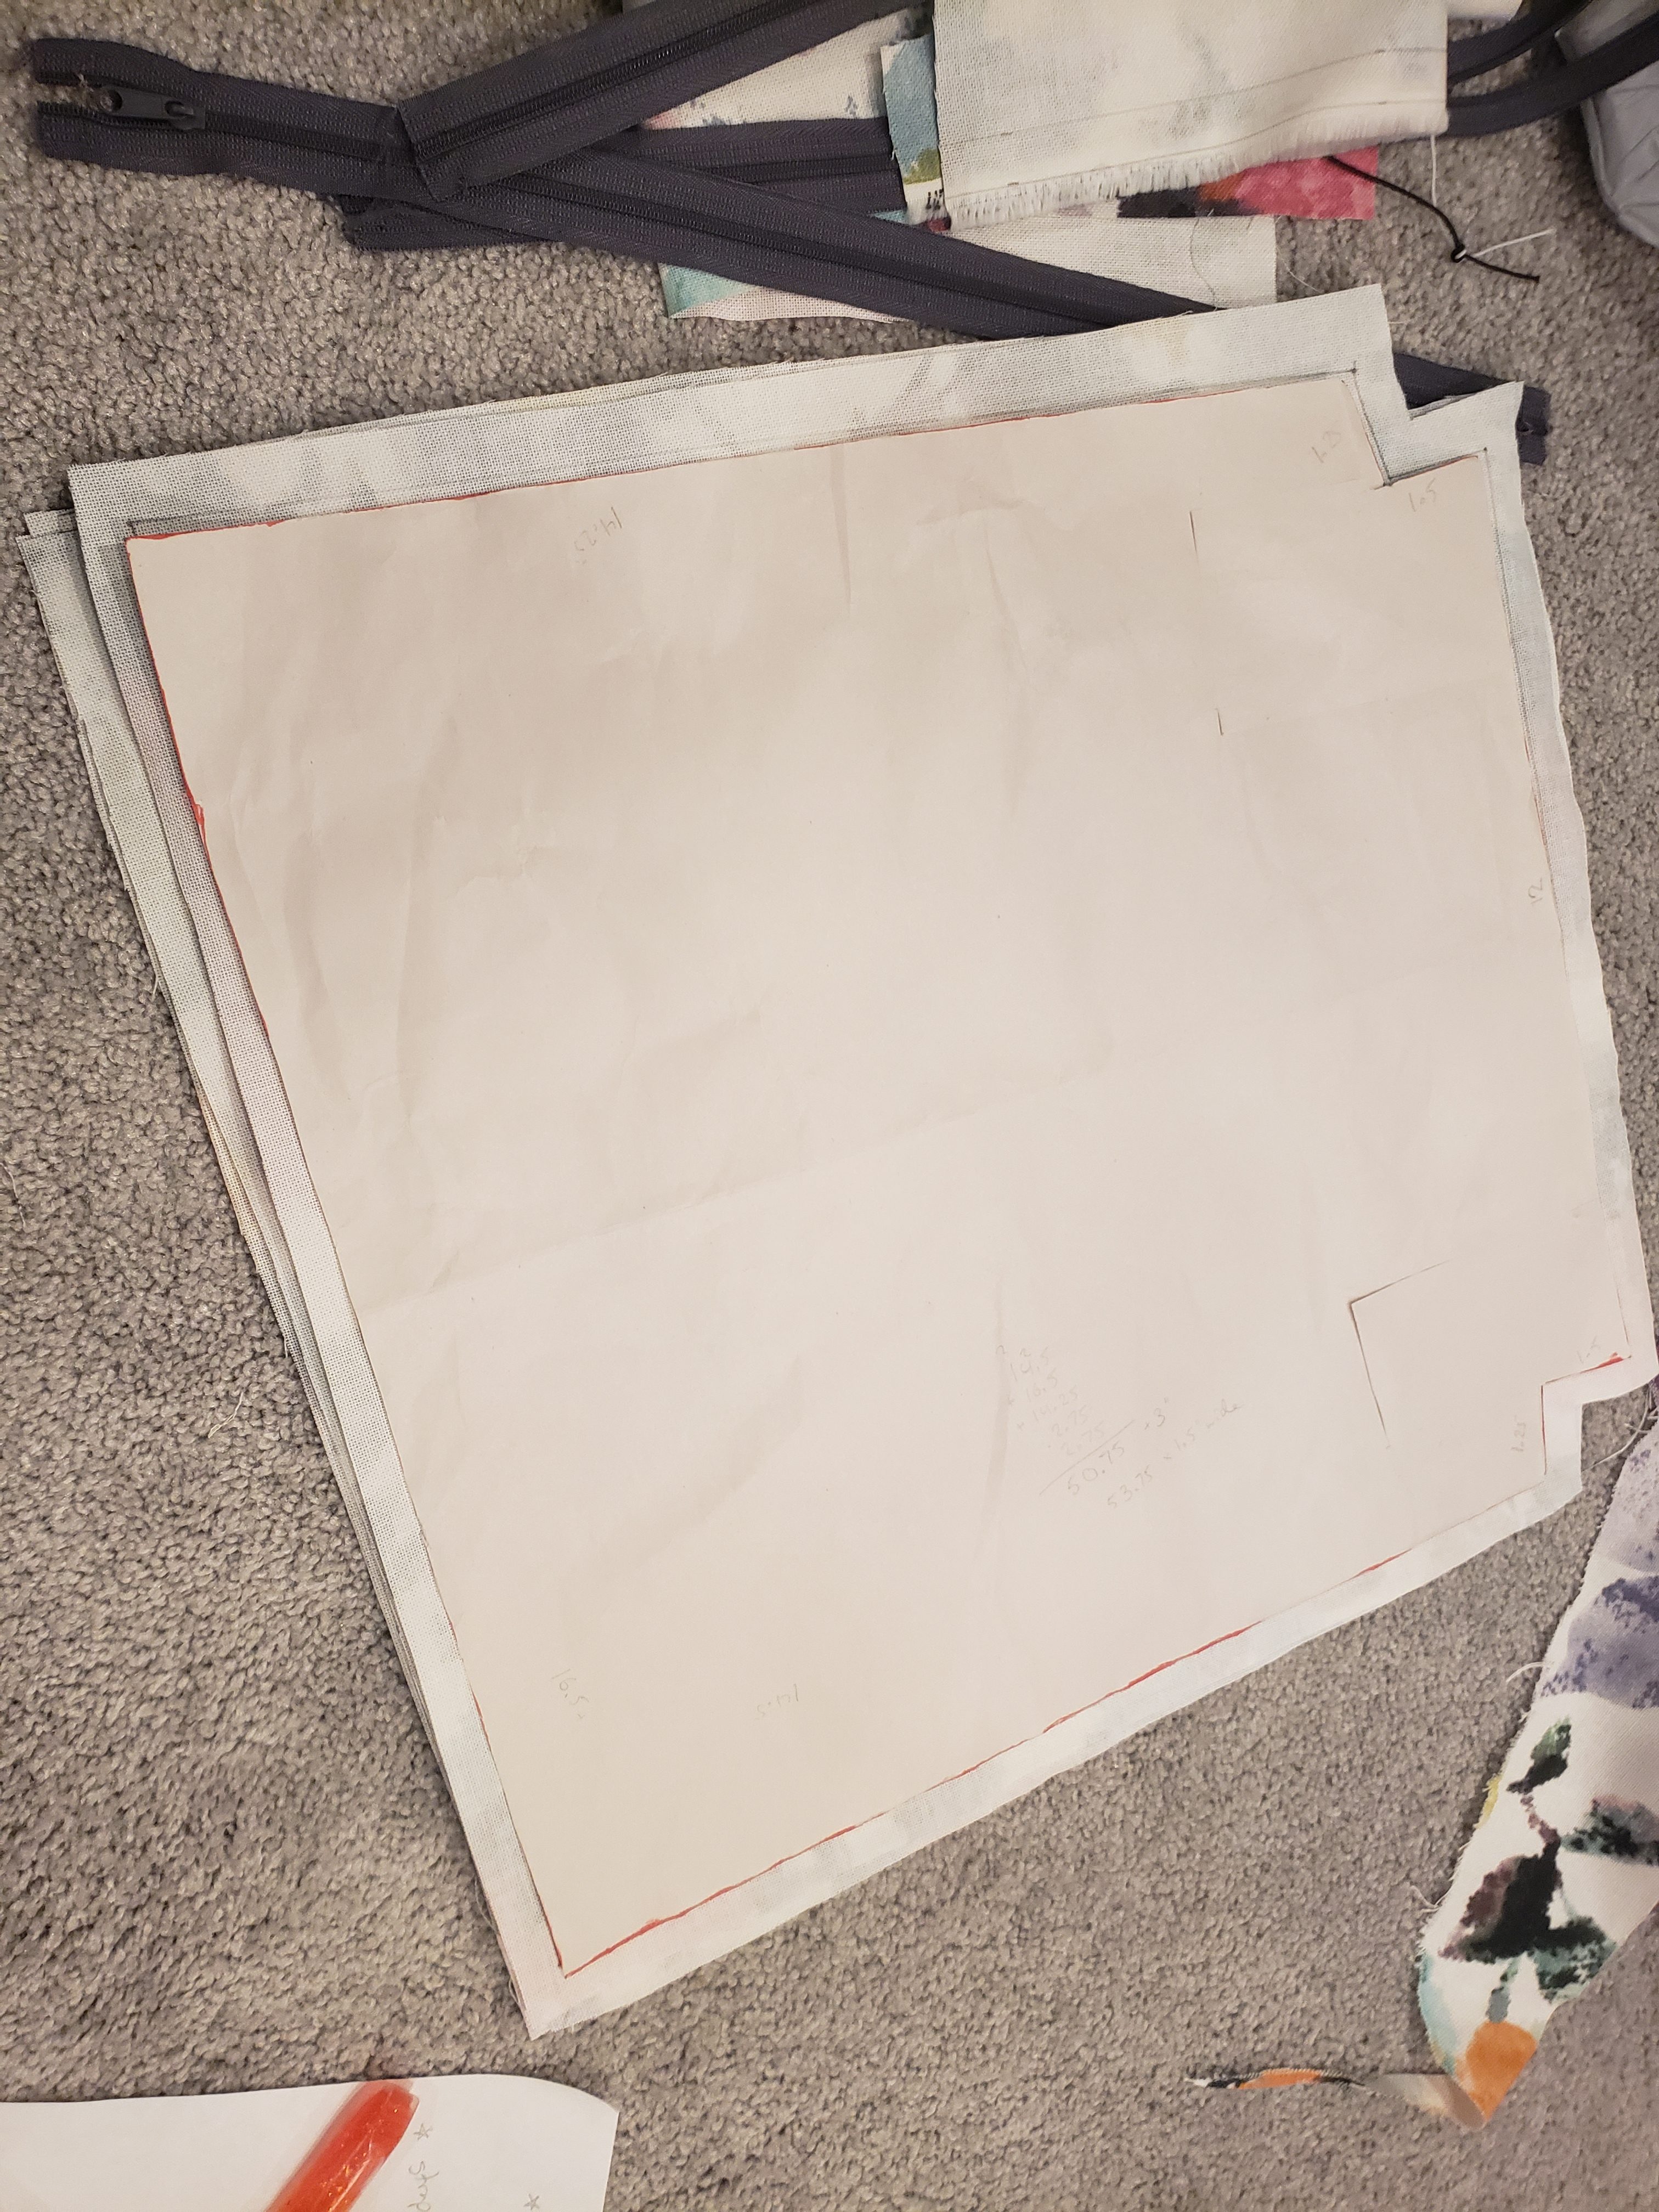
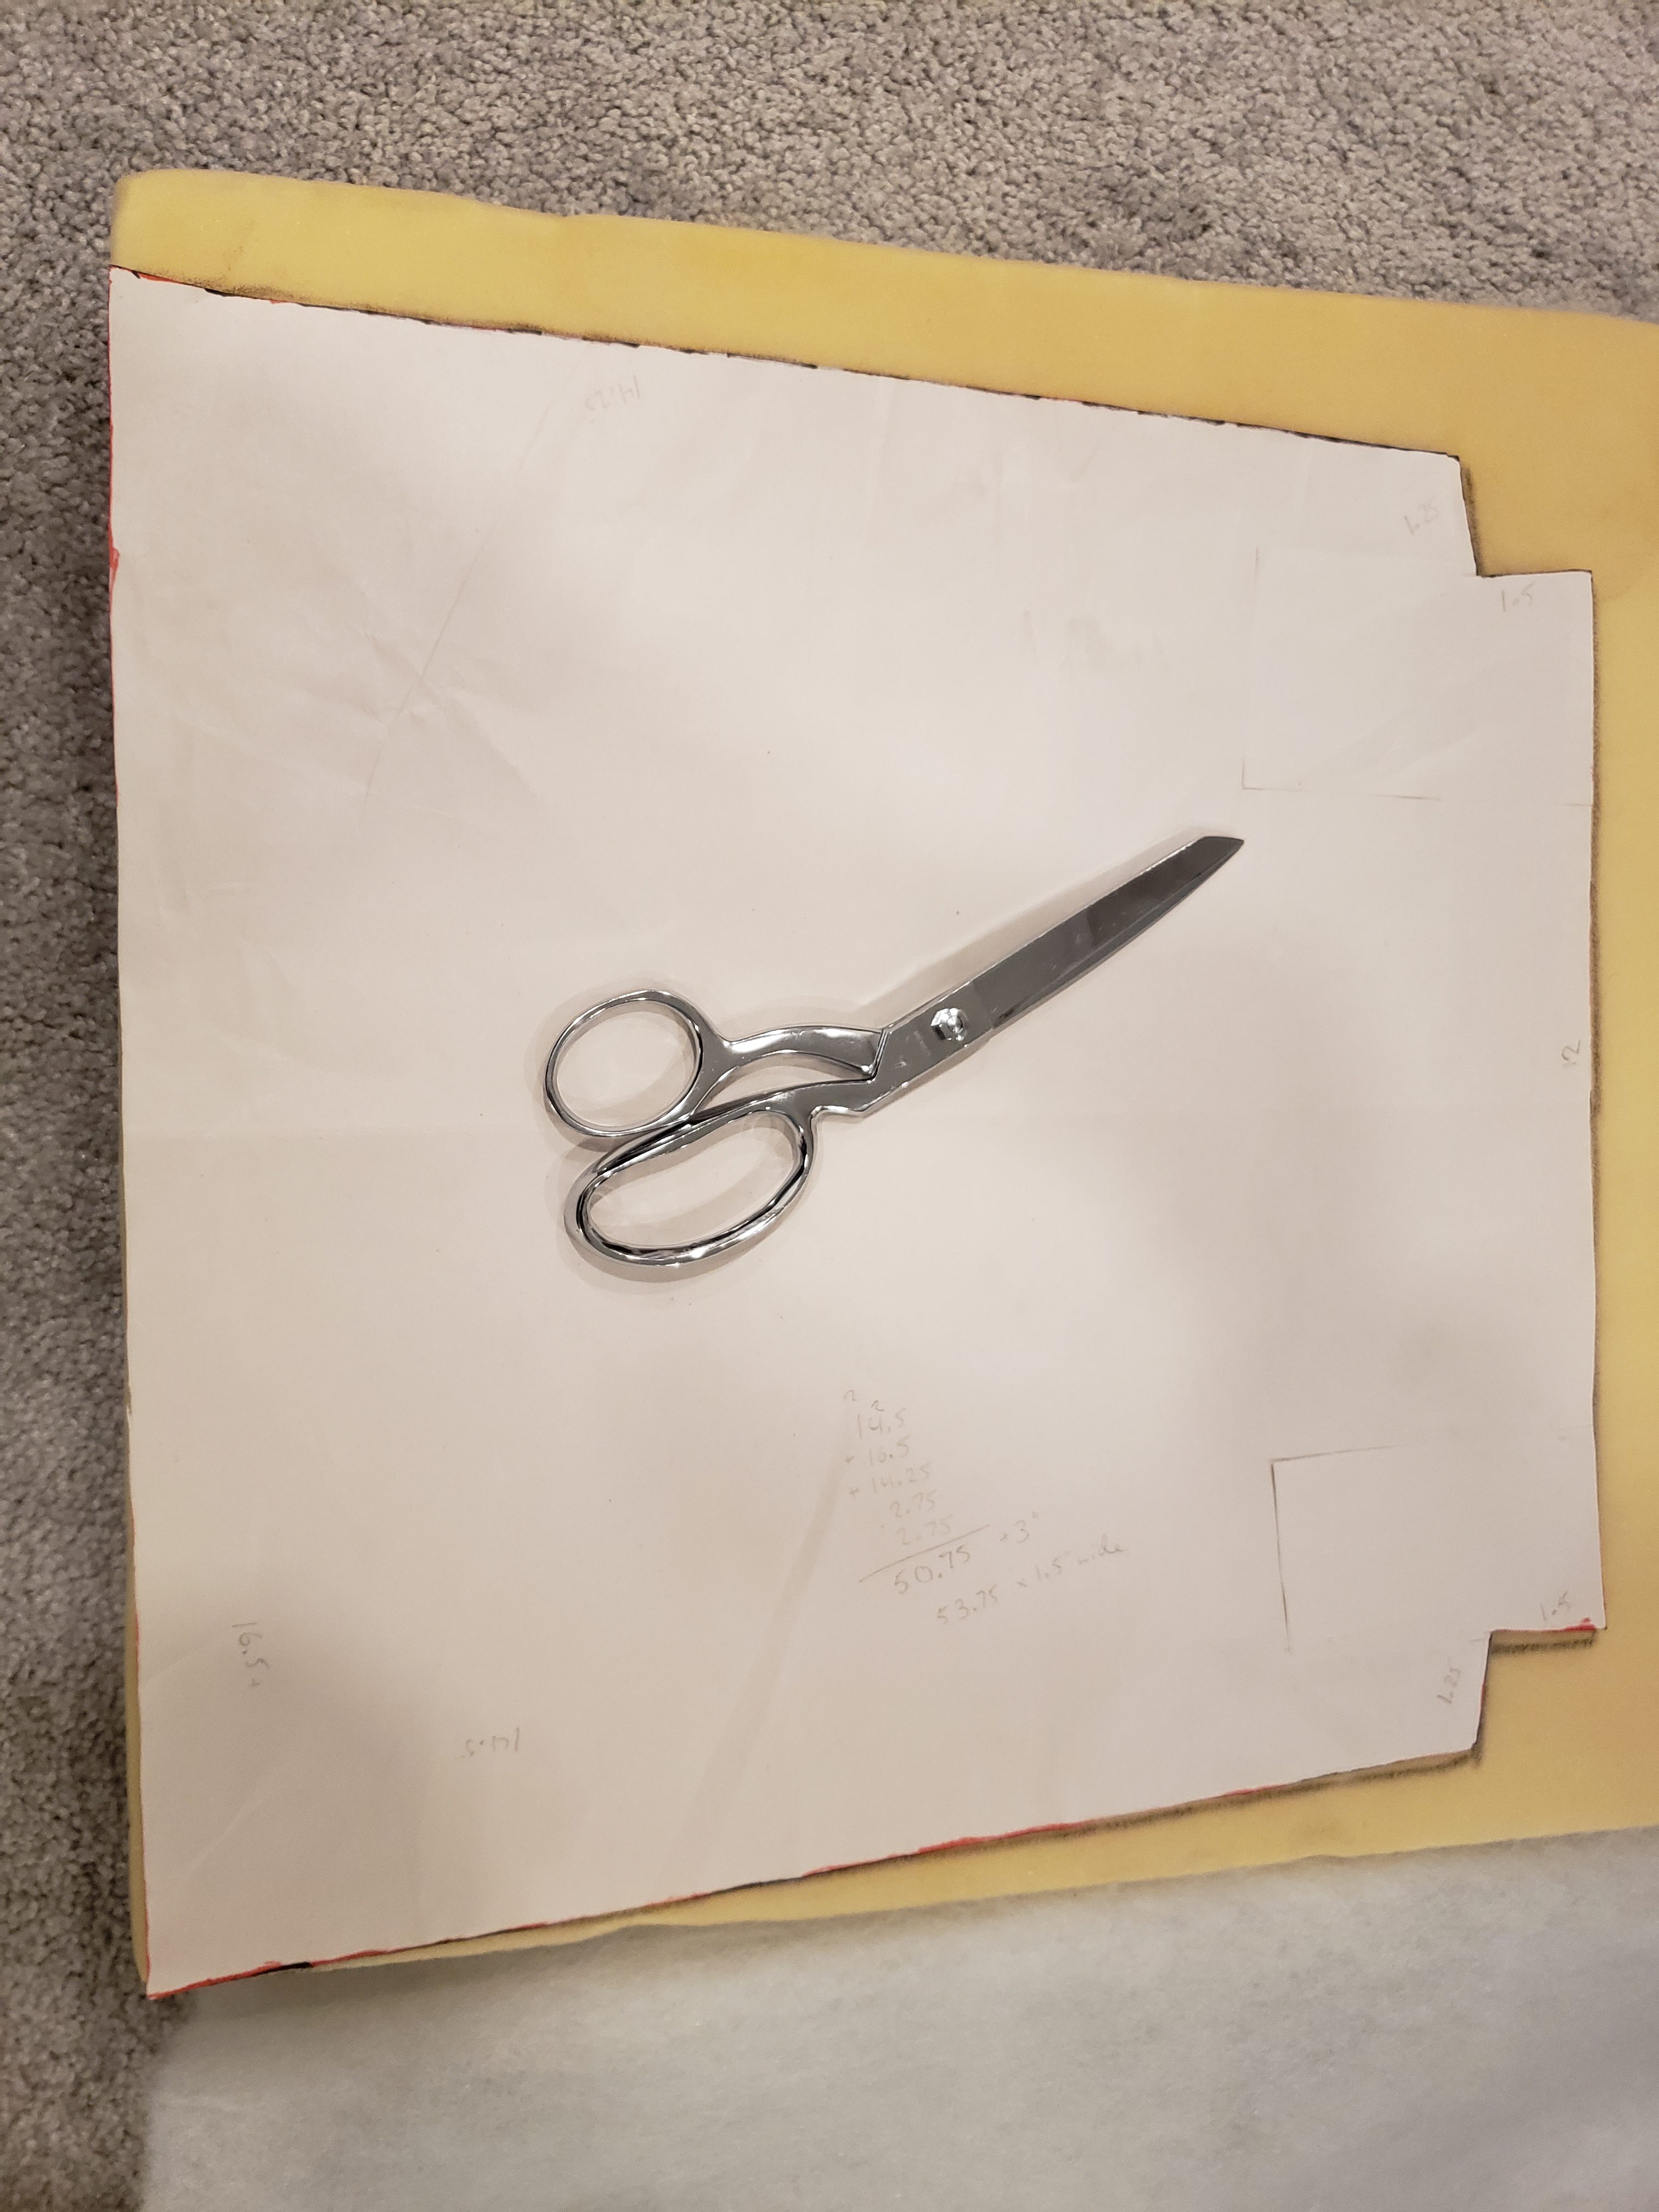
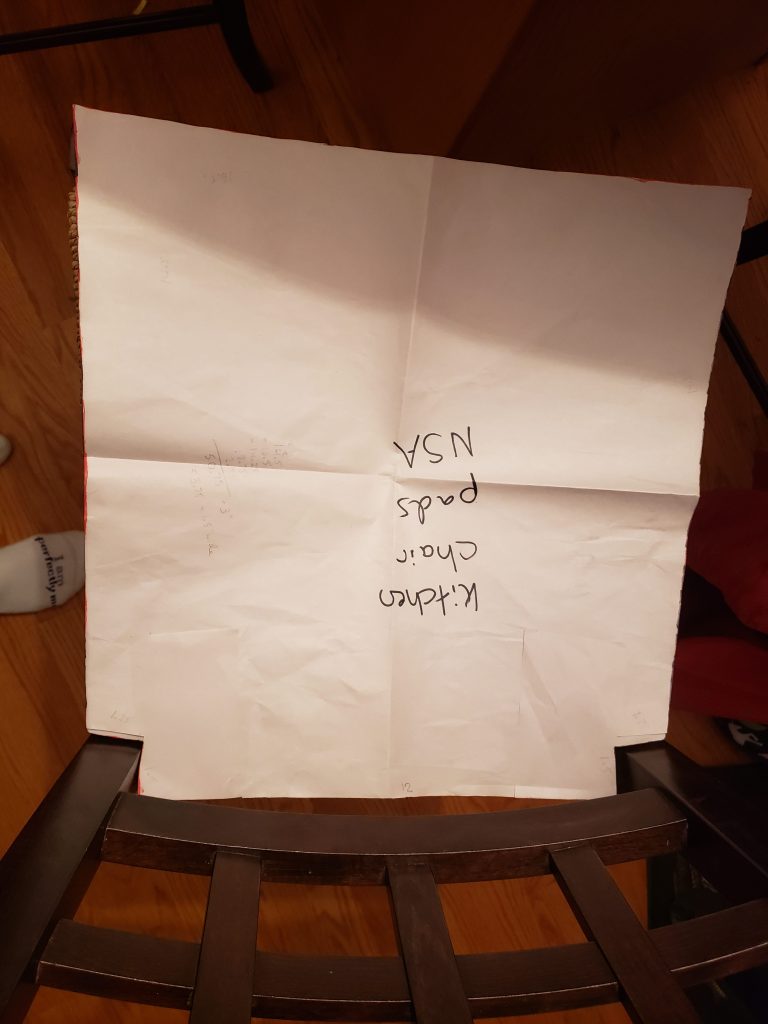
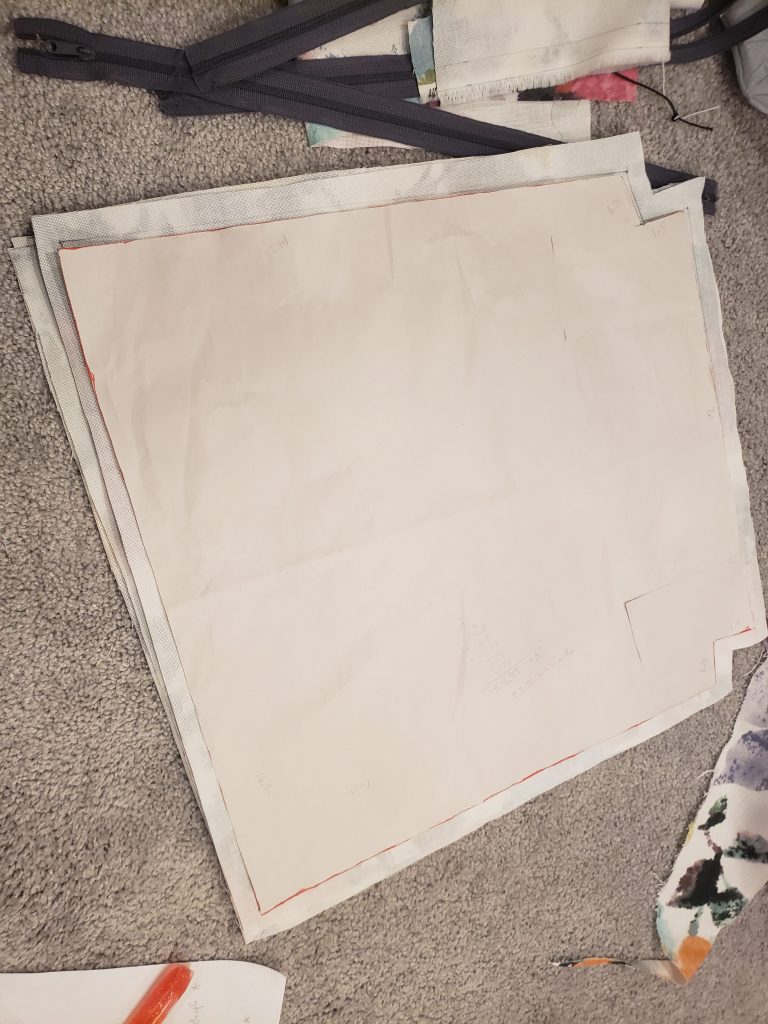
- All chair sizes are different. For starters you’ll need to measure out your chair and make a template from paper. As a tip, I made a first draft, then used a ruler to draw a more straight and even version, folding it in half along the center to make sure it is symmetric across the center.
- Next you’ll need to cut 2 pieces of fabric from your template, one for the top and one for the bottom. The template has no seam allowance, so be sure to add 1/2″ seam allowance all around.
- Measure the length around your chair, omitting the back piece (this is where the zipper will go). Cut a strip of fabric that is 2.5″ wide and the length you measured around your chair, plus 1″. If you have little indents for the chairs back, add another 1″.
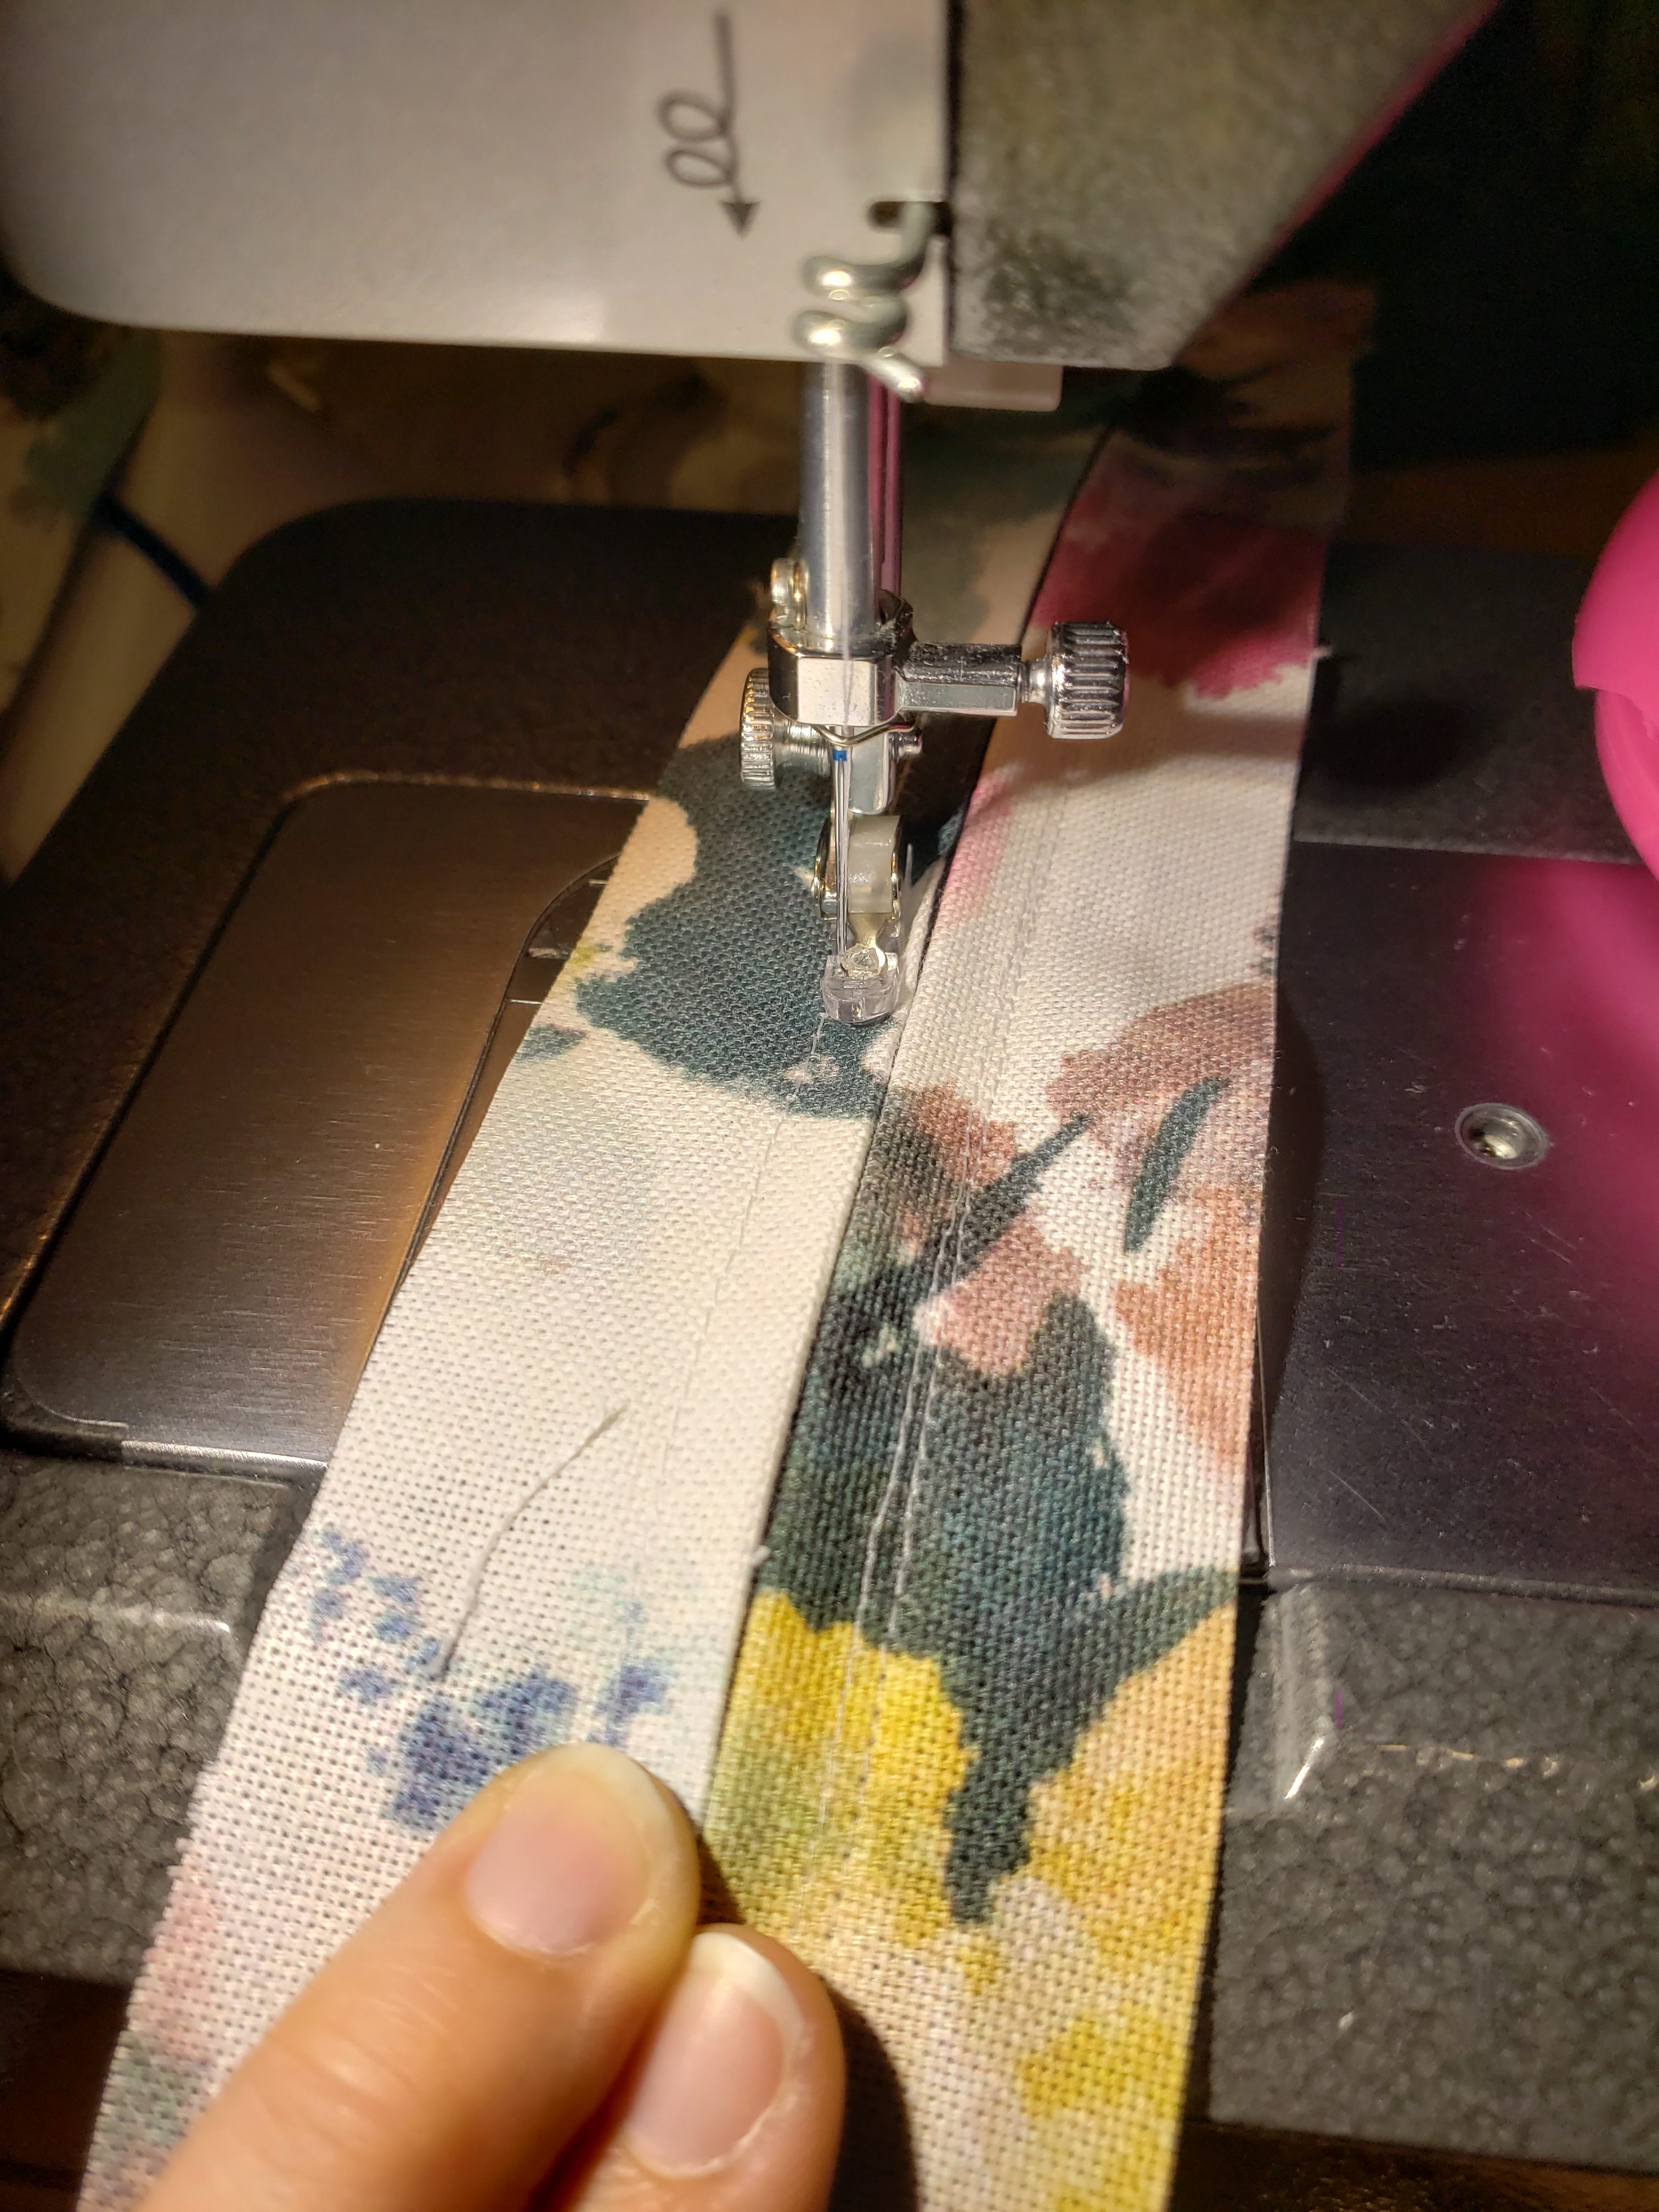
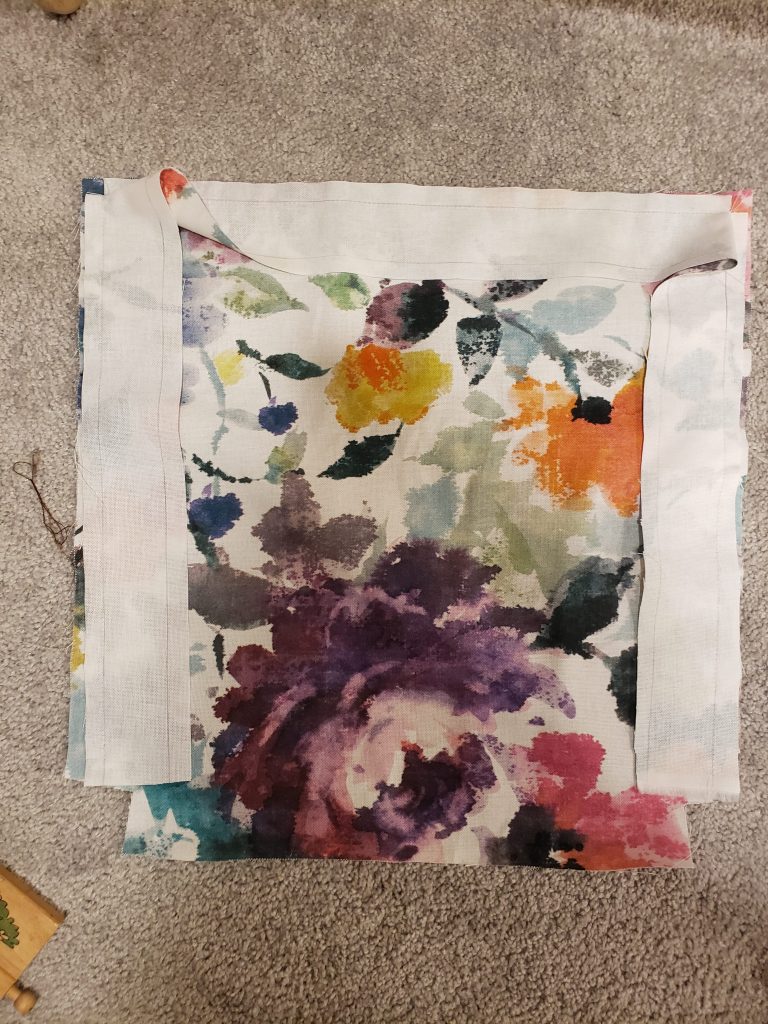
- Stitch the strip of fabric around the length of one of your chair pad pieces, right sides together, leaving the back portion opened. If you have little indents for the chair back and plan to add ties, do not stitch inside the indents at this time. At each corner, stop, then backstitch to reinforce. Then fold the fabric down and continue sewing.
- If you would like to add tie tabs, cut 4 strips 2″x5″.
- Fold strips in half, right sides in. Stitch around the top and side of the fabric then turn inside out to form a tie.

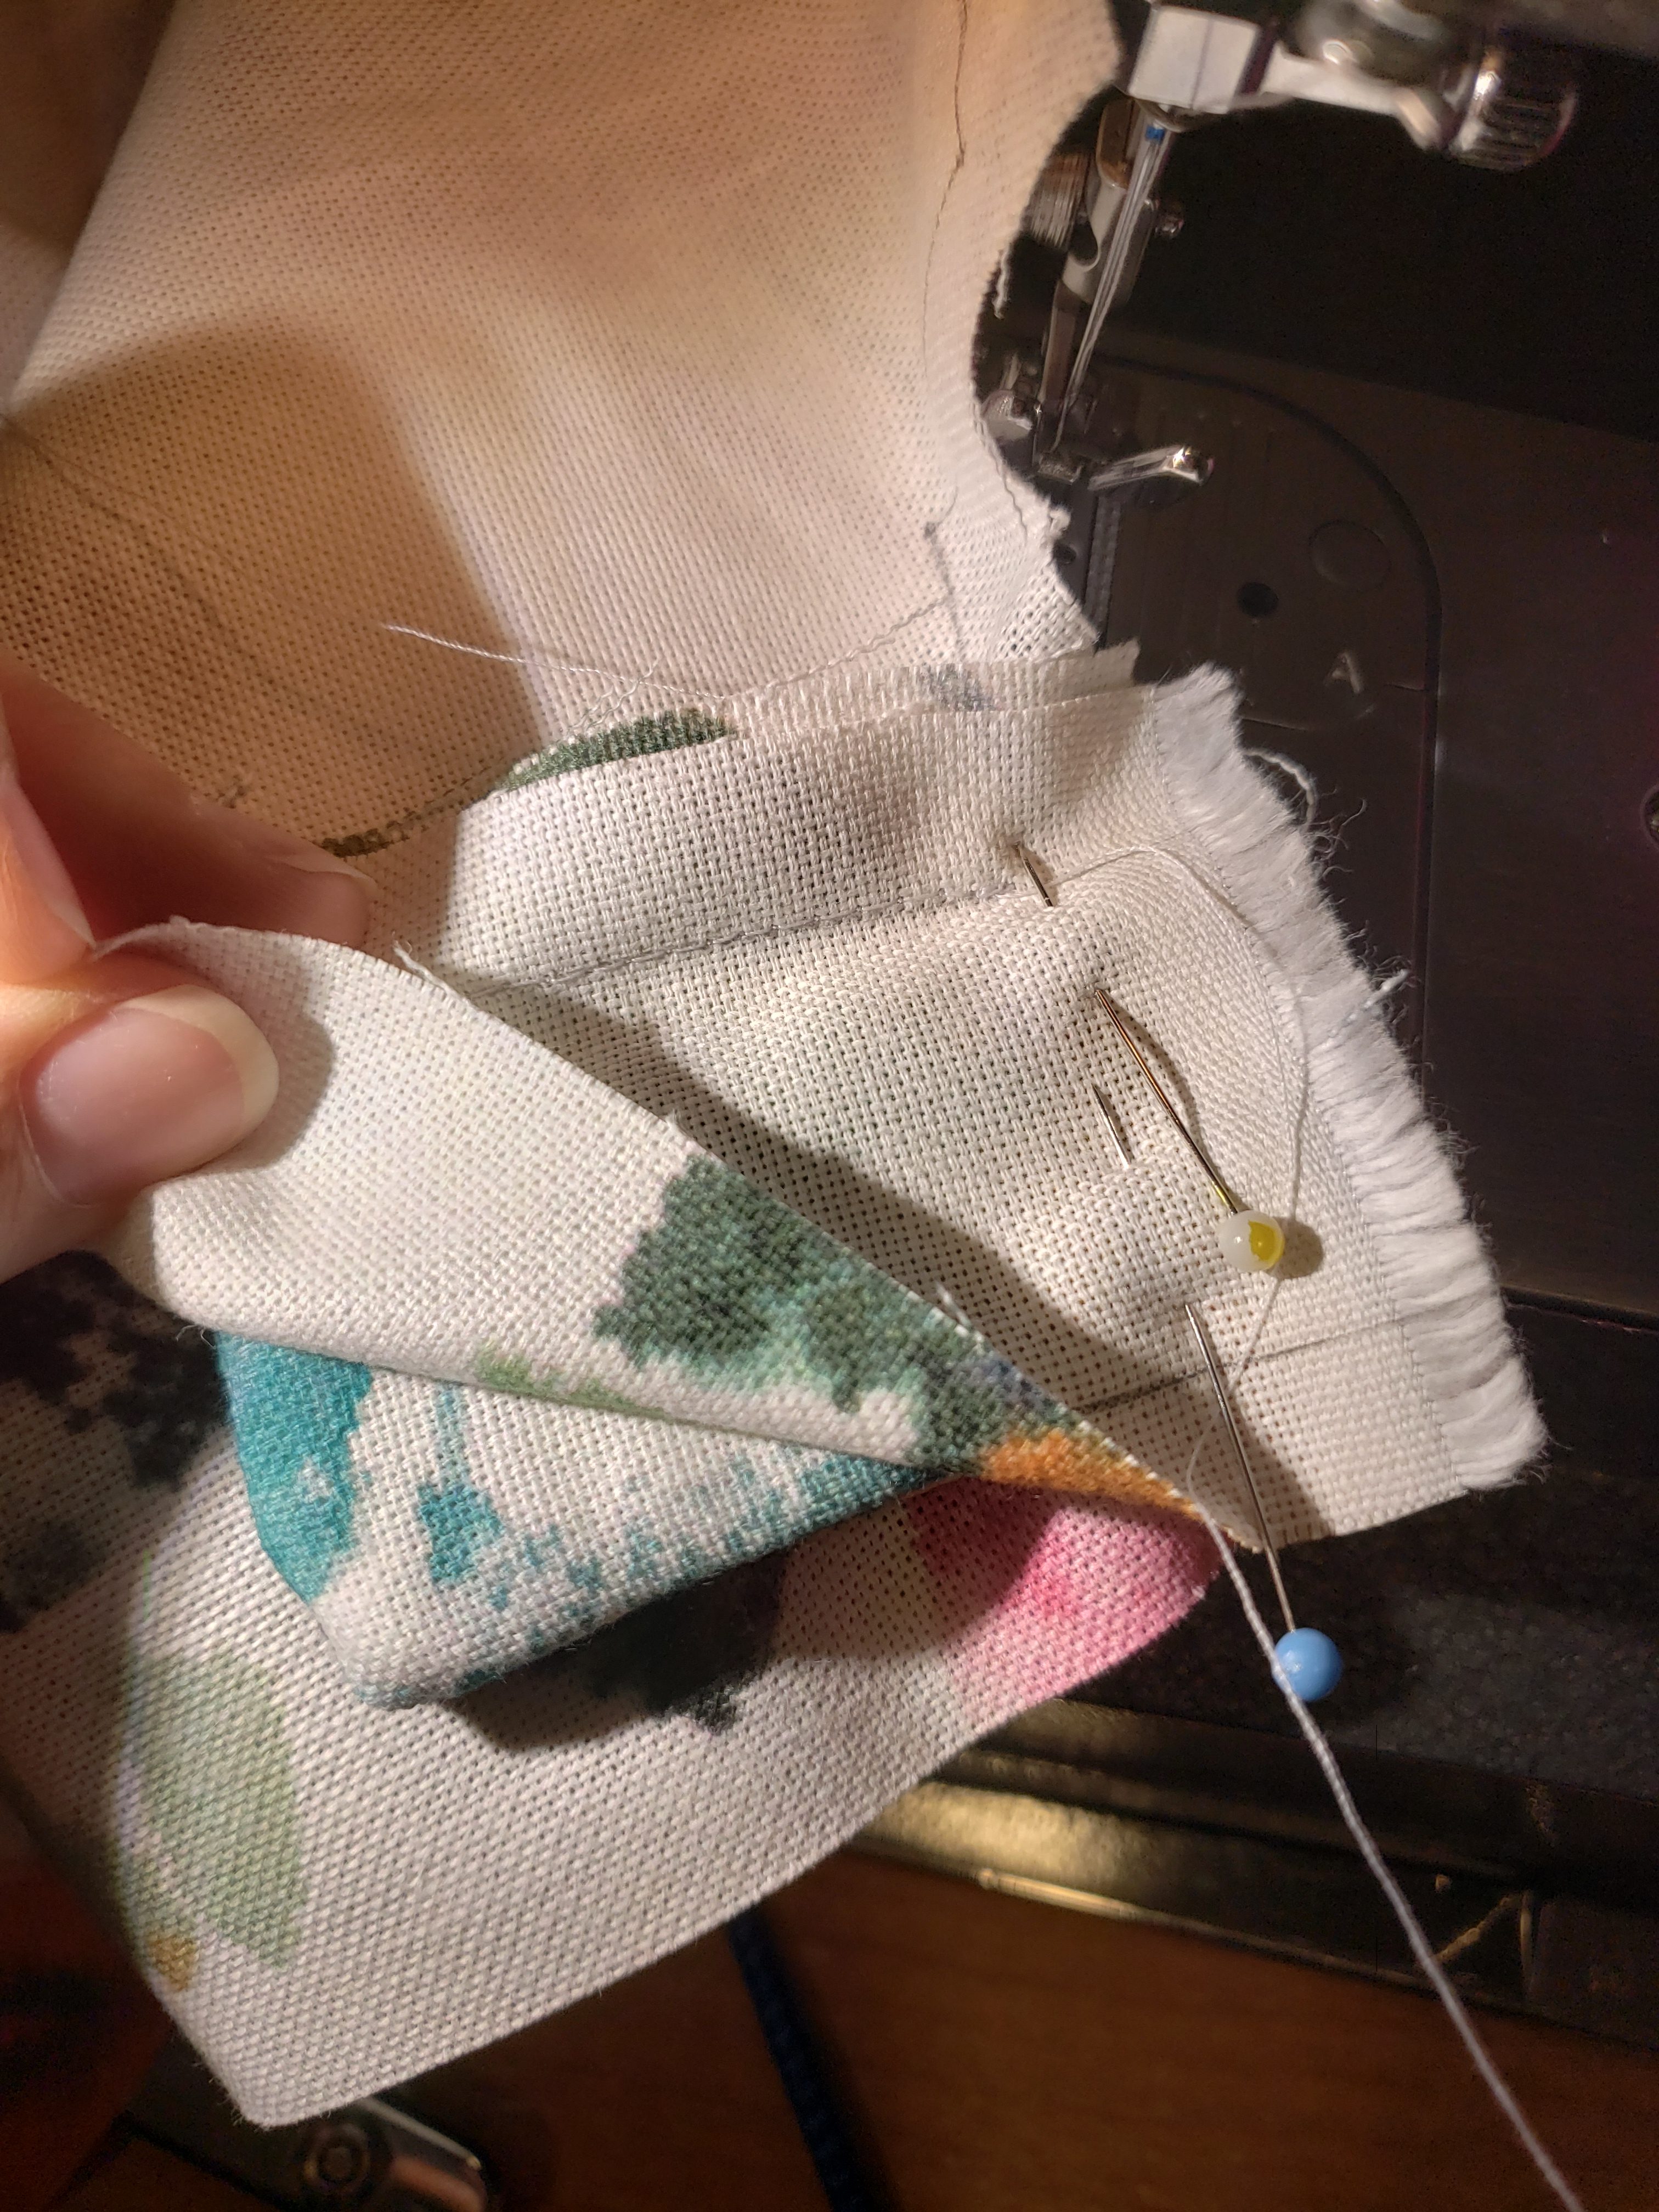
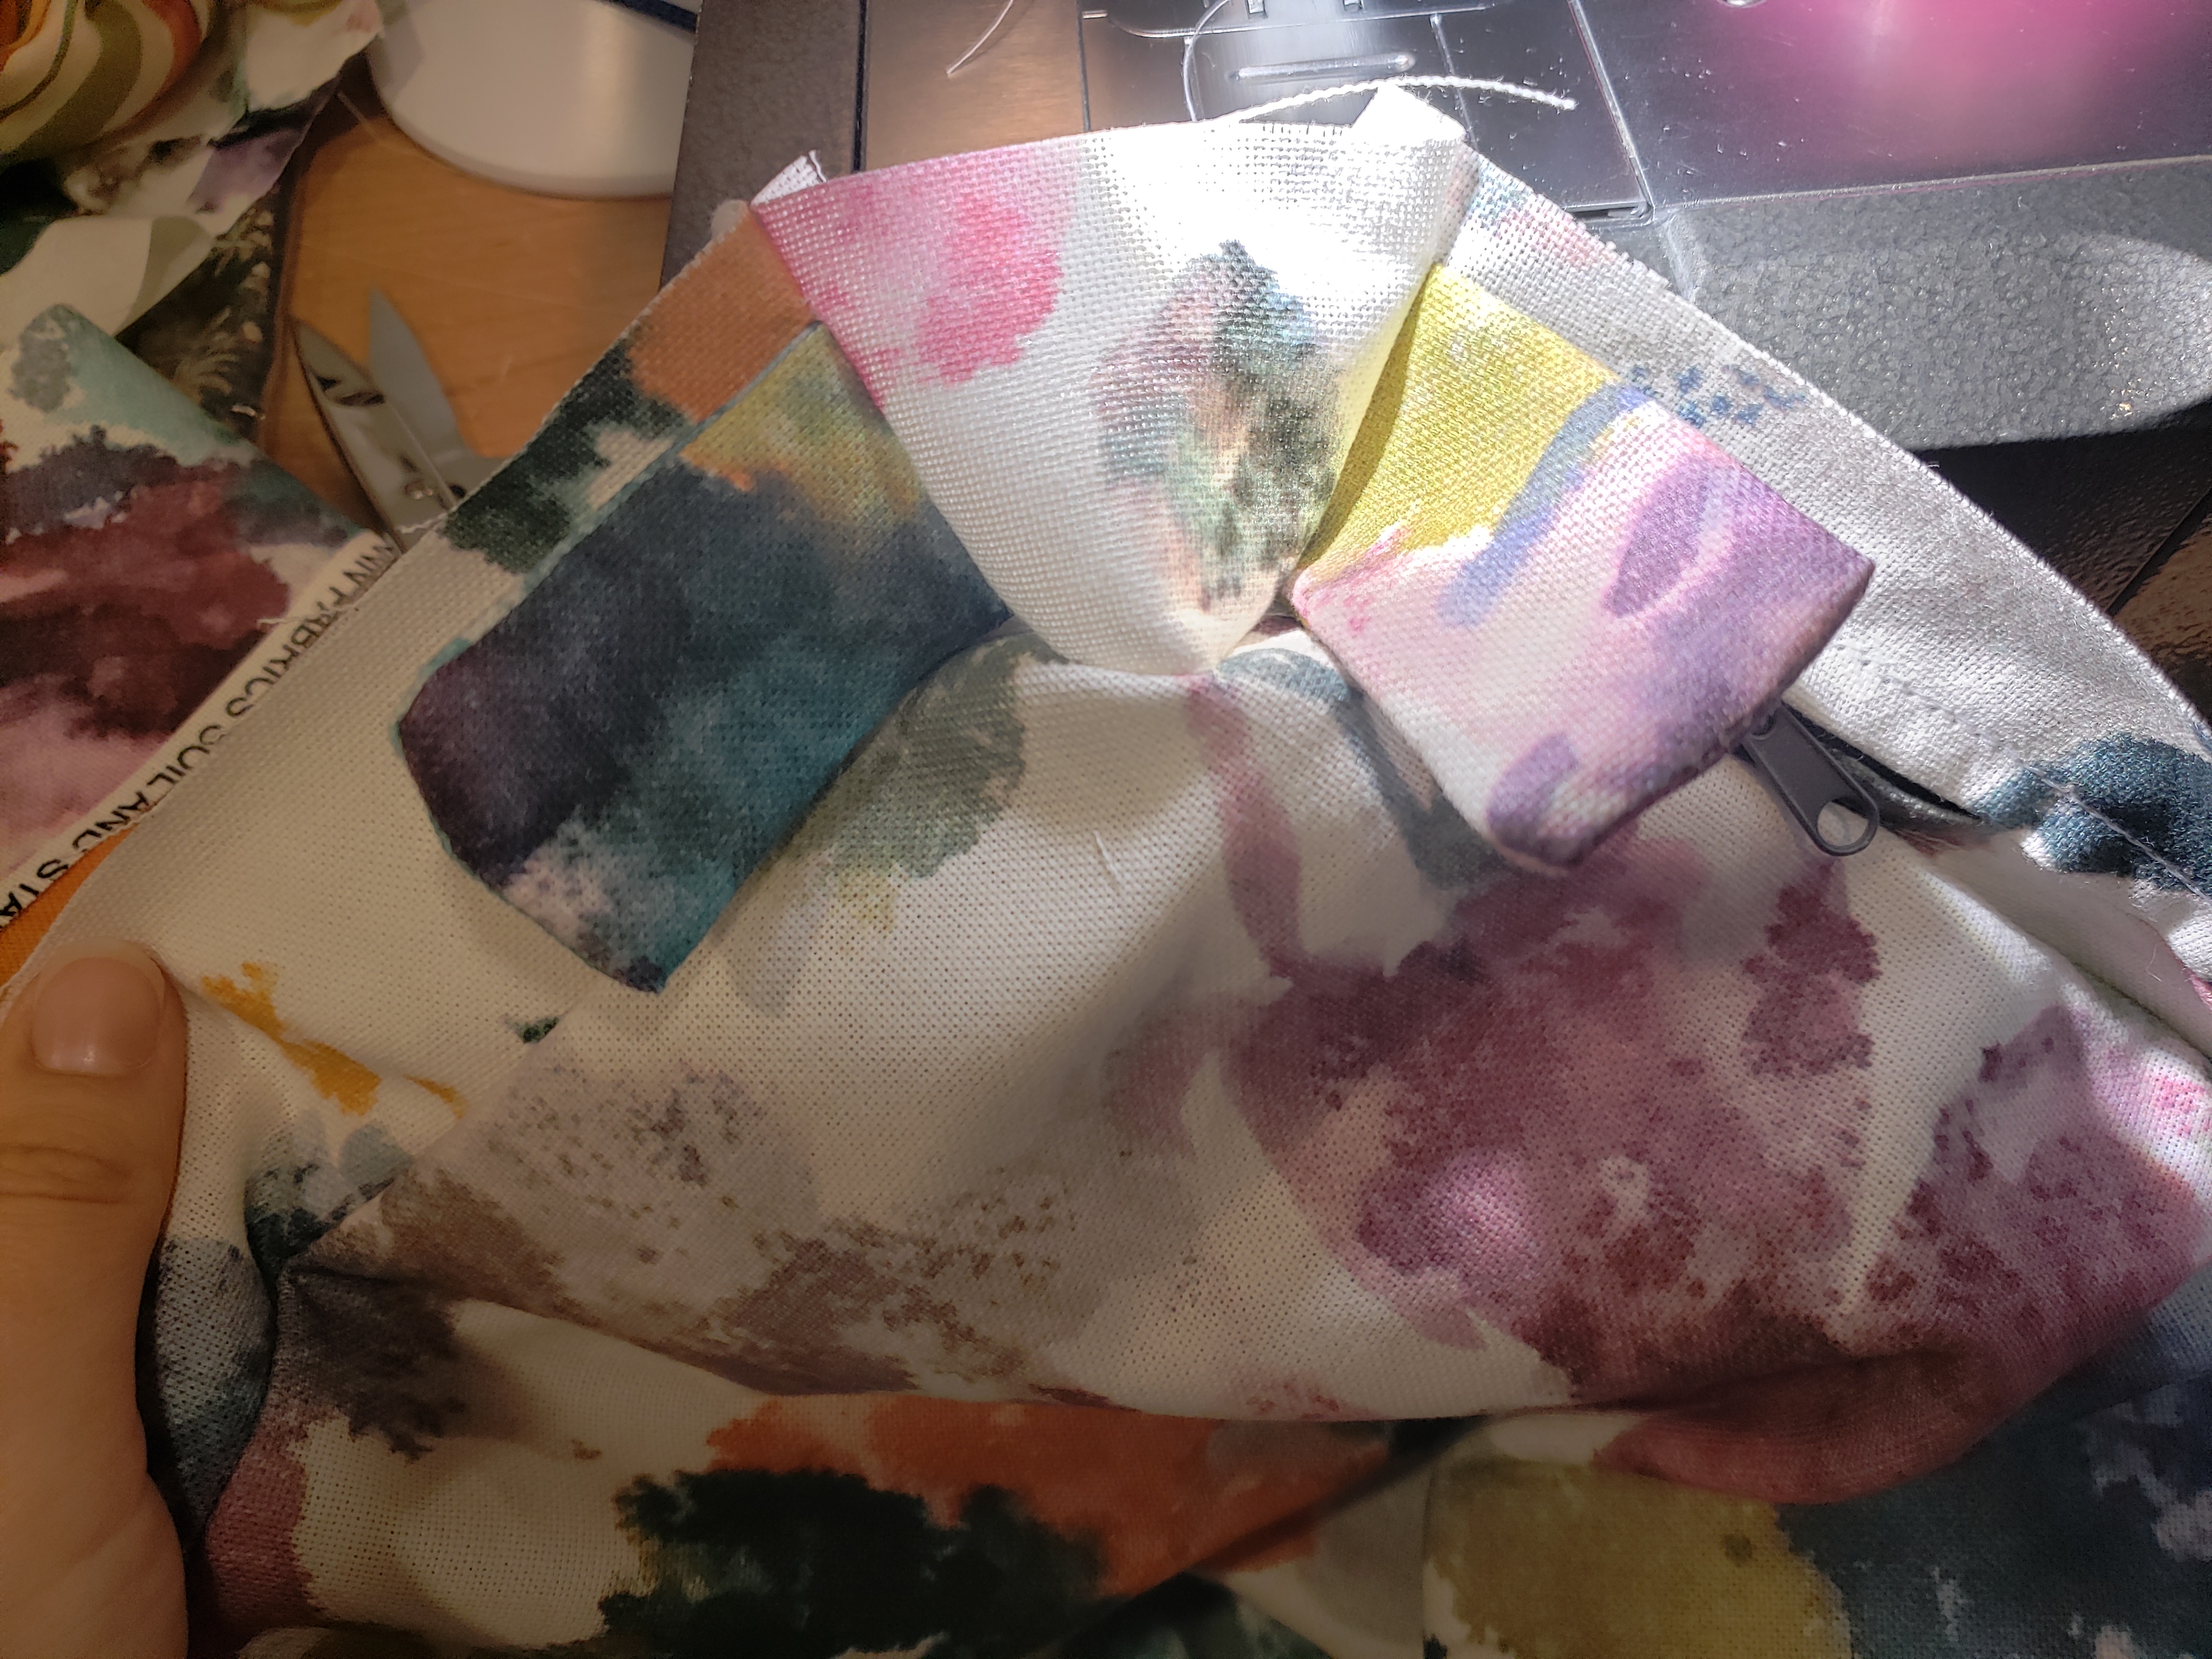
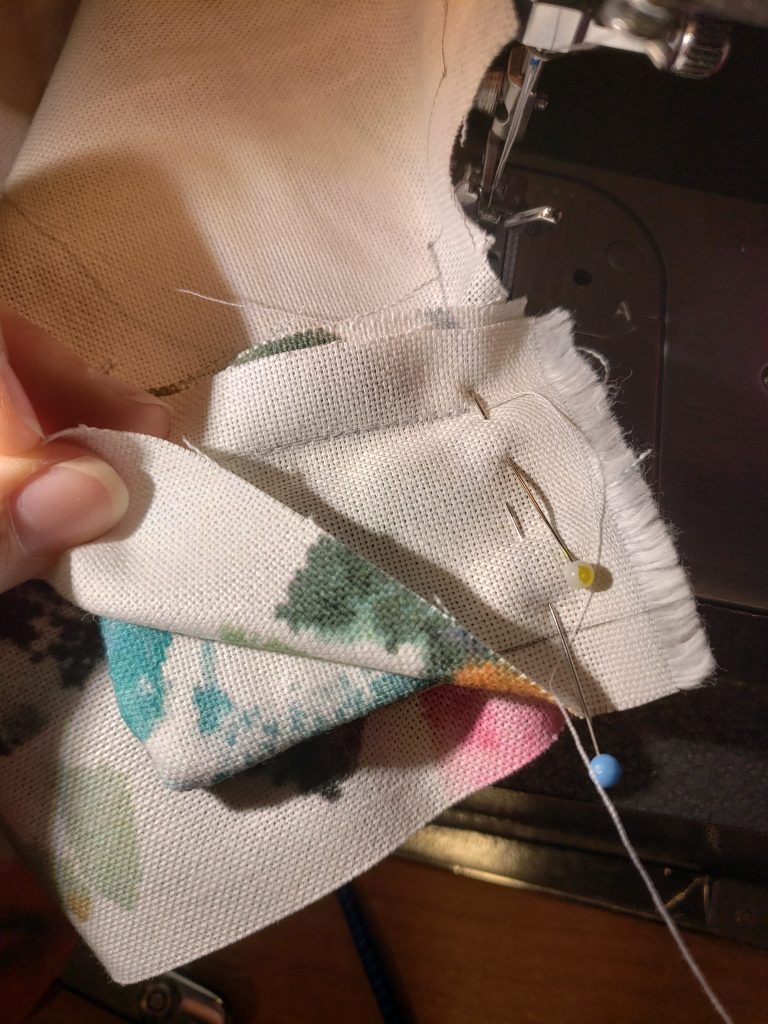
- To integrate ties, trim down ends of the strip of fabric you sewed in step 4 so only 1/2″ remains. Position a tie on top of one end of strip so the unfinished end of the tie matches the unfinished end of the strip. Tie should be centered in the strip. Place trimmed piece of strip on top of this piece to form a sandwich. Stitch these 3 pieces together.
- Stitch remaining strip along the indent.
- Repeat step 7 and 8 for the other side of the chair.
- Measure the back portion of your chair (the part you omitted in step 3). Cut two 1 3/4″ wide pieces of fabric to this length.
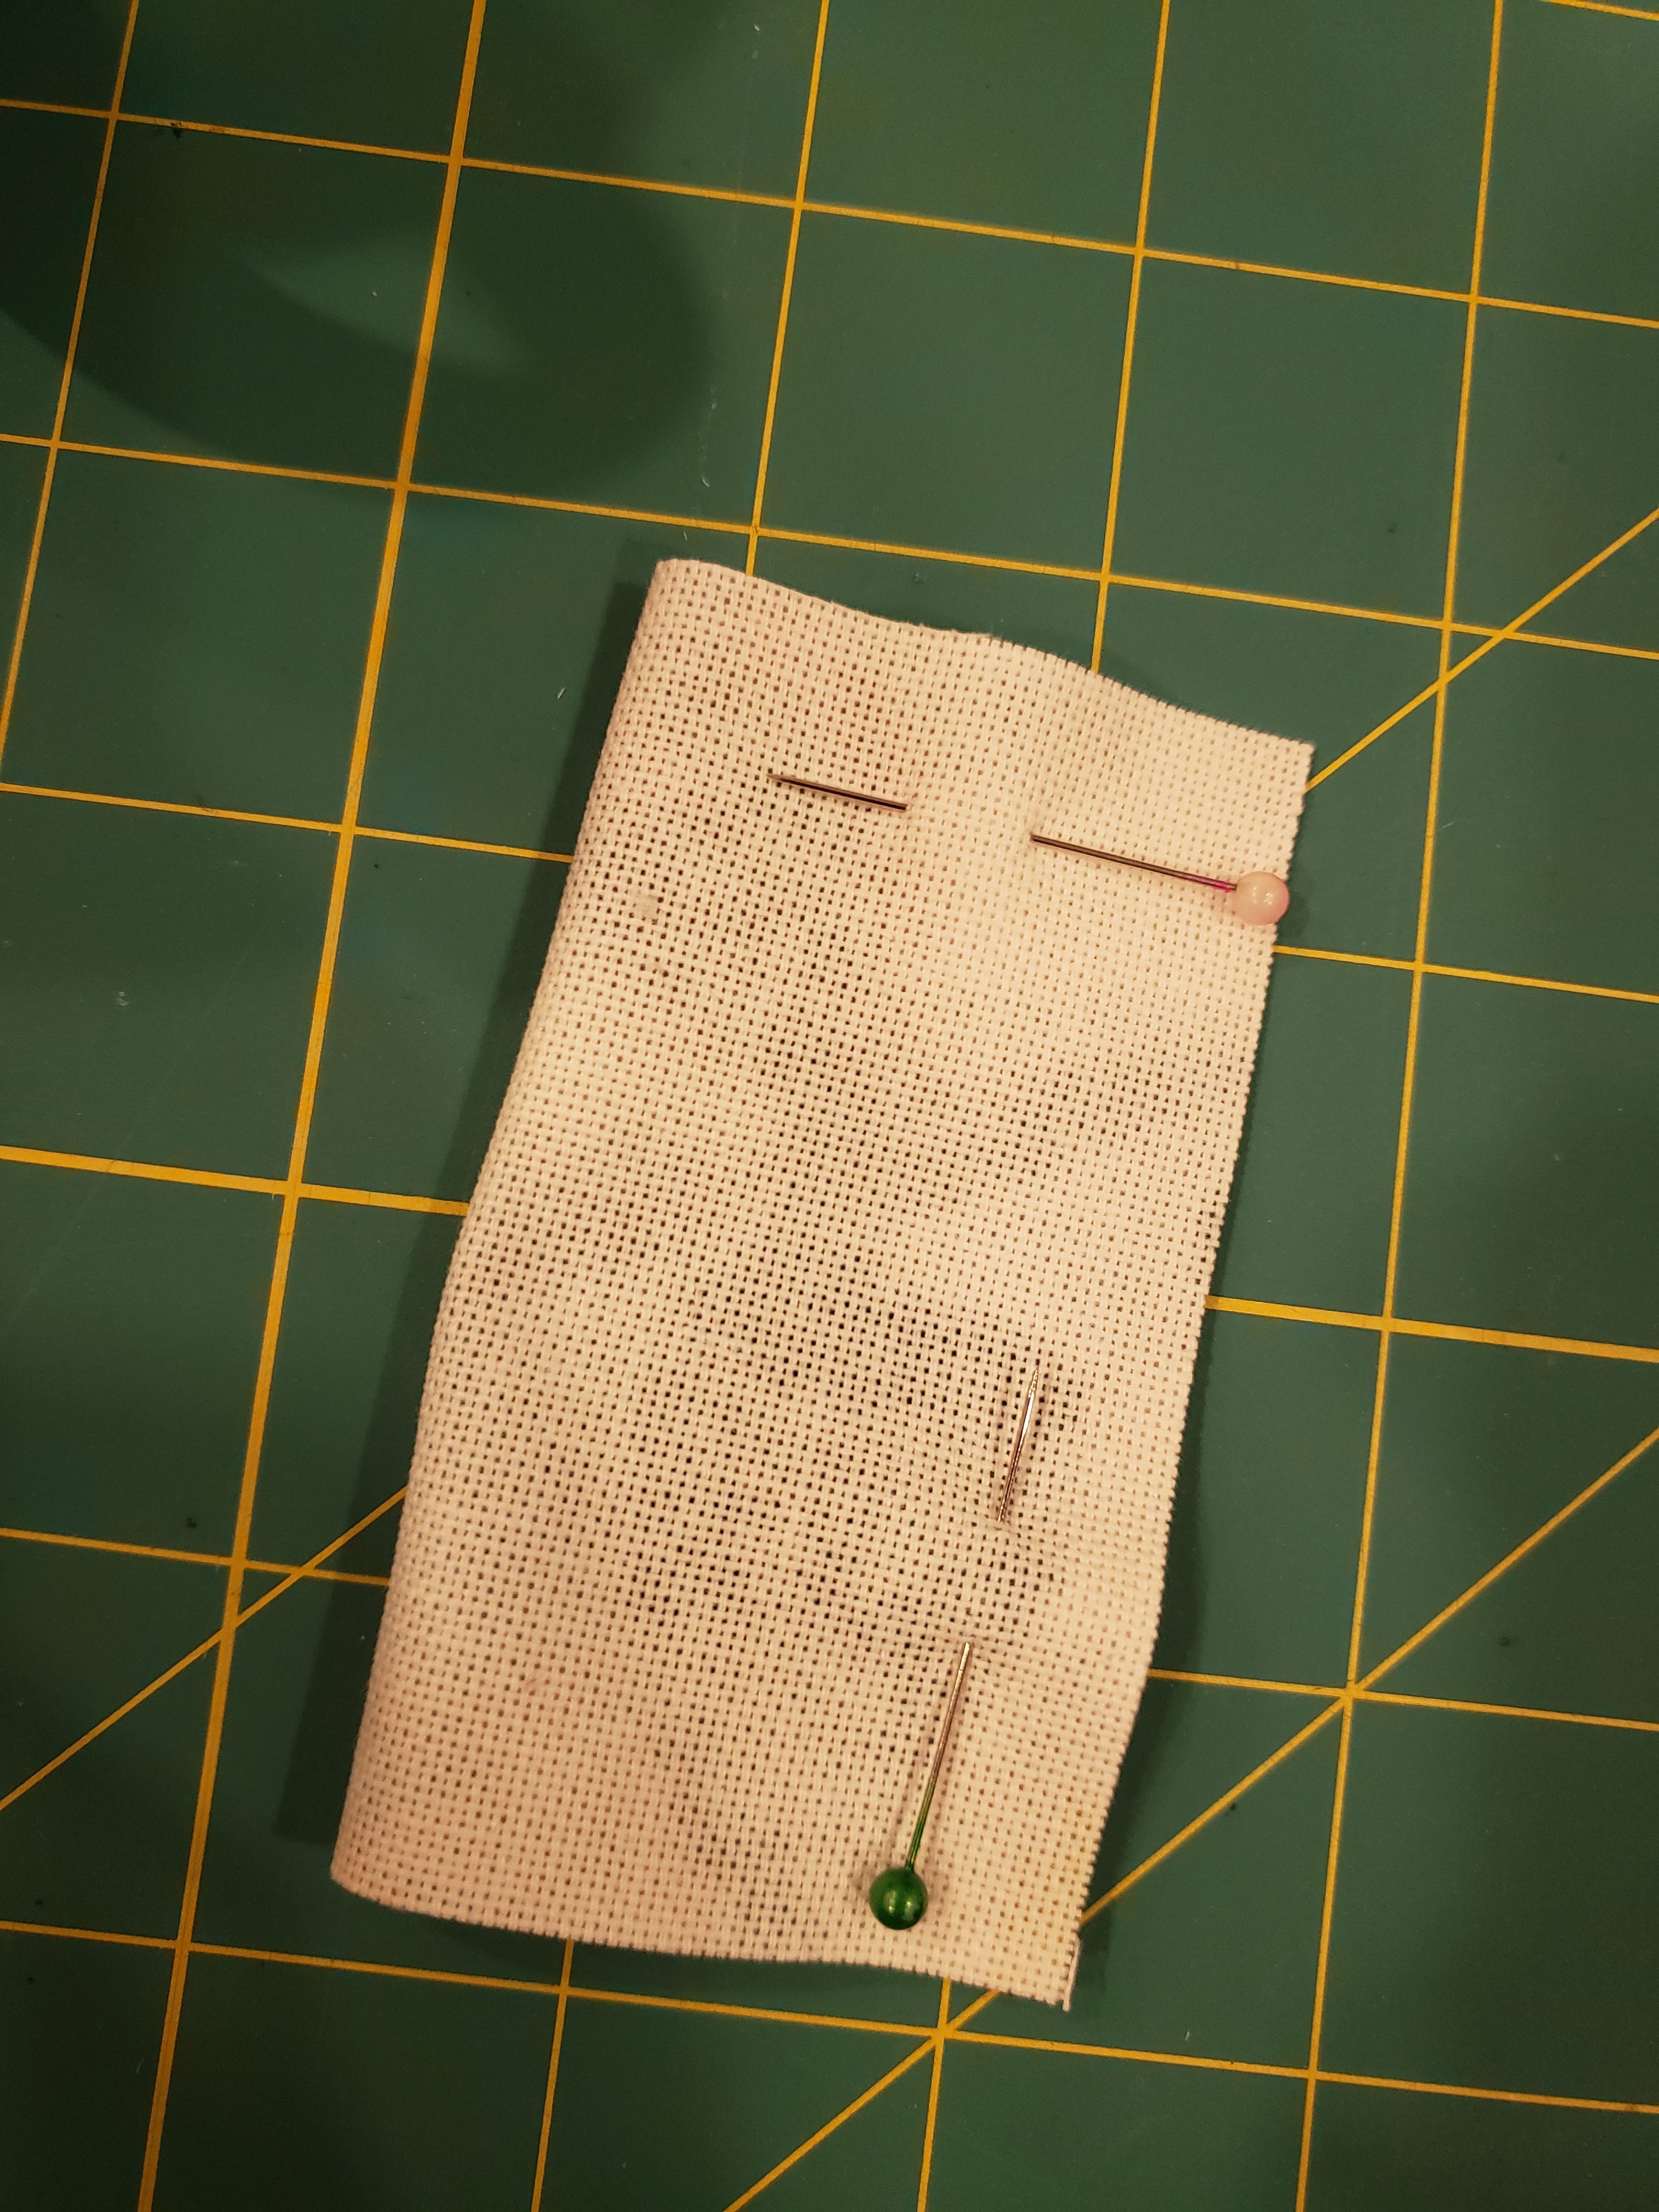
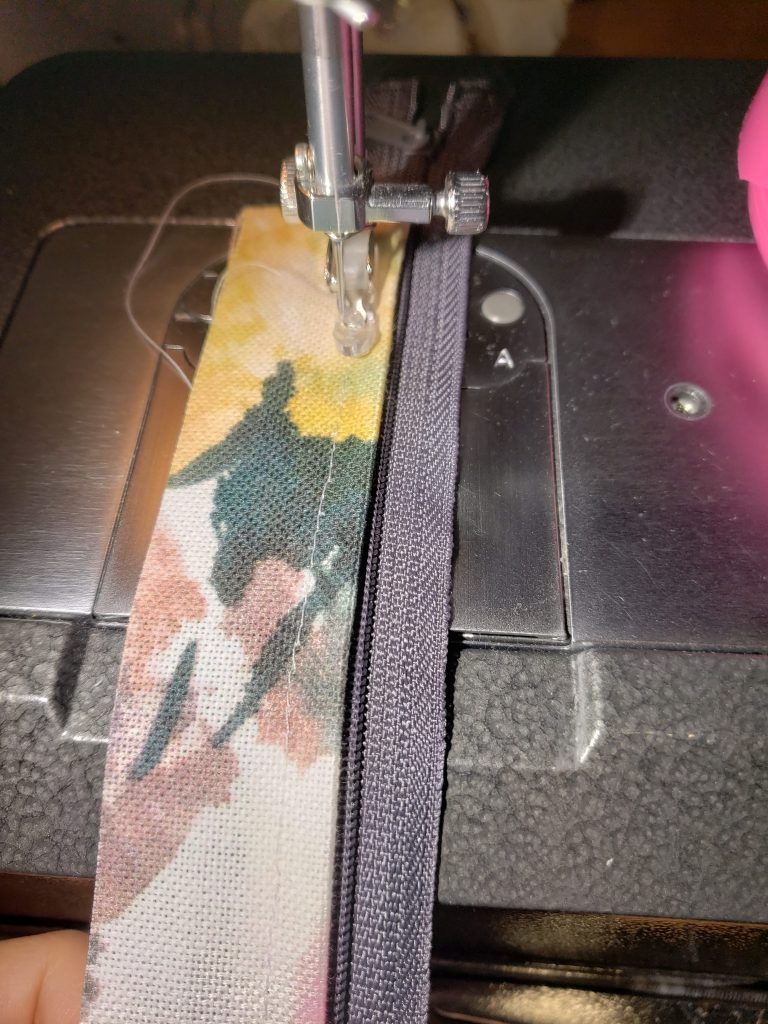
- Fold down 1/2″ of material along the length of the strip.
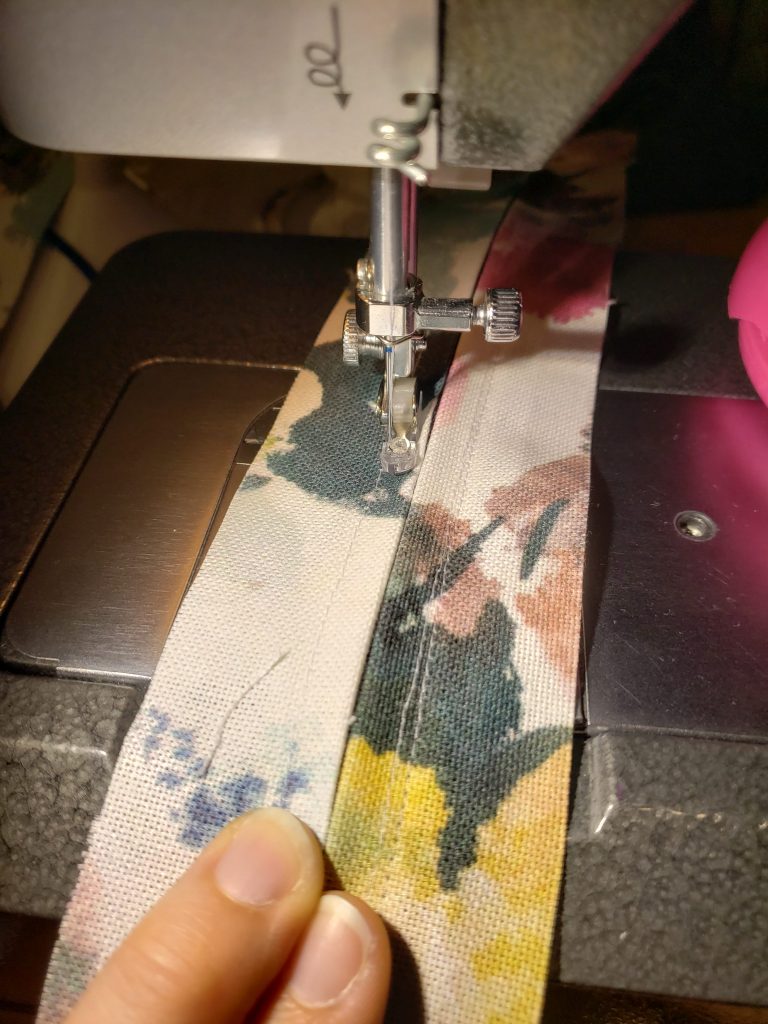
- With the zipper closed pin the folded strip to the zipper. The fold should be at the center of the zipper. Use a zipper foot to stitch.
- Repeat steps 11 & 12 for second side.
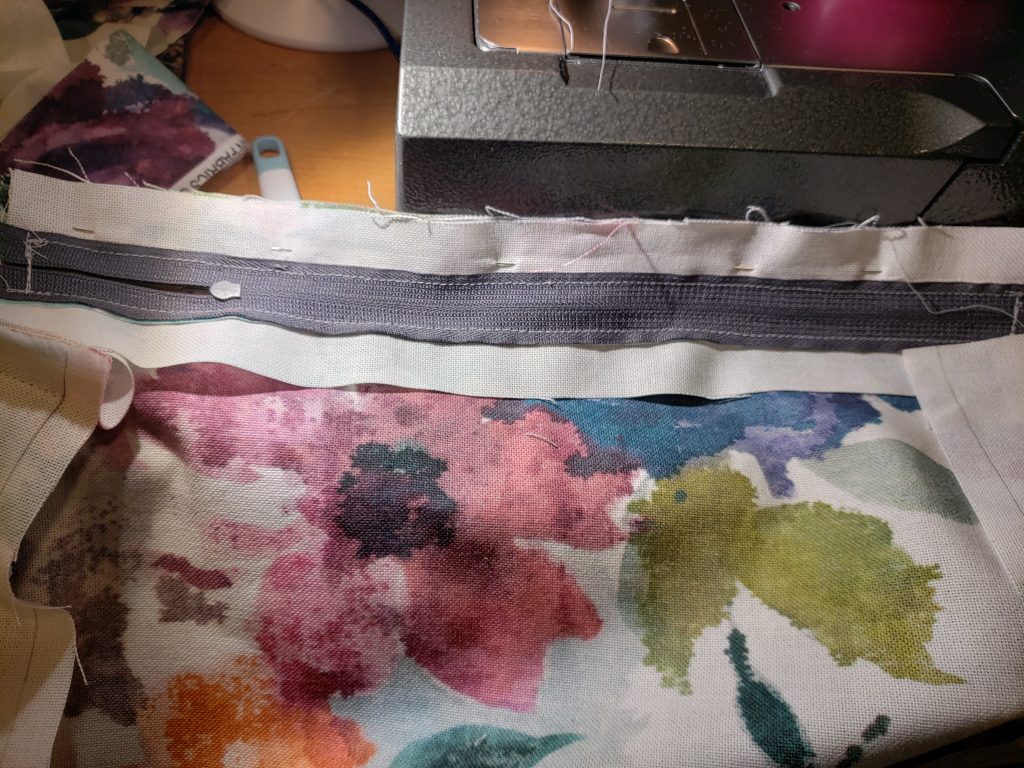
- Stitch the zipper placket to the back opened portion of the chair.
- Repeat step 7 for the tie where the zipper and indent strip meet. Repeat for other side.

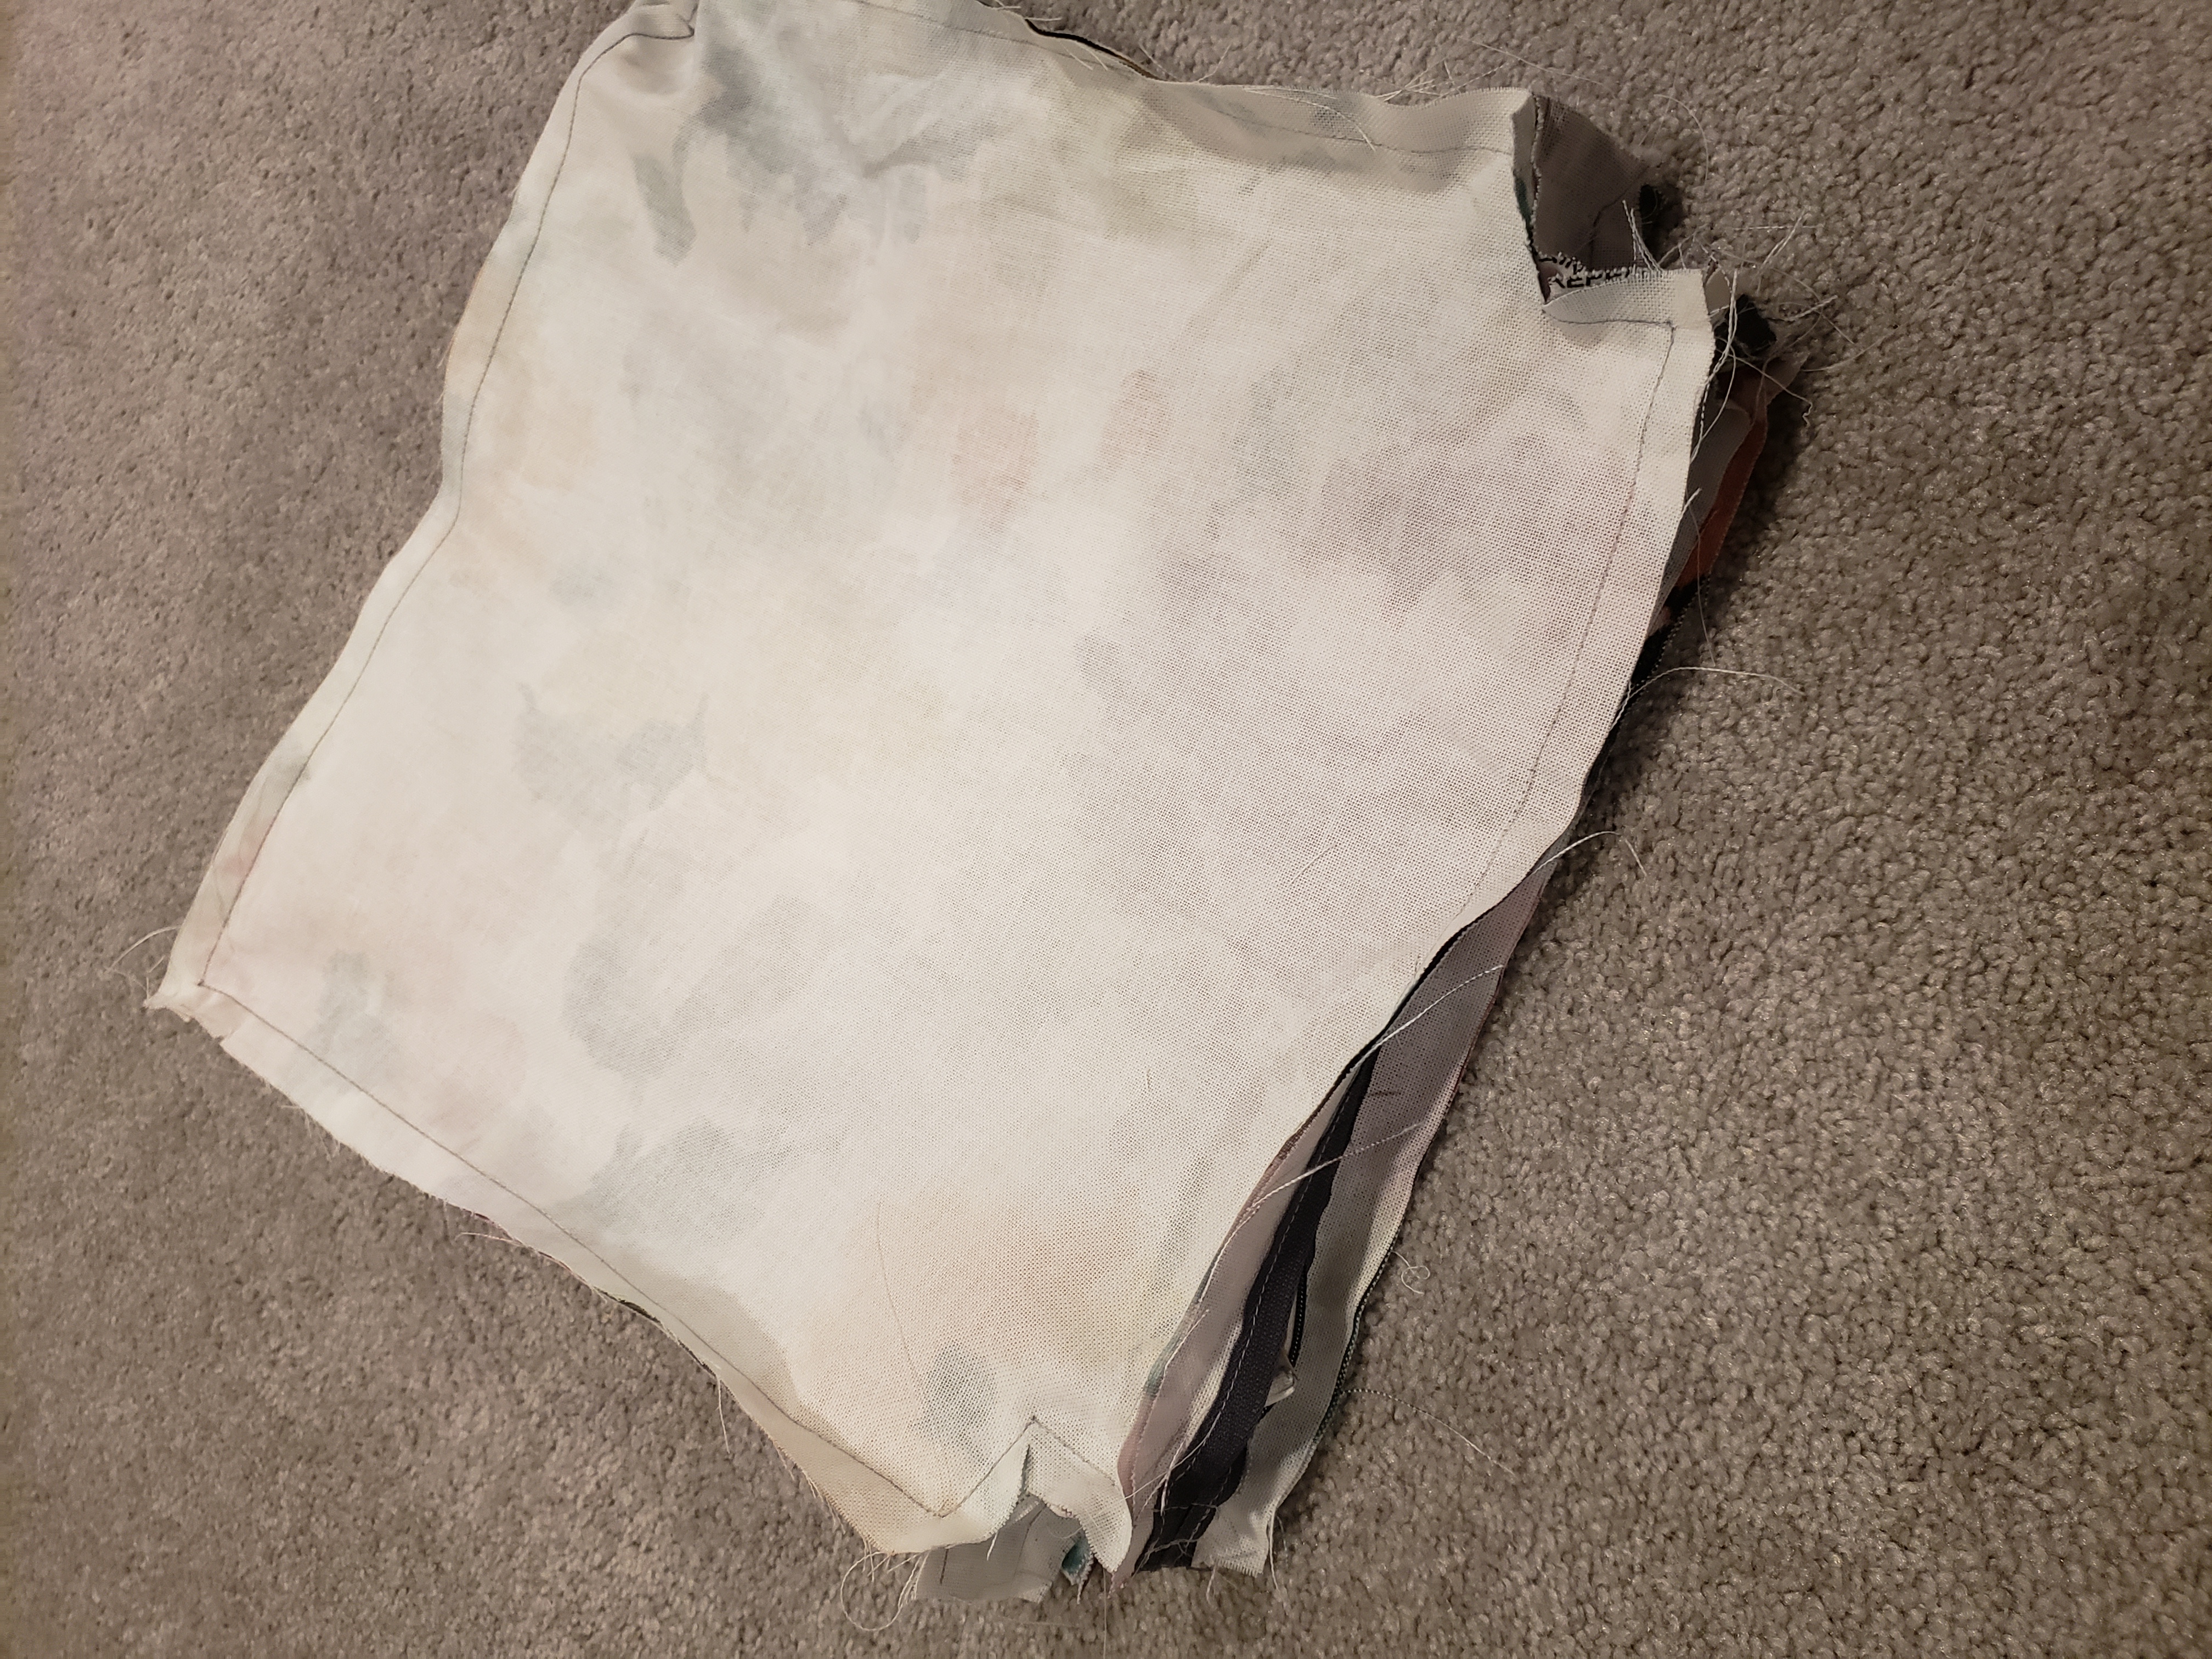
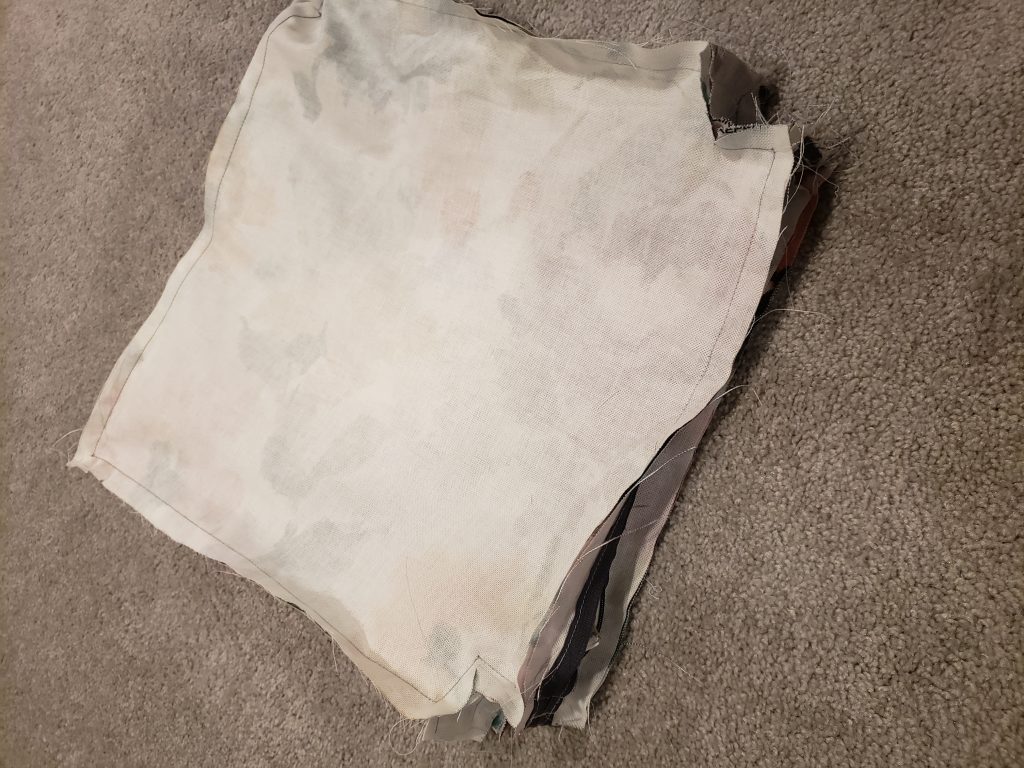
- Stitch the entire top seat pad to the strip and zipper placket you attached in step 4-14.
- Clip corners and snip into inner corners (if any exist in your design).
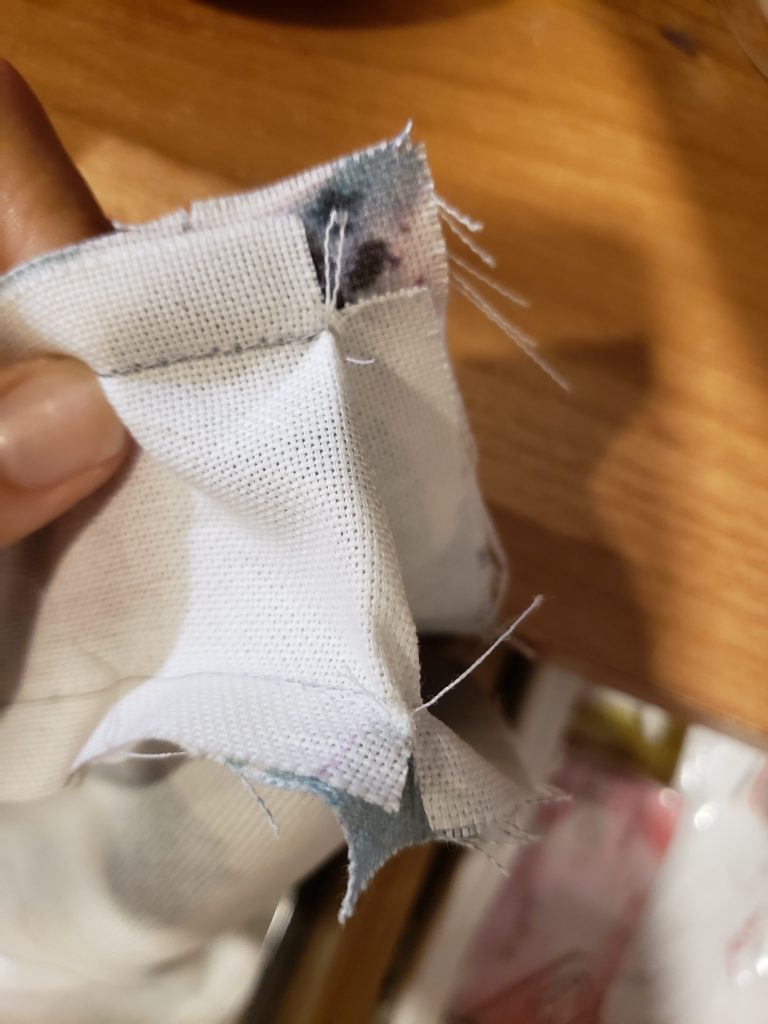
- Open zipper and turn right side out.
- Stitch velcro onto your tabs. Be sure to imagine how the tabs will wrap around your chair back in order to properly place the velcro.
- Use your template to draw onto your foam.

- Cut foam with no seam allowance. Mine came with batting, I also cut this down.

- Fold foam in half and insert into the case you made.

- Use on your chairs!

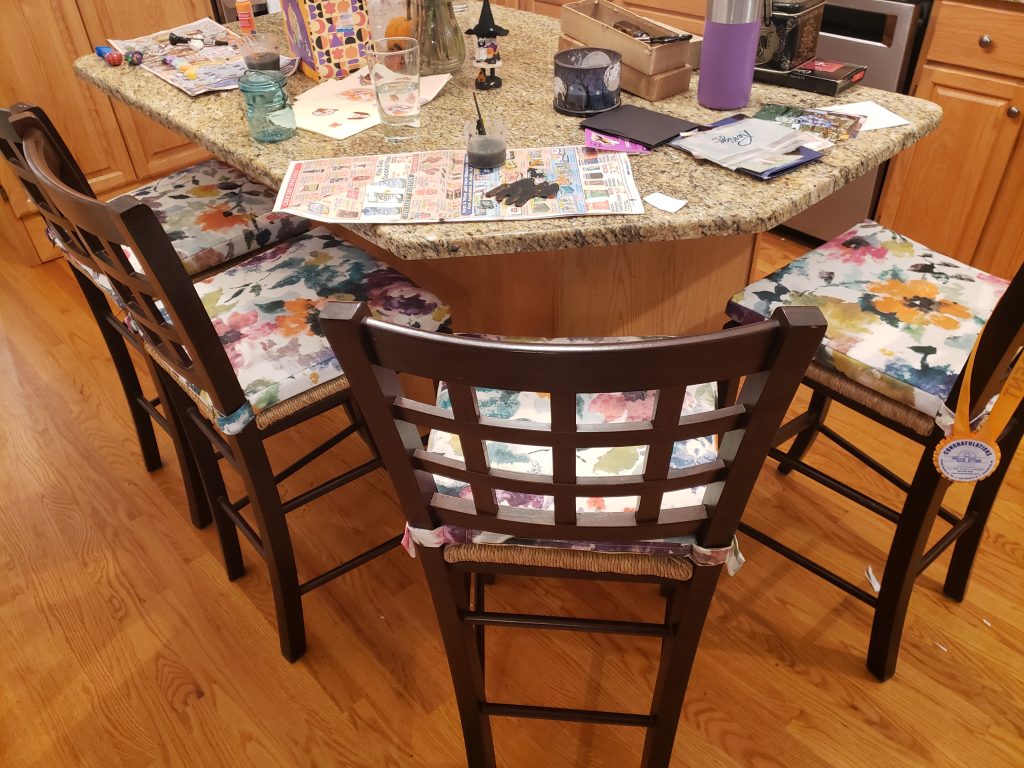
Ignore the mess on my counter. Do you see what I’m working with in the way of spills?