
Well that was a week from hell! And of course, Julius had absolutely no symptoms until yesterday when he had a fever of 104!!! Let’s just say he did not sleep well last night and we are trying to figure out when the kids can ever go back to daycare. Sigh. I guess we’re just lucky we have dodged this for so long!
We did manage to take down our Christmas decorations this weekend and put up some winter/Valentine’s decorations instead. That was pretty liberating. We also got rid of some baby toys and baby books that Patricia has outgrown. Always great to de-clutter. But did I tell you we already filled the costume chest?! The good news is that it is working as intended! The kids have been asking to go downstairs on put on costumes nearly every day!
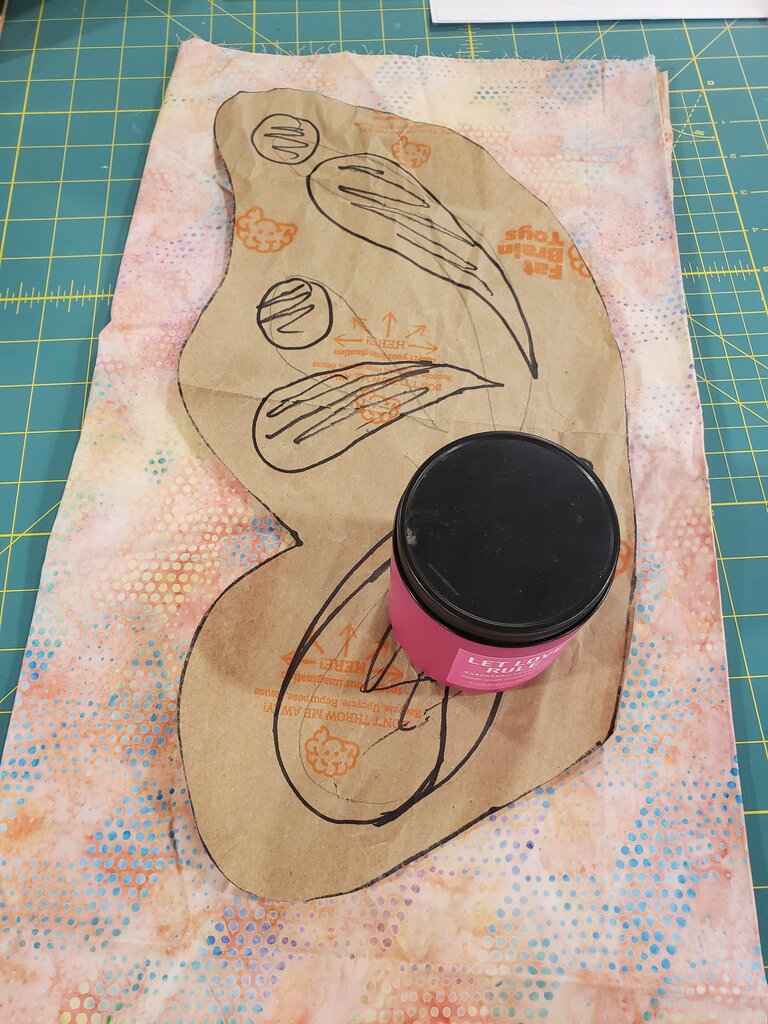
One of the items I created for the costume chest are the sets of butterfly/fairy wings for Patricia’s birthday! There are lots of beautiful wings with appliques online and I fully intended to create a version like that, but as always I started to run out of time and created a simplified version that just uses some beautiful shibori fabric. I felt it would be a crime to cover up any of it, so I didn’t applique over it! You can use the below pattern to make your own!
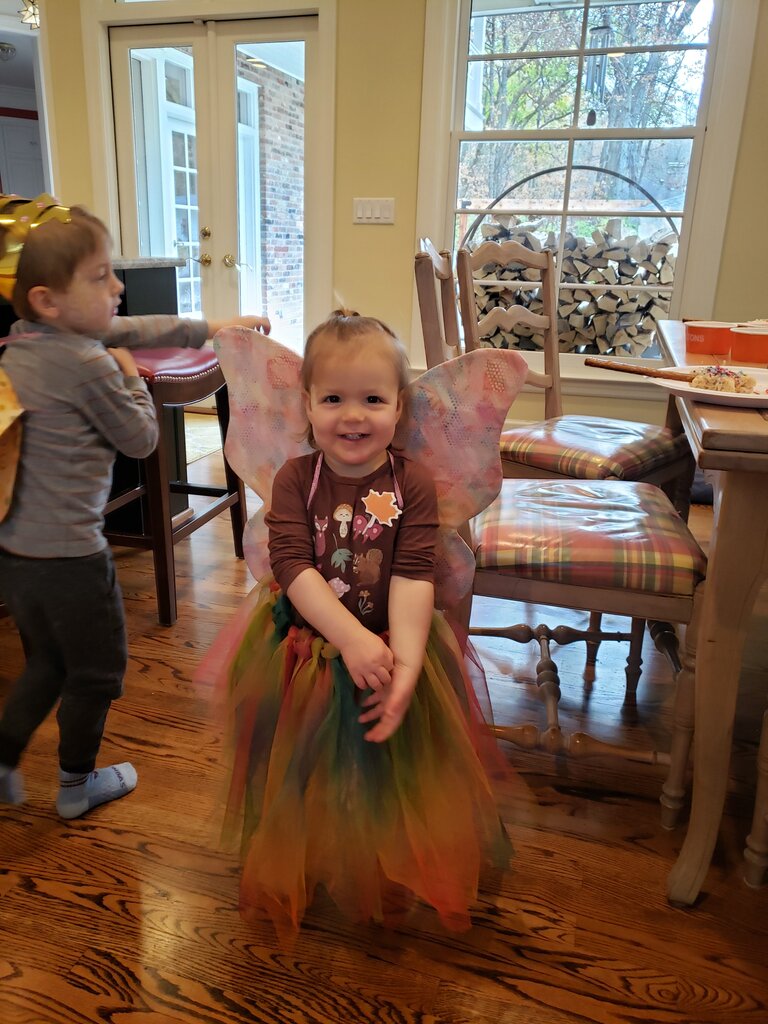
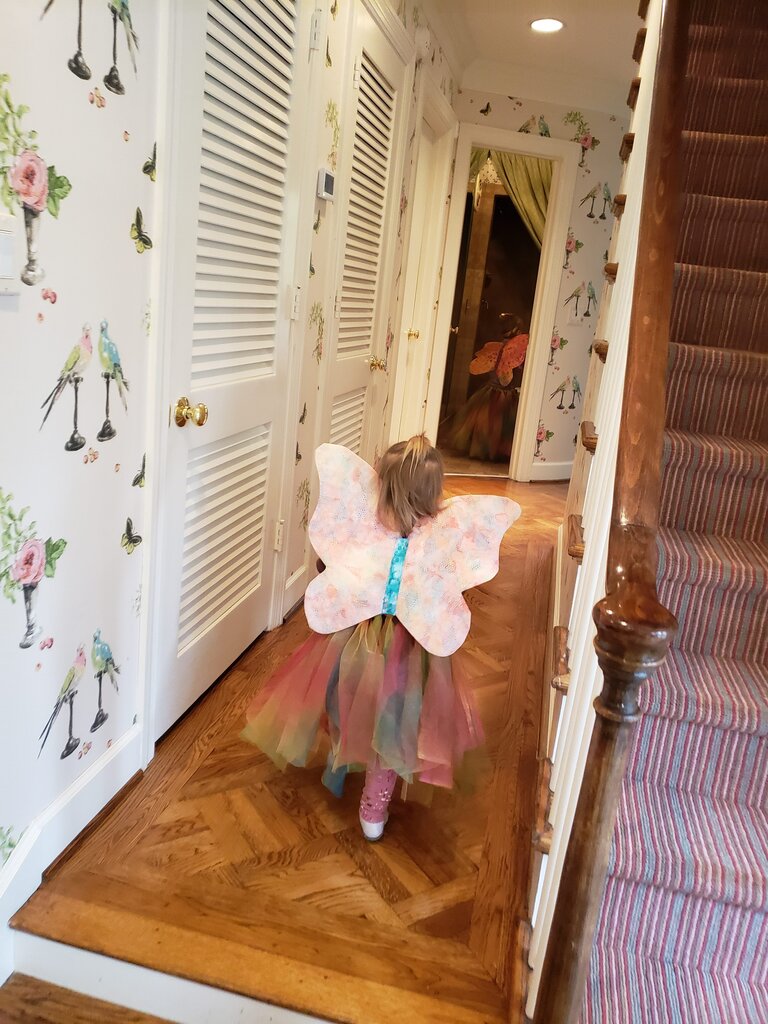
My little fairy!
Kids’ Fairy Wings
What you’ll need:
- Pellon 70
- ~1/2 yard of cotton material of your choice
- 1/4″ metallic elastic
- pattern here
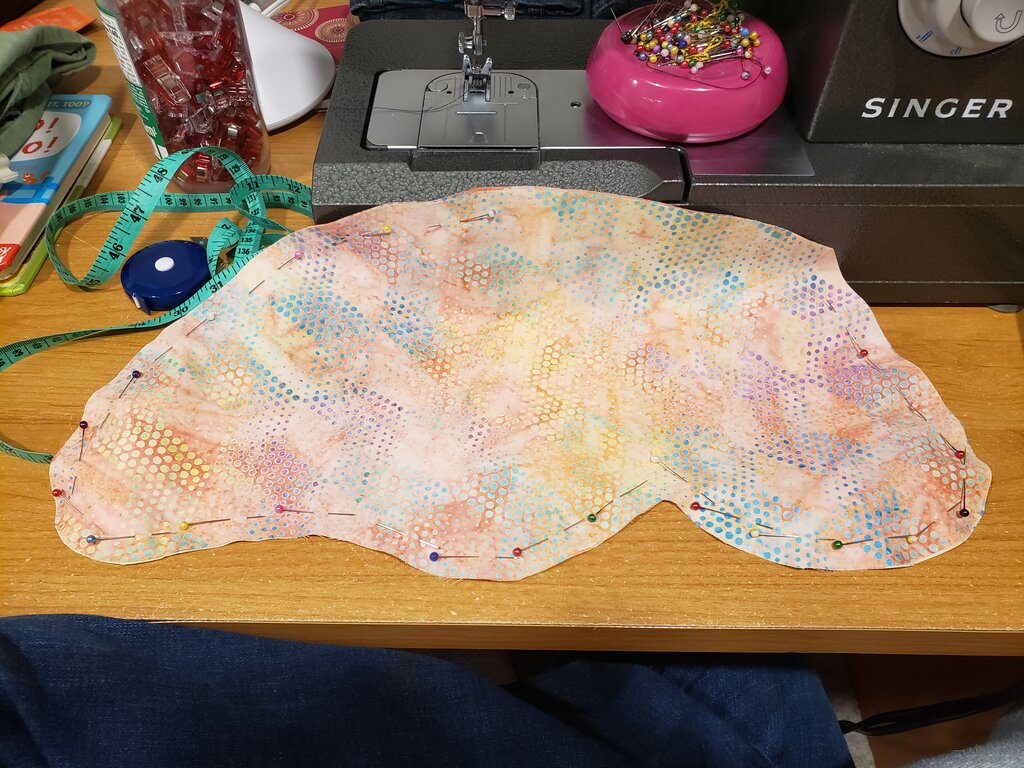
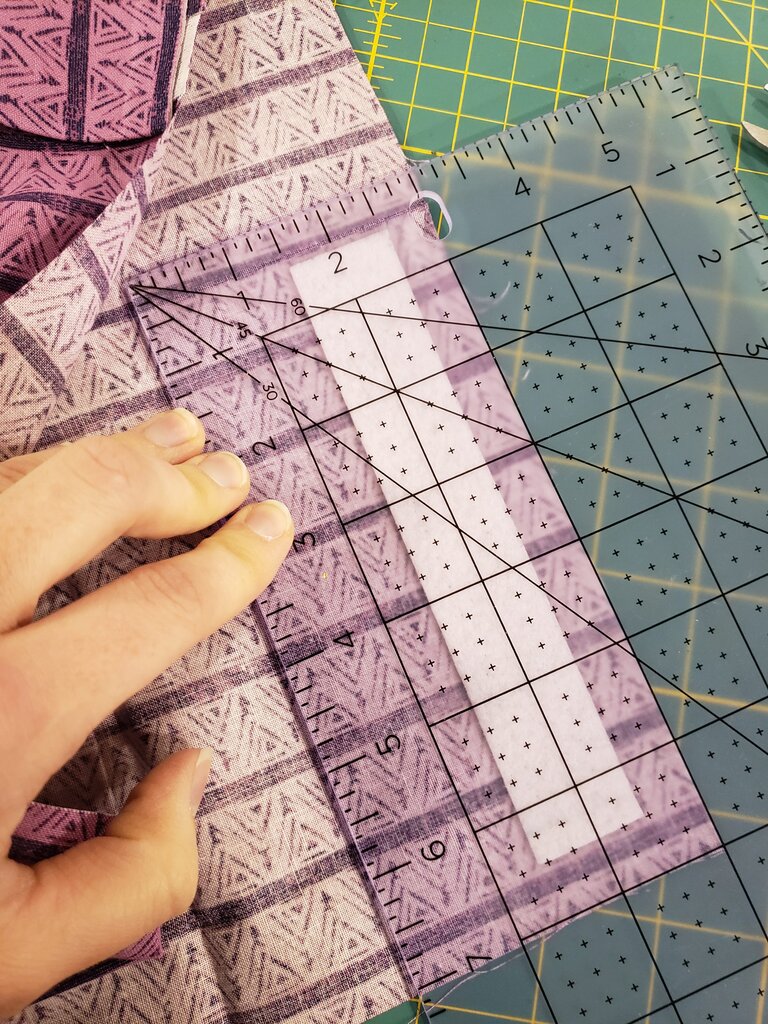
- Cut out 4 wing pieces of cotton fabric (adding 1/2″ seam allowance) and 2 pieces of pellon 70 (adding no seam allowance).

- Stitch 2 wing pieces together along the outside of the wings, leaving the flat side where they connect to the back opened. Repeat for second wing.

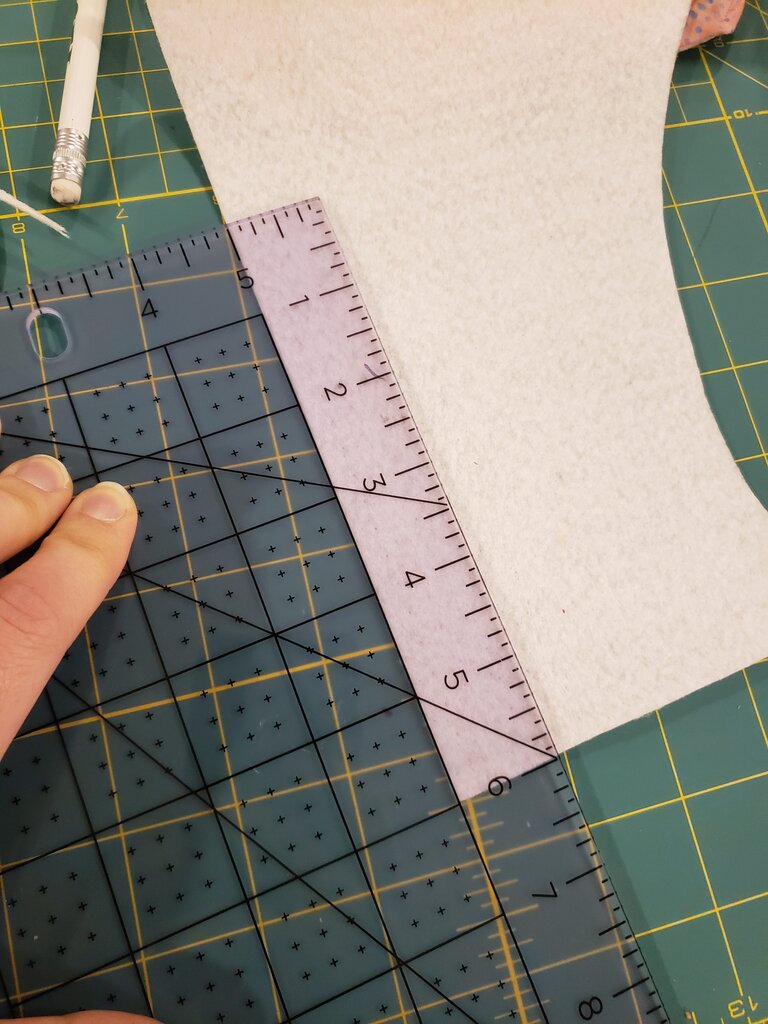
- Turn right side out and insert pellon 70 wing into each wing, tuck the unfinished edges in, and stitch closed.

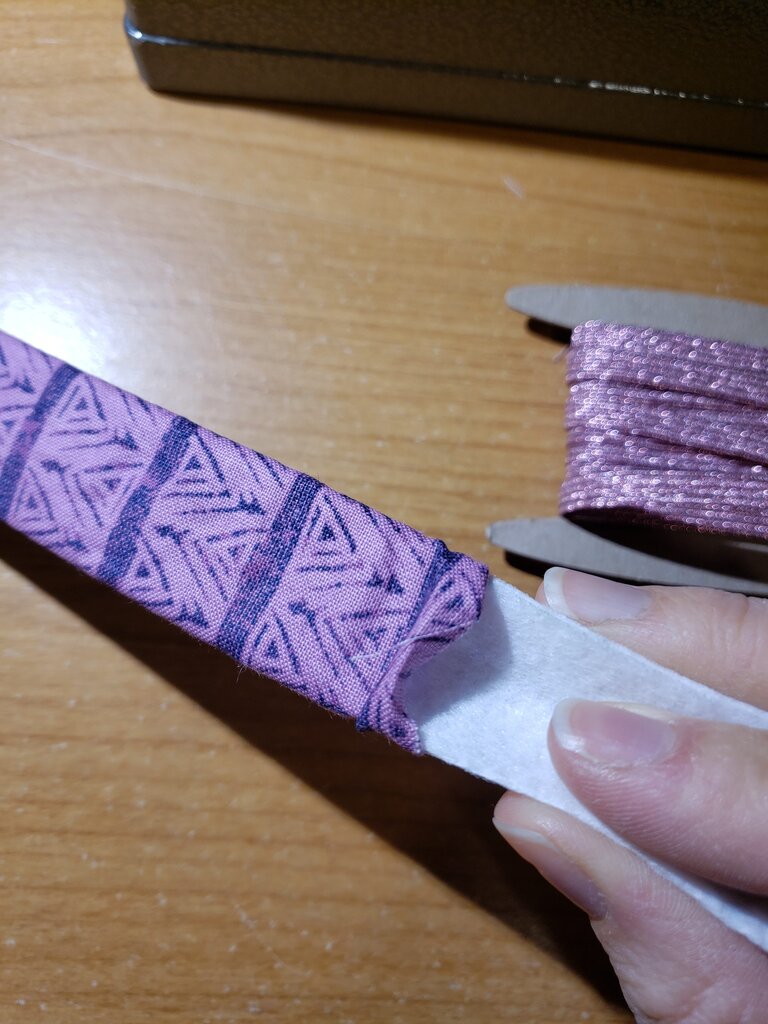
- Cut a 1″x6″ piece of pellon to form a placket.

- Cut a 3″x7″ piece of contrasting fabric to cover the placket.

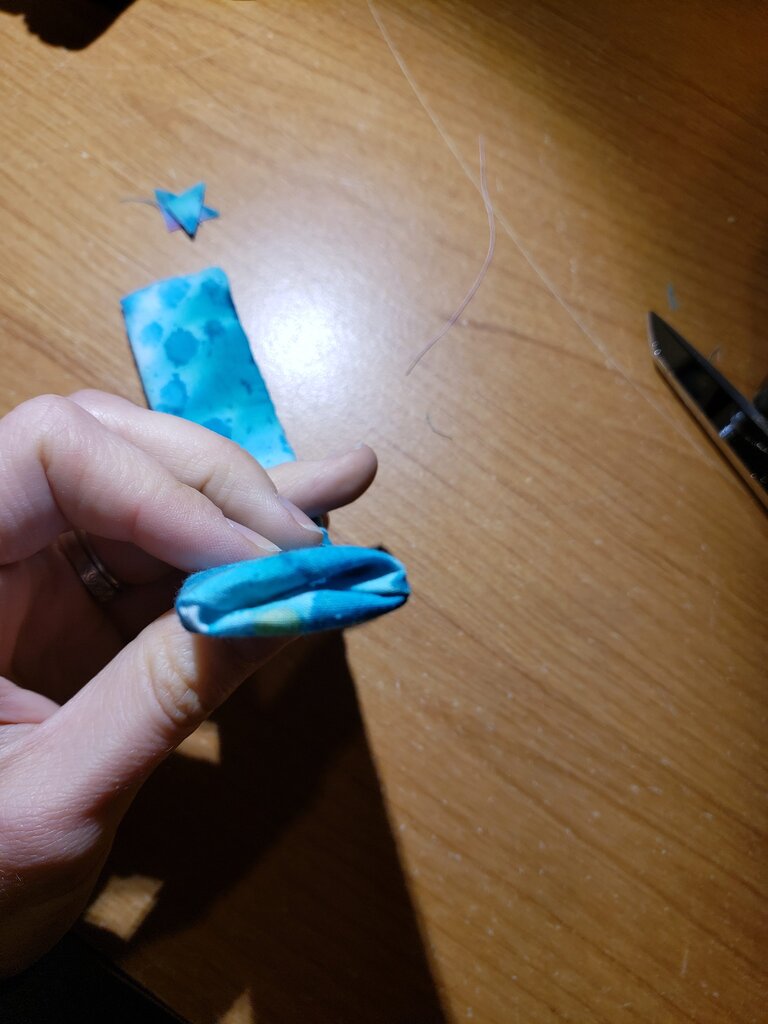
- Fold placket fabric in half (right side in) and stitch along the bottom edge and side edge (with .5″ seam allowance).
- Turn right side out and insert the pellon.

- Tuck the extra seam allowance at the top into the placket and stitch closed.

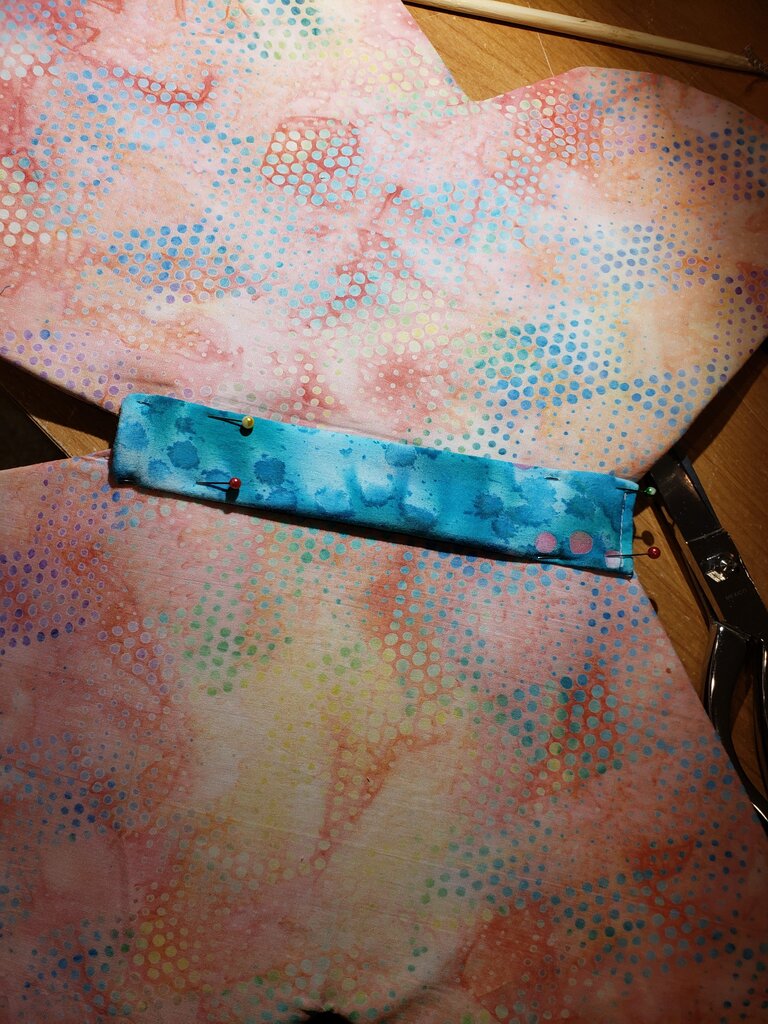
- Pin the wings to the placket but don’t yet sew.

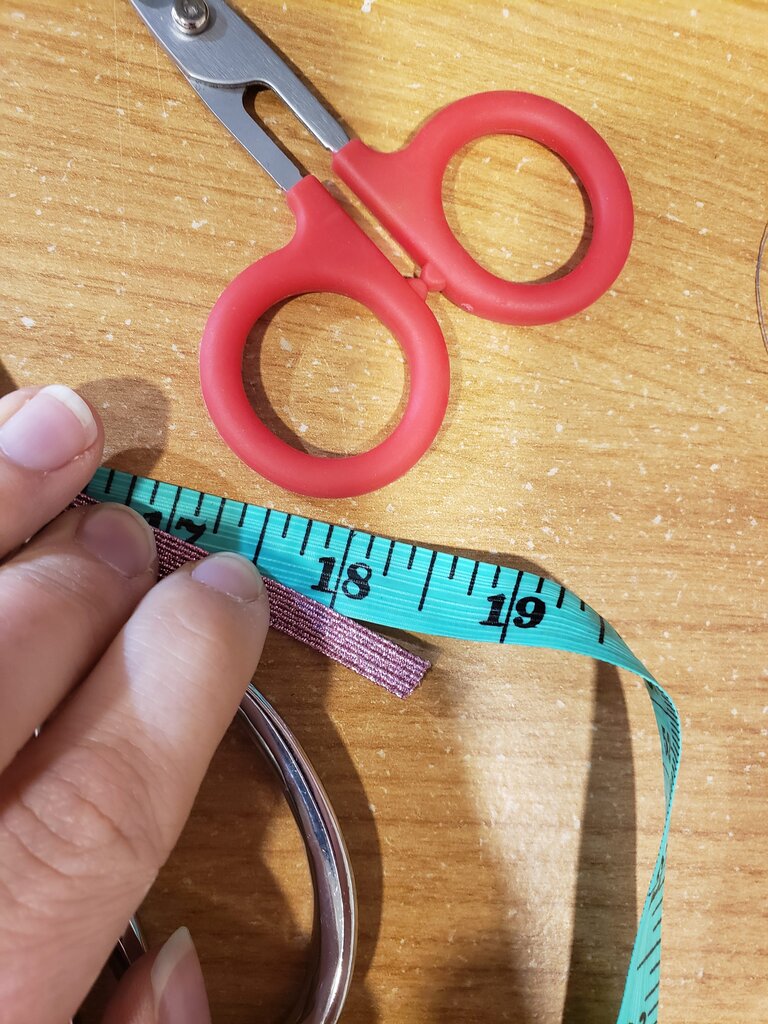
- Cut two 18.5″ pieces of elastic. Tuck one end of each piece under the top of the placket and other end of each piece under the bottom of the placket (between wings and placket). Stitch all along the placket to attach wings and elastic to the placket, backstitching along the elastic for strength.


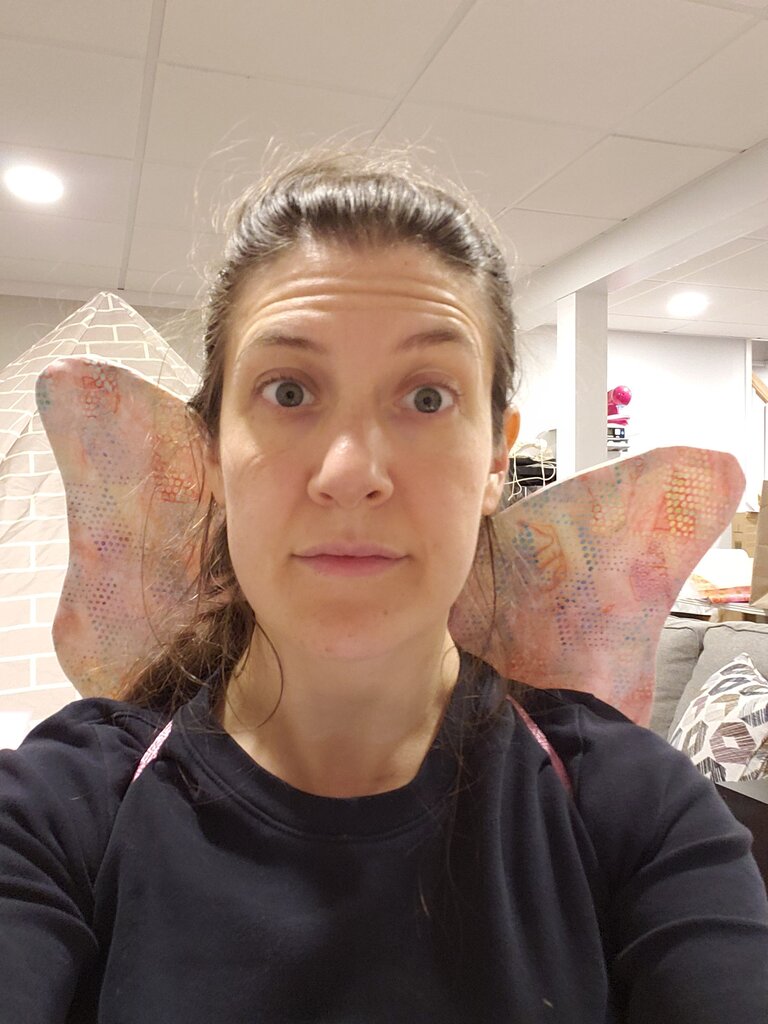
Here I am demoing the wings!
Back view of the wings.
