
We had a fun week with Patricia. I think it is the first time that she’s ever been with both parents without Julius for more than a few hours (aka an only child). She was a very good girl the whole time. She was quite upset when she learned she would be apart from her playmate so we tried to do some fun things to keep her entertained. Like we did a movie night, let her pick dinners, and declared the whole weekend “Patricia weekend”. It was great! I don’t know if life is just that much easier with one child, or if she was just a lot easier last week! We didn’t have to rush around as much which certainly helped.
We planned to have a weekend alone with Patricia but Julius ended up coming home around 1pm on Saturday so that didn’t leave much alone time. She was happy to see her buddy though and wanted to completely forgo all the plans we’d made. I decided to drag her to them anyway which ended up being fun (I think). One of the activities was pottery painting which both kids usually love to do but we had a bit of a debacle when leaving.
Patricia had just changed into a very fancy dress (that she wore to Will’s cousin’s wedding) so before we left we convinced her to change into clothes we “didn’t care about getting paint on”. Will helped her change and she ended up in some hand me down jeans and a top from Julius. When we went to get shoes on she refused to put on her favorite shoes (these crazy sparkly shoes she always wears). When we asked why she said she wanted to wear boy shoes. We found her some appropriate “boy shoes” but she was sobbing when she put them on. I asked her why she wanted to wear boy shoes and she said it was because she looked like a boy. I asked if she thought the clothes make her look like a boy. She said yes. It almost broke my heart. I explained to her that there is no such thing as boy clothes and girl clothes (which is funny because she always says things like “girls wear dresses and so do some boys”). I asked her to tell me what I was wearing (jeans and a sweatshirt). And I asked her if I looked like a boy or a girl. She said I looked like a girl and I said, “see, so do you because we both want to look like girls”. And she gave me a big hug. It was incredibly sweet and also heartbreaking that she is so concerned about her appearance and femininity.
Julius is the total opposite he would wear the same thing every day if I let him and I have to nag him to comb his hair. Julius’ latest thing is that he doesn’t want to cut his hair. I don’t want to force him to cut his hair, but he is 6 and he looks like a total ragamuffin. Then again so does Patricia, and so do I more than half the time, so why not embrace it?
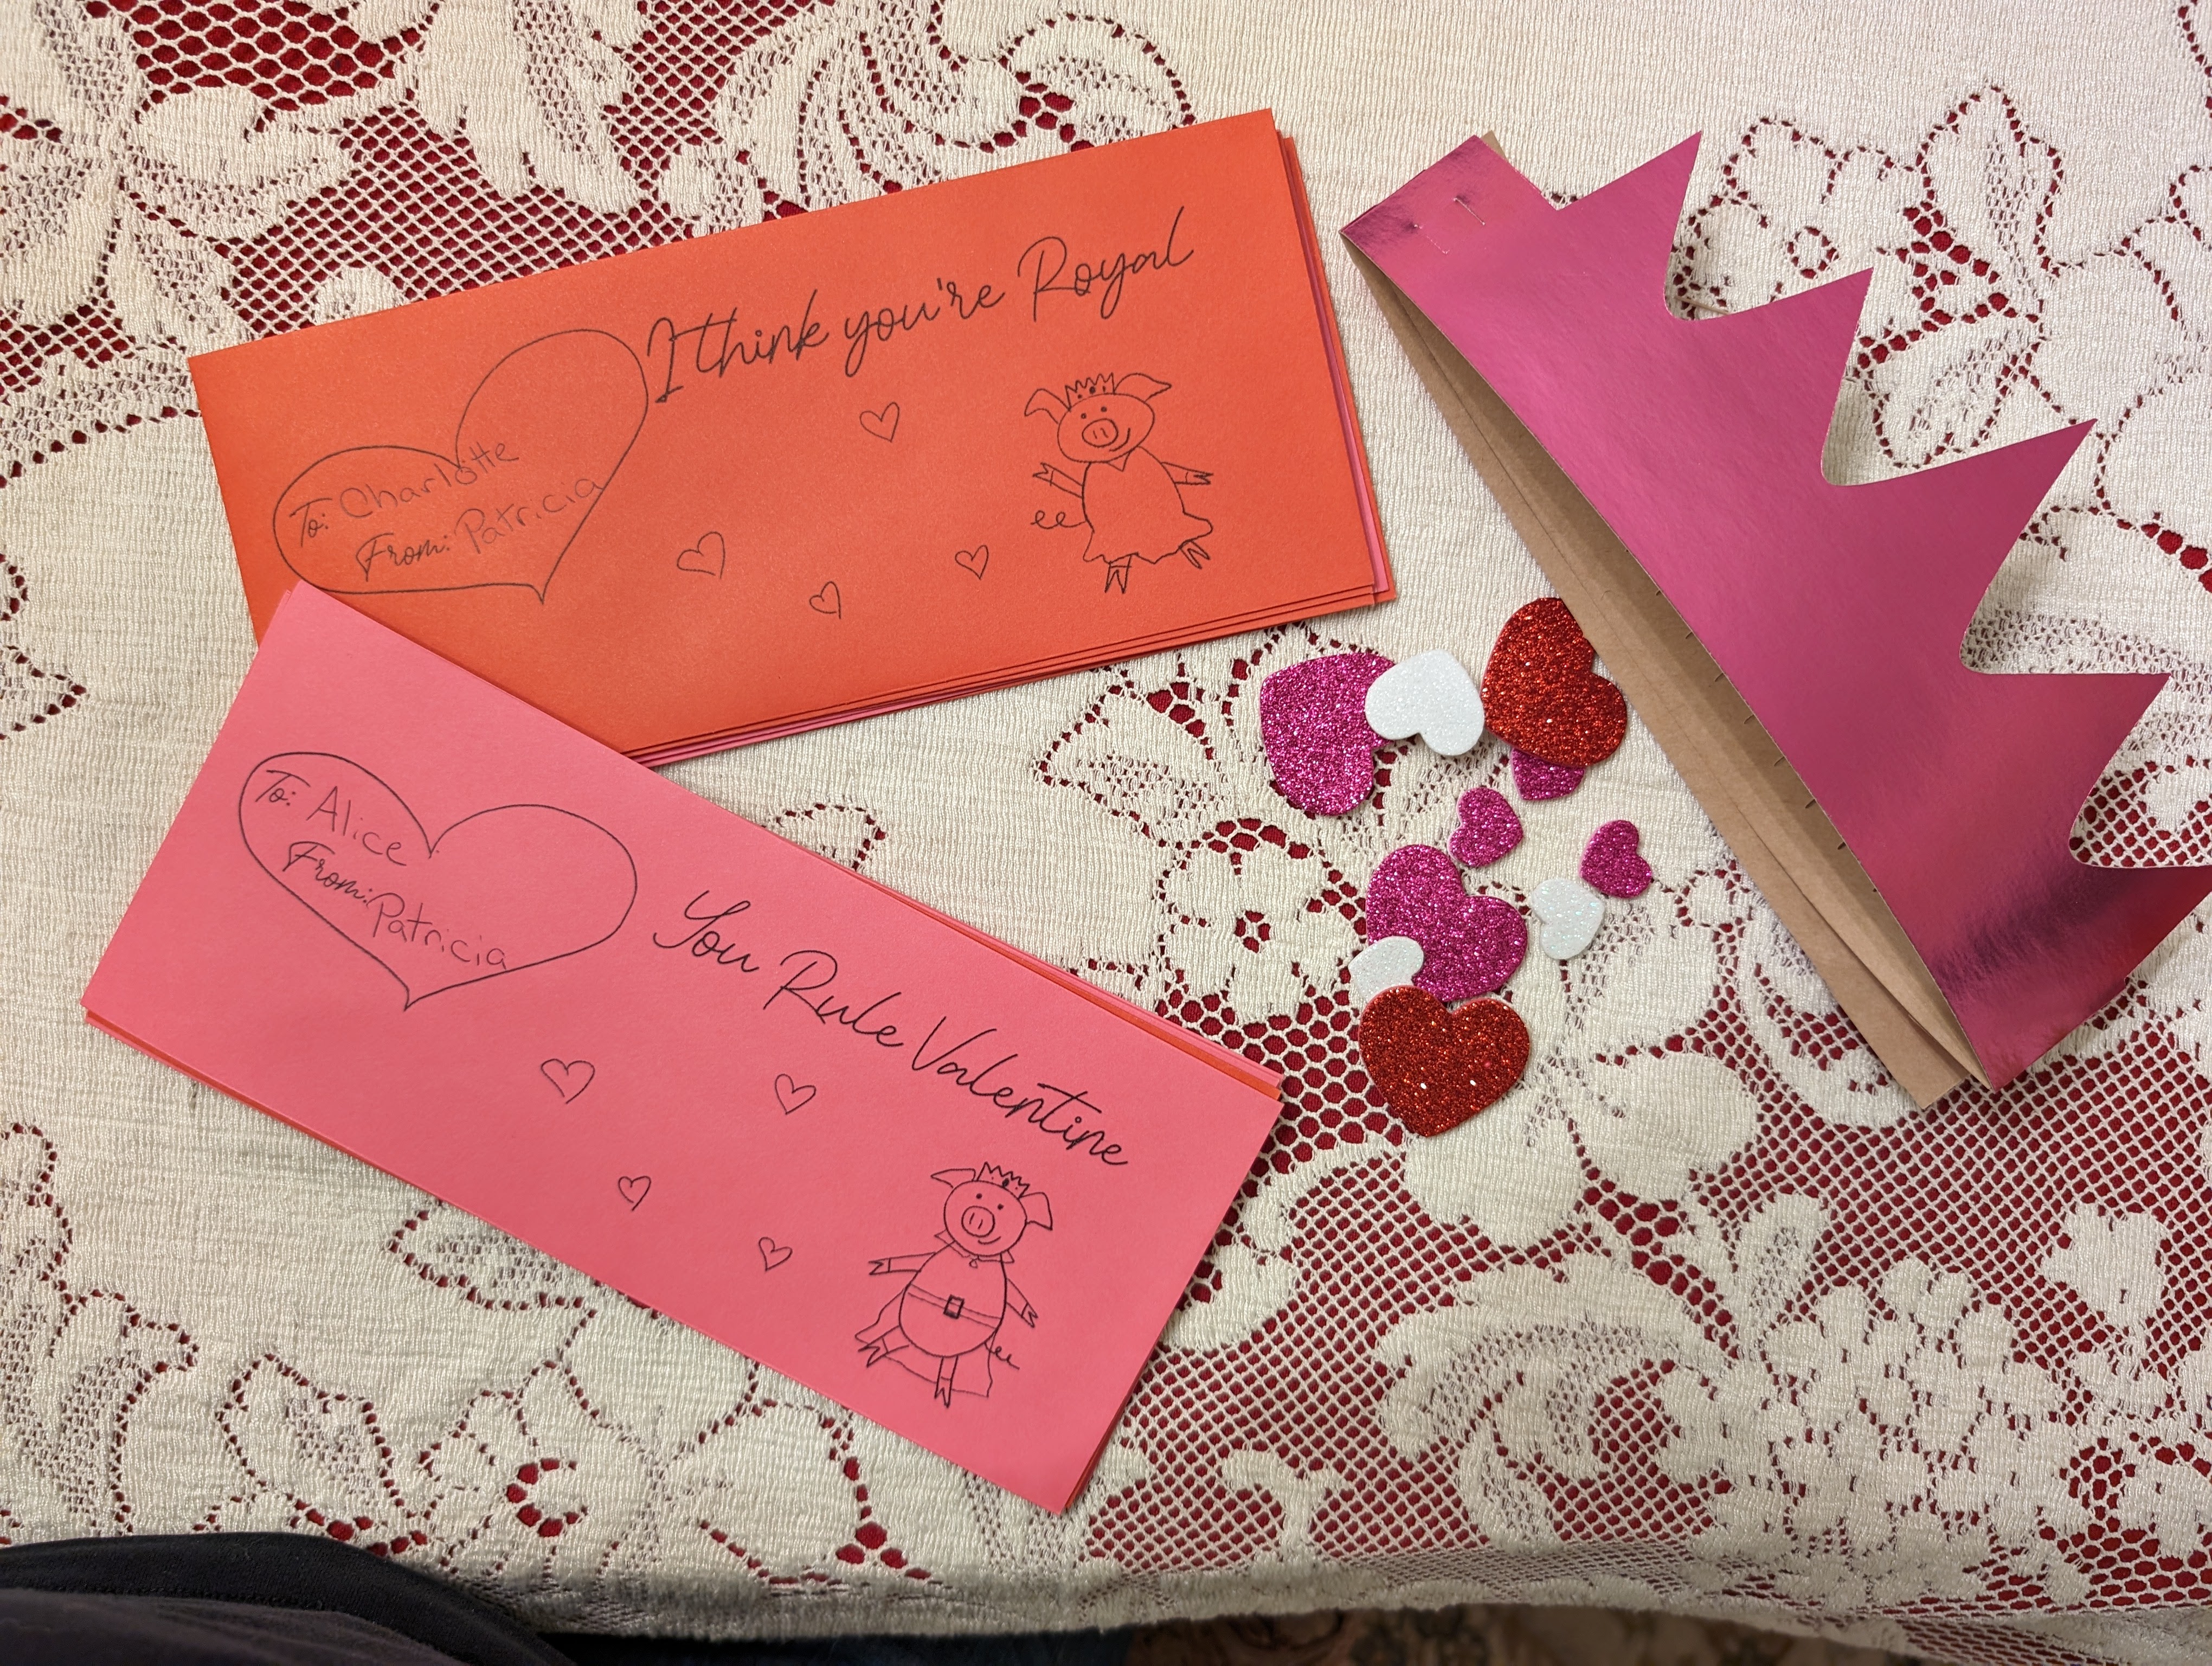
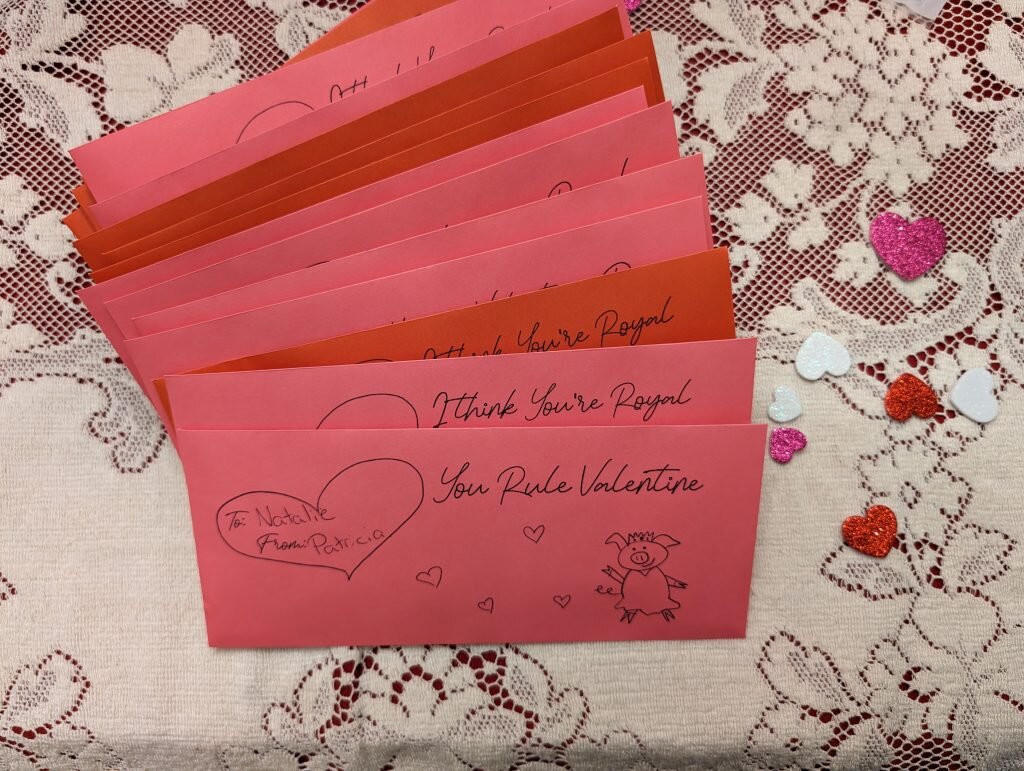
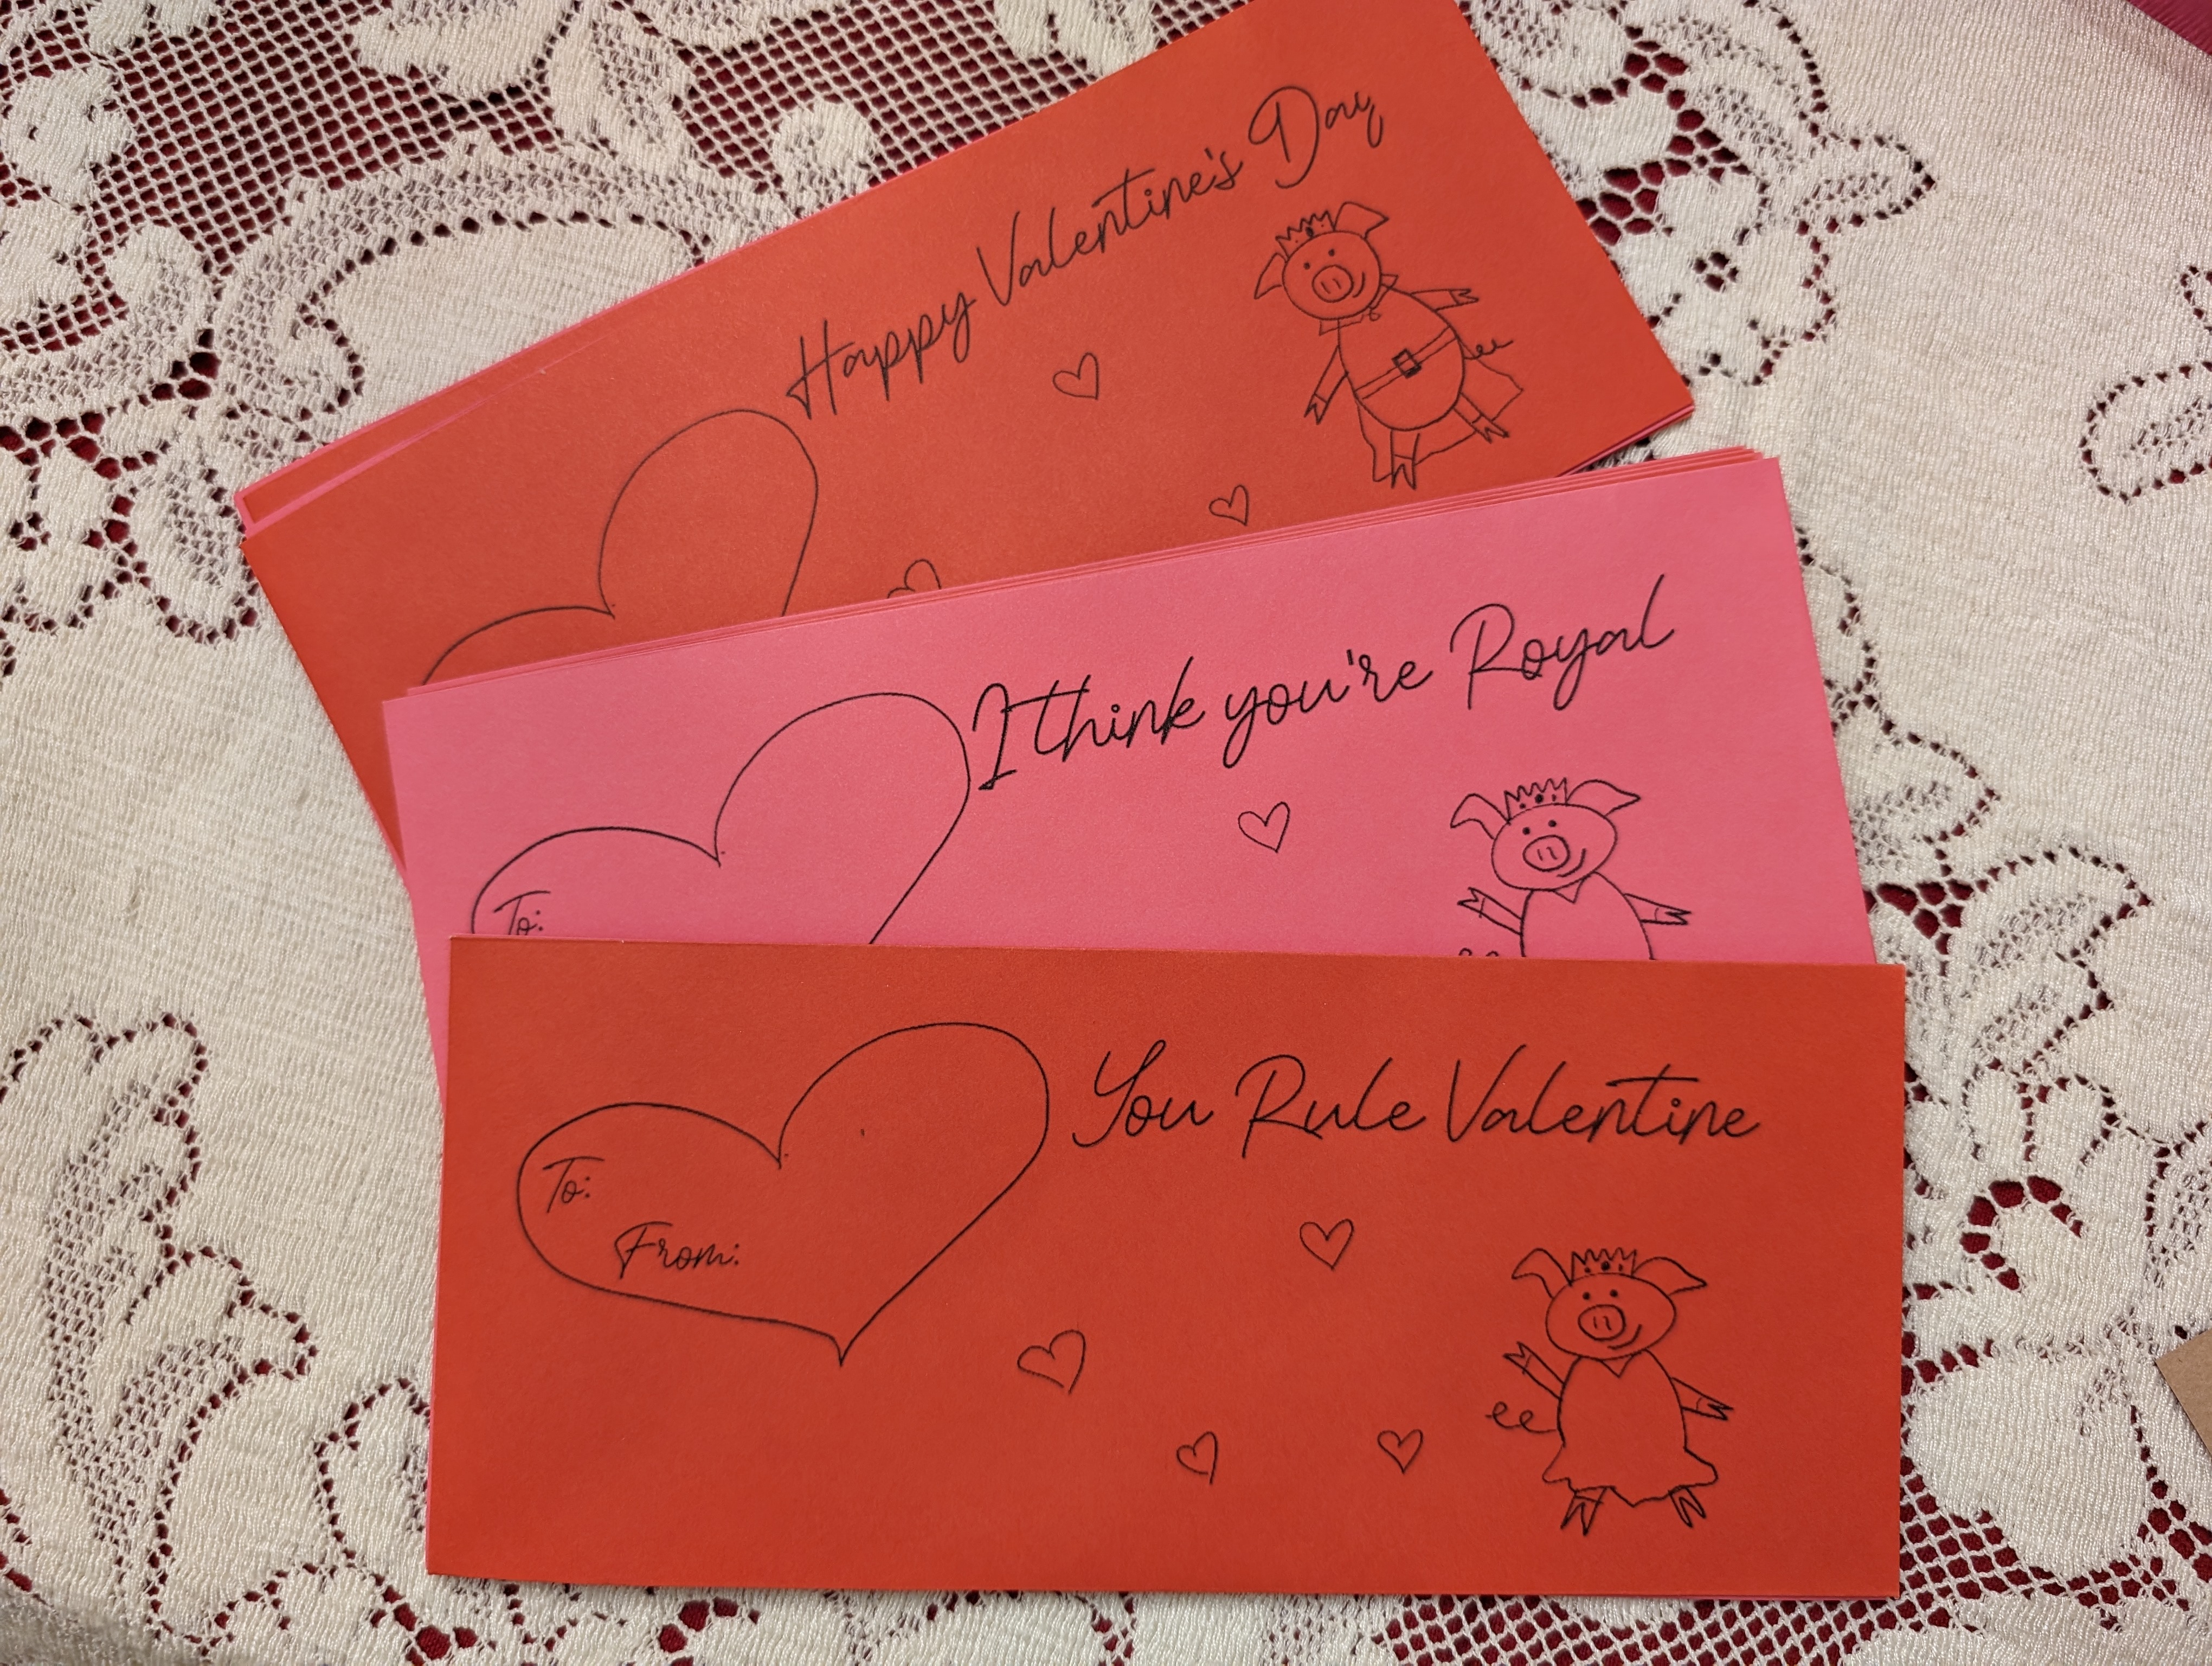
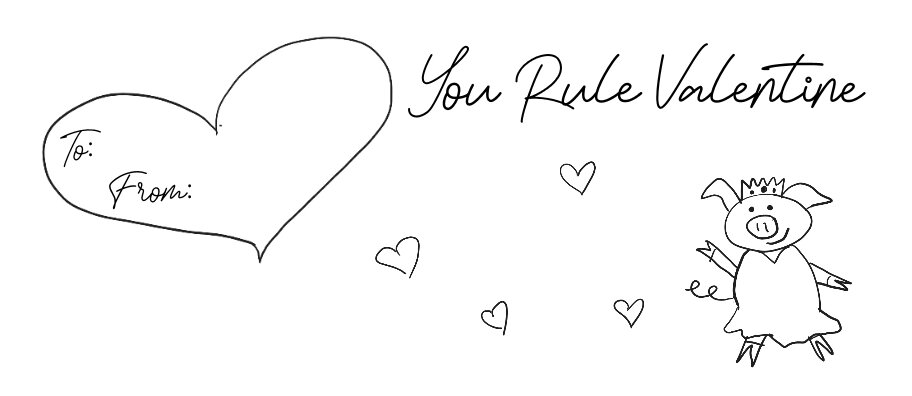
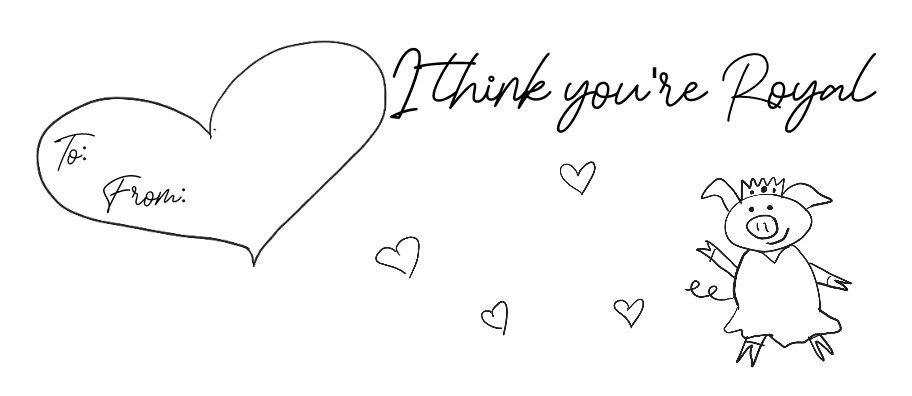
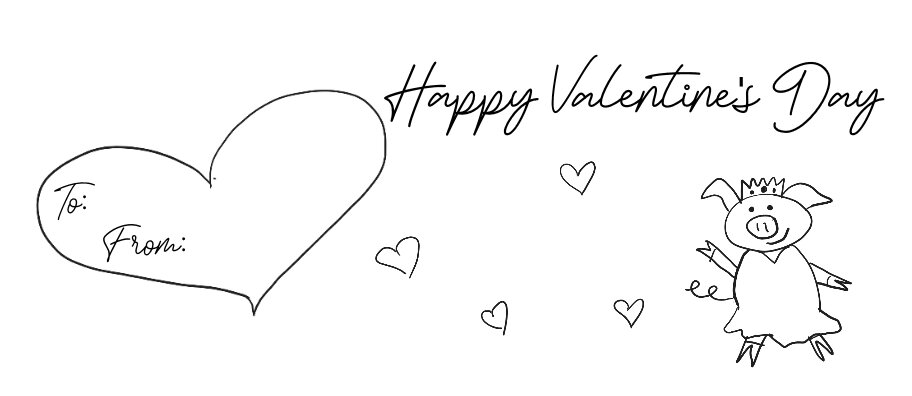
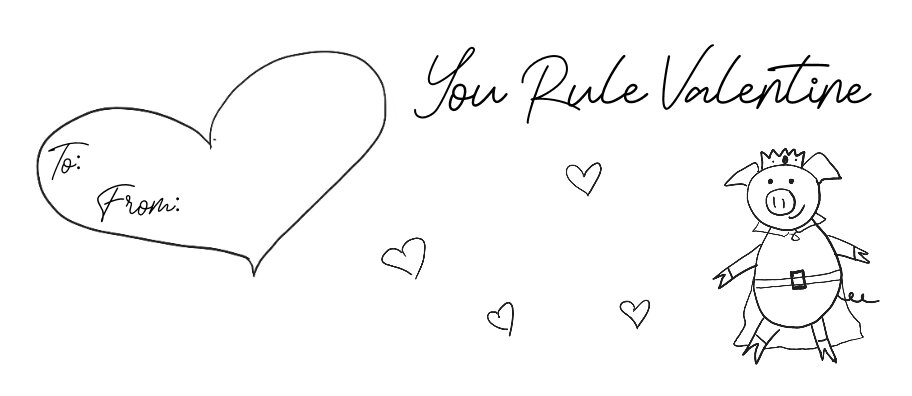
For Patricia’s Valentines I decided to make all the kids paper crowns they could decorate. Patricia loves crowns so I figured this would be right up her alley. I asked her what animal she wanted on her cards and she said “a little tiny piggy”. (And she squished her fingers together so there was nothing between them to indicate the size of the piggy.) I don’t think I fully comprehended what she was asking for so she was a little disappointed with the pigs I gave her though she said something like “yeah they’re good”. She had a great time picking out which card went to which person. She didn’t completely divide the class into pink for girls, red for boys, but it was pretty close. A few boys Patricia decided, “they like pink” and a few girls she declared, “they like red”. So I felt pretty good about that. She didn’t pay attention to the pigs on the cards. I really need to up my pun game. You’d think with pigs AND royalty I would have been able to come up with multiple puns. But I couldn’t think of anything… that was appropriate for toddlers.
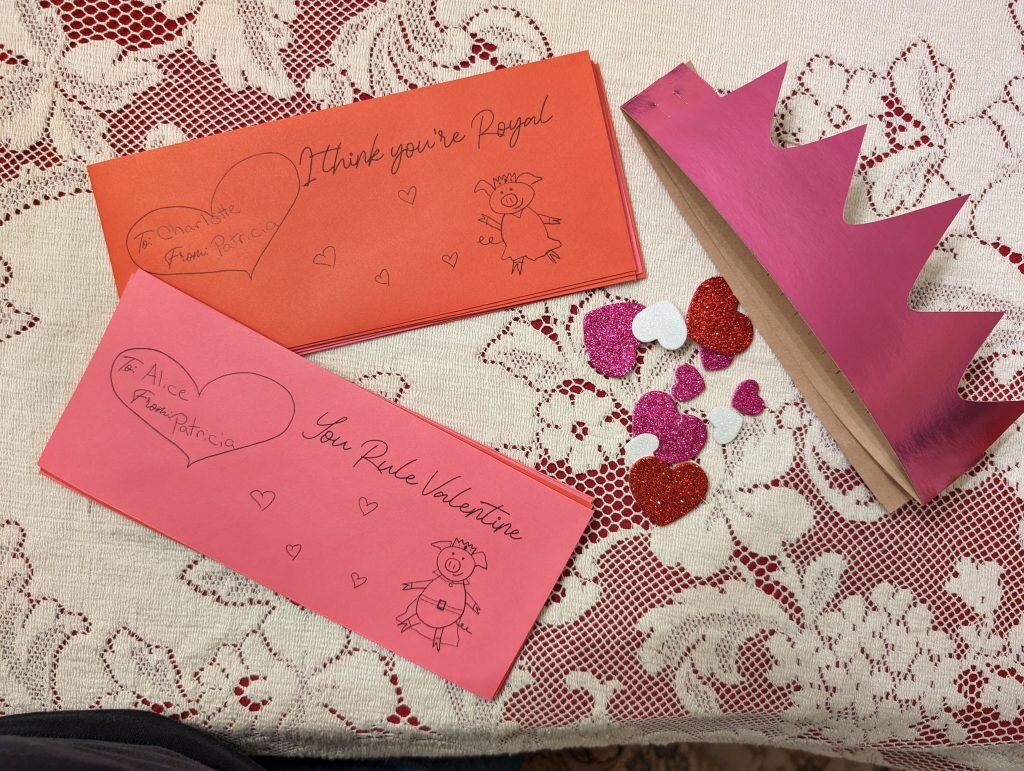 Royal Piggy Crown Valentines
What you’ll need (for each crown):
- one 8.5″x11″ sheet of 65lb foil cardstock
- puffy stickers (I gave about 5 or 6 per kid)
- #10 envelope
- printer
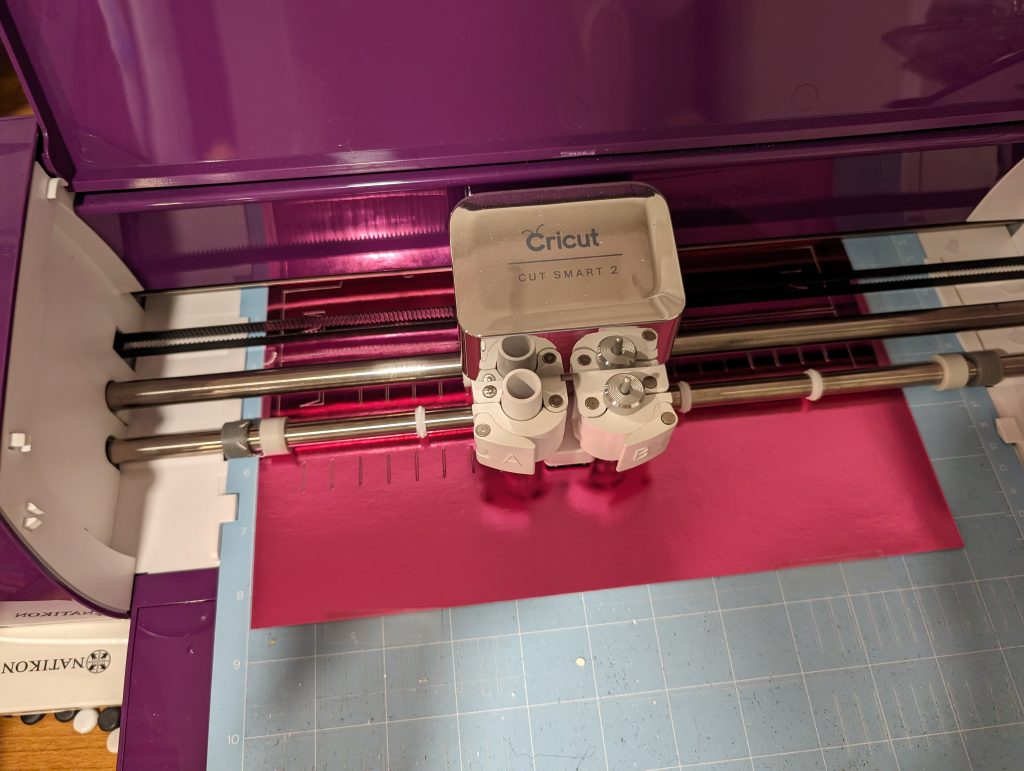
- cricut with regular (premium fine point) blade cutting tool
- Envelope template here, here, here , here, here and here.
- cricut template here
- Take envelope and load it into printer (in my printer you need to load upside down).
- Print by selecting #10 envelope and fitting to page. (I used paint.net to open the .jpg and print.)

- Load 8.5″x11″ sheet horizontally onto lightweight 12×12 mat.
- Select material as lightweight cardstock
- Cut.
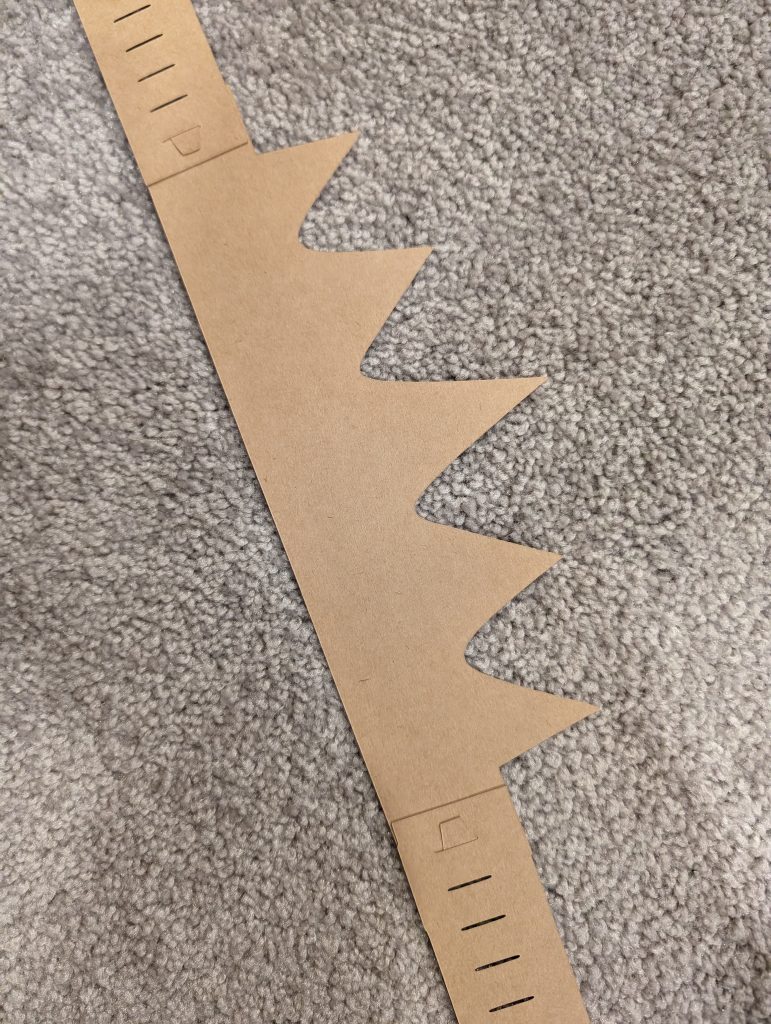
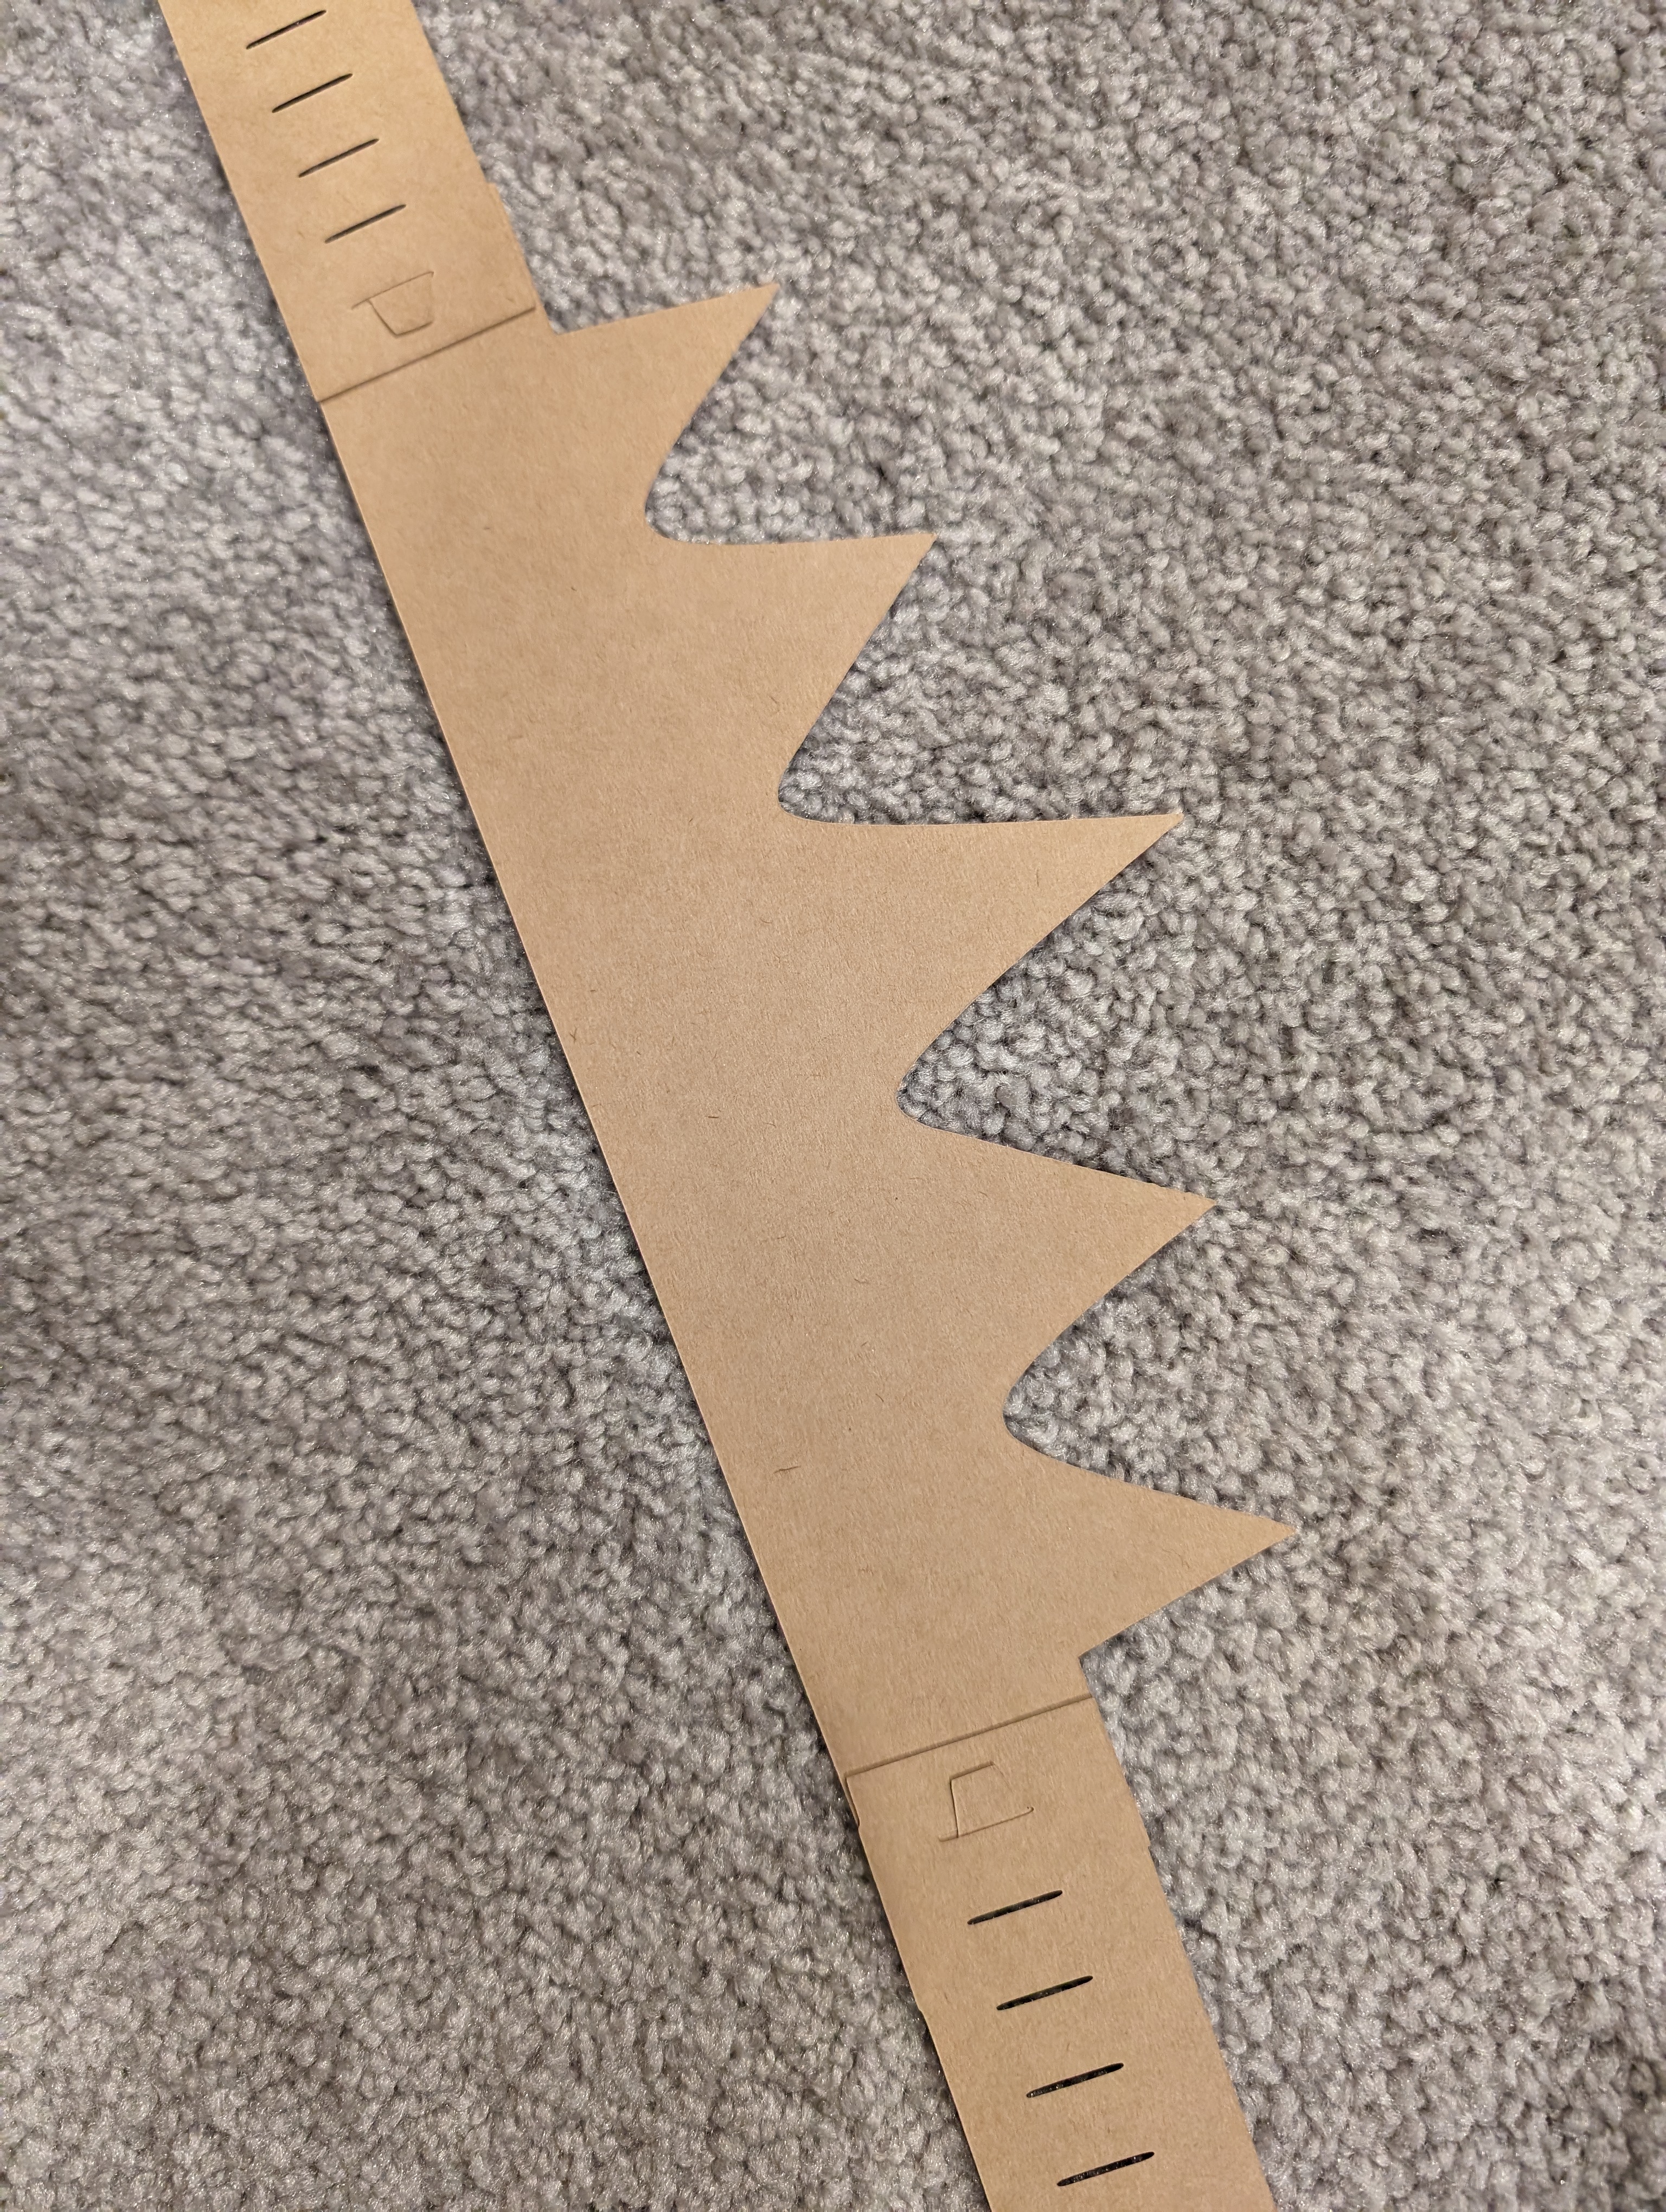
- Weed and remove the crown then assemble by slotting one part of the band onto the tabs on either side of the crown.
- Place tape over the connecting tabs to secure if desired.
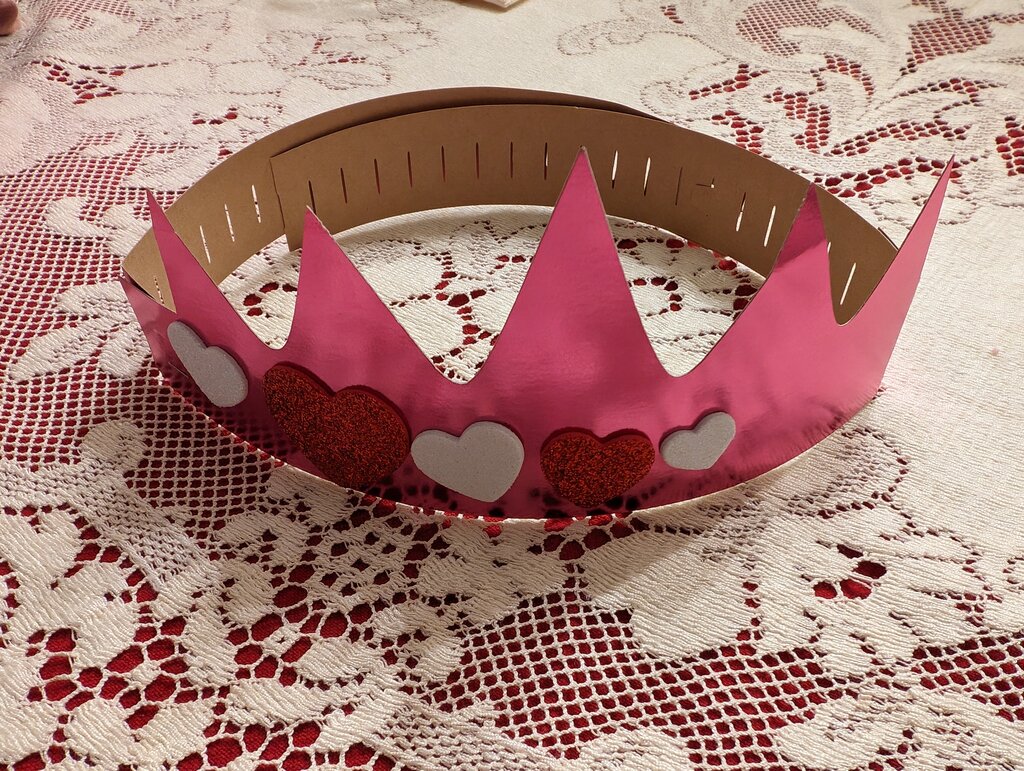
- To fit into the envelopes, fold the side with the tab along the first unused slot near the crown peaks. Fold the other side at the first crown peak and trim excess that hangs beyond the other edge.

Can you see how one end is folded to the edge of the crown, the other is folded two bars away from the end?
- Address envelope, place crown into envelope with stickers and seal.
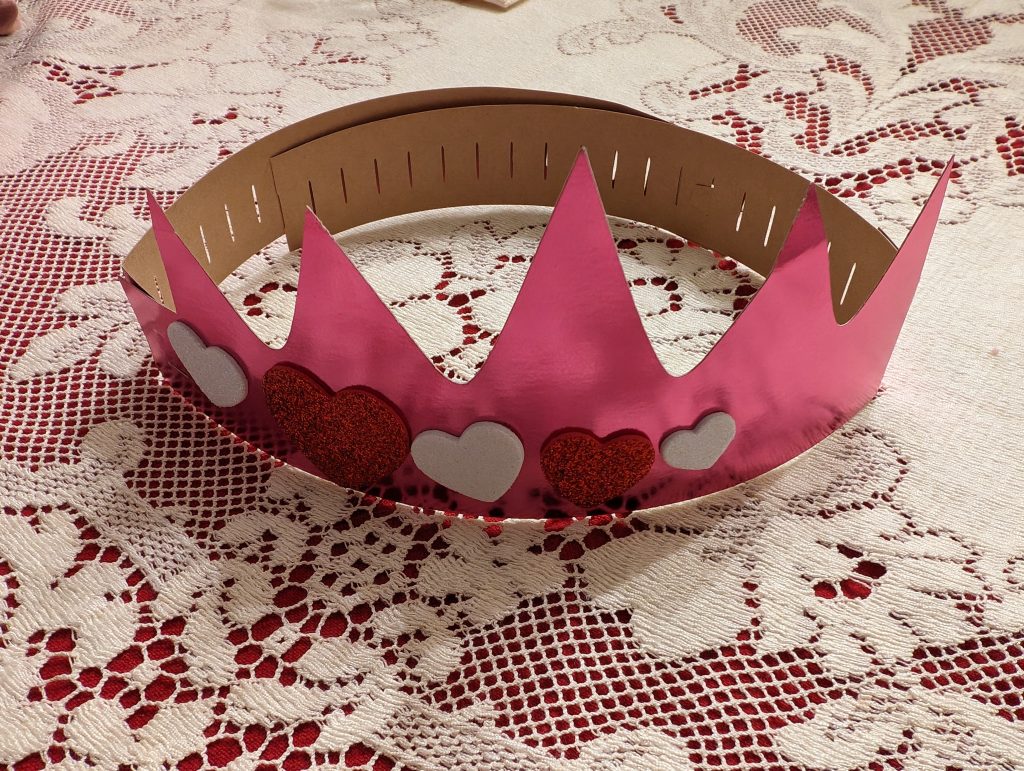
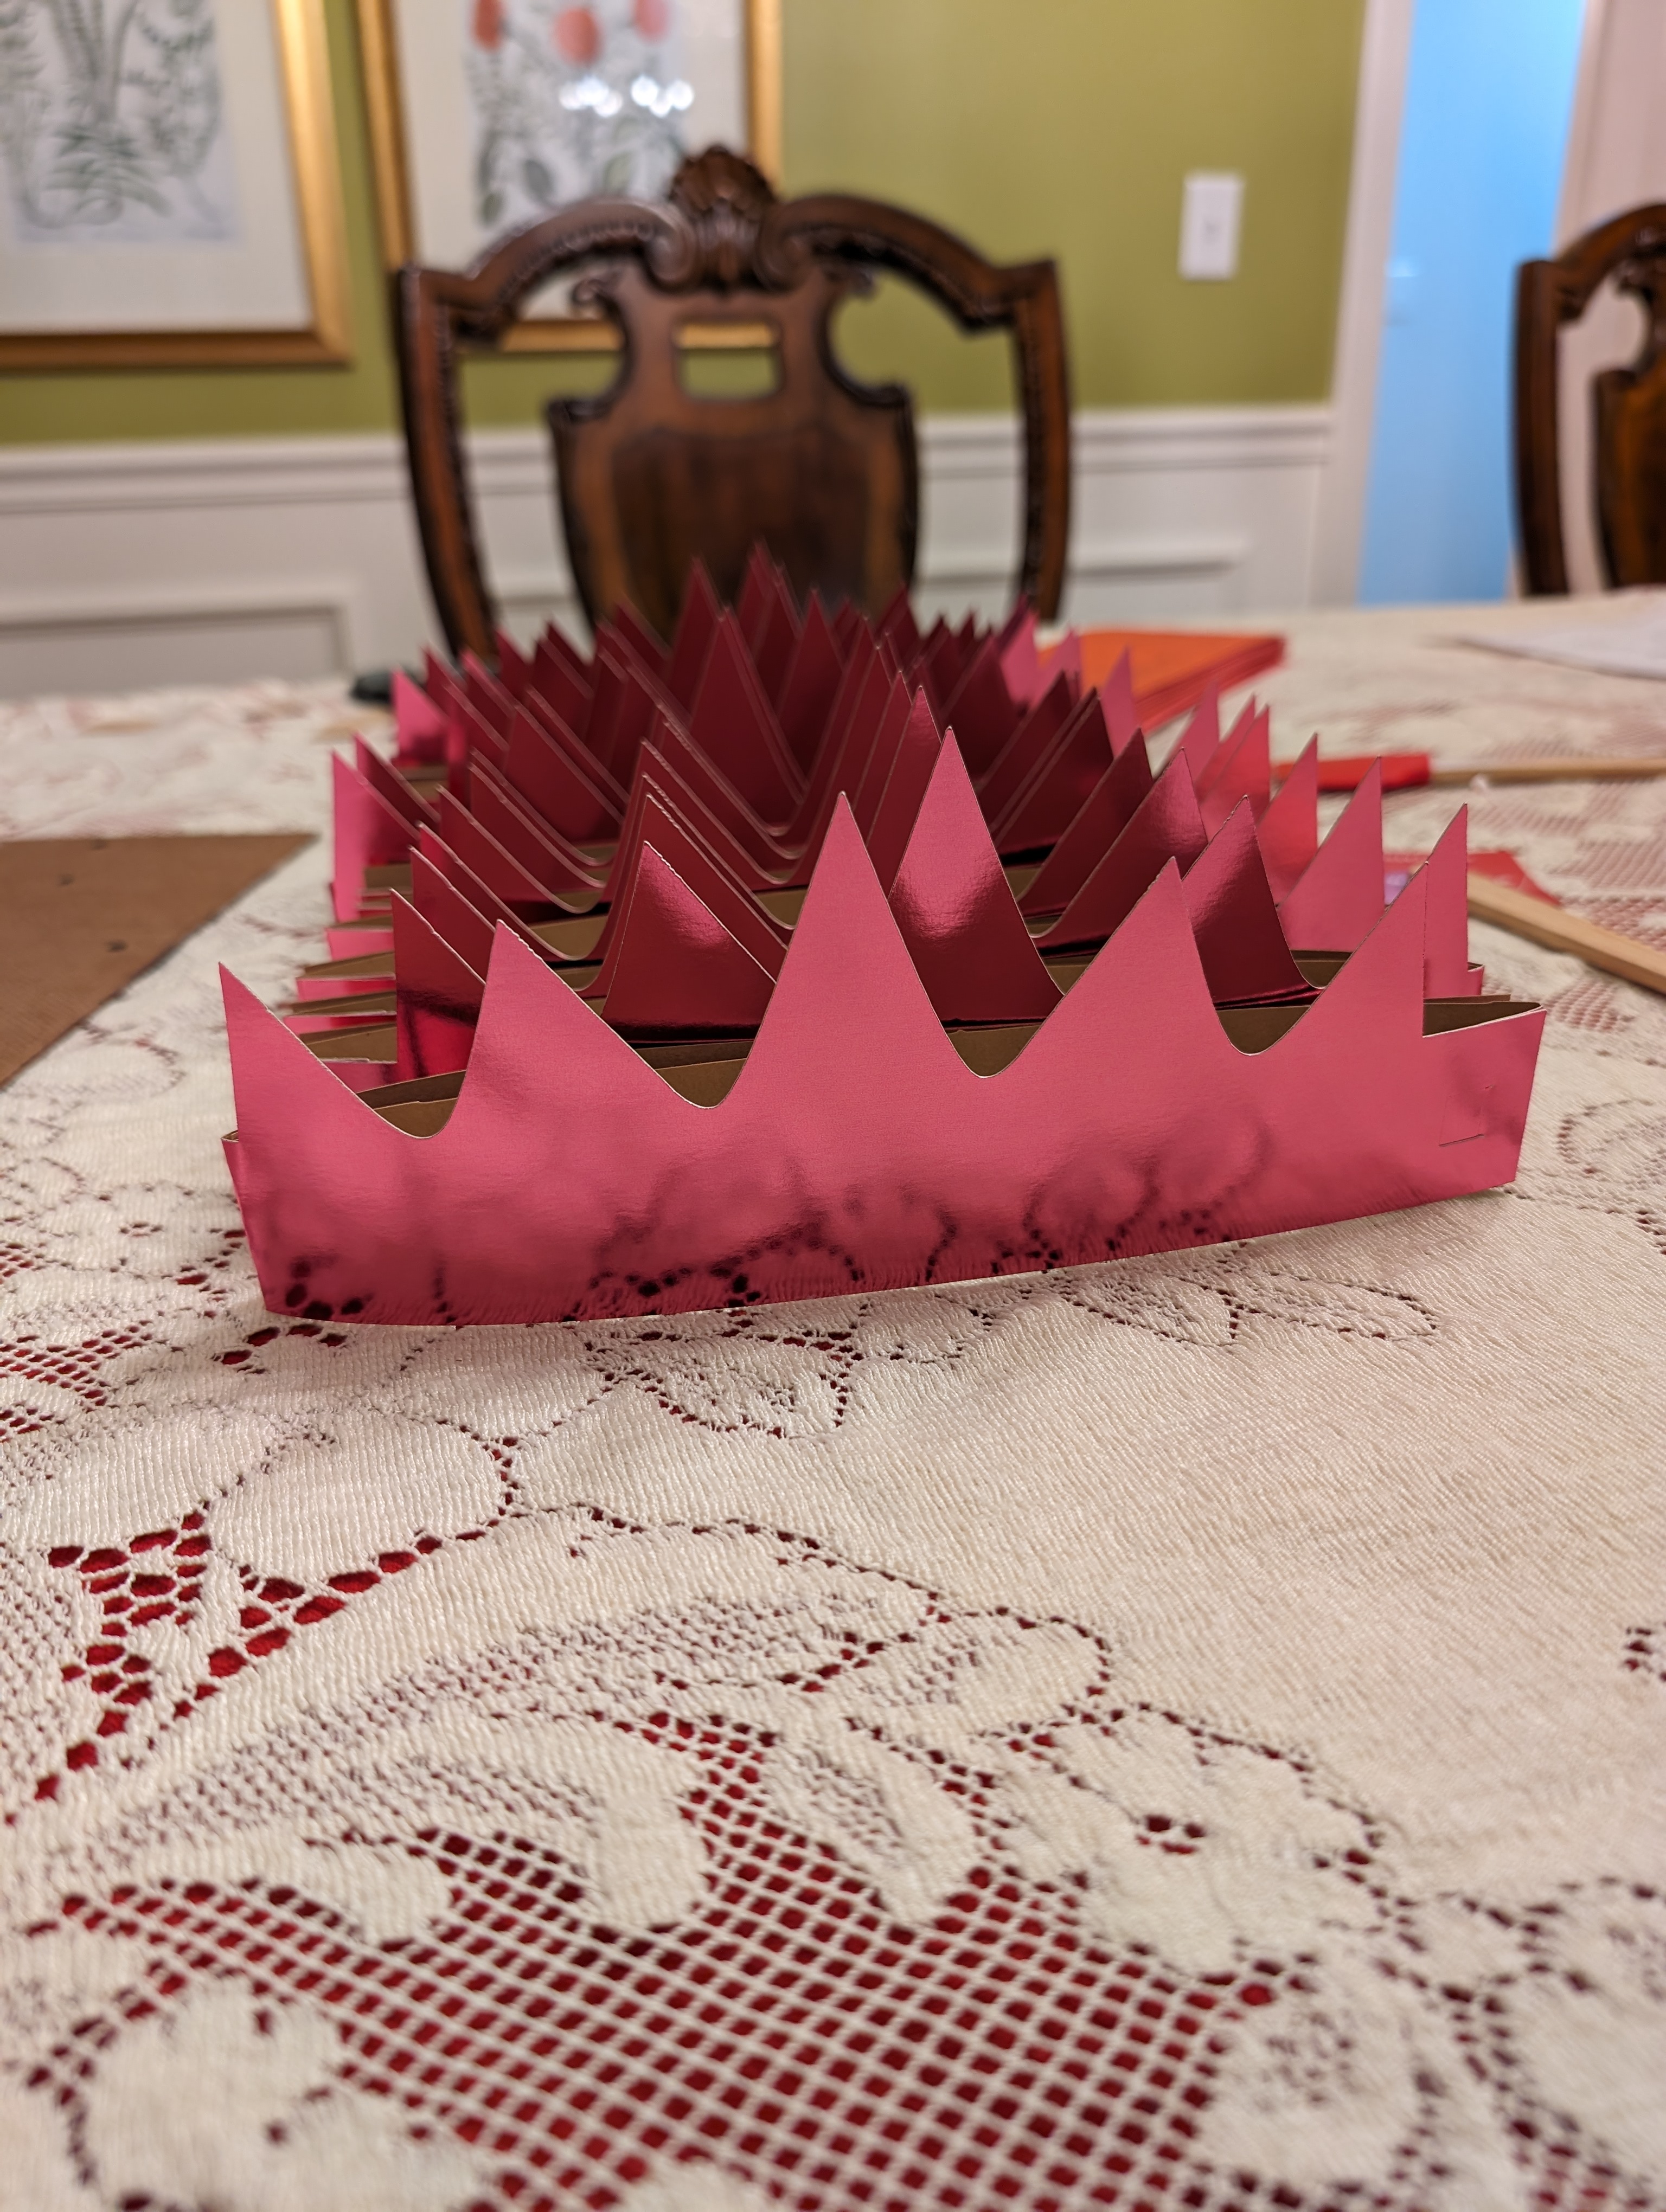
Here’s a finished crown
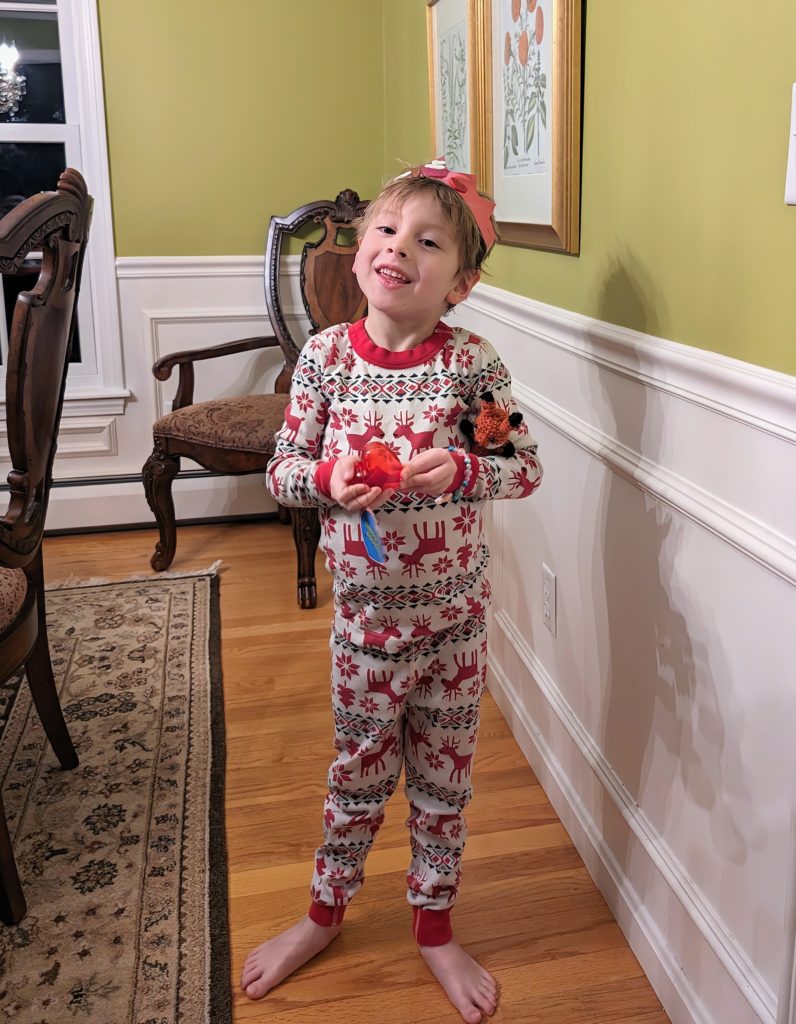
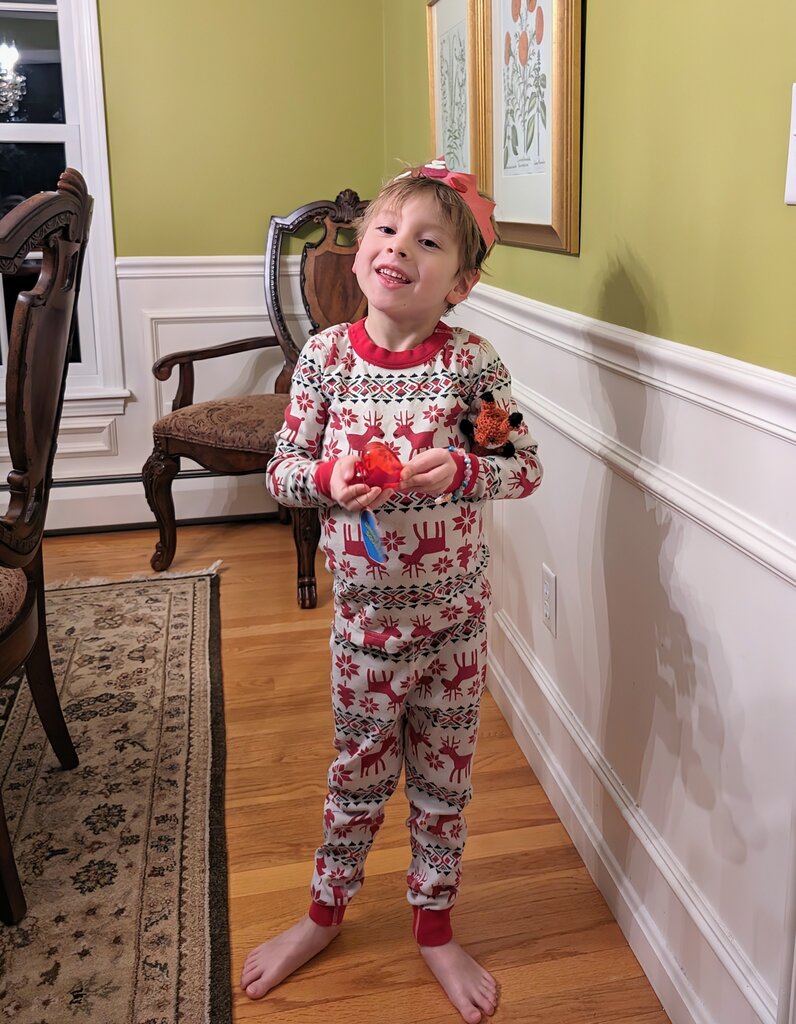
Julius showing off his crown

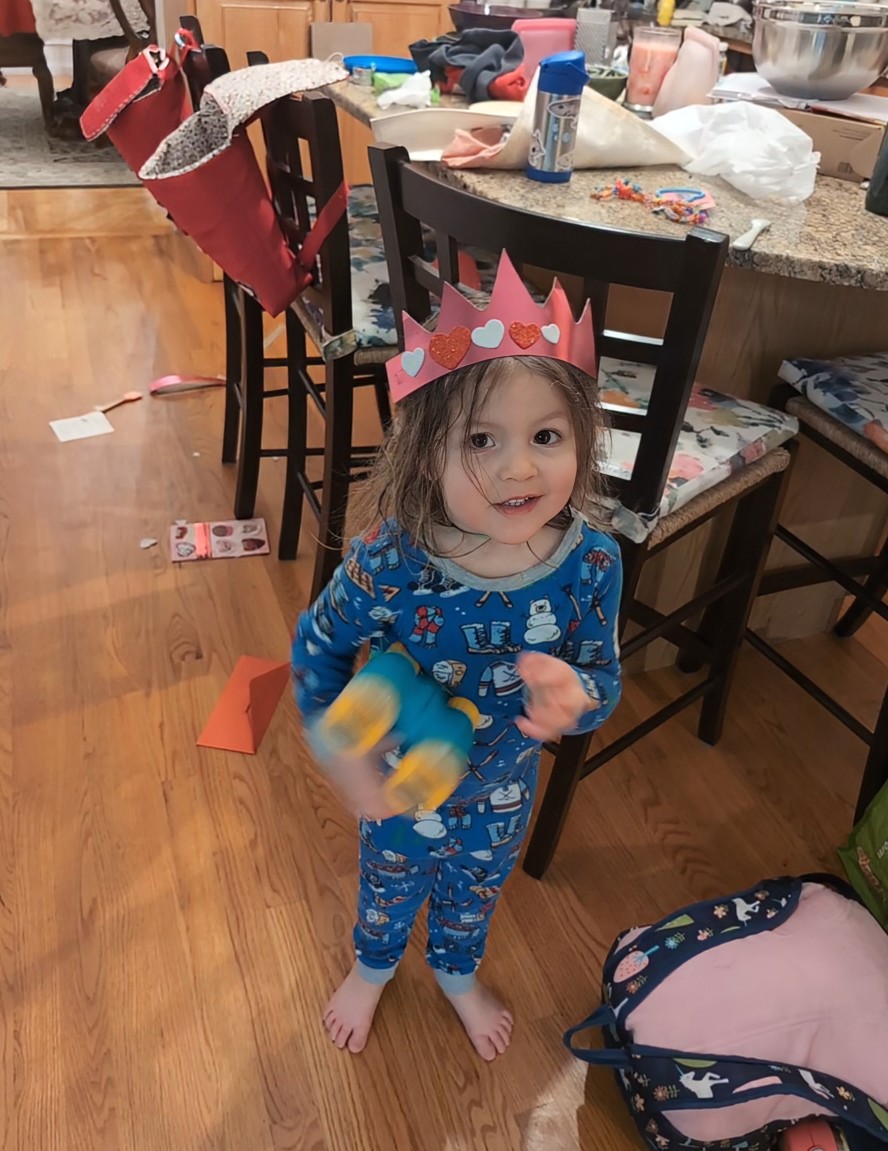
Patricia showing off her crown
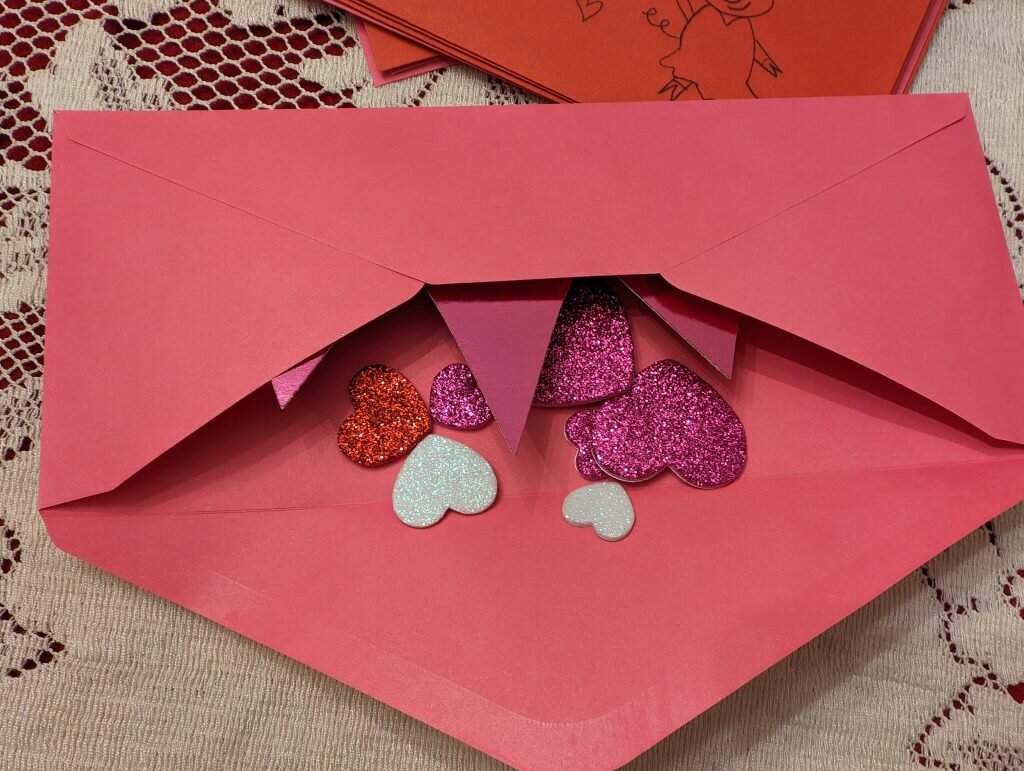
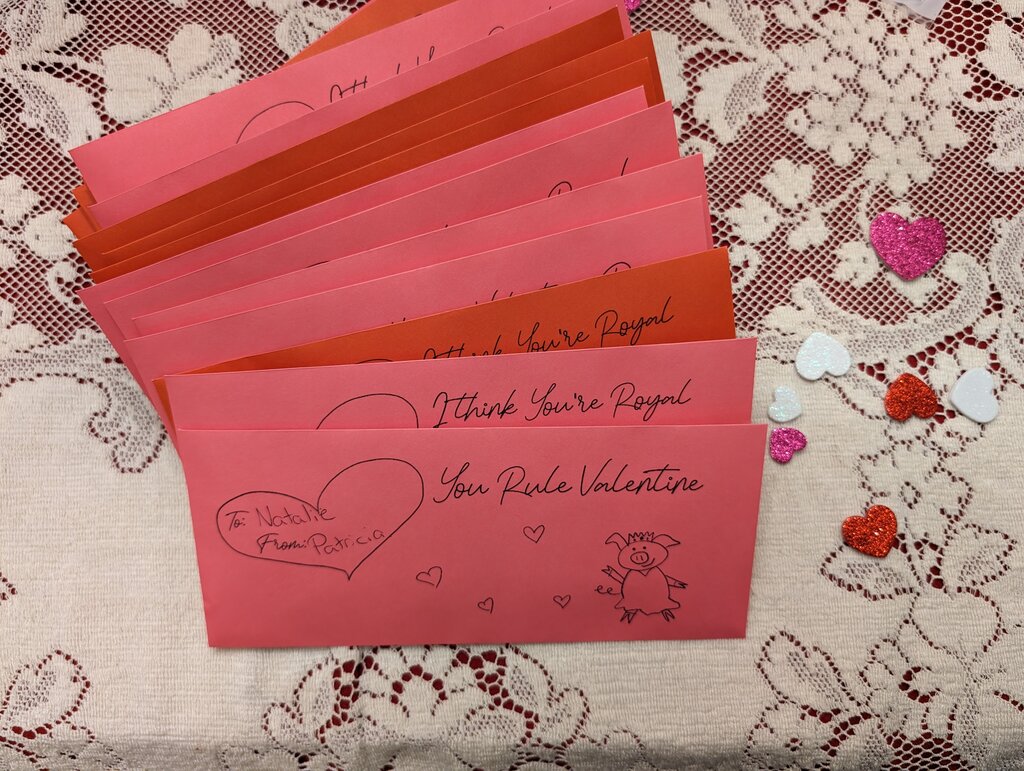
Stuffing the envelopes

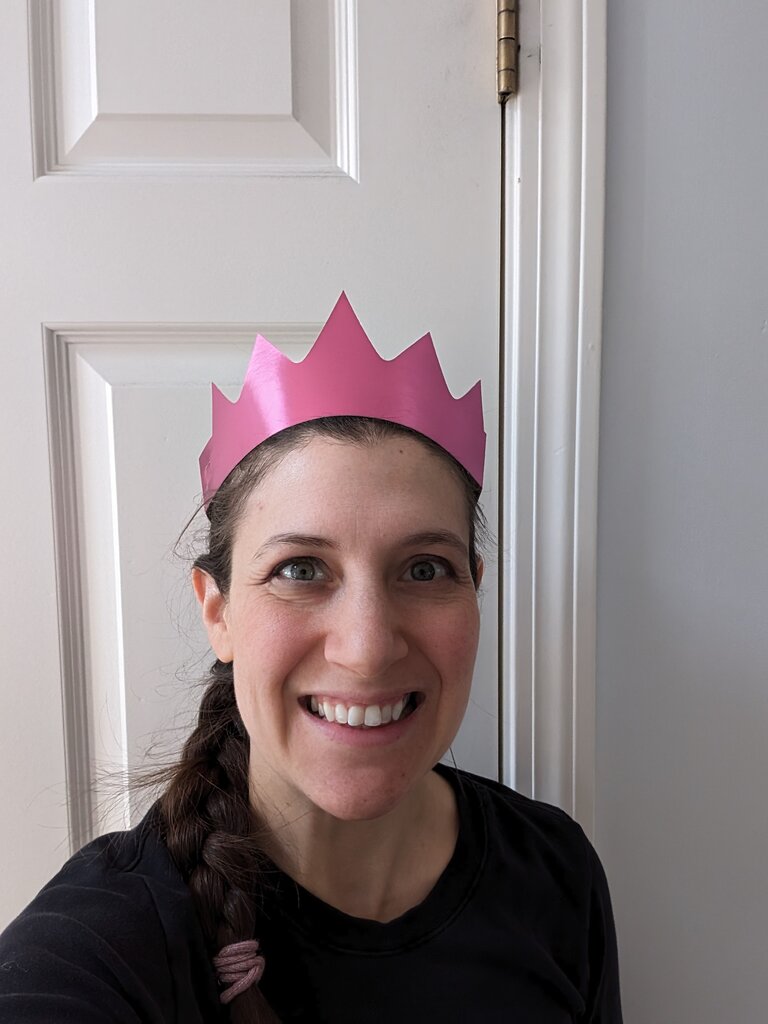
They even fit adults! (Even crazy wanna be queens.)


