So little Patricia has been working on her name. Sometimes she says “Pa-tree-sha”, sometimes “triss-a” and sometimes “sha”. Her vocabulary has gotten pretty large, though she still says mostly one syllable for every word, usually repeated twice. For instance “gogo bobo”, a very common phrase at all times of the day, is goldfish crackers in a bowl. I’m really proud of her language skills and I’m always tricked into giving her goldfish crackers at all times of the day because she’s so darn cute.
Patricia’s favorite book right now is probably Goodnight Moon, which is fine by me because I love reading it. She points to the mouse in every picture, which is actually pretty challenging. Maybe she’ll like I spy as much as Julius! As for Julius, he has been reading to us every night for the past couple months. He’s gotten pretty good at it and I’m really proud of him! We are on the last book in the first Bob book set, so I hope the next set of books we ordered comes soon!
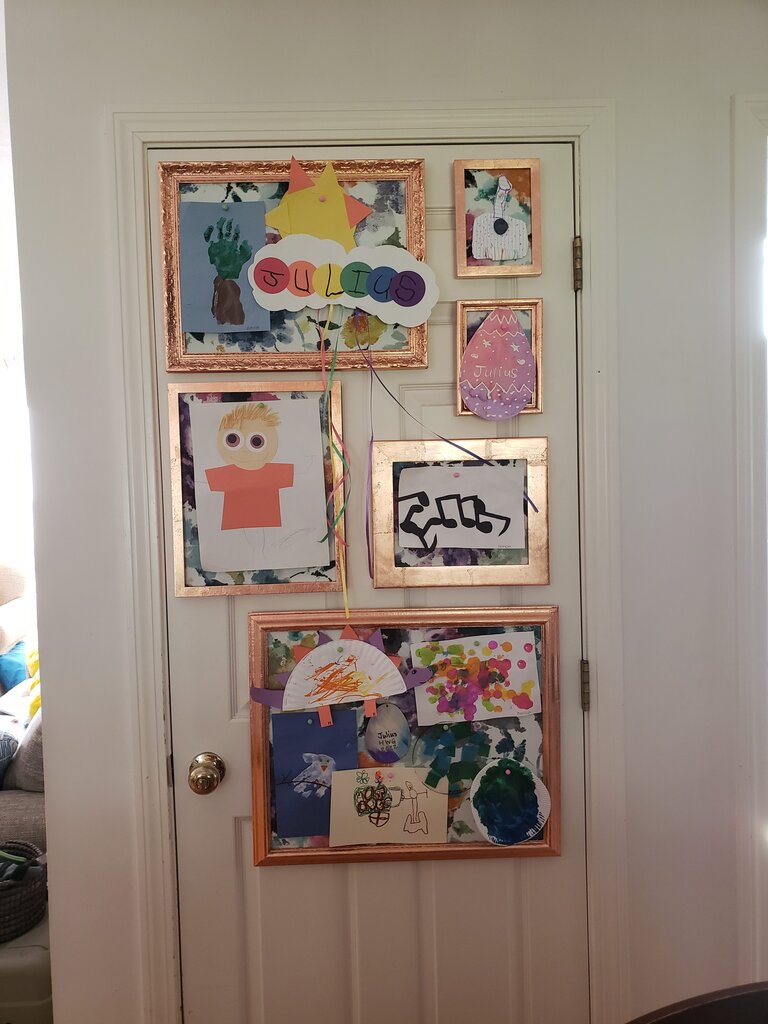
I haven’t showed you the copper leaf technique yet! It was quite challenging getting things to work properly even after reading several online tutorials. I think the best one I read was this one. If you’re interested, I’ll give you my tips and tricks that worked for me. For starters I bought a gilding kit straight off of amazon which came with everything I needed. For all of the frames on my door I used about half of the copper sheets (about 50 sheets total) and a very small amount of gilding adhesive. To seal the frames afterwards I used the same brand of gilding varnish which went on smoothly and sealed the projects very nicely. Below are the steps I used.
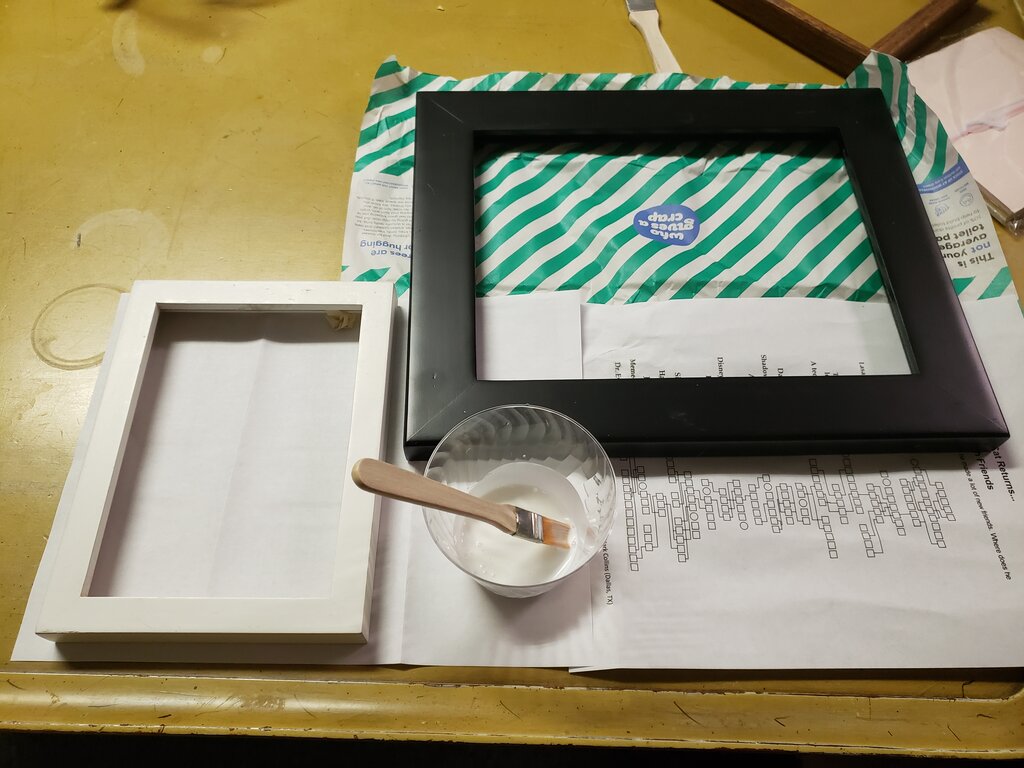
- Mix the gilding adhesive with water as suggested. Paint the adhesive (also know as sizing) on the entire surface of what you want to gild. Wait a period of time indicated on bottle until gilding adhesive is tacky (about 30 minutes). Note, gilding adhesive stays tacky for a very very long time. More on that later.

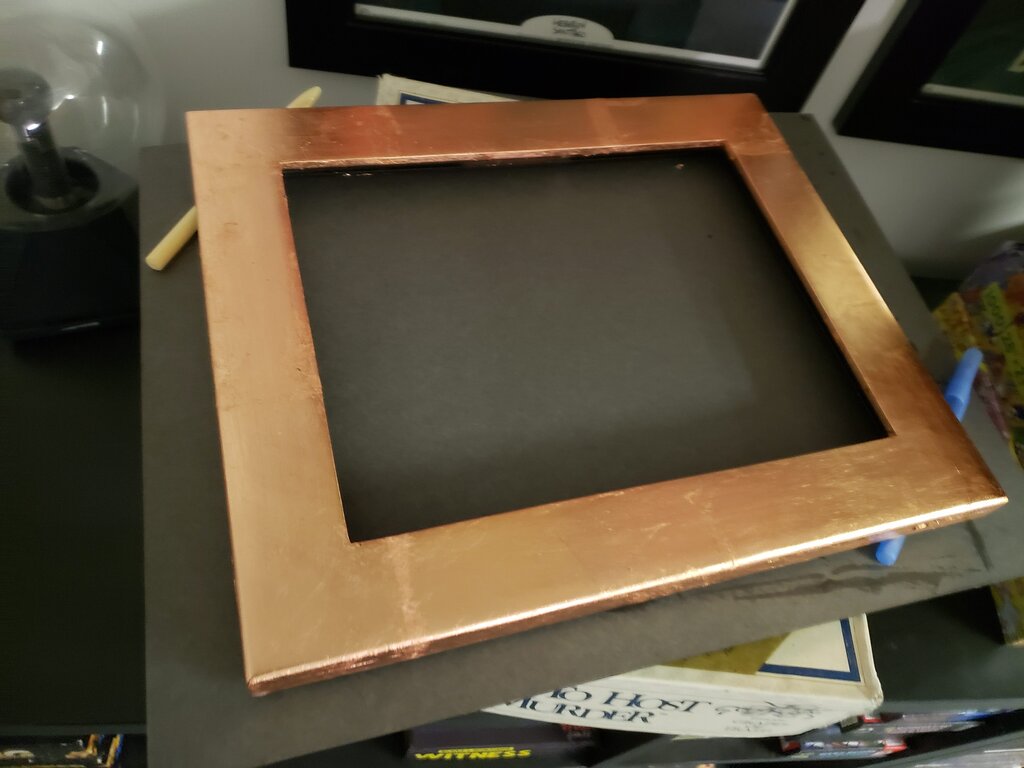
Frames ready to be coated with sizing/adhesive
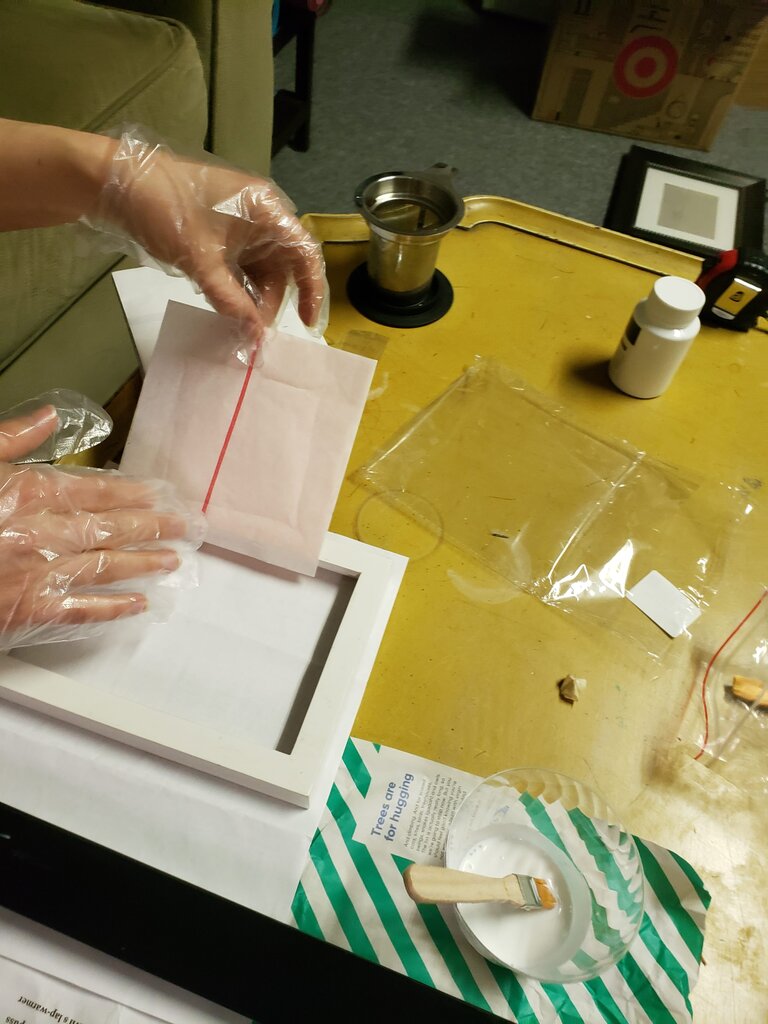
- Remove a sheet of foil by holding it gently on top of one of the sheets of paper. I found the best way to deal with the large sheets was to cut them in half (and cut the sheet of paper in half too along with the foil).

Example of holding foil over the adhesive surface (I ditched the gloves quickly).
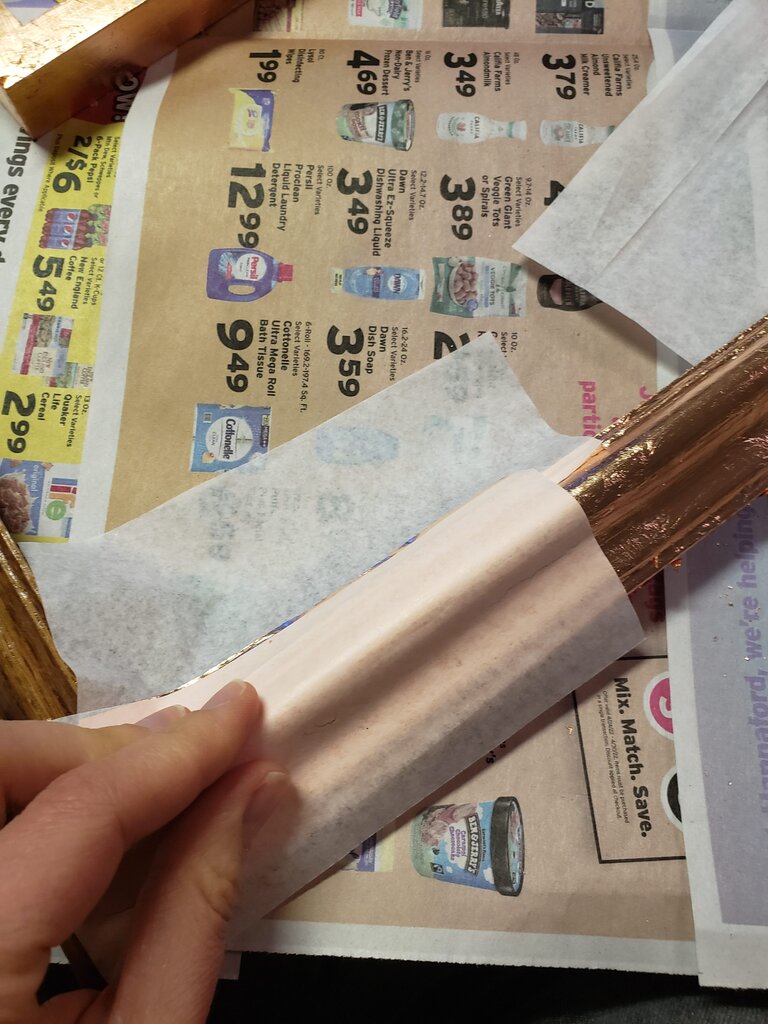
- By holding the edge of a half sheet of foil between the paper and your fingers, lay it on top of your surface. Use the paper to gently press the foil onto the surface into any little cracks that may exist. I actually found it easiest to use another sheet of paper to block out half the project while I was pushing the foil down, then gently remove the paper and push the rest of the foil down. This helped me get the foil into the more intricate surfaces without tearing. Another tip here is to avoid touching the sizing/adhesive with your fingers AT ALL COSTS. If you touch the sizing immediately wash and dry your hands thoroughly because any amount of adhesive on them will stick to the foil and make it impossible to to do steps 2 or 3.

Example of using the paper to push into the cracks of the frame. Note the piece of paper underneath the foil, covering up one part of the frame so I can apply the foil to one area in a continuous piece without tearing it.
- After the foil has been pressed down onto the surface through the paper divider sheet, remove the sheet, and gently push down with your fingertips.
- Once the sheet is in place, place next sheet by steps 2-4, overlapping previous sheet slightly.
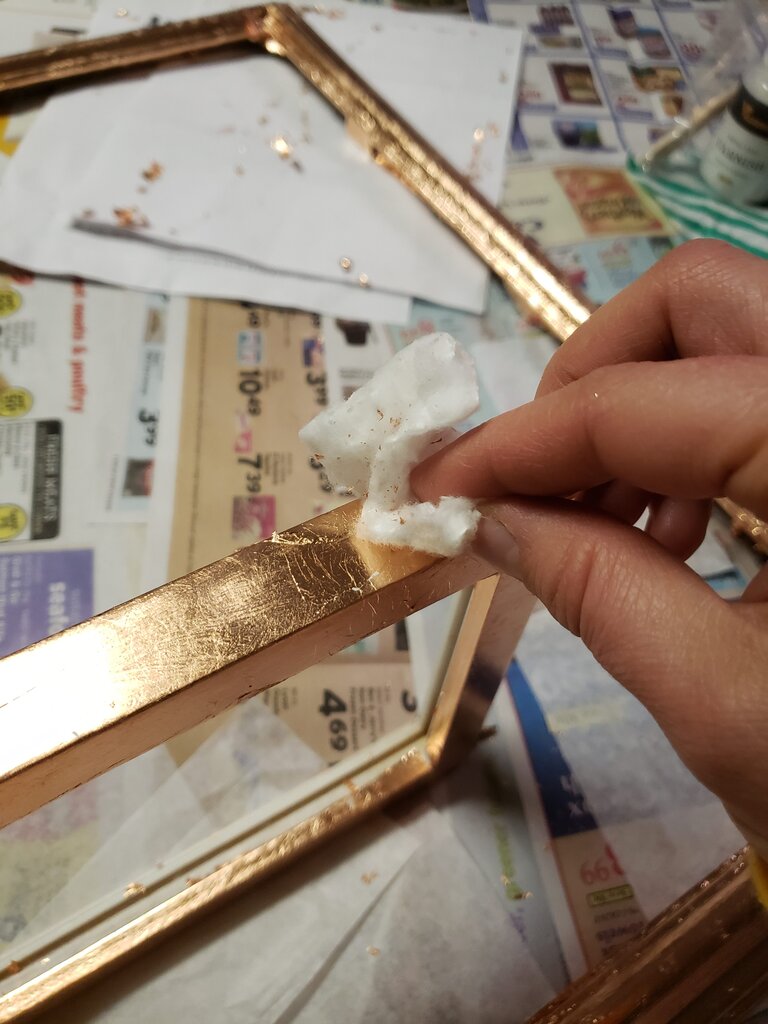
- When entire piece is coated, let dry thoroughly then use a cotton ball to brush along the surface you gilded and remove any extra gilding. I collected these tiny pieces in a bag for later. When surface is smooth you are ready to varnish.

Polish frame using a cotton swab.
- Follow the instructions to apply varnish to entire piece. Let dry thoroughly. For me the gilding adhesive remained extremely sticky for weeks, so sealing the project also removed any tacky areas that I did not cover in gilding. It also made the whole project feel so much more secure afterwards.

Varnish goes on opaque but dries clear.