It has been a busy week! Friends in town, a new package of bees, and a graduation! Oh and I made dice bags for all those fabulous people who posted for the April give away! Well in order to ship them I need some padded mailers. As you already know I hate to throw anything away so I always try to save and reuse any padded mailers that I get in the mail. Though somehow, with all these give-aways, I have run out! Luckily I have brown paper bags and bubble wrap on hand to make some more. Here’s a quick tutorial I’ve wanted to post for a while…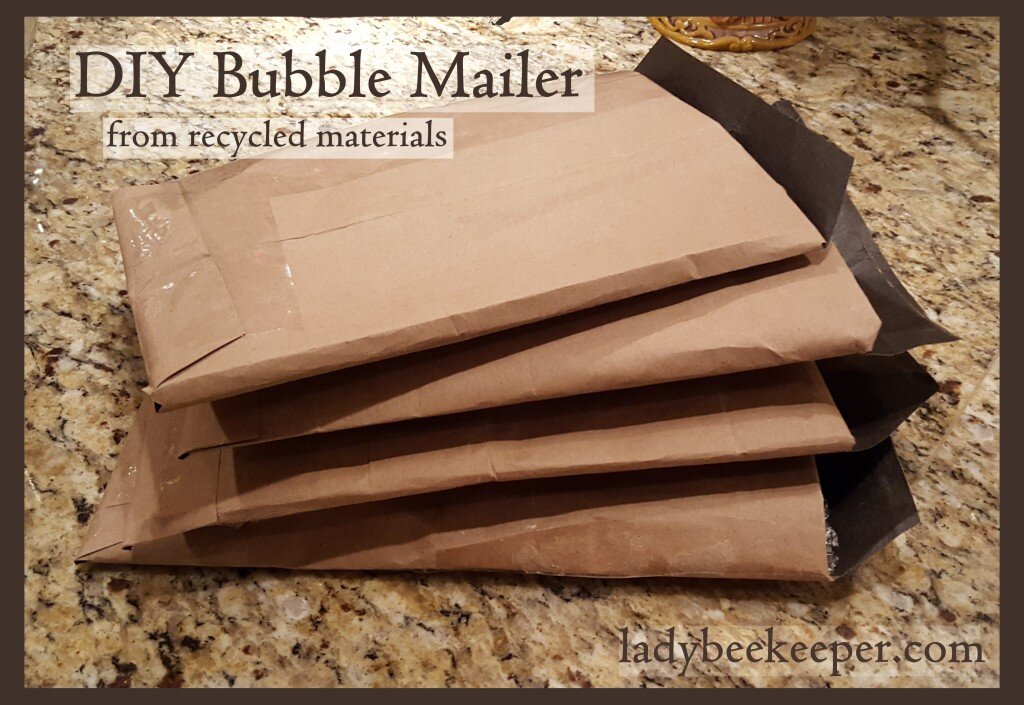
Homemade Bubble Mailers (from Recycled Materials!)
What you’ll need:
- Packing Tape
- Thick brown paper bag (grocery bag or shopping bag will do)
- bubble wrap (I save this from previous packages)
Cut a rectangle out of the brown paper bag that is slightly taller than your finished width and slightly more than twice your finished width. For example the small mailer I made here used a rectangle sized 15″x10.5″.
Form this into a cylinder with the edges overlapping slightly. Press flat.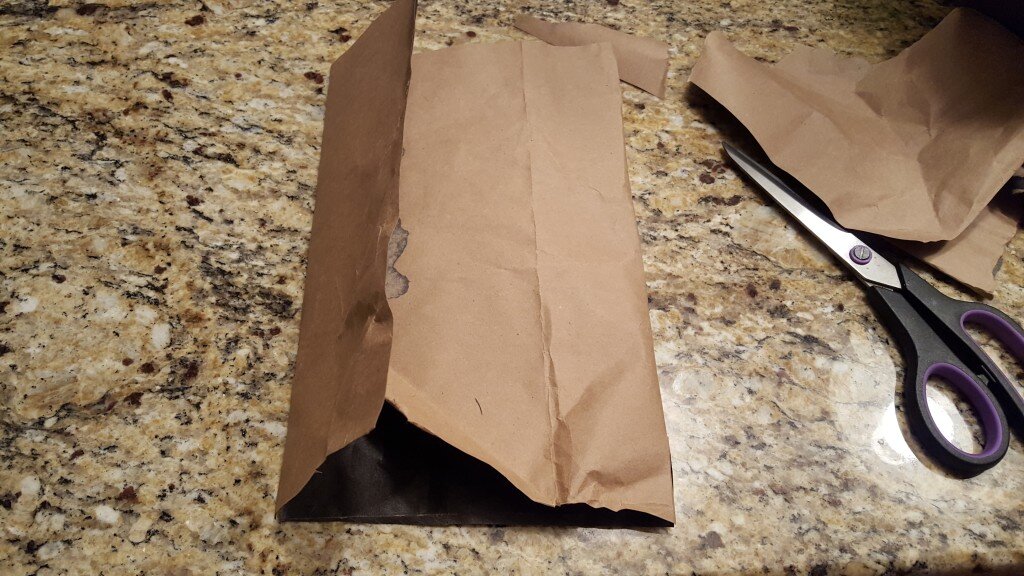
Cut a slit an inch long along the fold on each side of the bottom of the bag. Repeat on the top of the bag. 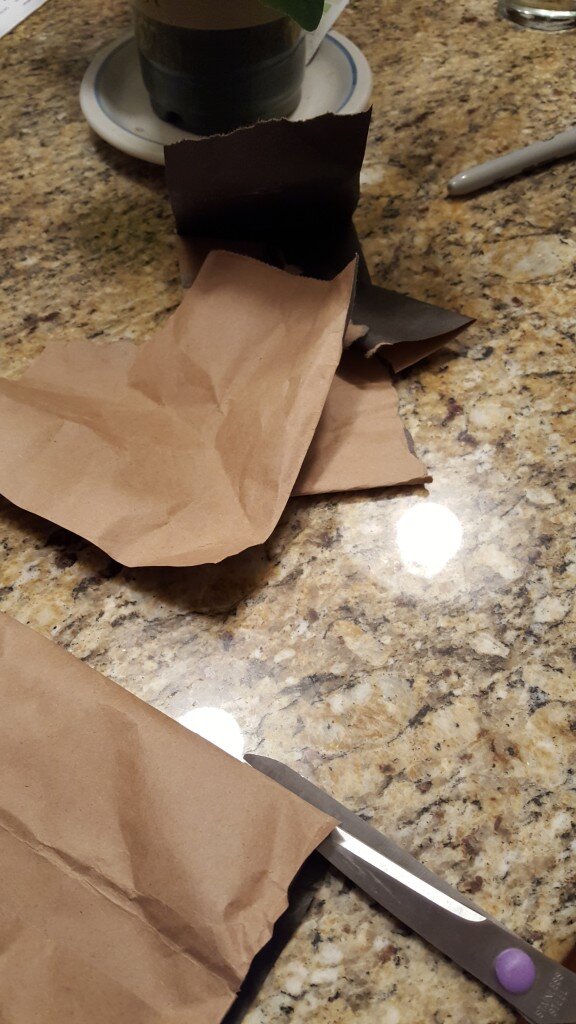
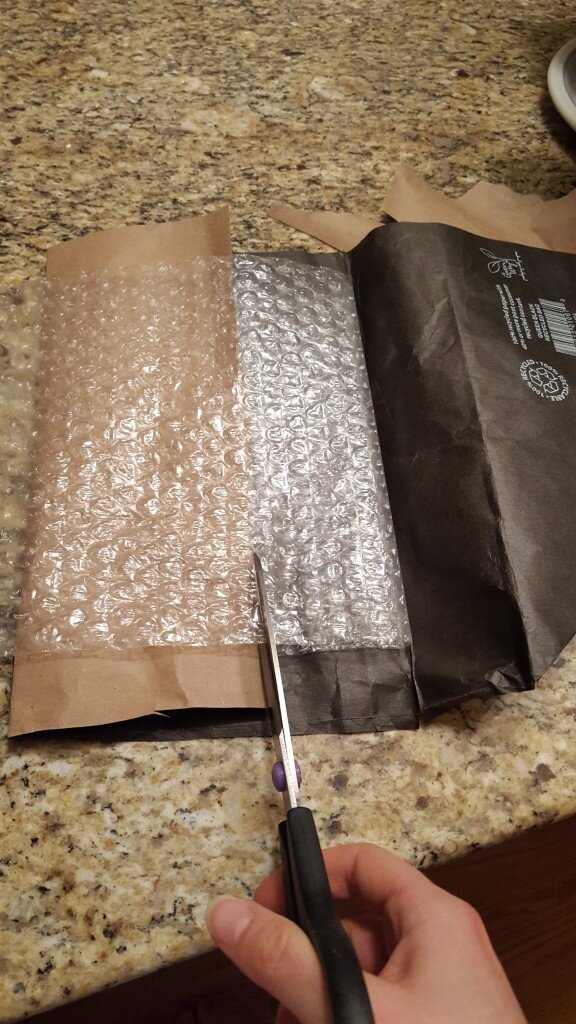
Insert your bubble wrap into the bag and cut it to fit inside the flattened cylinder. Be sure to leave an inch at the top and bottom. 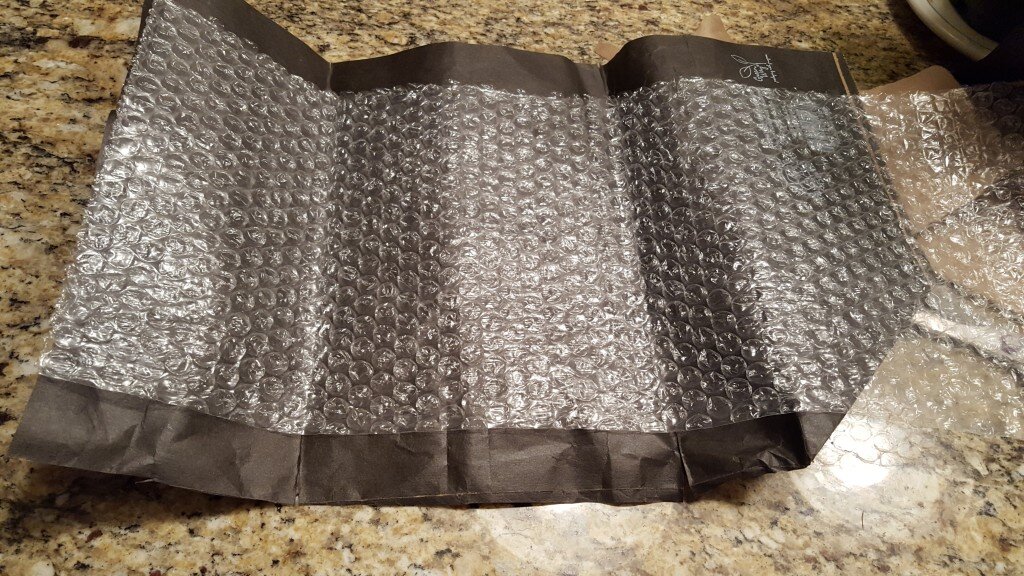
 Tape the side and ends to form a pouch.
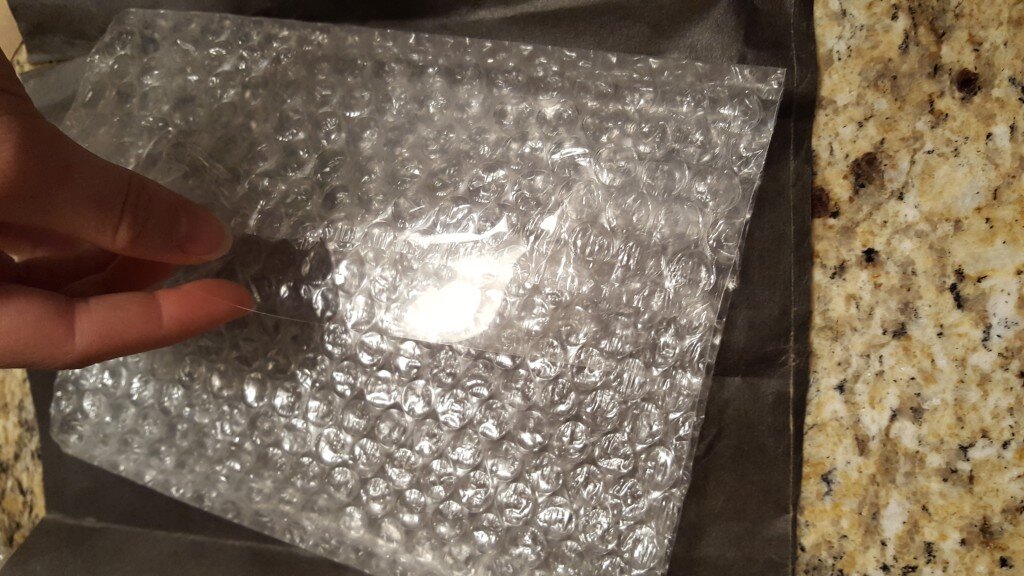
Fold the bottom edge of the paper upwards and the top edge downwards. 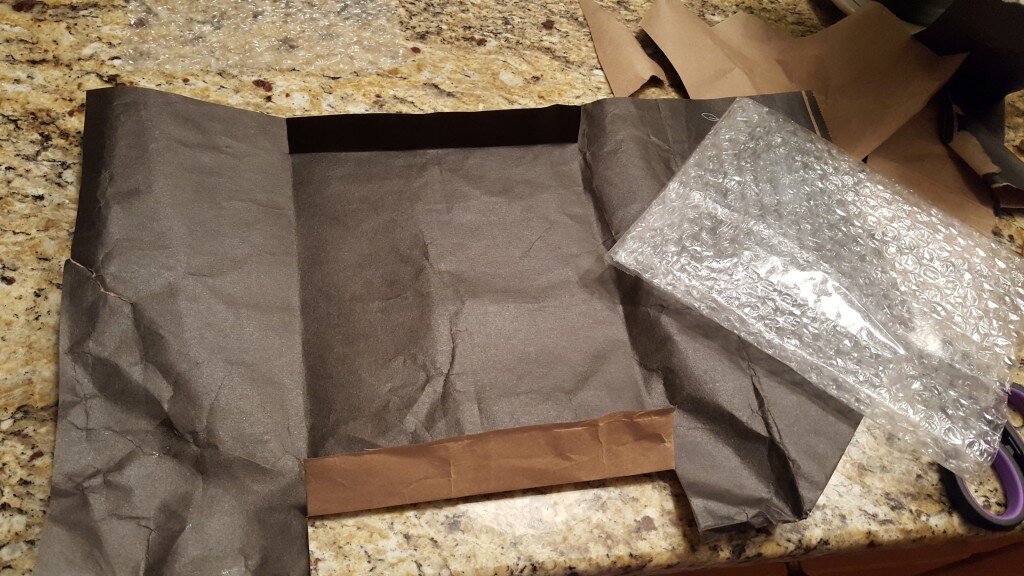
Fold the cylinder flat again and tape where the edges overlap in the center. Make sure the bottom edges are inside the envelope. 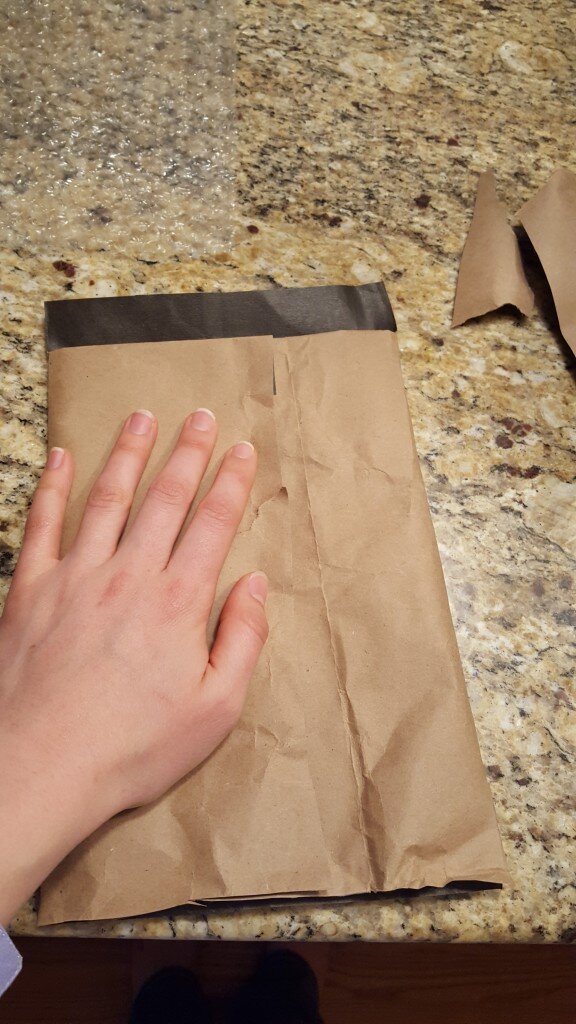
Fold up the bottom flap and tape shut.
To close fold down the top flap and tape shut.
Voila!