
For the last 3 years I have been using a kitchen microwave cart that I got when I was in college. It was a functional metal and wood structure that could hold my oversized cookbooks and quickly became the kitchen junk table. After redoing the backsplash of the kitchen, I’ve been itching to change other things. After my cookbooks started falling through the wire shelves I decided a bookshelf for my kitchen was at the top of my list.
I originally intended to buy something, but I couldn’t find a piece that had everything I wanted. My requirements included a drawer (for all the junk that collected on the counter), ample shelf space for my cookbooks (including the 14 inch oversized ones), and a wide countertop. Surprisingly the only results for “kitchen bookshelf” were built ins (I fully intend to change this). After scouring the internet for weeks I finally stumbled upon this amazing blog. She does beautiful modern updates of outdated classics. The below dresser -> kitchen island transformation became my inspiration.
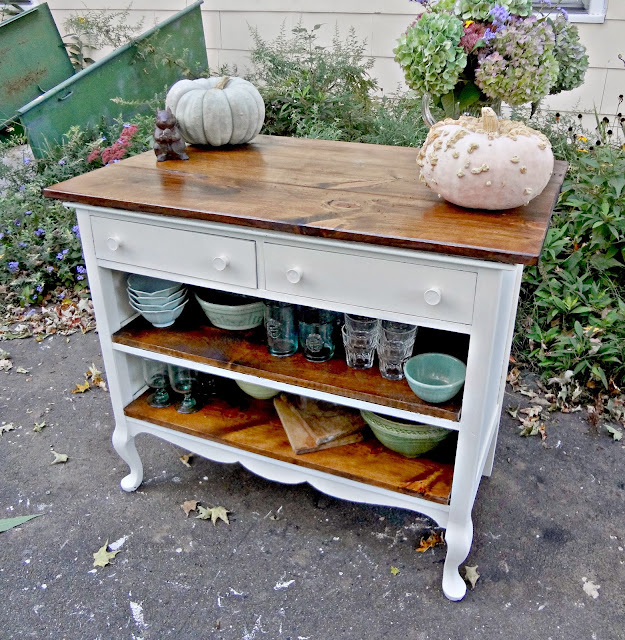
Beautiful dresser turned kitchen island from Heir and Space
I searched craigslist for weeks and finally came across this chest of drawers that had the right dimensions and was the perfect countertop height. (Remind me to add “people who include dimensions in their craigslist postings” in the list of my favorite things). After a busy weekend entertaining Will’s family, I picked up the bookshelf for $25. One of the drawers was broken but obviously that did not matter to me in the least!
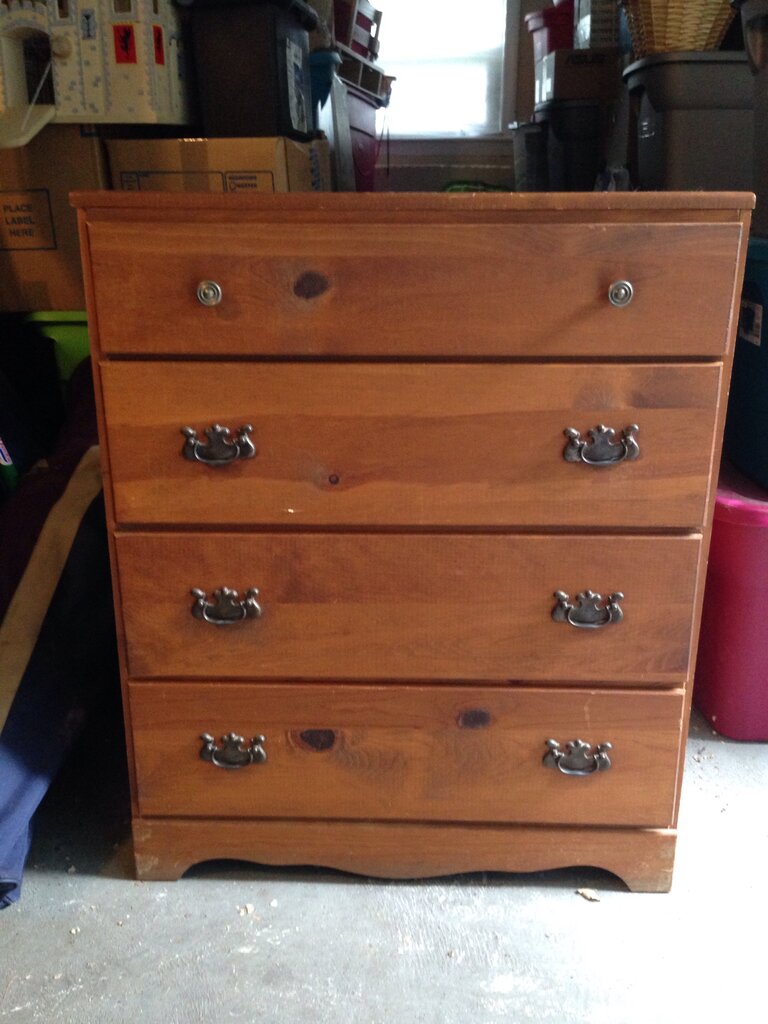
Perfect sized dresser from craigslist
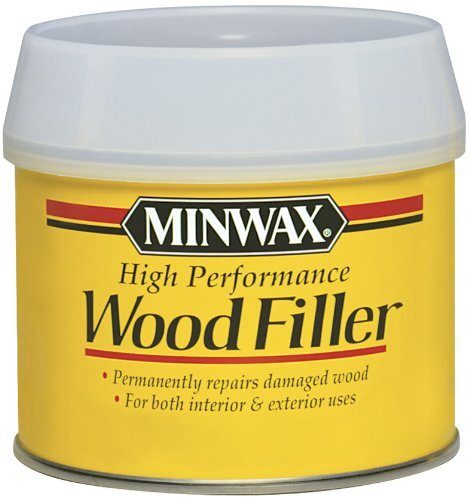
The first step to refinishing the cabinet was to remove the drawers and lightly sand the sides to accept paint. Then I needed to remove the center drawer slats to make room for the oversized bookshelf. When I got rid of the drawer slats I was left with a 1/4 by 1 inch groove in the frame that drove me crazy. At first I thought I would leave it as an accent stripe by painting it with a different color. Eventually I decided that idea was terrible and tried to mitigate the problem by adding thin wood slats. Well these didn’t look right either because at the time I didn’t own a proper saw (now I do, thanks Mom & Dad for my birthday gift – a circular saw!!). Instead I decided to use this wood filler. This stuff is AMAZING. You mix it up, apply it and you can sand and paint it within an hour! I’ve used it for several home repairs since!
After taking care of the drawer slat dilemma I went to Lowe’s to purchase a counter top and wood shelves. The depth of this piece was 16 inches which is larger than your ordinary hardwood board. I began fretting over how to create a piece of wood with the right dimensions using wood glue, wood clamps etc. Luckily while browsing through the Lowe’s hardwood section I discovered they have large sized hardwood boards in all sorts of thicknesses, pre-glued-together. I chose a 3/4 in piece for the shelves and a 1 1/2 inch piece for the countertop. Regrettably they only had 1.5 inch boards in the largest size so I have a ton leftover that I’ll have to find something to do with. Another great thing about buying these boards from Lowe’s is that even without any proper saw of my own I was able to have them cut to my dimensions with their industrial cutter! (One great advantage to being female in a hardware store is most employees are extra helpful!)
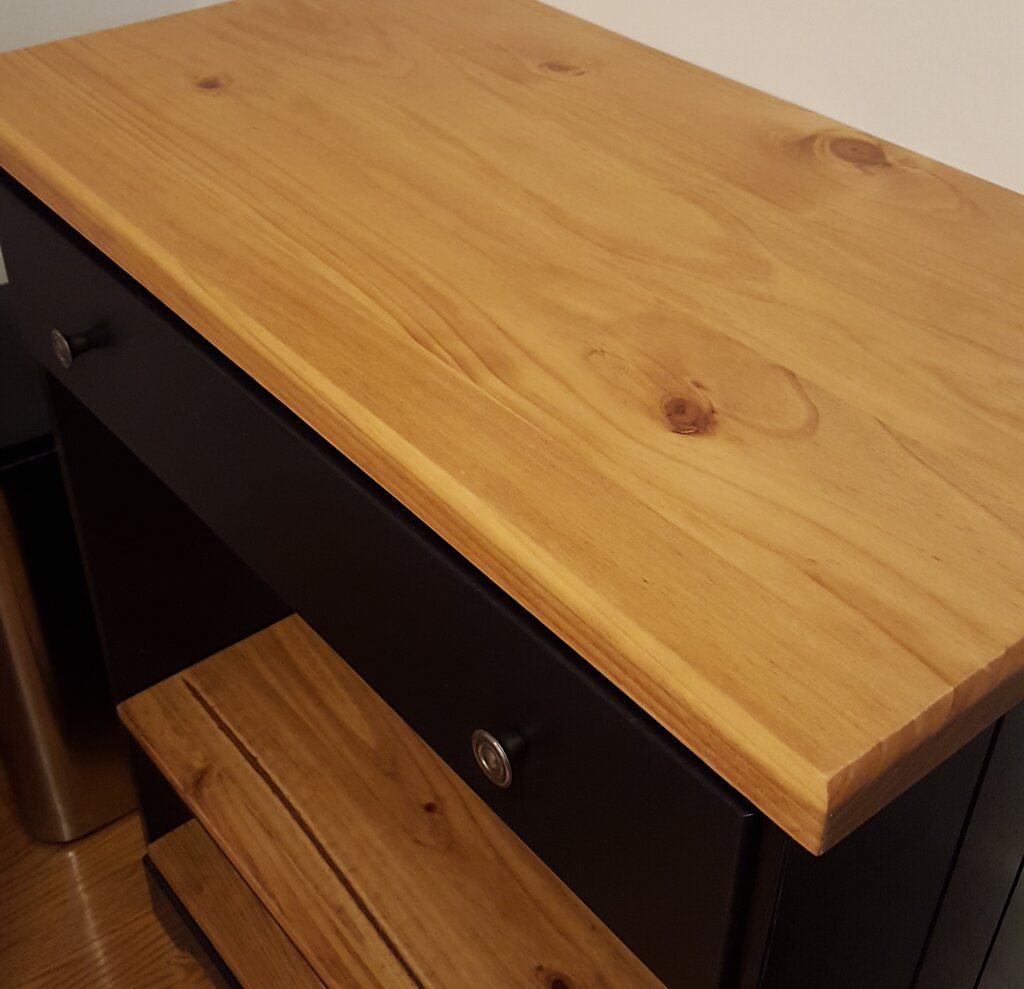
Being a perfectionist I wanted the kitchen island counter top to have beveled edges like the counter tops in the rest of my kitchen. Luckily my best pal and her husband own every tool in existence and they let me borrow their router and a round-over bit. The router was super fun to use. Once you get the bit properly set in the router you really can’t screw it up. Check out these beveled edges…
After sanding, staining and polying the shelves and countertop, then priming and painting the base and top drawer-front my new kitchen cart was nearly complete. I got a little worried when I could see the white primer after applying the first coat of black paint, but the second coat covered everything up evenly. The back of the chest of drawers was particle board and not solid wood like the rest of the piece, so instead of attempting to paint this uneven surface I simply wallpapered it with this peel and stick wallpaper from Target. I then gently inserted my shelves with a rubber mallet (the dimensions were spot on) and screwed the counter top to the dresser. Here’s the finished product:
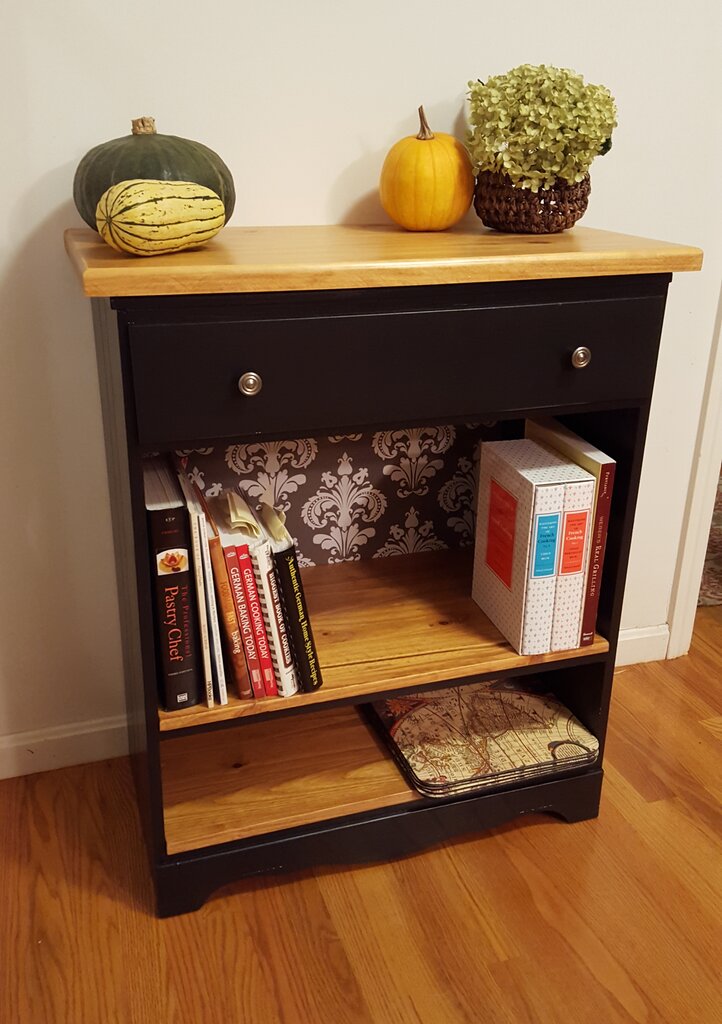
Finished Kitchen Bookshelf
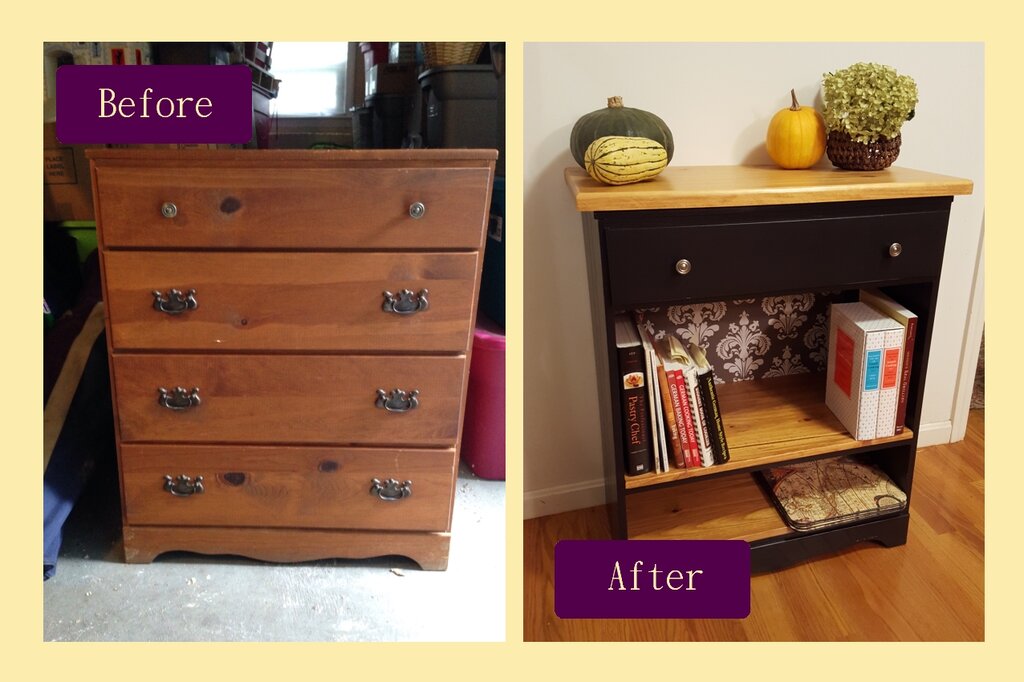
Before and after – kitchen bookshelf
