I’m almost ready to show you the next little project that I’ve been working on, but I’m not quite done so no spoilers. In the meantime, I’ll tell you about the cricut card I made for Patricia’s invitation. You are welcome to use my template whenever you find yourself needing an underwater tea party invitation! (I know for a fact that this theme is really in right now… at least in my head.)
Sheesh speaking of things in my head I thought I’d give you an update on my new year’s resolution! A couple weeks ago I took a 5 hour flight to Denver to visit my sister and her future bride and go wedding dress shopping! My sister found a beautiful dress and I got to see their new house and test out my comfort level flying! I’ll just warn you – my comfort level was pretty low. I wore my n95 (after my grief from my extended family members about me mentioning I was going to wear my painting respirator) and was too afraid to take it off for drinking or eating. I had a few sips of water, but otherwise I was slightly dehydrated after the flights. I’m definitely glad I went before they dropped the mask mandate though. On that page, Patricia’s daycare dropped the mask mandate for everyone (vaccinated, unvaccinated, kids or adults) so now I’ve got another thing to try not to be worried about.
Julius asked me the other day after I sneezed, “oh no, do you have the covid?” I responded that I hoped not. Julius sneezed today and I reminded him to cover his mouth (he had gotten good at that, and then I honestly think wearing his mask made him forget it was required!) Patricia thought it was hilarious and tried to imitate him sneezing. She was so forceful with her pretend sneeze that she fell over! It was hilariously adorable. I wish I’d gotten it on camera.
And without further ado I bring you…
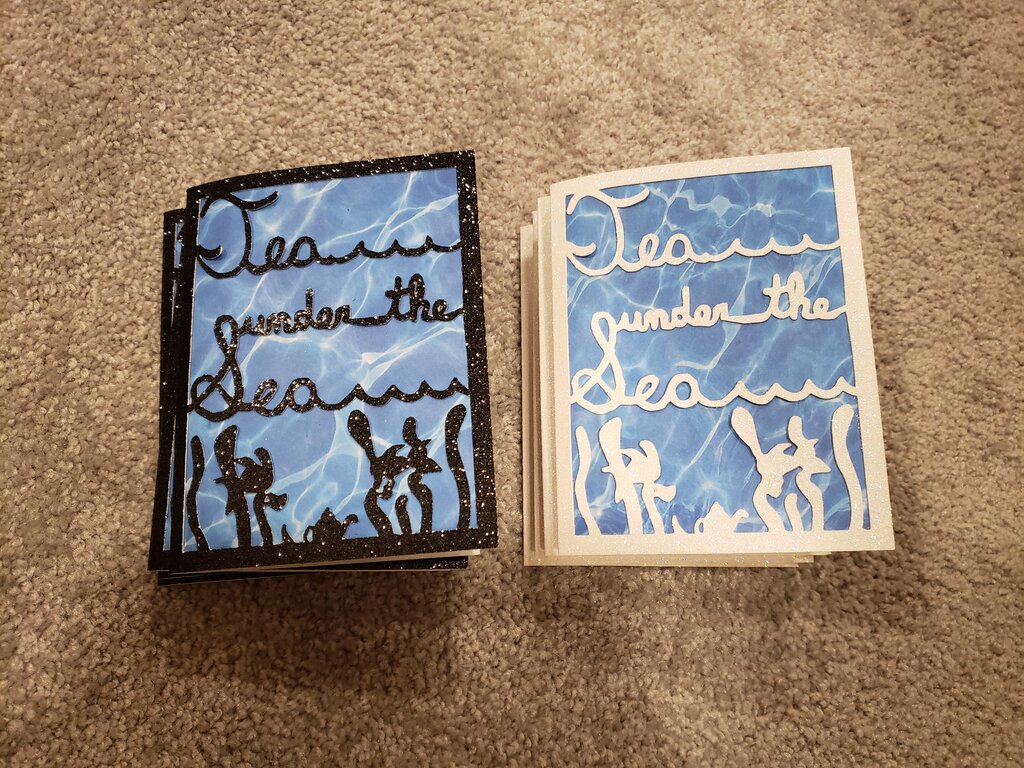
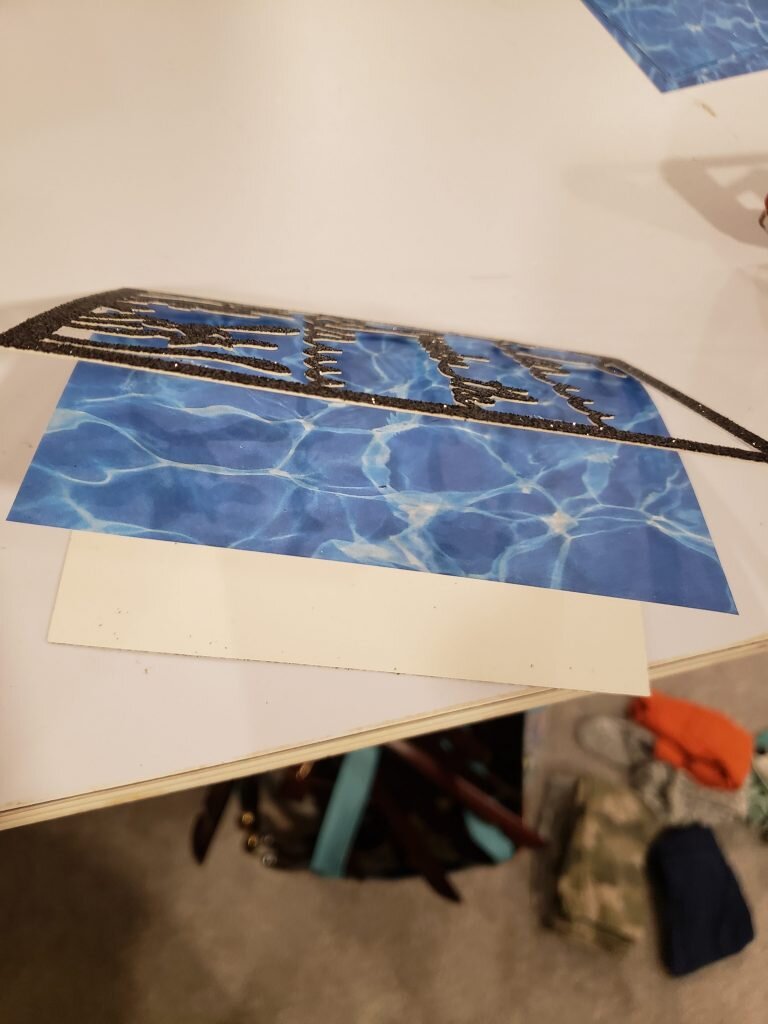
 Tea Under the Sea Invites

What you’ll need:
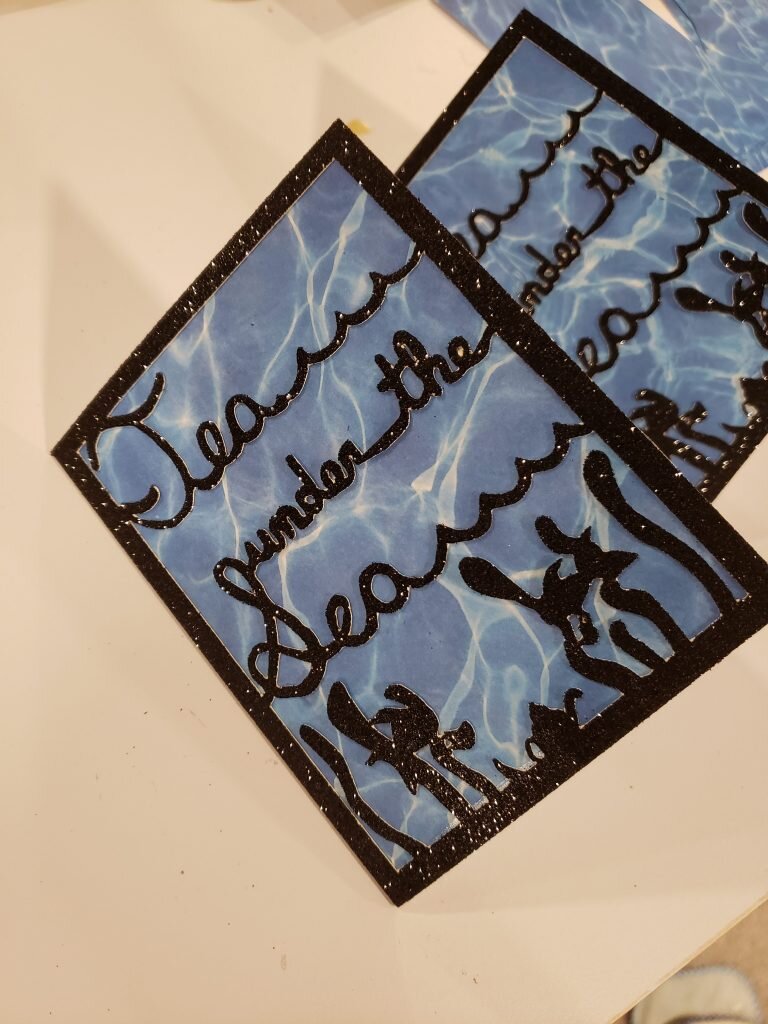
- 12″x12″ Cardstock (I used black and white glitter)
- contrasting paper from the cardstock for card front
- 12″x12″ paper for inside of card
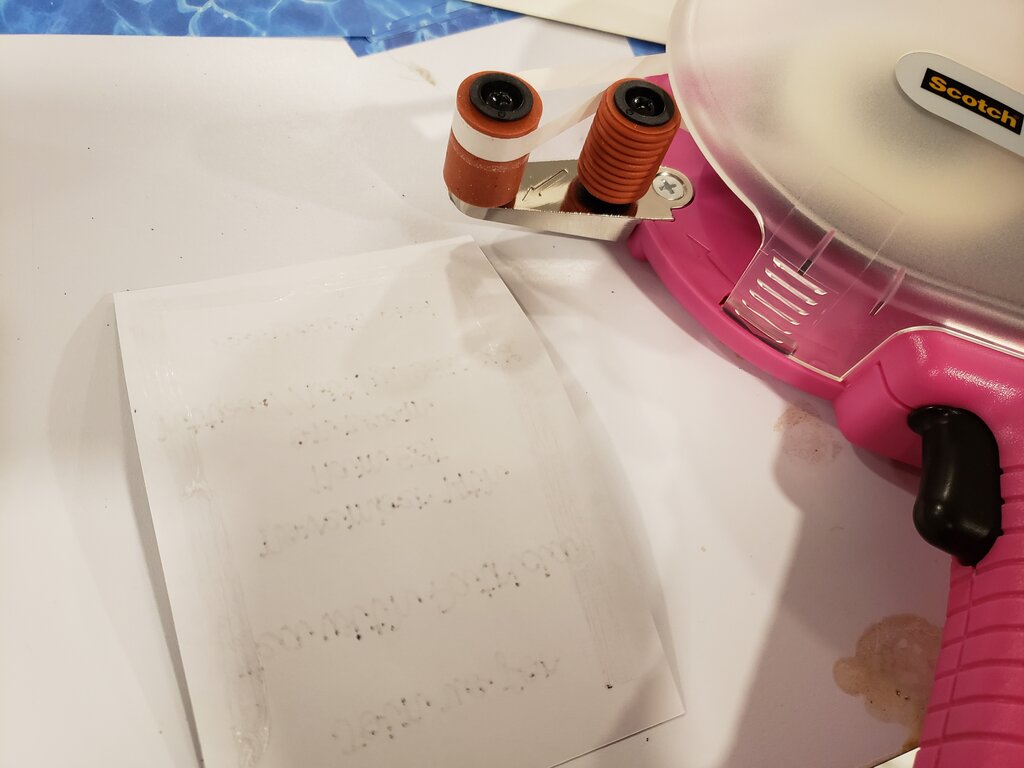
- tape glider
- Cricut cutting tool and pen
- Cricut pattern here for outside
- Cricut pattern here for inside
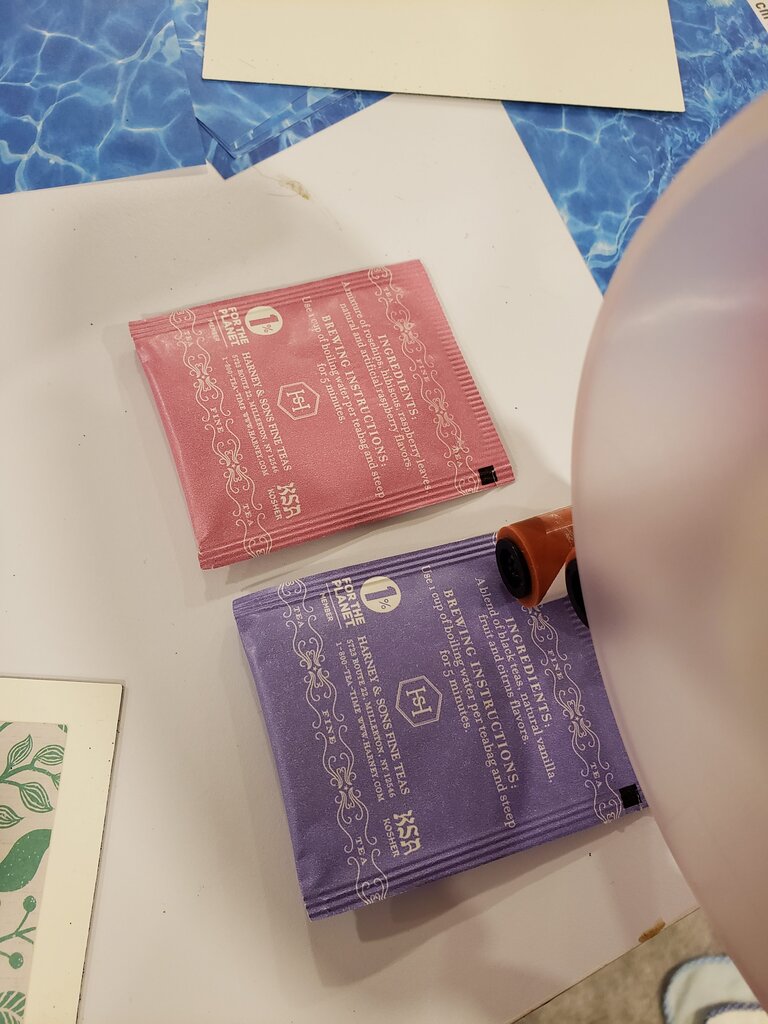
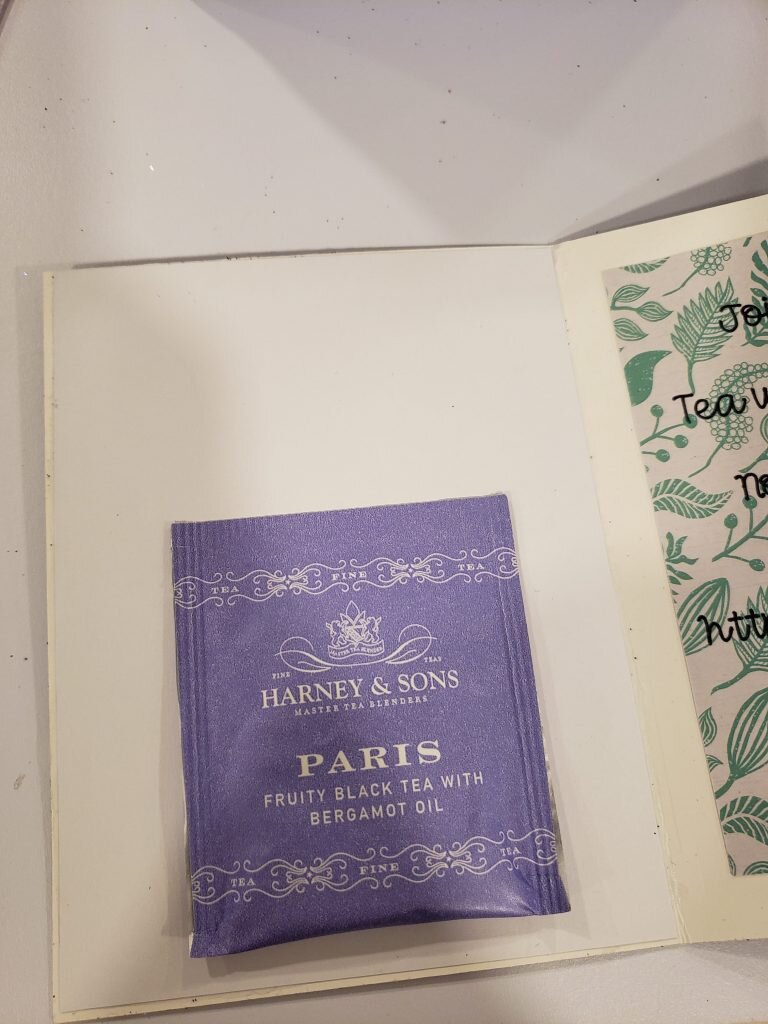
- tea bags
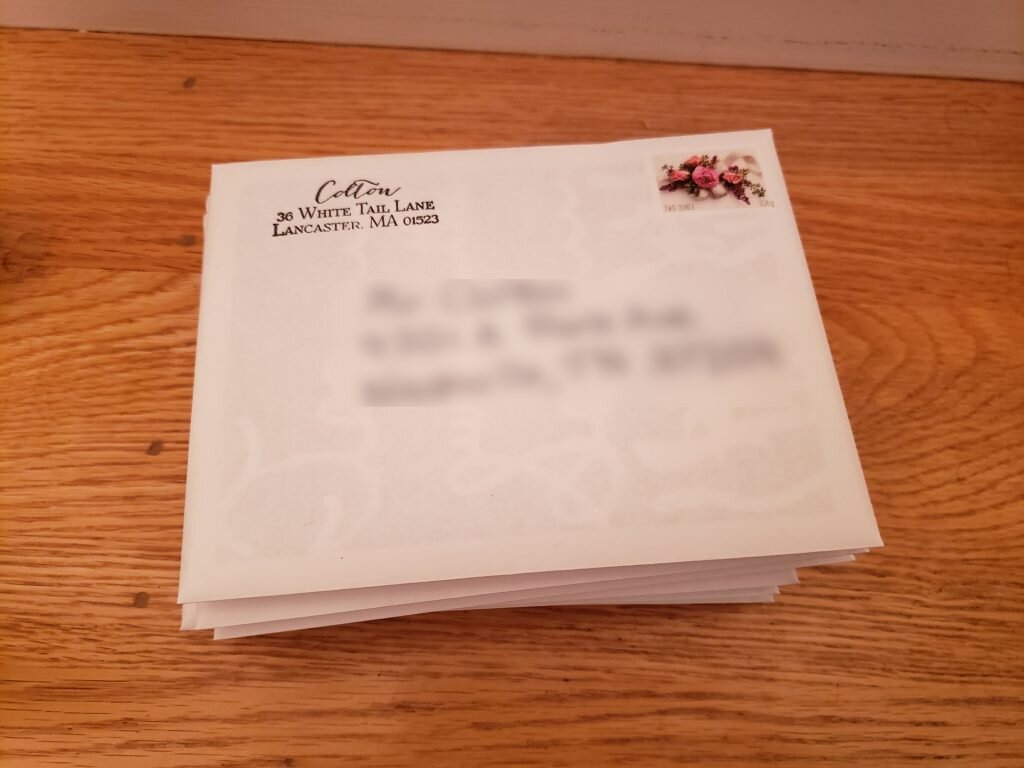
- A2 Envelopes
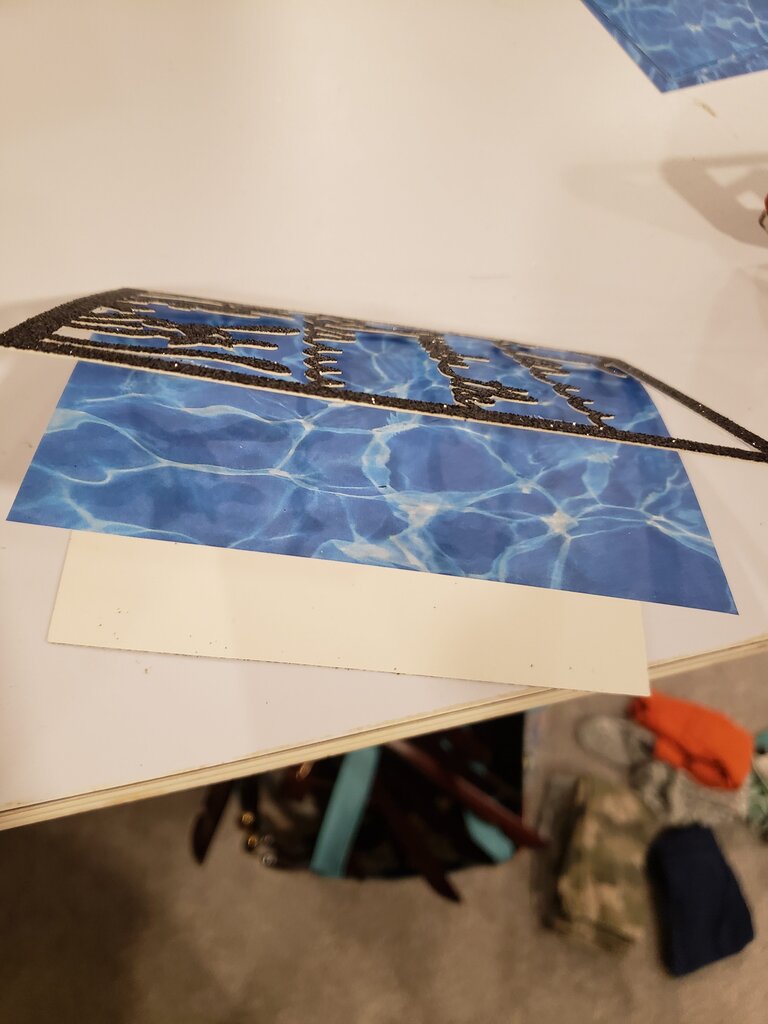
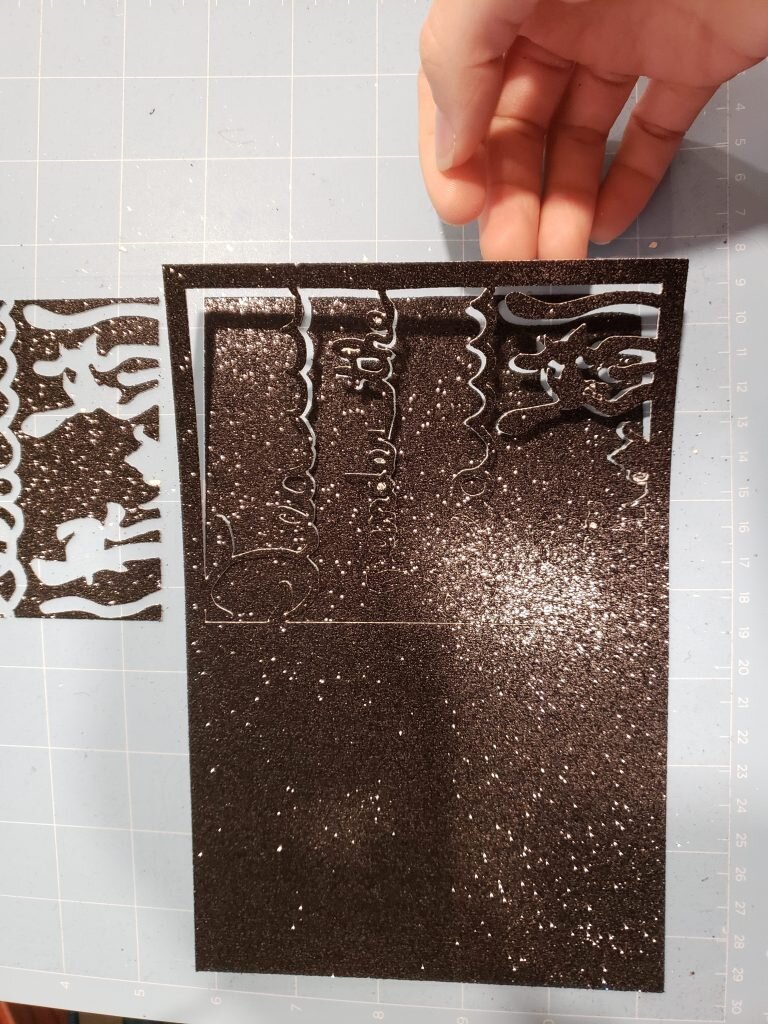
- Place cardstock on medium weight cutting mat.
- Load pattern for card outside and cut, selecting cutting pressure for cardstock thickness that matches your cardstock. (This will cut 2 card fronts, repeat for additional card fronts as necessary.)
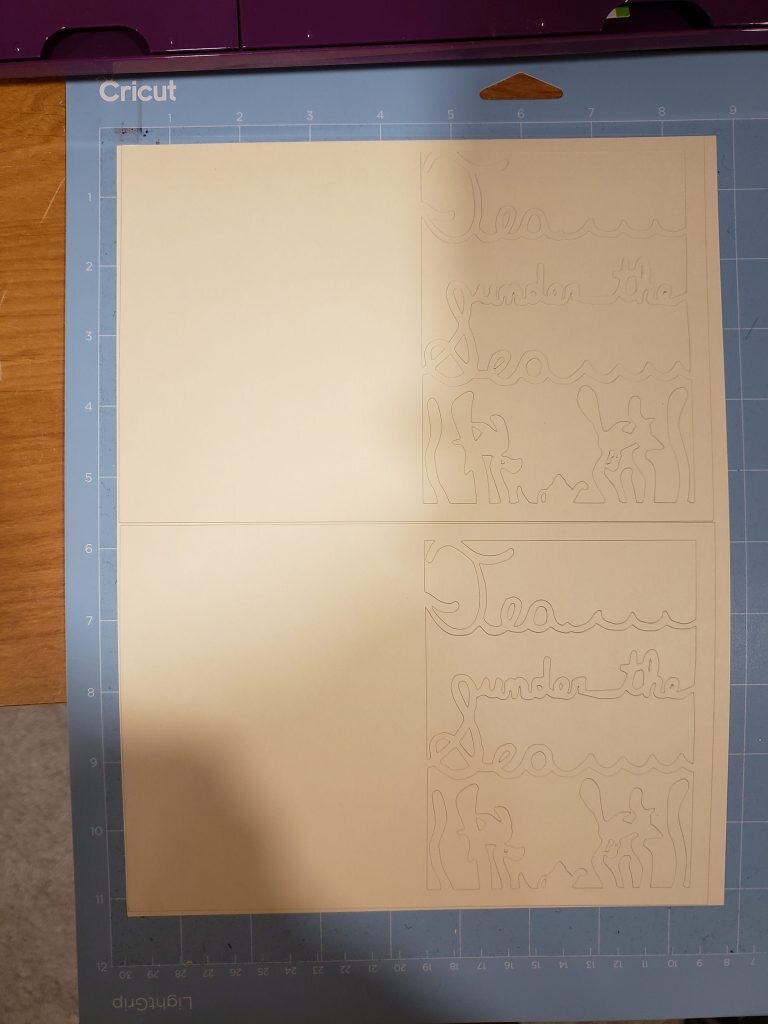
- Carefully remove card cutouts from mat.
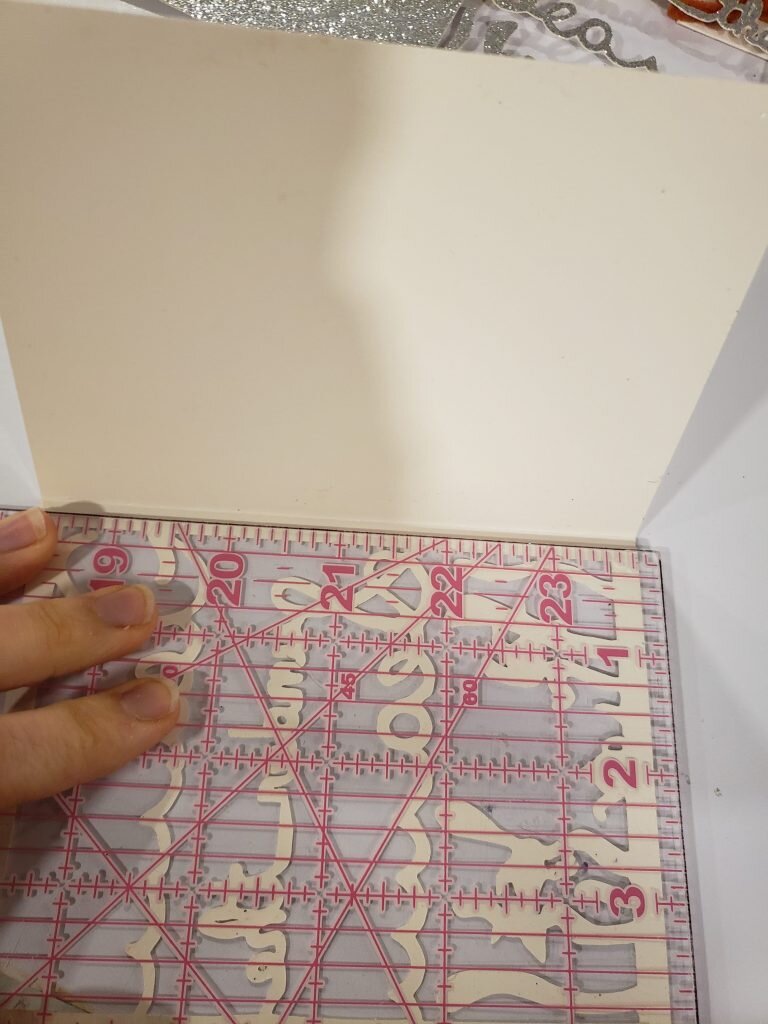
- Fold cards in half using a ruler as a guide.
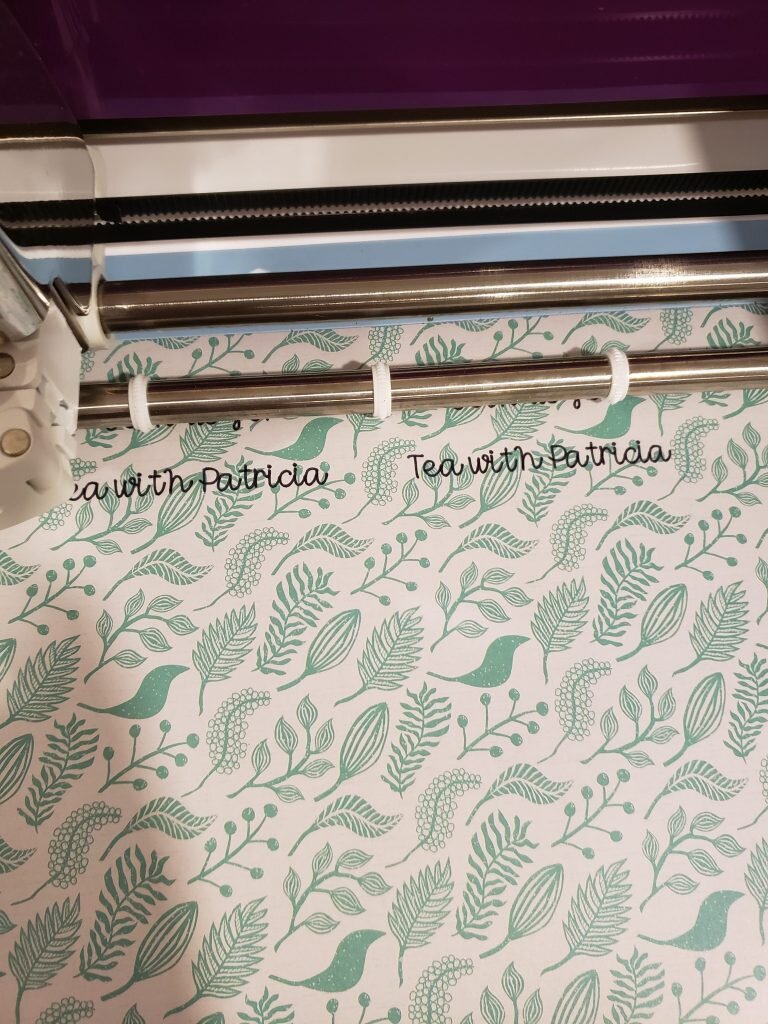
- To customize text for inside, click on the project then “customize”. Click on each text box and customize with the wording desired.
- Place paper for inside on lightweight cutting mat.
- Load pattern for card inside and cut, selecting cutting pressure for paper thickness that matches your paper. (This will cut 6 card insides, repeat for additional card insides as necessary.)
- Cut contrasting front paper into rectangles 5 3/8″ x 4 1/8″ using a paper cutter.
- Using the tape glider, on the inside of the cardstock card, tape around the border of the silhouetted card front.
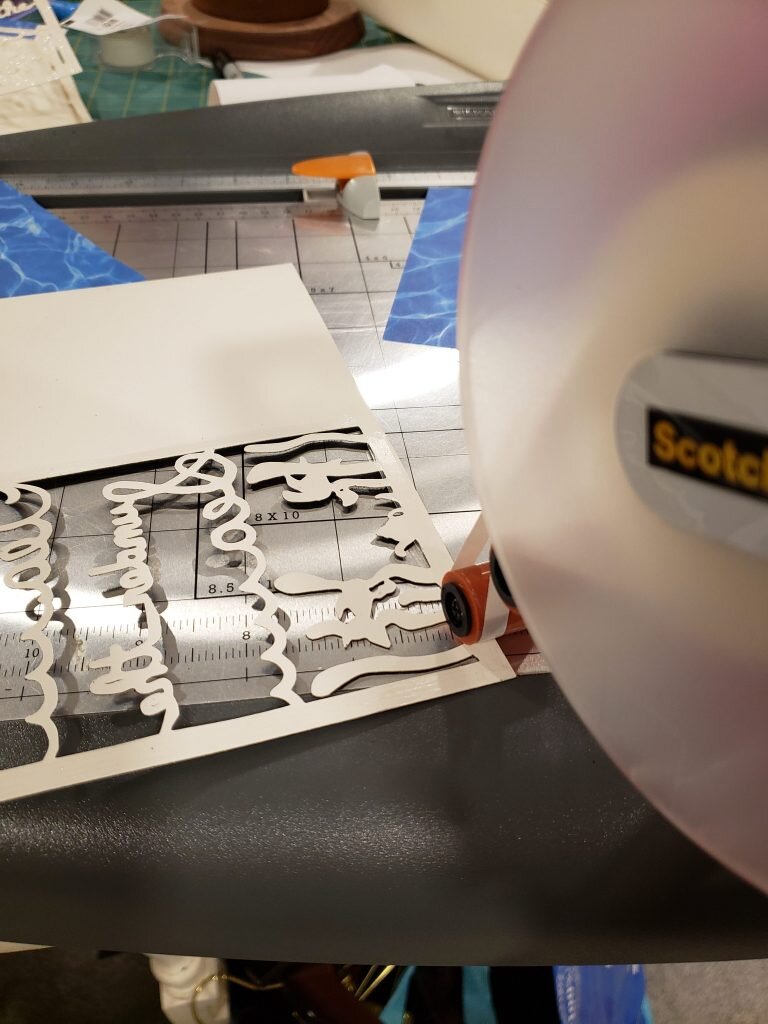
- Affix contrasting paper to inside of card front on top of adhesive.
- Apply adhesive to the back of paper inside card rectangle. Open card and apply in the center of the right side of card.

- Using the tape glider apply adhesive to the top of a bag of tea. Apply on bottom center of left flap of card.

- Apply adhesive to top of second tea bag. Apply on top center of left flap of card.
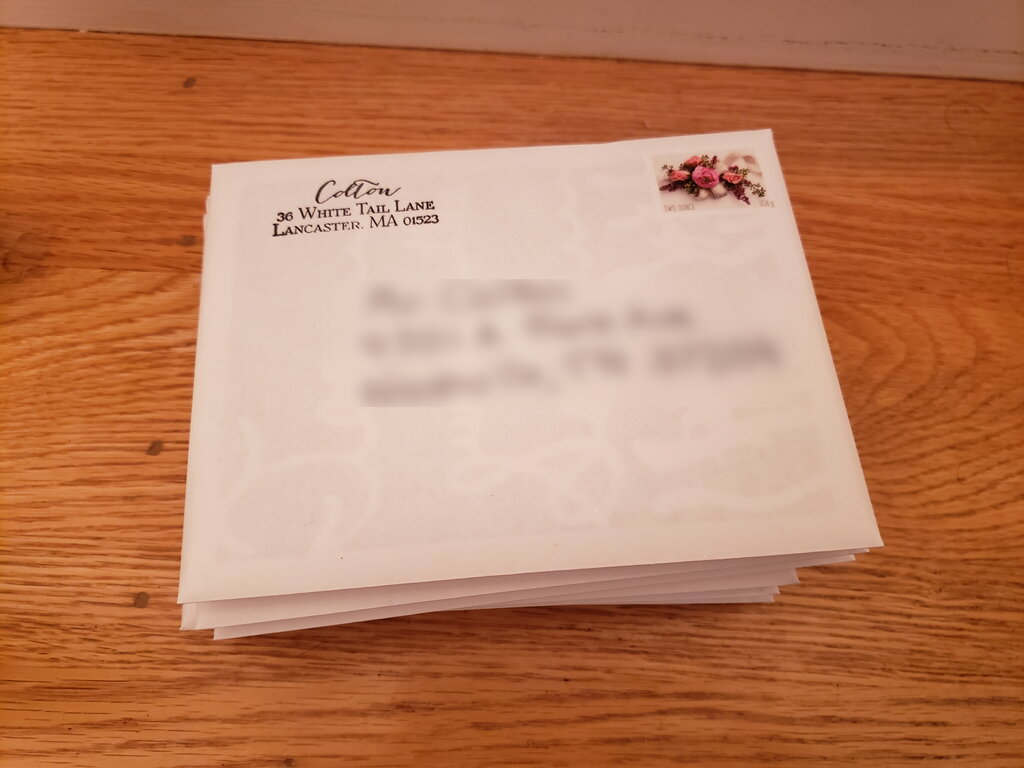
- Insert into envelope and mail! (You may need to use 1oz postage depending on how much your tea and cardstock weigh! I used 1oz postage!)