
Julius is becoming much, much less of a squish and much, much more of a tiny person. In fact, I’ve almost entirely stopped calling him “squish”. Not only because he is less squishy but also because it seems he is now listening to me very attentively. I don’t want him to grow up thinking his name is Squish – I think that’s a name I’d better erase from existence before he learns to talk. Instead, I’ve been calling him mostly Juli-ouli-us. In addition I’ve recently discovered that he likes his name. Whenever I refer to him as Julius he puts on a huge smile, especially when it becomes the lyric in a song.
He has developed a lot more control over his hands and arms, and is now happily grabbings things and putting them in his mouth. On top of that, he has been smiling and laughing! I discovered a couple weeks ago that he is extremely ticklish. He also ‘talks’ a lot more. My favorite thing that he does lately is he babbles and coos quietly to me while looking at me in the eye. I call it whispering sweet nothings. It is completely adorable.
Frequently he’ll do a lot of these adorable things while he’s on the changing table. He seems to almost always be in a good mood when we’re changing his diaper. I guess it’s because (as we frequently tell him) nobody likes a wet bum. The changing table itself was given to us by my co-worker since his grandson has outgrown it. It has been great for us to store all our diapers, diaper covers, wipes, diaper pail liners, etc. Plus is really saves our backs when we’re changing him all the time! My only complaint with the table is that I’d like a space to store diaper rash cream or spray for our cloth wipes on the top of the table for easy access.
To solve this problem, I decided to make a little fabric box to add on the side of the changing table. The velcro and ribbon additions are used specifically to mount the box onto a changing table, but these can easily be omitted to form a basic storage container. It was so easy to make I will probably create more of these in different sizes for other forms of storage! The canvas really works nicely to stiffen the sides so they stand up on their own without interfacing.
Changing Table Organizer
What You’ll Need:
- 1/2 yard of canvas
- 1 foot of 1.5″ velcro**
- Piece of heavy cardboard
- 4 feet Milliner’s wire
- 7 feet of ribbon**
- Cut out fabric rectangles. 2 – 16″x11″, 2 – 6″x11″, 3 – 16″x6″.
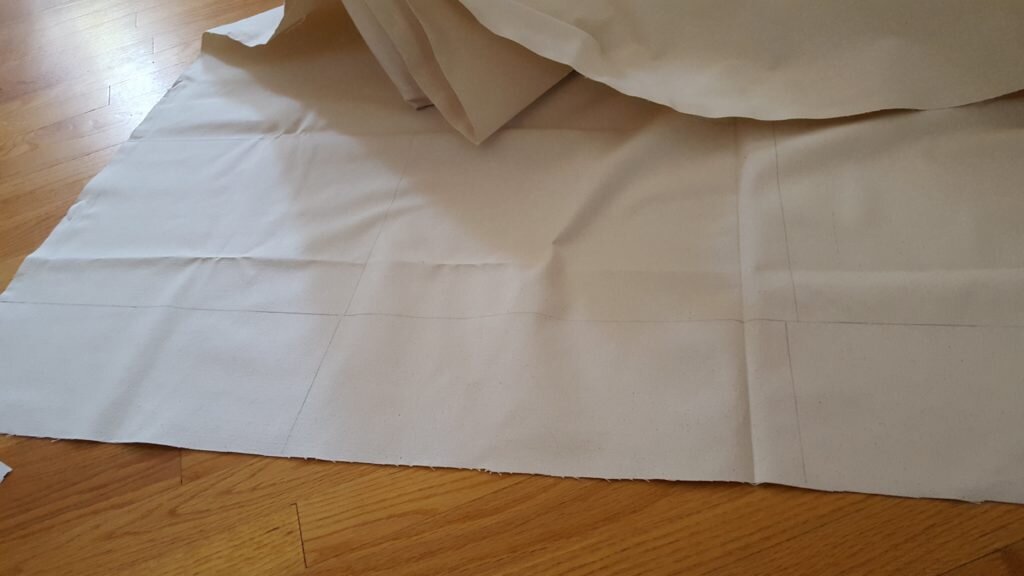
Cut out fabric rectangles.
- Stitch each side of a wide 16″x11″ wide rectangle to one thin 6″x11″ wide rectangle.
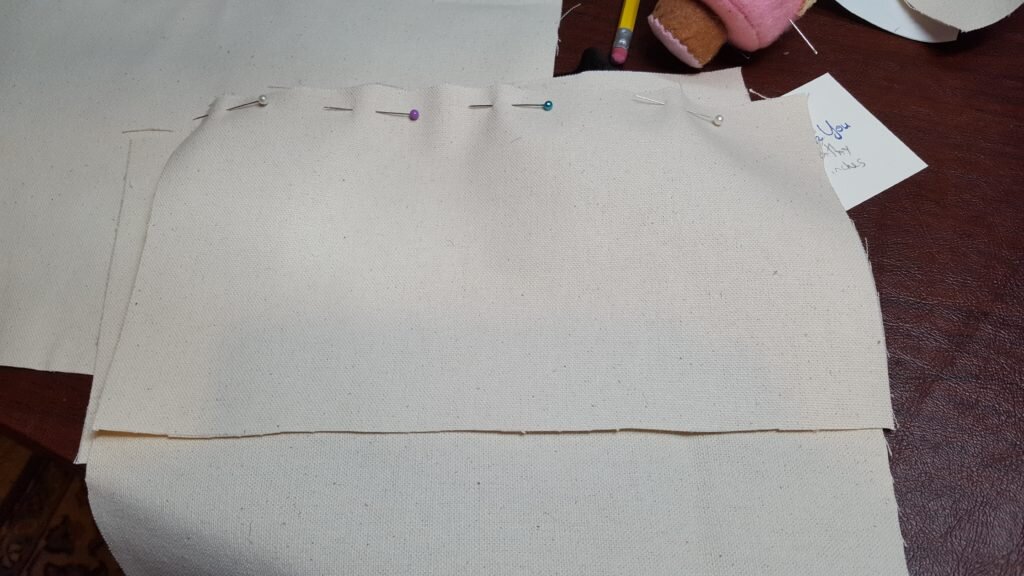
Pin 11″ end of narrow rectangles to either end of a wide rectangle.
- Stitch the other wide 16″x11″ rectangle to the other side of the thin 6″ rectangles to form a box.
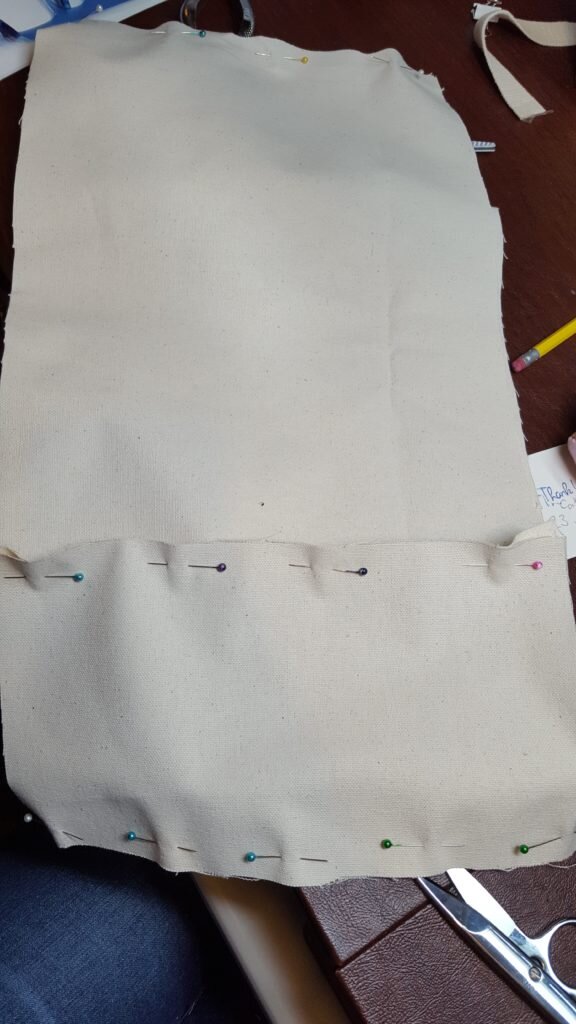
Pin another wide rectangle to other end of narrow rectangles together to form a box.
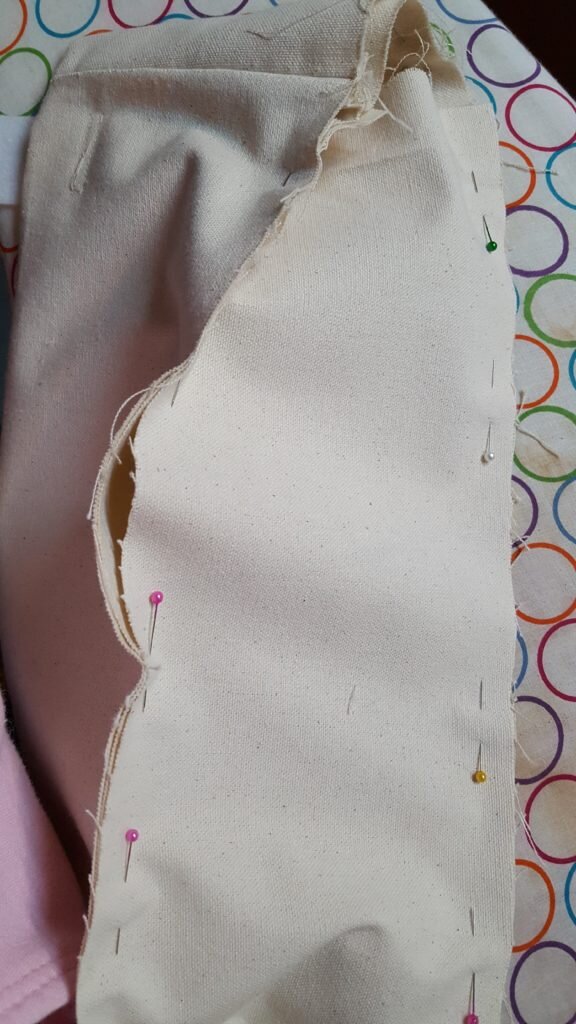
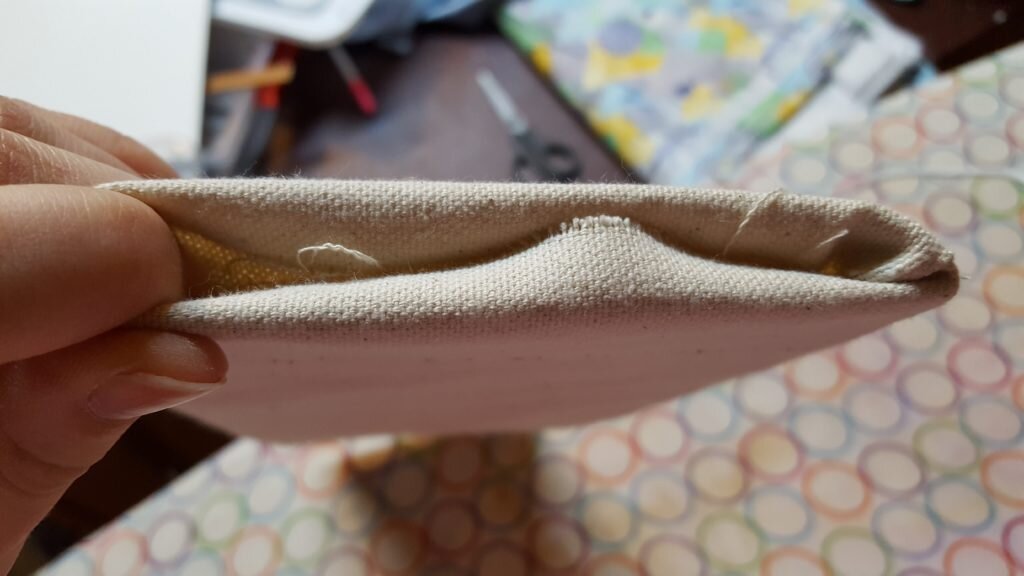
- Fold the box in half so it is half its height and the seams are on the inside. The fold will form the top of the box.
Fold box in half so the seams are inside. Pin
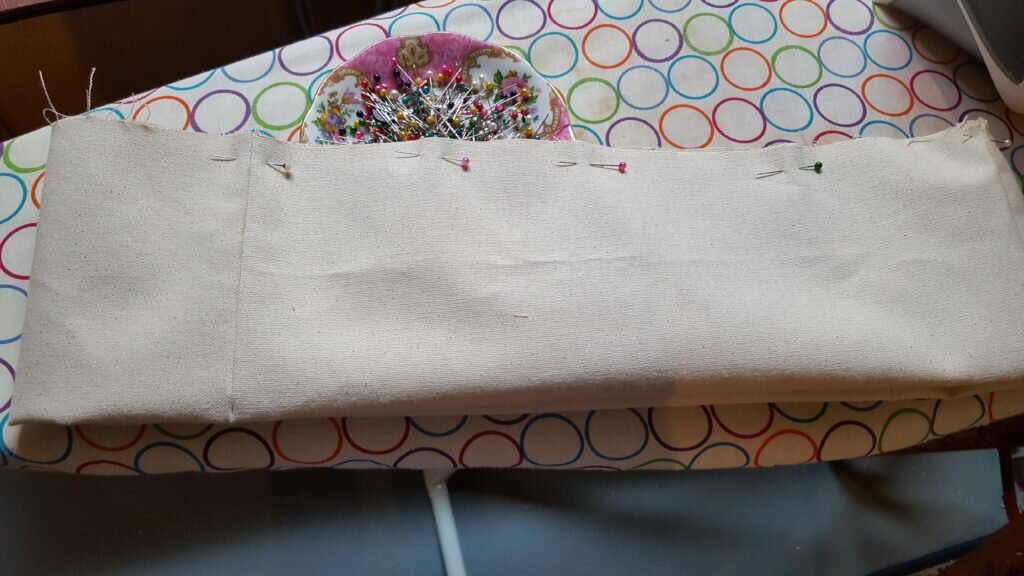
- Press. (**This is where I added some embroidery, but it is not necessary at all!)

Press along fold to form top of box.
- Cut the strip of velcro into two 6″ pieces. Pin the center of each Velcro piece on either edge of the longer panel, just below the fold.
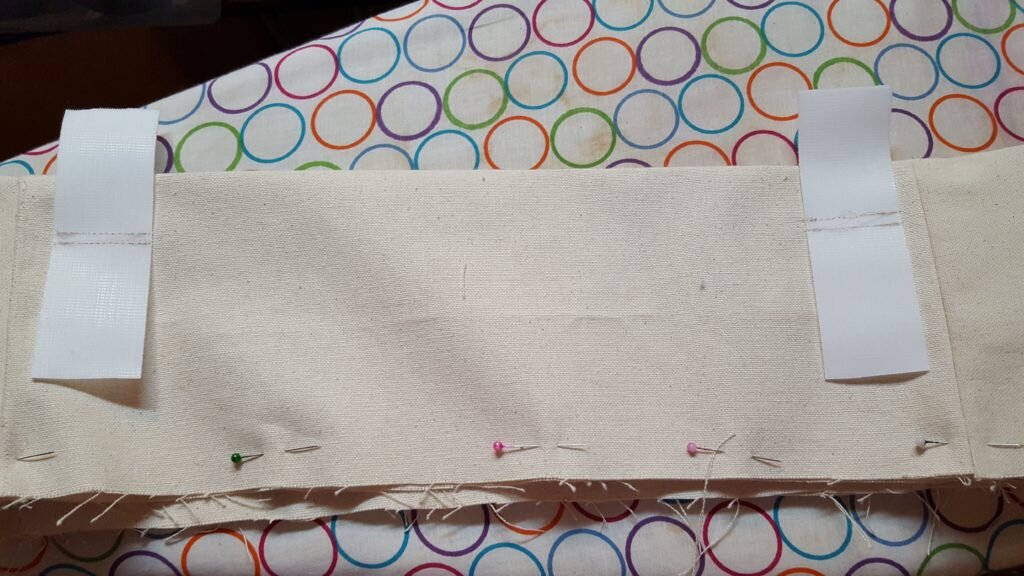
Stitch velcro just below the fold on either end of the long side.
- Unfold the box and stitch the center of the Velcro to the panel. Re-fold, so the Velcro is on the outside of the box. This will be the back of the box. **
- Take your wire and bend to form a 5″x15″ rectangle starting with the 5″ segment. Let the wire finish with a 5″ segment overlapping the first segment for strength then trim the wire.

Fold milliner’s wire into a rectangle.
- Place the wire rectangle inside the box, moving it all the way up to the fold.
- Stitch a few stitches just below the wire in the center of every face of the box to tack the wire in place. Be careful not to hit the wire when you sew.
- Turn box inside out then pin a 16″x6″ rectangle to the bottom of the box, right sides together.
Pin base rectangle to box.
- Attach the rectangle by stitching the long sides first. Stitch the short sides second.
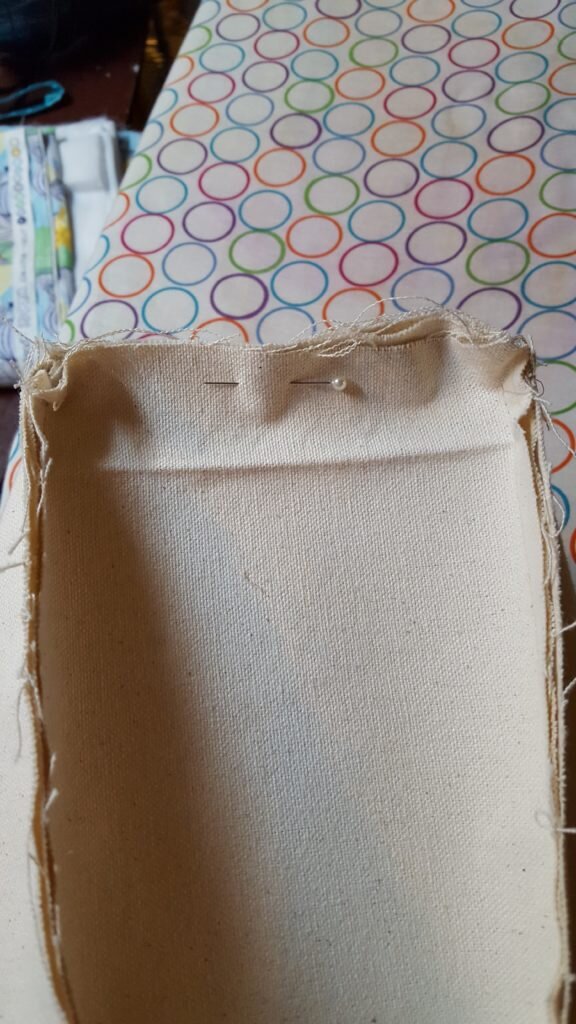
Stitch the two long sides first followed by the two short sides.
- Turn the box right side out.
- Pin the last two 16″x6″ rectangles together to form the box bottom. Stitch three sides together, leaving one of the short sides opened.
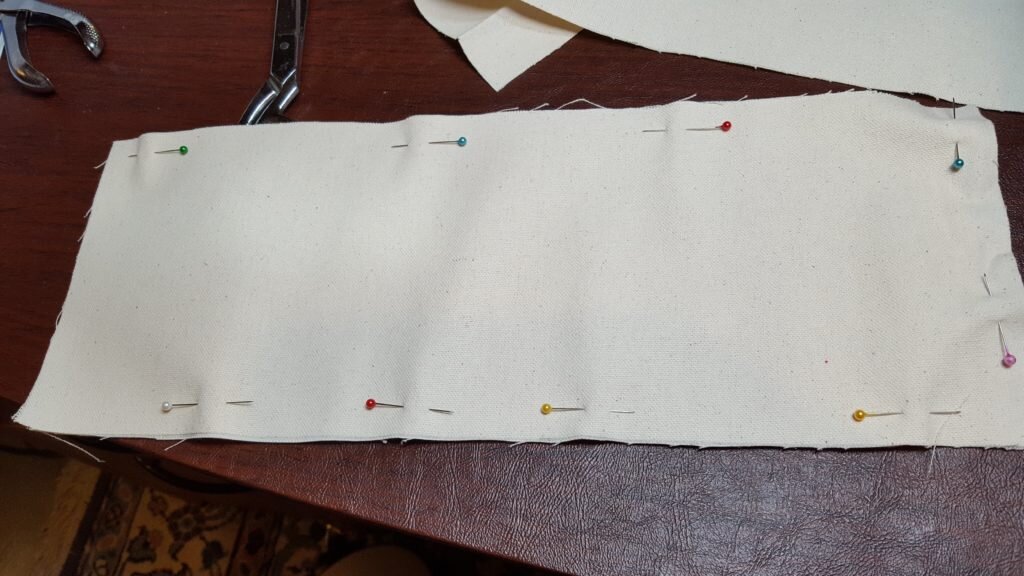
Pin two 16″x6″ rectangles together.
- Clip the corners and turn right side out.
- Cut a piece of cardboard 14.75″x4.75″.

Cut rectangle from cardboard
- Slip the piece of cardboard inside the box bottom. It will fit snugly.
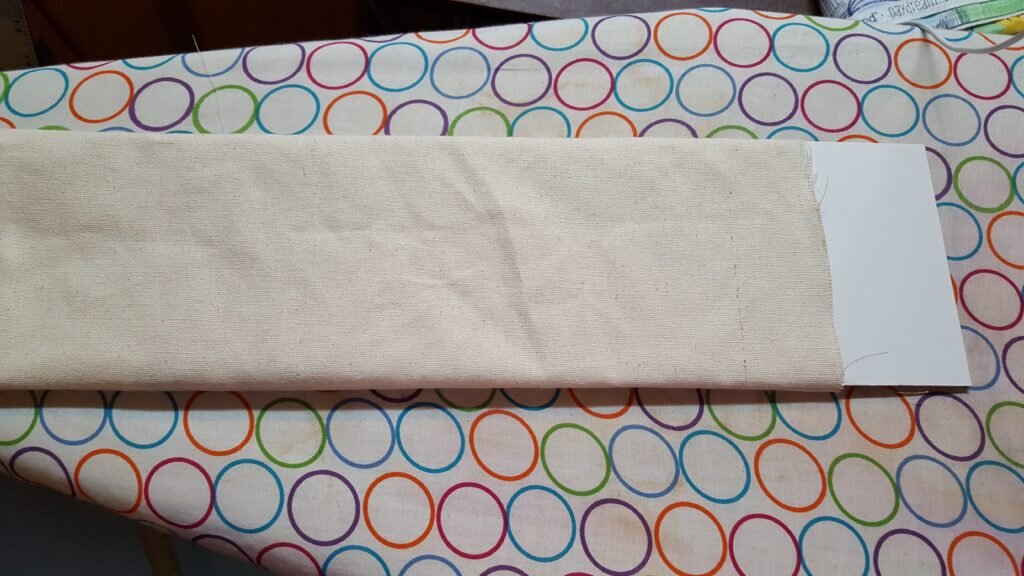
Insert cardboard rectangle into box bottom.
- Fold the seam allowance on the open side to the inside.
Turn seam allowance inside.
- Stitch close to the edge to seal the box bottom closed.
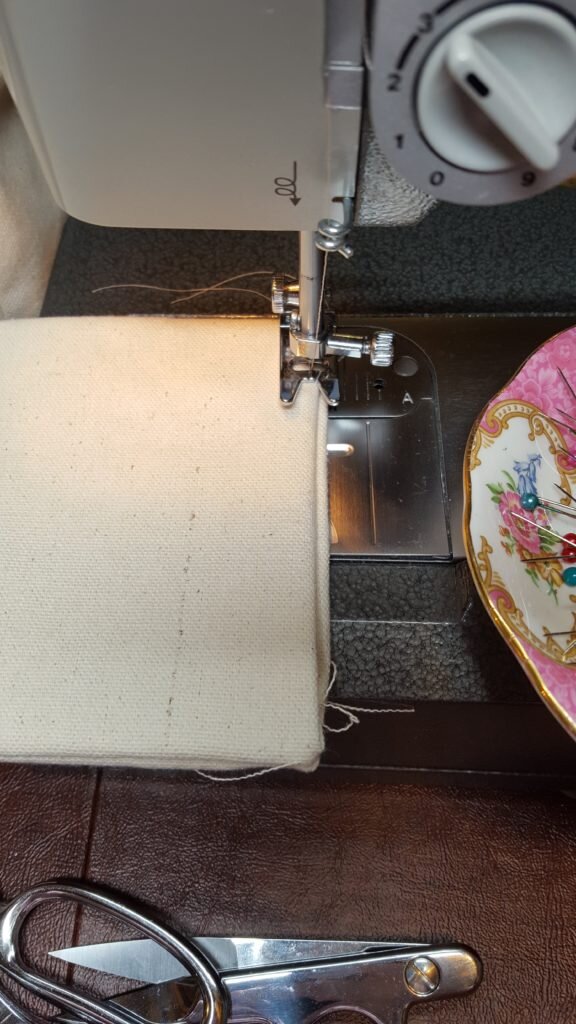
Stitch close to edge to seal box bottom.
- Place the bottom of the box into the box.
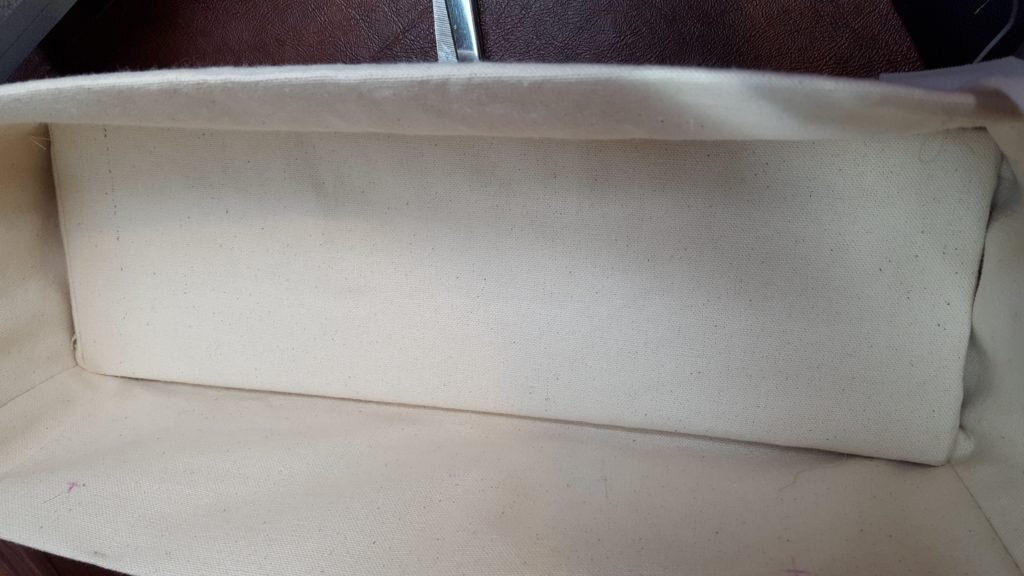
Place box bottom into box.
- Cut two pieces of ribbon 42″ wide. Pin the center of each ribbon to either end of the front panel on the inside, just below the top. Stitch.**
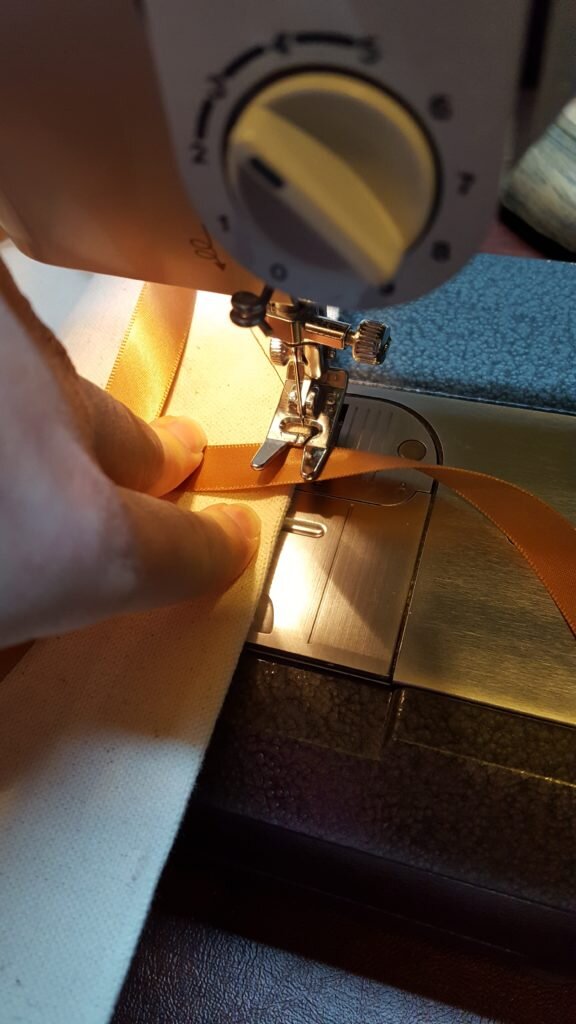
Attach ribbon to the inside front of the box, just below the wire.
To mount the changing table organizer, place the Velcro around one of the beams of the changing table. Tie the ribbon to the top most bar of the changing table, to keep the box level. Fill with rash cream, wipes, etc.**
** Skip this step for an ordinary box that you don’t intend to mount on a changing table.

Here’s what the box looks like without being mounted. Julioulius wouldn’t fit so I had to use his real name.
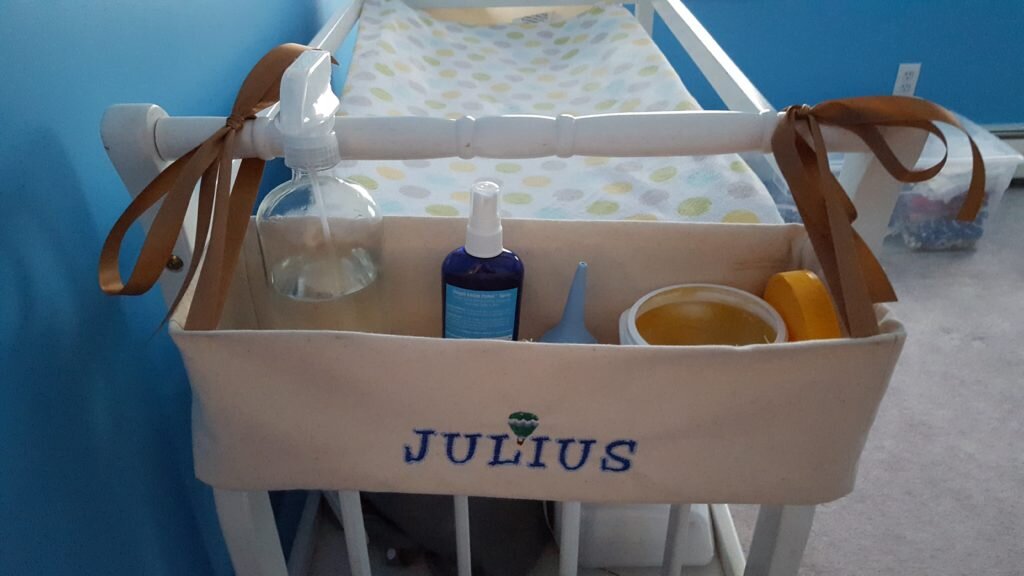
Here’s the finished box organizing our most-reached-for changing table supplies!
