
So the other day I noticed I had a pack of 10 badge holders in my Amazon shopping cart. Weird. I didn’t remember putting them there. I thought I must have had them in there from DanyCon since I was toying around with the idea of making everyone lanyards and badges, but knew I had purchased things since then. I promptly deleted them because clearly I was going crazy.
The next day Will was complaining about how often he has to replace the little plastic thing holding his work badge. Ah. Will was the culprit. He said those were the “sturdiest” holders he could find (though they really didn’t look particularly sturdy). That made me think back to when I was at college. In school I carried my student ID around everywhere with me on a lanyard. That ID holder was made of leather and was super durable. I never had to replace it once in 4 years. That got my thinking, “I could make that”…
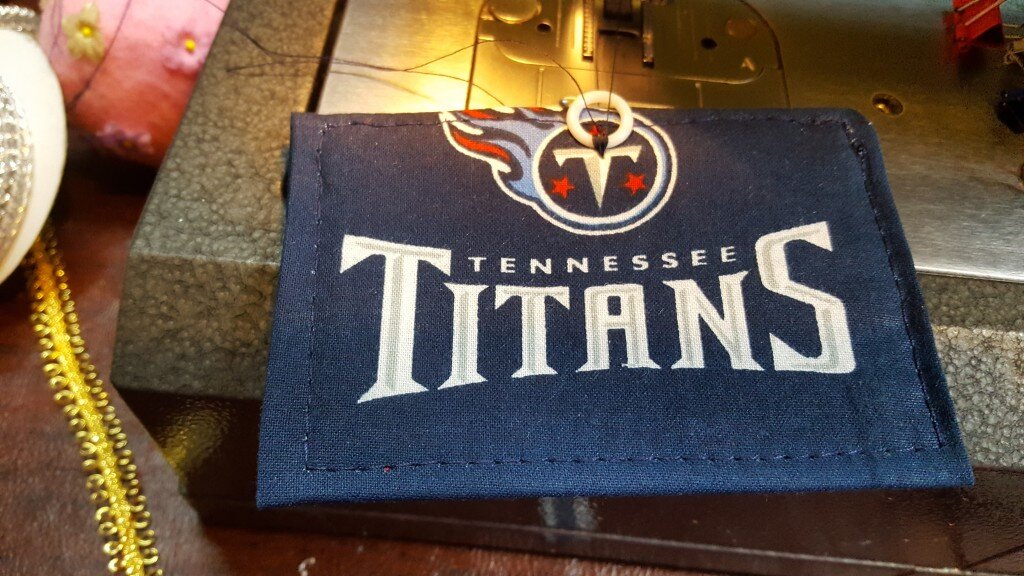
Yesterday at the summer house an inner tube popped so I asked my dad for part of the plastic as he was tossing it in the trash. He probably thought I was crazy because he said something like “you can have the whole thing if you really want it…” The plastic is perfect for the see-through window on the badge holder, and was thick enough to sew through without ripping! Plus I saved a few inches of plastic from the landfill… and was able to use up some scrap fabric and interfacing! Here’s how to make your own!
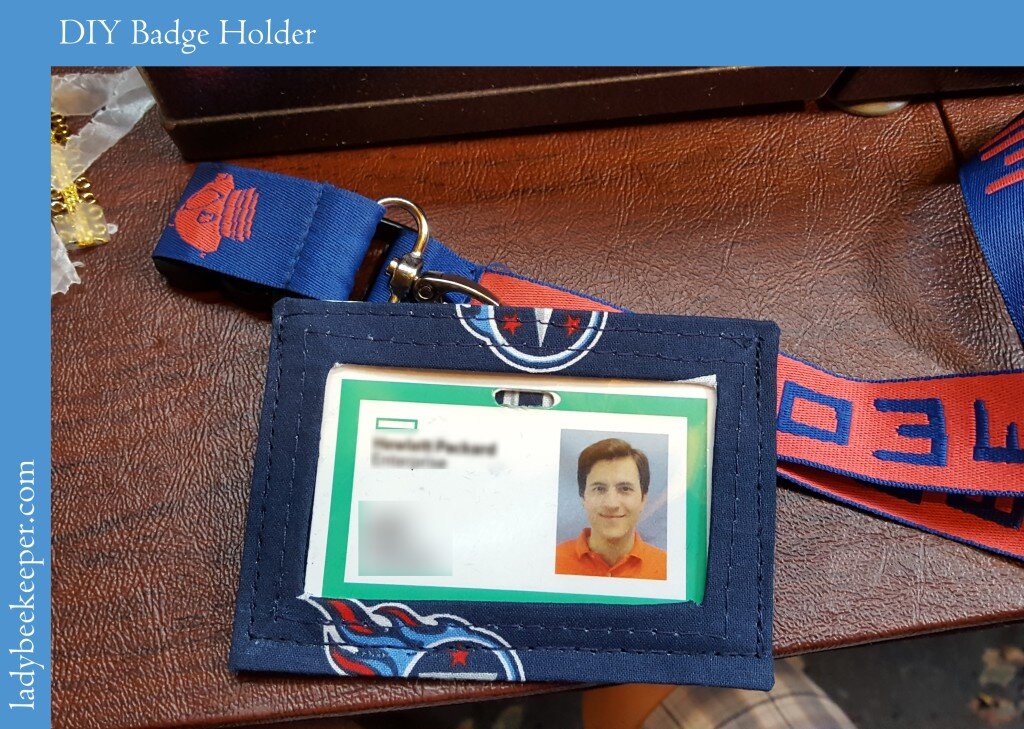
DIY Badge/ID Holder
What you need:
- 1 square foot of fabric
- a small rectangle of thick malleable plastic (less than 6×4″)
- a small rectangle of Peltex Pellon 70 ultra firm stabilizer (less than 6×4″)
- a small rectangle of medium weight fusible interfacing (less than 6×4″)
- a 1/2″ diameter plastic ring (like the ones used for roman shades)
- 1 snap
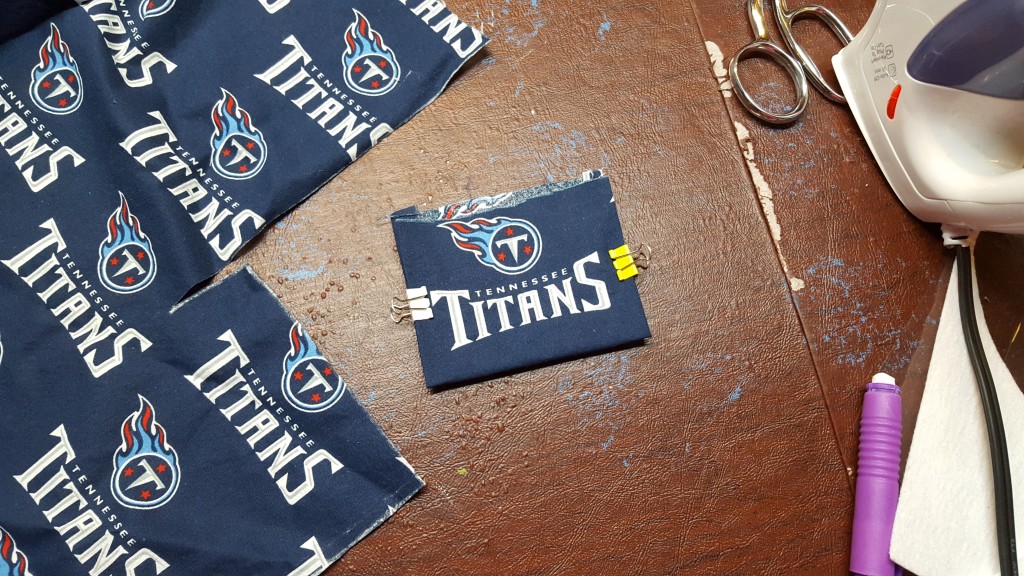
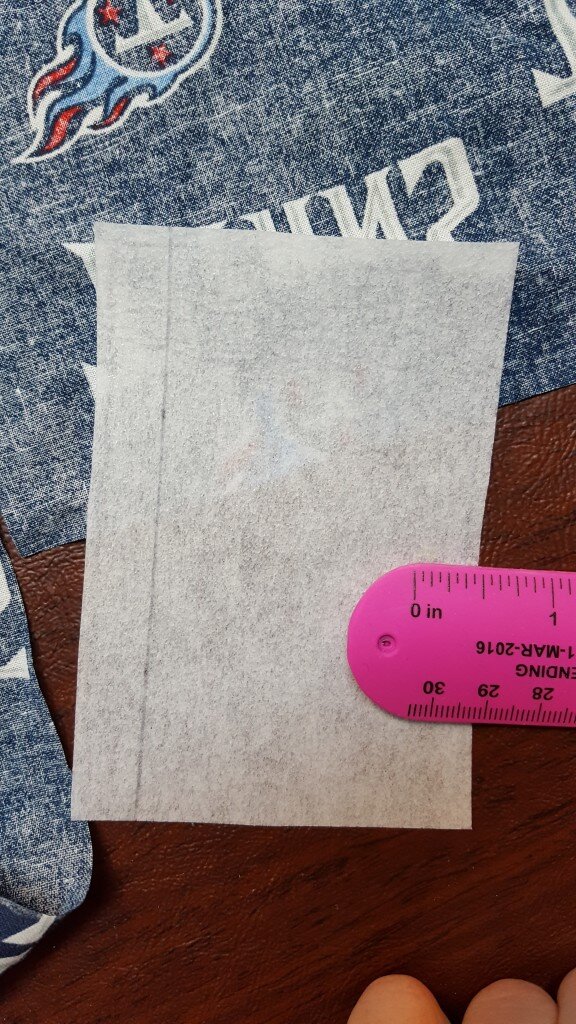
- Cut a 4″ x 2 5/16″ rectangle of pellon 70 and a 6 1/2 x 5″ rectangle of fabric.
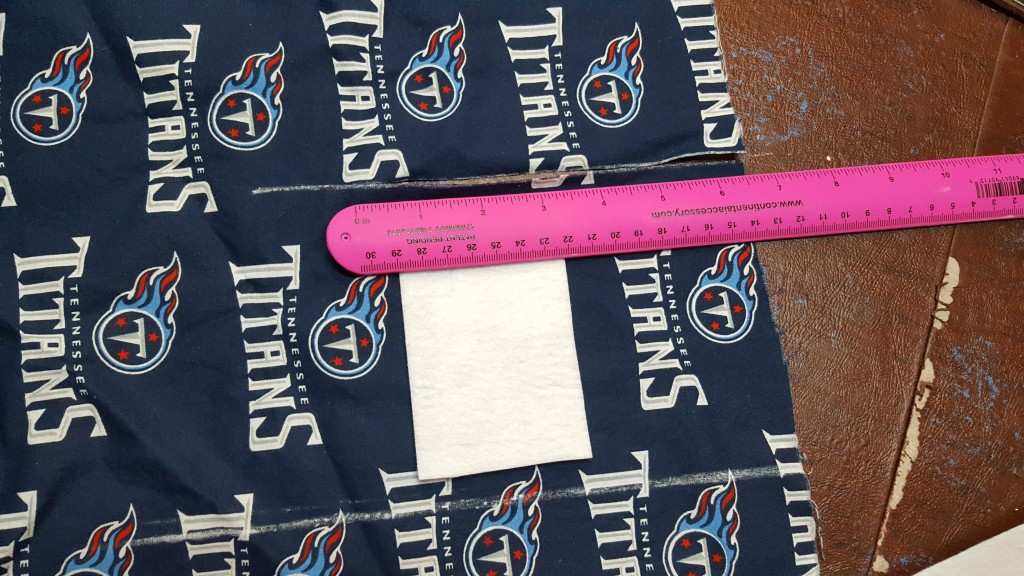
Cut peltex and fabric
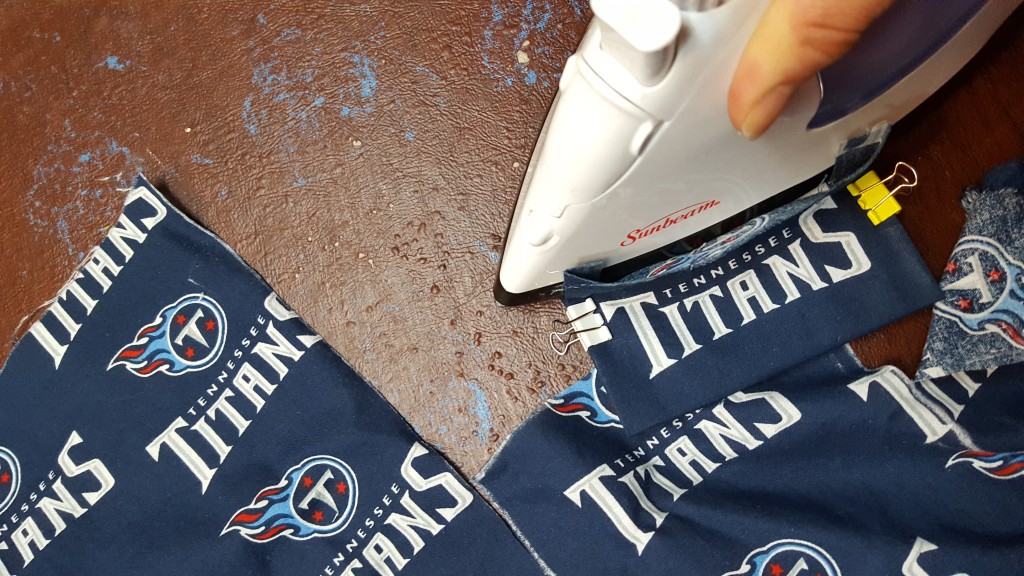
- Fold the width-wise edges of the fabric up the sides of the interfacing. My trick with interfacing is that instead of using pins, which are difficult to use with such thick interfacing, I use tiny binder clips. They save so much time!
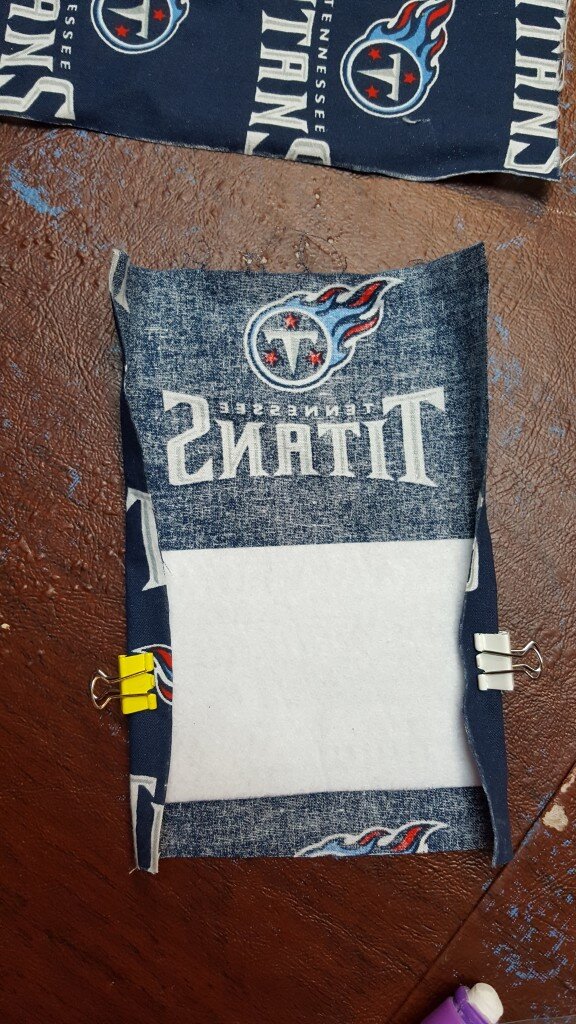
Hold interfacing and fabric with binder clips for easy sewing.
- Press.
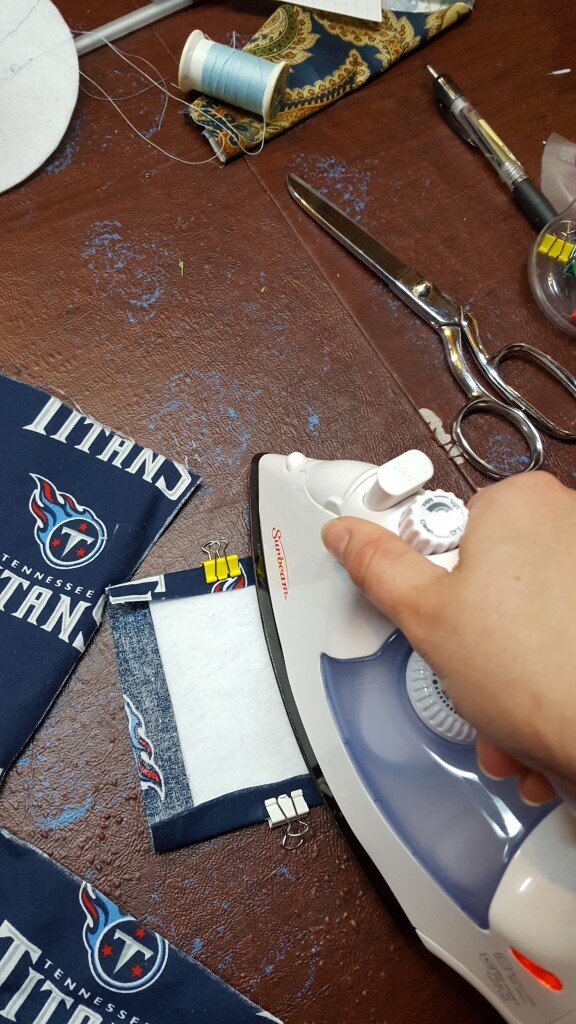
Press
- Fold the fabric up around the interfacing & clip
Fold fabric up
- Press.
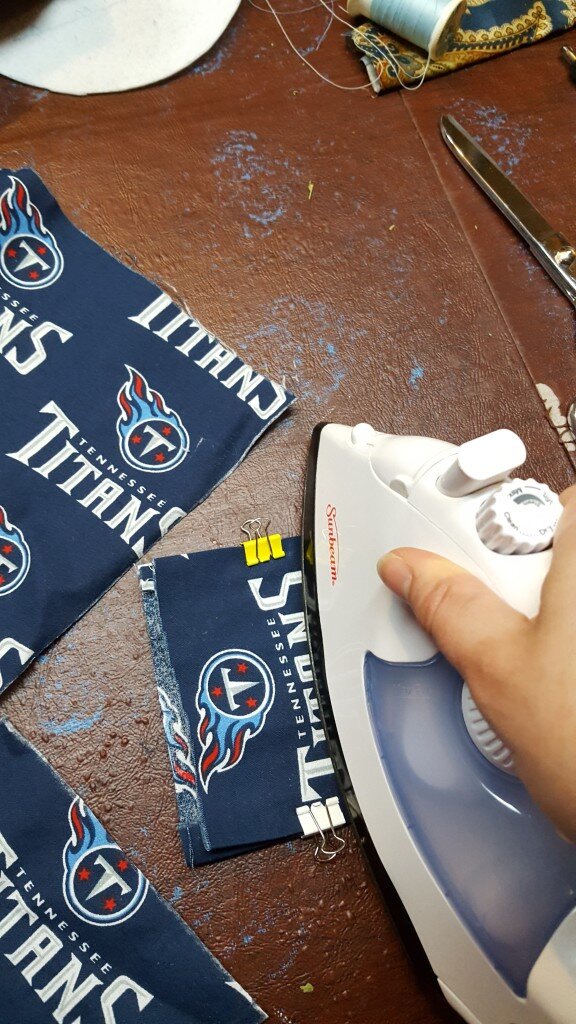
Press
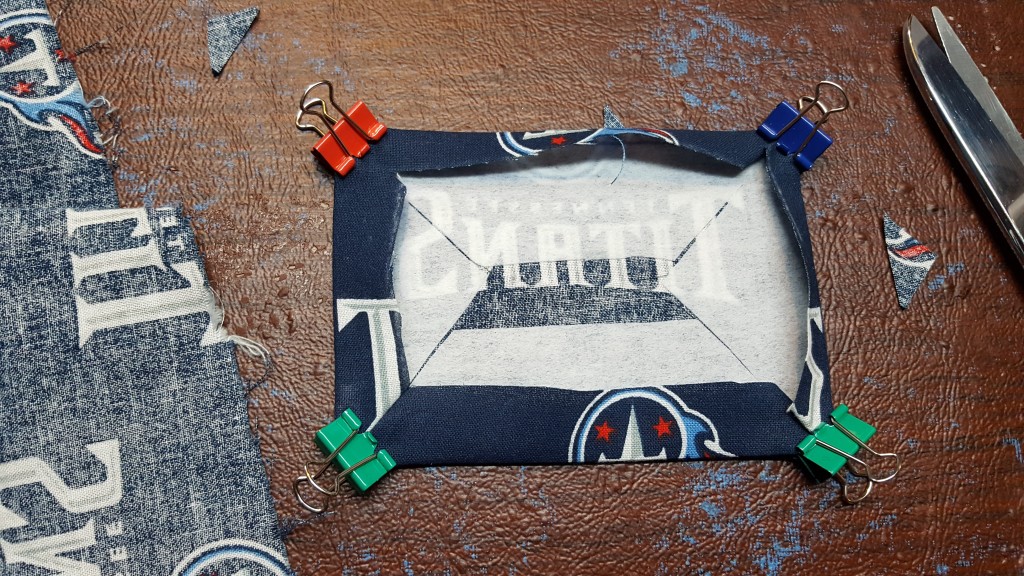
- Fold the ugly (side you’ll put on the inside) edge of the fabric up over the top of the interfacing.
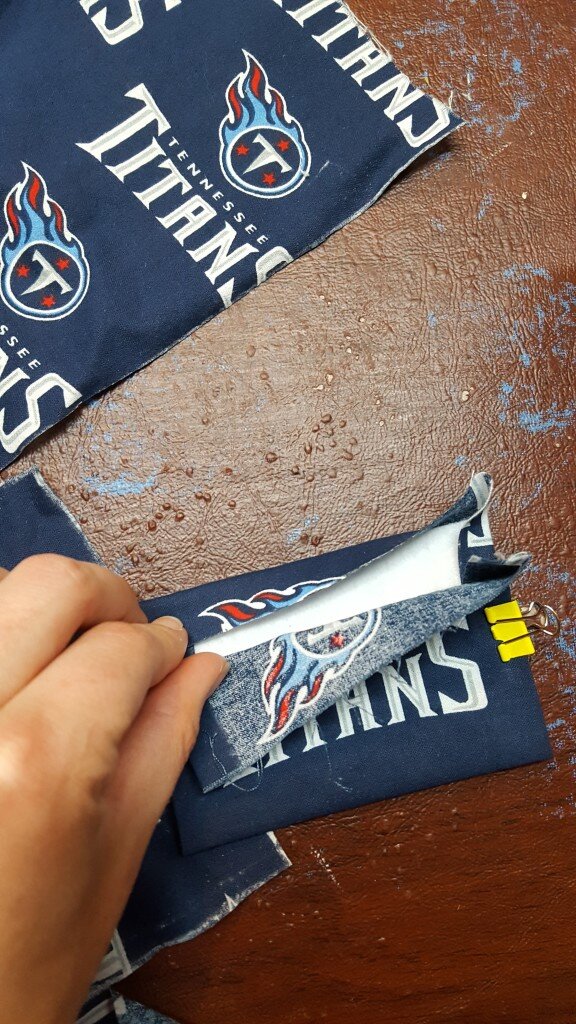
Wrap “bad” side of fabric around interfacing.
- Fold in the edges like you would an envelope so the fabric will not show.
Fold in edges so they will not show.
- Press.
Press
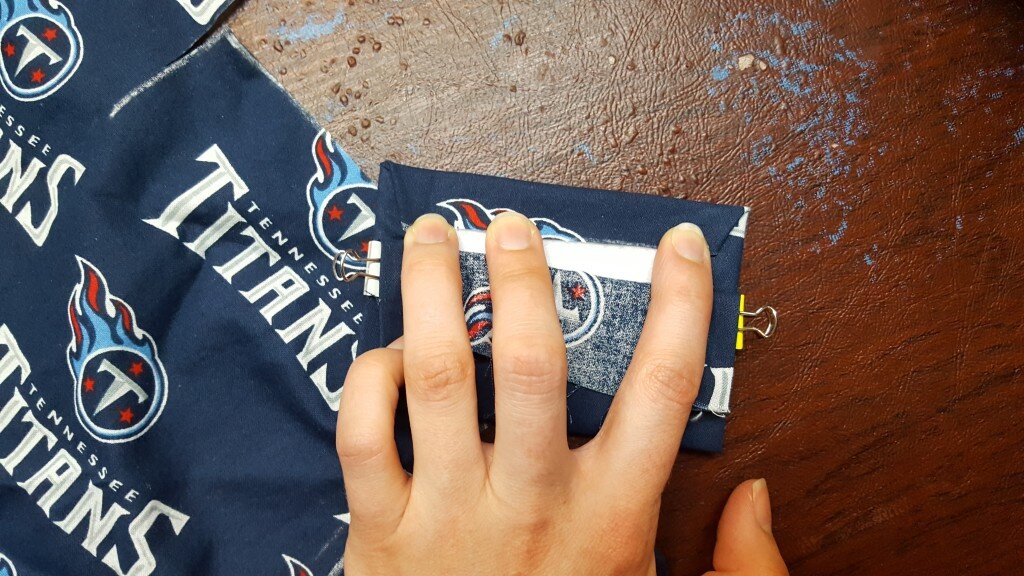
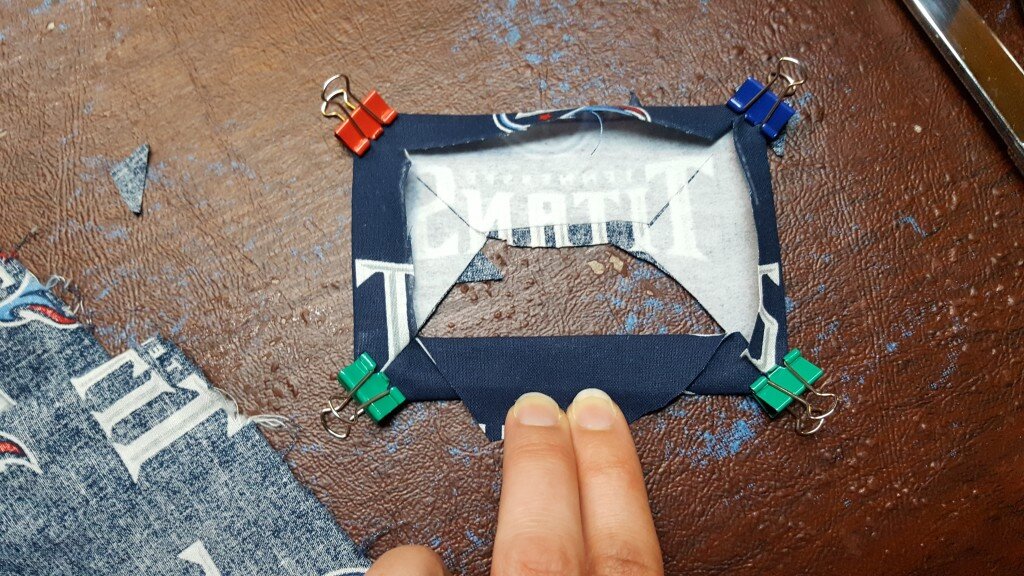
- Fold the good side of the fabric over onto the bad side of the badge (this will be hidden when we attach the front).
Fold “good” side of fabric over “bad” side of fabric.
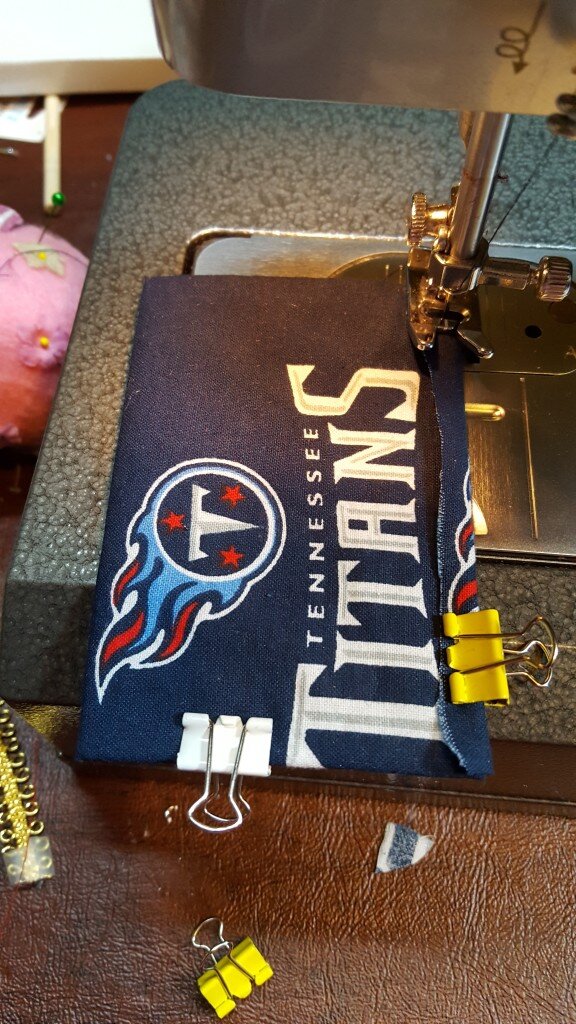
- Stitch all around the outside, close to the edge. This is the back of your badge holder.
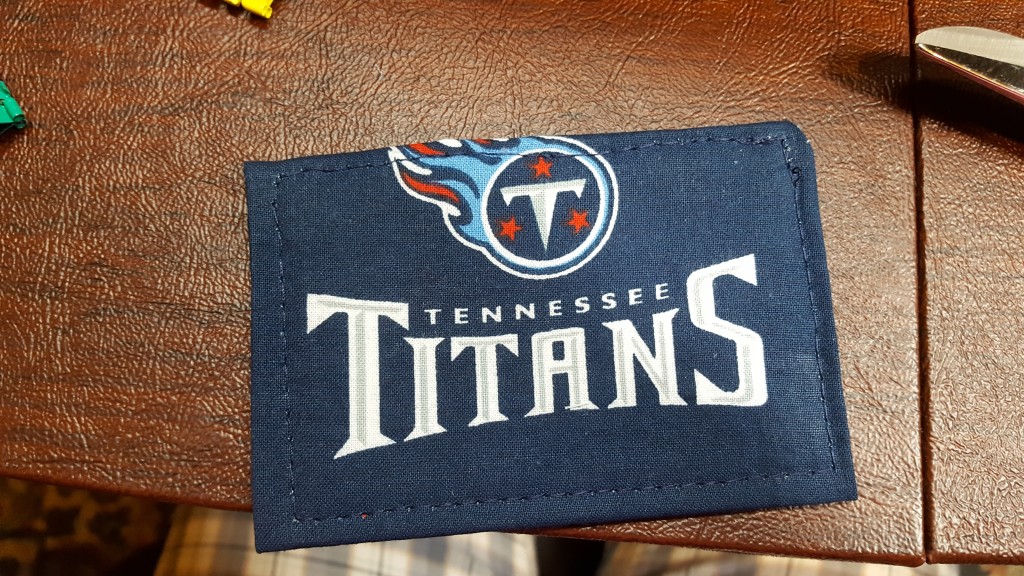
Stitch 1/8″ from the edge.
- Take the back of your badge holder and trace around this on a piece of fusible interfacing. Cut out the interfacing a mm or so larger than the traced rectangle.
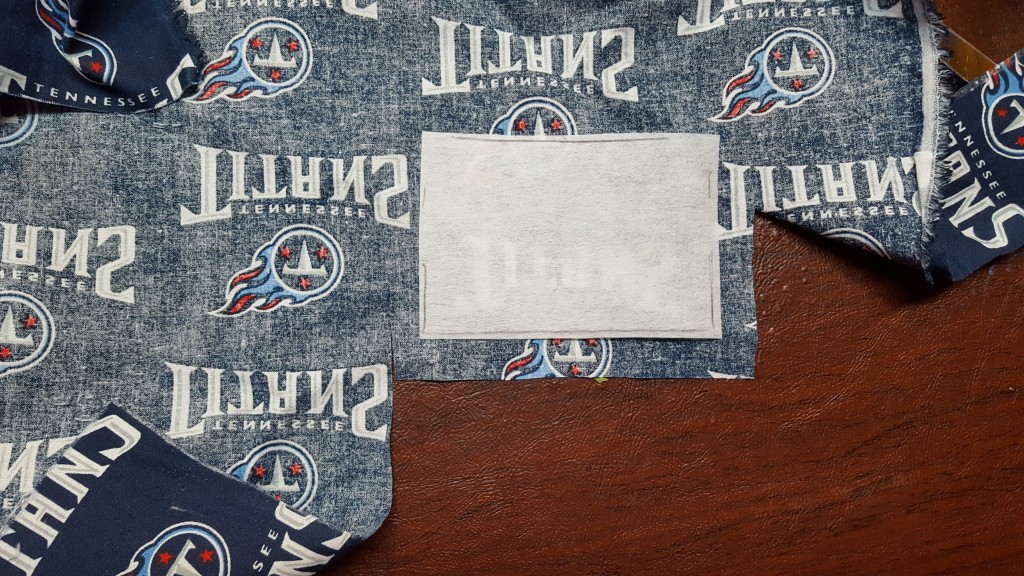
Trace badge holder back onto interfacing, cut slightly larger than this.
- Cut out a square of fabric 1/2″ larger than the rectangle in every direction.
- Measure 1/2″ up from the interfacing on each side and draw lines forming a frame.
Draw a 1/2″ frame on interfacing.
- Cut a “v” in the interfacing from one corner of the inside rectangle to the adjacent corner.
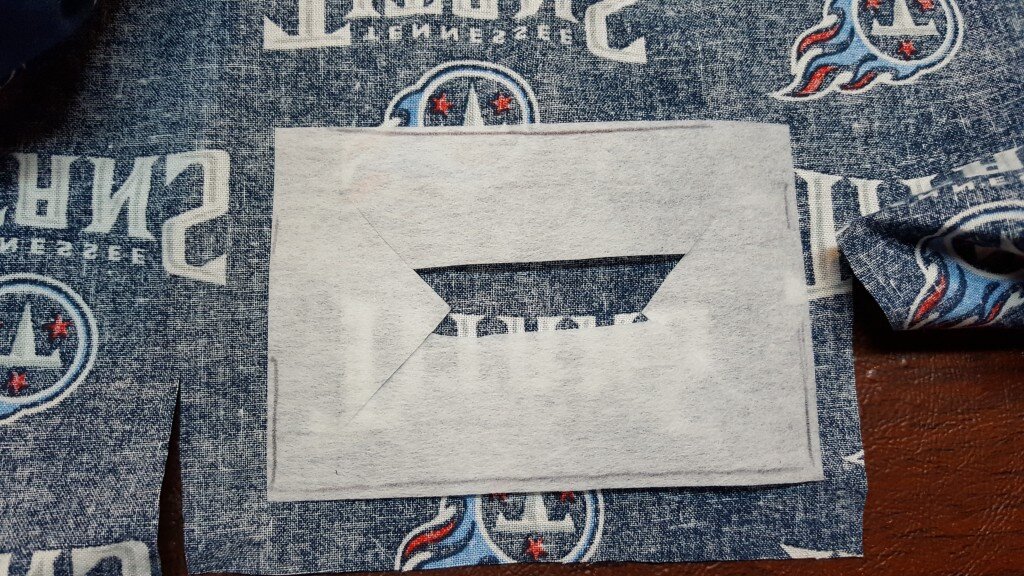
Cut “v”s up to the frame on both sides.
- Following manufacturer’s instructions, fuse interfacing to fabric.
Fuse interfacing to fabric
- Cut your “v” shapes from step 14 into the fabric taking care not to cut further than the interfacing.
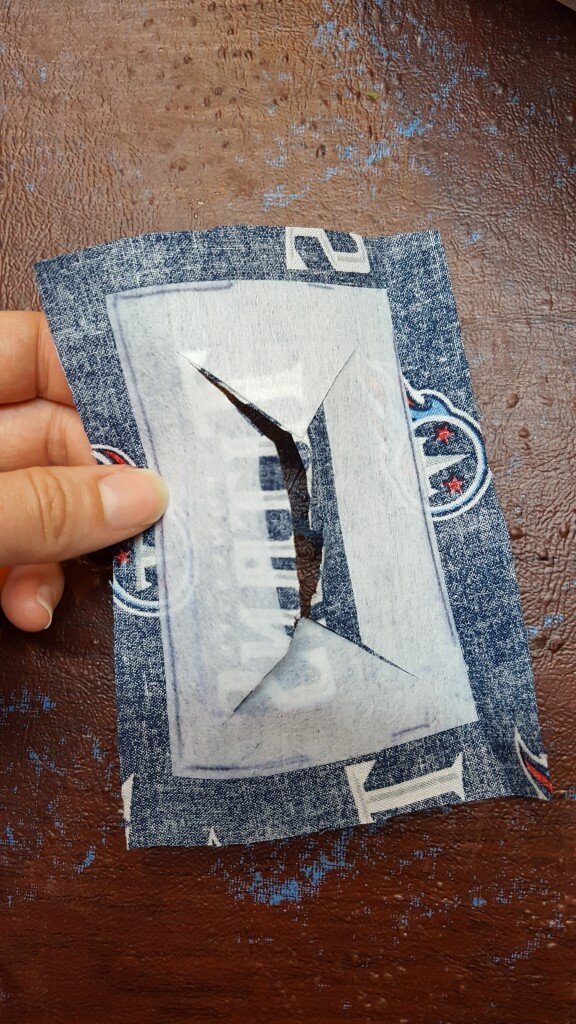
Cut “v”s into fabric
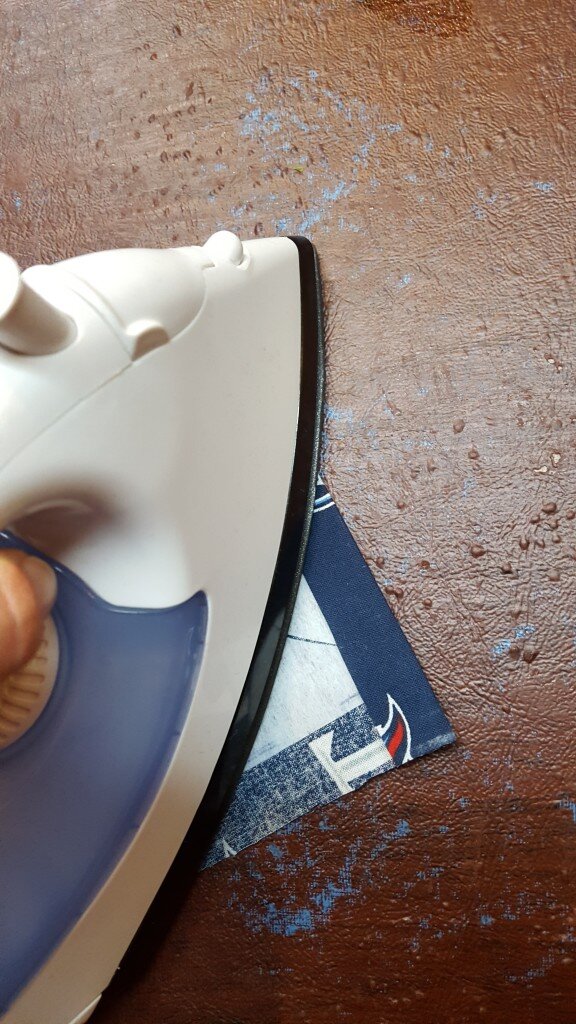
- Fold and press the sides, forming mitered edges (see instructions in this post). Trim the fabric so it comes just to the edge of the “frame” you drew in step 13.
Fold and press up sides, forming mitered corners
- Fold the inner pieces outwards, press, trim to slightly smaller than the outside of the rectangle and binder clip.
Fold inner pieces out, forming a frame.
- Repeat for all 4 sides.
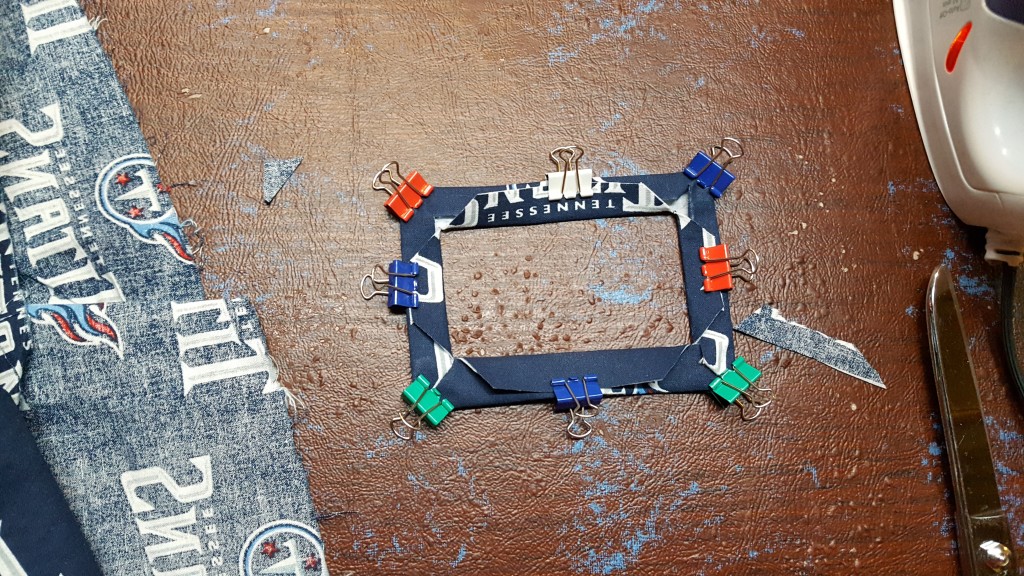
Trim and clip then repeat for all 4 sides.
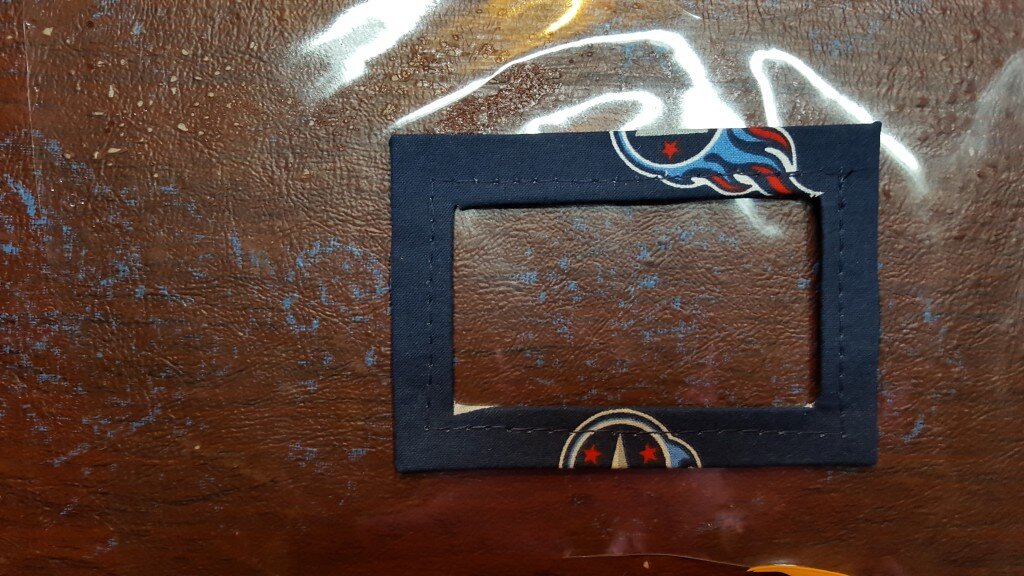
- Sew 1/8″ from the center of the frame, all around the face of the badge holder.
Stitch 1/8″ from the inside of the frame.
- Cut a piece of plastic slightly smaller than the width of the “frame”.
Cut a piece of plastic smaller than the frame.
- Center the plastic on the back of the frame, place a piece of waxed paper over it (this will prevent the plastic from sticking to your presser foot) and binder clip.
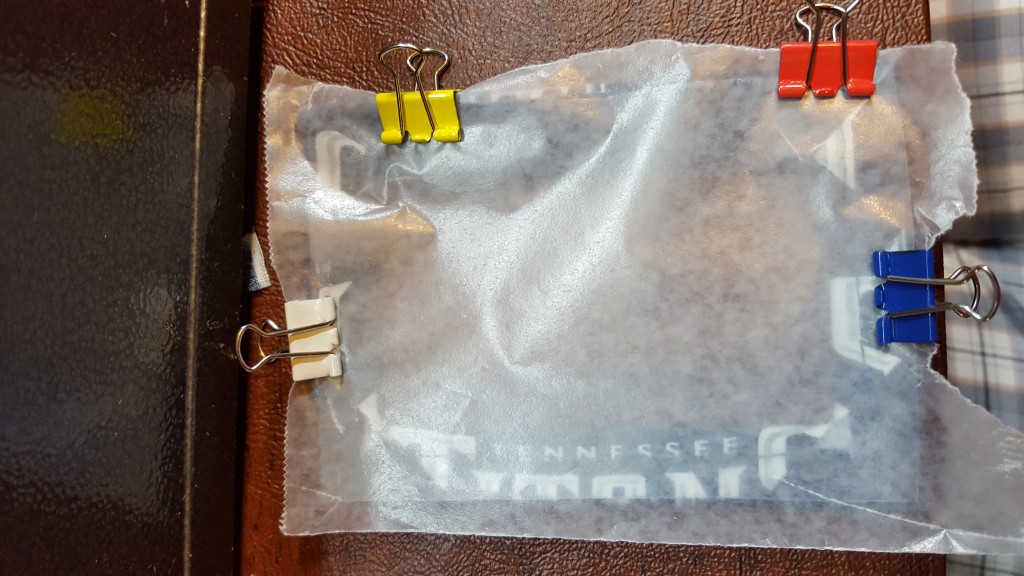
Add waxed paper over the plastic to prevent it from sticking.
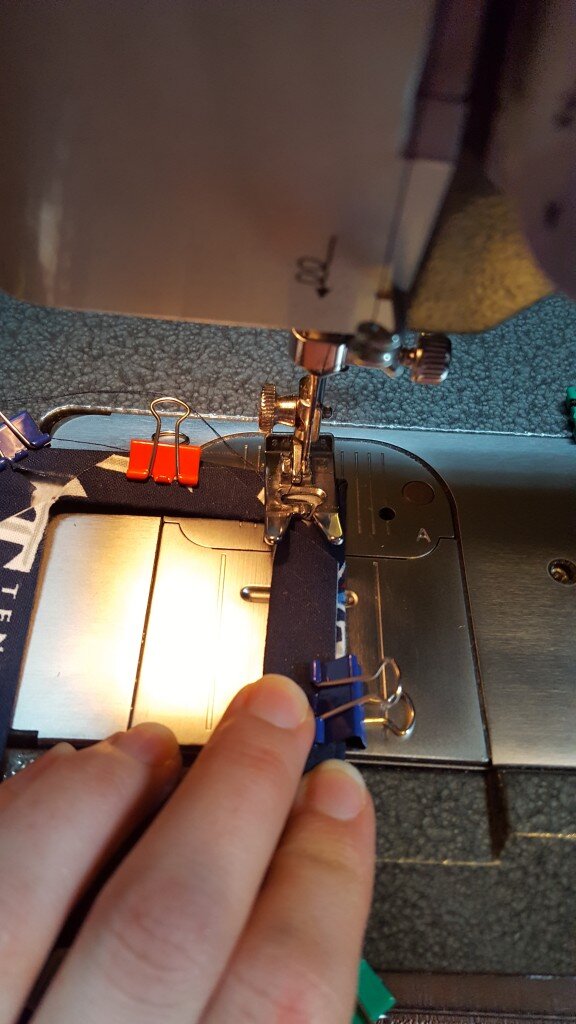
- Stitch 1/8″ from the outside of the “frame” all around.
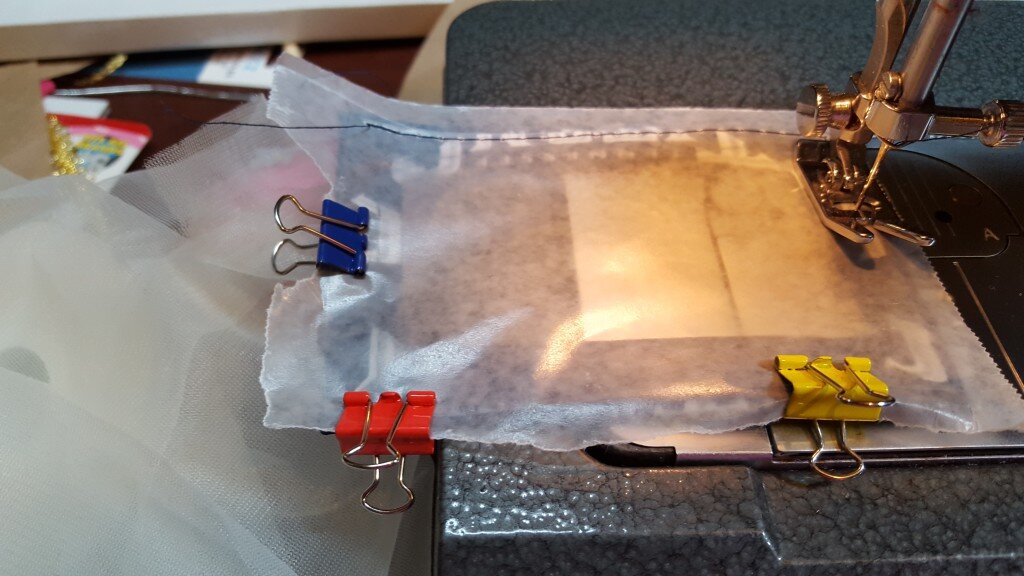
Stitch 1/8″ from the outside edge of the frame.
- Remove the waxed paper by tearing.
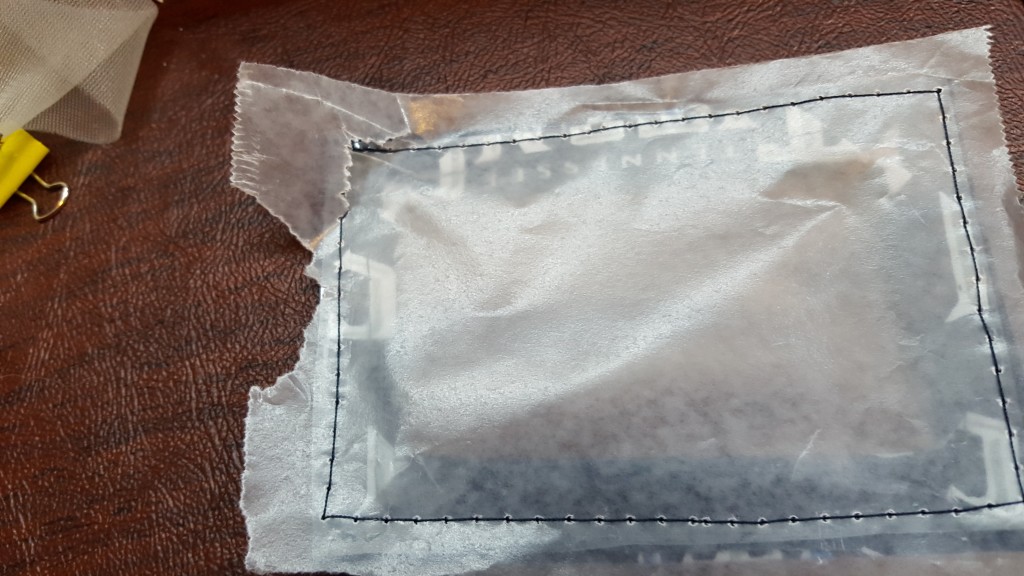
Tear off waxed paper.
- Add a plastic ring to the back piece by stitching back and forth over the ring.
Attach ring
- Place the frame of your badge holder over the wrong side of your badge holder back.
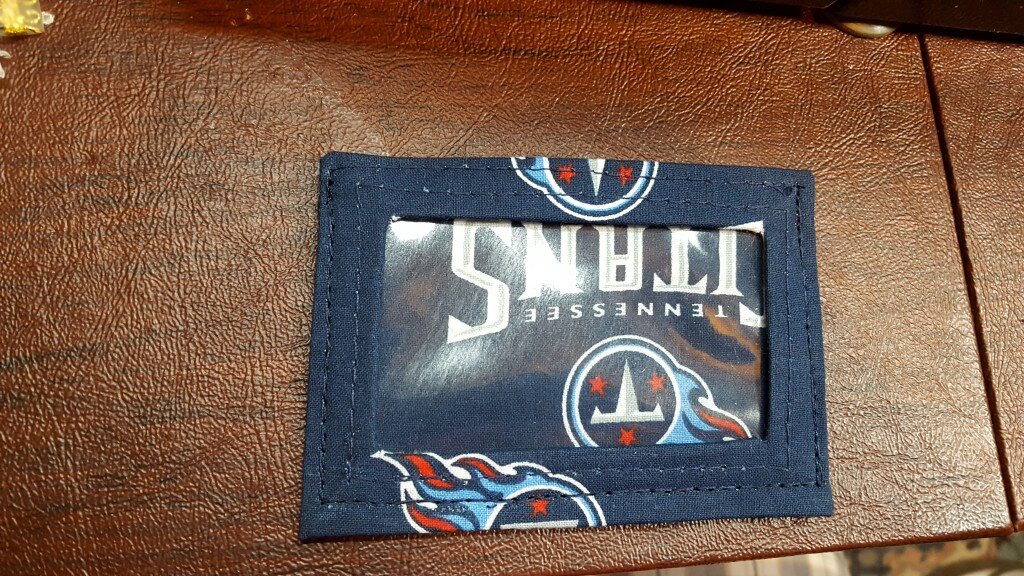
- Stitch on top of the outer stitching, taking care to leave the top side opened (so you can put your badge in).
- Add a snap at the top of the badge holder between the top edge of the “frame” and the back.
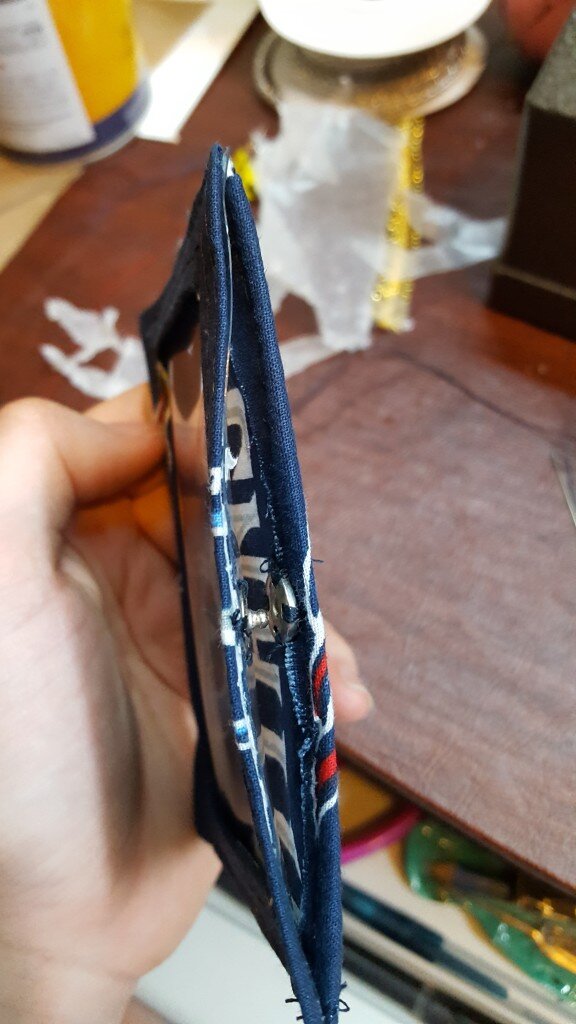
Add snap
- Enjoy!
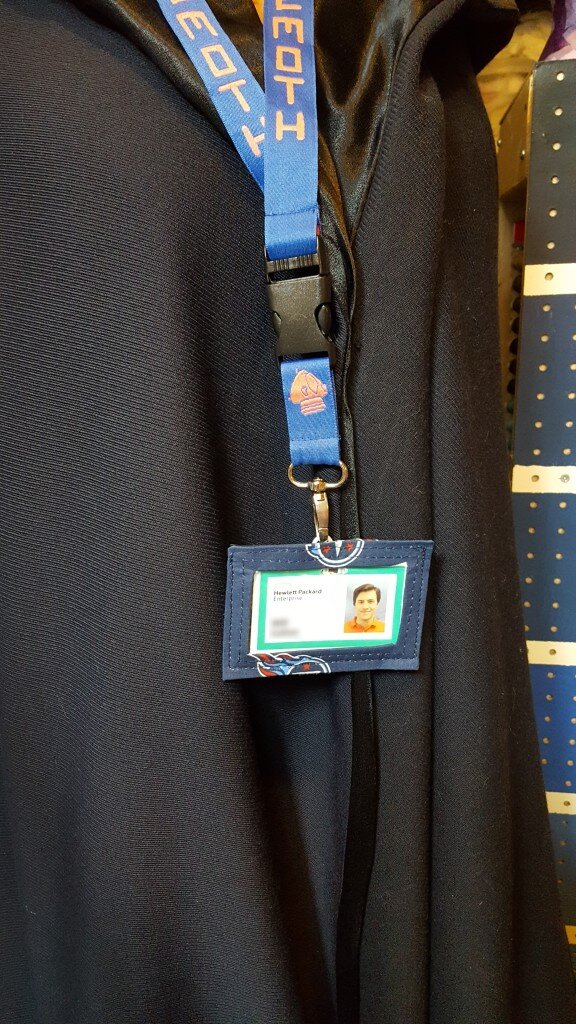
Looks especially great on a mannequin wearing a long black cloak as shown here.

IT IS THE BEST.
I am so glad to hear it!
We technically have to wear badges at my job… It’s been over 2 years and no one has noticed/mentioned that I don’t. If they ever do crack down, maybe I will have to try my crafting skills at making one of these :)
YES! That is pretty funny though.
Pinned on pinterest. Anyone know where I could find plastic if I don’t happen to have an old intertube? :P
Thanks for pinning! My husband has used his every day for the last 3 years and it is still going strong!
If you don’t happen to have an old inner tube lying around you could try any flexible, durable vinyl. Like this:
https://www.fabric.com/buy/uh-138/6-gauge-clear-vinyl
Thank you for the idea!
All pictures and instructions were so helpful!
My ID is ready for the first day of school! Thank you again!
That is awesome! Thanks for commenting! I’m so happy to provide a source of inspiration! Enjoy your fabulous ID holder I’m sure you’ll be the talk and envy of the school! ;)