
We have this fabulous little robot named Bert who cleans our floors. He is pretty good at it and doesn’t complain much. He does get a little confused sometimes and crashes into things. Will tends to scold him for this. I have told Will that he shouldn’t yell so much at Bert or he will be first on Bert’s hit list when the inevitable Robopocalypse occurs. Once they allow self driving cars and drones it will only be a matter of time.
Sorry I digress, back to Bert crashing into things. The one thing he really struggles with is Dany’s food and water bowls. We have a nice little mat under the food and water bowls to protect our wood floors and keep the area underneath them clean and dry. Unfortunately Bert likes to get on top of this mat and drag it around until the water bowl tips over and the entire floor is soaked. Maybe he thinks he is a mopping robot, I’m not really sure, but he makes a big mess and is starting to ruin my hardwood floors.
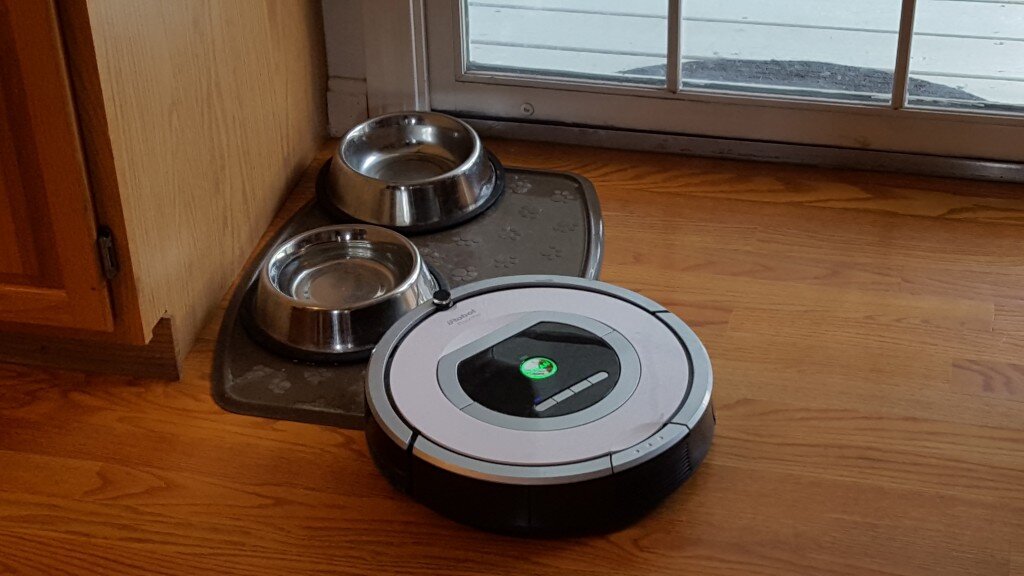
Bert the robot attacking the water bowl
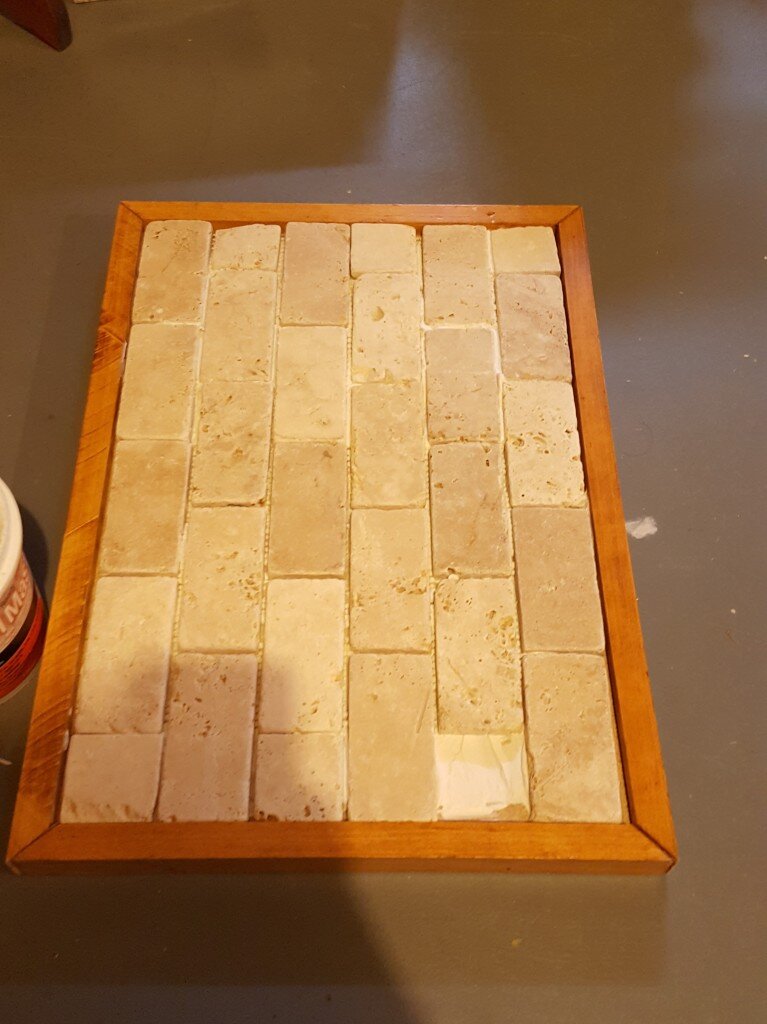
The problem in actuality is that the lip of the water bowl mat is so low that Bert’s front wheels get up and over it with no problem. If it were a bit higher Bert’s front bumper would hit it and he would go around it. For a while I’ve been wanting to get a new dog bowl stand to prevent this problem, but Dany is so low the ground that I think a raised one would be too high for her. What I settled on was making a slightly raised platform/mat out of some scrap wood and leftover tiles from my backsplash. I’m pretty happy with how it turned out. You can follow my instructions below to make your own!
Stone Inlaid Dog Water Bowl Mat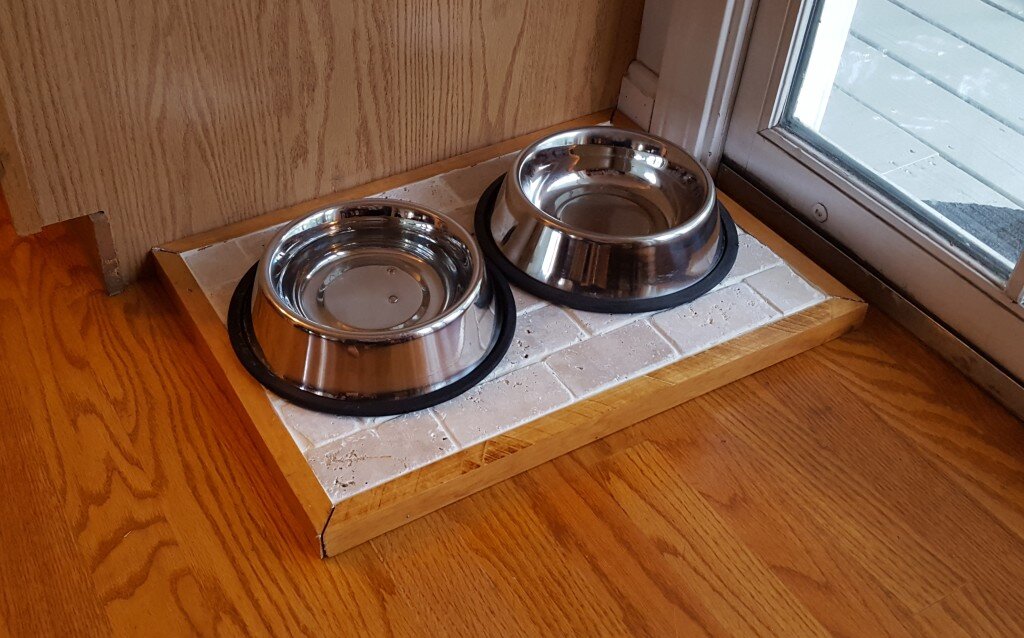
What you’ll need:
- 3/4″ thick piece of scrap wood cut down to size 12×18
- 3/4″ thick piece of slightly nicer wood (you’ll need 2 pieces 19.5″ long x 1.25″ wide and 2 pieces 13.5″ long x 1.25″ wide)
- Stone tiles to fit the 12×18″ space (I used leftover tumbled travertine from my backsplash that I sealed with stone sealer)
- polyurethane
- stain
- 8 1 1/2″ finishing nails
- Wood glue
- Mastic
- Grout
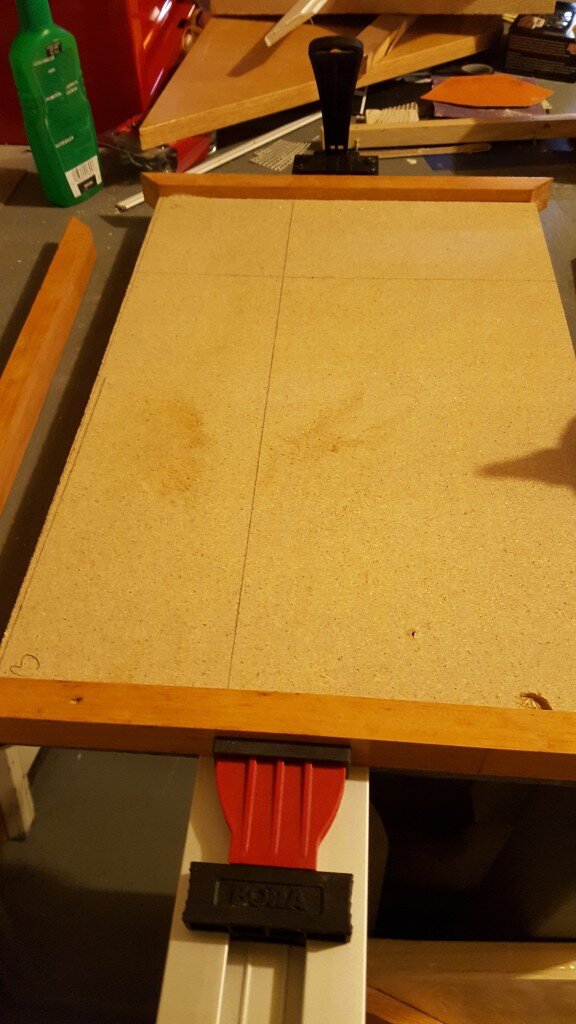
- Cut your first piece of wood to 12″x18″. I did this using a new device recommended to me by my best pal Amy. Since I only have a circular saw it is difficult to make perfectly straight cuts. I bought this clamp guide to help guide my saw along while I cut. It worked great!

Circular saw guide
- Cut your nicer pieces of wood into 2 pieces 19.5″ long x 1.25″ wide and 2 pieces 13.5″ long x 1.25″ wide. I don’t have a picture of this because I went to my dad’s house to use his table saw to do this. Unfortunately we didn’t have a ripping blade on the saw when we did that and we set off all the fire alarms in the house. I might be blacklisted from my dad’s tool shop now…
- Using a miter box, cut each end at a 45 degree angle.
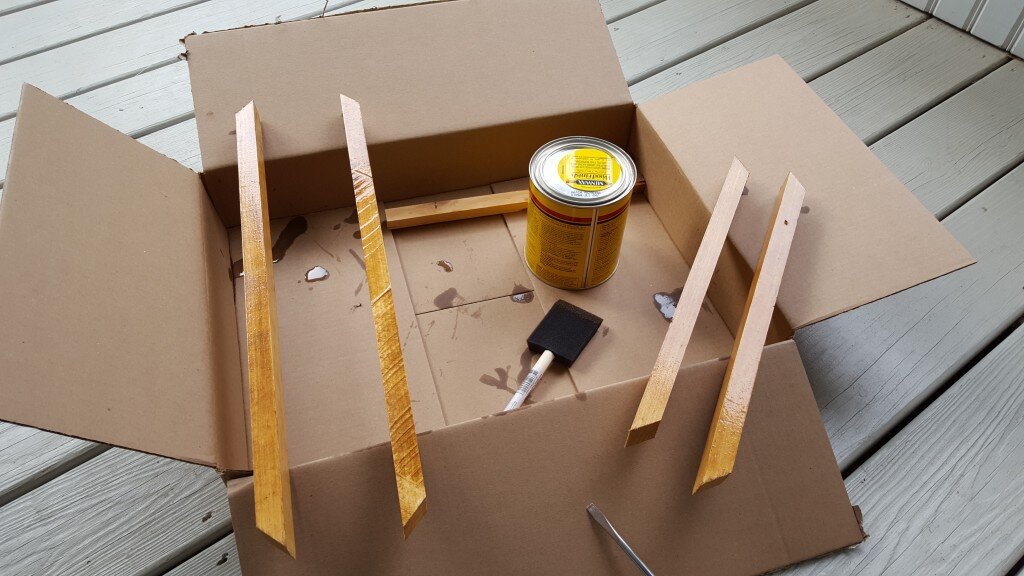
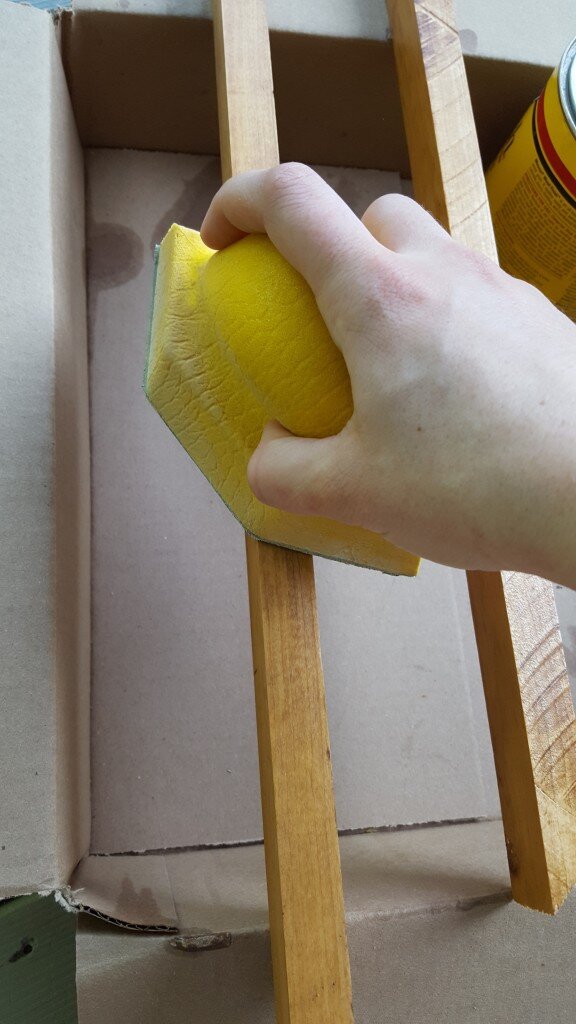
- Sand and stain your nicer pieces of wood in your desired shade. I matched my kitchen cabinets which are the dreaded red oak.
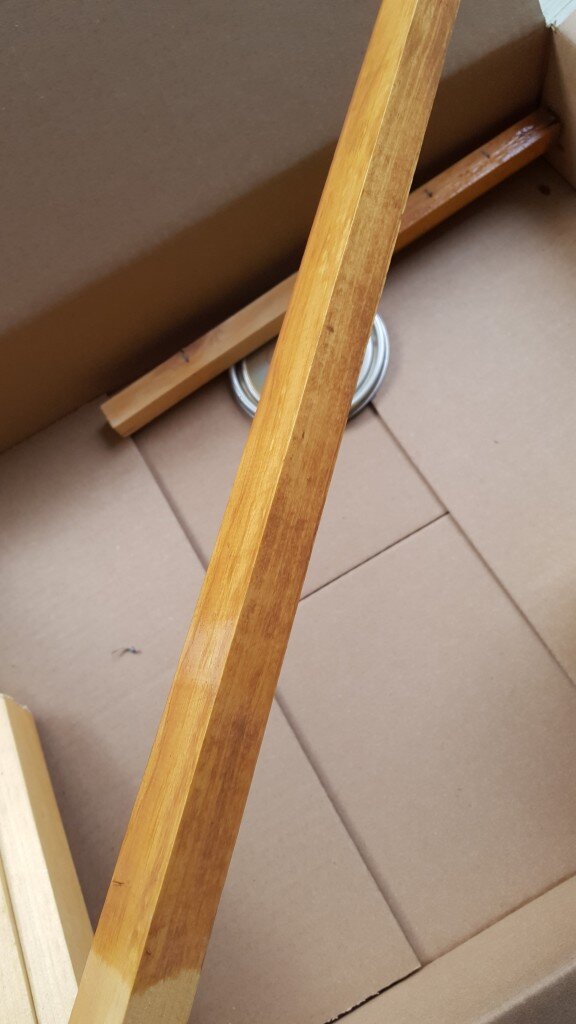
Stain side pieces
- After stain has dried apply polyurethane over the stain. Let dry completely and sand between each coat. I applied 3 coats total. Debatably I could have done this after assembling.
Apply polyurethane
Sand between coats
- Map out your stone layout on the base piece of wood. Make sure no tiles hang off the edge.
- Cut tiles down to size. For this I started using a diamond dust hacksaw blade, but this took forever. For the rest of the tiles I simply scored the tile using the hacksaw blade then used a chisel to break it clean off.
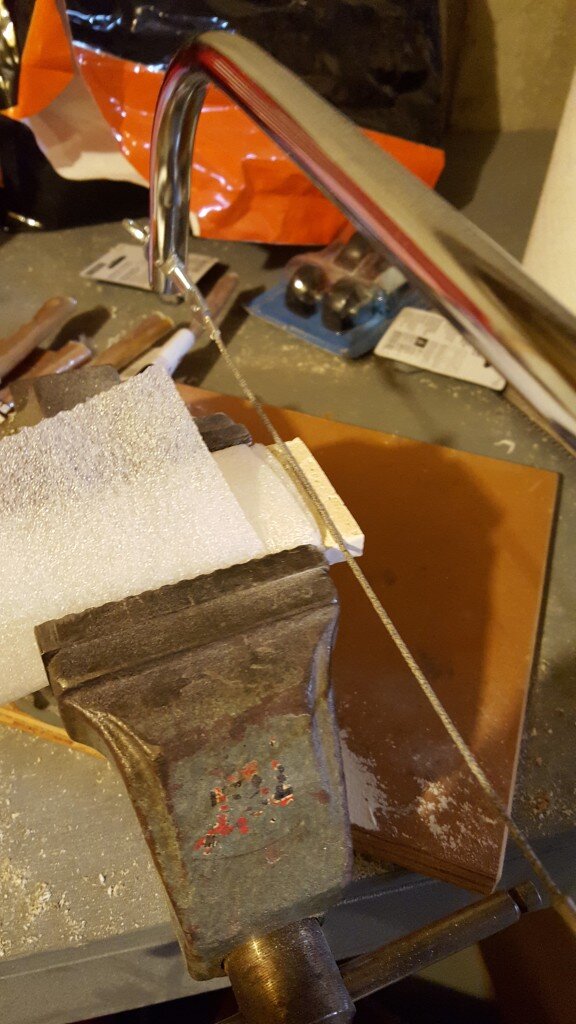
Score tile with diamond blade saw
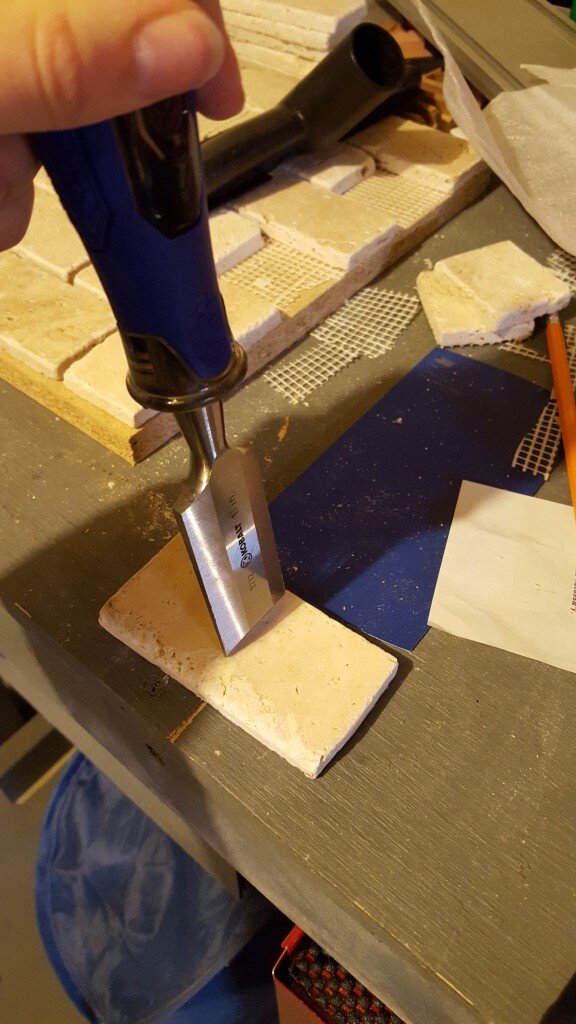
Use chisel to break tile
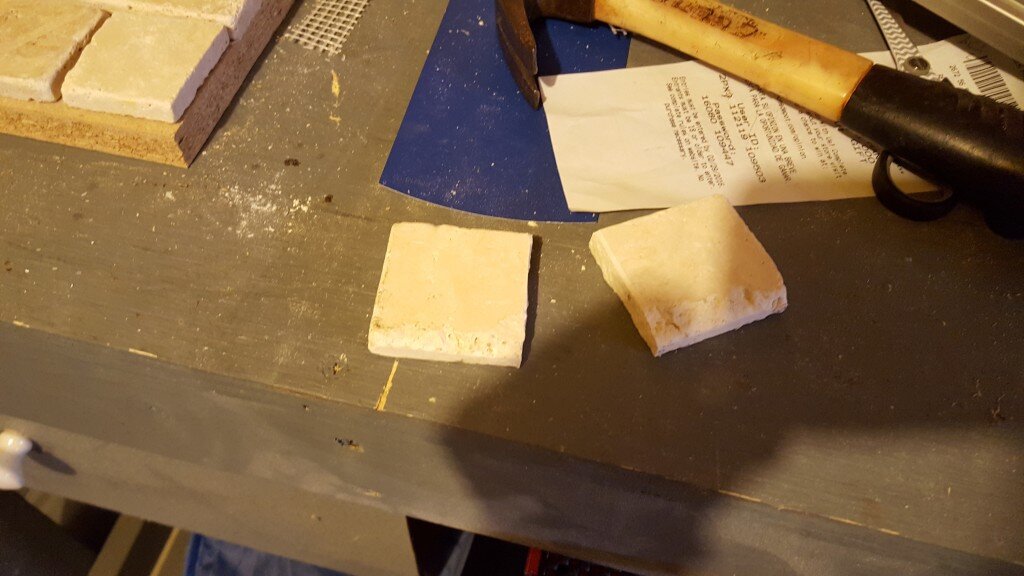
Split tile
- Apply wood glue to the edge of the long sides of the base. Clamp long strips of wood to this. Let dry.
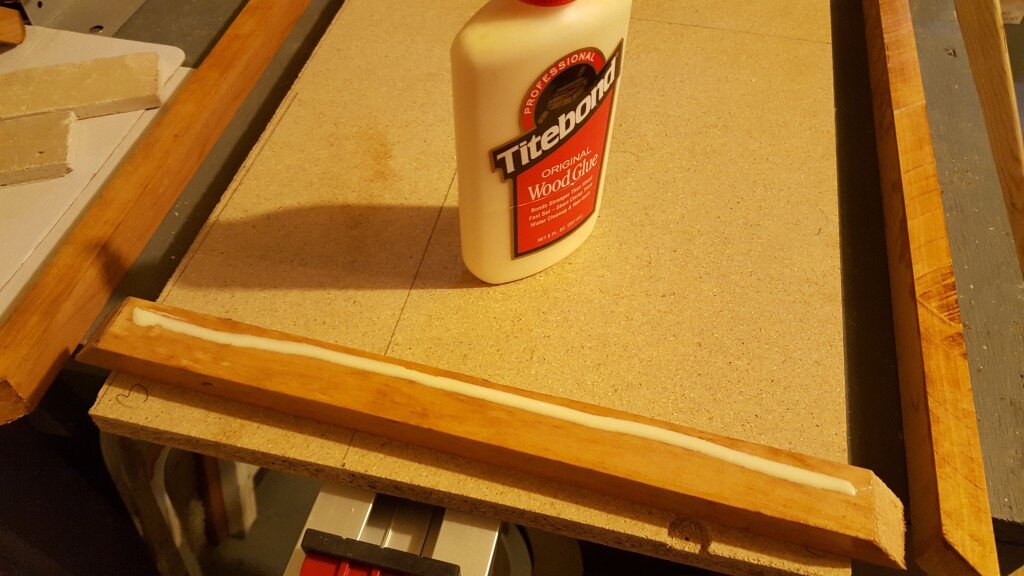
Apply wood glue
Clamp sides to base
- Repeat for shorter sides of the base, this time also gluing the angles where they meet. Let dry.
- Because I’m paranoid that the glue might not be strong enough I also tapped in a couple finishing nails on each side of the base.
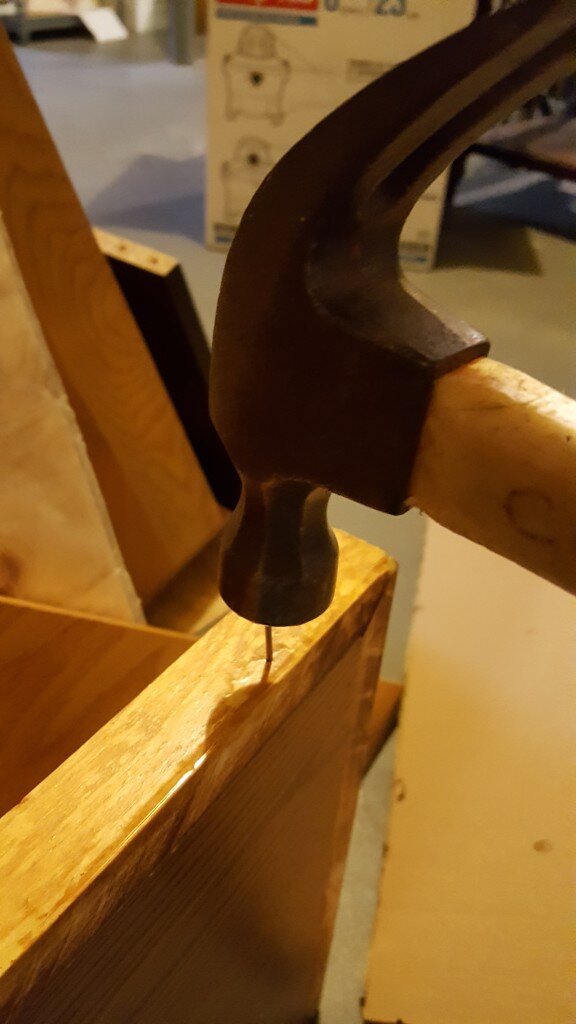
Add finishing nails
- Apply mastic to the base of the stand at the proper depth as per your mastic’s instructions. You’ll see I didn’t have the proper trowel to do this, so don’t follow my method. :)
- Apply tiles over the mastic, pressing tiles gently into the mastic. Repeat for all tiles.
Apply mastic and tiles
- Let mastic dry overnight (or whatever the instructions say).
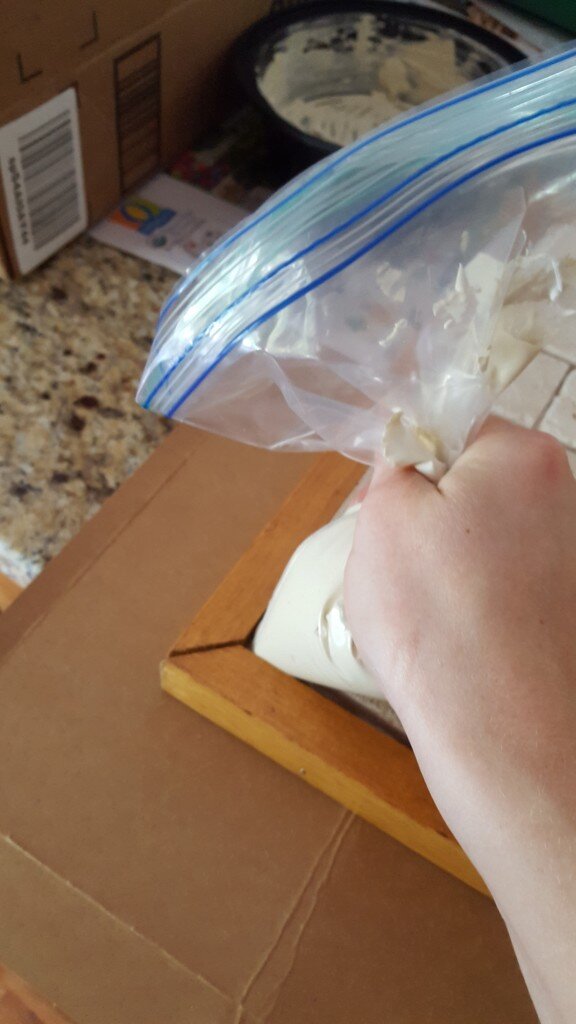
- Mix grout to a thick icing like texture. Insert into a zip lock baggy and cut the tip off (like a pastry bag). This is the technique that worked the best for my dad & I when using the tumbled travertine tiles. Normally you’d use a trowel to apply the grout and press and wipe the grout over the face of the tiles using a grout float. Unfortunately this fills in all the beautiful imperfections in the travertine tile. I tried scrubbing them with a brush, but they never looked the same again.
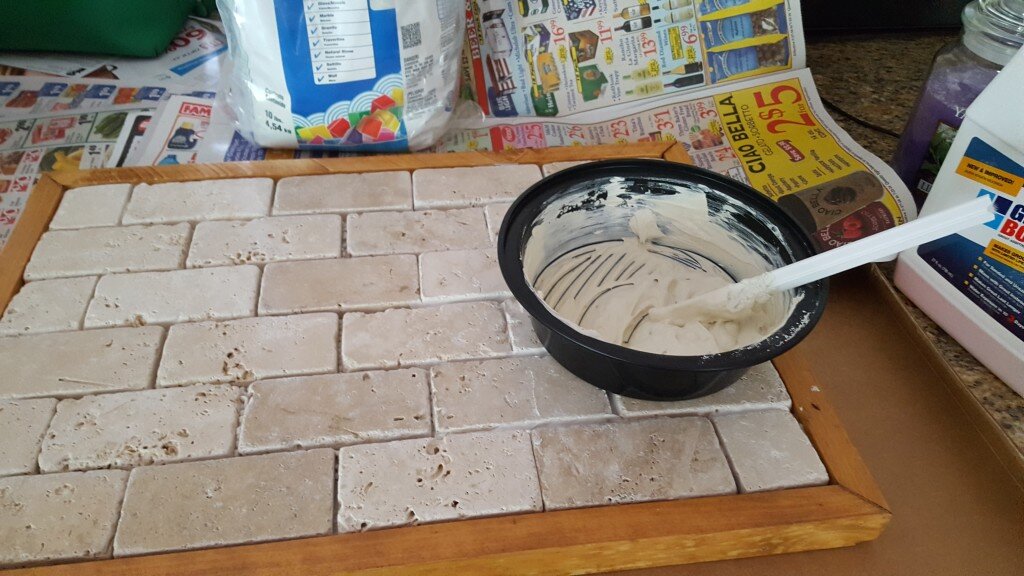
Mix grout to icing-like texture
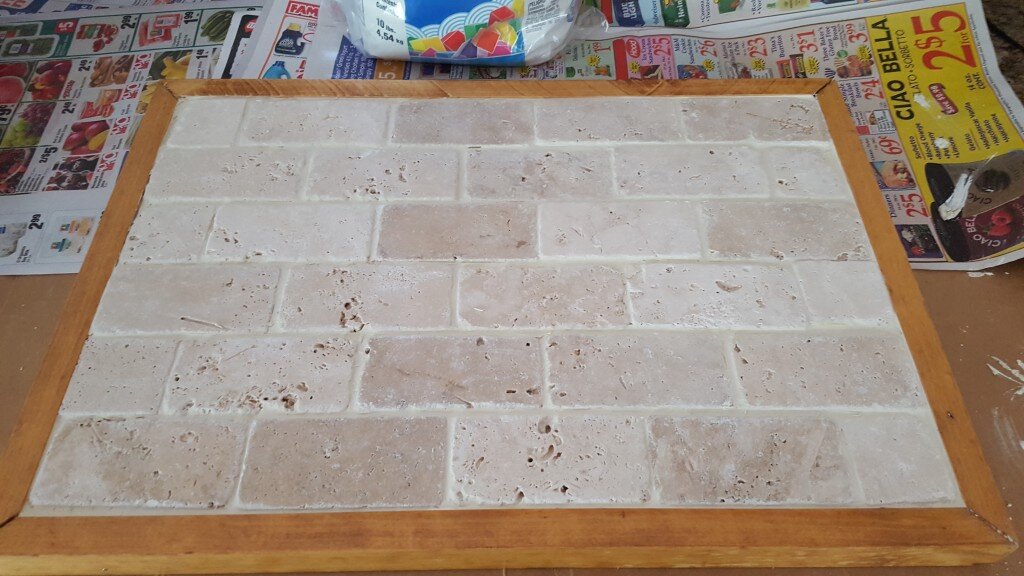
- Pipe the grout in the space between the tiles, avoiding the face of the tiles.
Pipe grout in between tiles
- Using the edge of a grout float, press and smooth the grout into the cracks. (I did not have a grout float anymore so I just used a paper towel and my finger (similar to how you apply caulk).
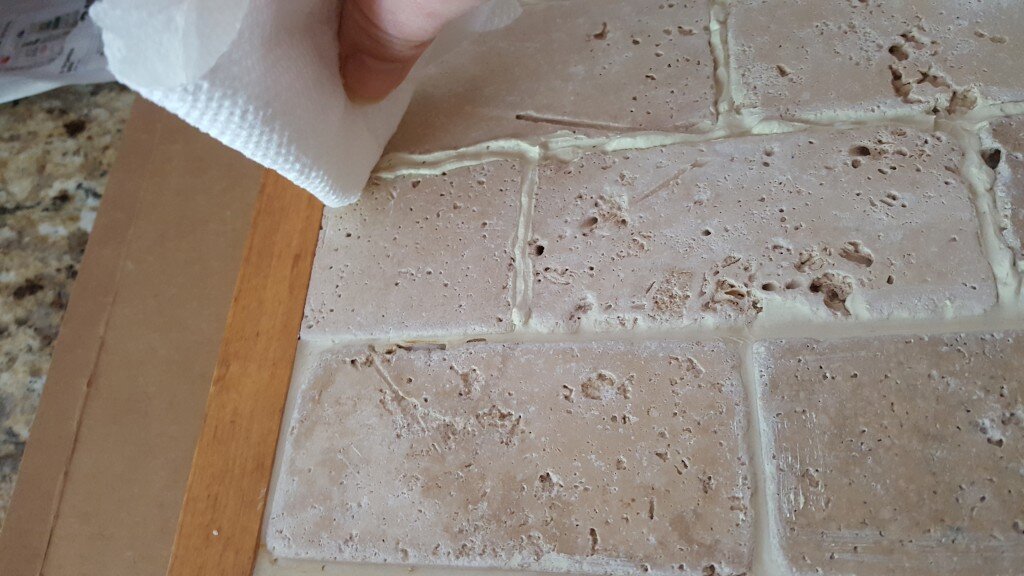
Press grout into cracks
- Use a very slightly dampened sponge (or again in my case paper towel) to wipe the face of the tiles.
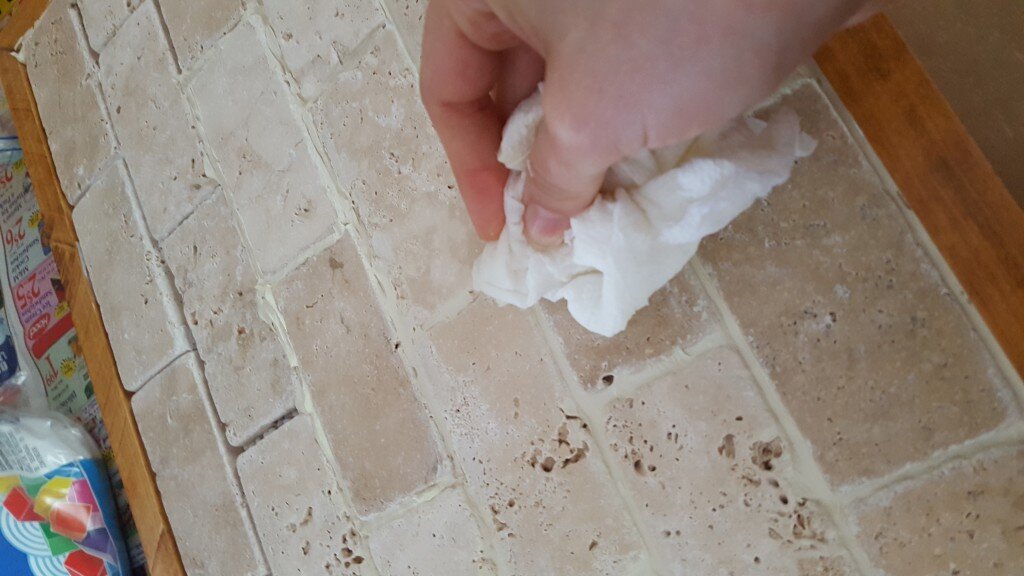
Wipe tiles with slightly dampened cloth
- Let dry overnight then enjoy!
Stay tuned next week for the July Give-Away! I think you Pokemon lovers will be excited!
