
Well I forgot yesterday was Monday again. Oops. Maybe you had better get used to that for a while.
In other news Julius was really proud of himself yesterday because Alexa understood him! It was very cute. He kept asking her to stop and start playing songs. Reading the Alexa log is pretty funny:
“alexa”
“stop the song”
“alexa”
“i want you to play a song”
“lexa”
“alexa”
“i want you to sing”
“alexa i want you to play rudolph”
There is a lot “audio could not be understood” mixed in… and we ended up with a rap version of rudolph the red nosed reindeer, but he was still proud.
As you can tell we’ve been listening to a lot of Christmas music to get into the holiday spirit. We have the tree up and Julius and I have been working on lots of Christmas crafts that we are turning into presents for family members. Even so it once again feels like I have so many ideas and no time to complete them before Christmas! The my shameful project is that I started an advent calendar quilt for Will before Julius was born. Years before Julius was born. Last year I decided to change up how I was making it and finally made a bunch of progress on it. Once again though, I lost steam and am still no where close to finishing it. The worst part is that I was so confident I was going to finish it before Christmas that I bought a bunch of things to put in it. (I have a second wooden advent calendar that I used for Julius in which we put little Duplo people and animals from Ebay, as well as stickers and finger puppets).
I did manage to finish a craft that has been on my list for years: A chocolate advent calendar! I have been saving a couple of old chocolate advent calendars for years thinking I could do something with the little plastic molds… and I finally did! I think I bought them after the holiday season for around a nickel and threw all the chocolate away. Most of the cheap advent calendars have truly terrible chocolate. So my idea was to fill these full of delicious chocolate! If you buy chocolate advent calendars after the season ends and don’t open any of the doors, you can simply slip the tray back into the box after you fill it with chocolate and reuse the cardboard portion! Or you can do something much more time consuming like I did and make your own calendar doors using a cricut die cutter. With this method you can use any picture you desire for the advent calendar. If you aren’t into giving chocolate to children (I’m proud of you for still holding strong) you could instead use my advent calendar template to make a version that opens up to little pictures every day. Simply glue the calendar door portion on top of a piece of poster board with pictures under each door.
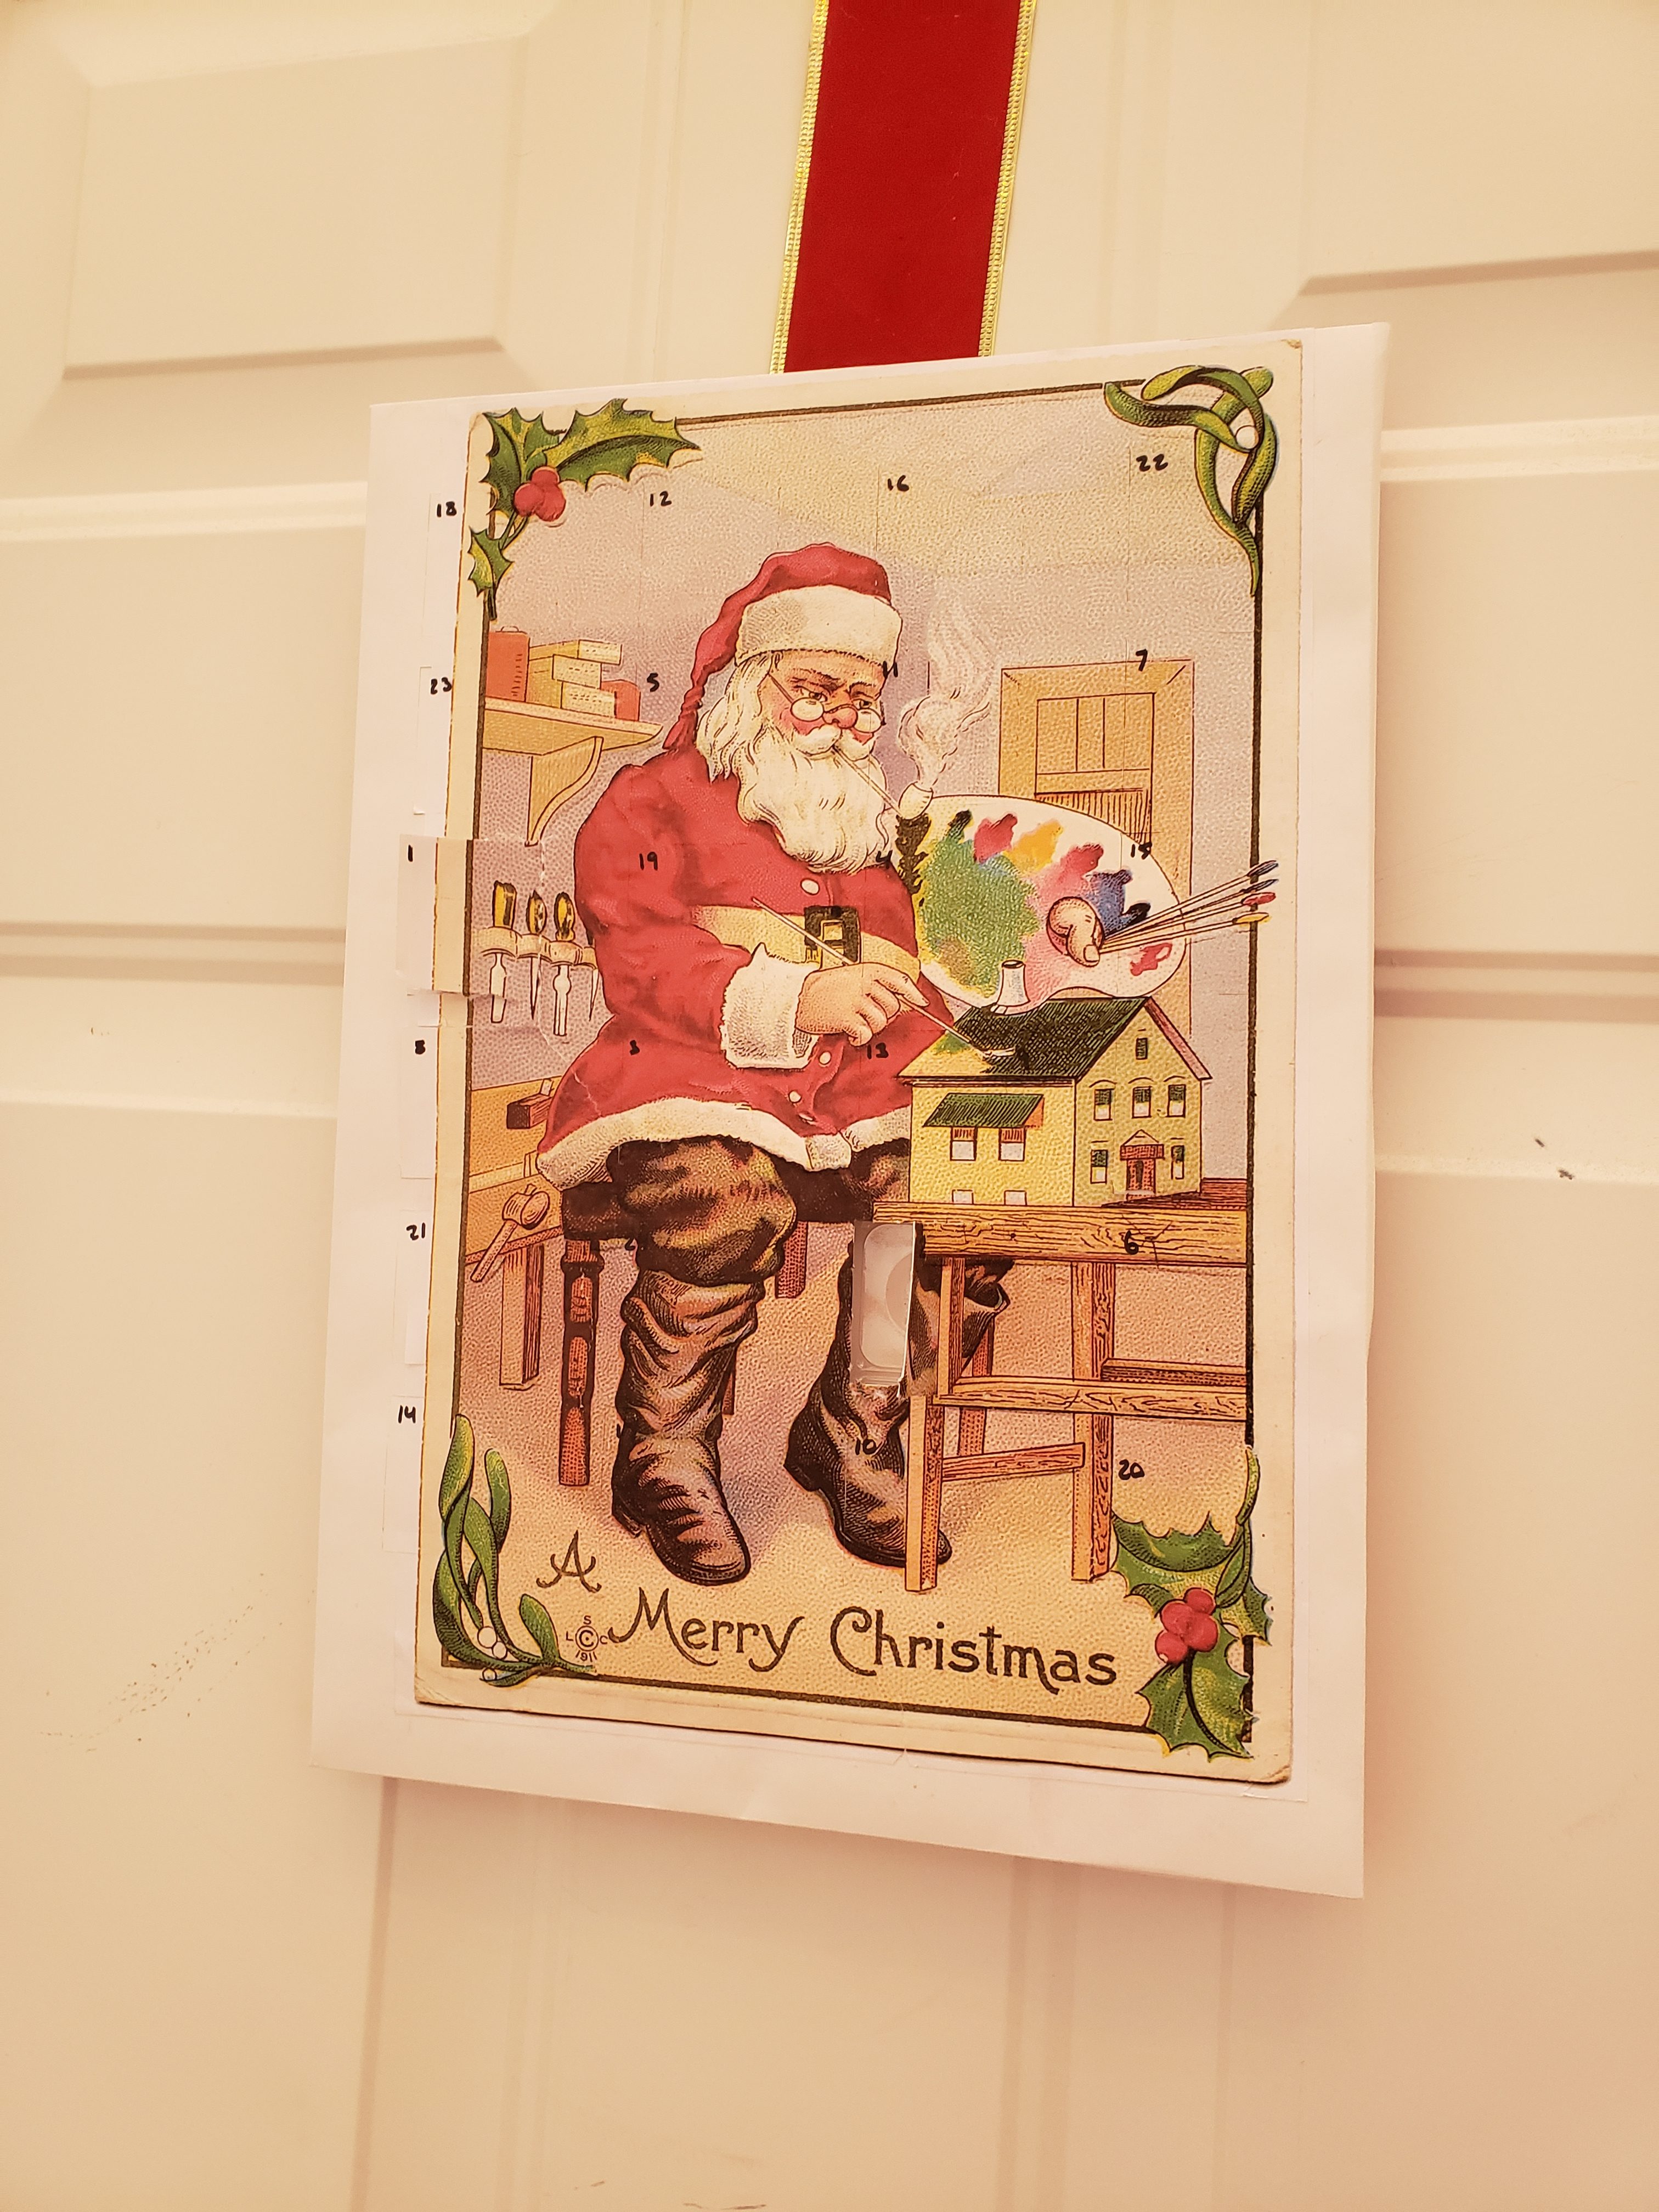
My finished homemade advent calendar
Improved Chocolate Advent Calendar
For Chocolate Upgrade Only:
You’ll need:
- old chocolate advent calendar
- 1 bar of good quality dark or milk chocolate, chopped
- 4 oz of good quality white chocolate, chopped
- sprinkles
- 1/4 cup peanut butter
- 1/8 cup powdered sugar
- peppermint extract
- 1 candy cane, crushed with a rolling pin into fine to small pieces
- piping bag and tip
- tape roller
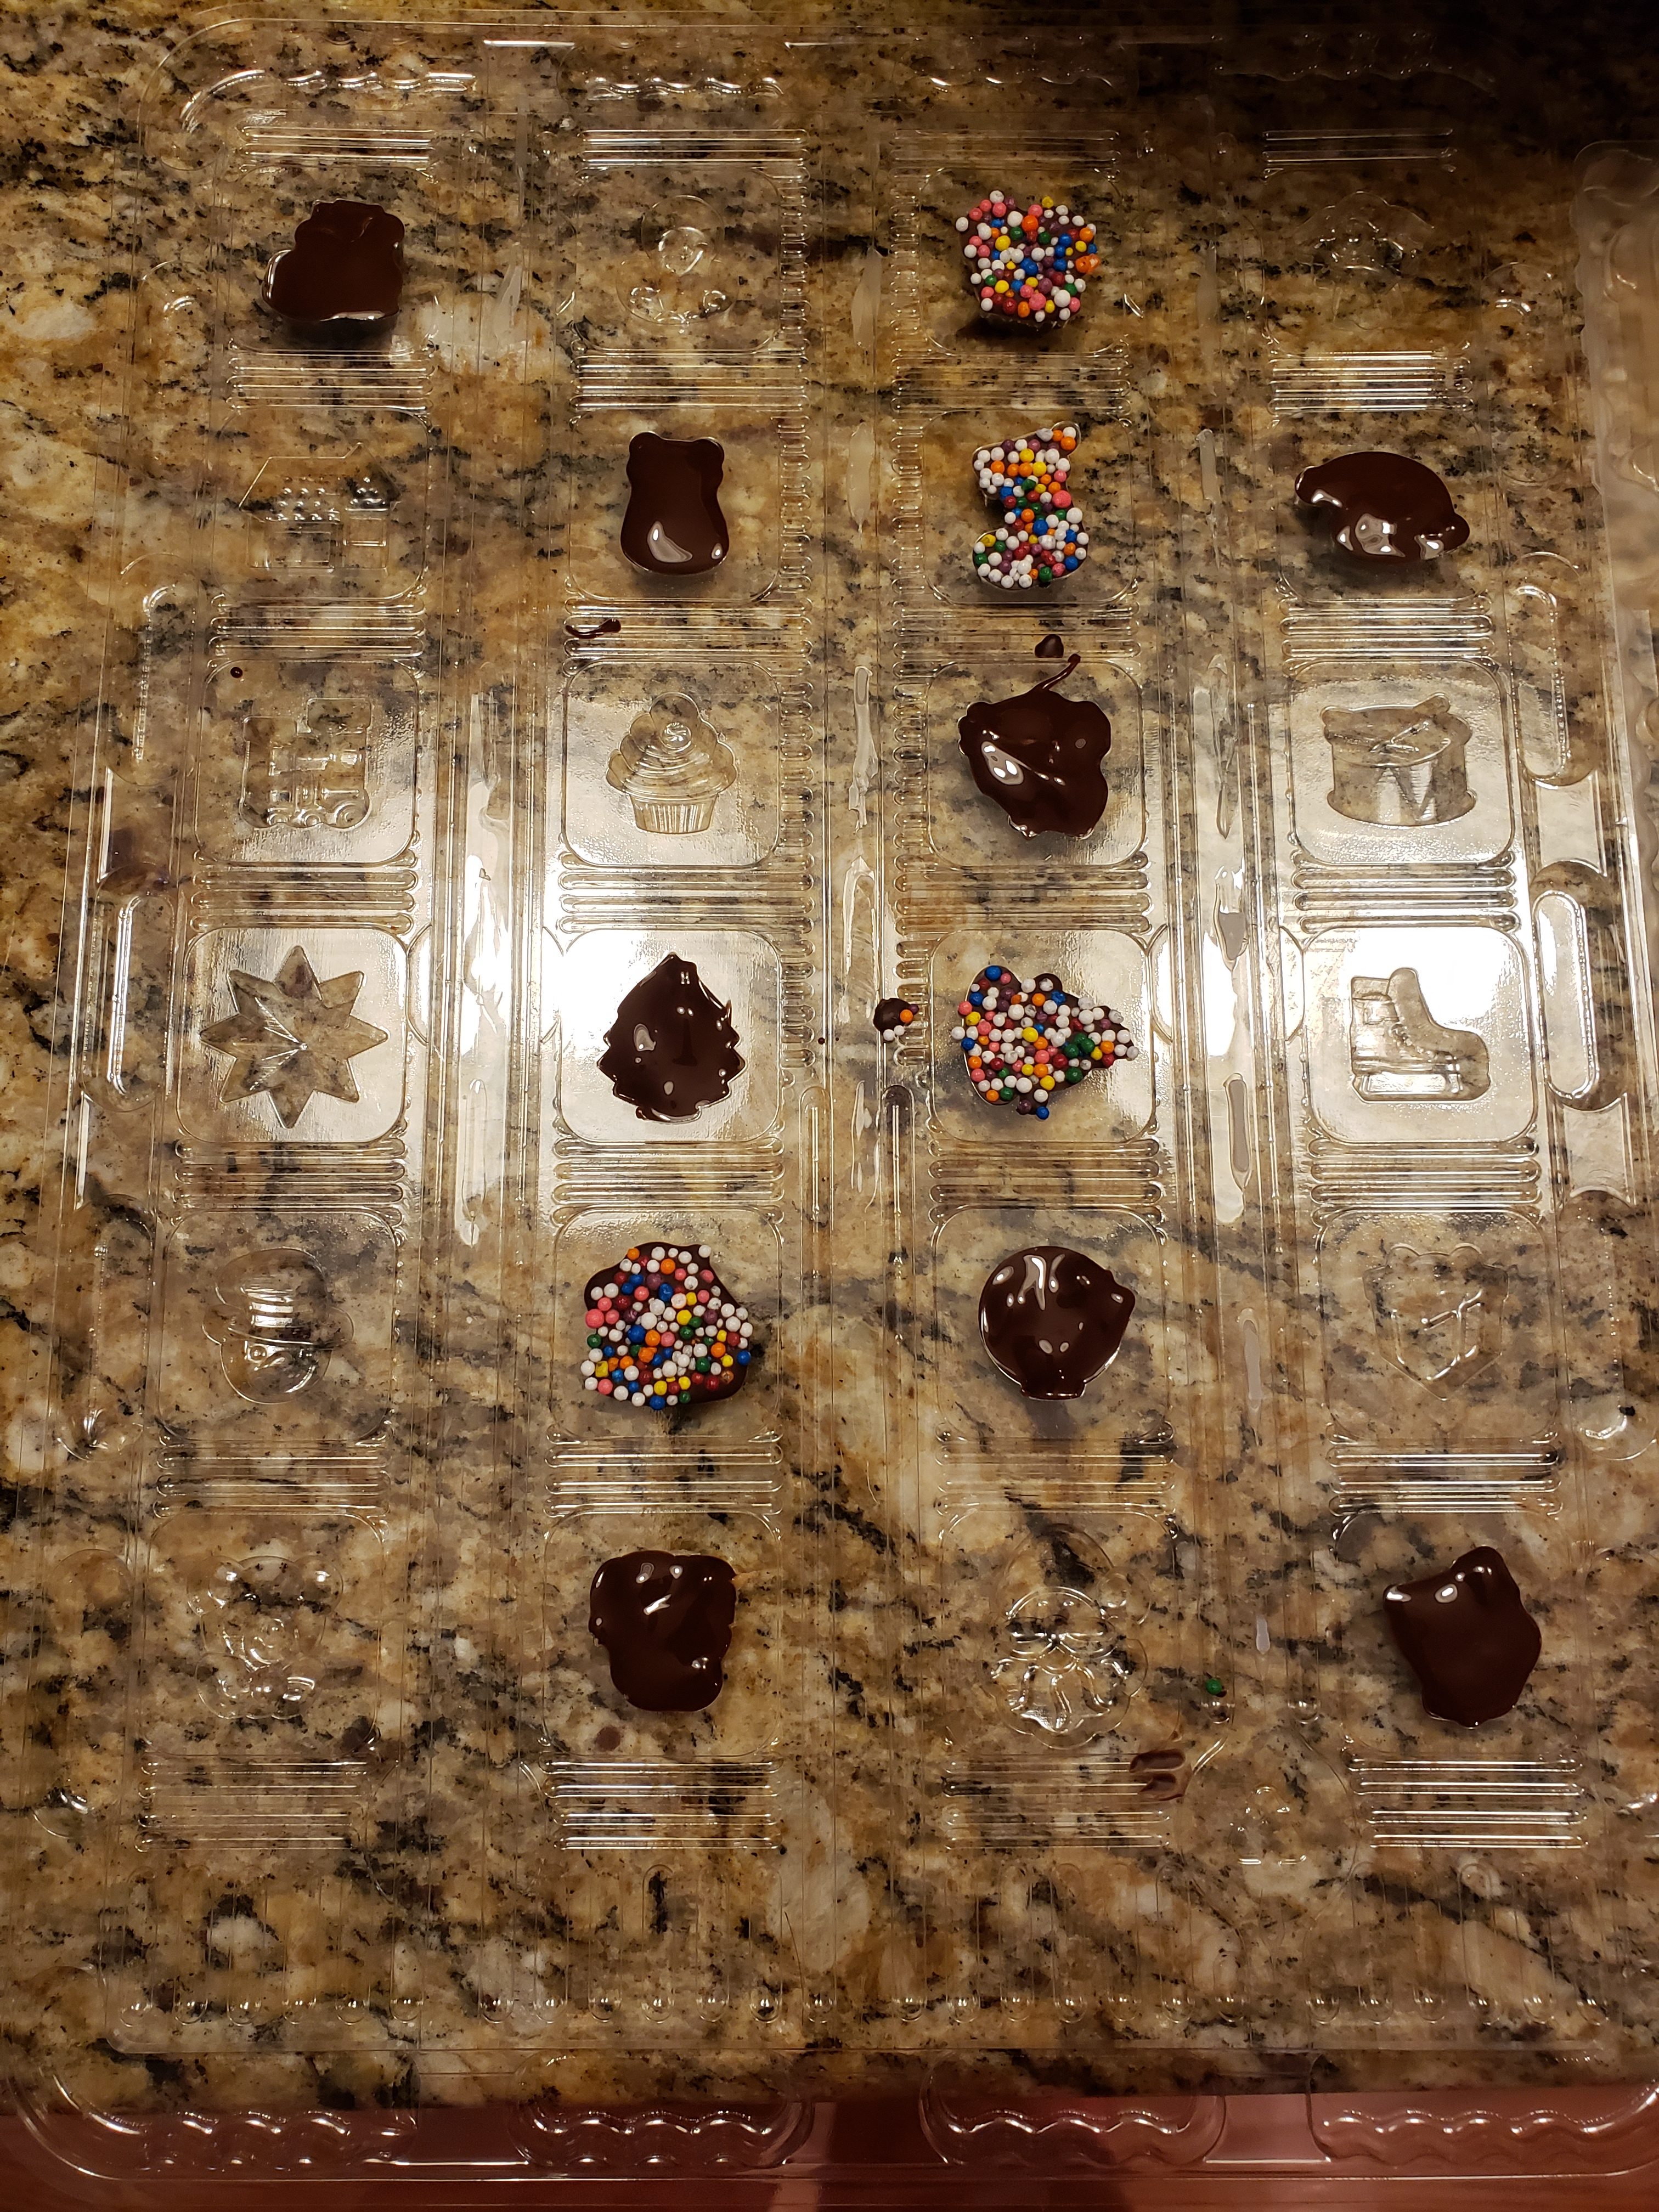
I made my advent calendar using 4 different types of chocolate – dark chocolate, white chocolate, peppermint bark and peanut butter filled. If you desire to do the same, follow my instructions below.
- Open the bottom flap of the advent calendar, then gently separate the plastic tray from the face of the calendar. Remove the plastic tray from the advent calendar and wash and dry thoroughly.
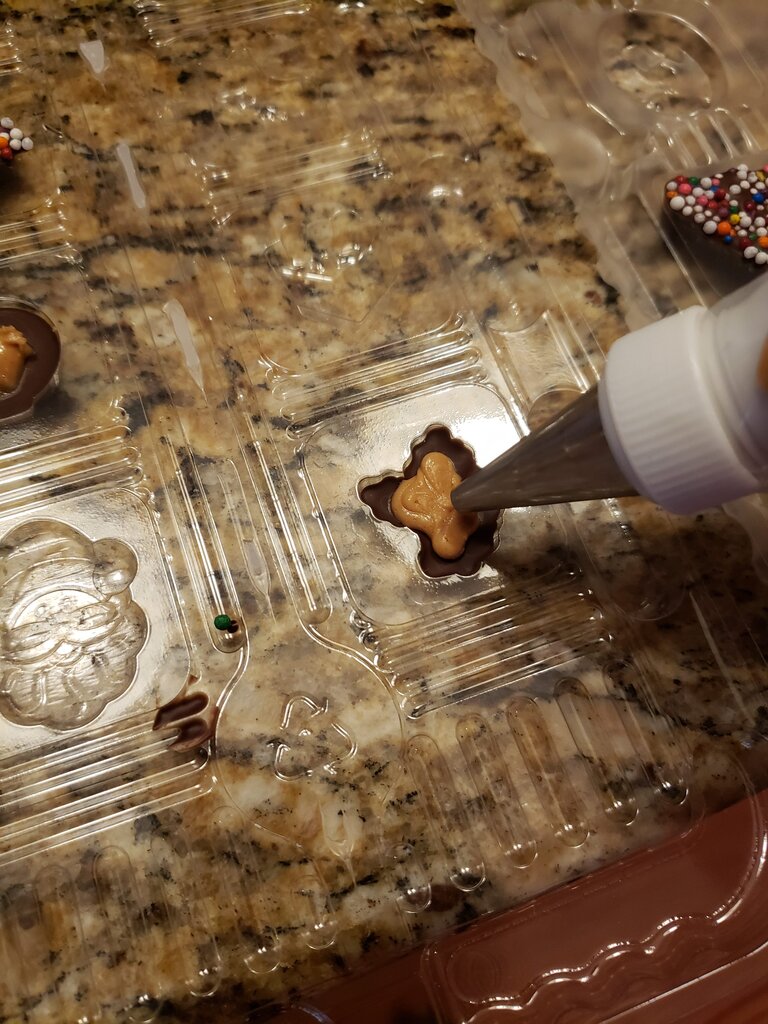
- Mix peanut butter and powdered sugar and place in piping bag with small circular tip.
- Melt dark chocolate in double boiler. If desired, temper the chocolate (I recommend tempering, but I’ve got a newborn and toddler, so I don’t have time to temper chocolate).
- Fill 6 of the 24 molds to the brim with dark chocolate. Fill 6 of the other molds halfway with dark chocolate.
- Sprinkle 6 full chocolates with sprinkles.
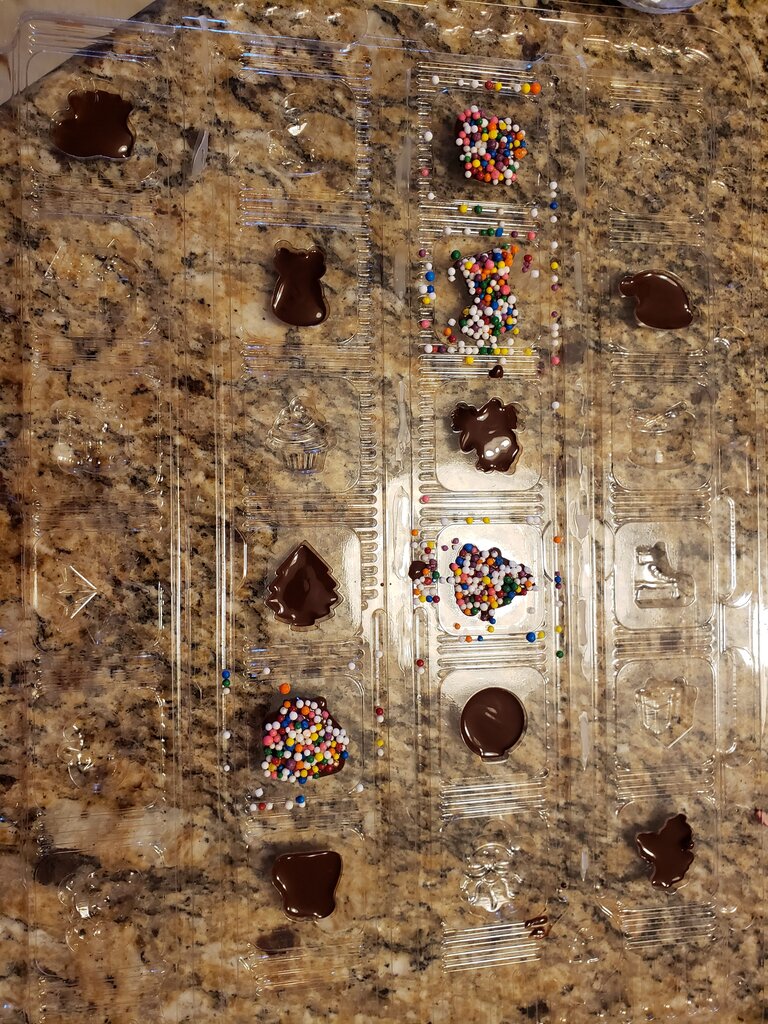
- Chill in fridge for 5 minutes
- Pipe peanut butter mixture into the center of each of the molds filled halfway.
- Fill the rest of the peanut butter chocolate molds with dark chocolate to cover peanut butter mixture.
- Mix the remaining dark chocolate with peppermint extract (test out a couple drops at a time until desired peppermint flavor is reached, a little goes a long way).
- Pour the peppermint chocolate into 6 additional molds, filling only halfway. (As a bonus, spread the rest of the chocolate 1/4″ thick out on a baking sheet covered with parchment paper.)
- Chill in the fridge for 5 minutes.
- Melt white chocolate in double boiler. If desired, temper the chocolate.
- Pour white chocolate onto 6 peppermint dark chocolate halves to fill the rest of the mold. Sprinkle on candy cane bits.

- Fill remaining 6 empty molds with white chocolate. Sprinkle 6 full white chocolates with sprinkles. (As a bonus, spread the rest of the white chocolate on top of the leftover peppermint chocolate on the baking sheet in bonus step 10. Sprinkle more candy cane bits on top. Let set in fridge for 5 minutes before breaking into peppermint bark pieces.)

- Let set in the fridge for 5 minutes.
For Advent Calendar Face Only:
You’ll need:
- My advent calendar template
- poster board
- legal paper
- glue
- tape roller or hot glue gun
- cricut with scoring tool and cutting tool
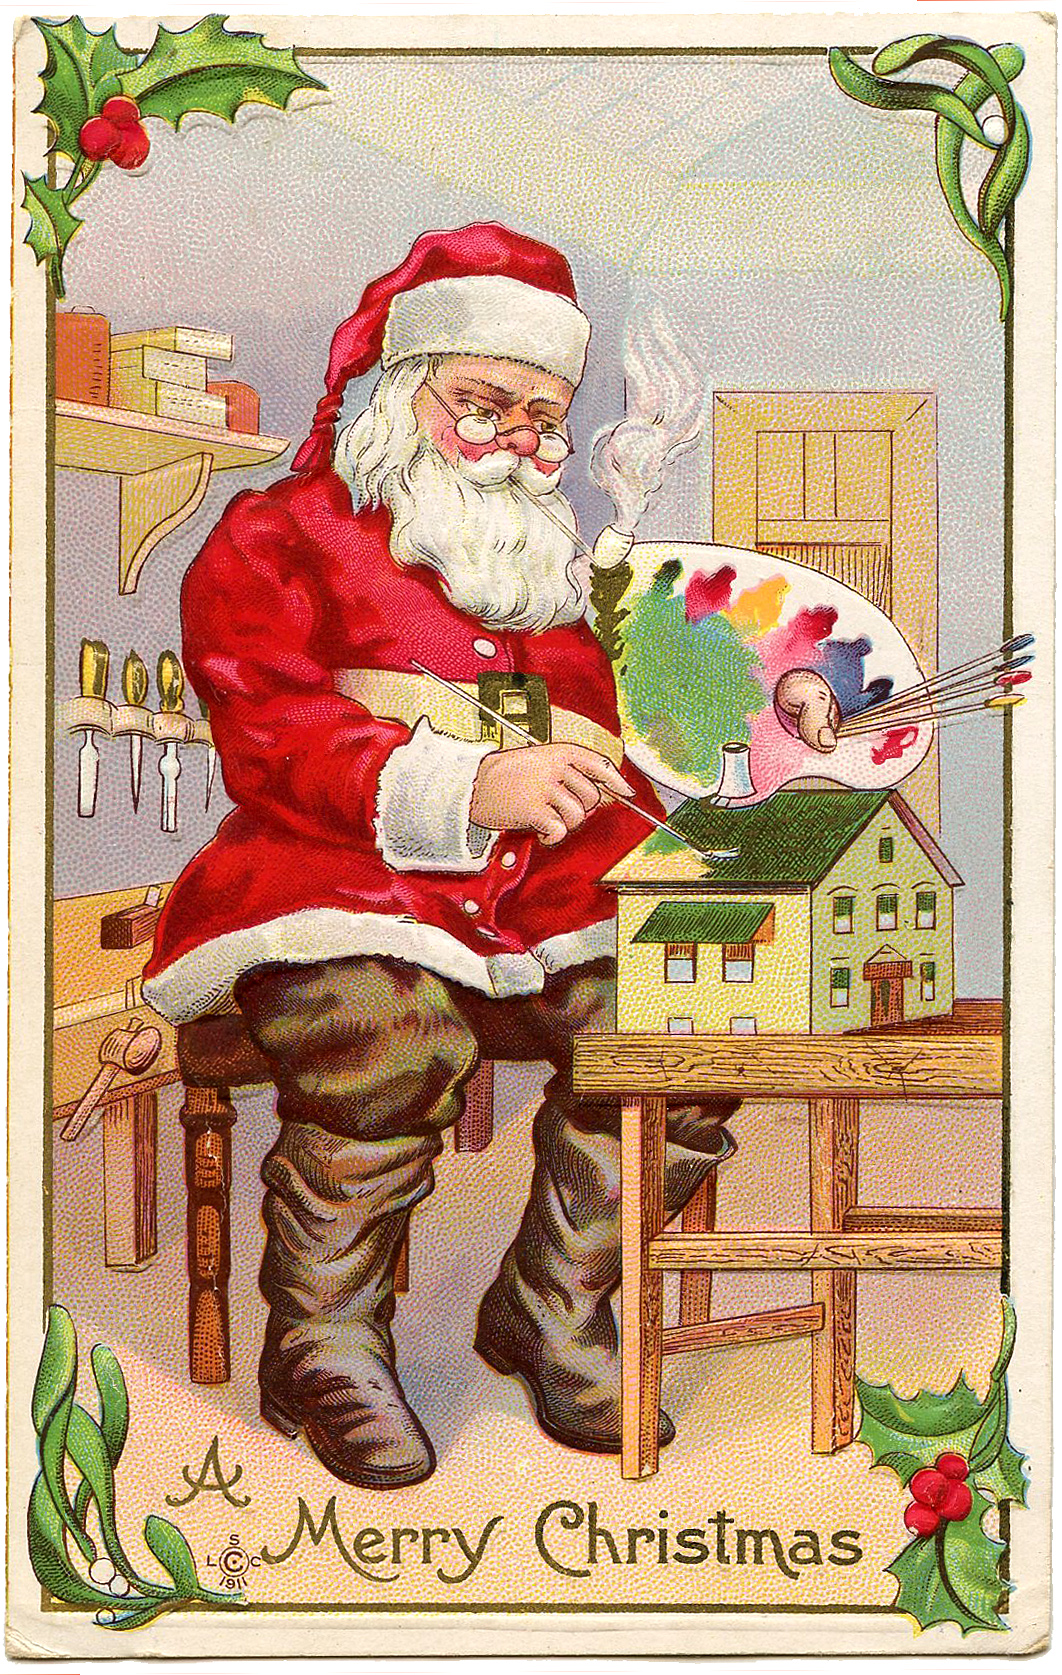
- Decide on a design for your advent calendar. I used this cool site to find vintage Christmas scenes from art that is in the public domain. I settled on this one. You could also draw your own scene directly on the poster board if you are artistic.
- Print your art onto legal sized paper and glue it onto your poster board (unless you directly drew your art onto the poster board already).

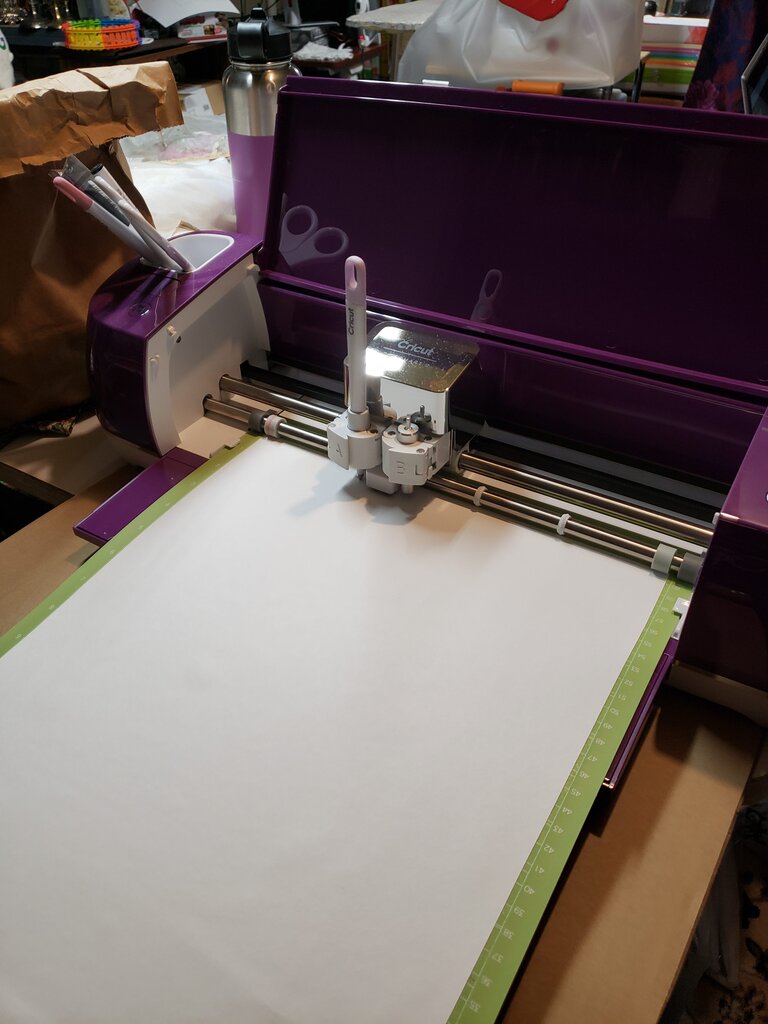
- Feed your poster board into the cricut. I did the cutting “mirrored” with the image right side down on your board, but I actually think it would have been better to leave the image face up.

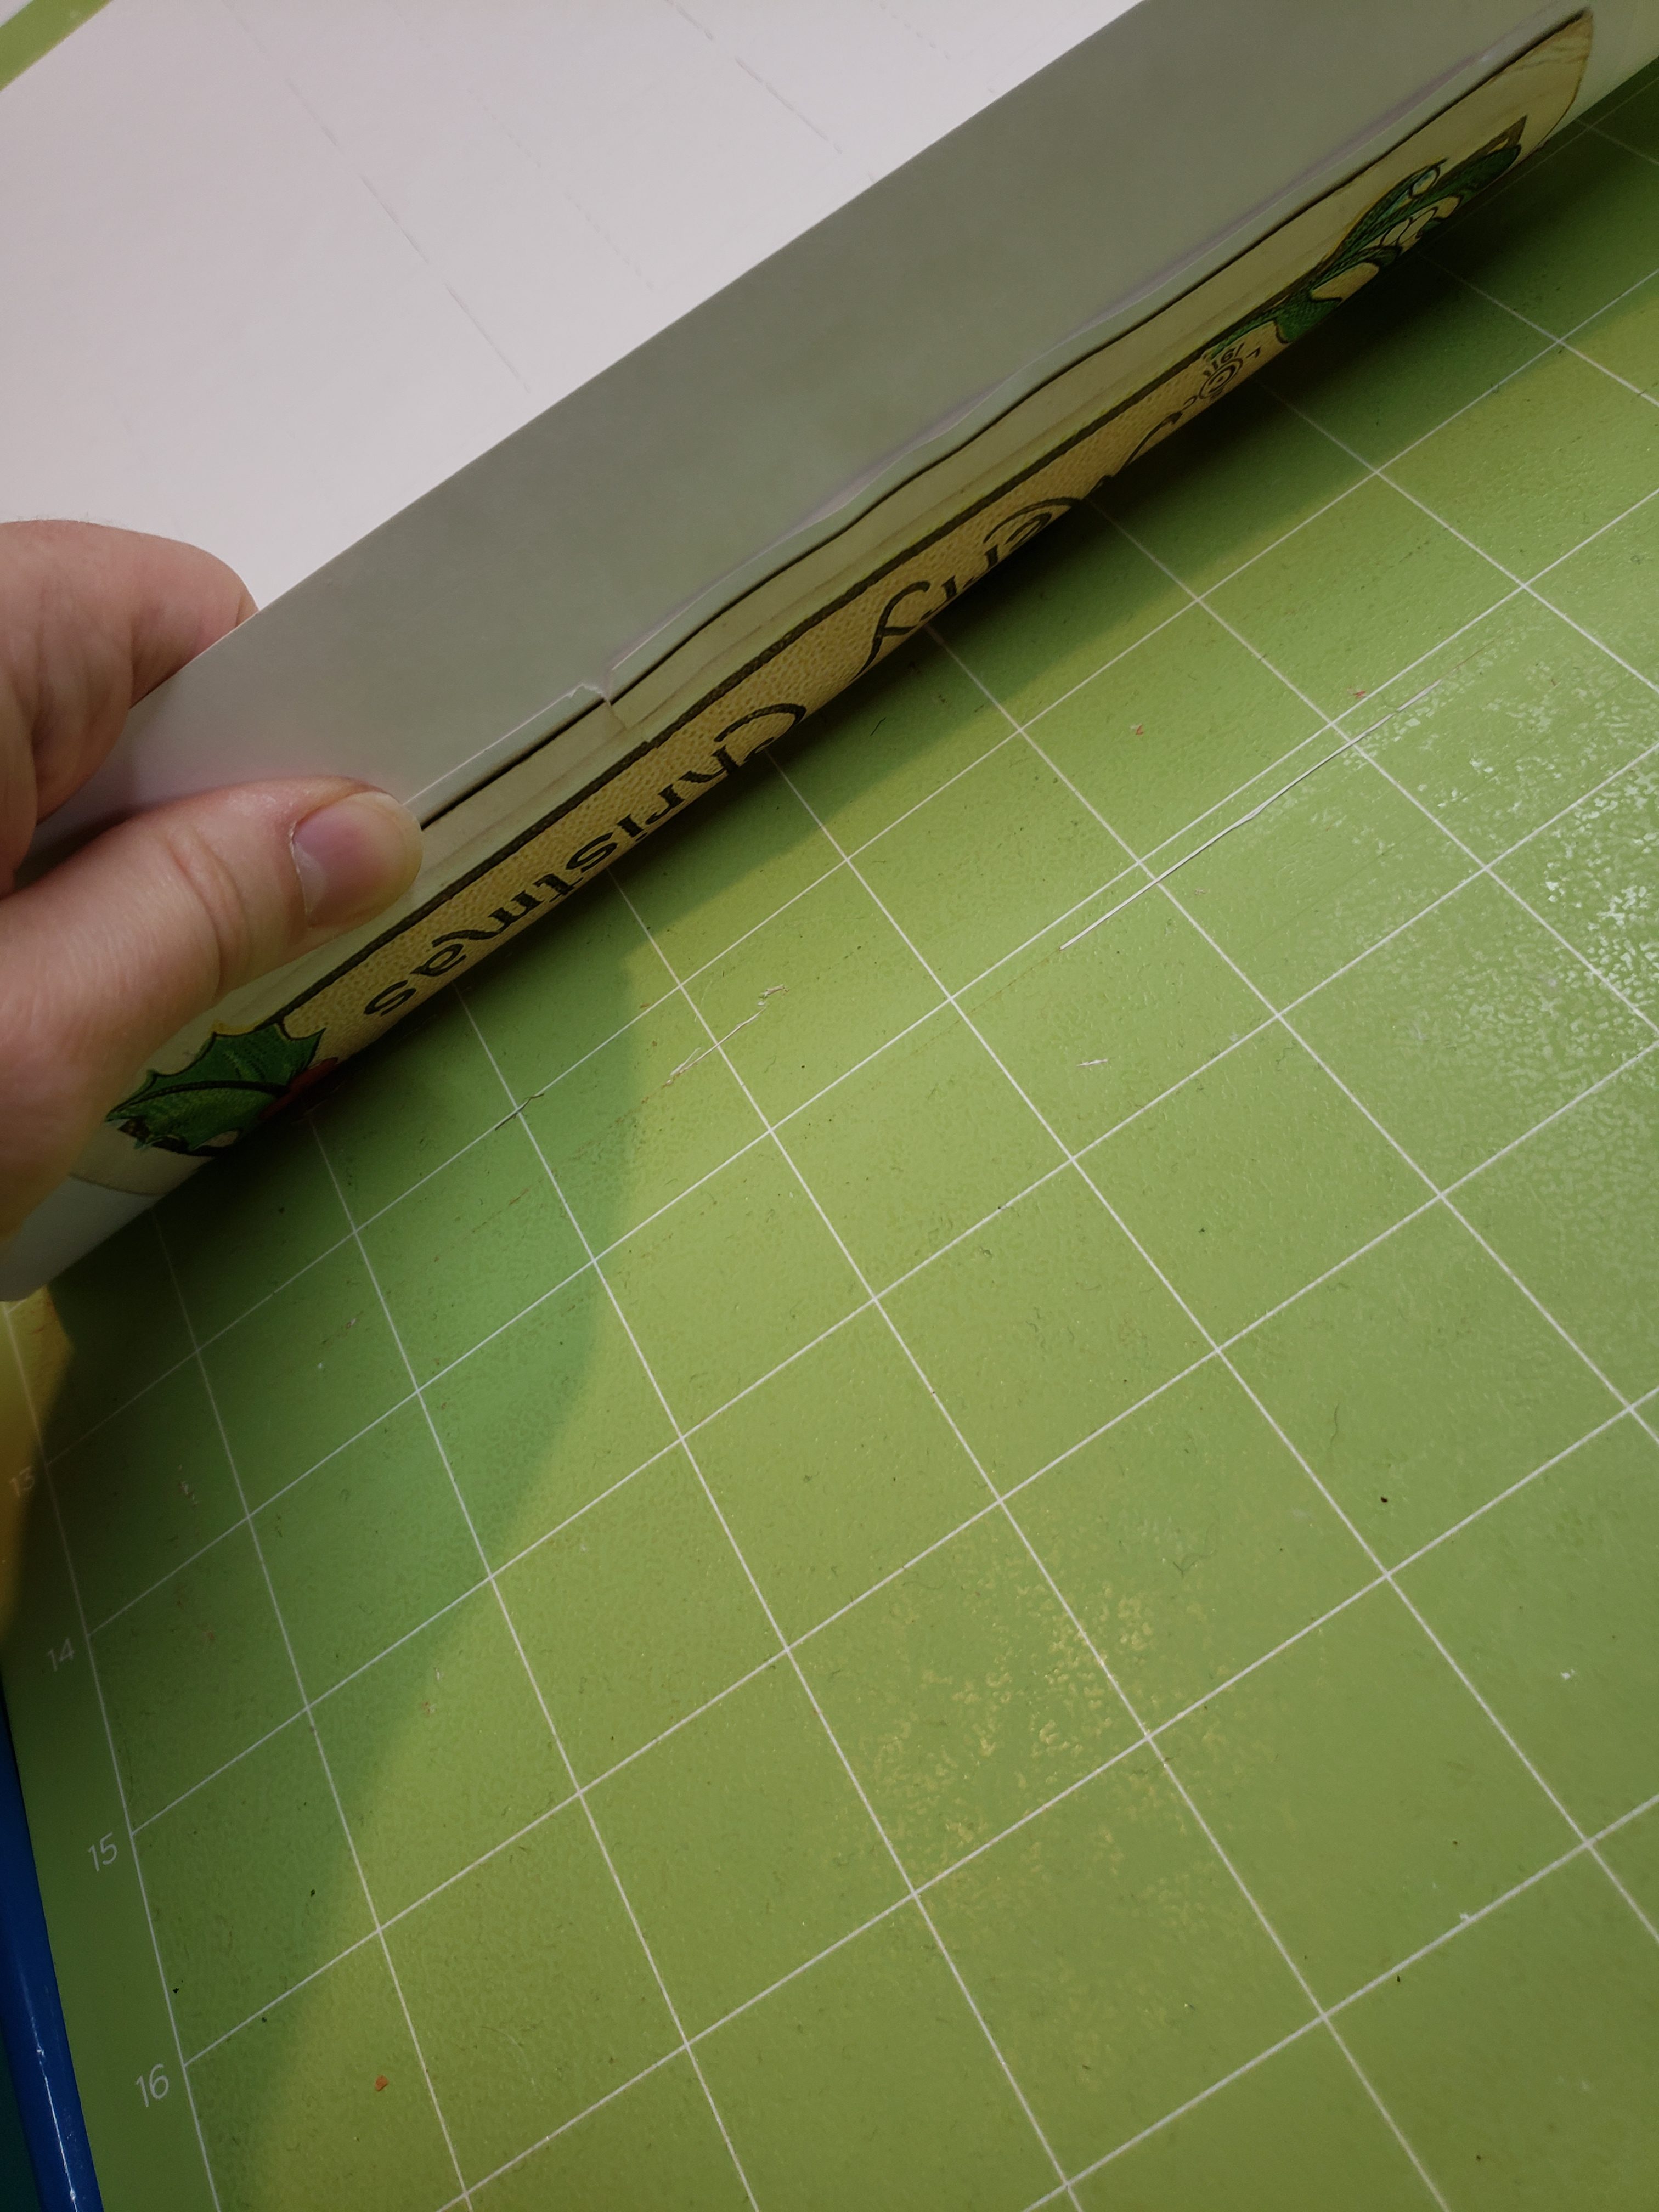
- Allow doors to be cut and outline to be scored – follow the instructions on where to load the scoring tool and cutting tool, and be sure to place your design centered in a 11″x 15″ rectangle from the top left corner of the mat.
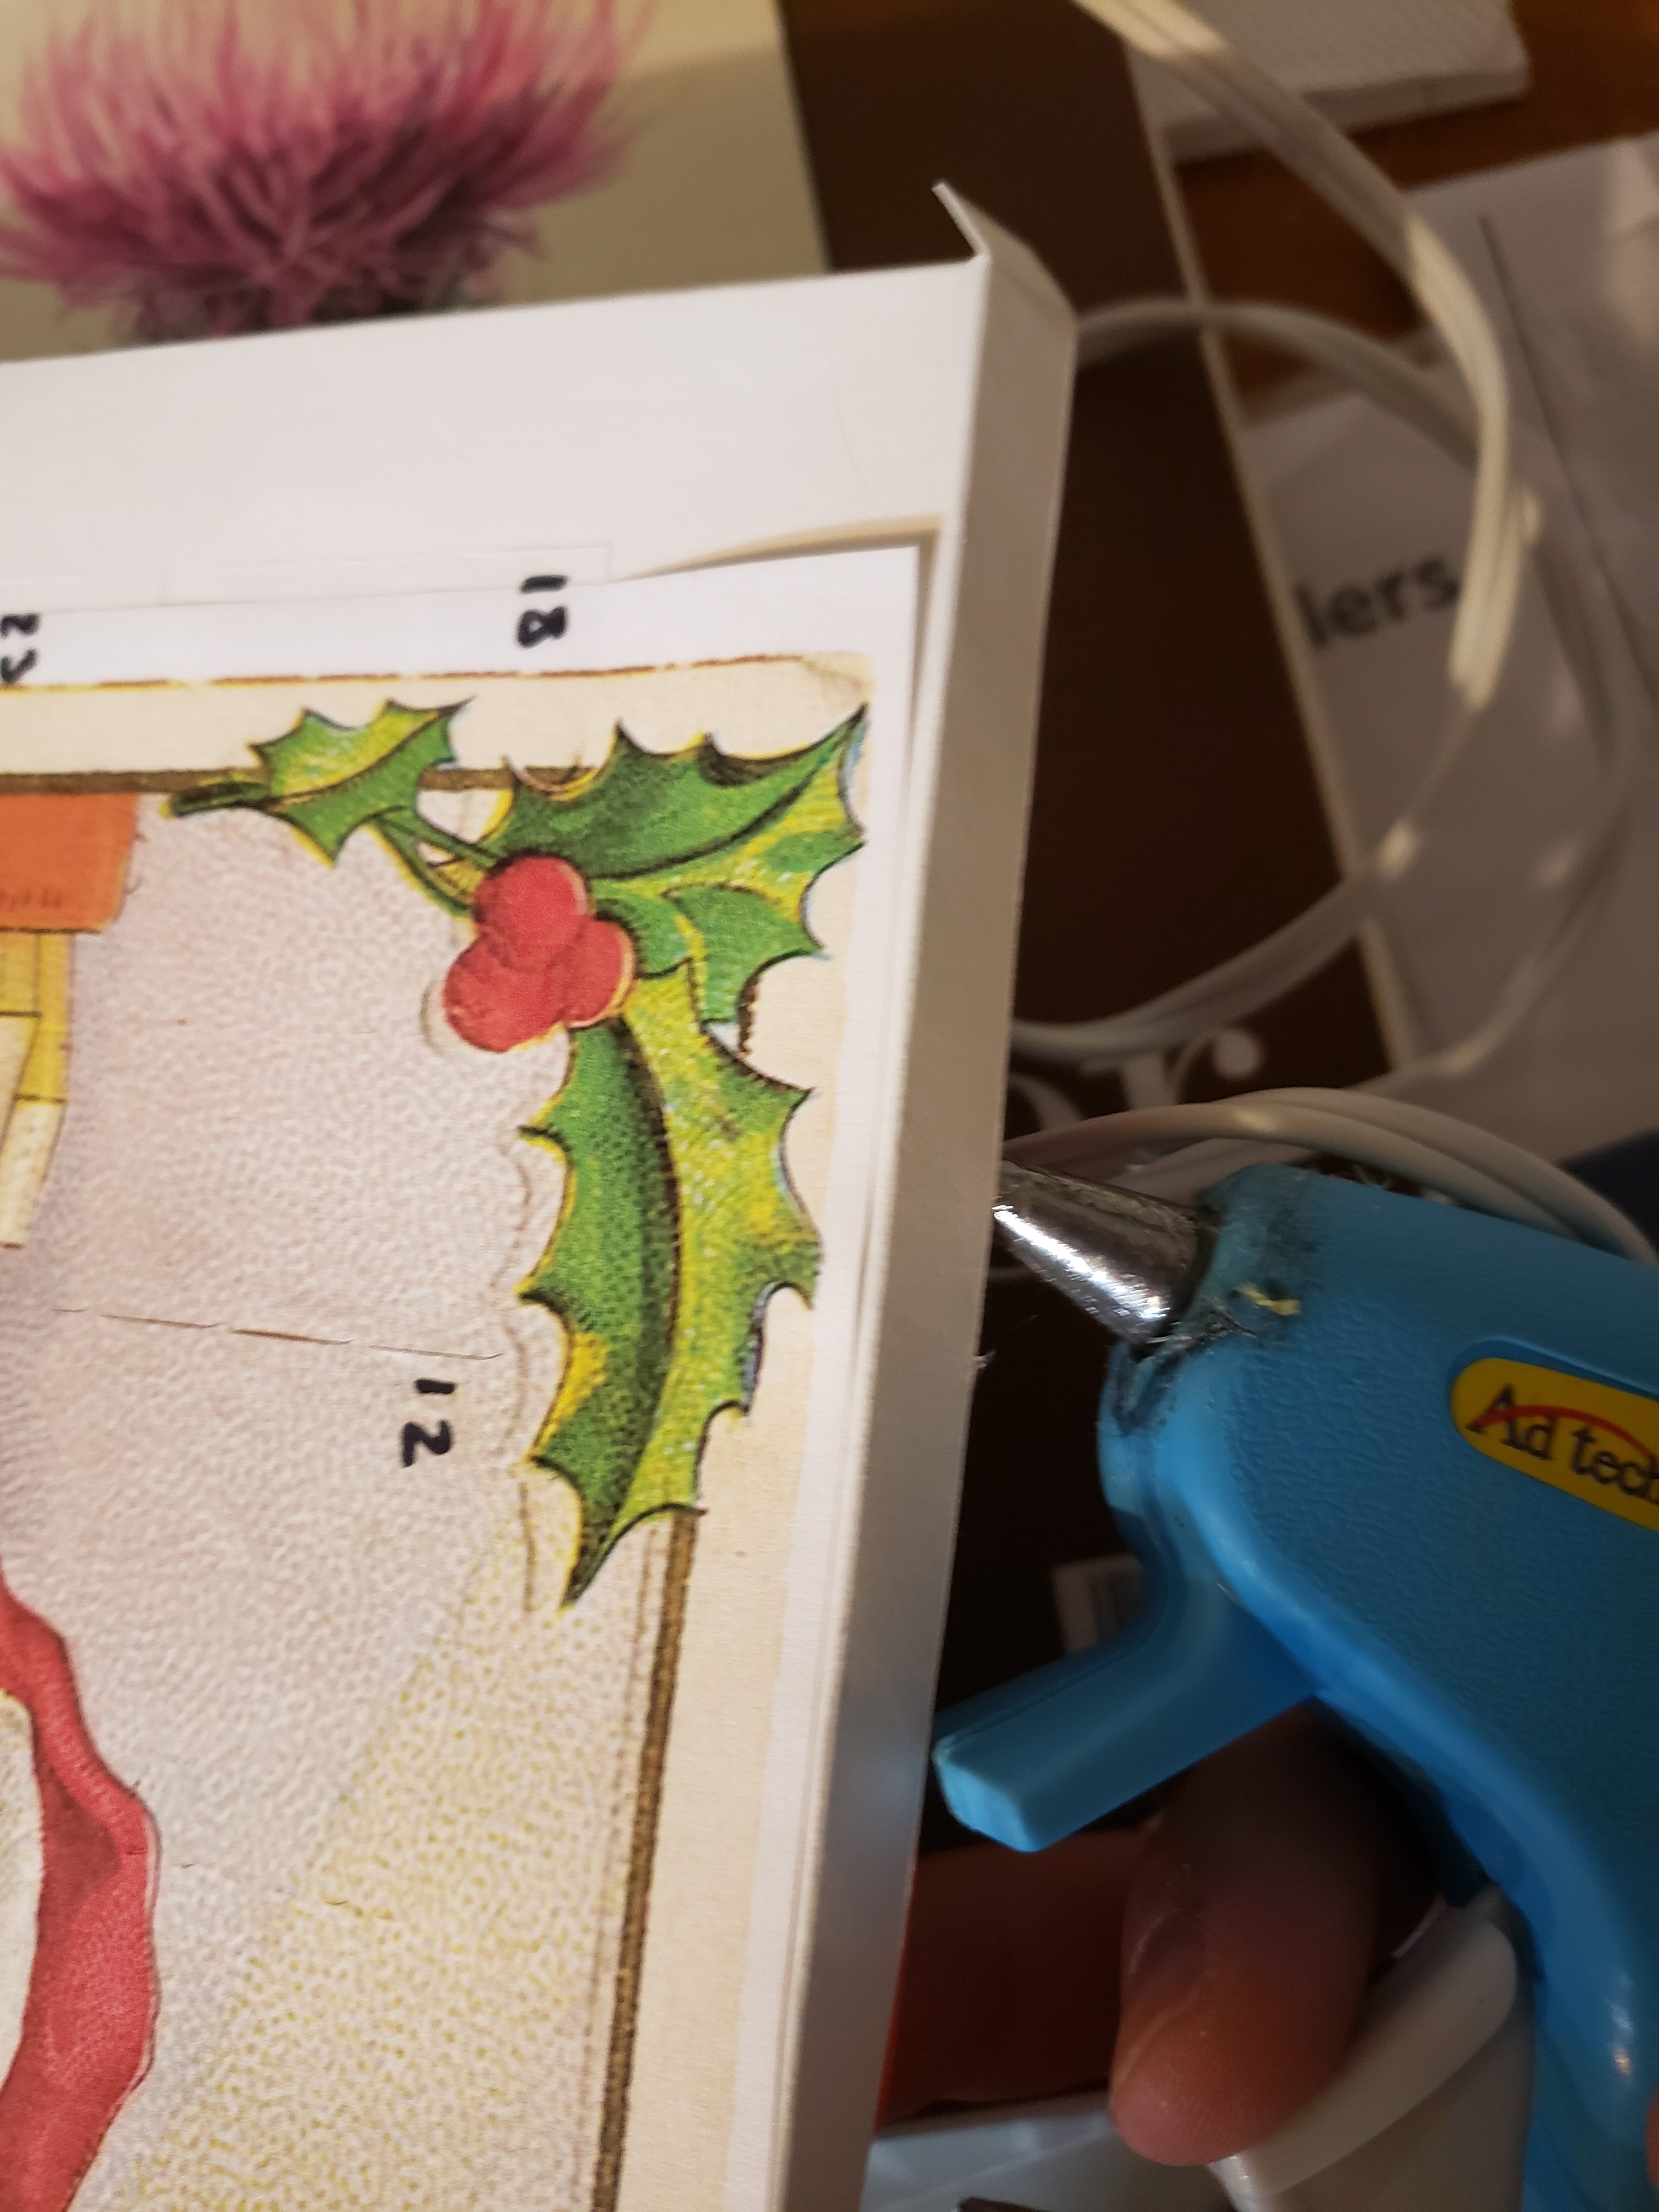
- Gently remove the calendar from the mat and fold edges along score lines. Fold tabs in and secure with double sided tape to form a shallow box.
- To finish chocolate advent calendar, cut away the face of the store bought advent calendar. Place the finished chocolate tray inside bottom of the box. Place double sided tape (or hot glue) between rows of chocolate, and around the edges of the box then cover with the advent calendar face.
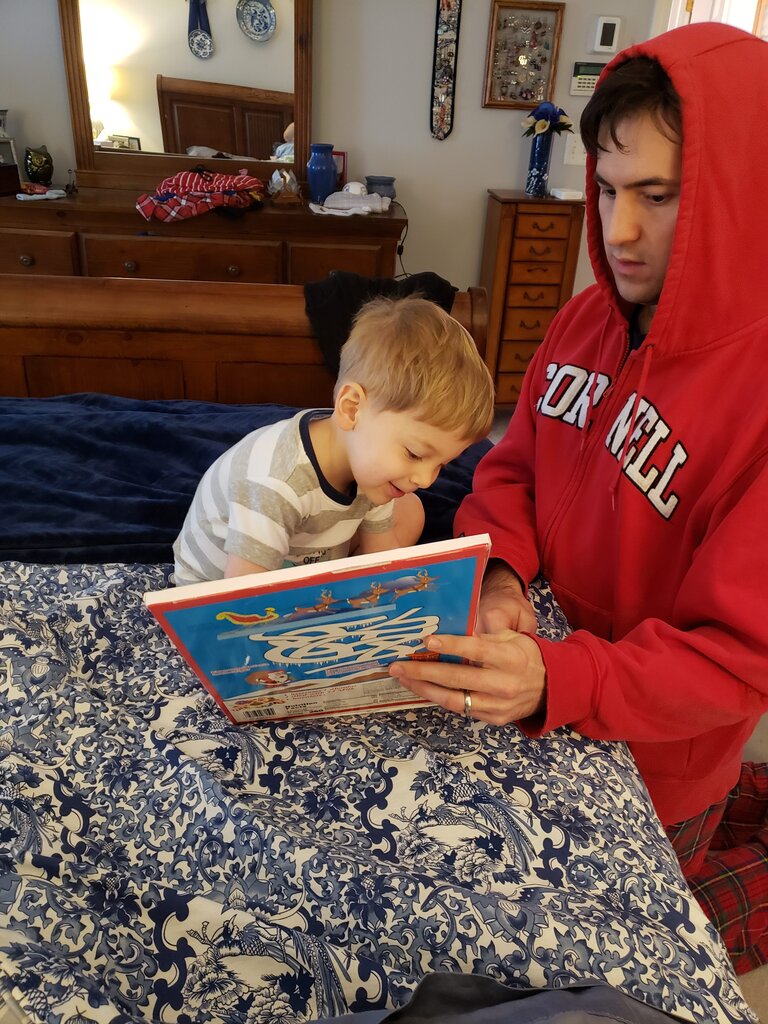
Little man searching for today’s date.
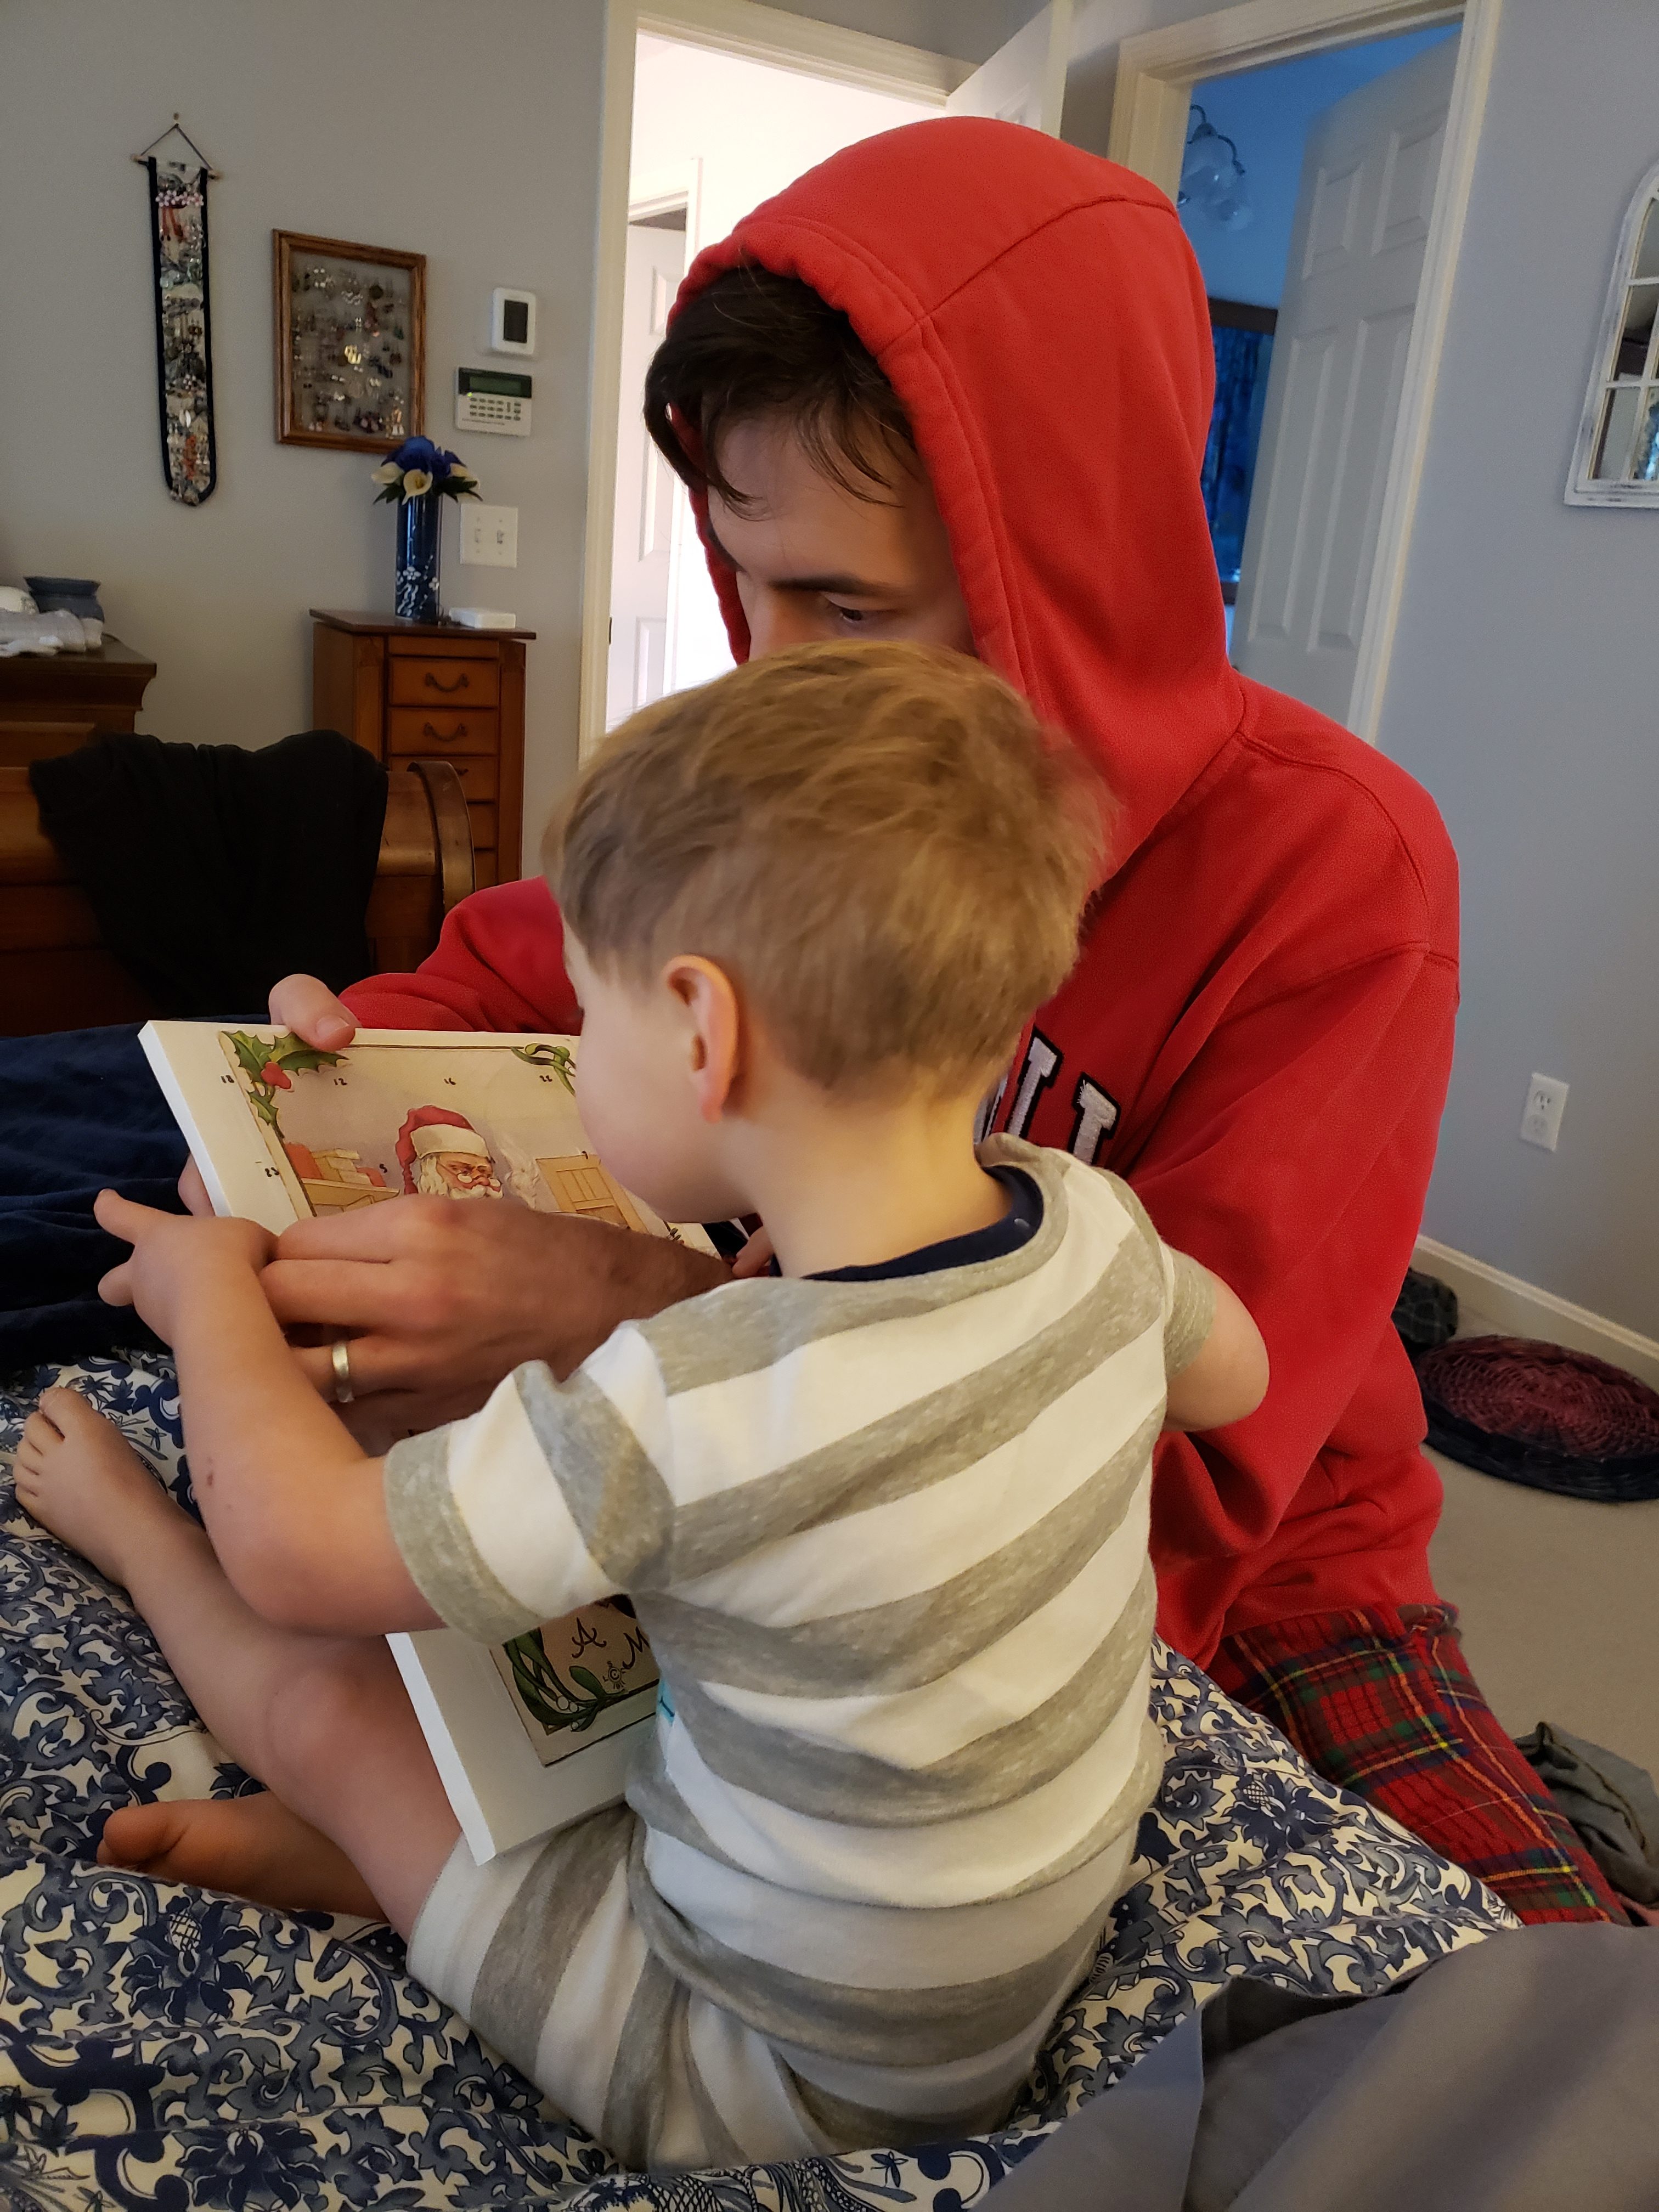
Opening the advent calendar
