
We had our first real snow this year! The kids were wishing for a white Christmas (so was I), but we got a white January instead. Honestly I’ve been freaking out the last few weeks thinking this was the end of the cozy New England snowy winters.
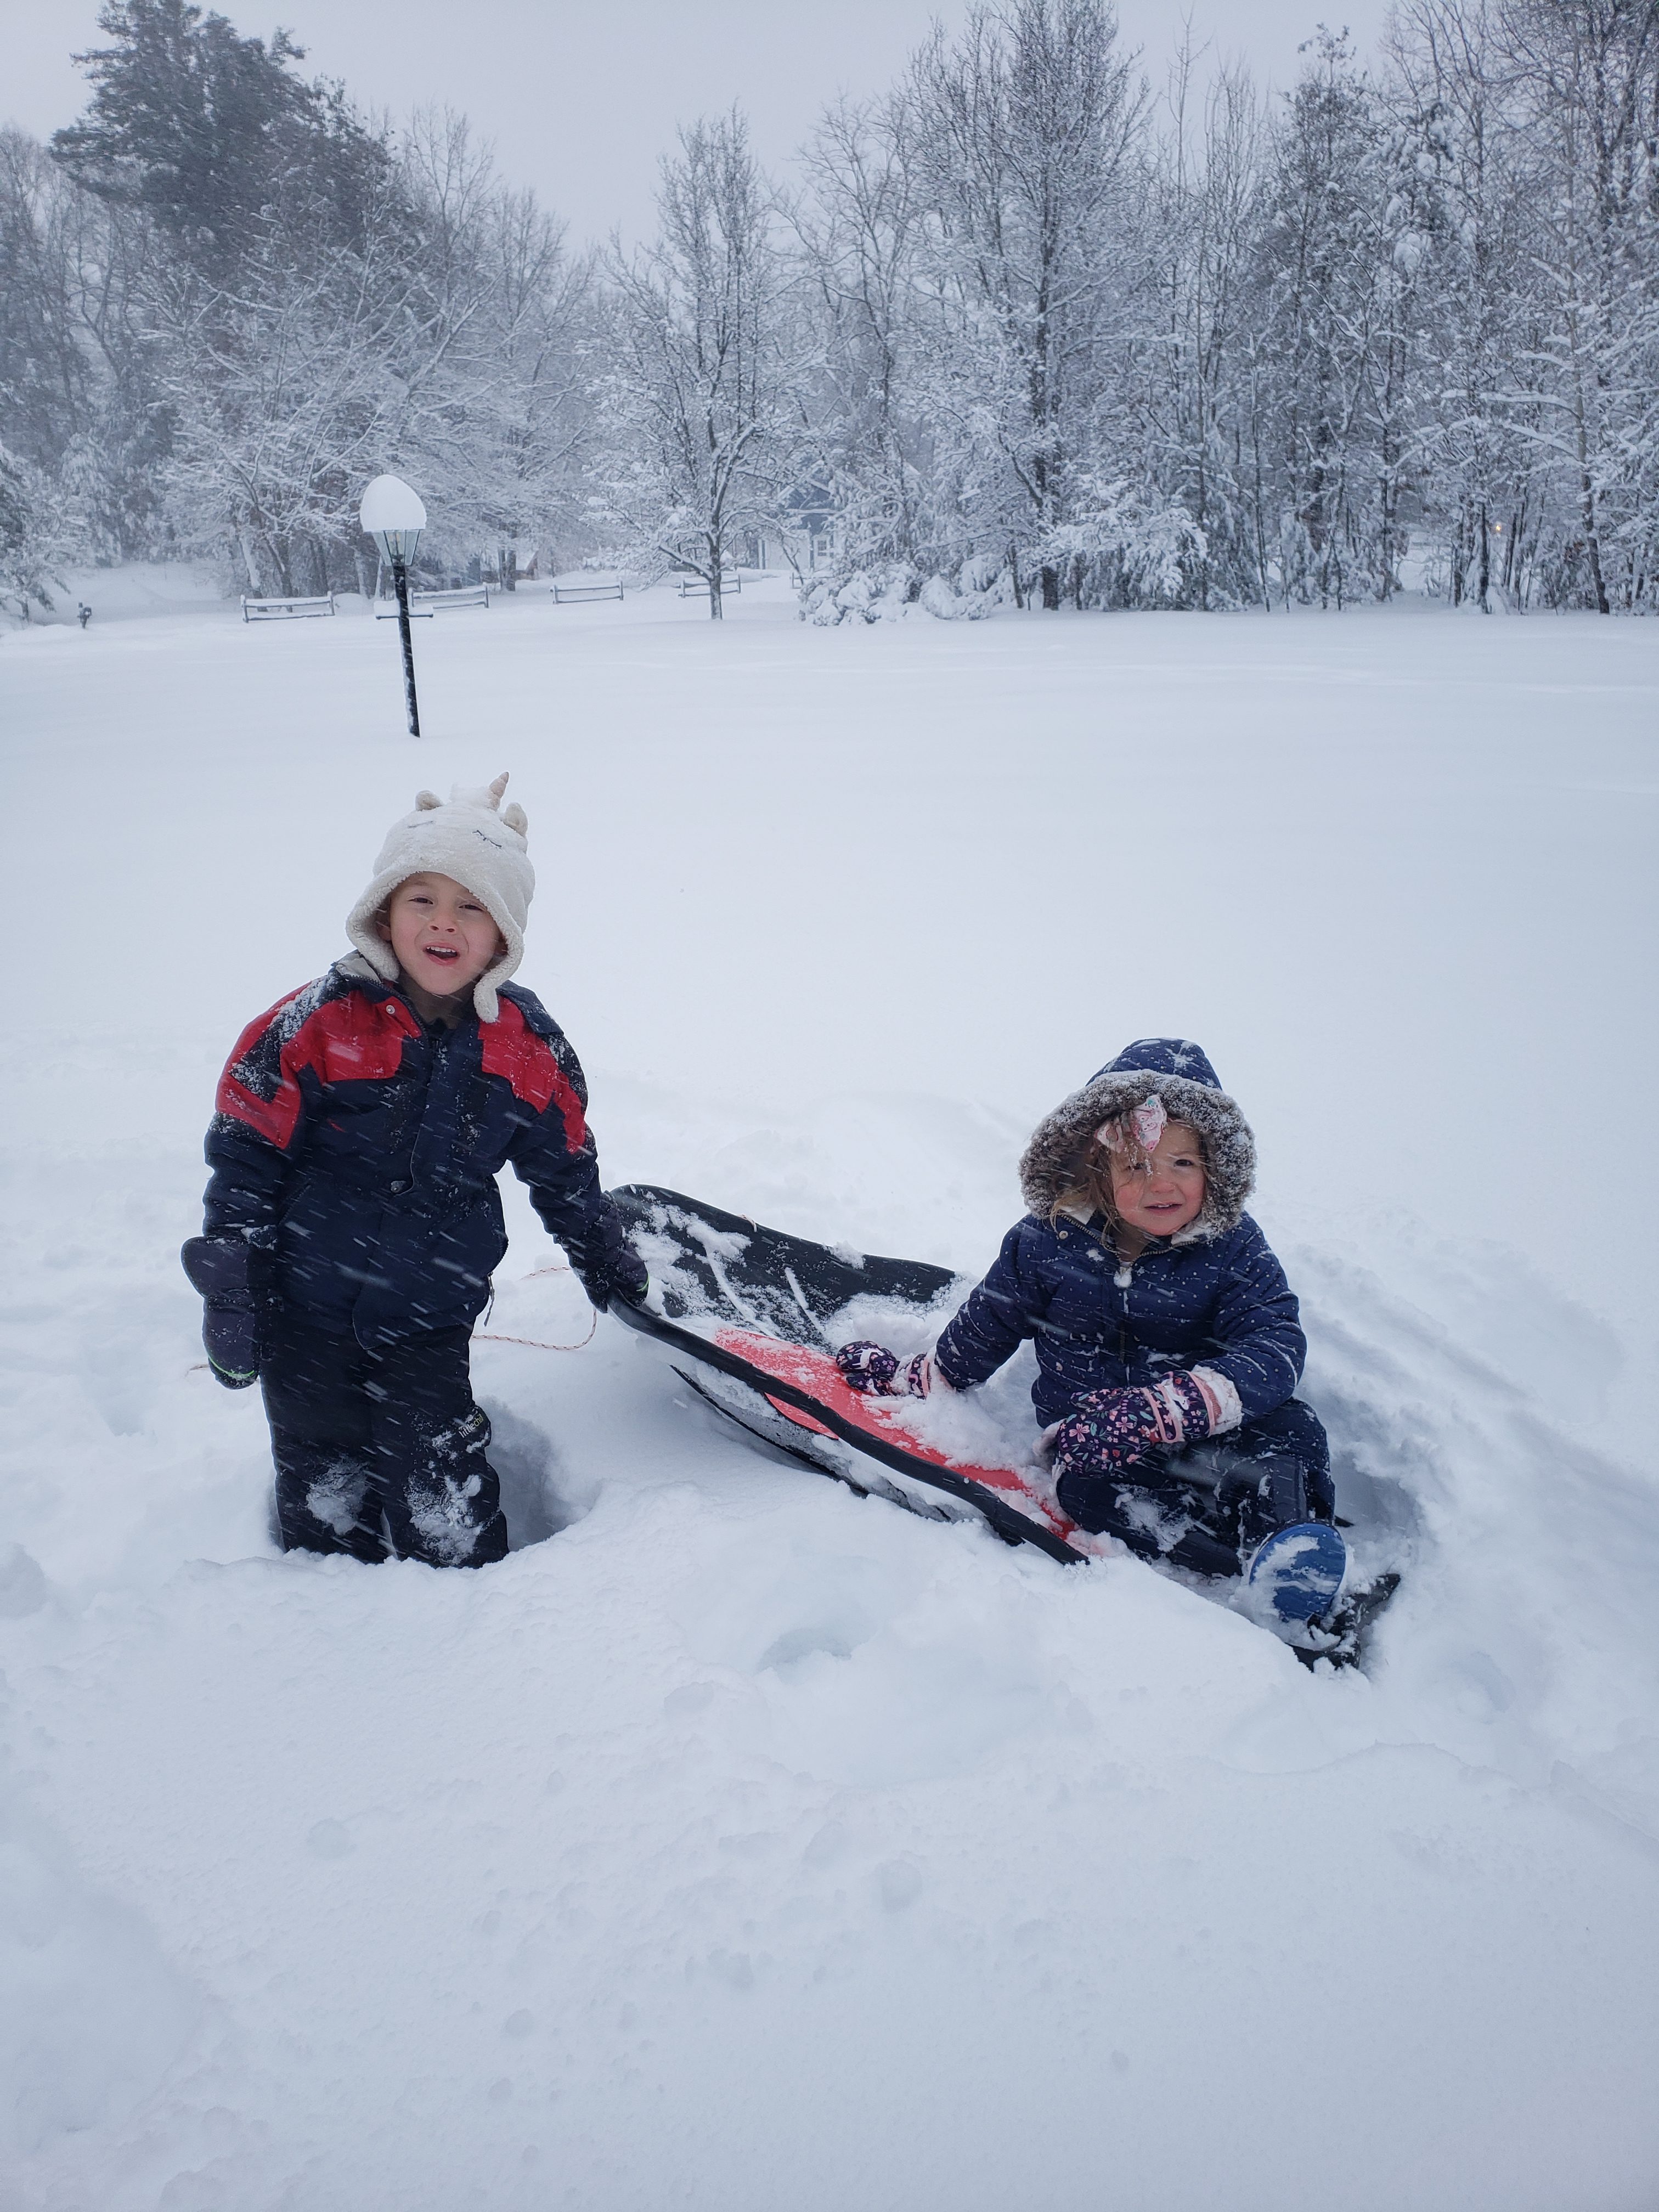
We got somewhere in the 14-18″ range by the time the storm ended!
Despite the storm we finally put away all the Christmas decorations. Well, except the tree. We’ve got an undecorated pine tree standing in our front hall at the moment. To be accurate, it’s not exactly standing, it’s actually tied to the second floor because it fell on me while I was decorating it. This is not my first time being squashed under a Christmas tree, I should have known better.
Even though Christmas is over I’m still working on post-Christmas projects. I think I mentioned in last week’s post that I aimed to go wrapping free this year. Santa did leave gifts under the tree for the children that were wrapped in paper (I will have to call him up next year). Everything from Will and I was either bagged in sacks that you cinched closed, or else wrapped in furoshiki (cloth wrapping). The cloth bags were mostly from Amazon gifts that people gave to us over the years, and some we got off the free site. The furoshiki wraps I made myself from curtains I bought second hand. Unfortunately I only had time to make a handful of wraps before Christmas but I really think they are more fun to open and are beautiful!
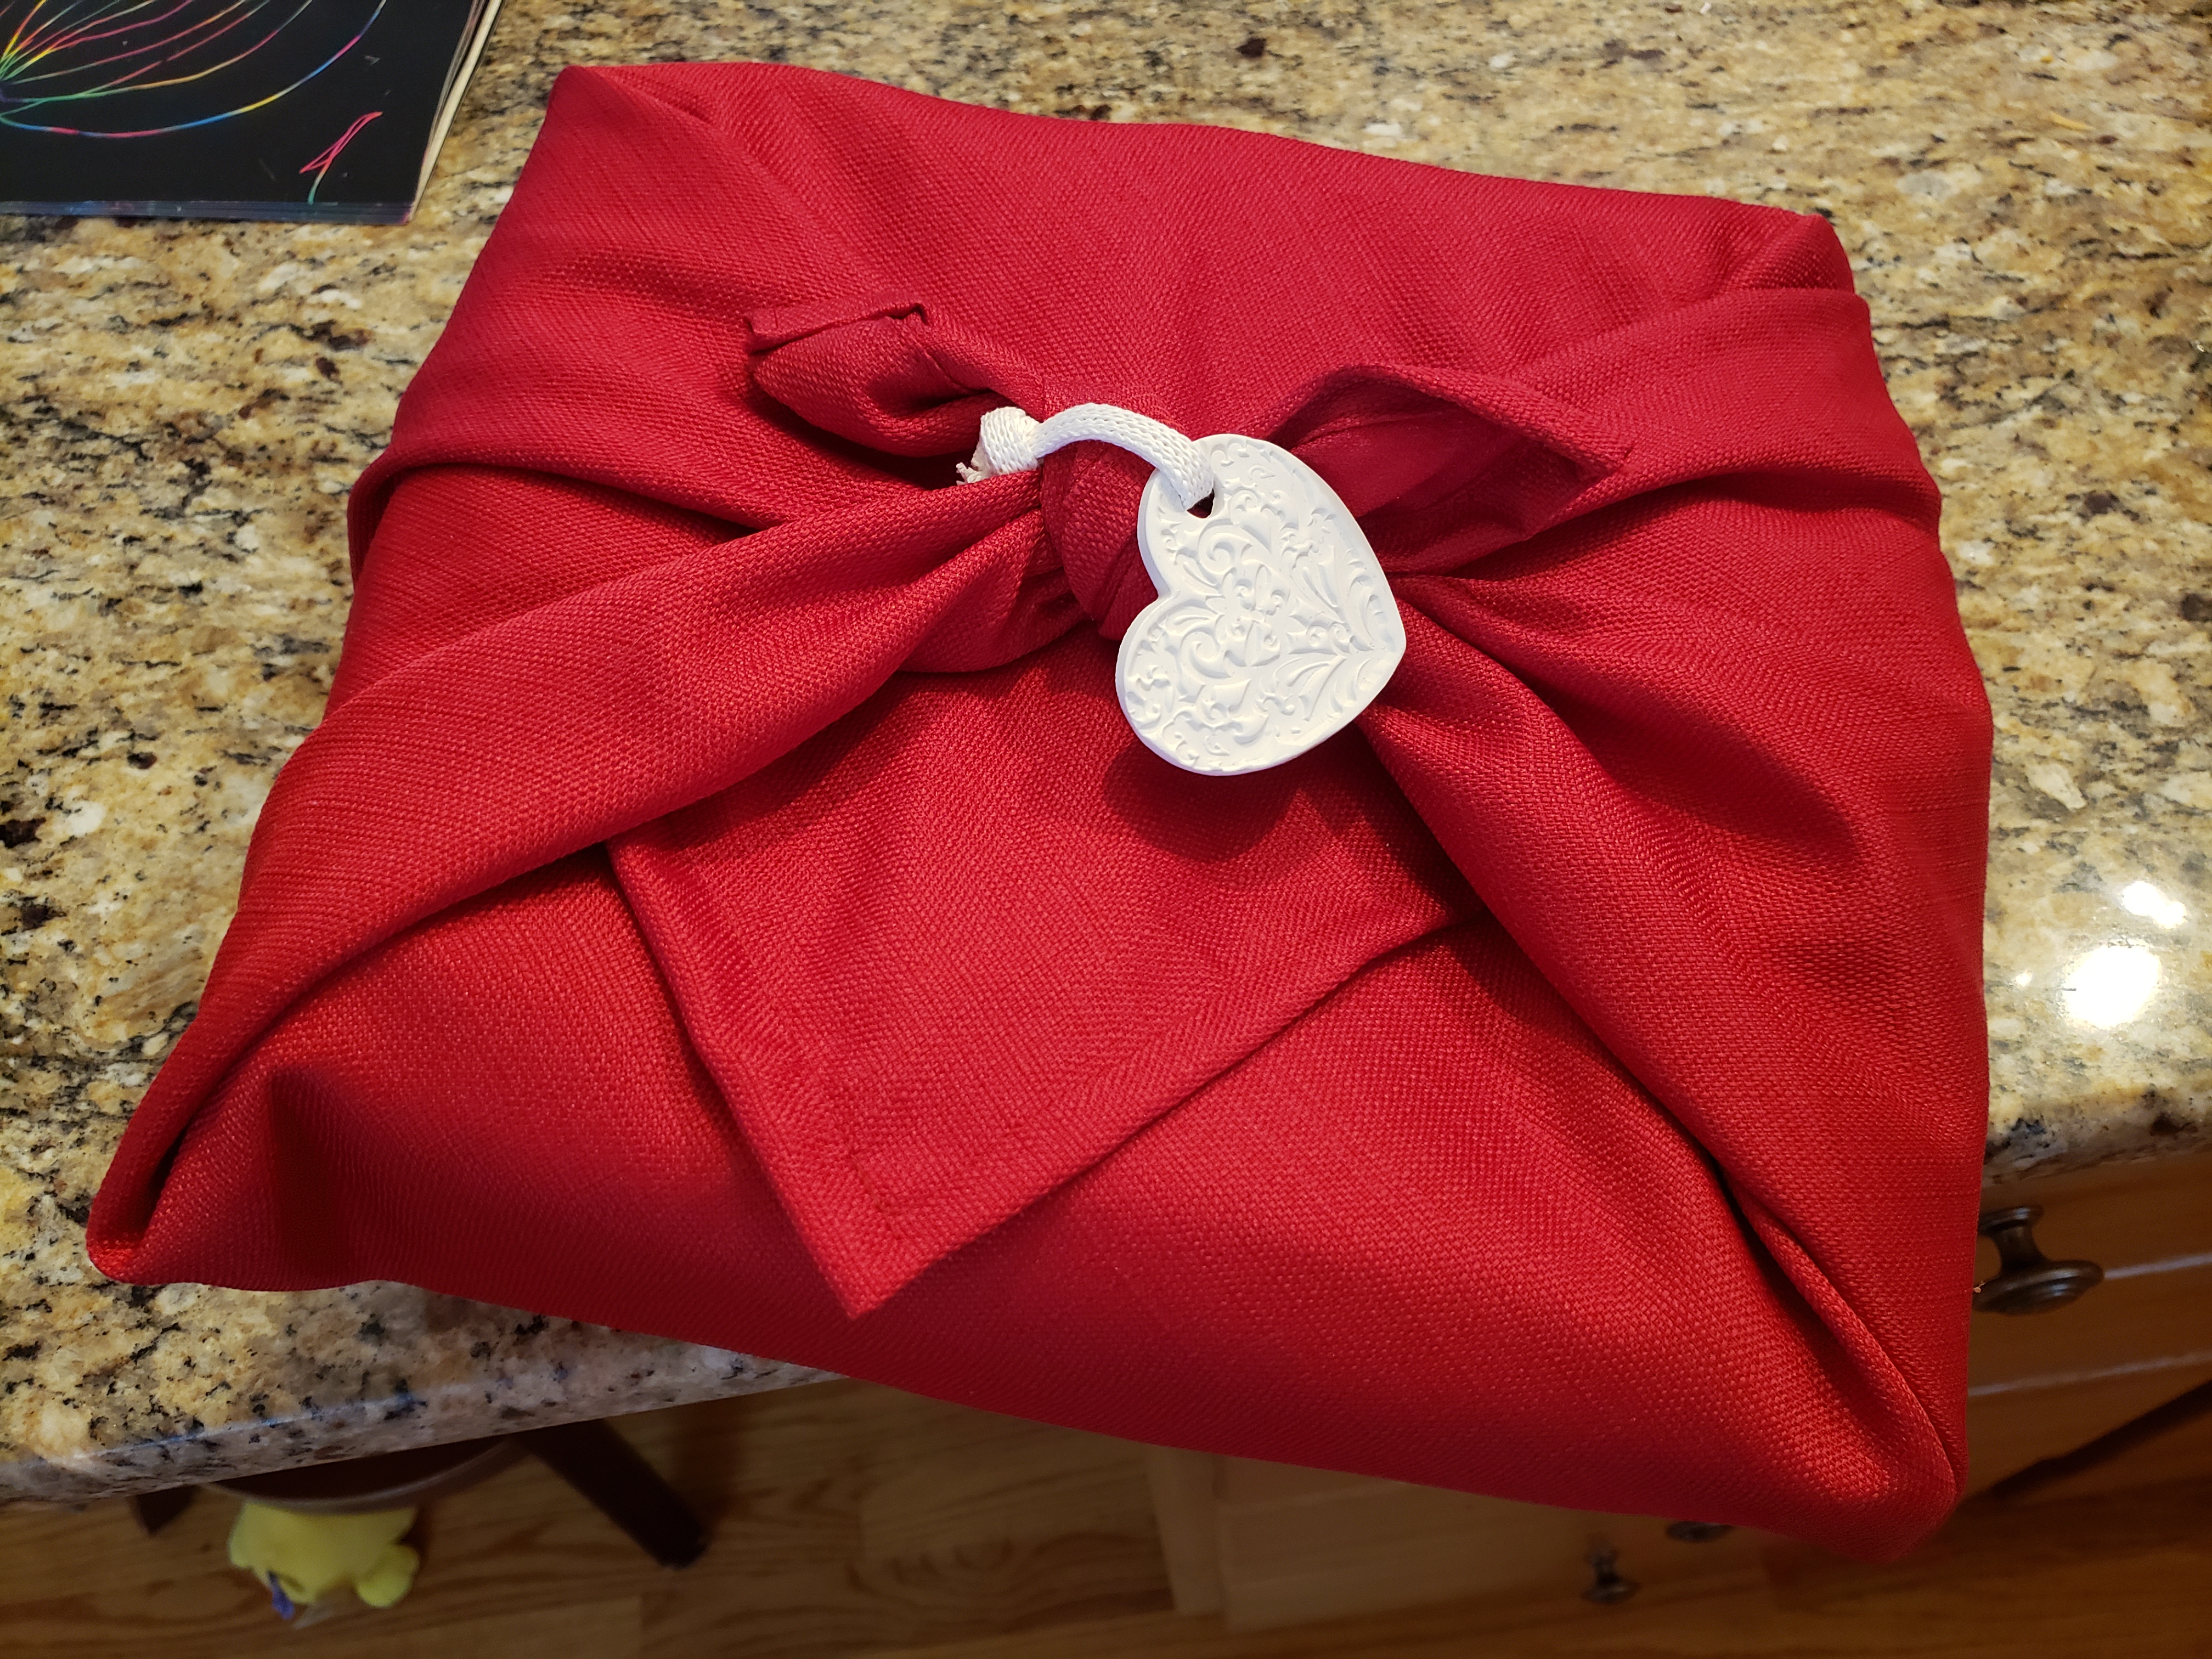
Valentine’s trial run – try to tell me these aren’t beautiful!
We were worried that the kids were too young to untie the knots on the furoshiki so we did a test run for Valentine’s day last year. Julius had no problem untying the packages, but Patricia did. At Christmas (nearly a year later) we still had to help Patricia loosen the knots, much like we would do with bows and other non-reusable wrapping. I would bet by 4 she’ll have no problem opening them herself.
I was a bit nervous that tearing open wrapping paper must satisfy some kind of primal kid instinct that furoshiki and cloth bags would not sate. So after the Christmas packages were all opened (read: 20 minutes after Patricia woke up) I asked Julius if the cloth wrapping was fun to open. His response was, “of course, why wouldn’t it be?” So that settled that.
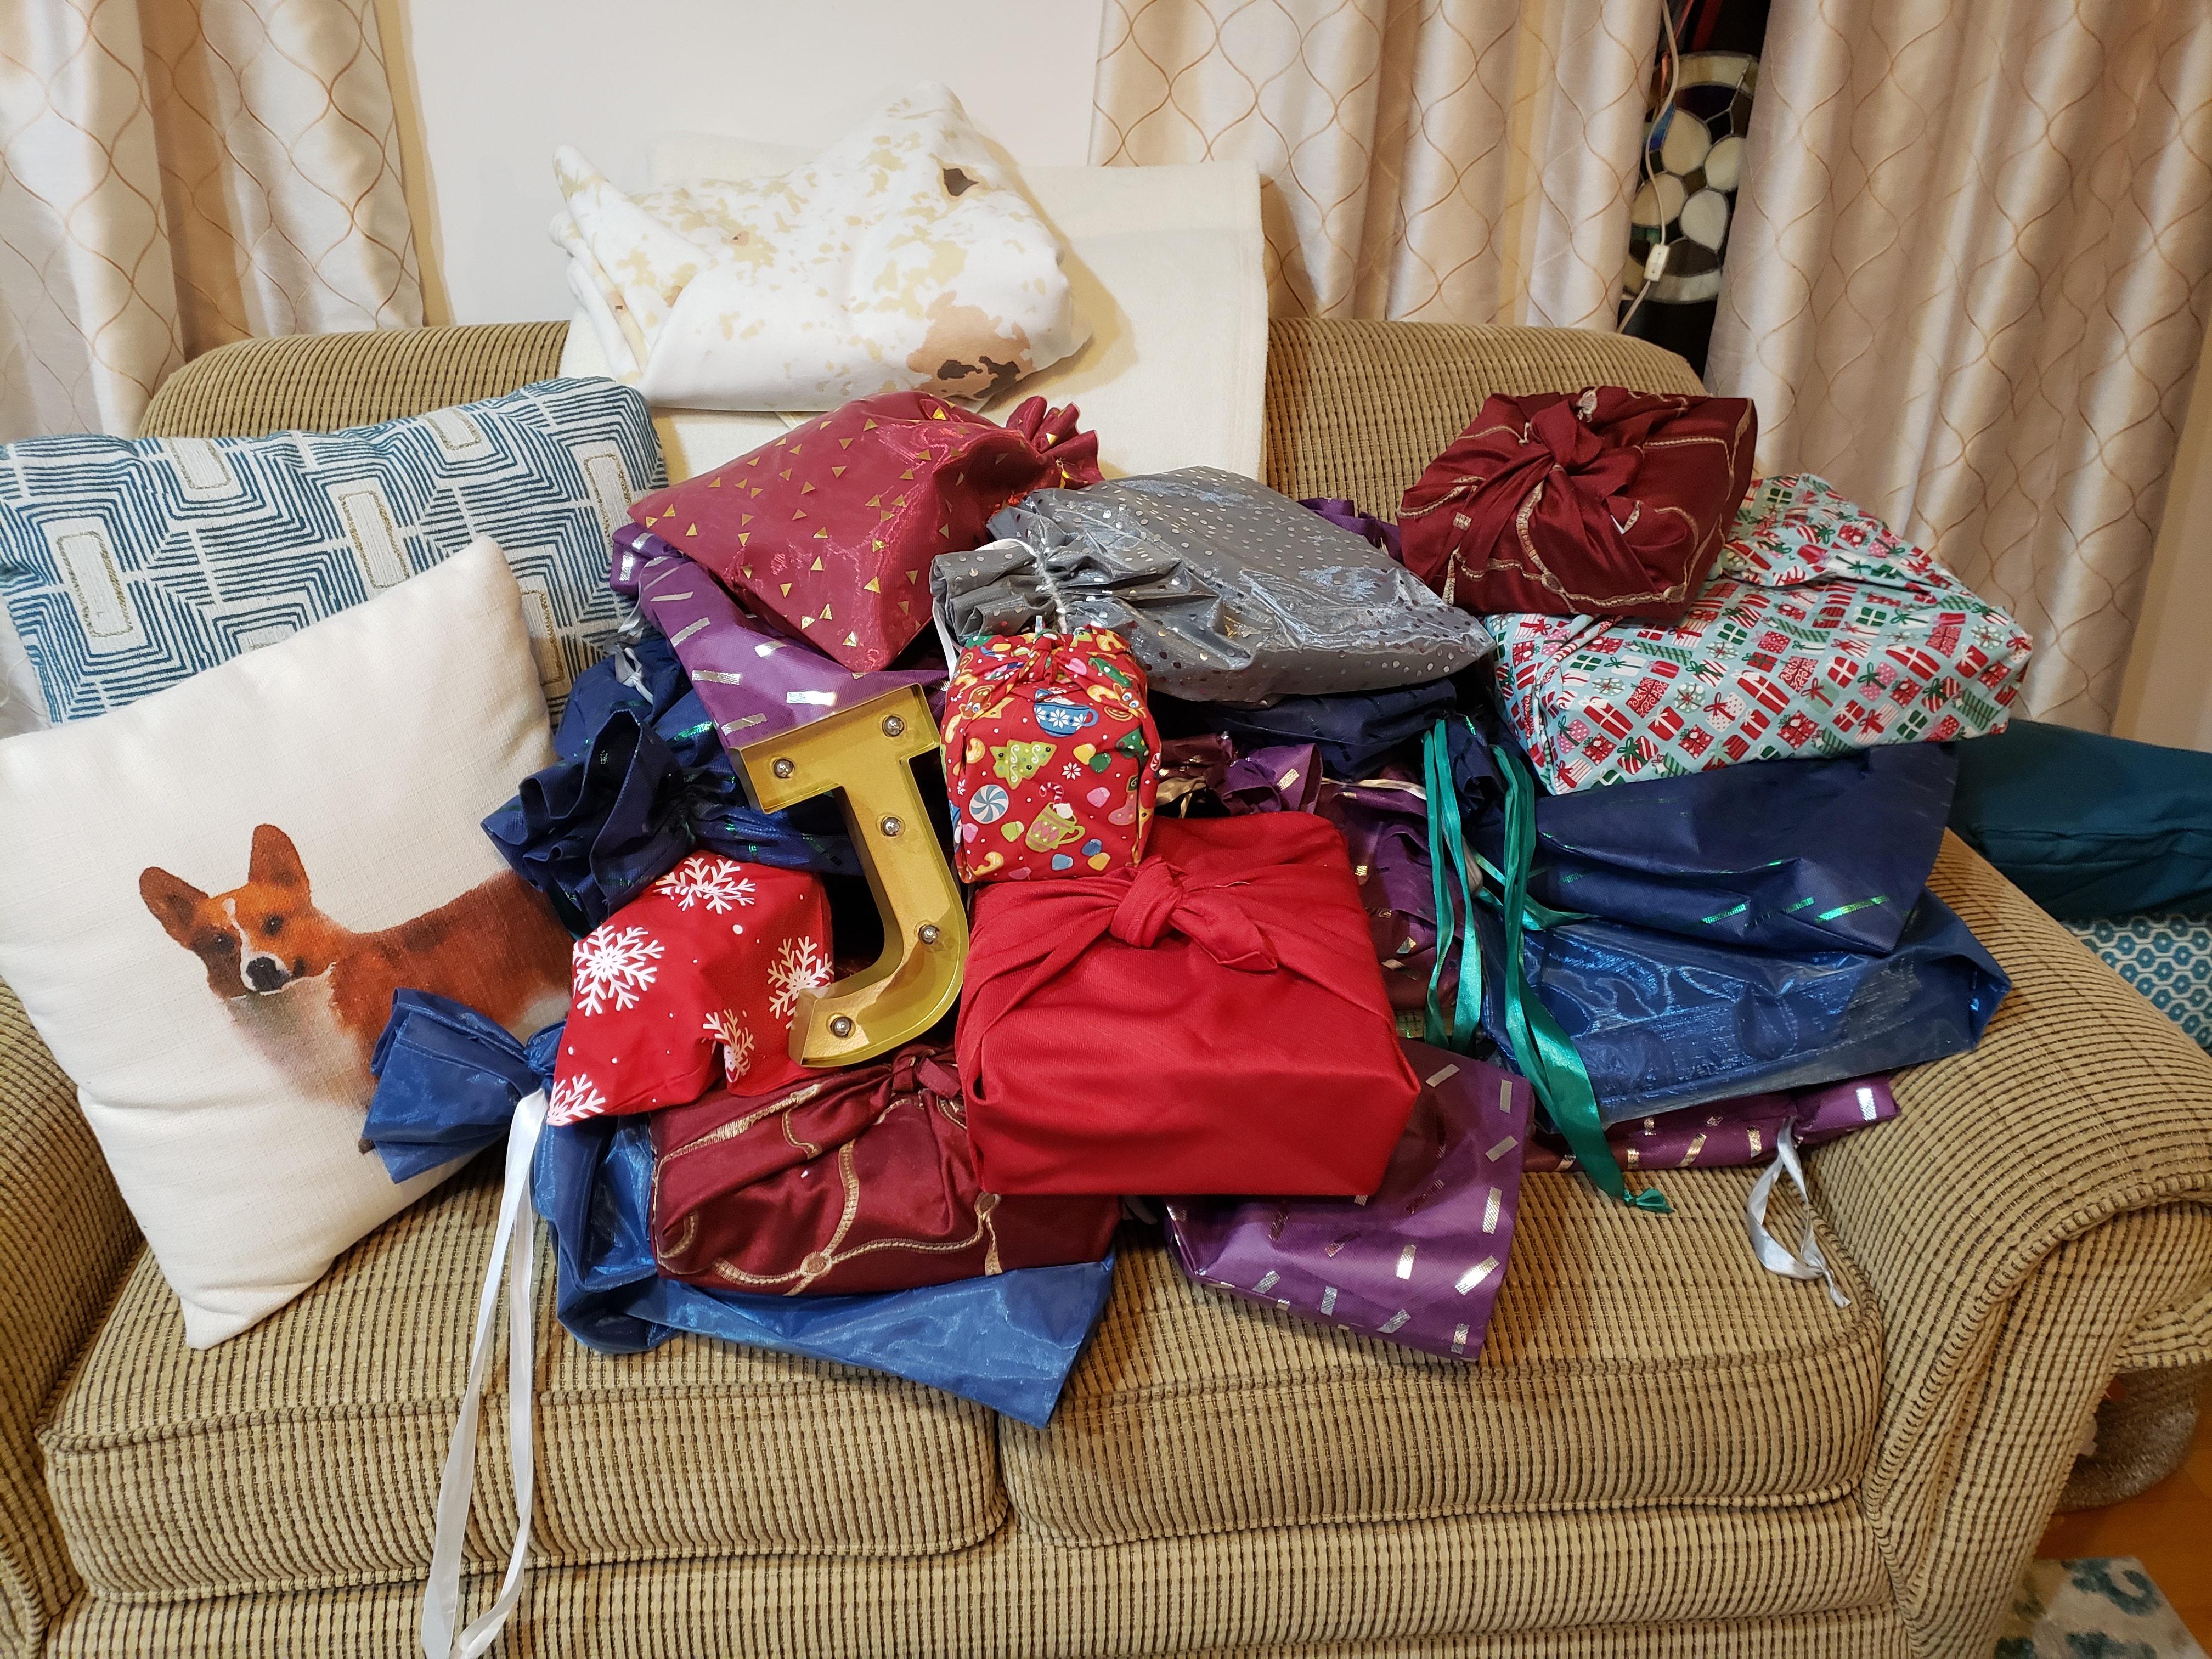
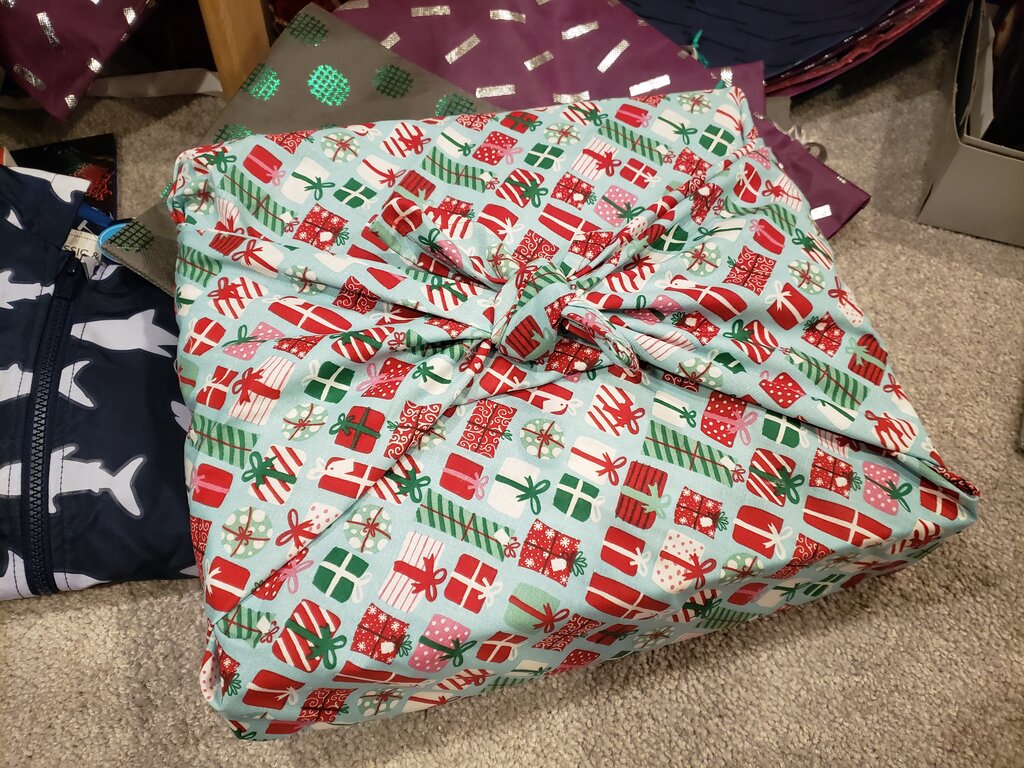
Mountain of presents in reusable bags and furoshiki
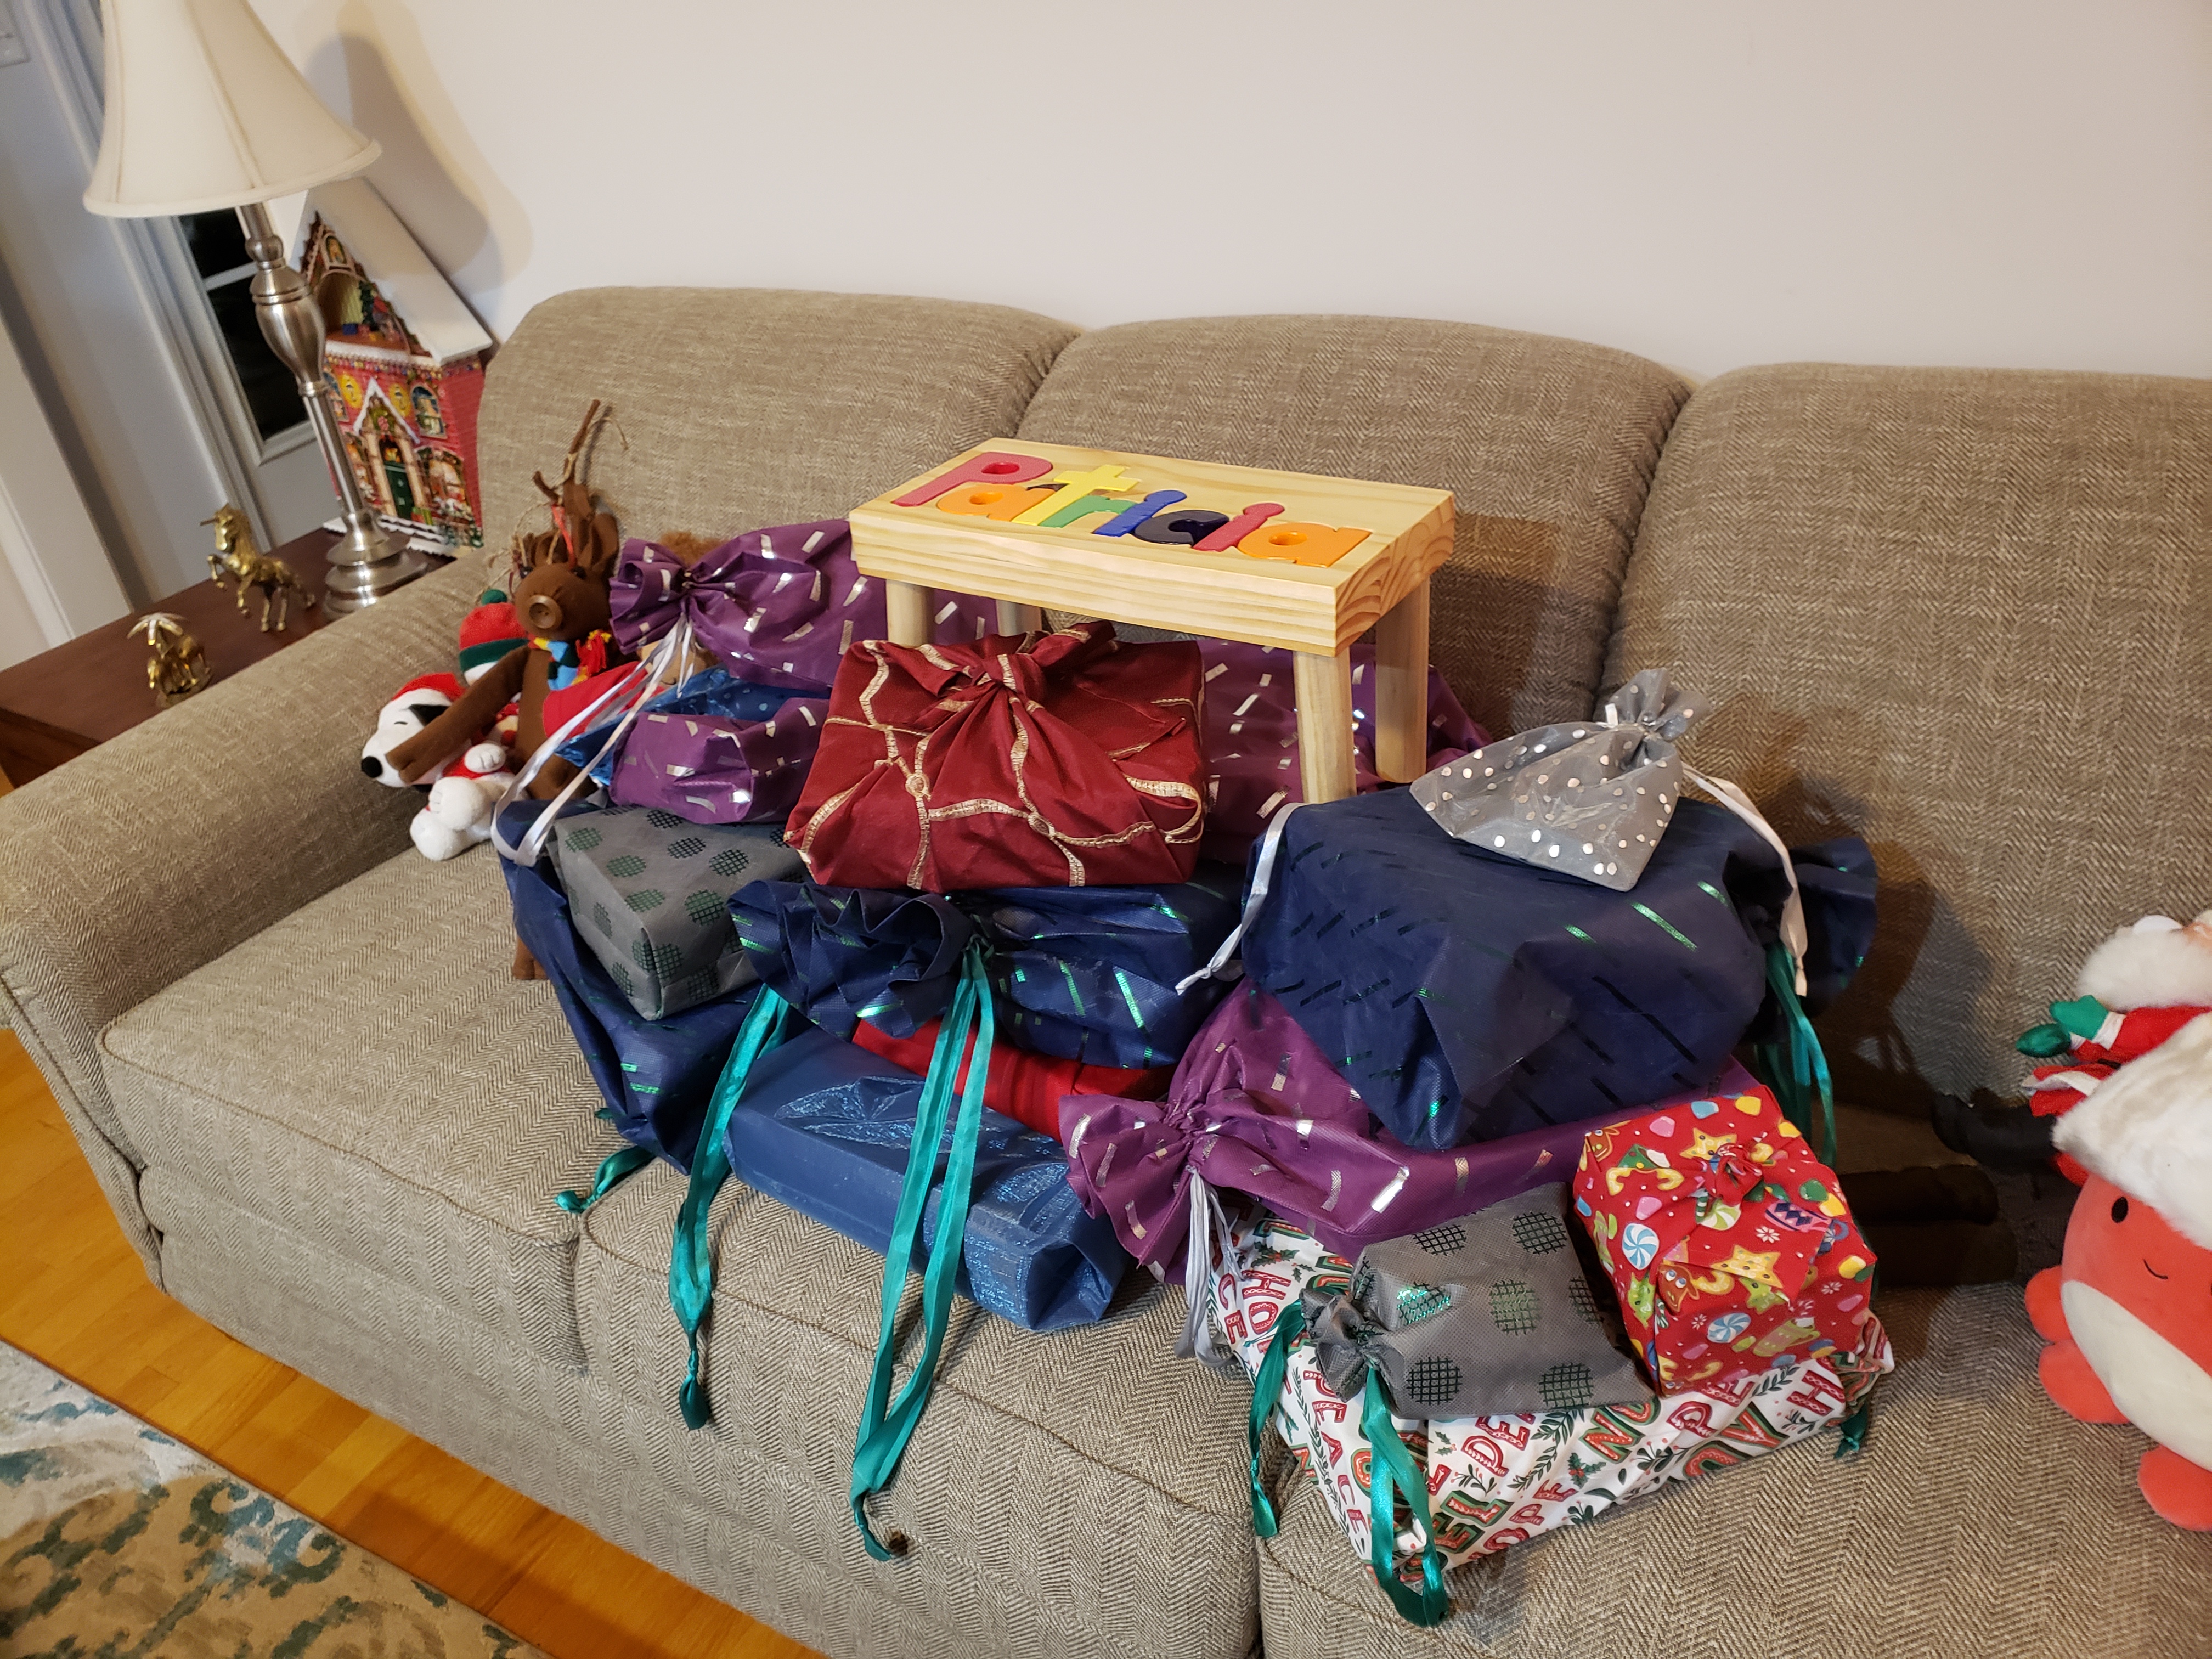
Another mountain of presents.
Furoshiki wraps are insanely easy to make, and you can make them twice as easily from thrifted fabric. I reused all the good hems from the curtains I took them from. The reason I used curtain fabric is because I wanted fabric that was opaque, where a single layer of fabric would obscure the contents. The curtains I repurposed came in various shades that will work for lots of different occasions. I did also get a couple yards of cheap Christmas fabric that were 90% off at Michaels after Christmas last year.
As for sizes… I used this site’s suggestion for standard sizes. (Side note – their site has really beautiful furoshiki and beautiful suggestions for how to wrap. I recommend checking it out!) So far I’ve made the majority of mine in the 27″x27″ range with some smaller and some larger. Honestly I’m not sure me making 40 of these things really fits into the spirit of minimalism that Japanese furoshiki invokes, but one step at a time. If you want to take the minimalist approach you can invest in one and try using it not just as gift wrapping but scarves, tote bags or a lunch carrier!
One last comment on why you should switch to furoshiki if you haven’t already been sold on how it’s beautiful, environmentally friendly, multi-use and fun to open. It’s quick to wrap. Between the bags and the wraps we finished wrapping gifts before midnight on Christmas Eve, even after getting the kids in bed late from visiting my parents.
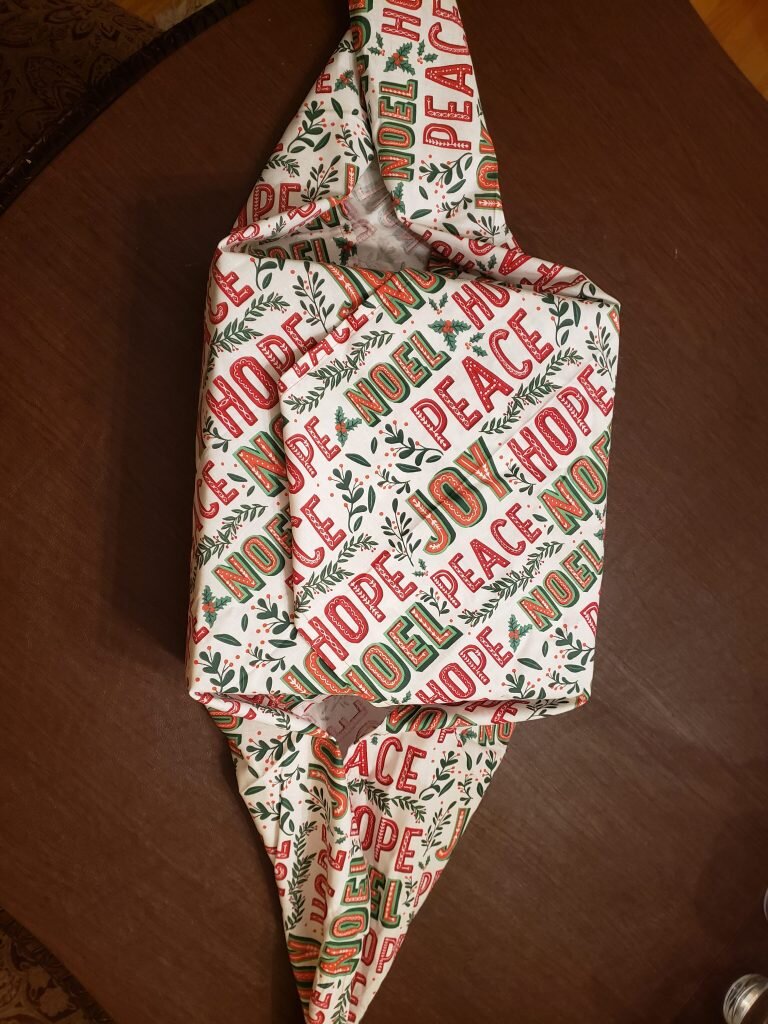
Here’s one of the ones I made from the 90% off Christmas fabric! I couldn’t resist!
Basic Furoshiki
What you’ll need:
- lightweight fabric that is opaque (bonus points if it’s printed on both sides, but most of mine aren’t)
- corresponding colored thread
- Cut fabric into a square 2″ wider on each side than finished size.
- Iron fabric and fold each edge over 1/2″ and then over an additional 1/2″. Iron seam flat and pin.
- Repeat with other 4 sides.
- Stitch seams.
How to fold basic furoshiki around a square or rectangular package
- Center package in wrap.
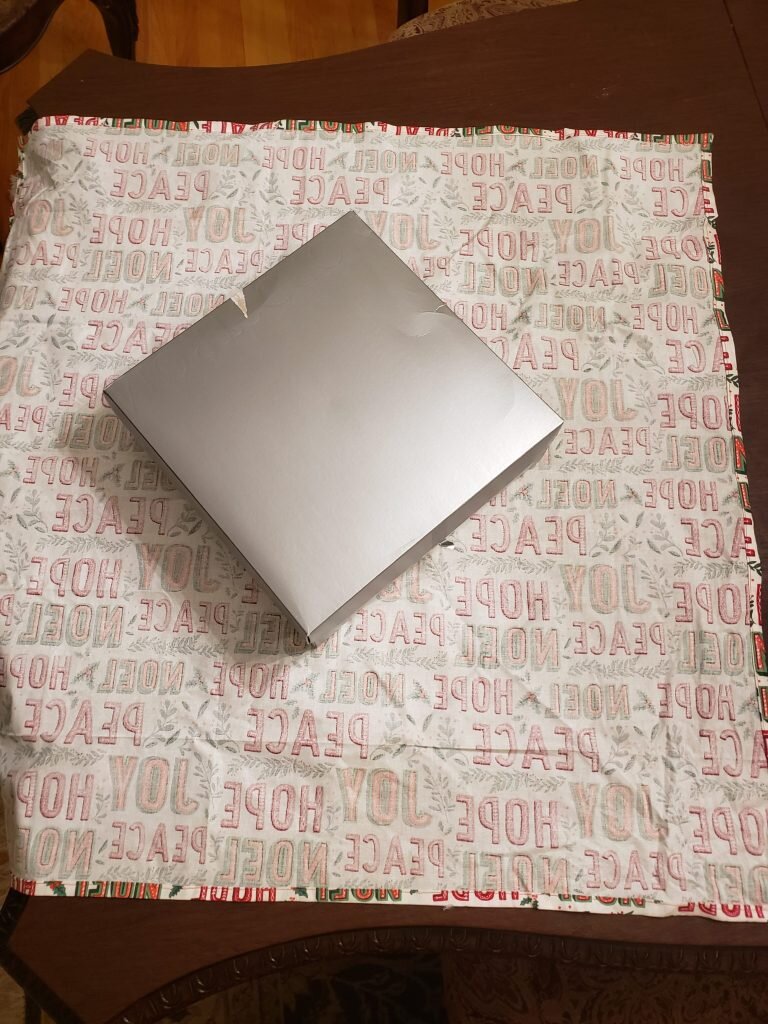
Place box in center of wrap
- Fold one edge of wrap over the package.
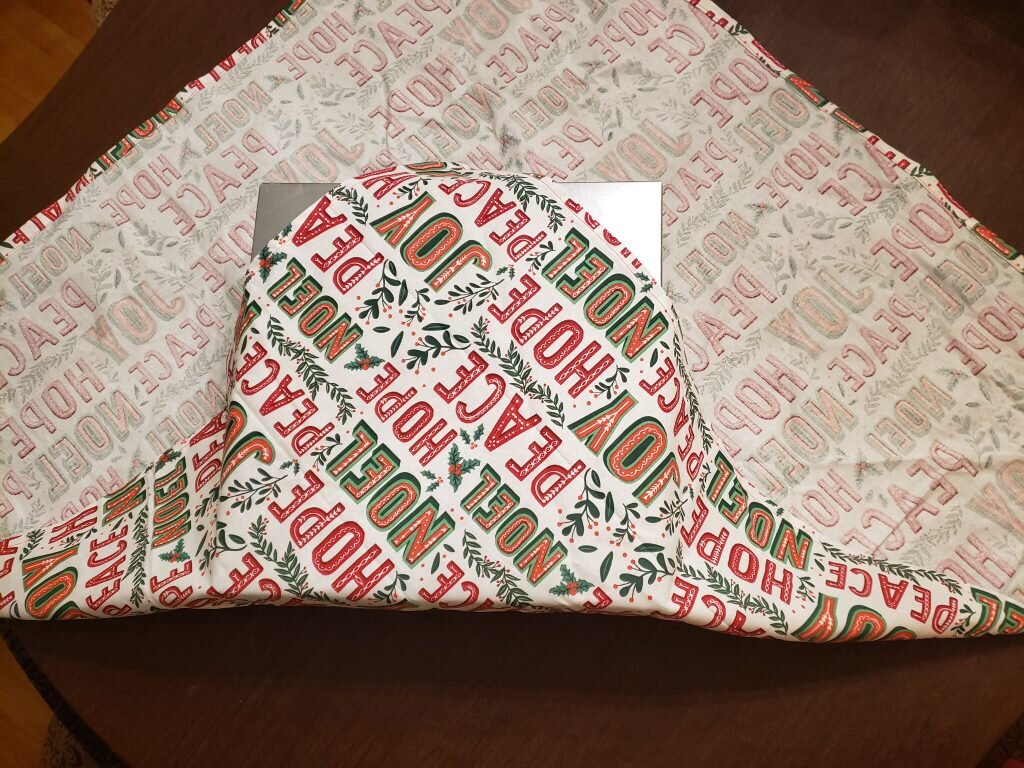
Fold up one corner over box.
- Fold up opposite edge on top of the package. (fold under point if desired)
Fold up opposite corner (tuck under corner).
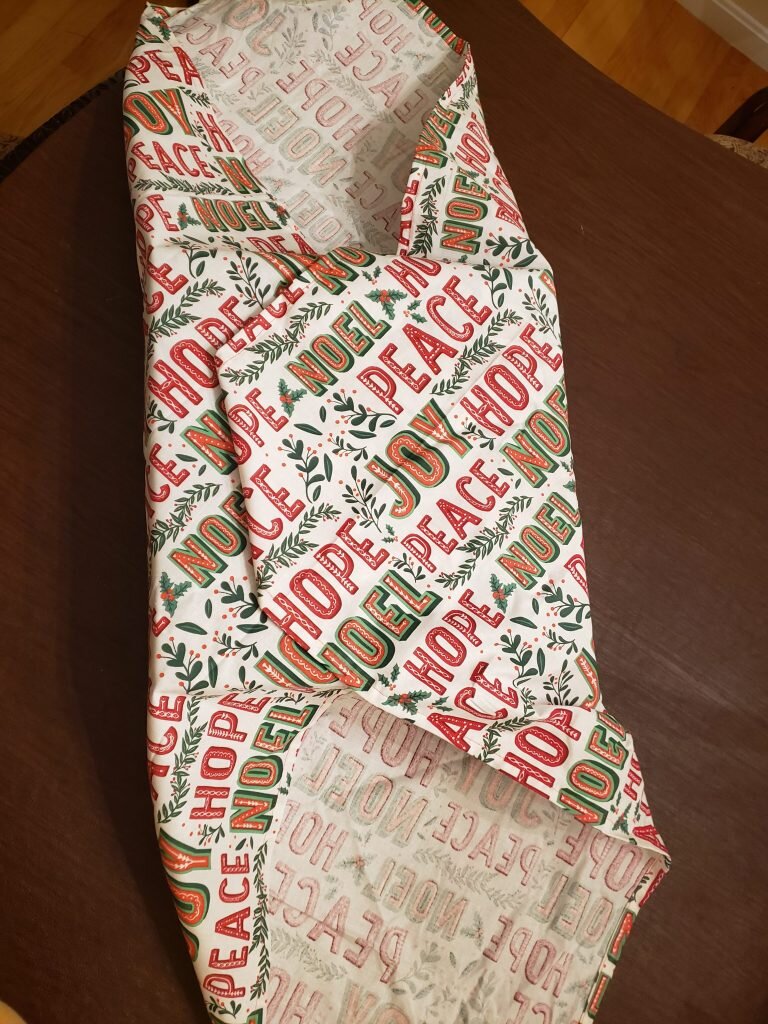
- Tuck the sides of the package in slightly to form a triangular shape.
- Repeat with other side.
Fold in the two sides to form points
- Tie the two ends together.
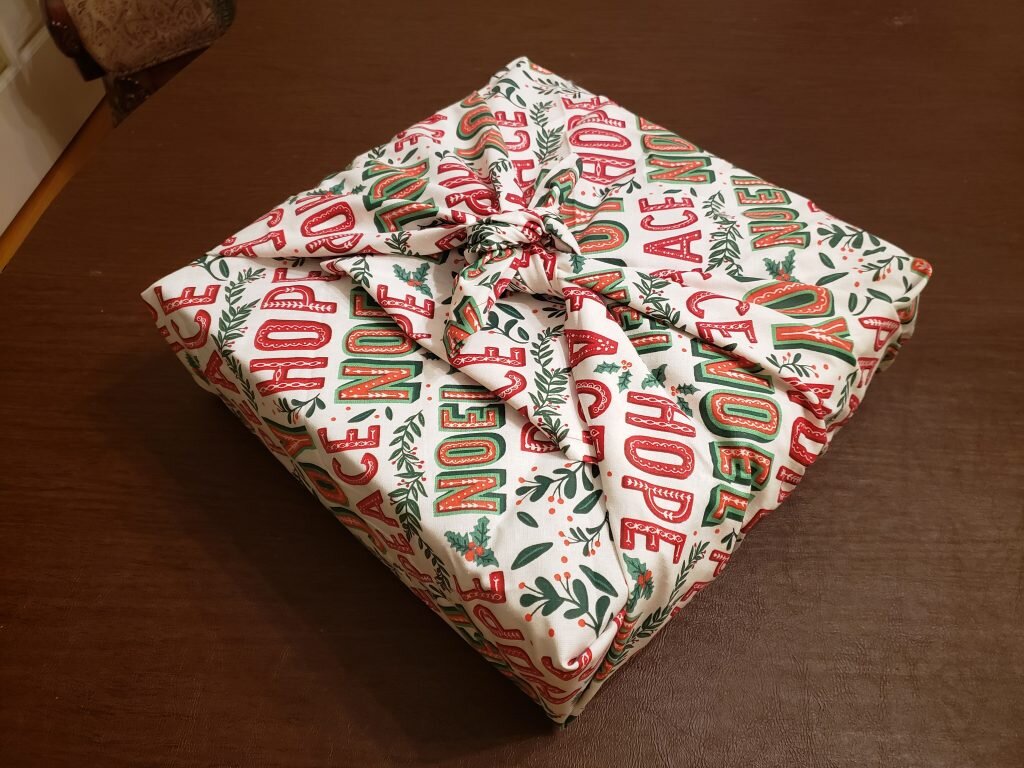
Fold up the points and tie.


