
Well I think the tides have turned. This is a heartbreaking week for motherhood. Julius won’t nurse consistently for me. It has been a struggle for a while, but it was mostly due to distraction which I could handle. Over the past few days though things have progressed beyond distraction and he will go 5 hours without nursing. To prevent him from starving, we finally have to give him a bottle, which he takes mostly happily.
Along with that awful blow, Julius hasn’t been his ecstatically enthusiastic self for mama either. Saturday Will went to another bachelor party and gave Julius a big hug before he left. When Julius was handed back to me he actually sobbed! AND he hasn’t given me baby kisses in nearly a week!!! What is going on?! Forget any hopes of being a mama’s boy, I just hope he hasn’t outgrown mama already.
All this seriously makes me regret ever heading home from work late! What was I thinking?! Who cares if I get fired, I could have had so many more baby kisses and snuggles! I miss them already…
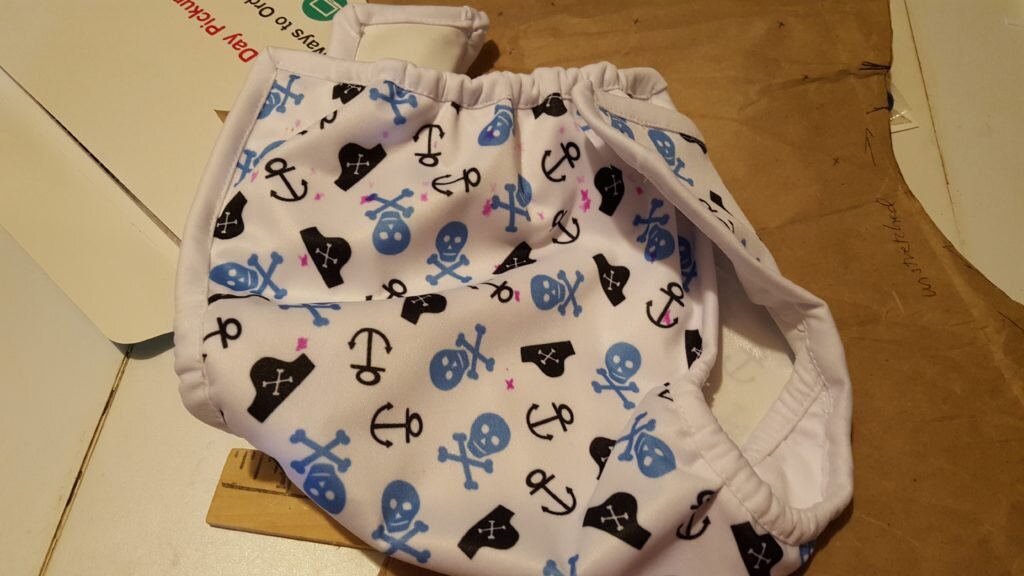
Enough mama drama – I have a crappy project to show you! Okay, okay, it is a really bad pun (but that won’t stop me from making it the title of this post!) I’m going to show you how to make the cloth diaper cover that Julius has been wearing for a couple months now (not continuously). I wanted to wait until we’d used the cover for a while before I posted it. I can tell you it works great! Just like a normal diaper cover! Plus it was exceedingly inexpensive to make (I think it cost me around $4 for materials with a Joann Fabrics coupon). What’s the catch? Well, it was fairly time consuming to make. I’ve been meaning to make more for months. This diaper making procrastination may have become worse than my curtain making procrastination. The cover, while re-sizable, runs a bit large. We use pre-folds instead of inserts, and it comfortably accommodates these.
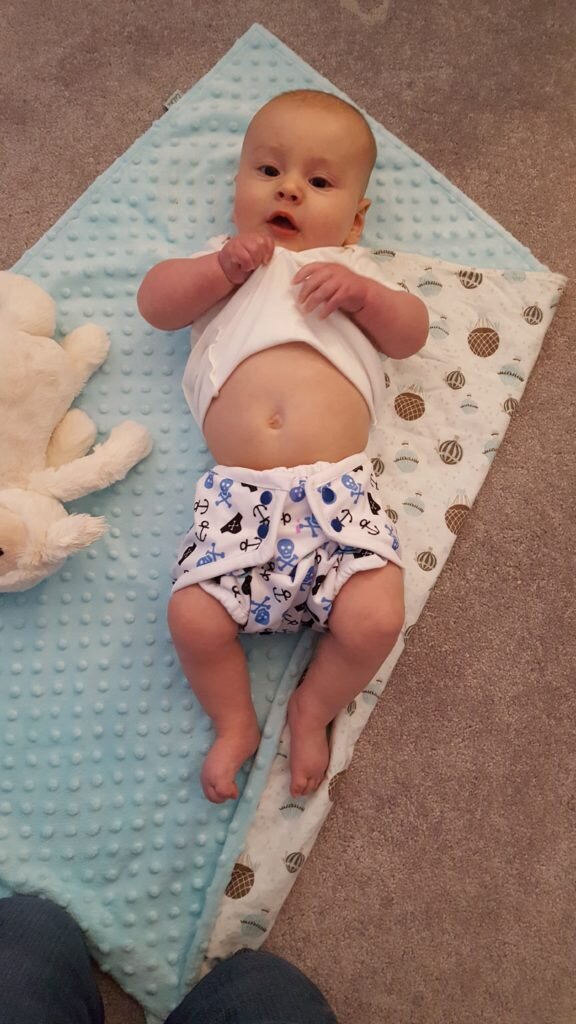
Here let me get that shirt for you.
Multisize Cloth Diaper Cover
What you’ll need:
- 1/2 yard of PUL material (plus more for seam binding)
- 1/2 yard of 1/4″ elastic
- Plastic snaps
- Diaper pattern here
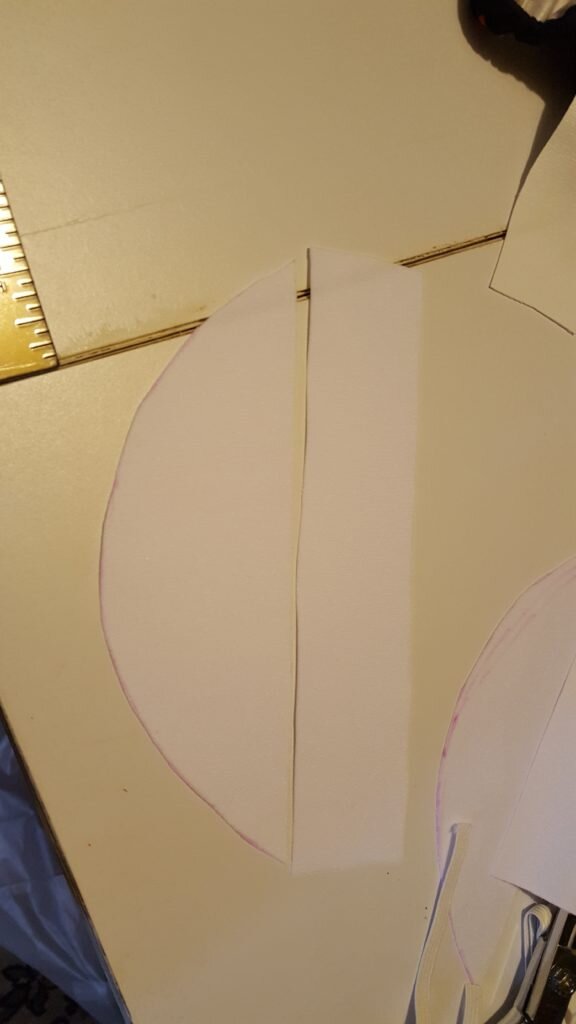
- Following the pattern pieces cut out the diaper cover, two gussets, inside cover top and two inside cover sides.
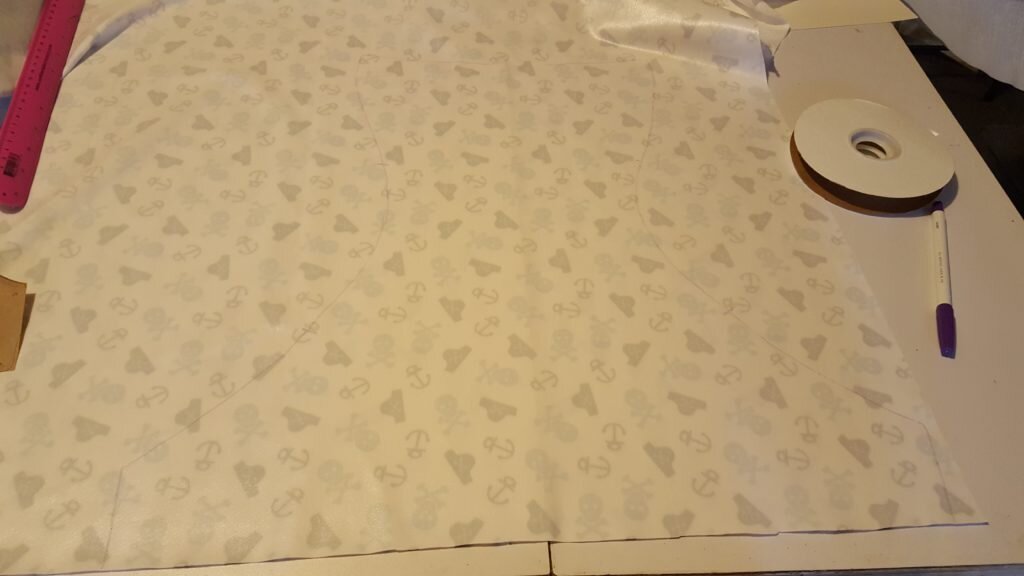
Cut out pattern pieces.
- Make bias/binding tape by cutting a 2″ strip, so if you pull the edges of the strip it has the most give. (For the knit PUL I have, that is NOT on the bias). Or you can use this tape, which I am going to try on my next diaper project!
Make bias tape.
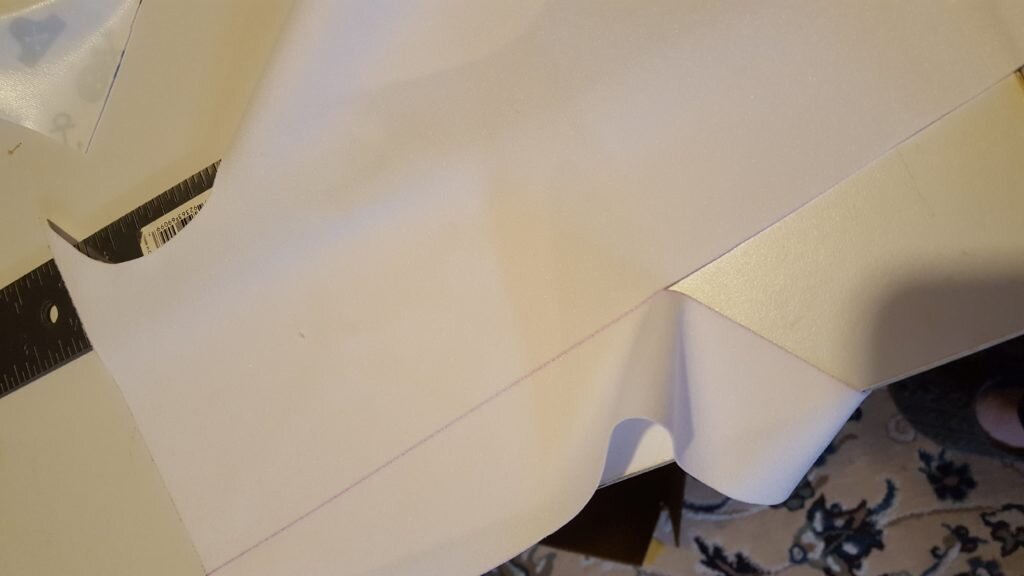
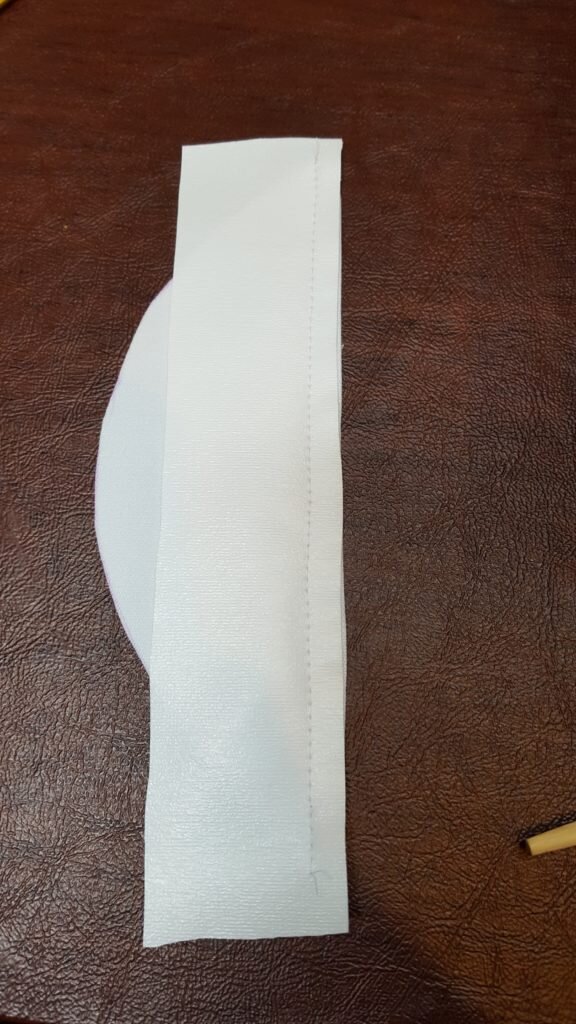
- Pin the top cover to the inside cover top and sides, shiny waterproof sides together. Stitch along edges of the diaper cover.

Attach diaper cover to diaper cover lining, wrong sides together.
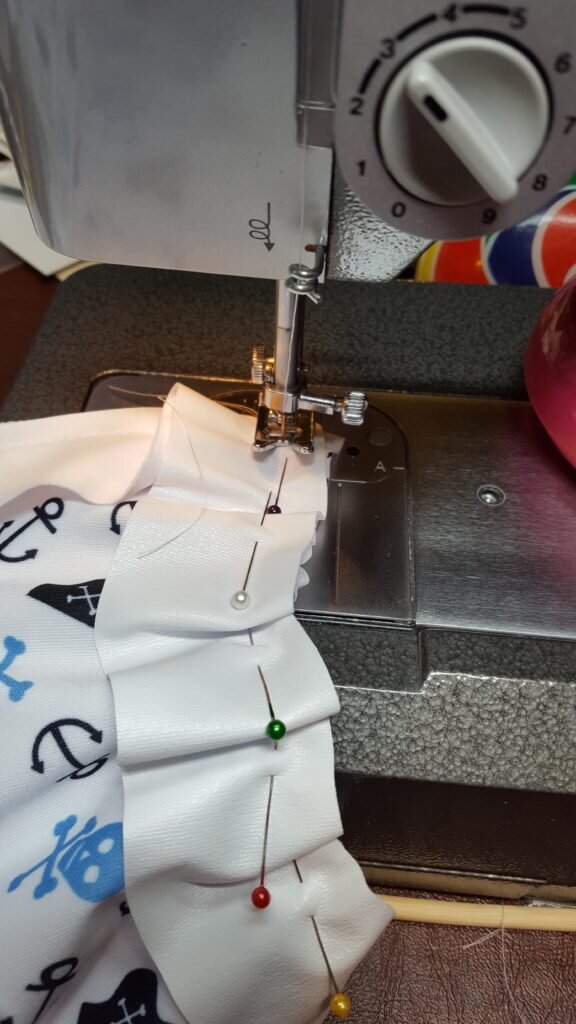
- Cut a 3.5″ piece of elastic for the front top of diaper cover. Cut a 6.5″ piece of elastic for the back top of diaper cover. Cut a 4″ piece of elastic for the inside of legs. Stretch each piece of elastic and stitch, fully stretched, between markings on pattern using a zig zag stitch.
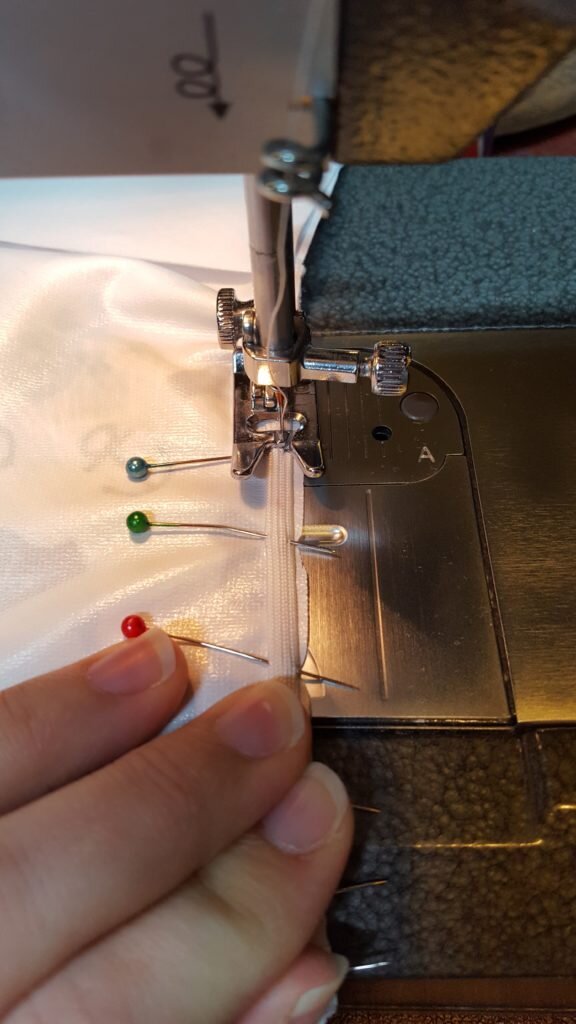
Attach elastic, fully stretched, using zig-zag stitch.
- Cut a piece of binding material so it is slightly longer than the straight edge of your gusset.
Cut binding material slightly longer than gusset.
- Pin right sides together along the straight edge and stitch.
Pin right sides of gusset and bias tape together and stitch.
- Cut a 4″ piece of elastic for the gusset. Attach a piece of elastic to the seam allowance using a zig zag stitch.
- Fold the bias tape over the seam allowance as you would double fold bias tape (hiding the unfinished edges). Stitch outside the elastic.

Fold bias tape over edge of gusset and elastic.
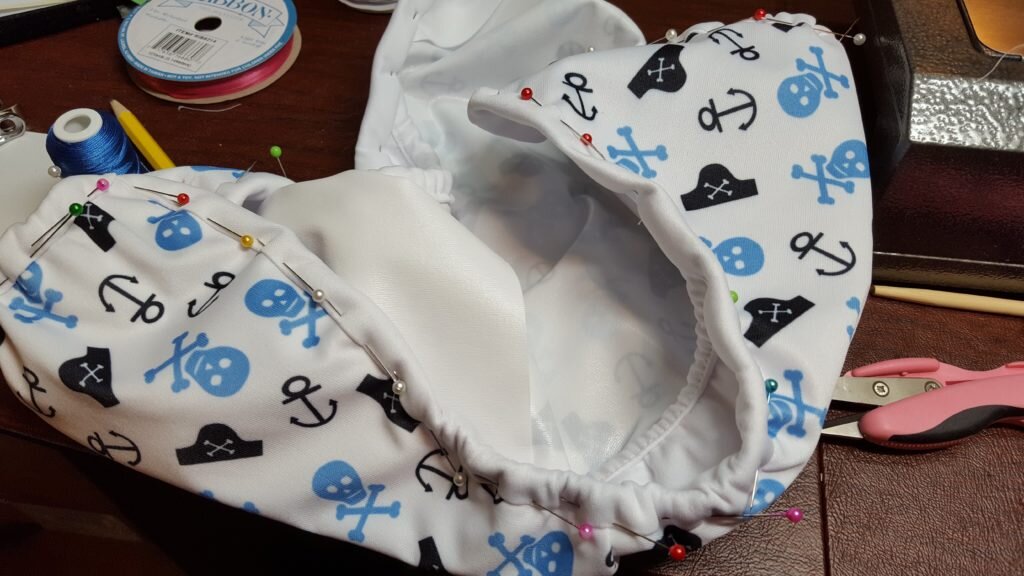
- Pin the gusset to the diaper at leg markings, wrong sides together. Stitch.
- Repeat steps 5-9 with the second gusset.
- Attach bias tape right sides together all along the edge of the diaper, stitching just inside of where the elastic is.
Attach bias tape around edge of diaper cover.
- Flip bias tape to the inside over seam allowance, tucking in the unfinished edge of the bias tape. When you get to the leg gussets, encompass the unfinished edges of the leg gusset bias tape inside. Stitch at the edge of the bias tape, outside the elastic.
Enclose the unfinished edges of the leg gusset bias tape.
- Mark placement on diaper for snaps, following pattern.
Mark placement for diaper snaps.
- Attach snaps according to instructions on package.
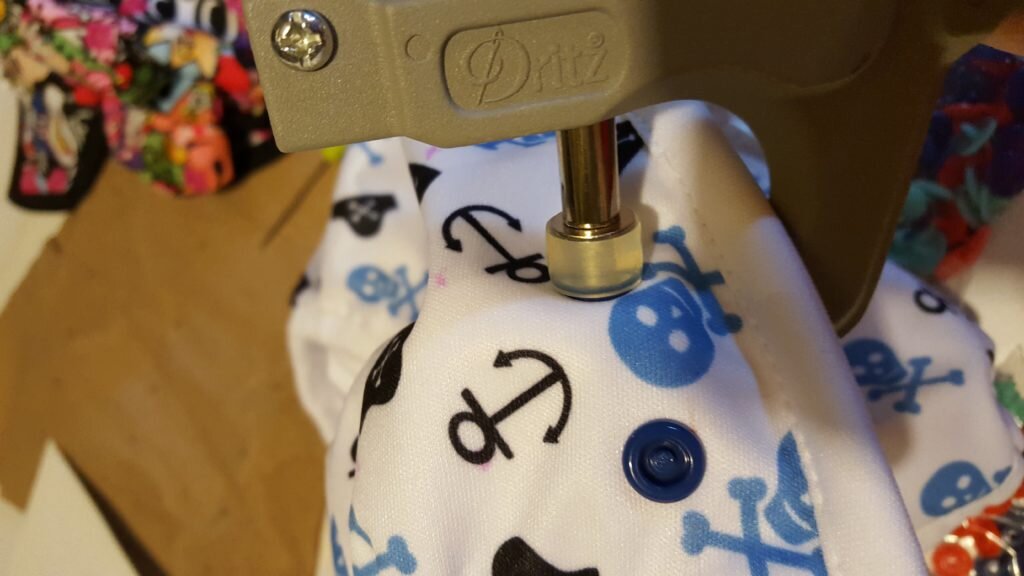
Attach snaps.
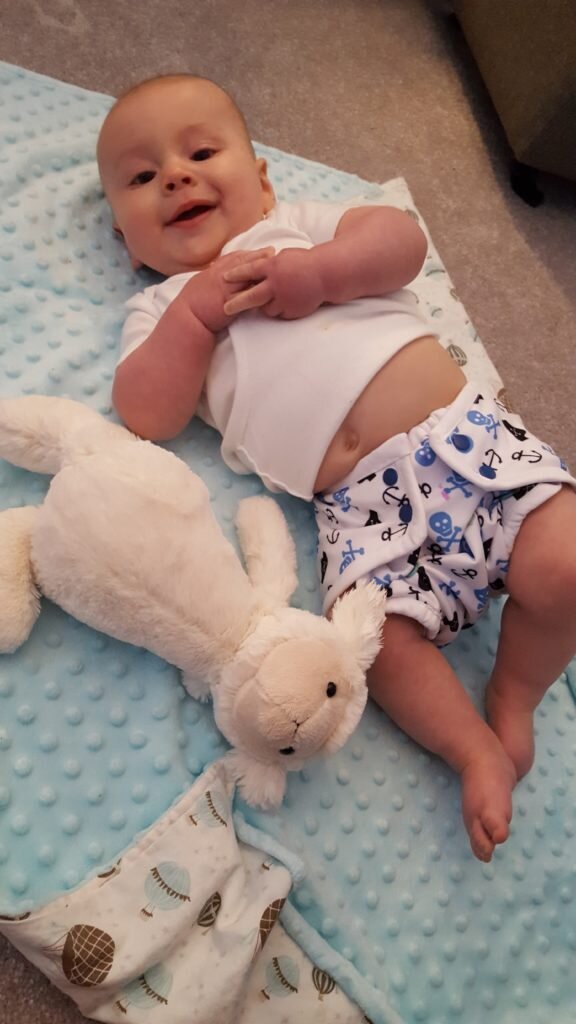
This picture was taken over two months ago! He’s gotten even bigger since then!
Back
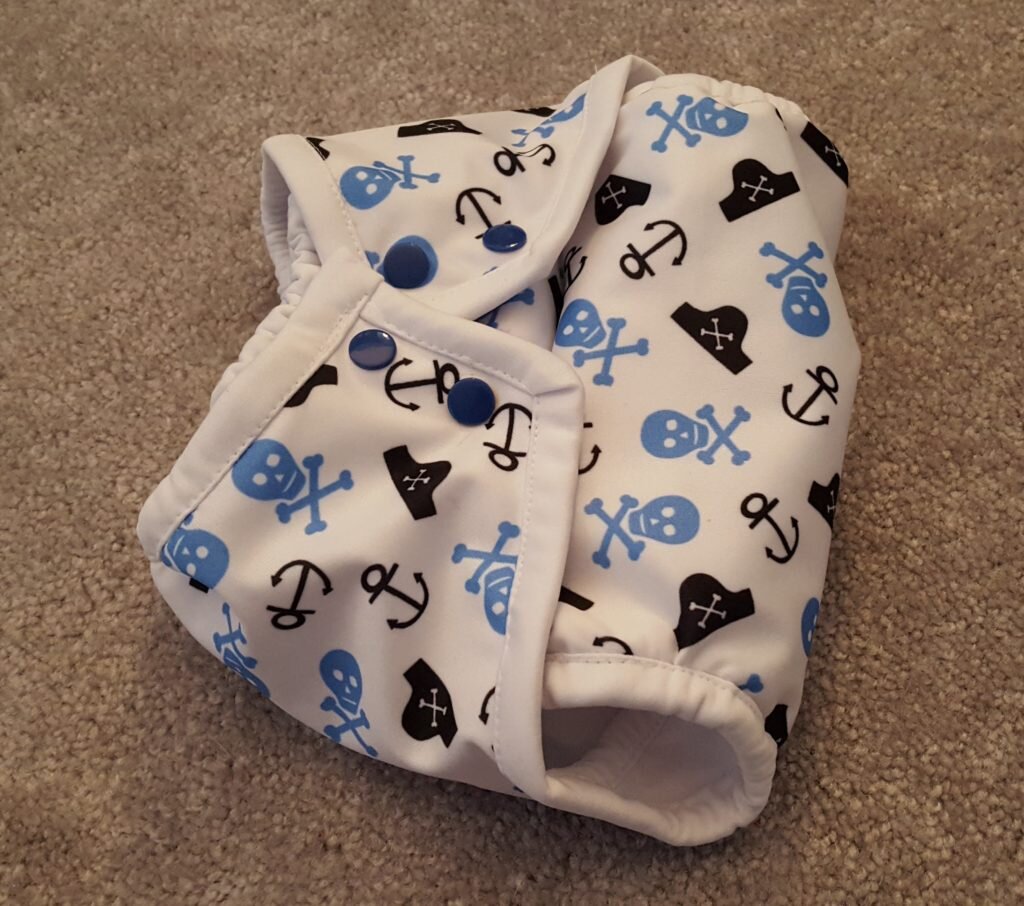
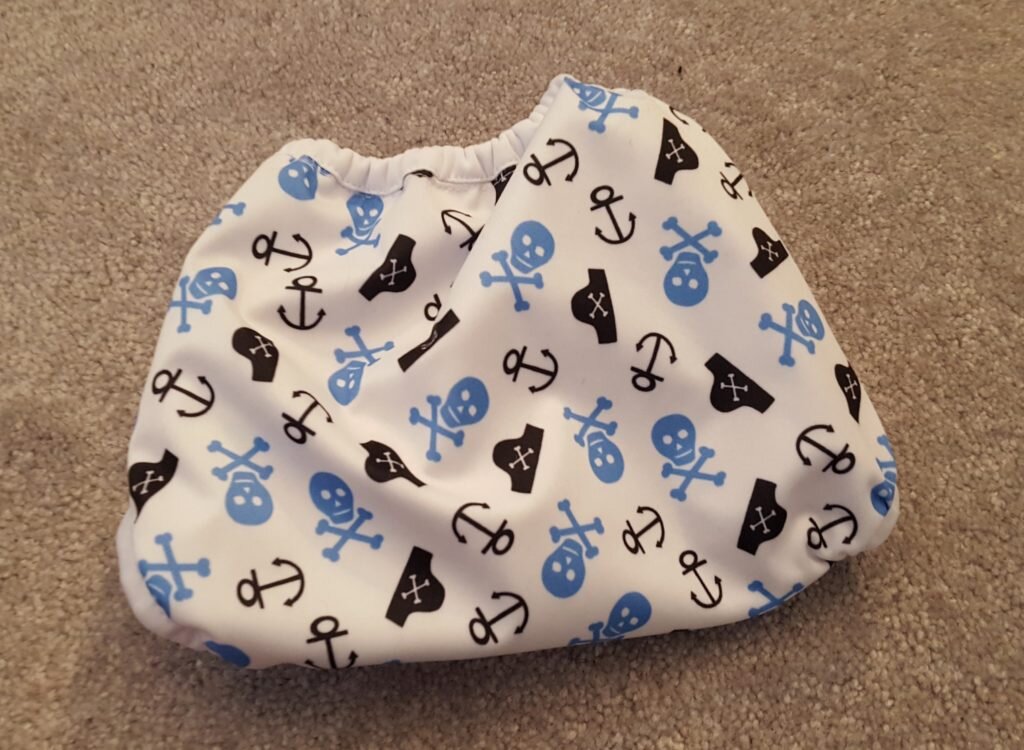
Front view on smallest setting.
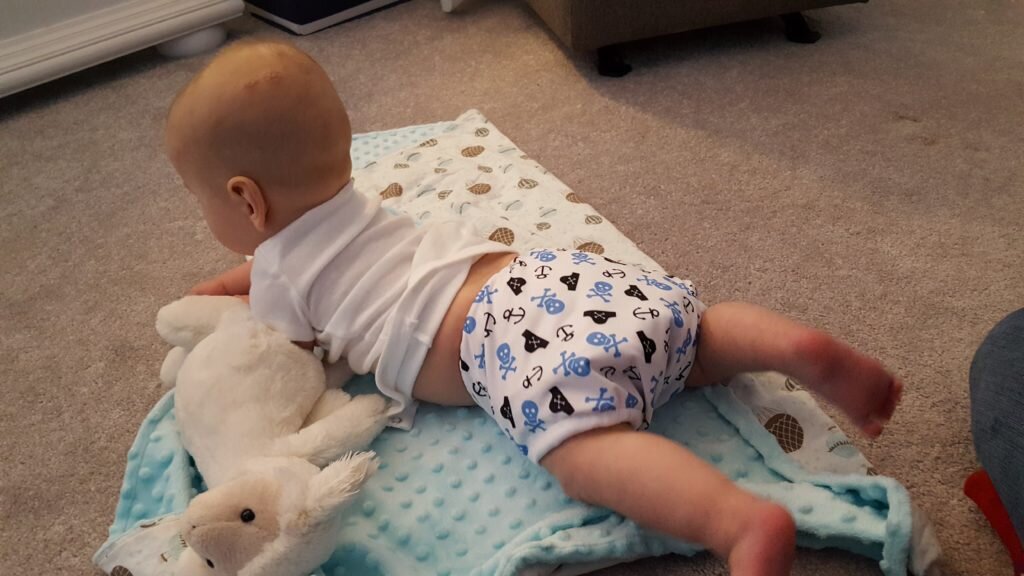
Back view of cover.
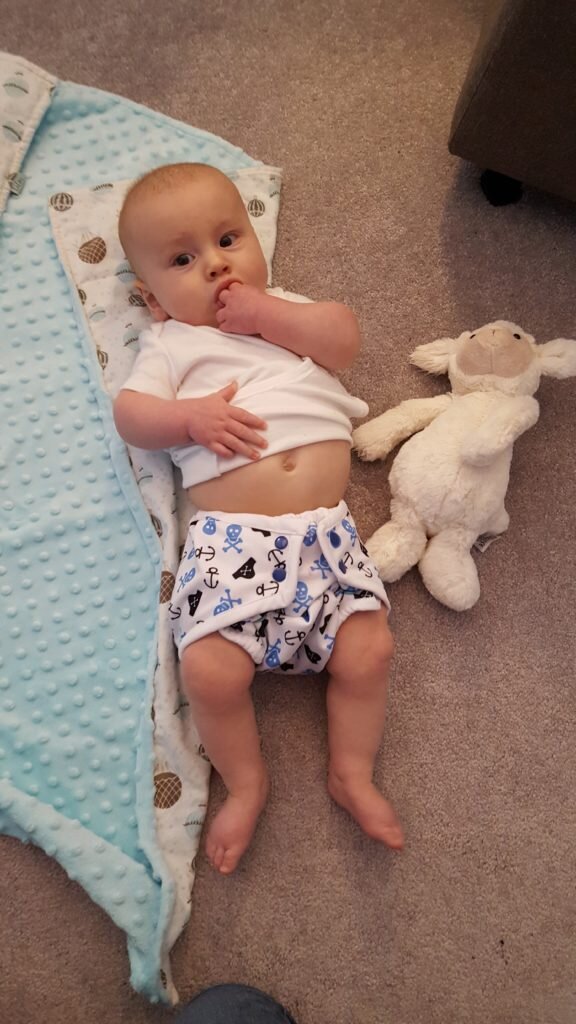
Is it cool if I suck my fingers?
