
After the faire my aunt commissioned a new hat. She’s a school teacher and when she wore her Shakespeare hat on Columbus day she got a great reaction from the students. She thought a Puritan hat would delight her students around Thanksgiving. After I finished my mom’s curtains I whipped something up. I really hope it fits her, I had to estimate the size because I didn’t have her head measurements. If you’d like to make your own you can follow my instructions below! Or send me an email, give me your head size, and I’ll make one for you!
I must admit that when I was making the hat I completely messed up the hook timing on my sewing machine. None of the stitches would work so I spent 3.5 hours messing around with it. There are a lot of tutorials on how to adjust your hook timing, but they don’t really explain where the needle needs to be at each point during its traversal. This article gave me the answers I needed and saved my butt. My sewing machine is alive again, and I didn’t need to take it in to a shop (which I’m certain would have left me for weeks without a machine, which is just something I could not bare).
Puritan/Pilgrim Hat
What you’ll need:
- a yard of Pellon Peltex 70
- a yard of black material (I used cotton velvet because I had it available)
- a yard of black bias tape 2″ wide (I usually make my own)
- a yard of steel spring wire & joiner
- a strip of faux black leather or suede
- a metal buckle
- Measure your head size then add 1/2″. Either use my flap topped cone tutorial for the fez to calculate the template for the top part of the hat, or plug in measurements here.
- A=4″
- B=head circumference/pi
- C=7″
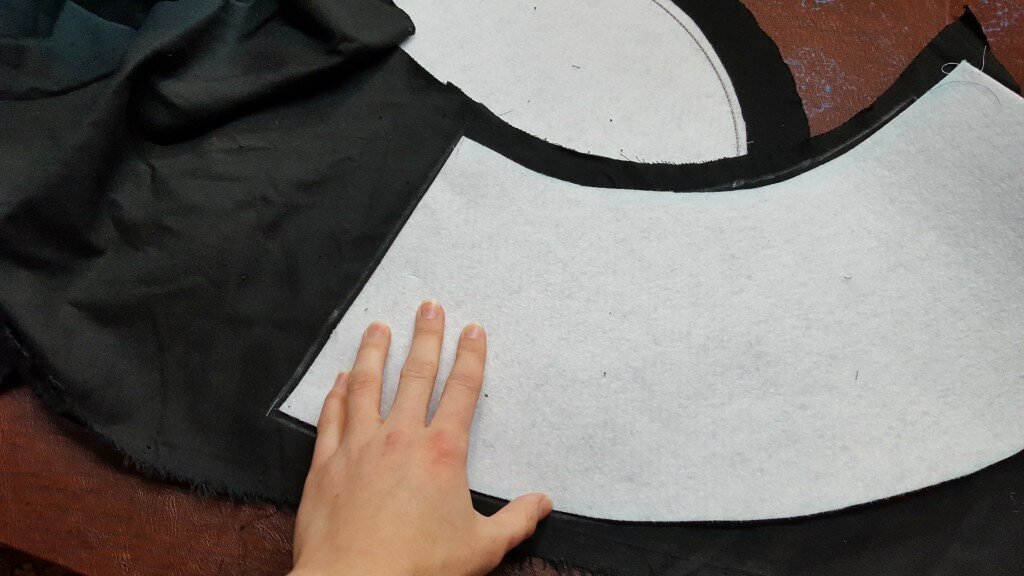
- Using a string and a protractor cut out the arc calculated above from Peltex 70. Also cut out a circle of radius 2″ larger than your head radius and a 2″ radius circle.
- Cut 2 circles of black fabric 1″ larger in diameter than your large circle, one circle of black fabric 1″ larger in diameter than your small circle, and one arc 1/2″ wider on all sides than your Peltex arc segment.
- Take the large circle and measure out steel spring wire to fit just within the circumference. Join the ends of the wire.
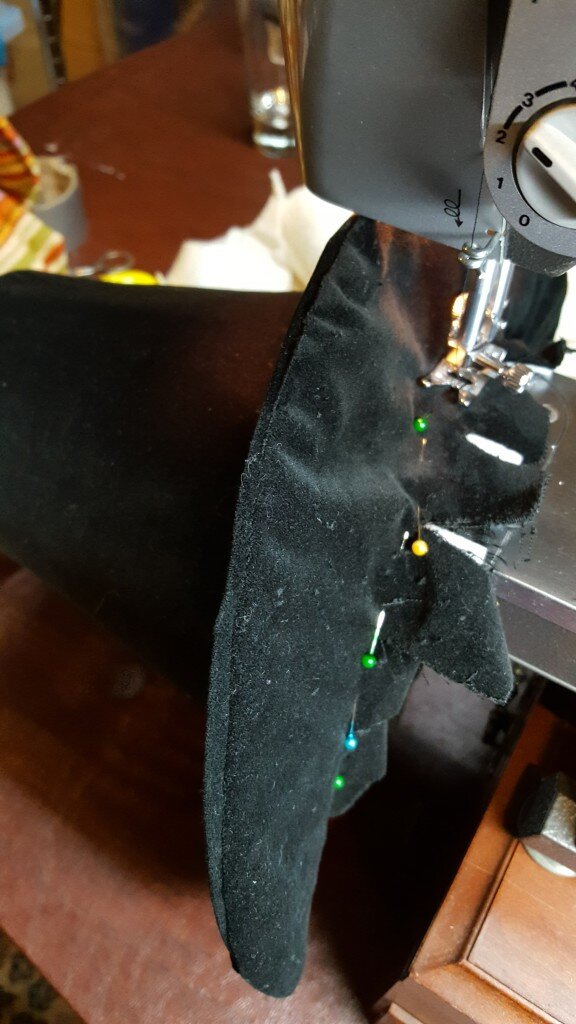
- Very carefully sew the steel wire to the Peltex circle using a large zig zag stitch. You do not want the needle to hit the steel or bad things will happen (trust me, see above).
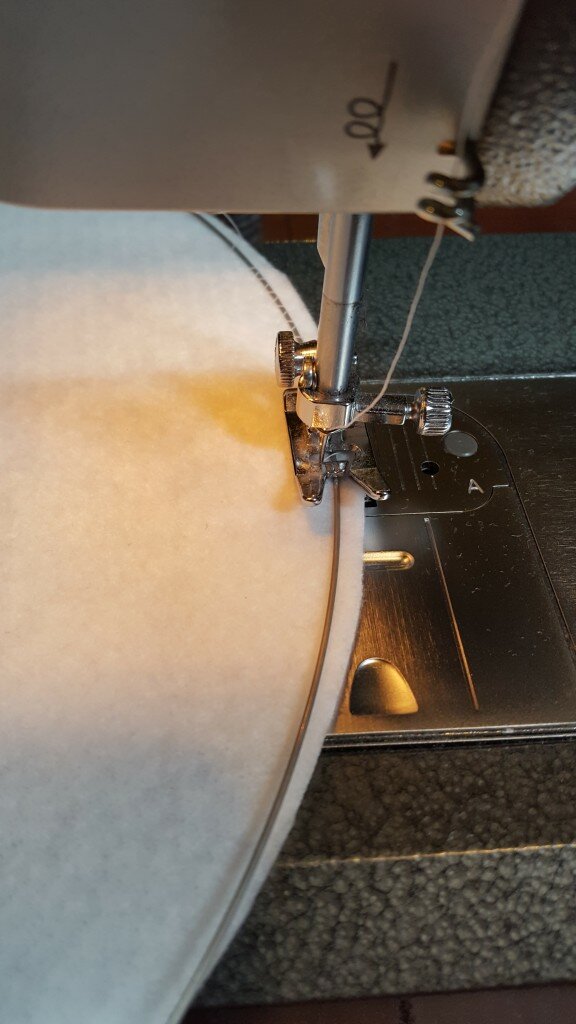
Carefully zigzag stitch the steel spring wire in place on the brim.
- Right sides together, pin and stitch the edges of the black fabric arch together.
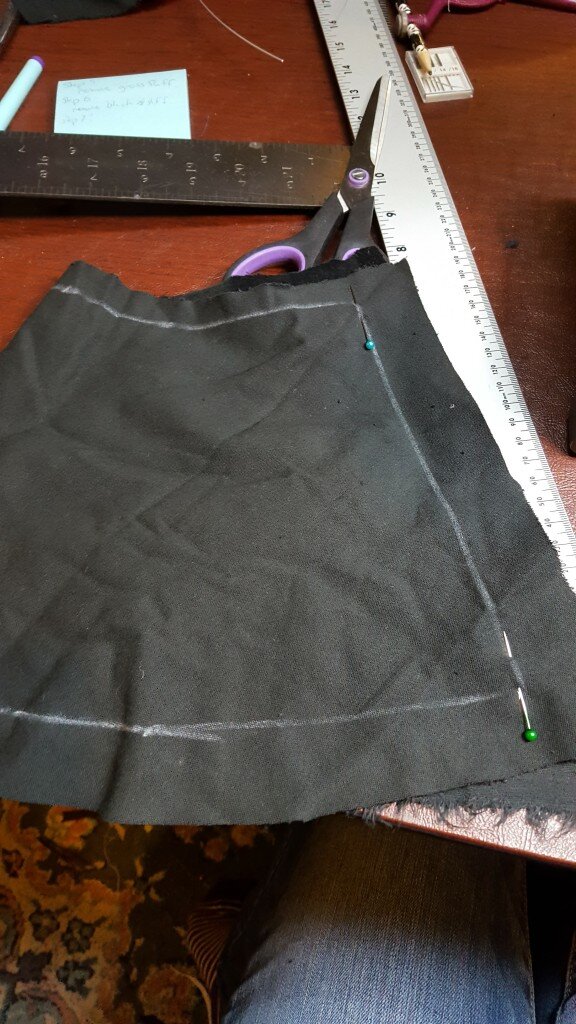
Pin right sides together and stitch fabric arc.
- Pin the small black circle to the top of the arch. Stitch.
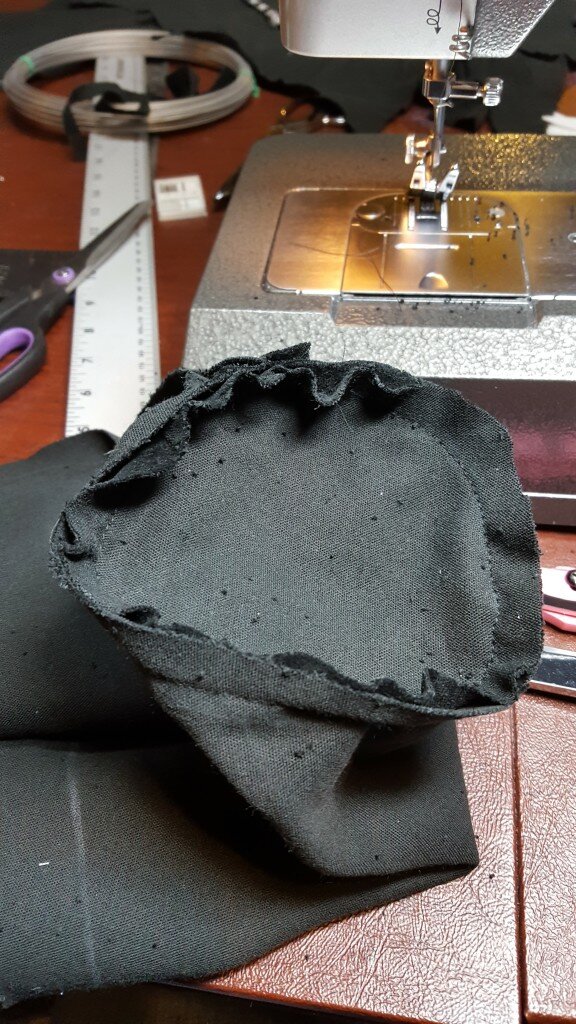
Pin small circle to top of sewn arc and stitch.
- Sew the edges of the Peltex arch together using a zig zag stitch. I was only able to sew the top and bottom.
- Hand sew the small Peltex circle to the top of the arch.
Hand sew Peltex circle to top of Peltex arc.
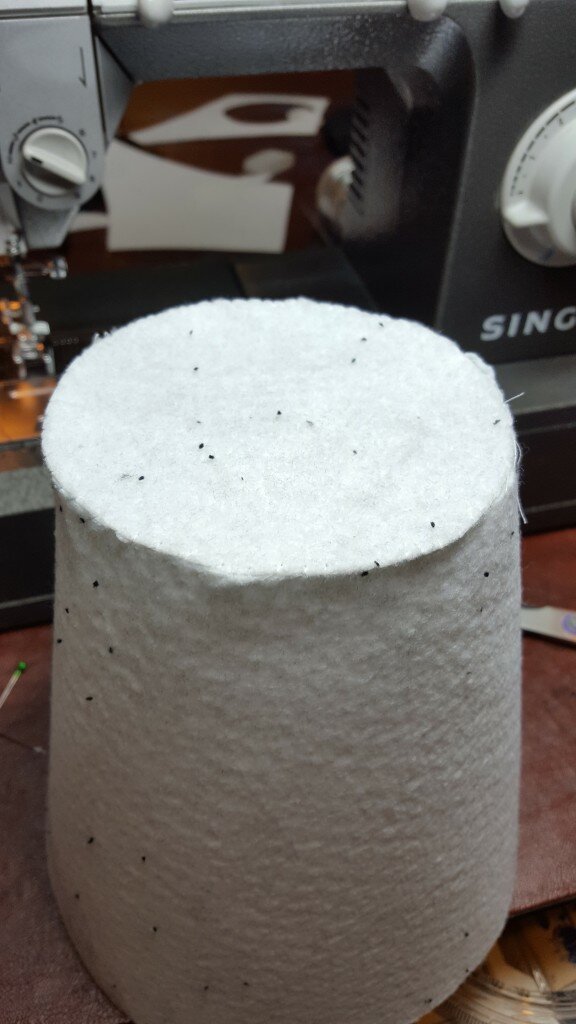
- Cut a circle out of cotton batting slightly smaller than the top of the hat and place it on the top of the hat.
- Turn black portion of the cap right side out and fit it over the Peltex structure.
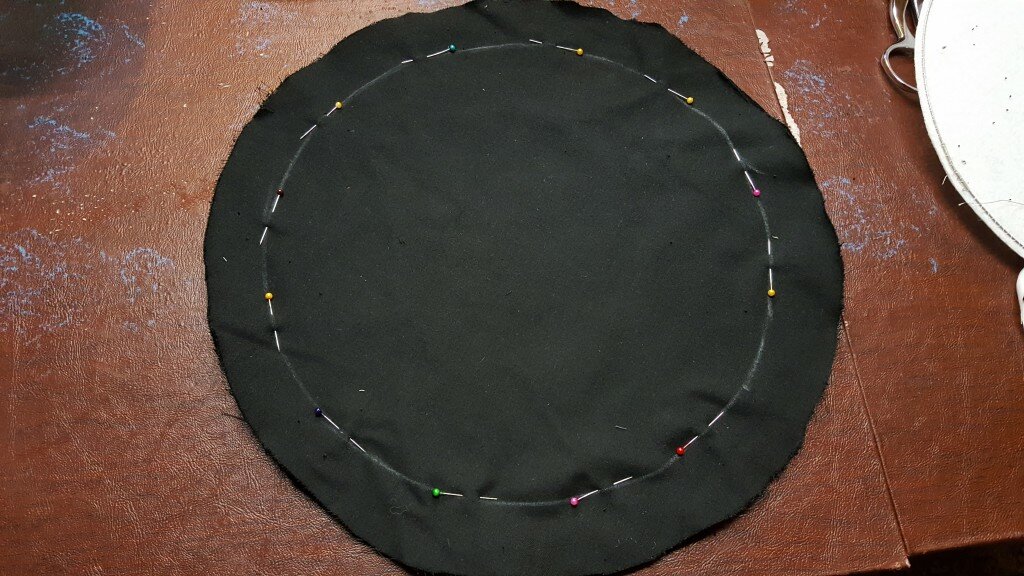
- Mark out a circle the same size as your head on the Peltex brim and two black brim pieces. Cut a large X in each, then trim to within an inch of the circles you drew. Snip in 1″ increments to 1/8″ of the circle you drew.
Snip x into your brim.
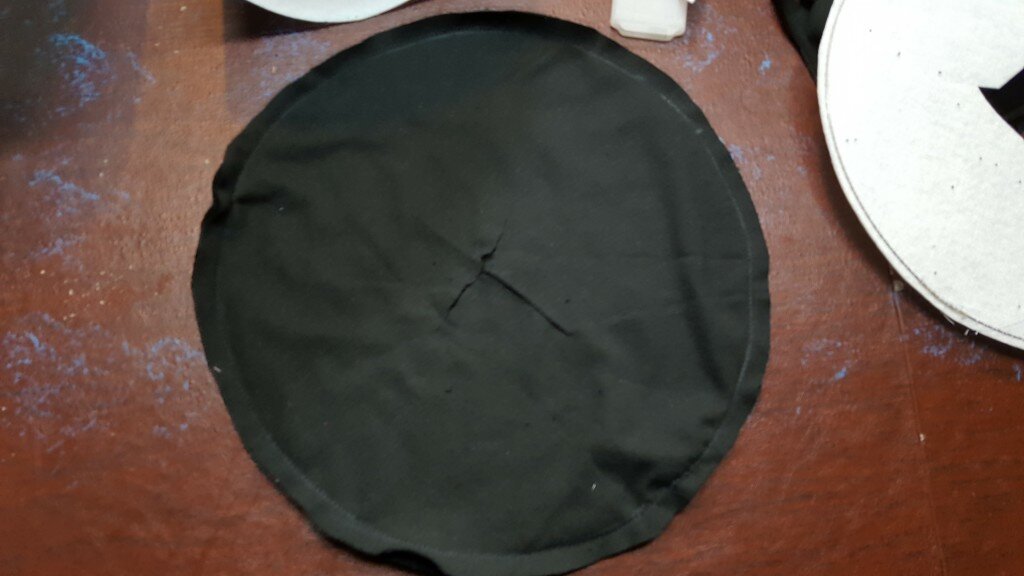
- Pin and sew the two brim pieces together, right sides facing.
Pin and sew brim together.
- Place the brim interfacing on the two brim pieces and turn everything right side out. Adjust everything so interfacing sits flat.
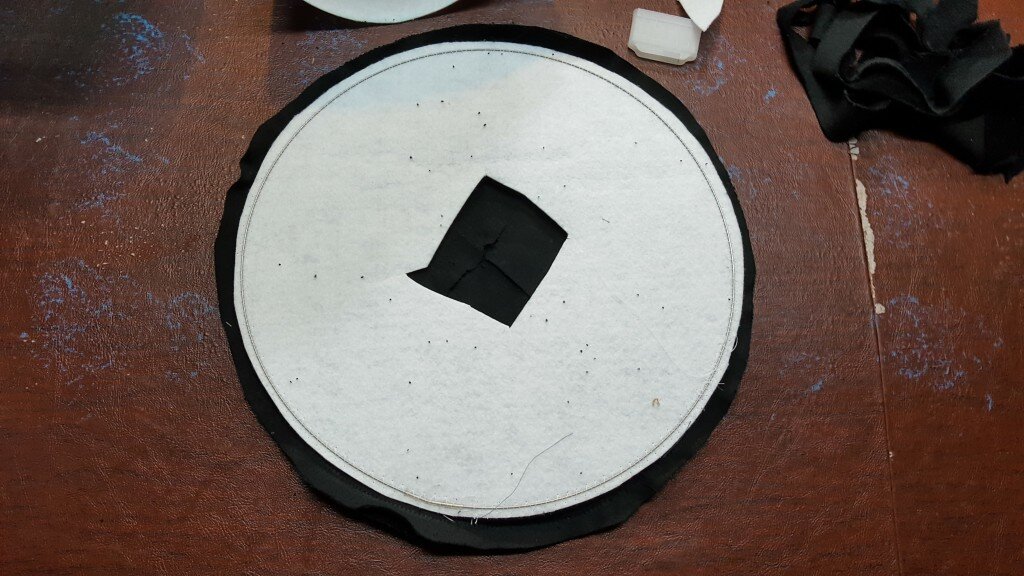
Place interfacing on brim pieces and turn right side out, sandwiching the interfacing inside.

Finished brim.
- Pin the excess material of the hat top to the brim.
Pin seam allowance of the hat to the brim.
- Here I think you could do a couple different things to finish the hat that may have been smarter than what I did. Step 17 is an alternative finishing method. Below is what I did.
- Open out bias tape and pin right side of tape to right side along the seam you just sewed. Stitch in place.
- Trim seam and fold old bias tape over the trimmed seam. Stitch. When you wear the hat you’ll fold this portion in.
- Or try this alternative method:
- Trim the brim interfacing and innermost black fabric to 1/8″.
- Fold the outermost layer of black fabric (that you didn’t trim) into the hat. Stitch in place. The belt will cover this stitching anyway, so it shouldn’t be a big deal. You can also sew bias tape over this to neaten it up.
- Finally, make the belt for your hat. Take your faux leather and cut it to 3″x head size + 1″.
- Pin it the long ways right sides together. Stitch along this seam and also along one end (so you can easily turn it).
- Turn right side out, add buckle, then stitch ends together, right sides facing.
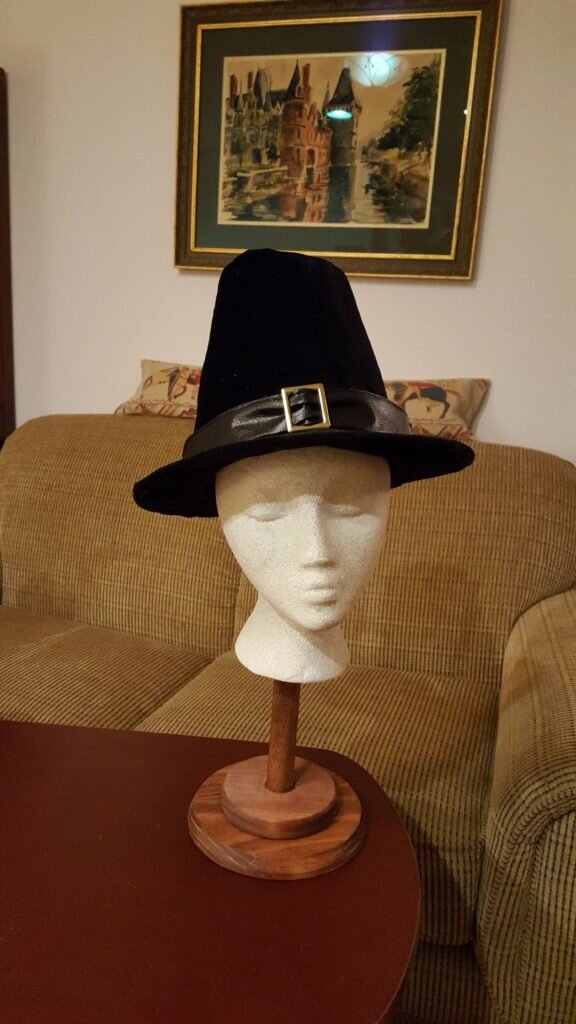
Finished Pilgrim hat

FYI, I’m not coming to Thanksgiving unless someone wears this at the dinner table.
Ha! Good thing it didn’t fit anyone!