
I mentioned that my sister was in town the other day for our New Year’s Eve Party, right? Well it was also her birthday this past week! I wanted to make something for her that she could easily fit in her carry on and then I remembered my last visit to Denver. Mandy asked me to join her for her first yoga class. Now she is hooked! Not surprising since yoga is so awesome, but I consider getting another person hooked on the joys of yoga a total win!
I decided to make her a mat holder for her birthday, though I wanted to improve on the one I made for myself. My biggest problem with the holder I made is that the pocket is pretty small. I can only fit my strap in there. This is because the curvature of the mat tightens the pocket. I haven’t completely solved this problem, but in the coming weeks I hope to show you yet another solution I came up with to resolve this problem. The other issue I did resolve. The orientation of the straps make it a bit awkward to throw over your shoulder. I also lengthened them a bit, though I don’t think this was necessary. Let me know what you think!
Improved Yoga Mat Carrier
What you’ll need:
- ~1/2 yard of scrap fabric (I used some leftover from the curtains in our lounge)
- 3.5 yards of 1″ thick nylon heavy webbing
- 1 foot of velcro
- 3 inches of covered elastic
- 1″ button
- Cut a 22″x16″ rectangle of your fabric.
- Press the sides under 1/2″ then under 1/2″ again.
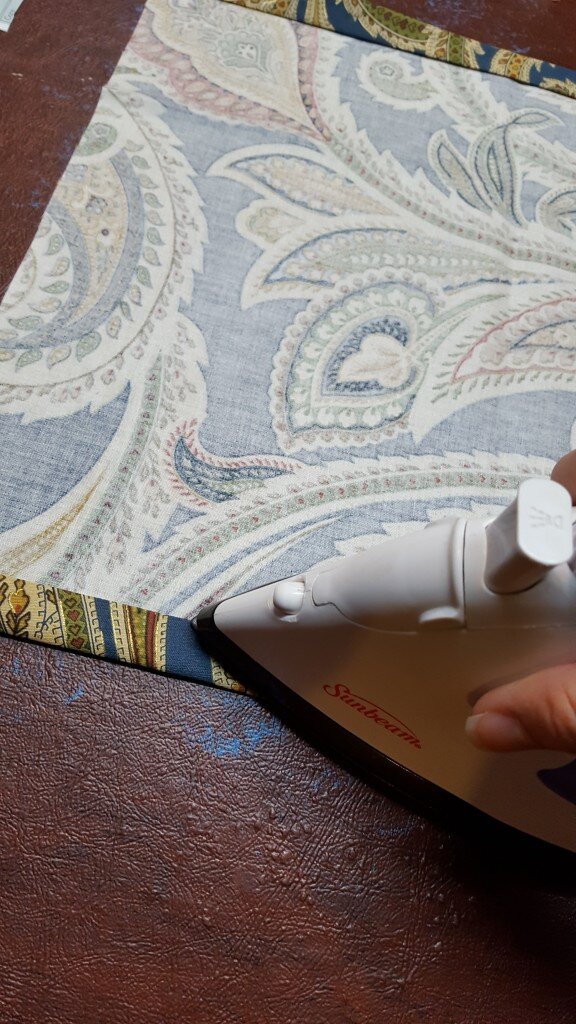
Fold edges under and press
- Fold out the corners. Snip the corner off at the first intersection of your folds.
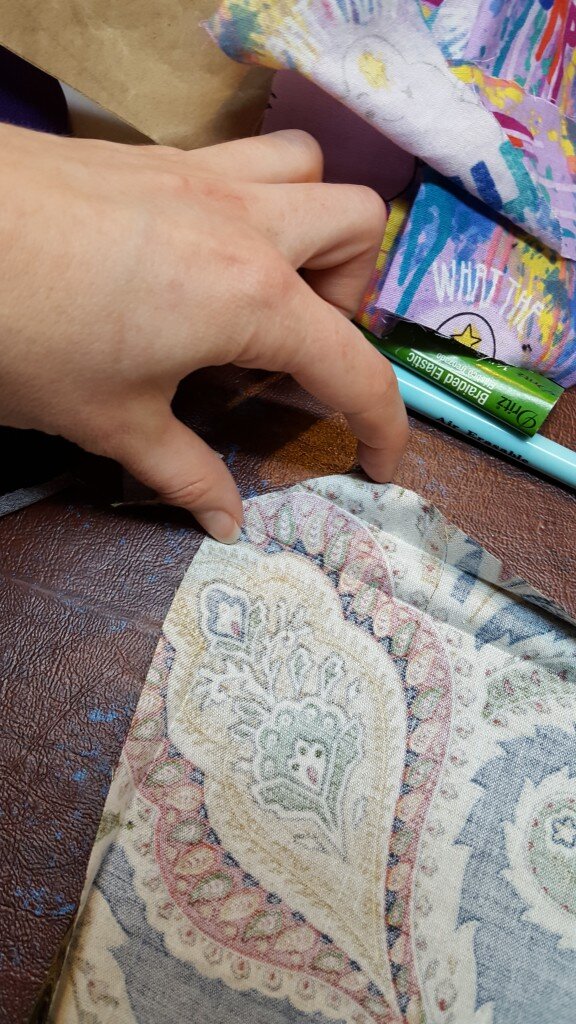
Snip off corner at first intersection
- Fold the rest of the corner over at the inner most intersection of your folds. Then fold the edges under 1/2″ and under 1/2″ again following the original folds.
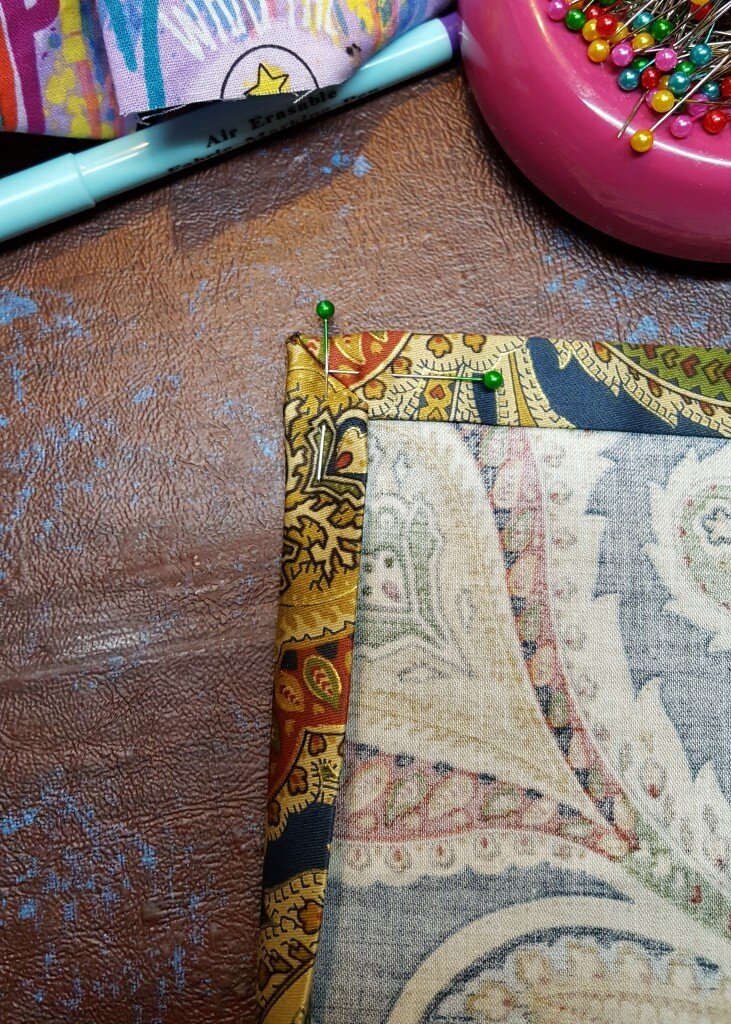
Mitered corners
- Repeat for all 4 corners. Pin & stitch
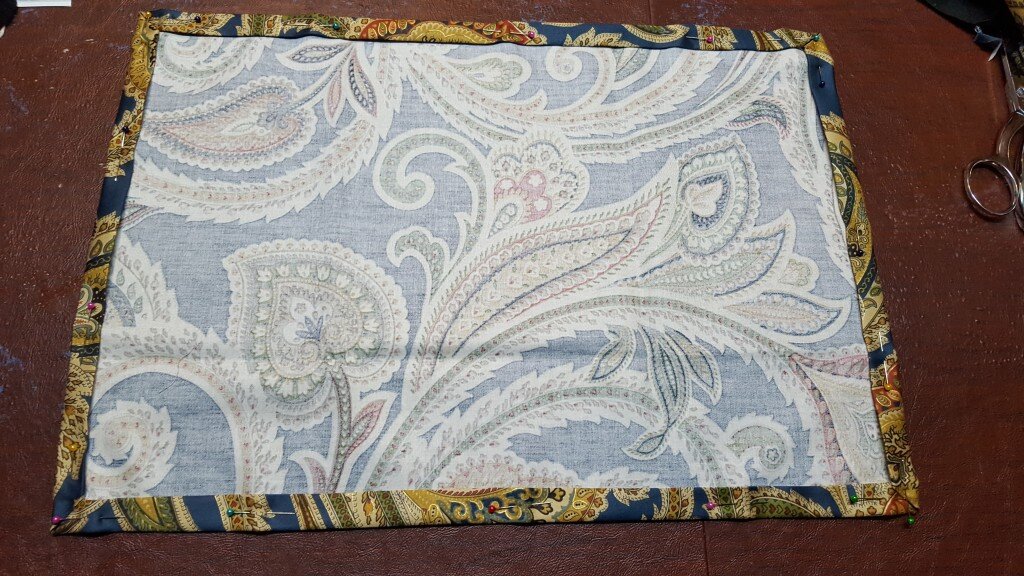
Pin and stitch edges
- Cut an isosceles trapezoid with dimensions as shown in the picture for your pocket.
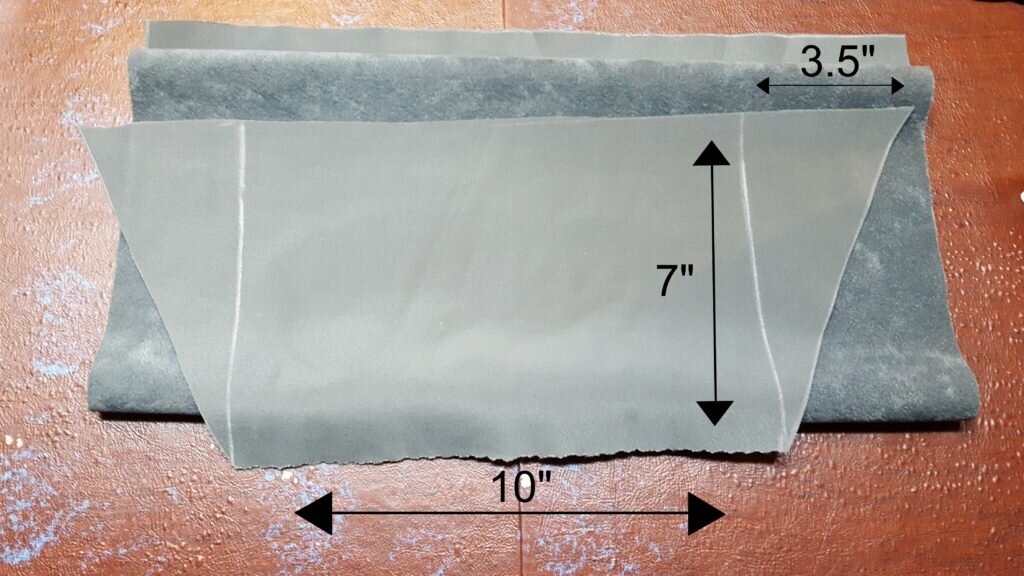
Cut trapezoid with dimensions specified.
- Press the top (long end) under 1/4″ and then under 1/4″ again. Stitch.
- Fold large rectangle for the bag in half to find the center. Pin the unfinished edge of the pocket slightly above this line. Stitch, leaving 1/2″ at each end unstitched.
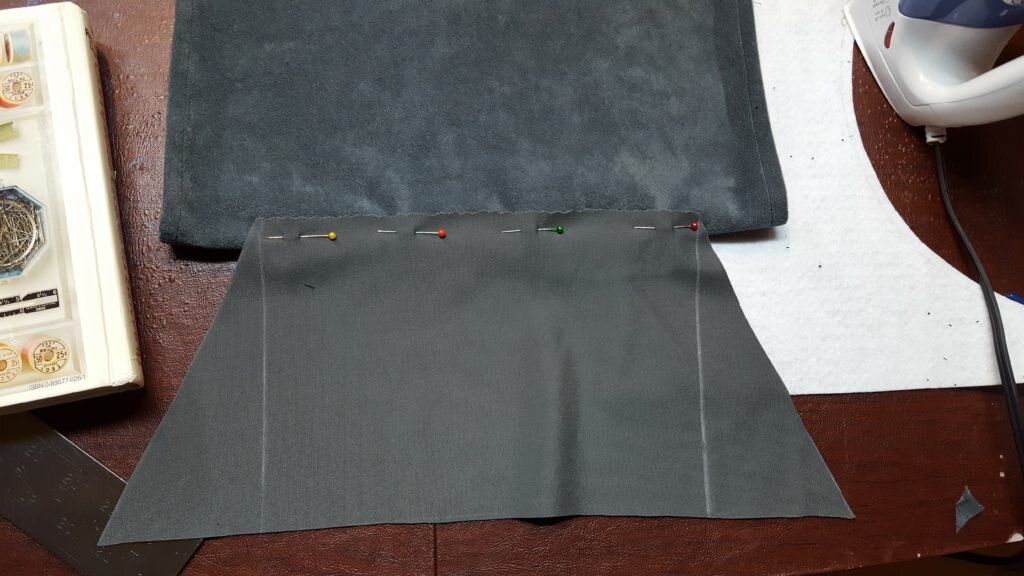
Pin bottom of pocket to bag. (The top of your pocket should be finished.)
- Fold 1/2″ in along each side. Pull the sides up so they are perpendicular to the bottom that you stitched. Pin the sides of the pocket and stitch on the right side of the pocket.
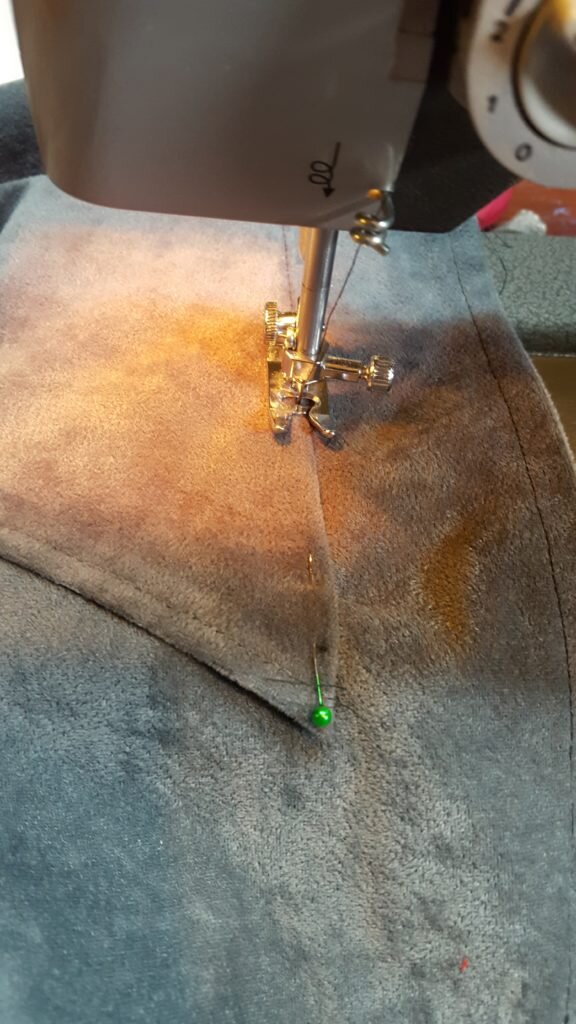
Stitch on the right side of the pocket.
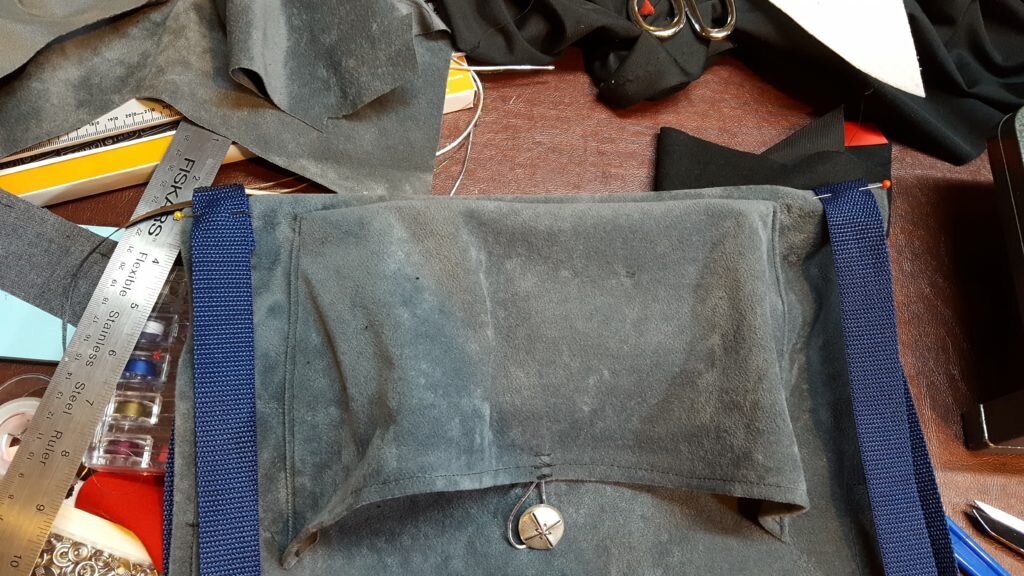
- Attach a loop of elastic to the inside of the pocket.
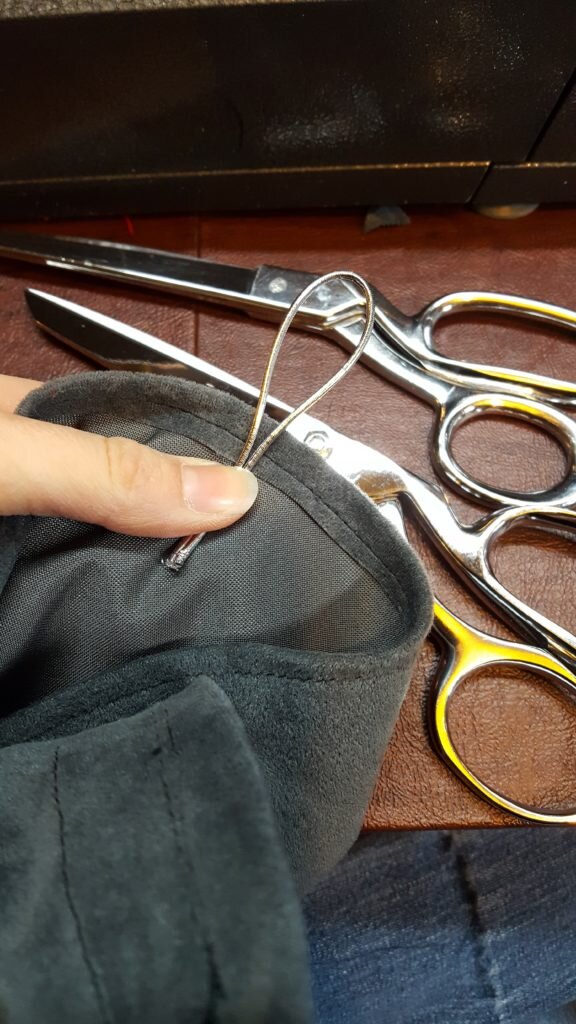
Attach loop of elastic to inside of pocket.
- Attach a button an inch above where the pocket ends.
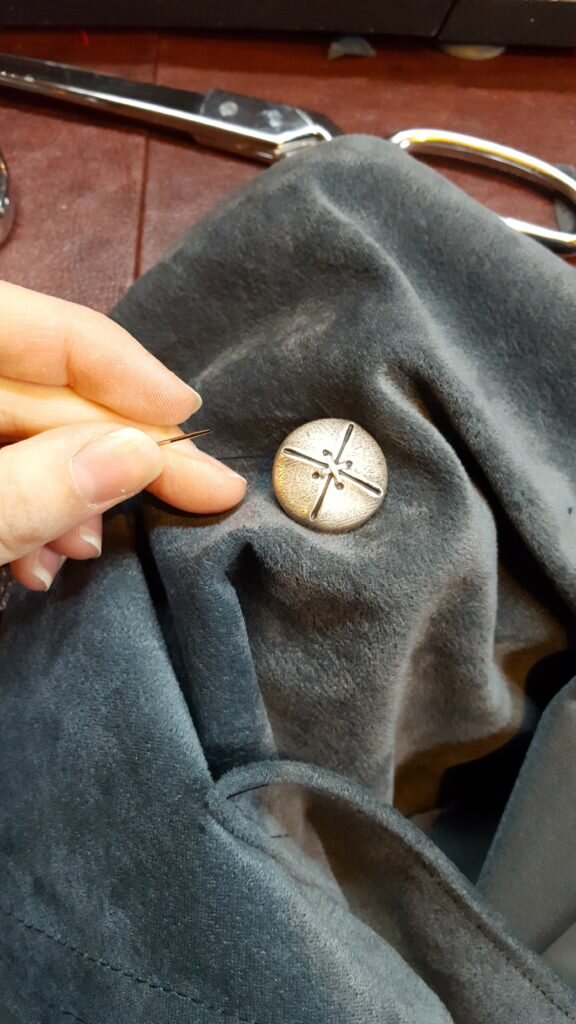
Attach button.
- Attach a 3.5″ piece of velcro vertically to the edge of each side of the top of the “bag” on the the right side of the fabric.

Attach other side of velcro to opposite side, outside carrier.
- Attach the other half of the 3.5″ piece of velcro on the edge of each side of the bottom of the “bag” (this is the side with the pocket) on the wrong side of the fabric .
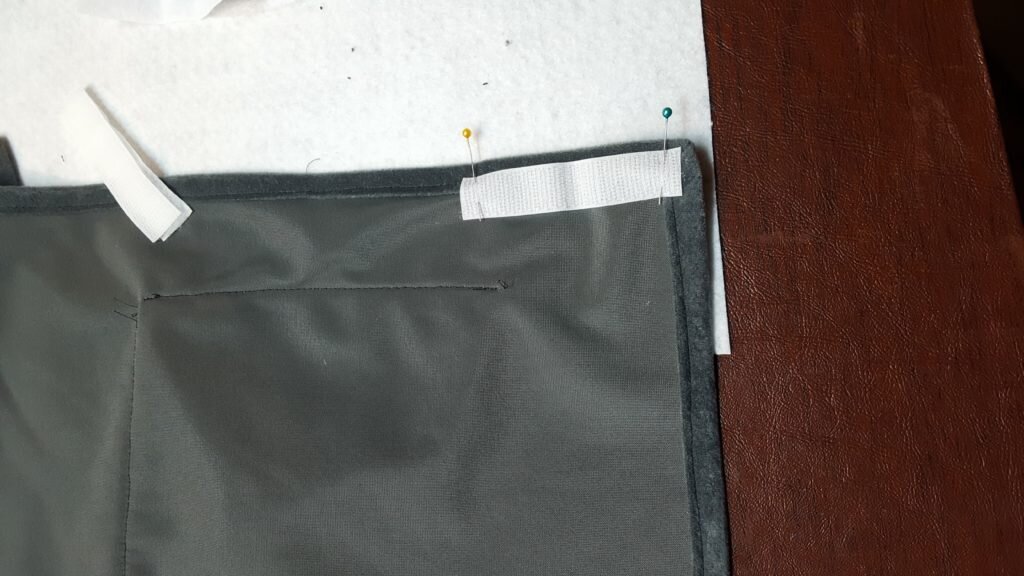
Attach velcro to sides inside carrier.
- Take your nylon webbing and toast the edges slightly with a lighter to prevent fraying.
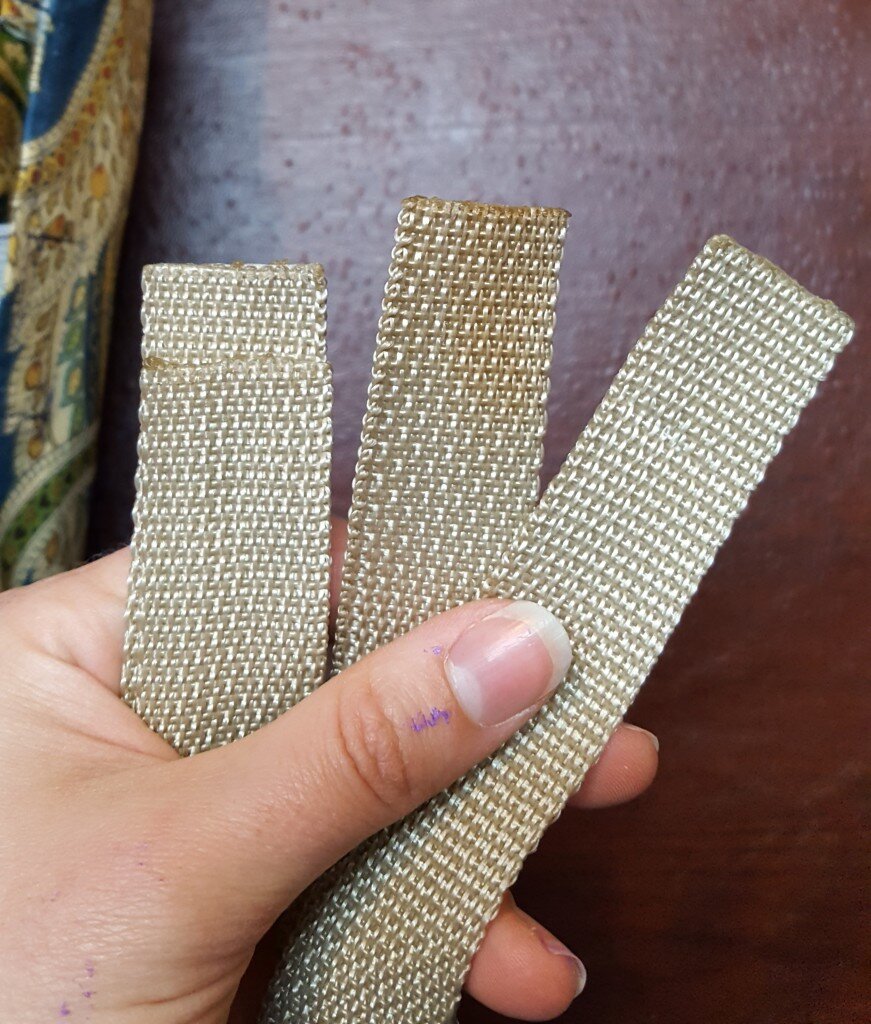
Burn edges to prevent fraying
- Form a giant loop with your webbing, making sure the loop is not twisted anywhere. Pin the ends of the loop together and stitch.
Stitch nylon together. Fold loop in half, and mark the center on both sides.
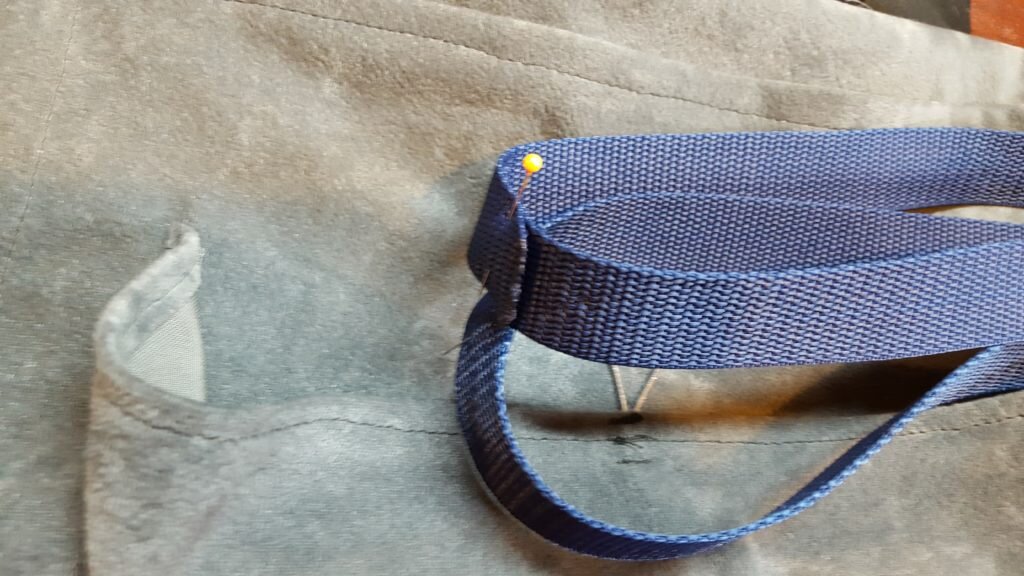
- Fold loop in half and mark the two folds (one should be the part you stitched in step 15). Once again fold fabric in half and pin one of the center marks of webbing to one side at the fold. Pin strap to edge until you are within 5 inches of the top and bottom. Repeat for second center mark. Make sure your strap is not twisted.
Fold carrier in half and pin nylon centers at this mark on each side.
- Stitch both straps on the edge from 2 inches below the velcro to 2 inches below the velcro on the other side.
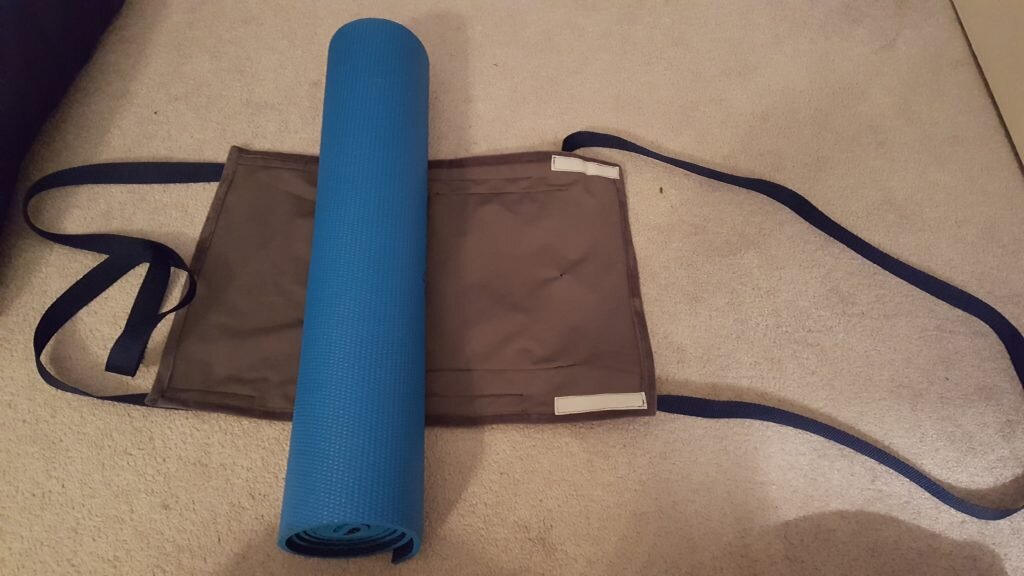
Enjoy!
To roll up your yoga mat lay the rectangle flat and put your yoga bag on top. Pull the side with pocket up first around mat snuggly, then wrap the other side around securing to the velcro. You can put your yoga strap in the front pocket!
Wrap your yoga mat.
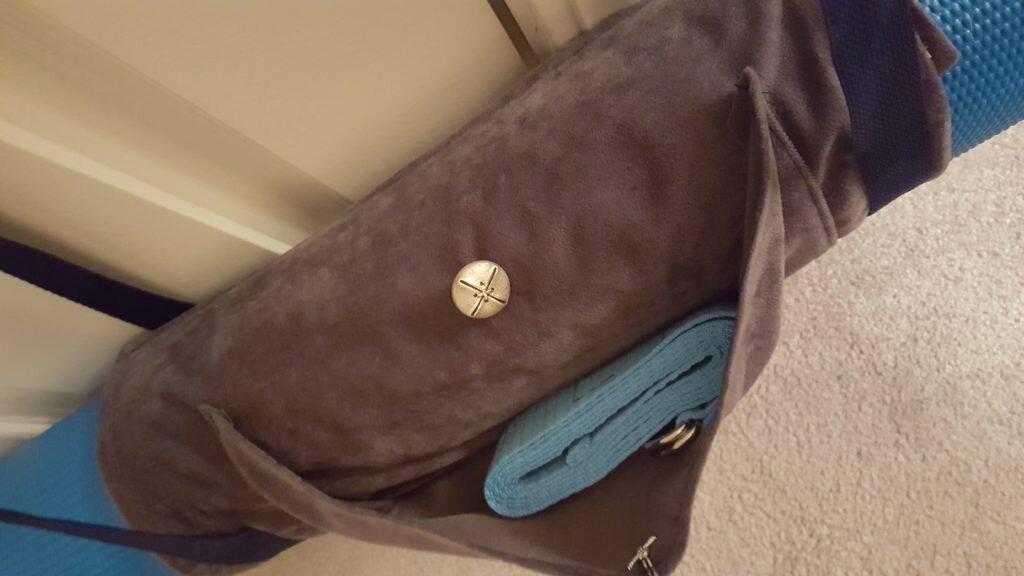
Your pocket can hold small things like a yoga strap!
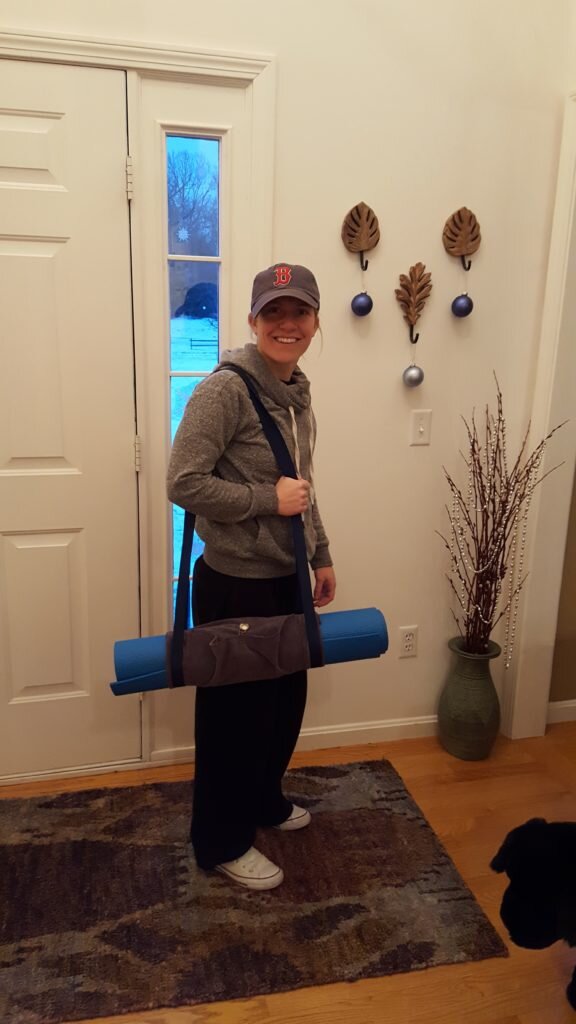
Mandy with her yoga mat carrier!

Hello! I just would like to give a huge thumbs up for the great info you have here on this post. I will be coming back to your blog for more soon.