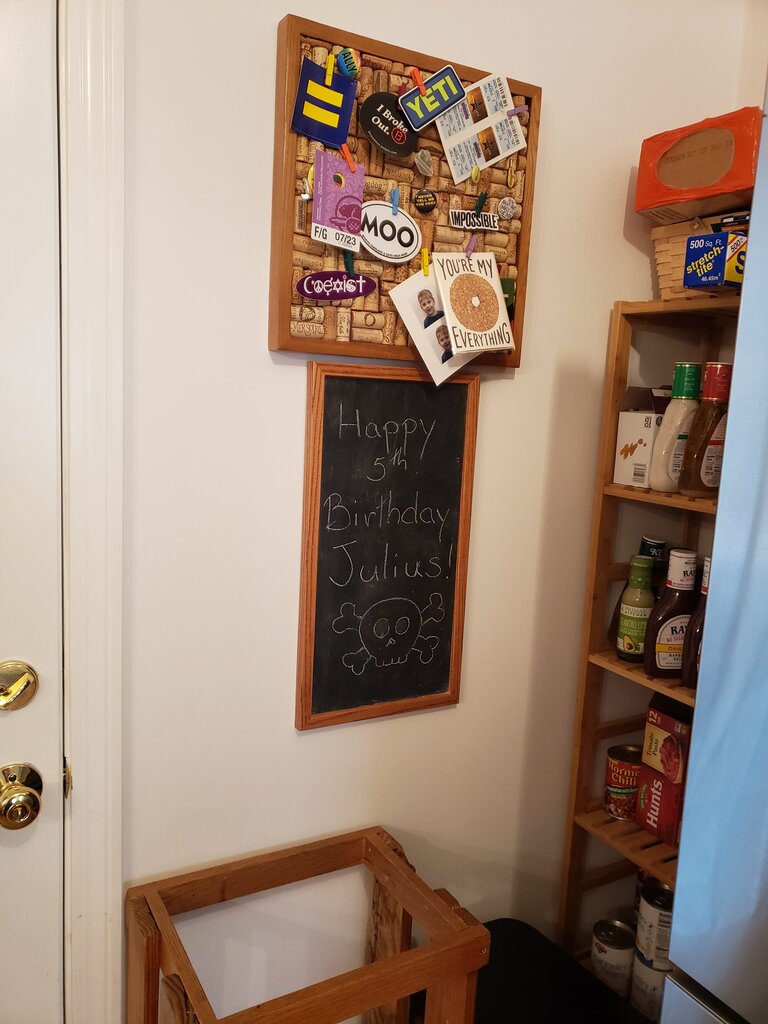
Today is Tuesday?! I know what you’re thinking, “\s you’re starting off the year great Lexi /s”. I know, I AM. I FORGOT IT WAS MONDAY! How zen must my vacation have been if I didn’t remember what day of the week it was?!
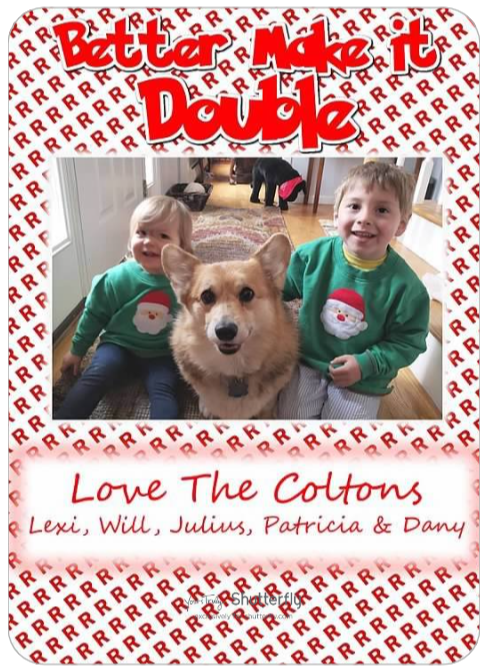
I did have a great vacation! The kids got to play with their cousins, we got to hang out with my siblings and parents, we played lots of board games and I did lots of crafts (at the expense of lots of sleep). Oh, and Santa came! (As Patricia would say, “Santa! Ho, ho, ho, Mewwy Cwistmas!”) For the first time ever Santa delivered presents to our house! It was awesome. I loved opening presents in front of our fireplace and the kids were so excited for Christmas and Santa this year, especially Julius, but even Patricia! (Patricia told Meepah before we left my parents house on Christmas Eve this year, “I’m gonna go see Santa!”)
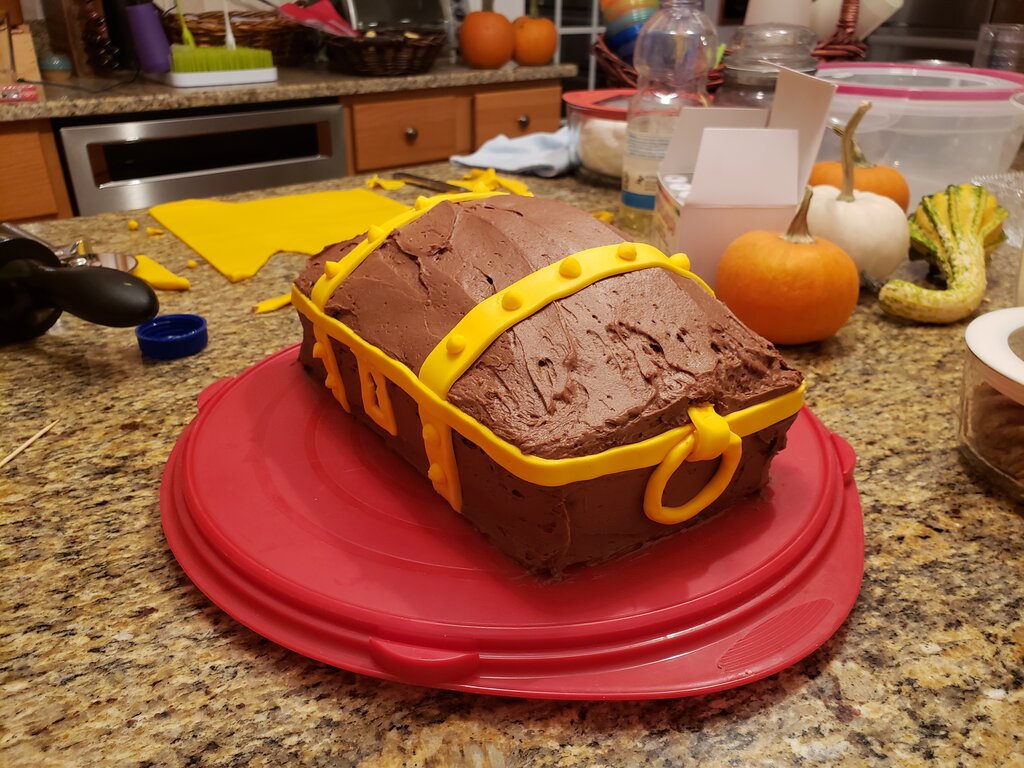
Oh and Santa even brought Julius a jelly cake!!!! I have no idea how Santa knew what a Jelly Cake was, but it appeared to be made of pumpkin bread, raspberry jelly and marshmallows for frosting! Wild! Perhaps all elves, Santa included, have a palate like that of Buddy the Elf.
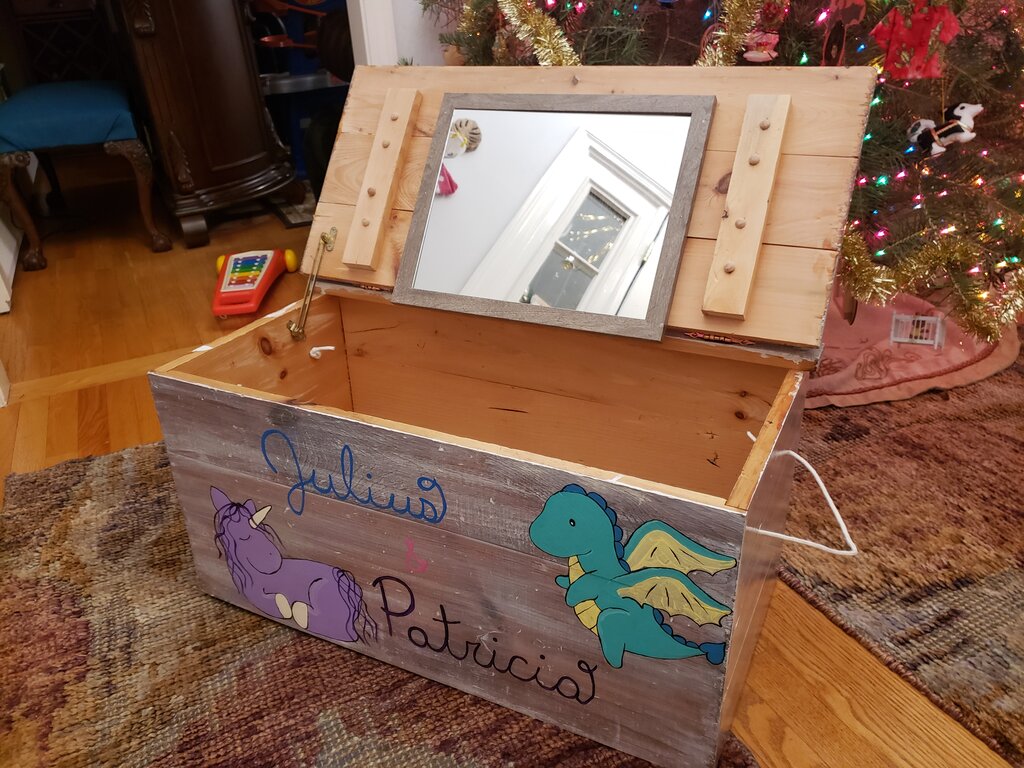
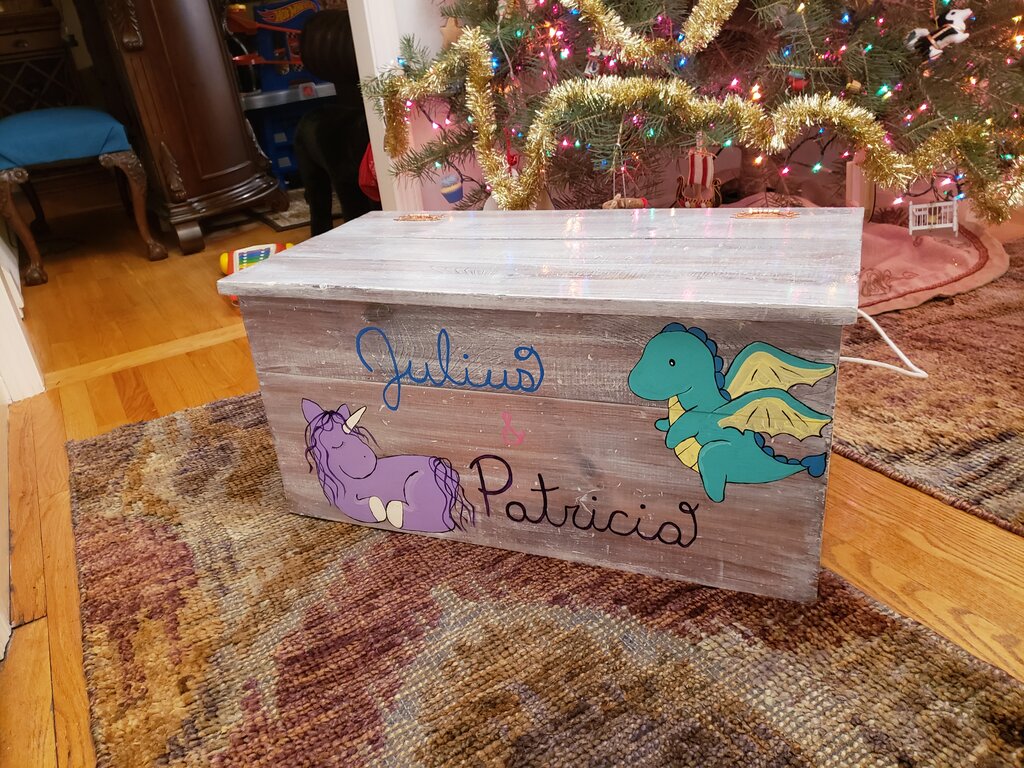
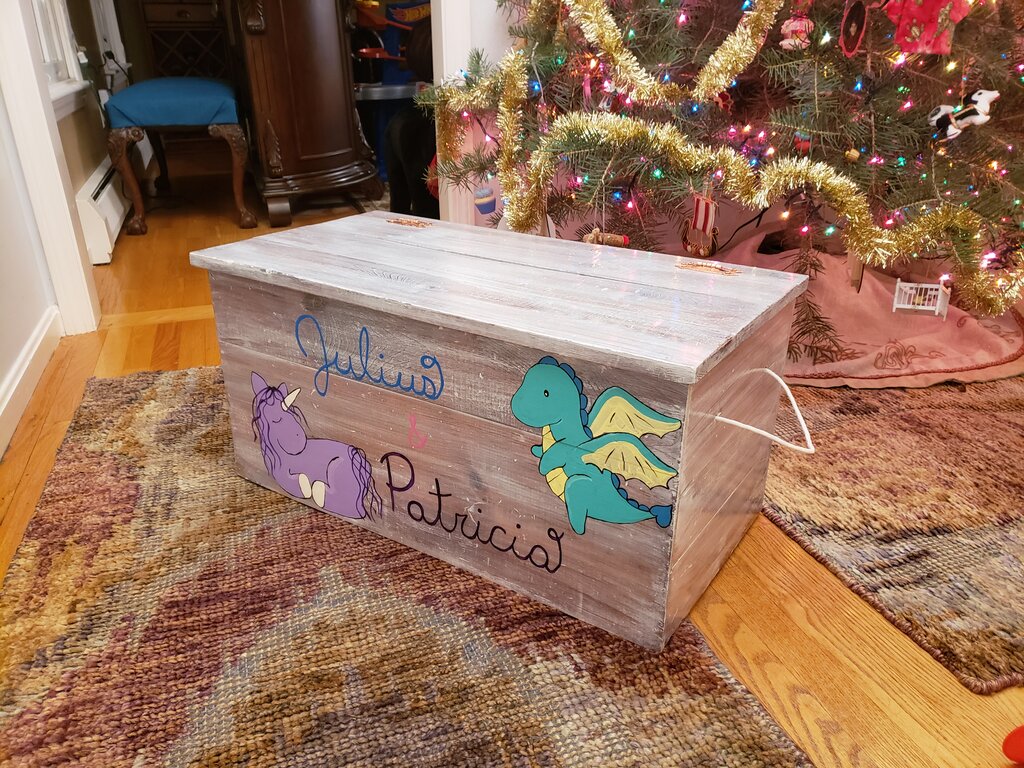
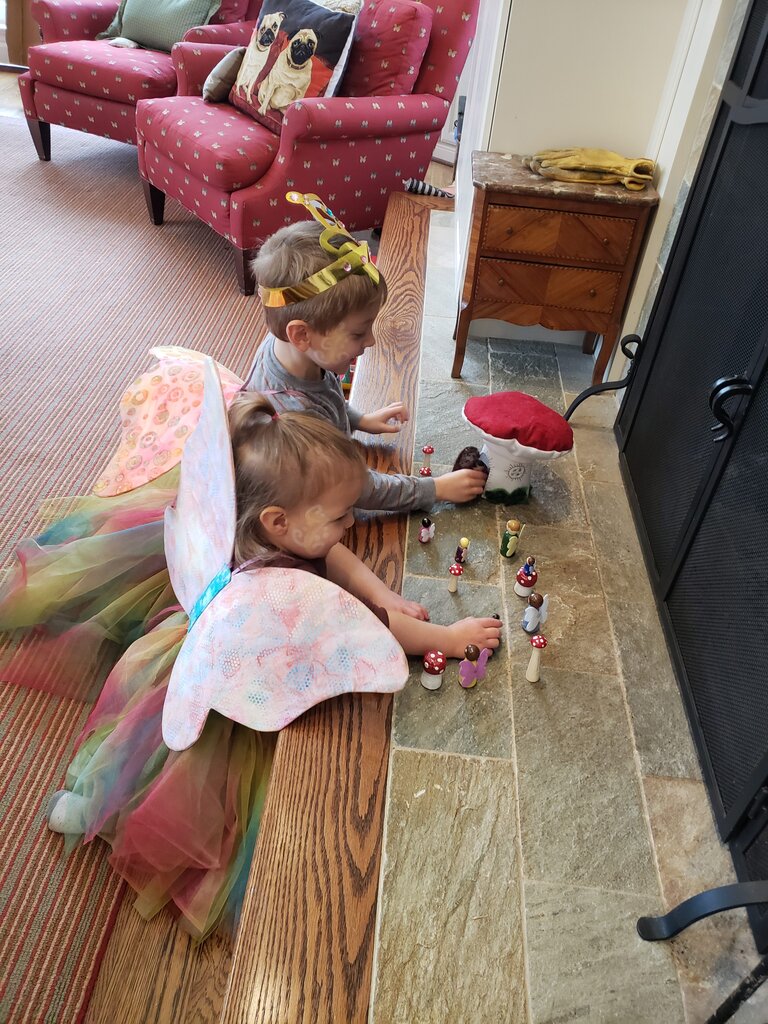
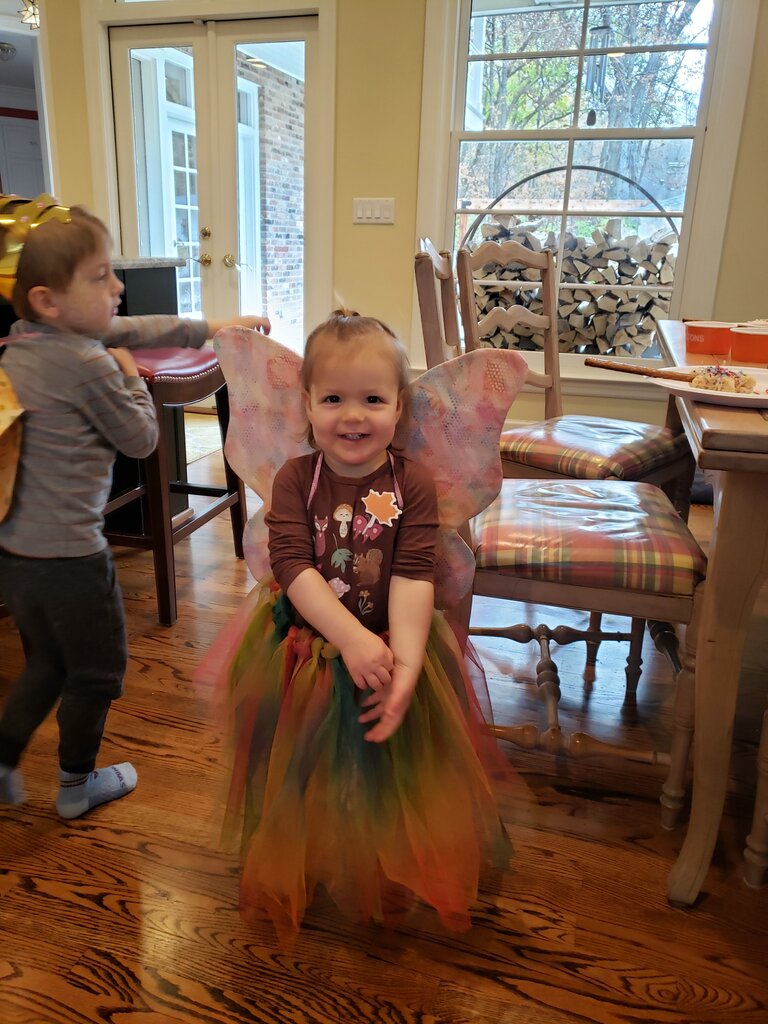
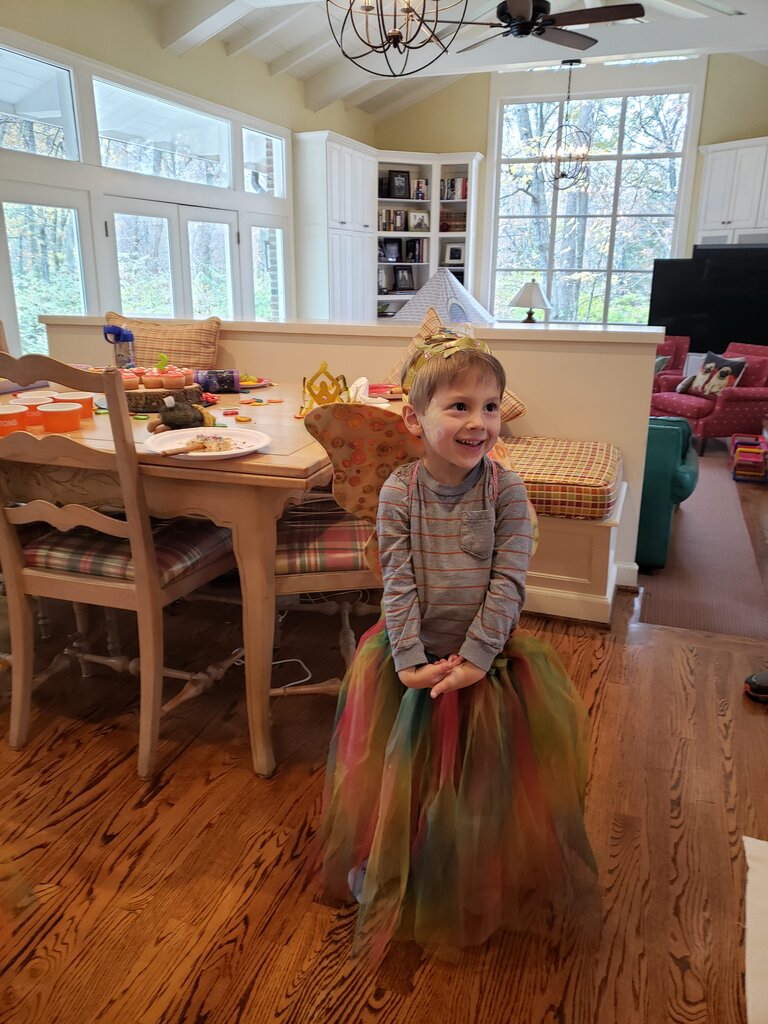
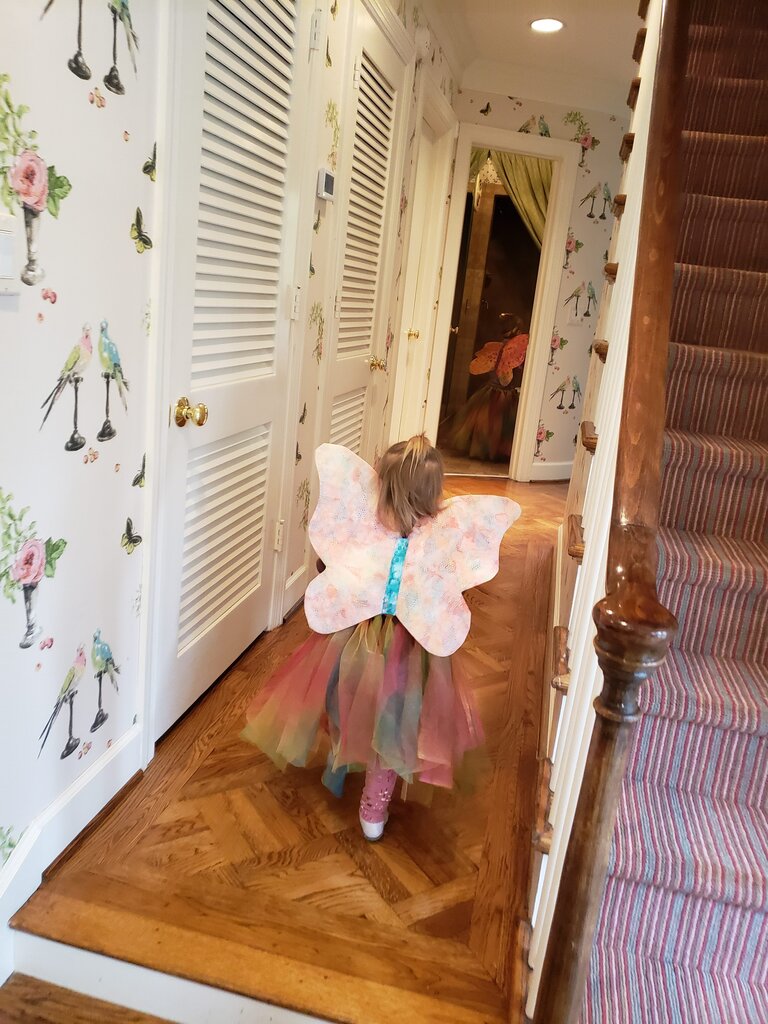
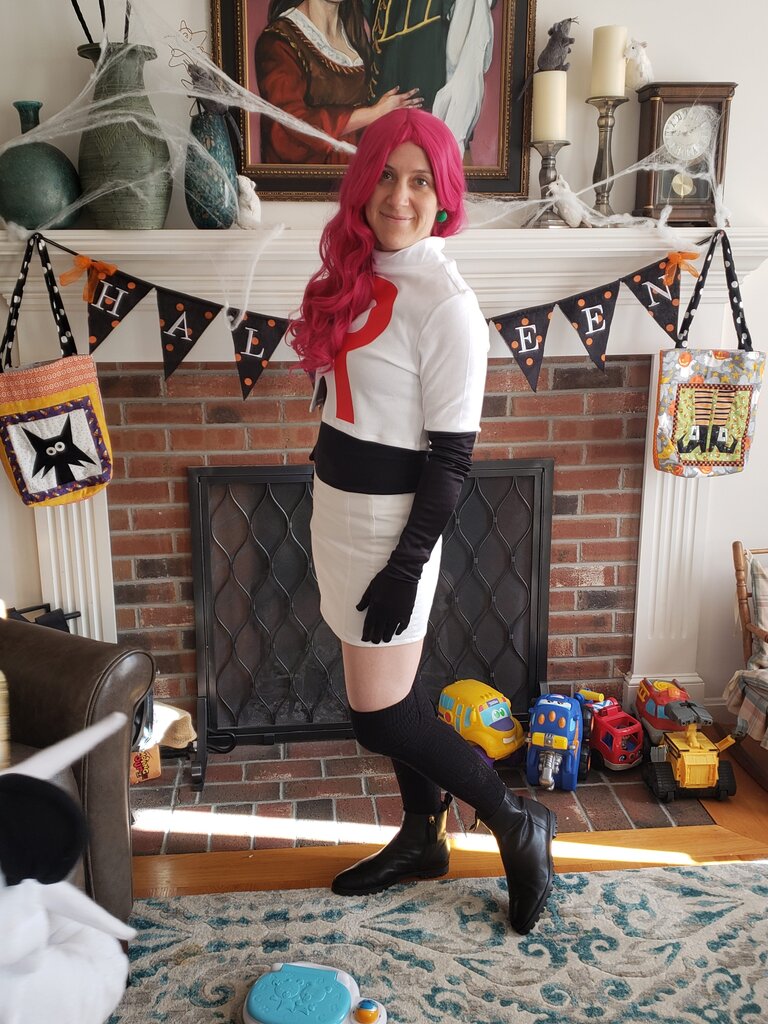
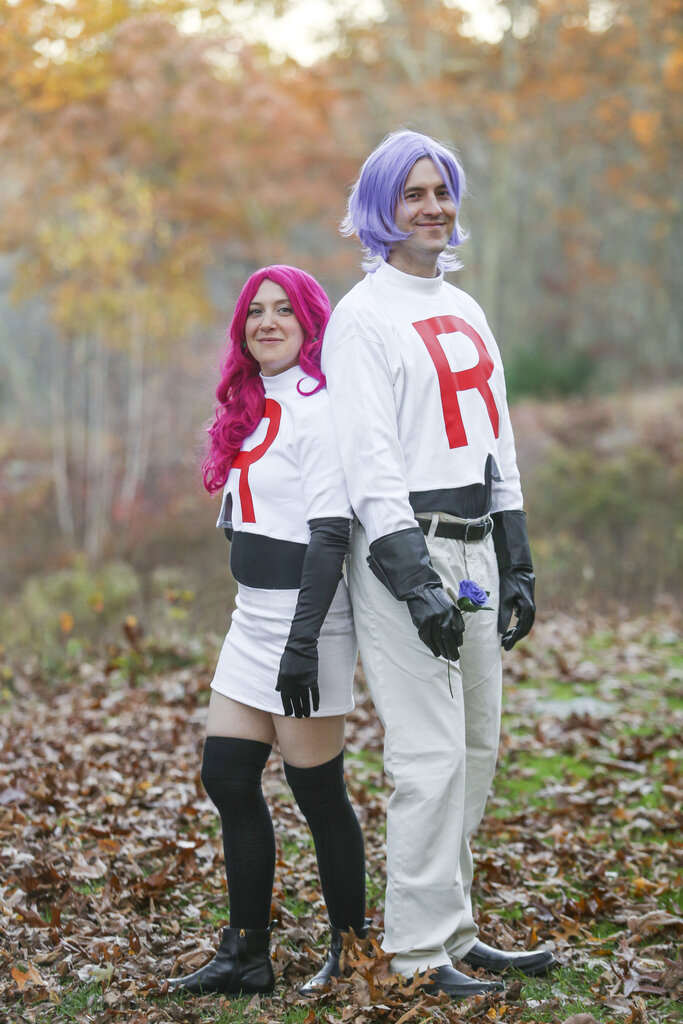
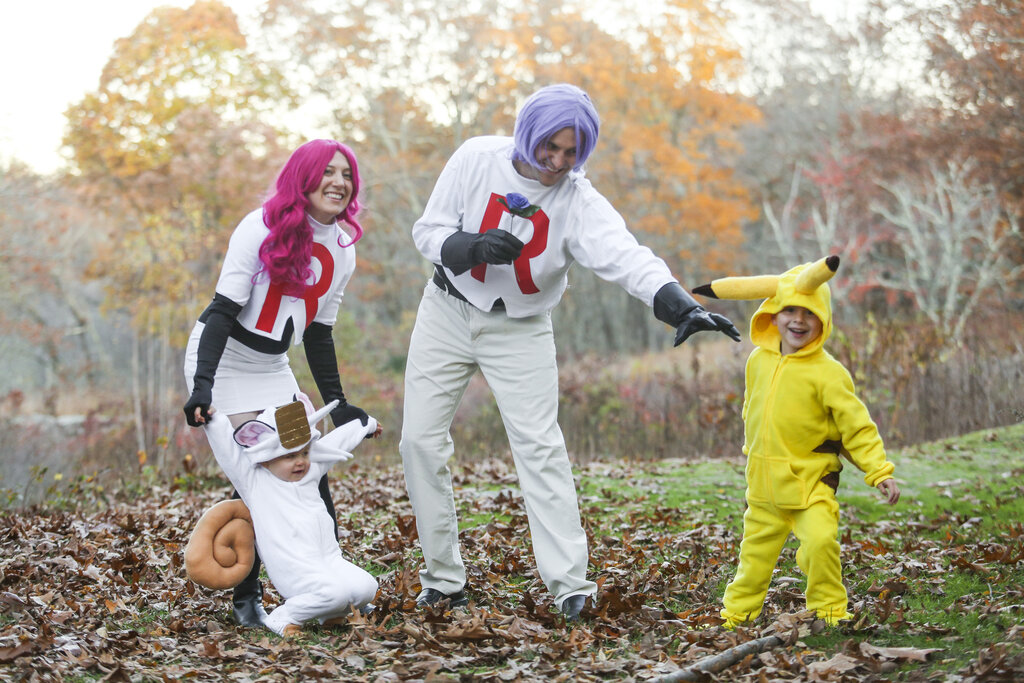
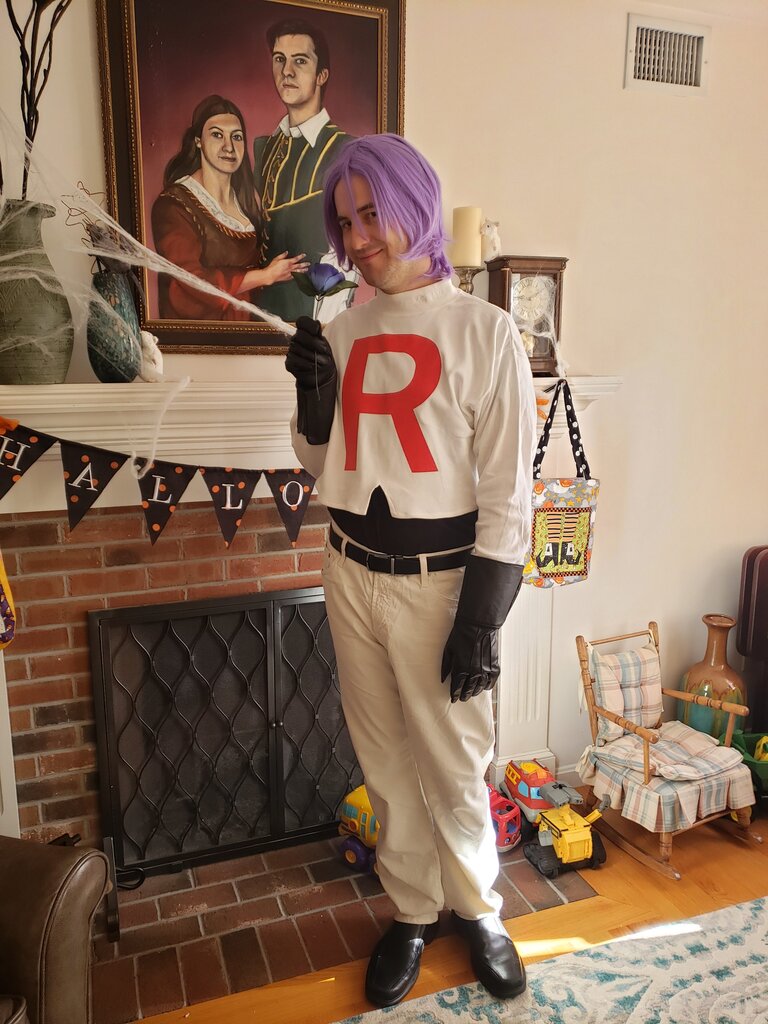
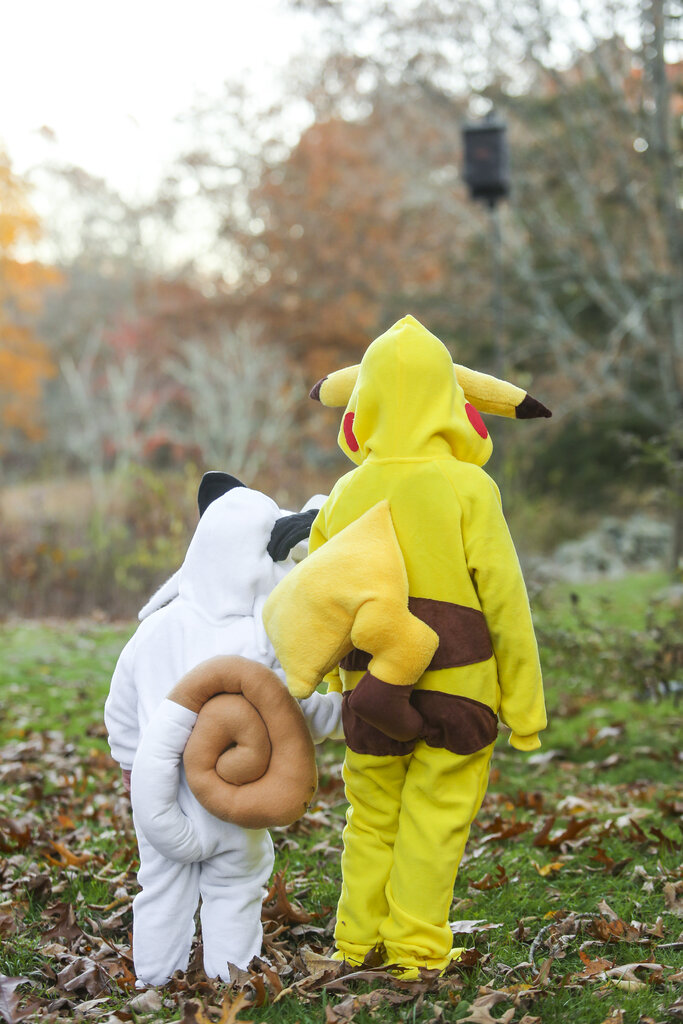
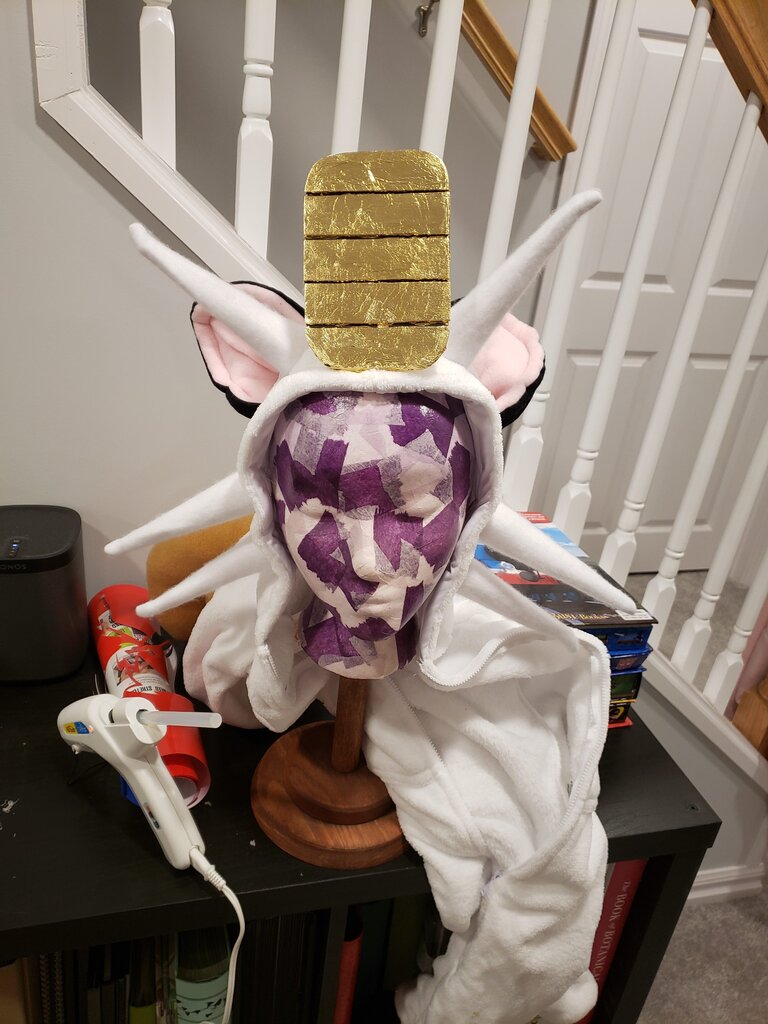
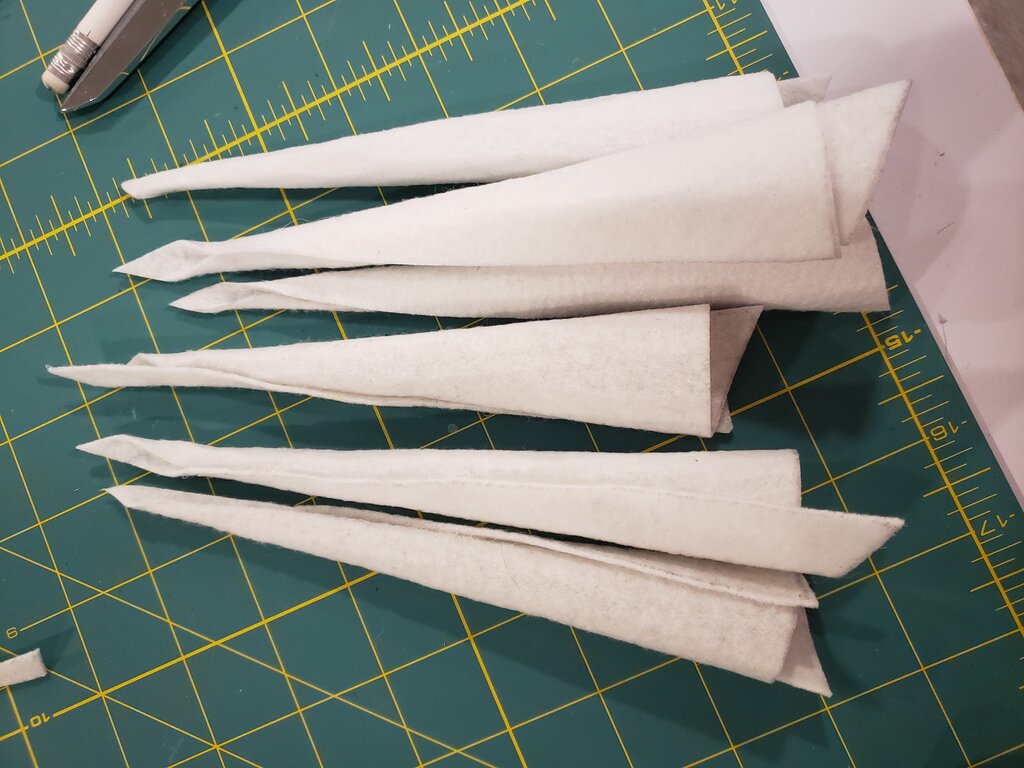
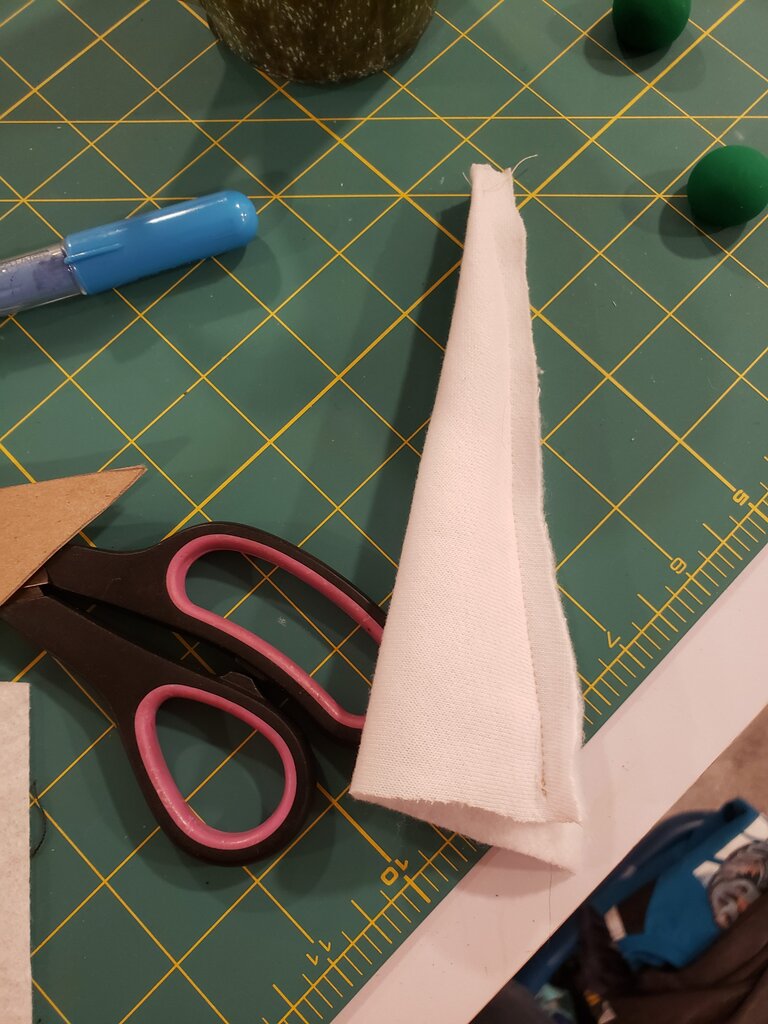
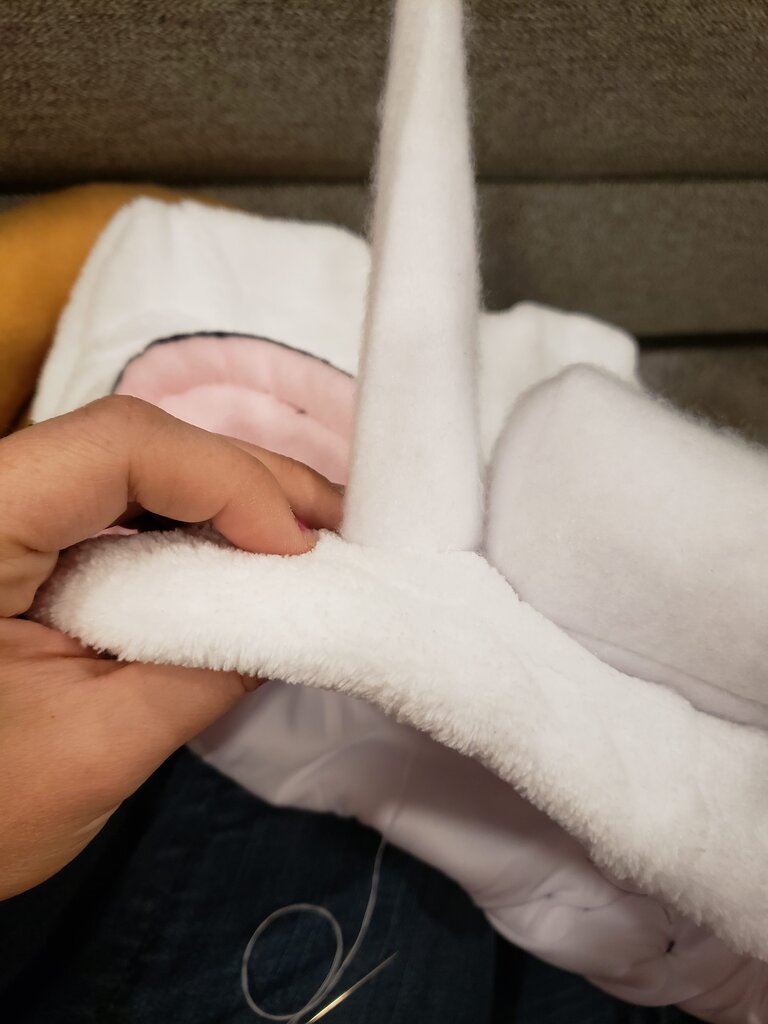
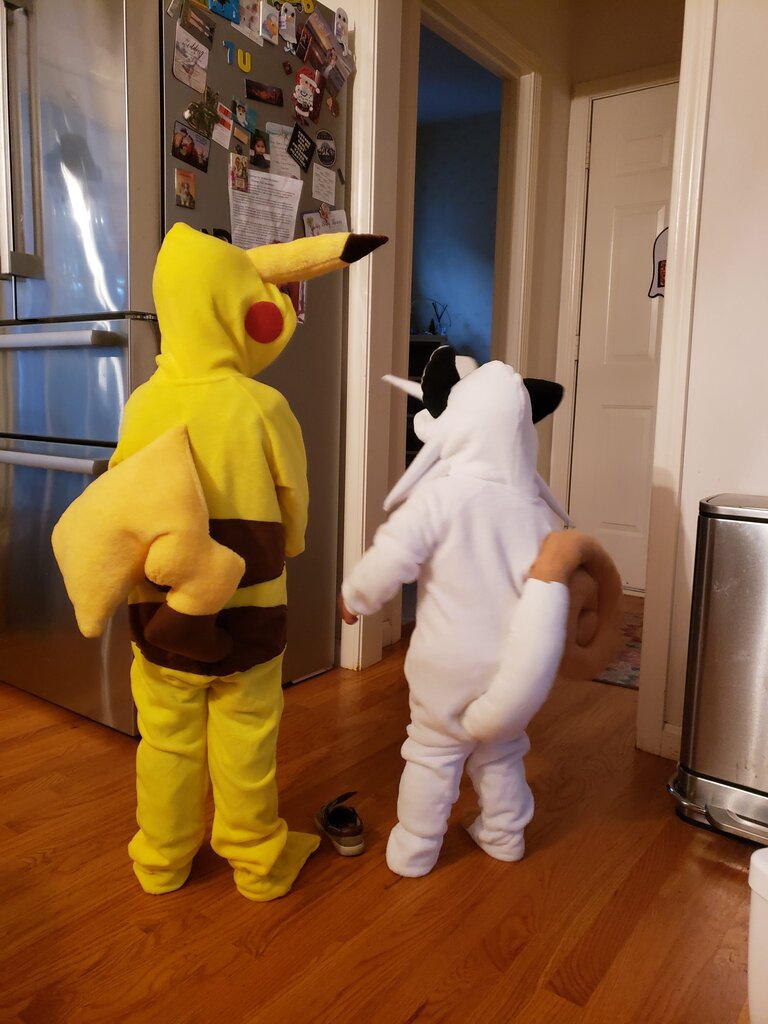
I wasn’t such a slouch myself this year. As I mentioned, I once again had way too many plans to make for Christmas. My favorite one I’ll have to talk about next week because it took me so long to make I know it is also going to take me comparably long to post about… So instead I’ll tell you about the big gift I made for the kiddos! The kids have lots of costumes… I’m an enabler, obviously, because I’ve made them mermaid tails, fairy costumes, so very, many Halloween costumes, renaissance costumes… and half those are just from this year. So I wanted somewhere to store all the costumes so they could use them whenever they want. Originally I was going to make a big trunk, but (you guessed it) I ran out of time. So instead I found a secondhand one off craigslist/fb marketplace that I actually was quite fond of! (Fun fact – I paid asking price for it, which was $30, and given the time, wood and labor it would have cost me to make I thought it was a good deal.When I got it home I noticed a garage sale price sticker on it for $15. I really should work on my bargaining skills.)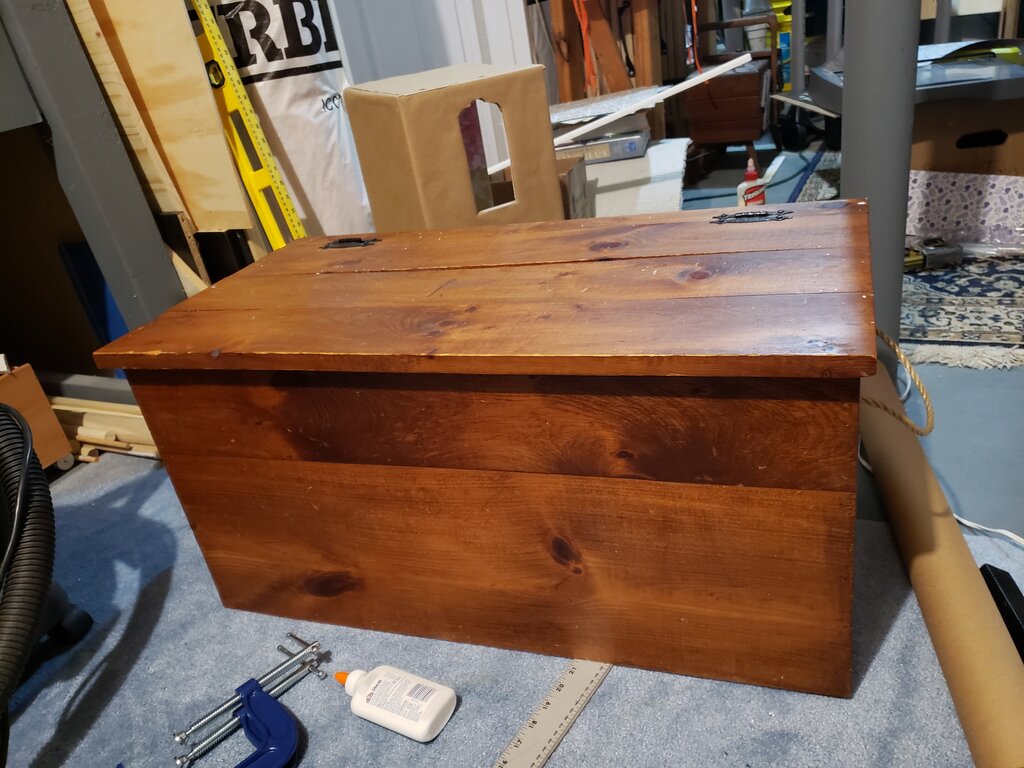
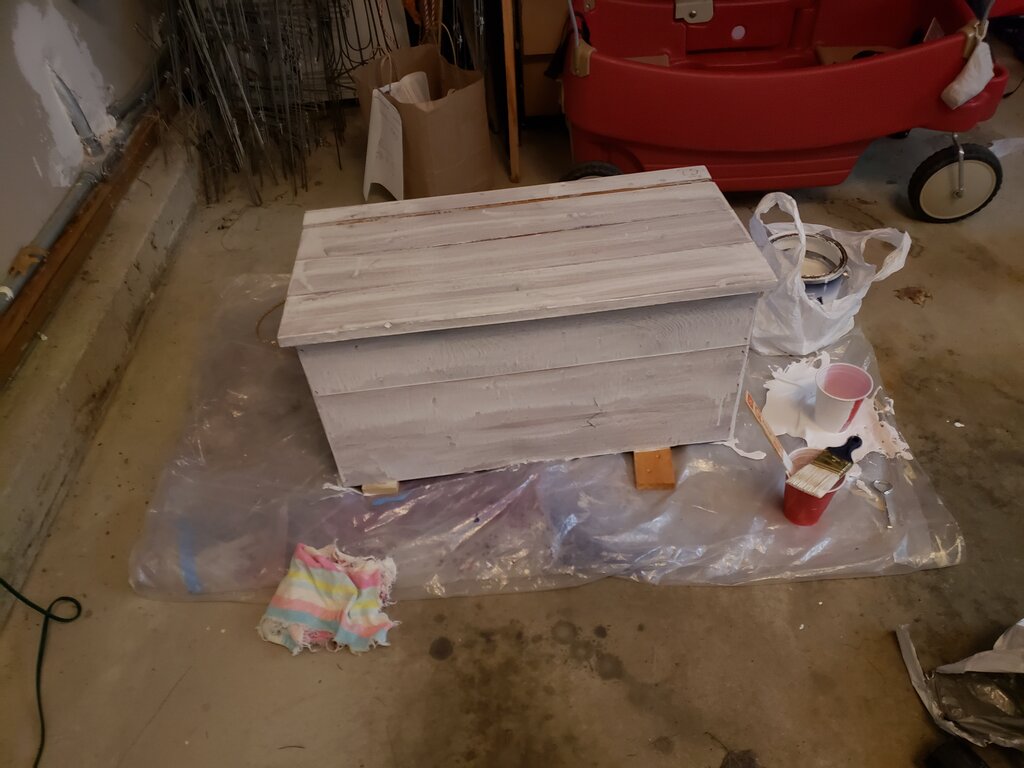
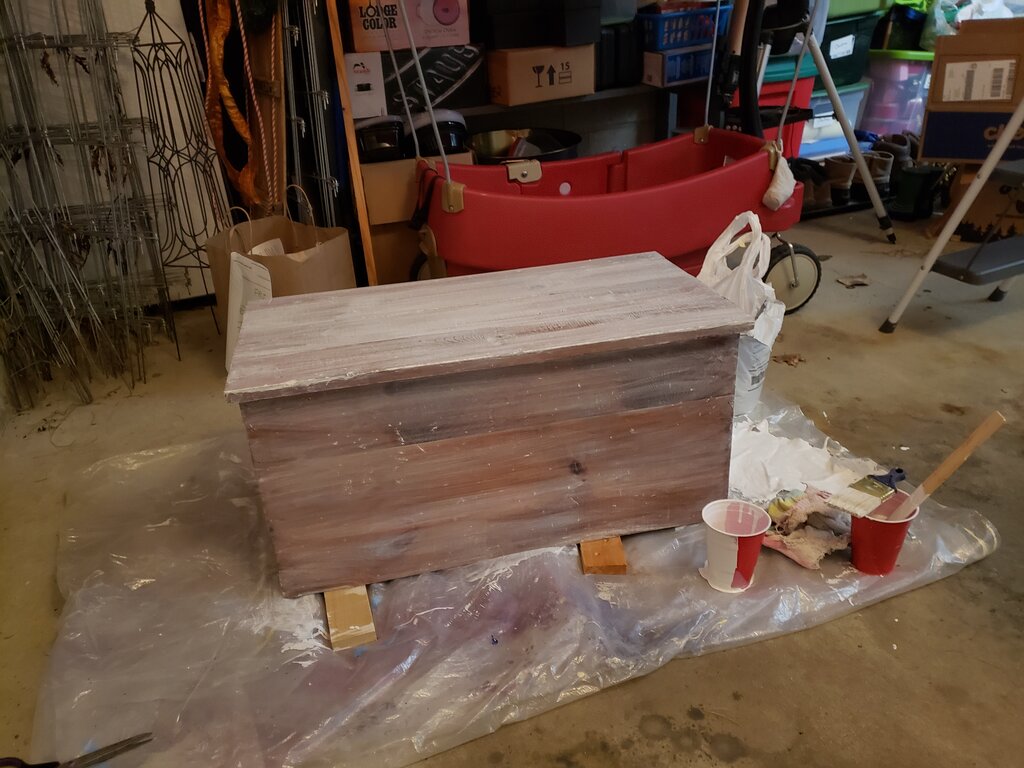
I actually liked the dark wood color, but I was set on painting it with a whimsical motif and cherry stain didn’t scream whimsical to me. Plus it doesn’t match the grey scheme I’ve got going in the basement. So I decided to whitewash it using this technique, which worked pretty well! It was a wee-bit finnicky though and I ended up doing the coat, wait and wipe twice before I got the look I wanted. I will suggest that as the author said, you start off by lightly wiping until you get the hang of how much pressure to apply. The good news is you can always add more paint if you take off too much. I will warn you that I was convinced I ruined the box until after the second attempt.
Waiting for the first coat to set in.
I didn’t like the first try.
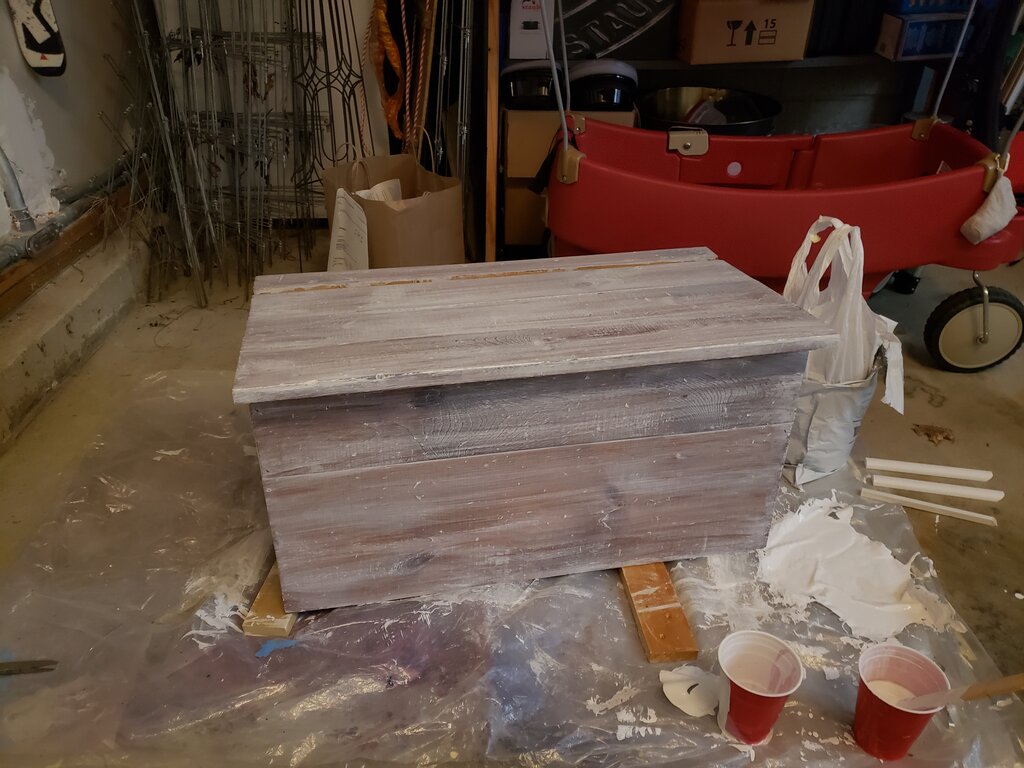
Second try, a bit lighter which is what I was going for.
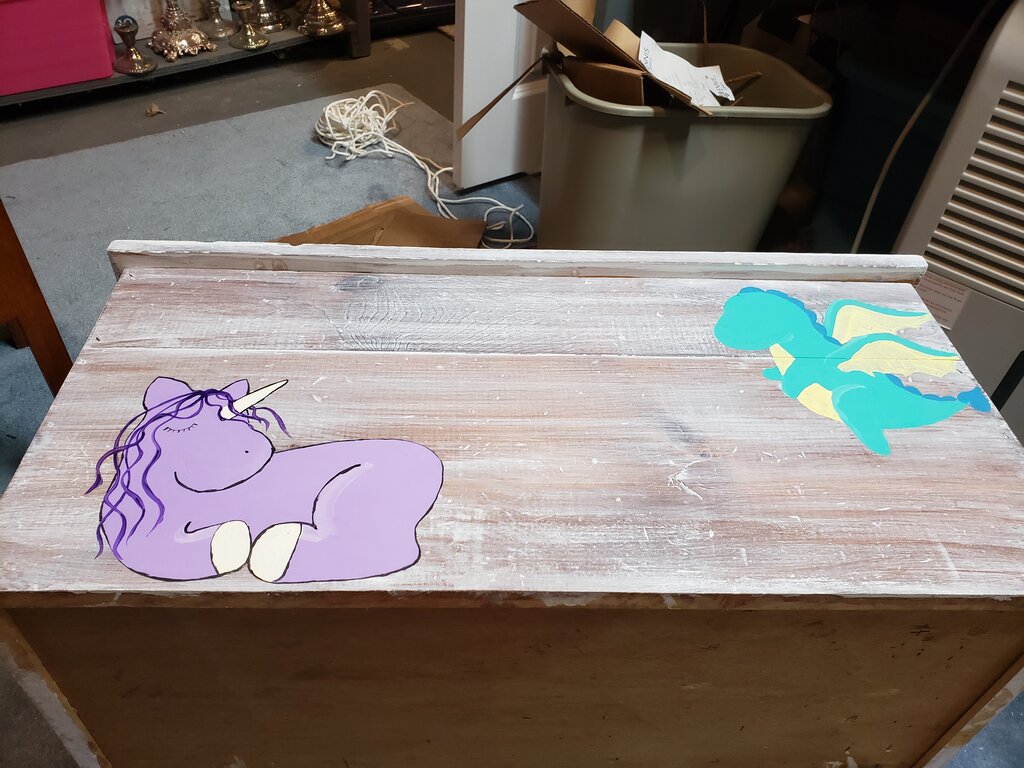
After I painted the box, I used water based acrylic to paint on some designs. I sketched them on my tablet, then I freehand sketched them with pencil onto the box (I find it is so much easier to do a couple sketches to work out the kinks first).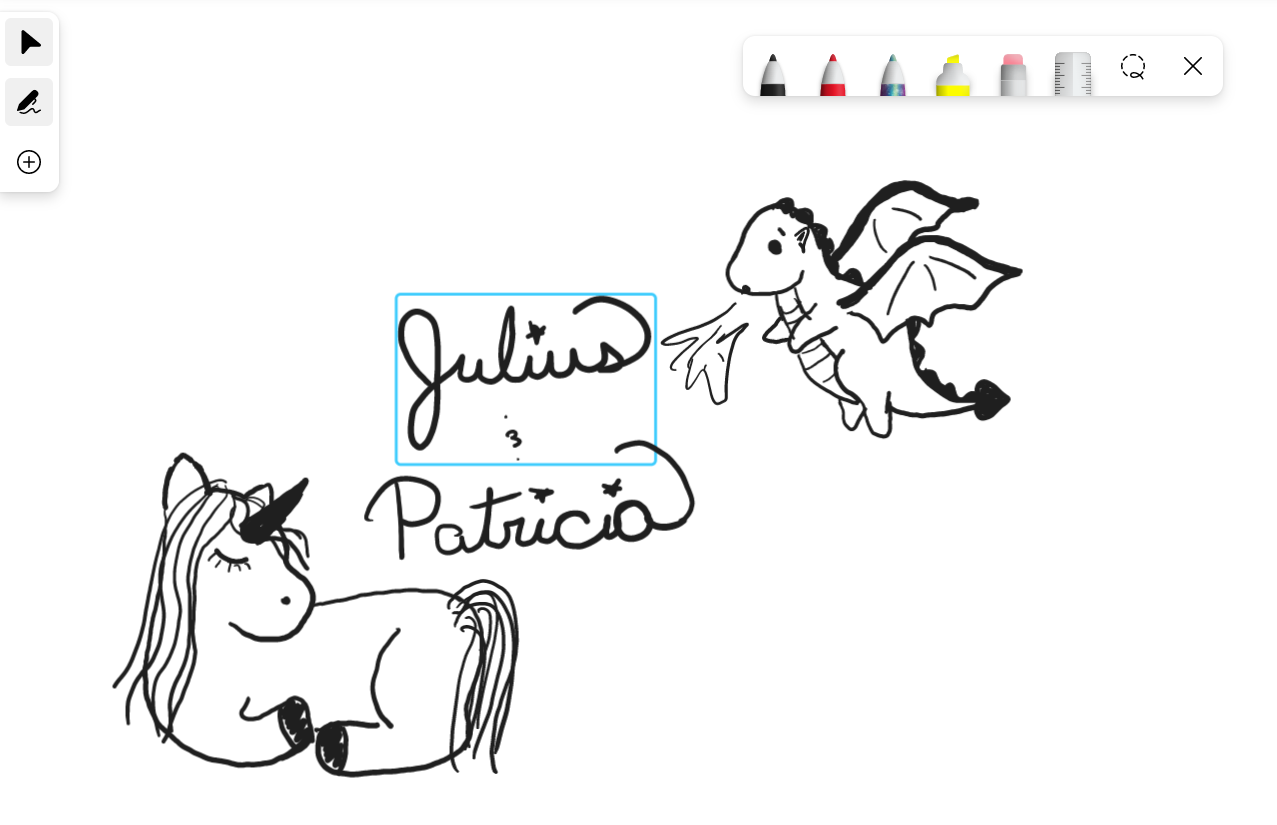
Then I painted, highlighted, and outlined until I was happy with my unicorn and dragon.
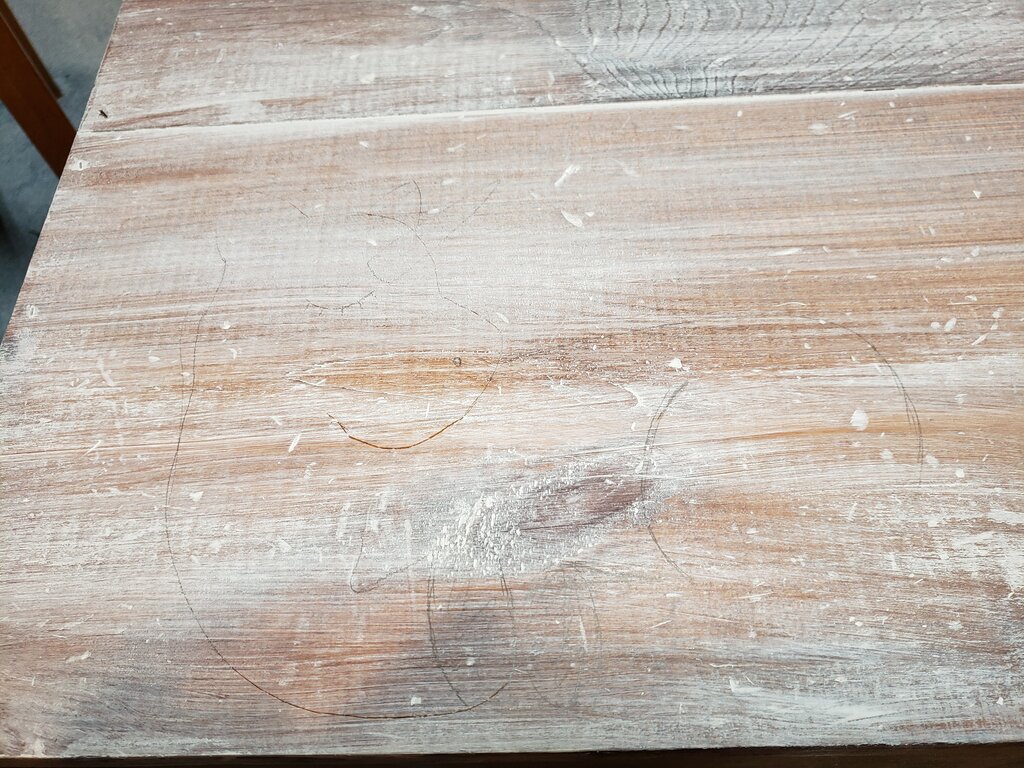
Sketching designs onto the box.
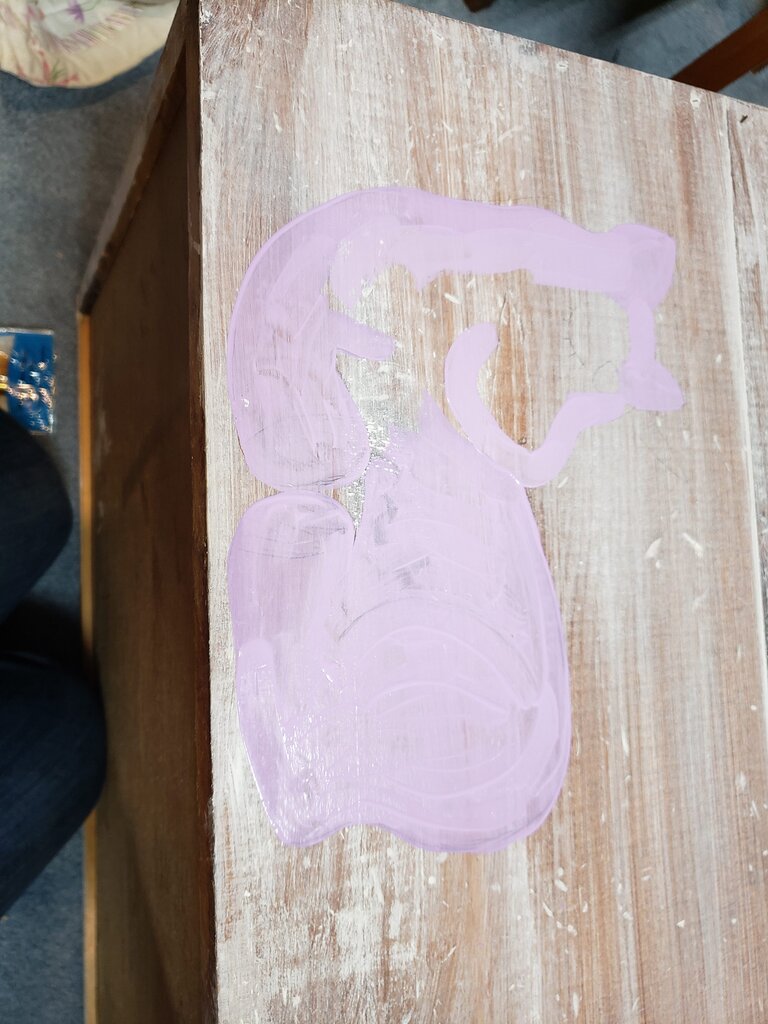
Coloring in the basics.
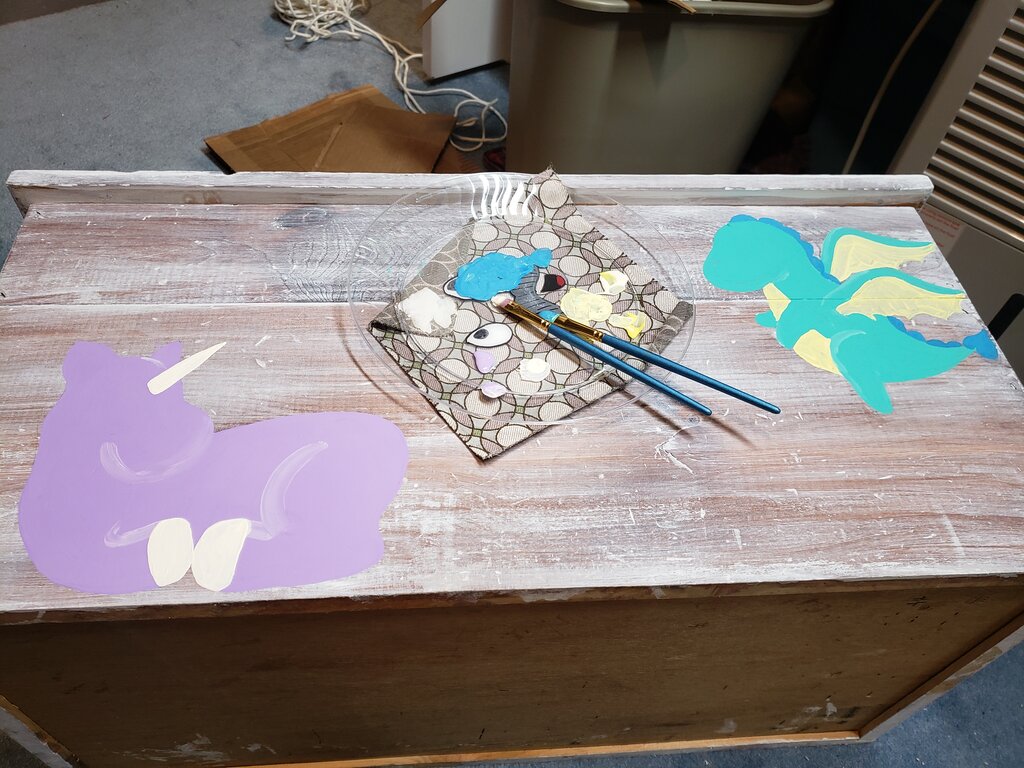
Mid-coloring
Outlining
For the names, I didn’t risk freehand sketching because the acrylic whitewash was a bit delicate and I would not be able to erase or cover it up with paint if I messed up. Instead I drew both names on a piece of paper then I placed patternmaking tracing paper below the name sheets and traced over them to transfer the names. This also meant I could ensure the names were perfectly straight first before doing the transfer. Then I colored over them.
I wanted a little mirror in the box so the kids could look at themselves, so I was planning to make a frame for a dollar store mirror I bought 6 years ago for my hat shop. Then I had a genius idea to buy a frame for my mirror. Normally I’d go to a thrift shop, but we are talking two days before Christmas, so I ran to Michaels. I had a 50% coupon so I think I paid about $10 for an 11×14″ frame. I then sanded the entire inside front cover and then I applied wood glue to the ends of the frame, and nailed it into place on the cover.
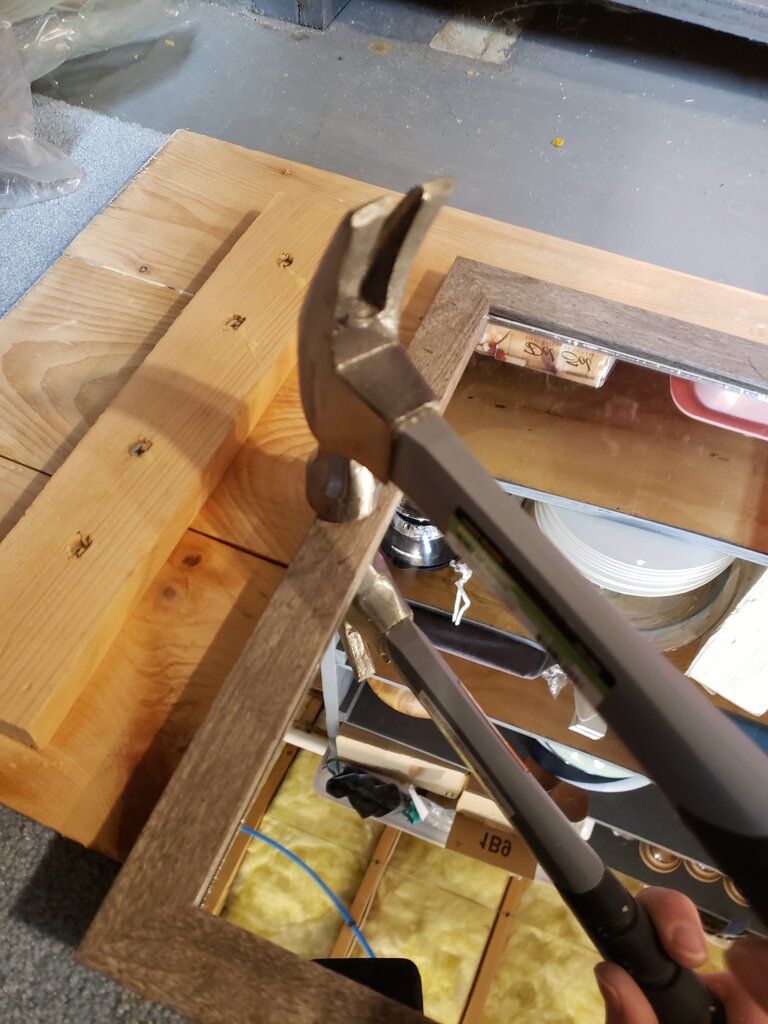
Hammering on the mirror… bit dangerous.
I decided the little holes they made for the screws to hold the top together were ugly, so I pounded some wooden button caps into place.
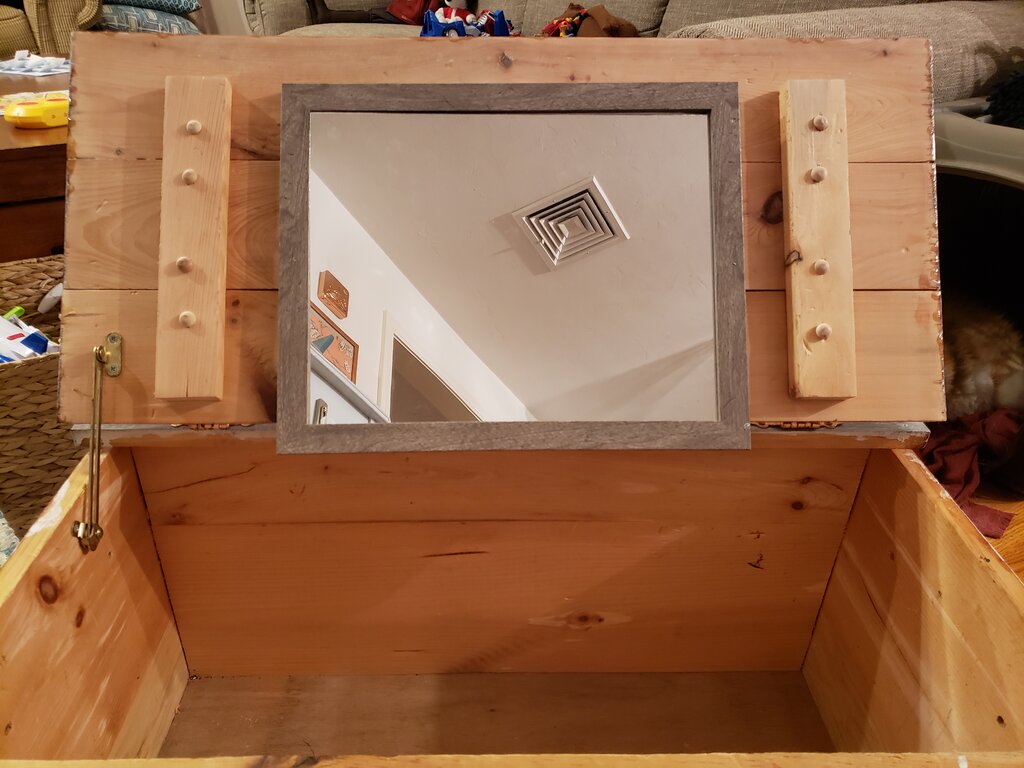
Mirror with screw caps in place
Then I applied 2 coats of water based polyurethane over the entire box. I should have probably done 3 but I was in a rush and I wanted it to completely dry between coats.
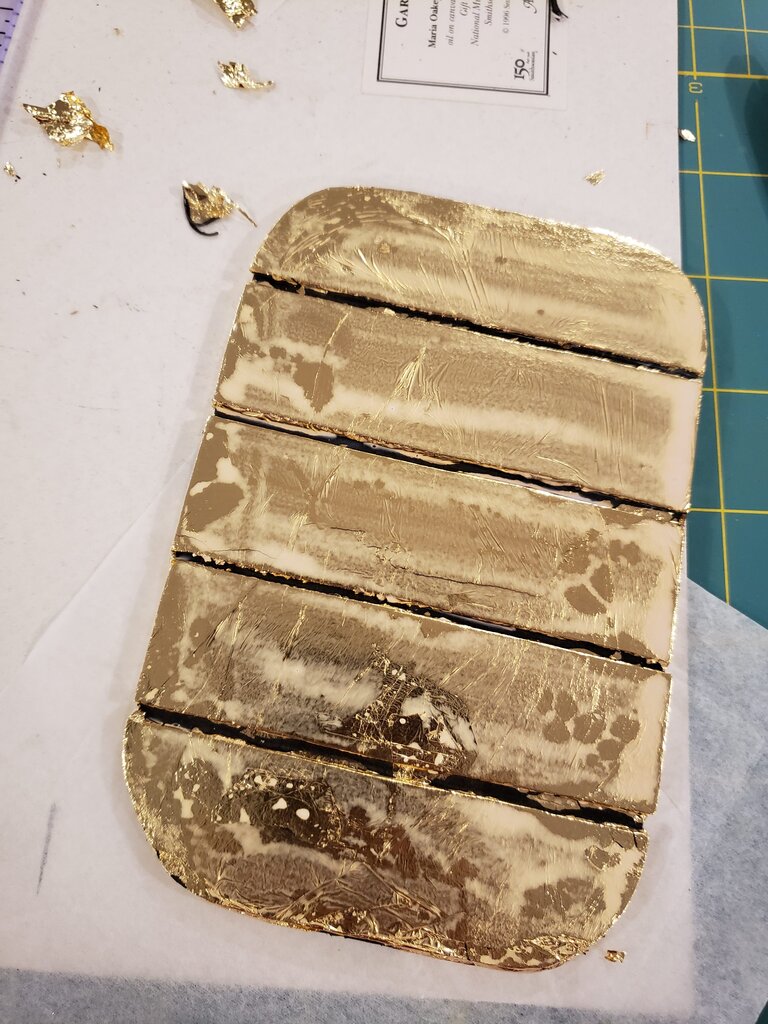
Then I tackled the hinges. I’d removed these to paint the boxes, but I wanted to make them not-black. I guess spray painting was an option, but as you know, I’m into gilding lately so I decided to use some of my gilding supplies to gild them copper. I used my steps here and folded them towards each other to apply adhesive, apply foil to gild them, then eventually apply varnish, making sure to move the joints a bit after applying foil and after applying varnish. I also gilded the screw heads to match. It worked GREAT. They are works of art! And they still move perfectly. I think they came out better than they would with spray paint, but we will just have to see how long they last!
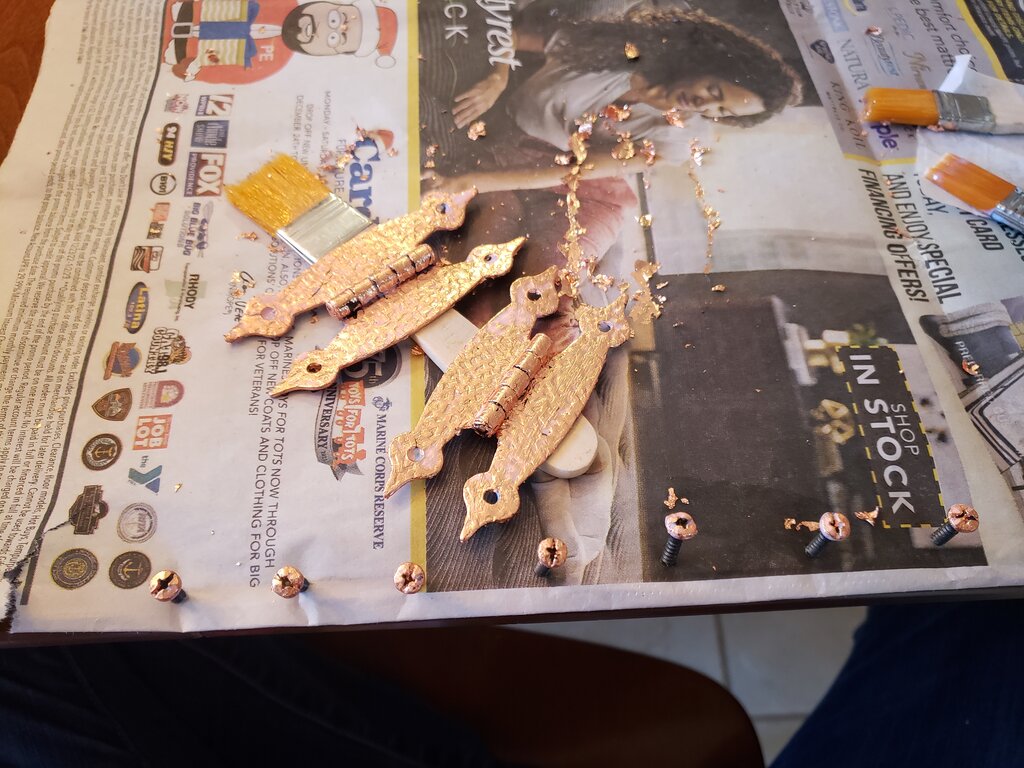
Gilding the hinges and screw heads.
The last step was to replace the handles. The plastic rope handles for the box were ugly and a bit discolored, so I decided to just cut those off and replace them with clothesline I had from when I had a clothesline in my basement for the last 10 years (more on that someday I swear.) I am ashamed to admit that I needed Will’s help for this part. I know how to make many types of knots, having learned from my dad, who has owned many types of boats and being both crafty and a scout, but I could not figure out how to make a square knot with just one piece of rope. Luckily Will showed me quickly and I was able to make some very secure knots for my handles!
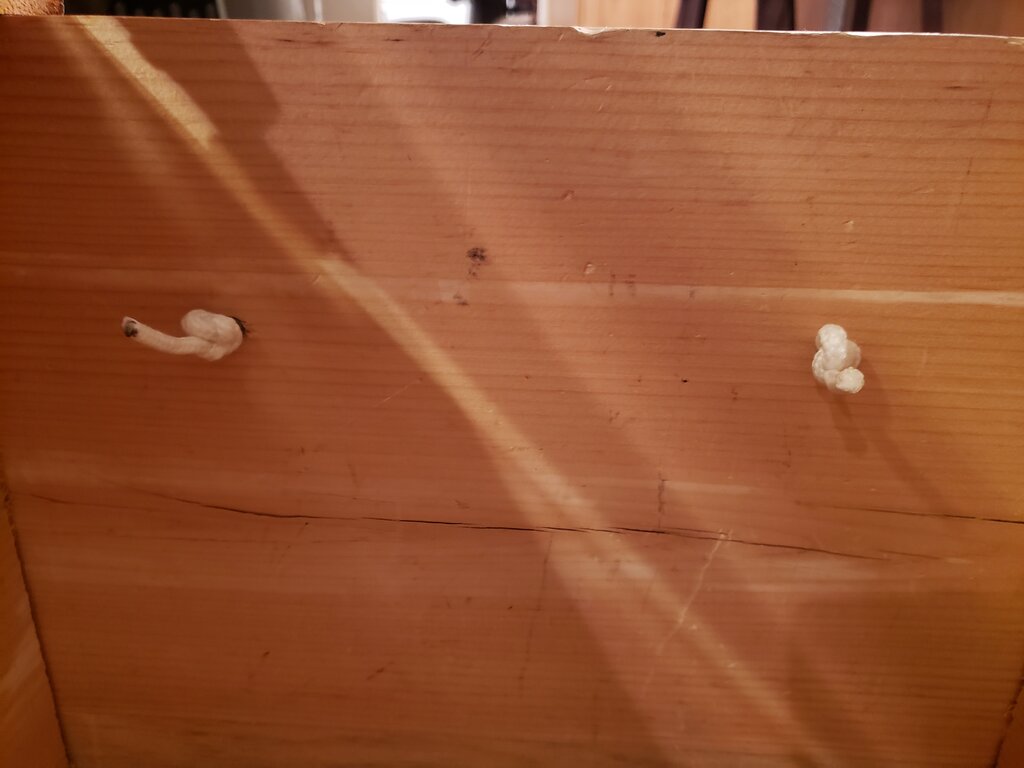
My beautiful square knots
It was a fun project, and good thing too because I’ll have to make another one soon since with the excessive amount of costumes it’s already overflowing!