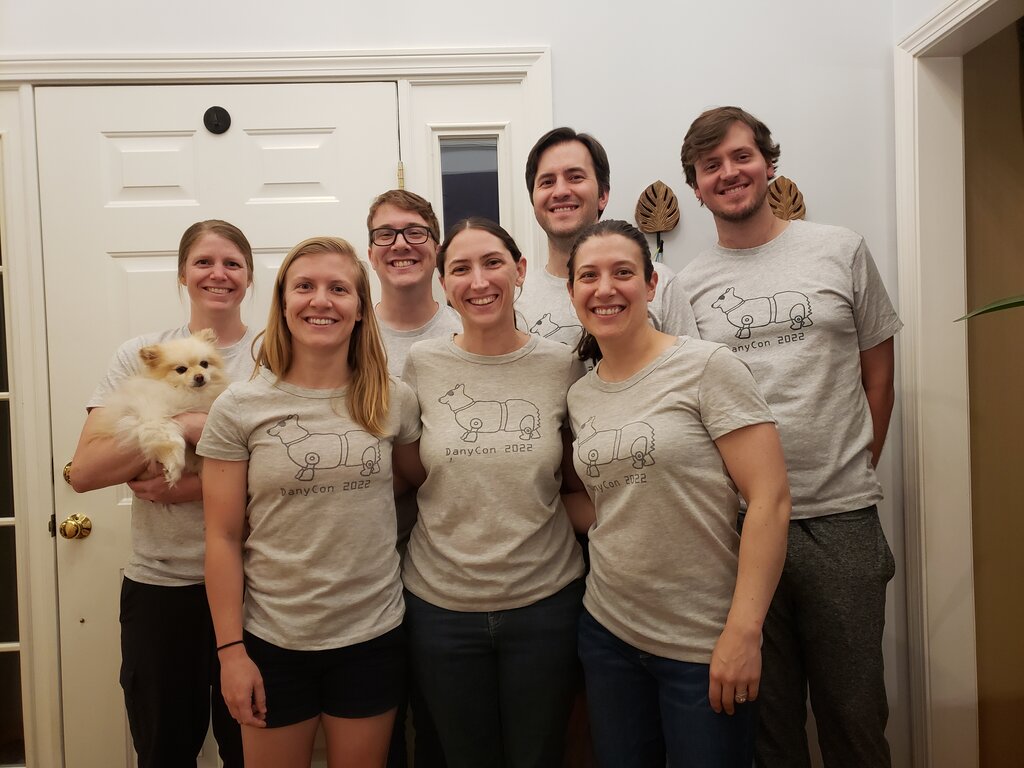
I had the lucky experience to visit Israel for work! In addition to meeting some great co-workers in person, I also got to explore some of the sites! Not nearly all of them though, to visit everything I’d have to take a full vacation there!
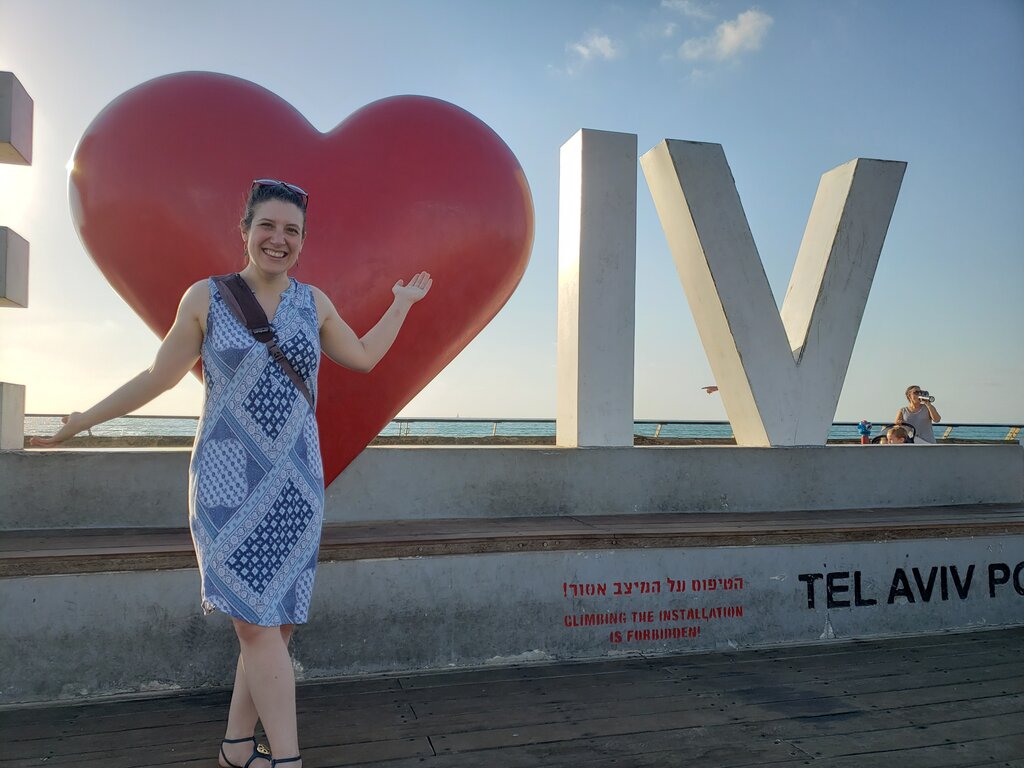
My friend (and co-worker) Joe and I arrived on Saturday afternoon, and our friend Yaniv was a fabulous host and took us around all the great sites in Tel Aviv. We had a fabulous walk along the beach (including dipping my feet in the Mediterranean), bought Joe some new clothes (his suitcase was lost), had a delicious seafood dinner which included some Israeli delicacies like grilled cauliflower (though ours was mysteriously not grilled), and watched the sun set. Yaniv also gave us lots of helpful advice that we used the rest of the trip! We would have been lost without him.

On the boardwalk

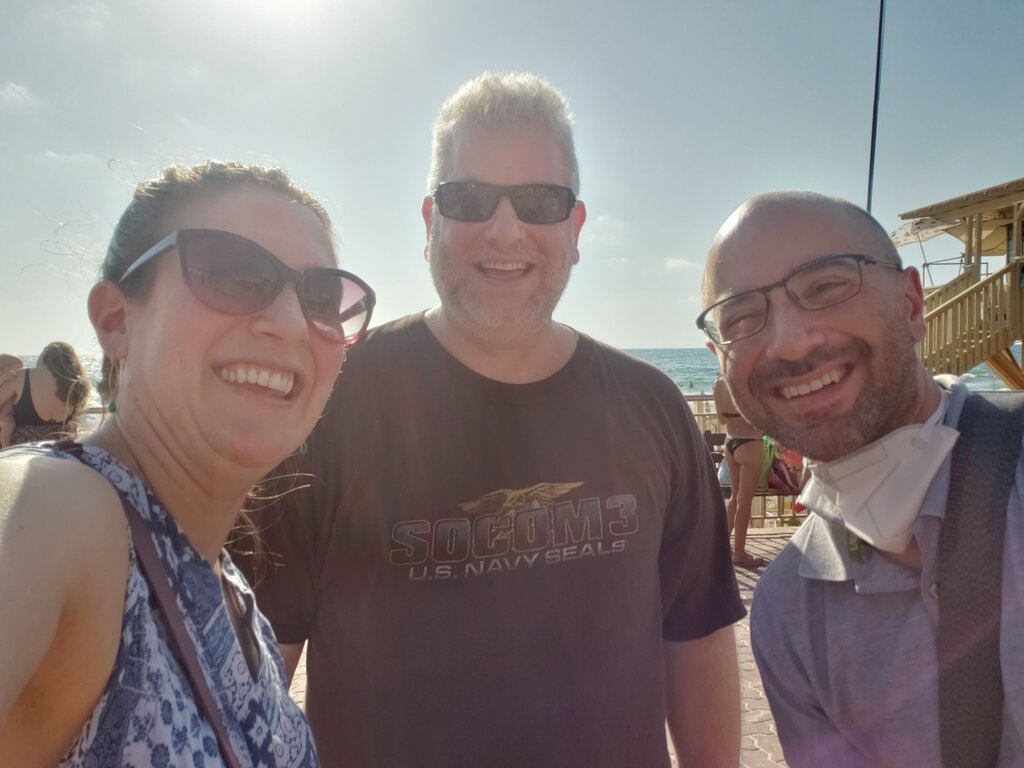
Joe, Yaniv and I on the beach in Tel Aviv
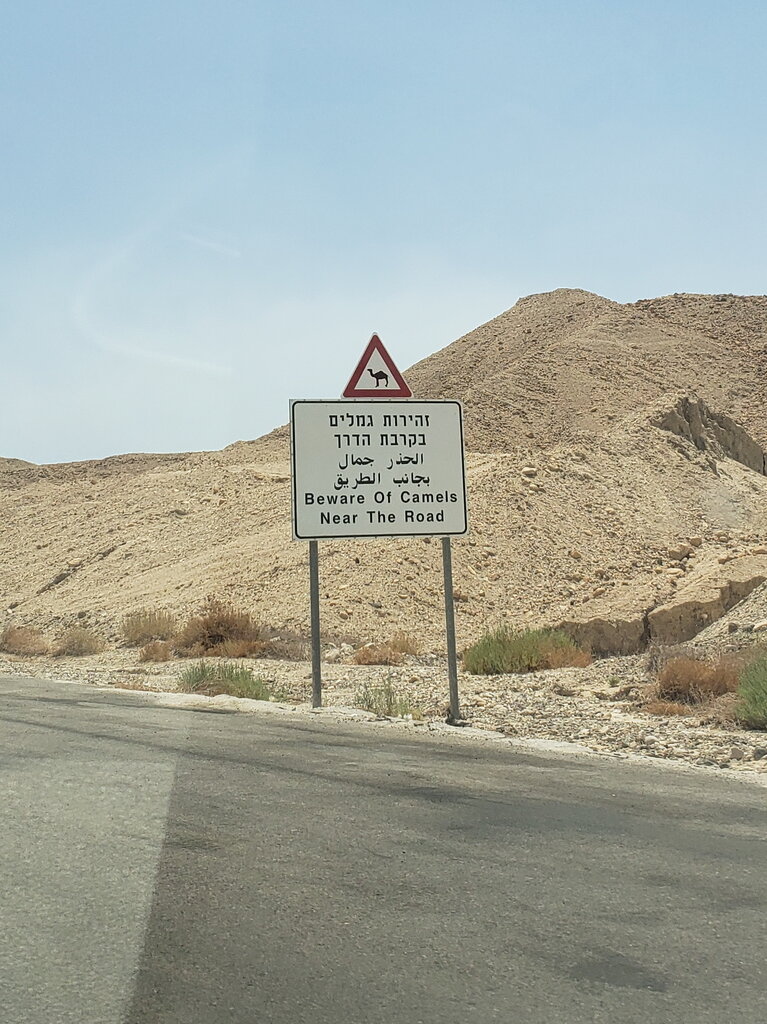
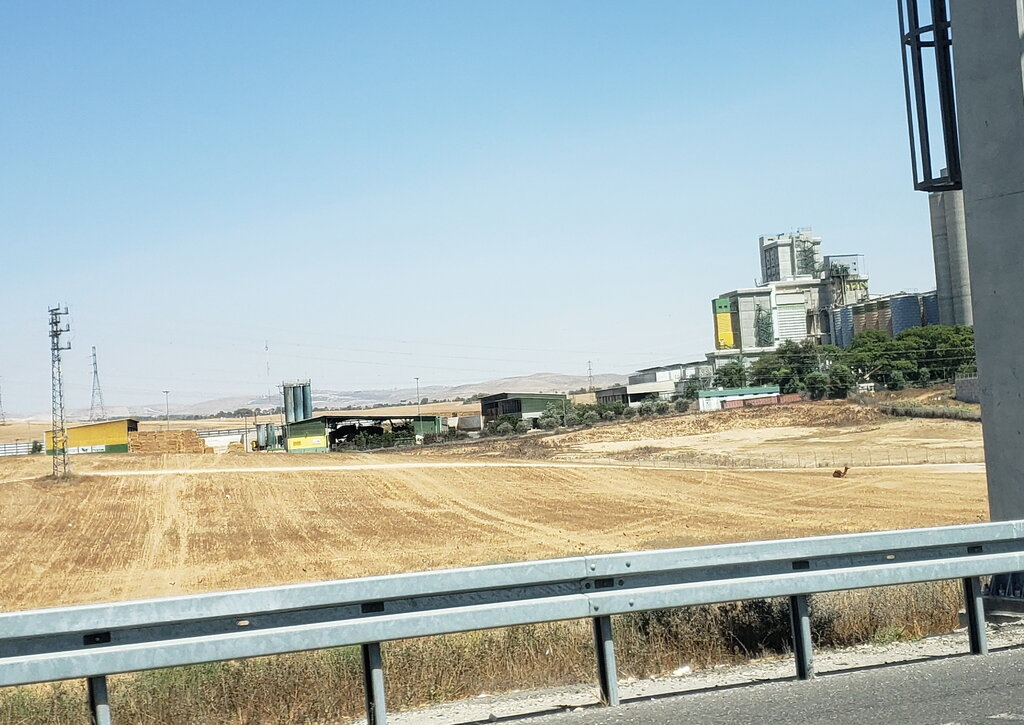
The following day we woke up before dawn to drive to Masada National Park to hike the Snake Path to a plateau overlooking the dead sea where King Herod built two huge palaces. The drive alone was beautiful, which winded up and down the desert. I was amused by a lot of the signage.
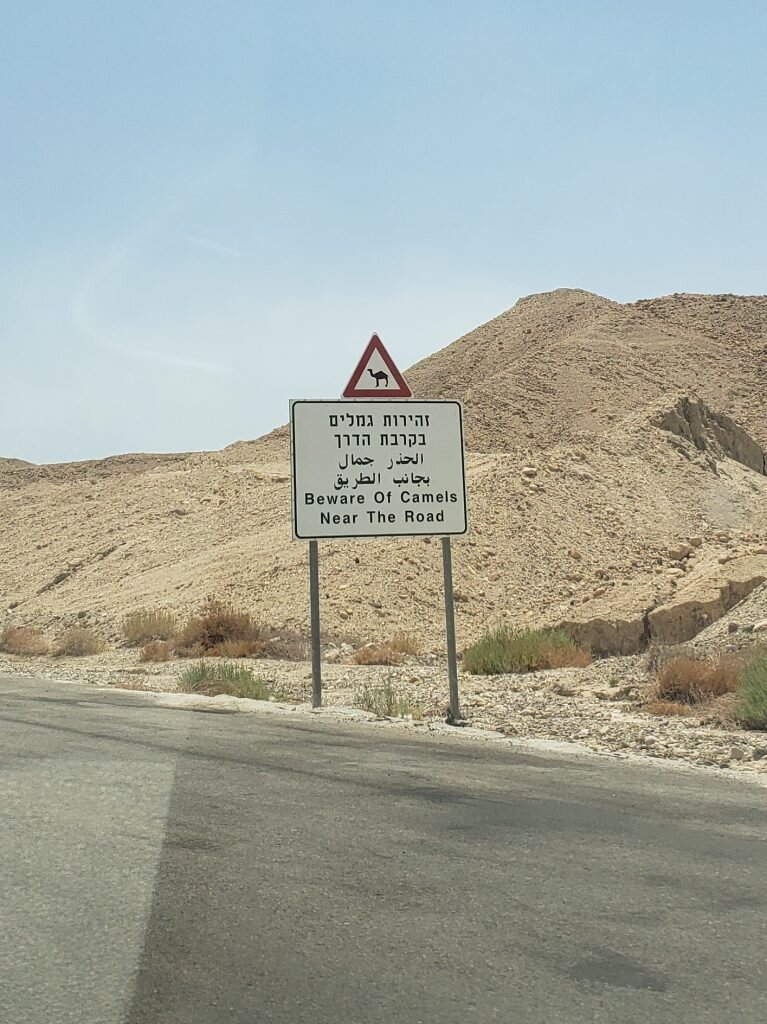
We saw tons of these signs, and it was a struggle for me to capture one…

Yes, that is a camel lying in the grass in this picture. This is on the side of the highway, unfortunately these were the only camels I saw this trip!
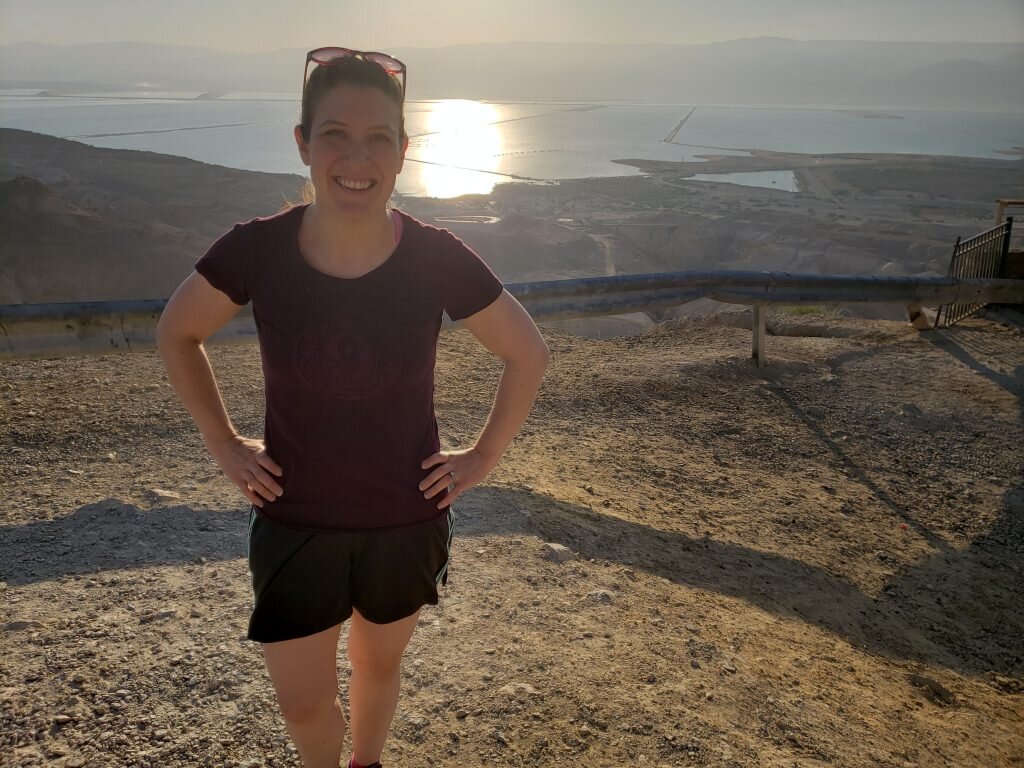
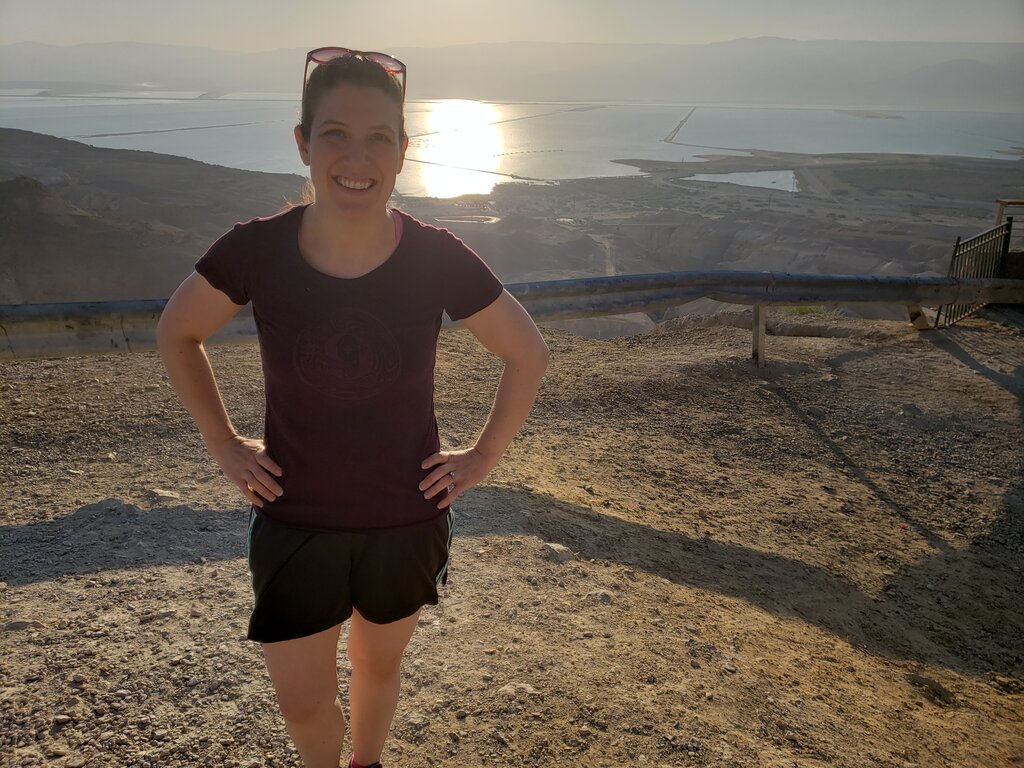
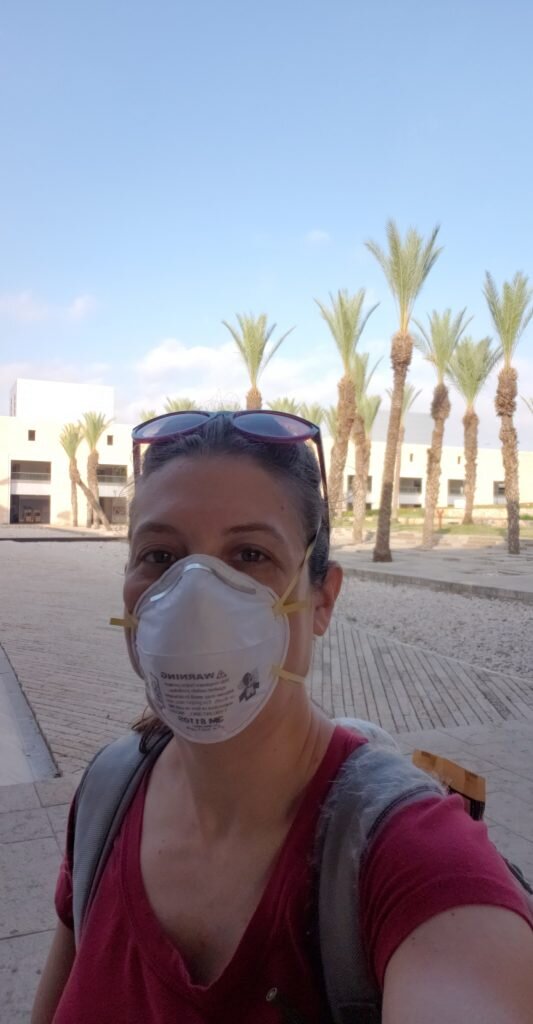
The desert is getting hotter, this is 177m below sea level, the dead sea behind me.
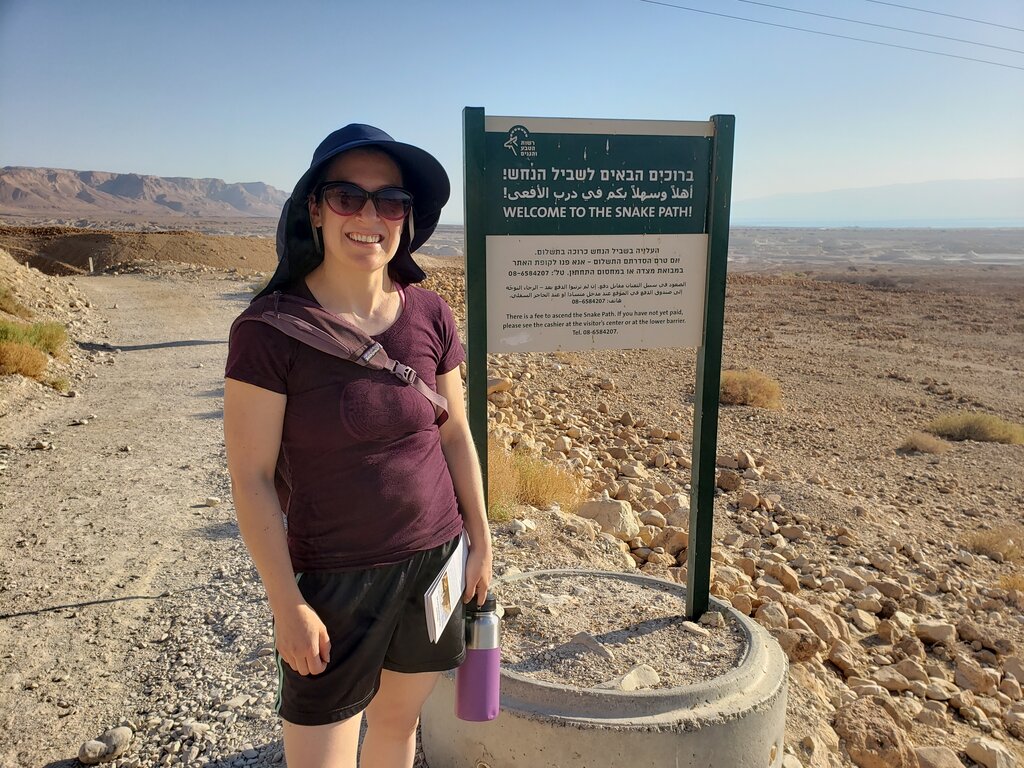
Let me start with the hike – everyone told us we are supposed to hike to the top before dawn to get to the top to see the sun rise. Unfortunately if we did that we also would have slept approximately 1 hour, which we couldn’t handle. Because of the heat, they close the trail early in the morning (in our case at 8am), so if you want to take the snake path you have to do it early. I wore a ridiculous hat and we brought a liter of water each (they made sure we had plenty of water before they let us climb). The hike was very hot, unsurprisingly, since it was literally a hike in the desert. I kept picturing the card “The Sun Beats Down” from the board game “Forbidden Desert”. Joe and I were the only people making our way up the mountain, but many school trips were making their way down. At one point a girl passed us and said “don’t do it, it’s not worth it!” I thought this was hilarious, and even though my calves and quads were burning, we made it to the top.

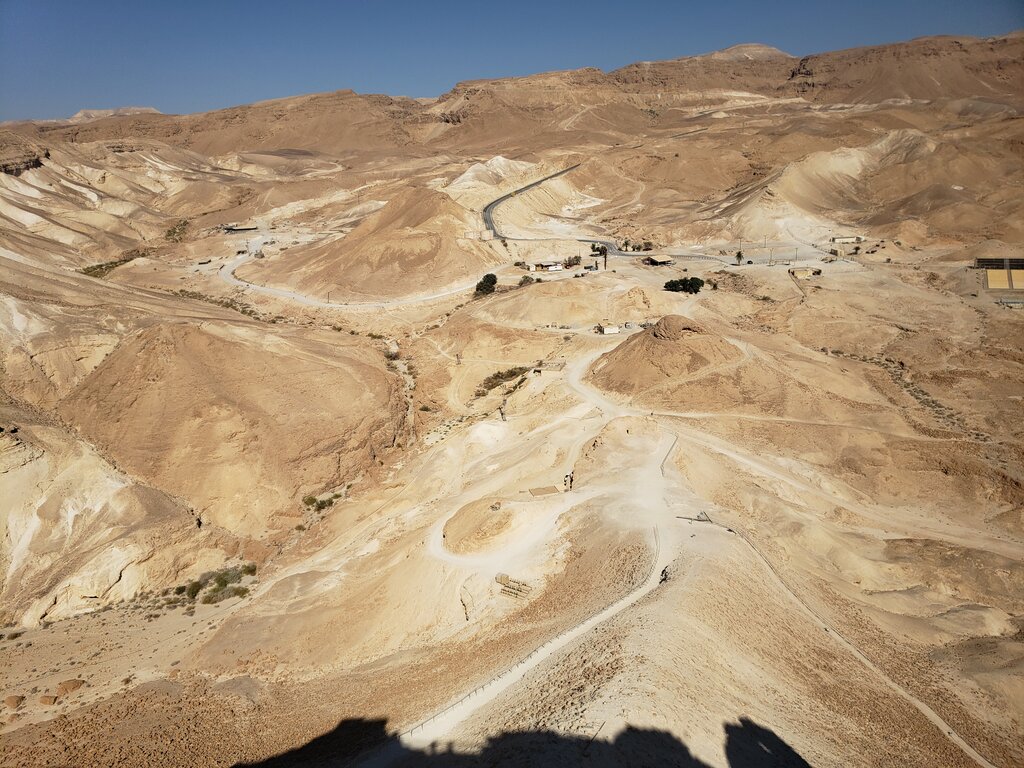
This is the bottom of the snake path

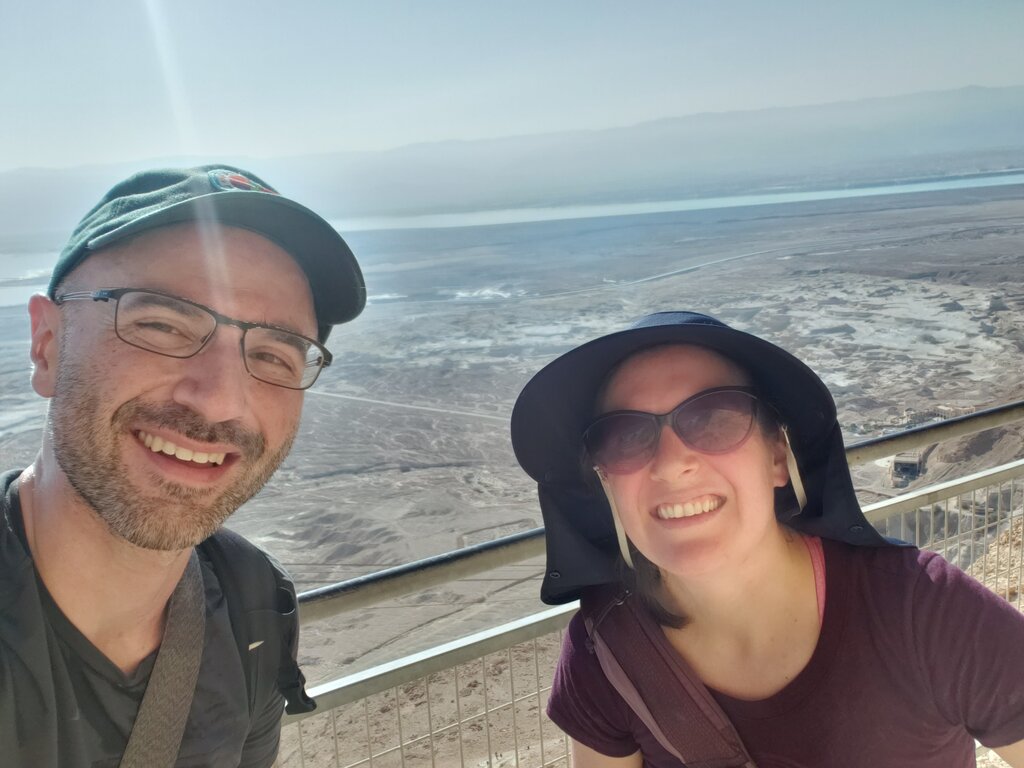
We made it to the top, view of the dead sea behind us
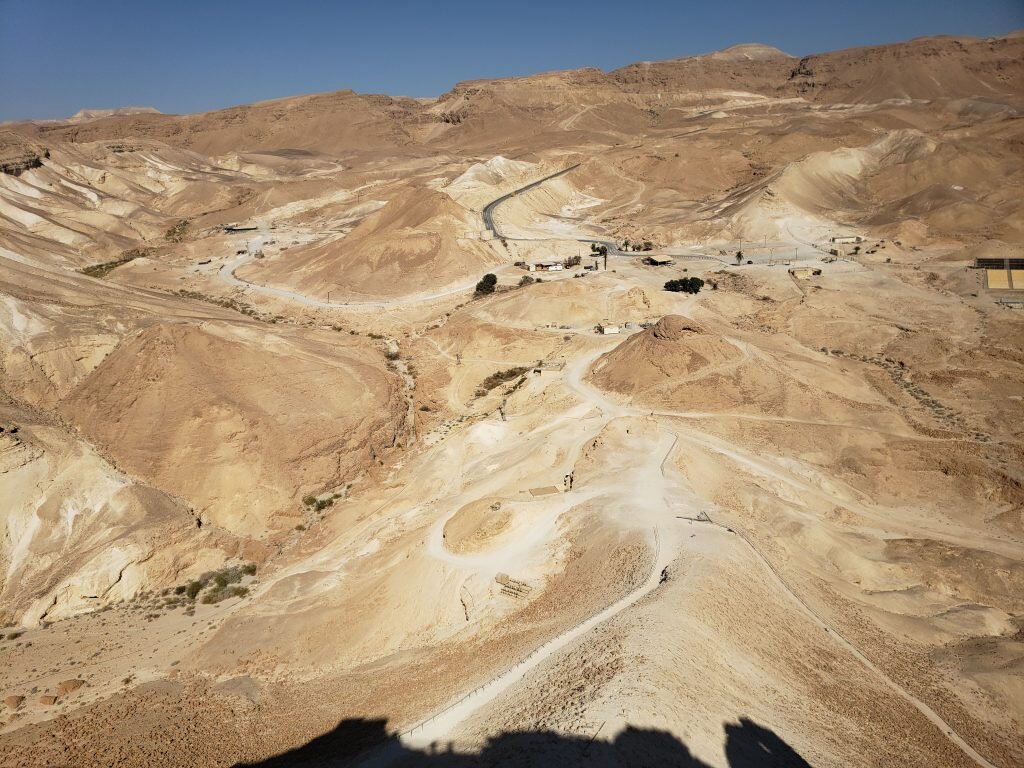
Here’s the path we hiked!
The view of the dead sea from the top is beautiful. We were a little confused though and did the tour of the plateau in entirely the wrong order, seeing the least interesting sites first, leading us to think the structures were rather unimpressive. Eventually we came to the final palace and were in awe! They had reconstructed parts of the structures (and had a black line marking what were the original ruins and what were re-added) and it was very easy to imagine hanging out in these palaces from day to day. There were two palaces at the top of Masada and the larger one was built in three stories on the face of the mountain. It was pretty fabulous.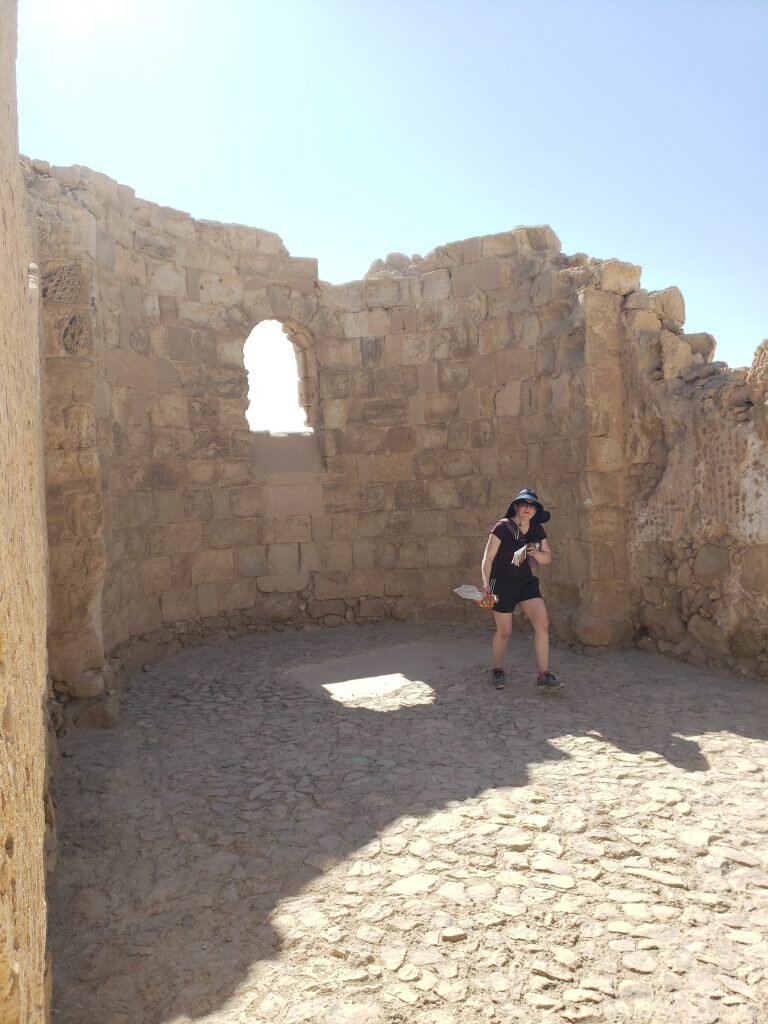
There were three ways to walk to the top of Masada, the first was the snake path (which if I understood correctly is the way most people arrived at the top in ancient times) the second was the palace route (which is the route that donkeys used to carry water from the aqueduct cisterns up to the large cisterns at the top), the third was the Roman ramp, which as I understood it was built by the Romans during a siege so they could erect a battering ram tower high enough to destroy the fortress walls and conquer the Jewish zealots who were living there. (Let me tell you just envisioning the Romans doing that was terrifying, this mountain was HIGH.)
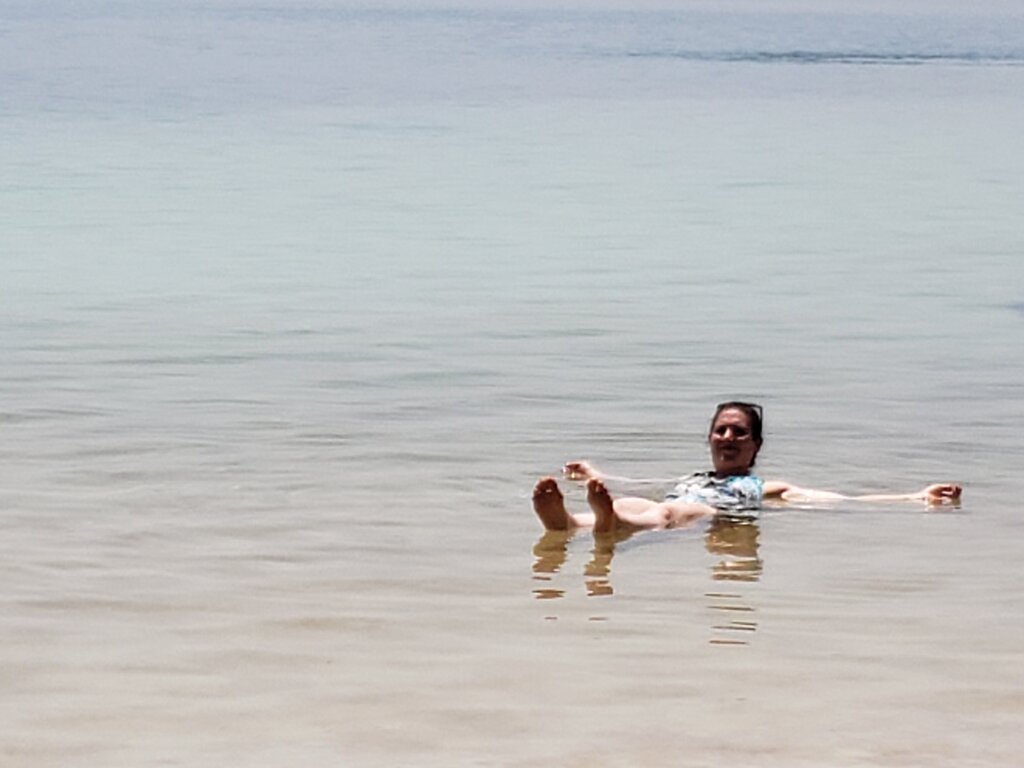
After our trip to the top, we took the cable car down and headed to our next stop the Dead Sea. The dead sea is the lowest point on Earth. Super cool. There were markers all along our drive to/from Masada with the meters above/below sea level. When we reached the Dead Sea it was HOT. Like, desert hot. It was 42C, which is roughly 108F. The sand was too hot to walk on – I literally burned the soles of my feet by stepping on it for several seconds. There were instructions posted everywhere on how to properly enter the water and emergency eye wash stations everywhere (in case you got any in your eyes). I followed the guidance to kneel down and slowly lay backwards and it was really surprising how much I floated. It was wild to experience. I tried to flip over and swim like normal and it was impossible, my legs would not stay in the water. Very strange! The water, like the land, was very hot. Oh and it had a very heavy, viscous texture to it. Almost like really soft tap water. Not at all refreshing! My co-worker told me this time of the year “it’s like chicken soup” and she was 100% correct – apparently the time of the year when locals visit the dead sea resorts is in the winter where the water is still warm, but more relaxing and comfortable.

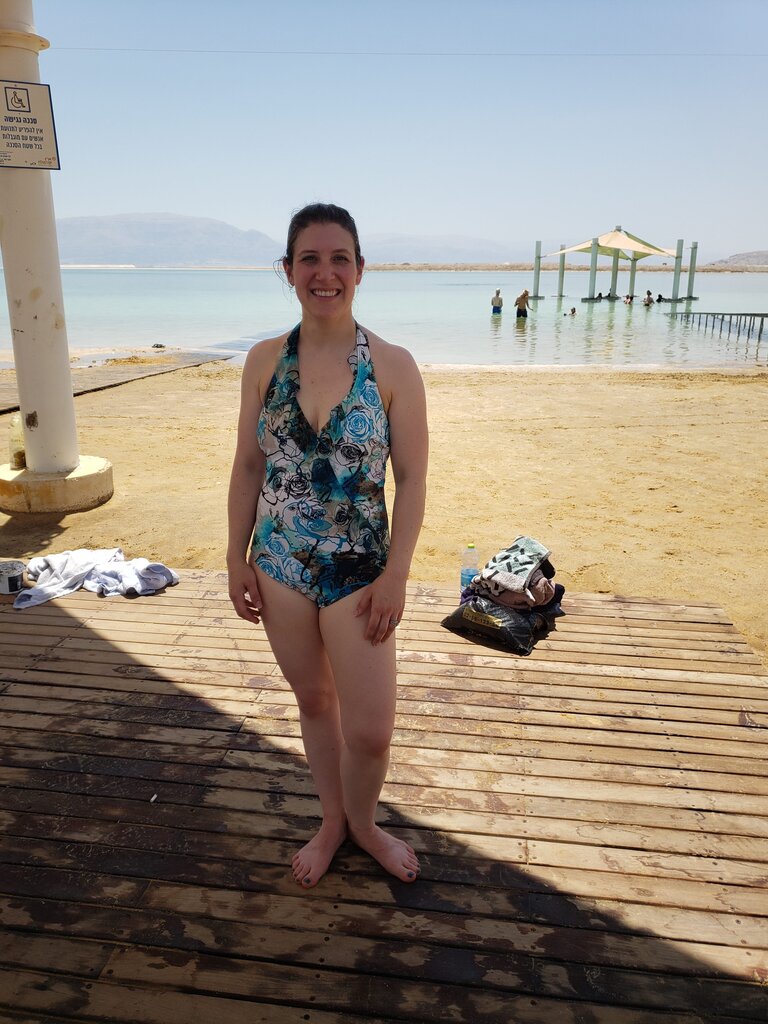
This is the beach at the dead sea
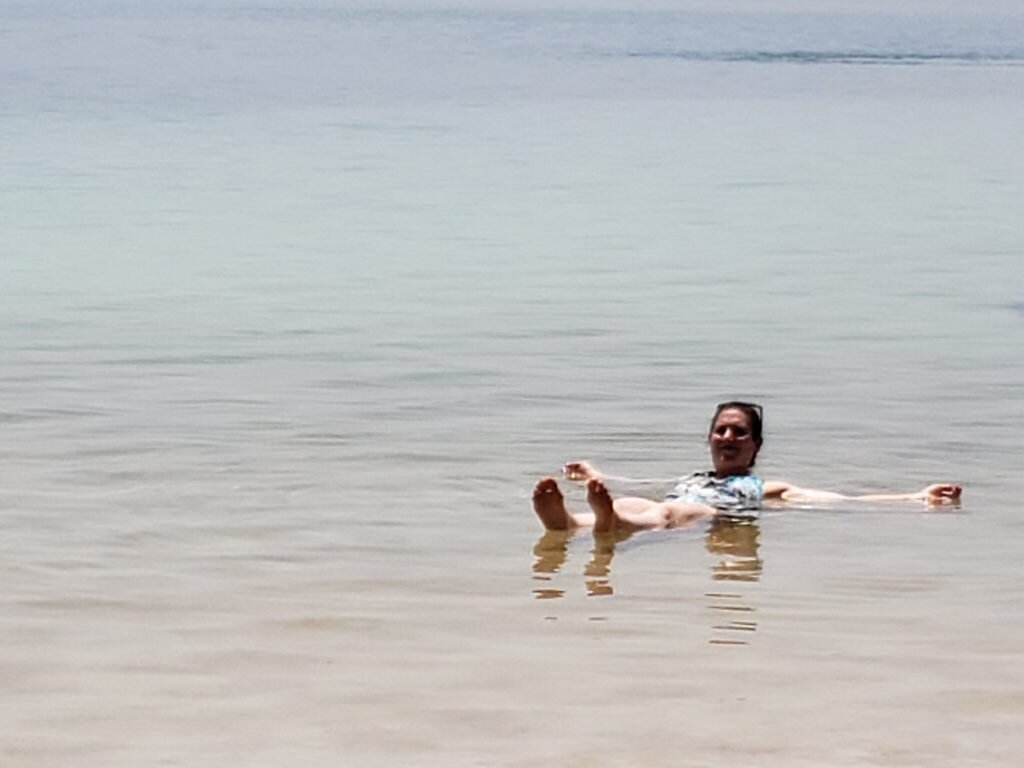
Here I am floating in the sea.
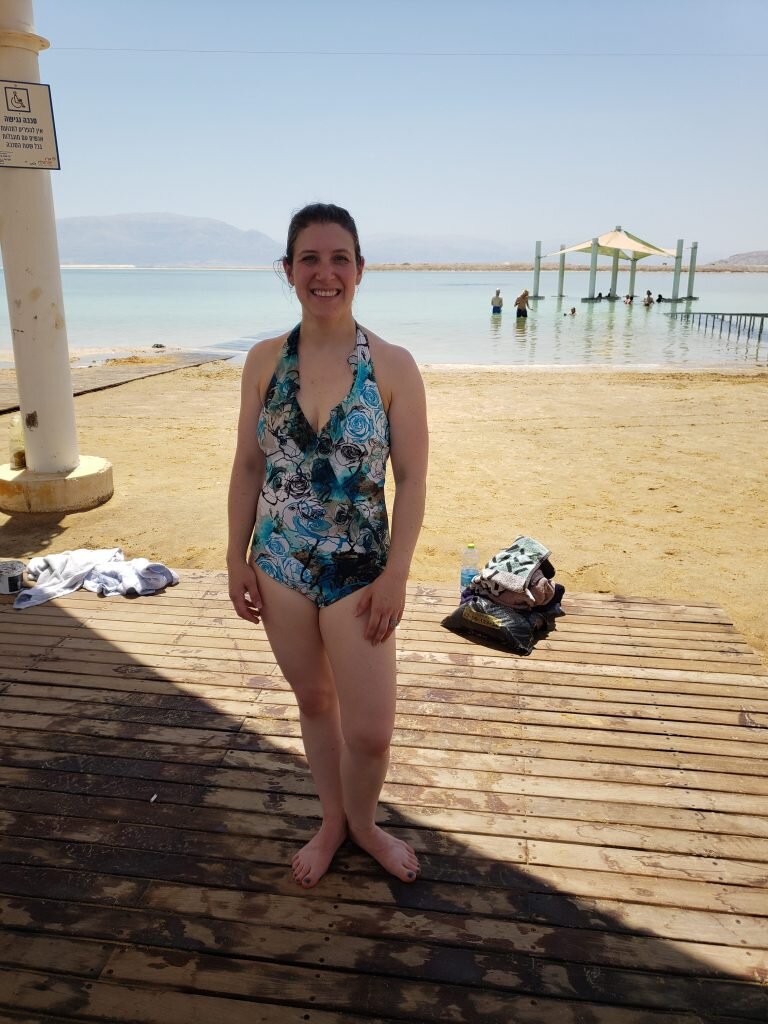
The dead sea is behind, notice how I am strategically standing in the shade.
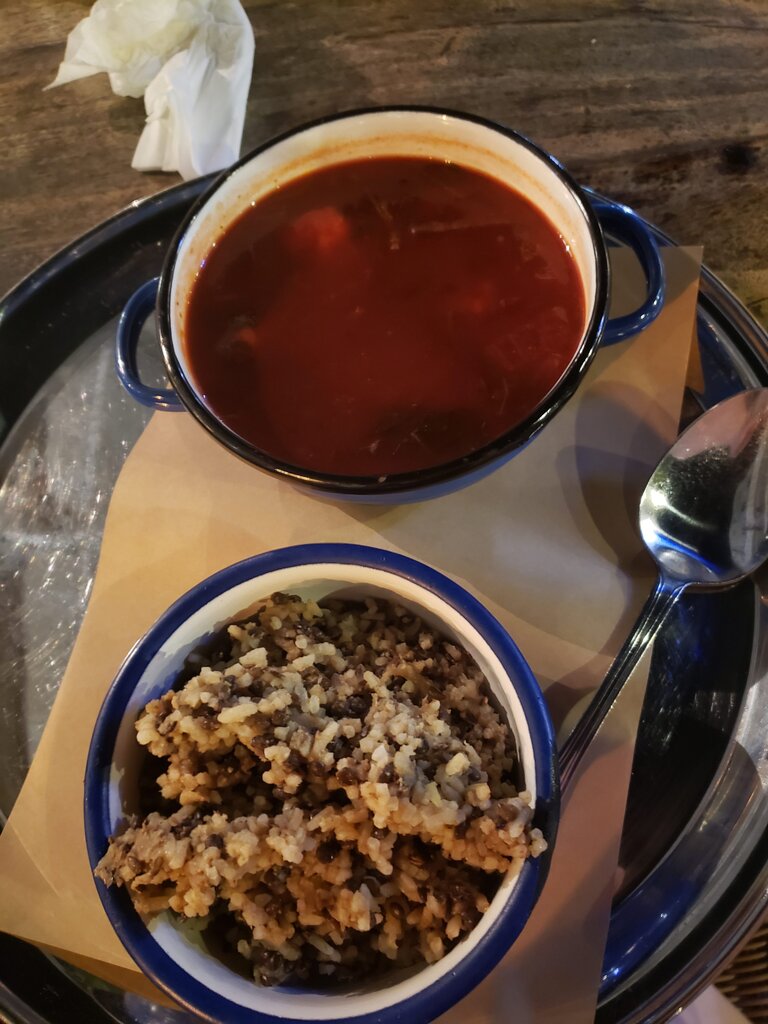
After the Dead Sea we headed to pick up Natalie, Joe’s wife, from the airport in Tel Aviv and then drove to Haifa, where Intel is located. This is the only time of the trip that I drove because Joe was extremely tired. I managed to only get honked at once, which everyone assured me was very good for Israel. When we arrived in Haifa, we met our co-worker Neil and walked to a bistro to have dinner. I had vegan kubbeh with a side of majadra which was incredible. Then we retired to bed and spent the next day meeting with our Israeli co-workers!

Vegan kubbeh and majadra!
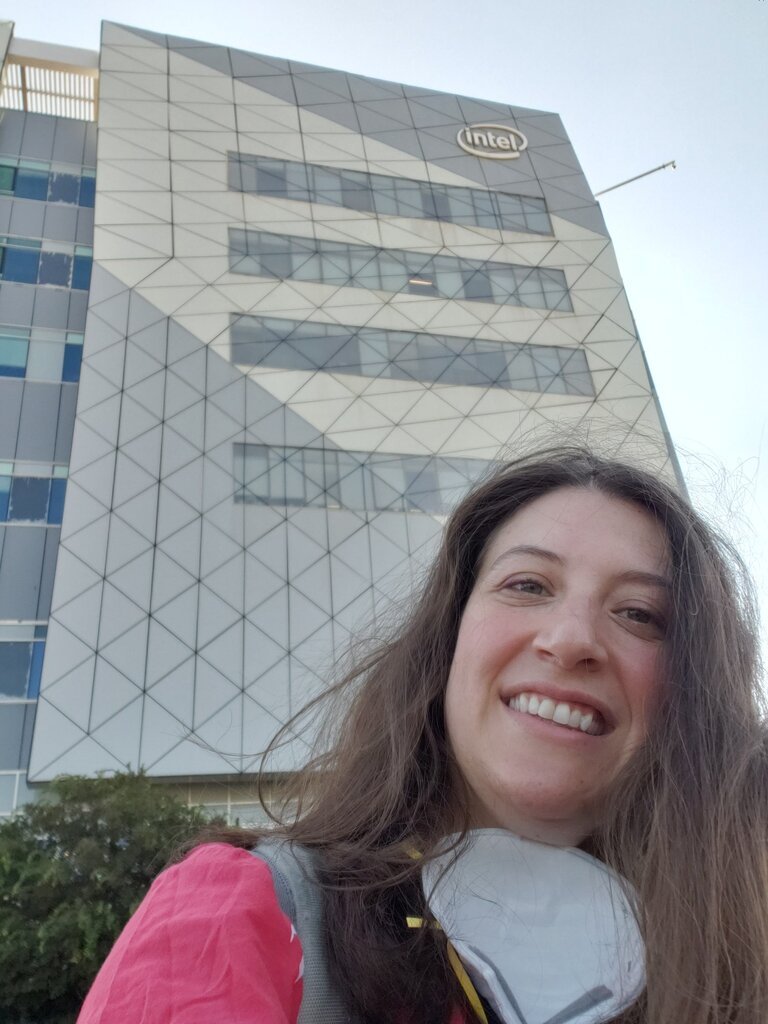
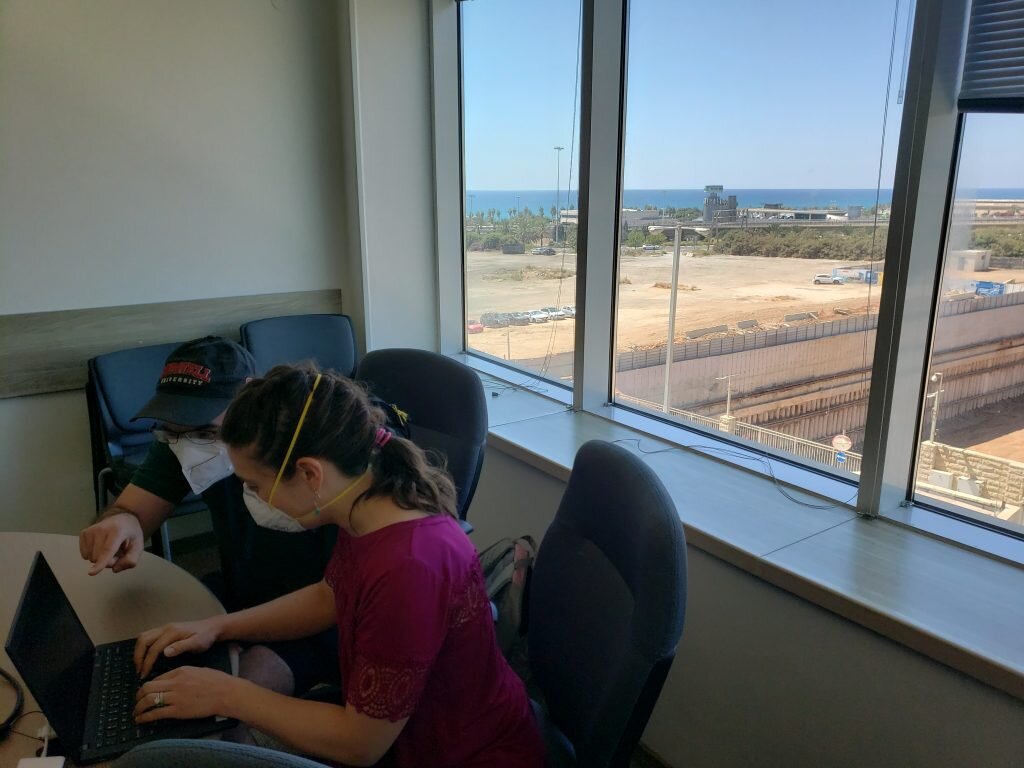
The Intel site in Haifa is huge! It is twelve buildings (I think they said) and their cafeteria is incredible! They had a vegan section too which was great for me. I ate entirely too much on this trip because of all the great food. After work we went out for beers on the beach with my co-workers, but since on my co-workers Ilya was so accommodating he only wanted to get vegetarian food I could eat and ordered tons of french fries. That is when I discovered that Israeli ketchup is different! They have a few brands – one of which is Hellman’s (yes the same mayo brand in the US) and it is delicious! I liked it better than what we get in the states. It started a whole debate, and I caught Ilya taste testing different ketchups the next day at lunch.

Here I am at IDC9!
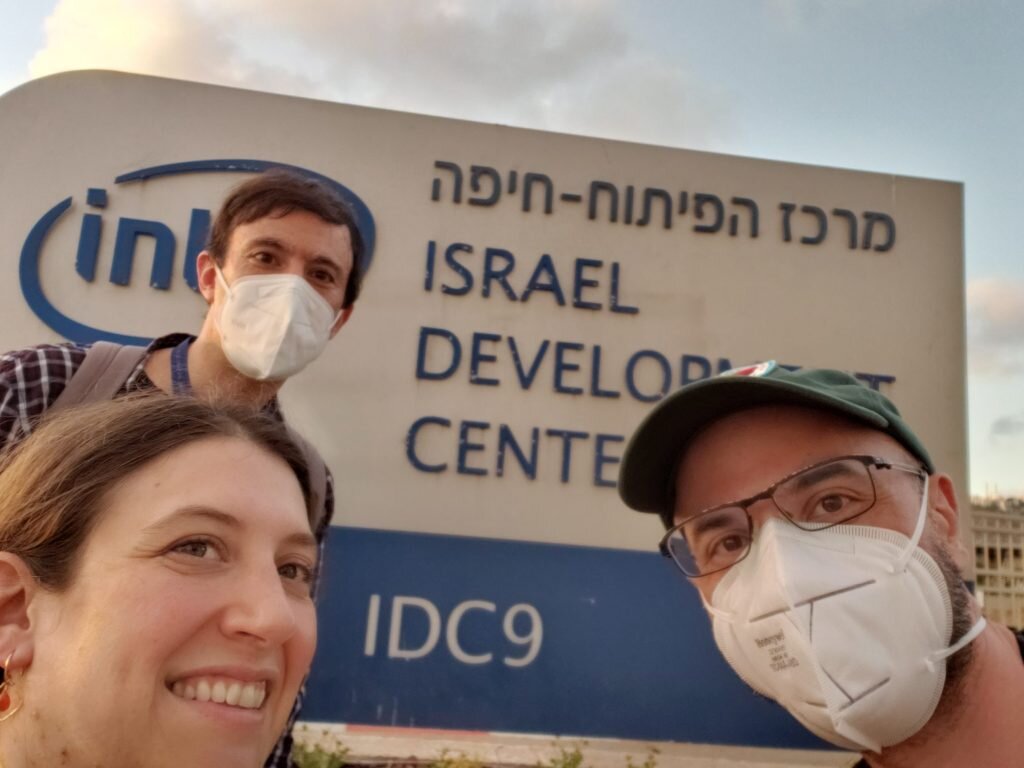
Neil, Joe and I at IDC
Check out that view behind us!
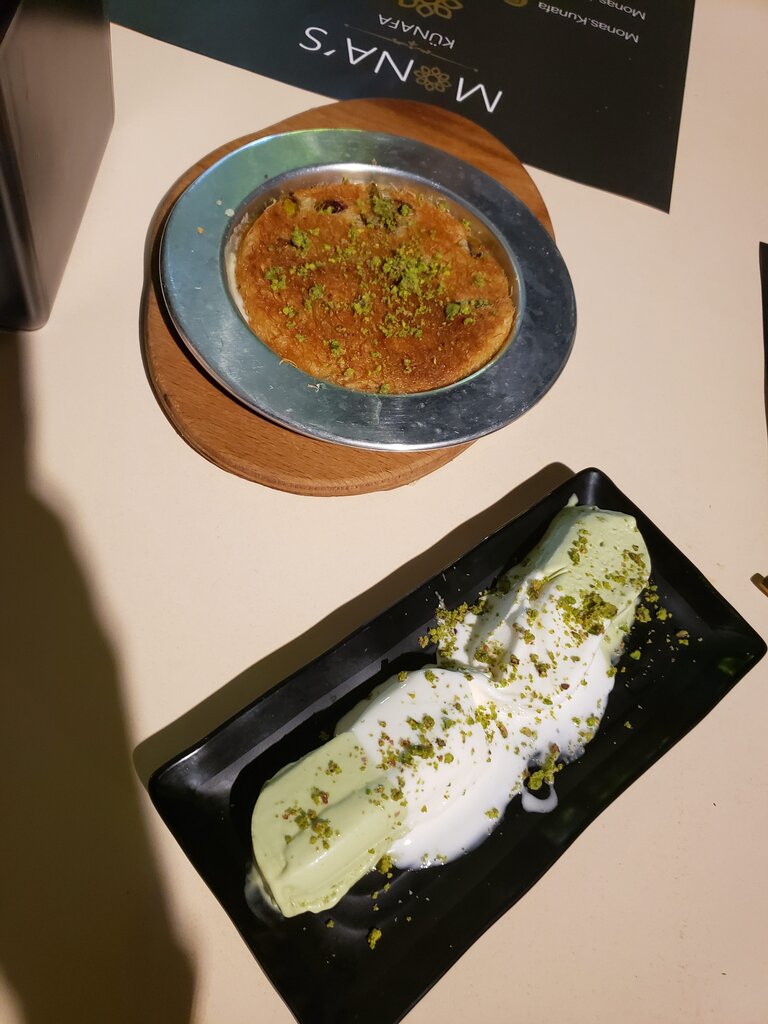
Even though we were stuffed, we decided to walk around and look for dinner after work, and had Kosher pizza which meant everything was meat free! Another vegetarian win (I had no problem finding vegetarian options in Israel as you can tell). Neil and I split two little pizzas that were mushroom and garlic and onion jam and goat cheese. They were probably the best pizzas I’ve ever had, not even joking. And then because we were completely stuffed, but felt like eating more, we got kanafe – which is a pancake-like thing filled with shredded cheese and soaked in syrup, cooked over a grill. It was delicious, but really, really sweet. We also opted for the Turkish ice cream (made from goat’s milk) which was very creamy, and not what I expected from goat’s milk (only a mild goat-y aftertaste).

Kanafe & Turkish ice cream!
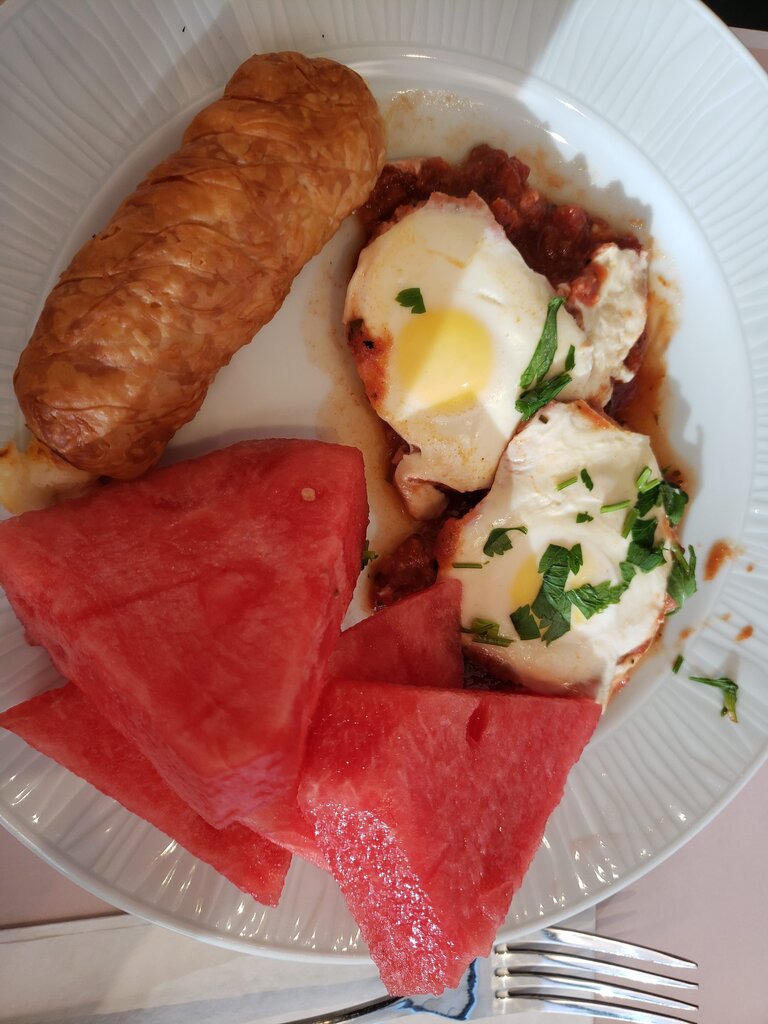
The next day was the first day I got to experience the hotel breakfast buffet which was incredible (and I was told, very unimpressive for an Israeli breakfast). They had 6 large stations, one for hot items like eggs, one for pastries, one for cheese, one for fishes, one for salads one for fruit and other large spot for drinks including cappuccinos and squeeze your own orange juice. I tried really hard not to eat too much, but I was delighted to officially try shakshuka, cheese burekas and halva which were delicious. I’m happy to say the shakshuka I have made is pretty close in flavor. Oh and did I mention I had watermelon with almost every meal? It was watermelon season and hands down the best watermelon I’ve had.
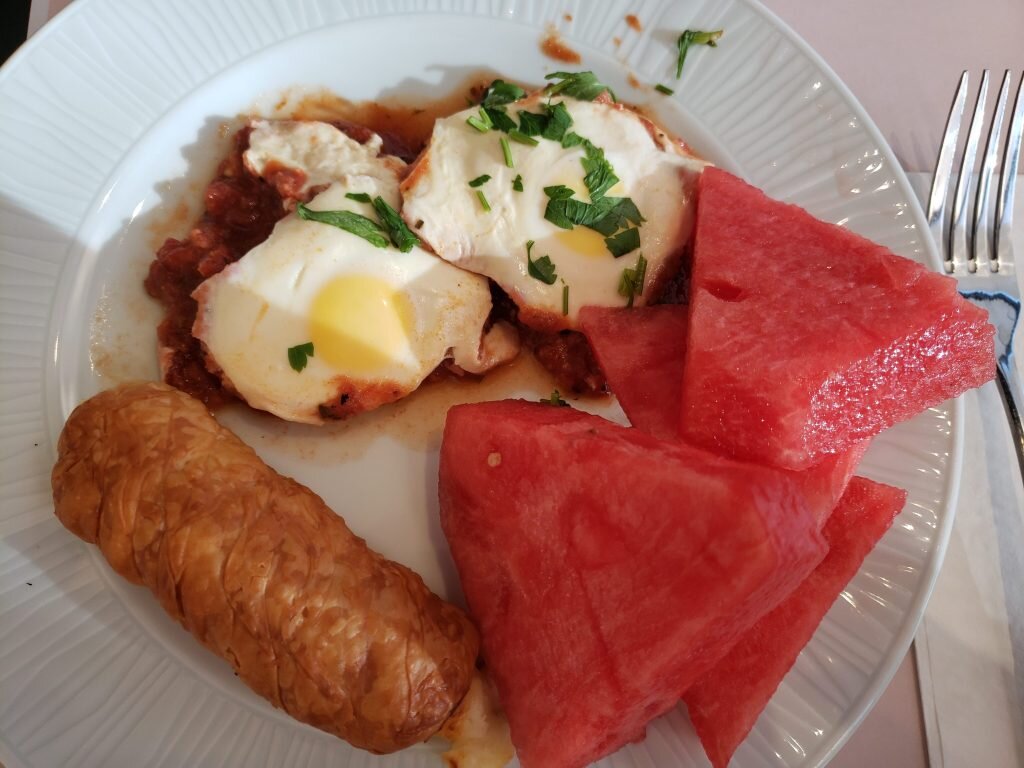
Shakshuka, cheese berekas and watermelon!
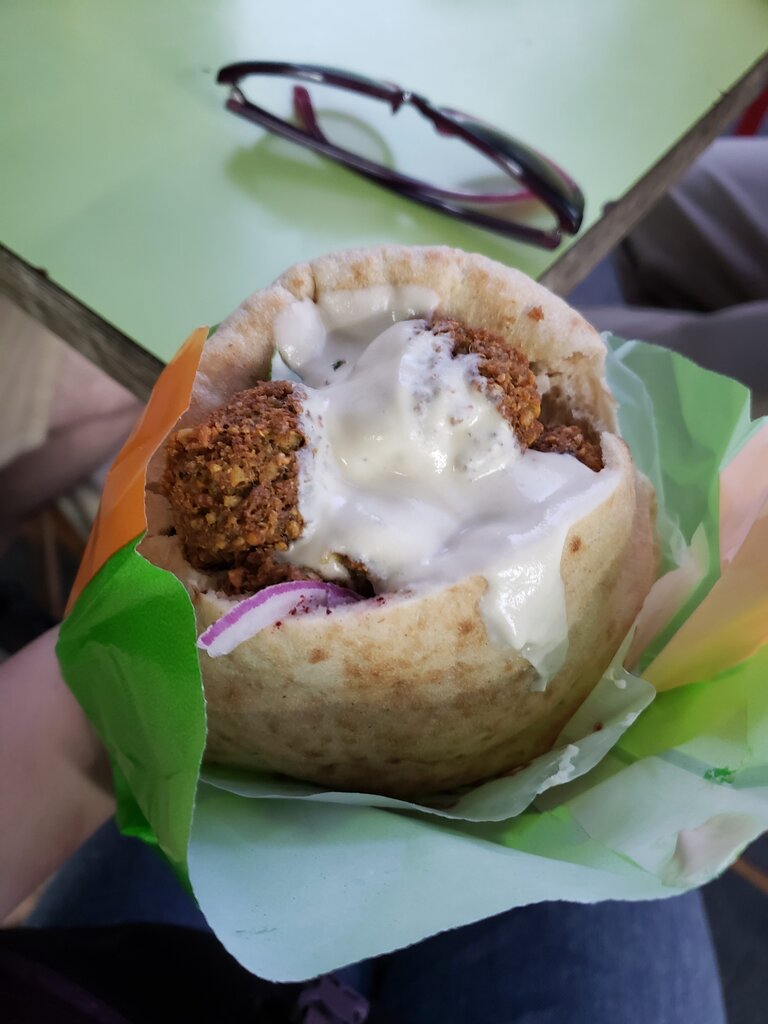
After work we decided to get falafel, which I had been dying to get. I love falafel in the states, and the Israeli falafel did not disappoint. It was hands down the best I’ve had. We ended up eating there on our last night as well because it was so delicious. This also prompted Neil to teach me some useful Hebrew letters so I could recognize the word פלאפל anywhere. (For future Lexi reference פ is the “fuh” sound and ל is the “luh” sound.) Oh and for good measure Neil also taught me ש (shin) which is the same letter in Russian in case that ever comes in handy.
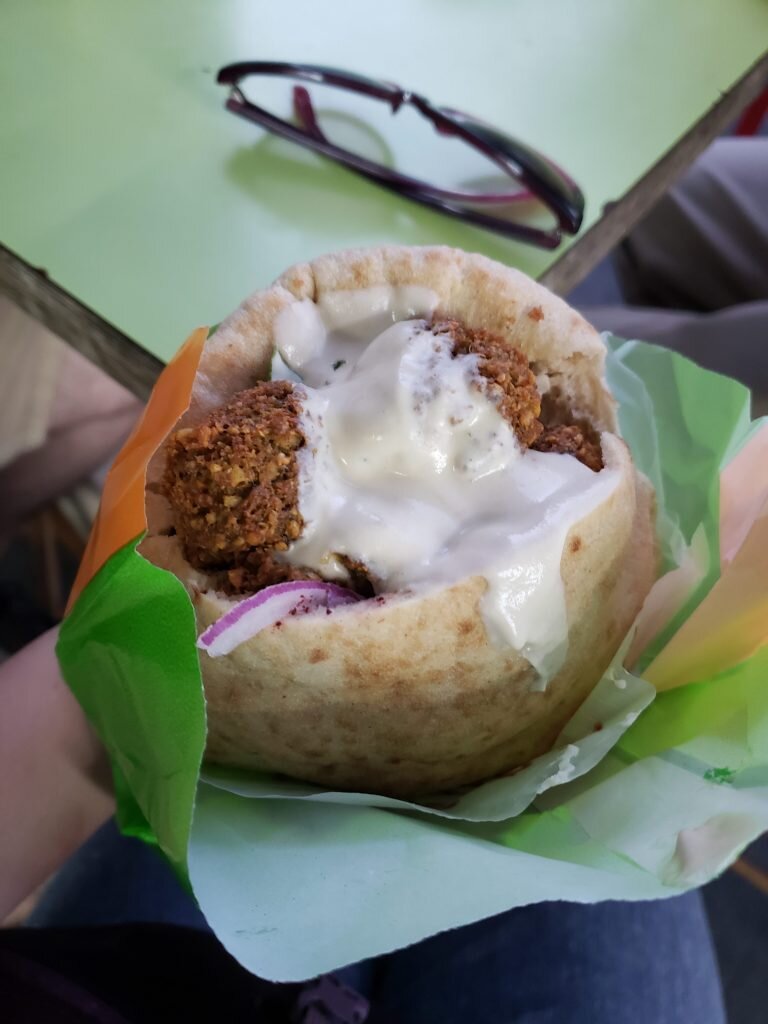
Mmm falafel…
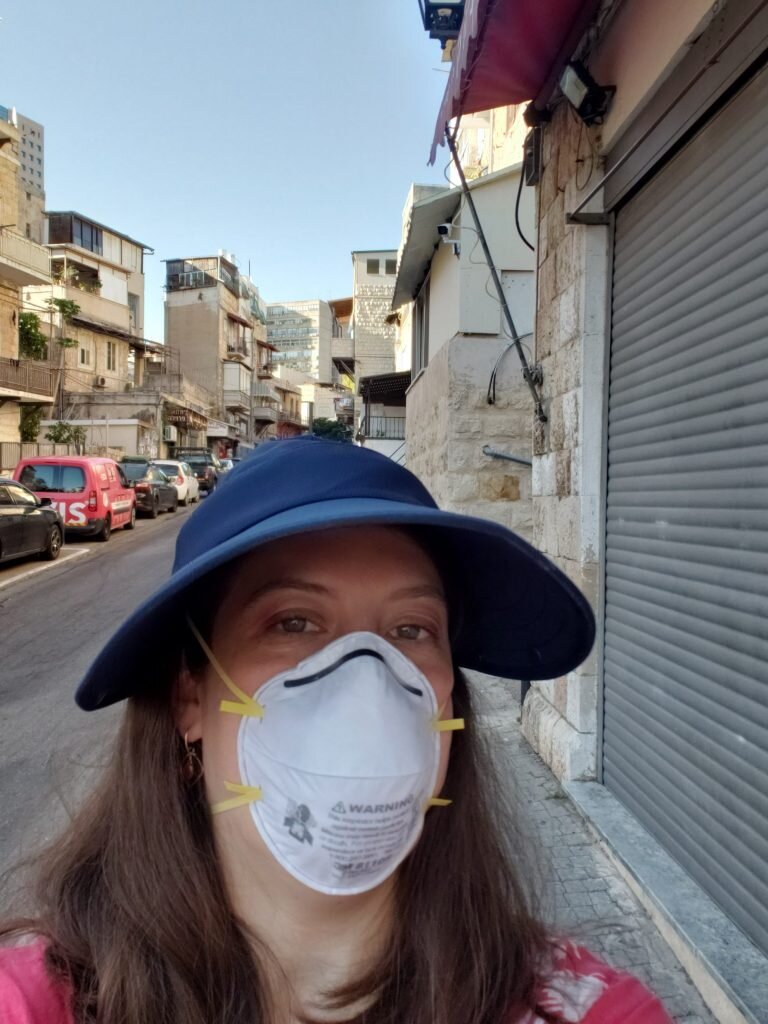
The next morning we resolved to get up early and walk around the Arab market Wadi Nisnas. We got there early so not a ton was opened but I did buy some fresh fruit, particularly a fig, apricot, prickly pear and pomegranate. I resolved to eat them before I left. It was neat to look at the different architecture in that part of the city – Haifa has so many different cultures it was cool to see different parts of the city.
Wadi Nisnas

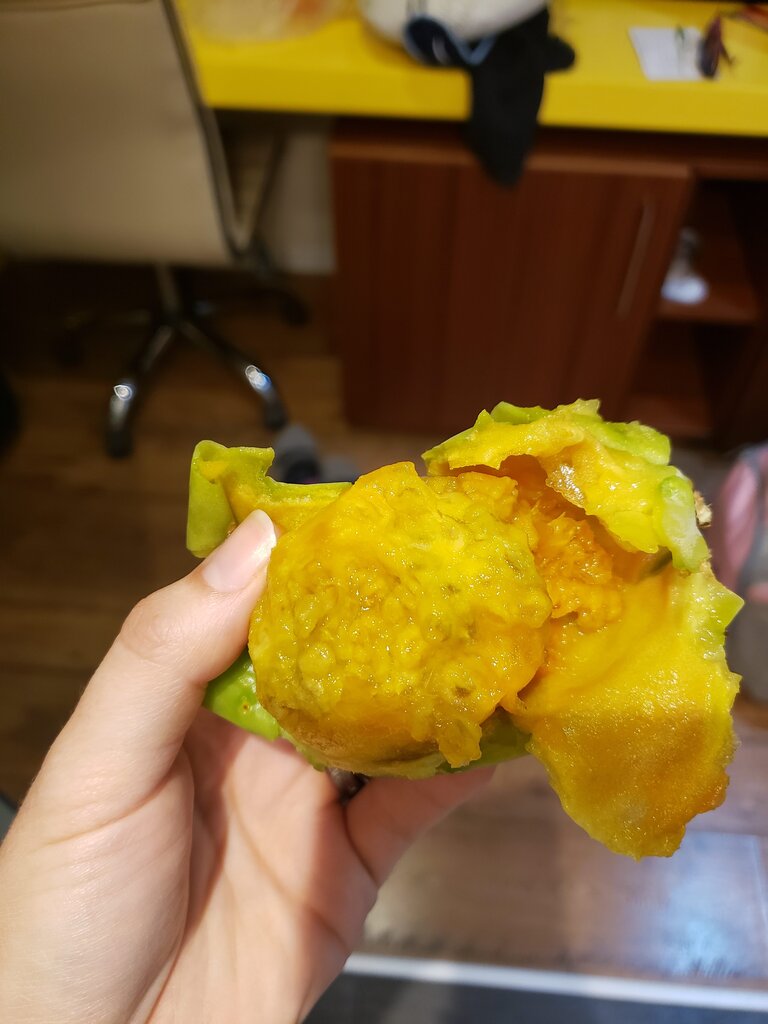
The inside of my cactus fruit (in retrospect I should have not peeled this by hand – turns out “prickly pear” has an accurate name.
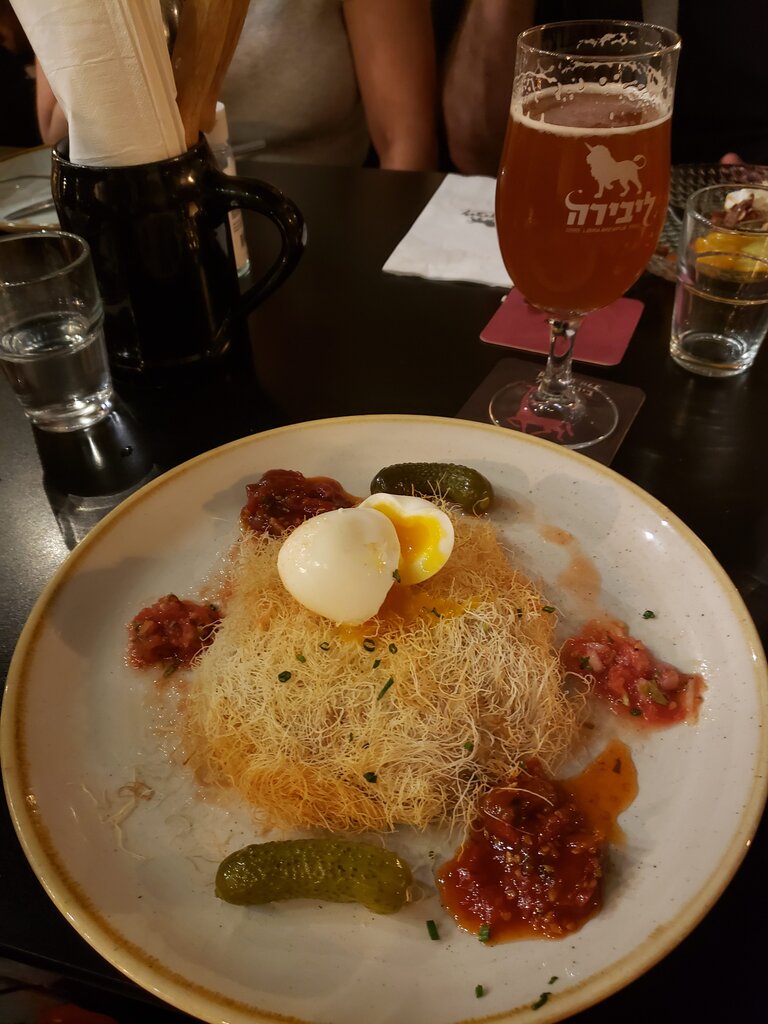
After work we had dinner at a brewery and restaurant Ilya had recommended (since we kept saying we wanted to try local beer). We all had a different style of beer and we all thought they were delicious. I had a savory kadaif which was like a nest of very thin filo dough noodles, with cheese in the center and an egg on top. It was delicious.

Kadaif and beer at Libira
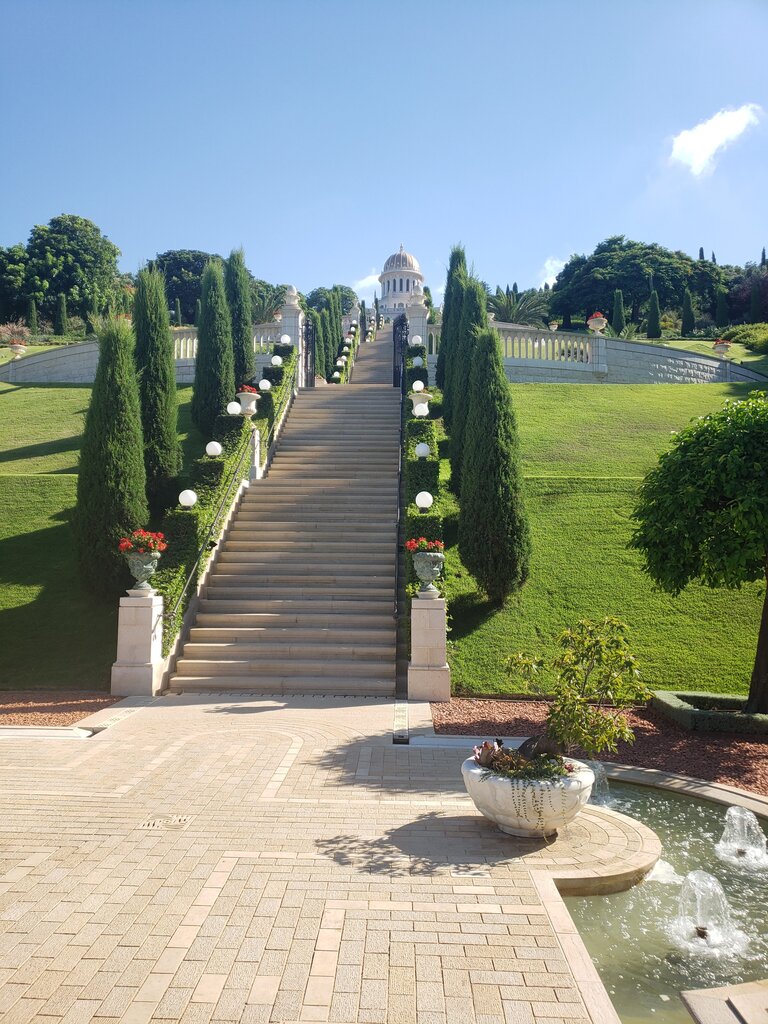
On our final day we left work a bit early to walk around the Baha’i gardens. Baha’i is a religion I had not heard of until this trip, but (hopefully I didn’t poorly summarize) they believe that all religions are united. The gardens themselves are beautiful and extend all the way down the top of the mountain in Haifa nearly to the sea. (Haifa reminded me a bit of San Francisco, with a huge hill with winding streets down to the water.) I think there were over a dozen different garden terraces in the garden, but the self guided tour only took you down 6 of them. The view from the top and bottom were both spectacular but I found the middle portion with the shrine the most beautiful. The garden alternated desert plants with grass, flowers, stones and trees to create beautiful striped pathways. The whole area was serene, and I can picture doing walking meditation there.
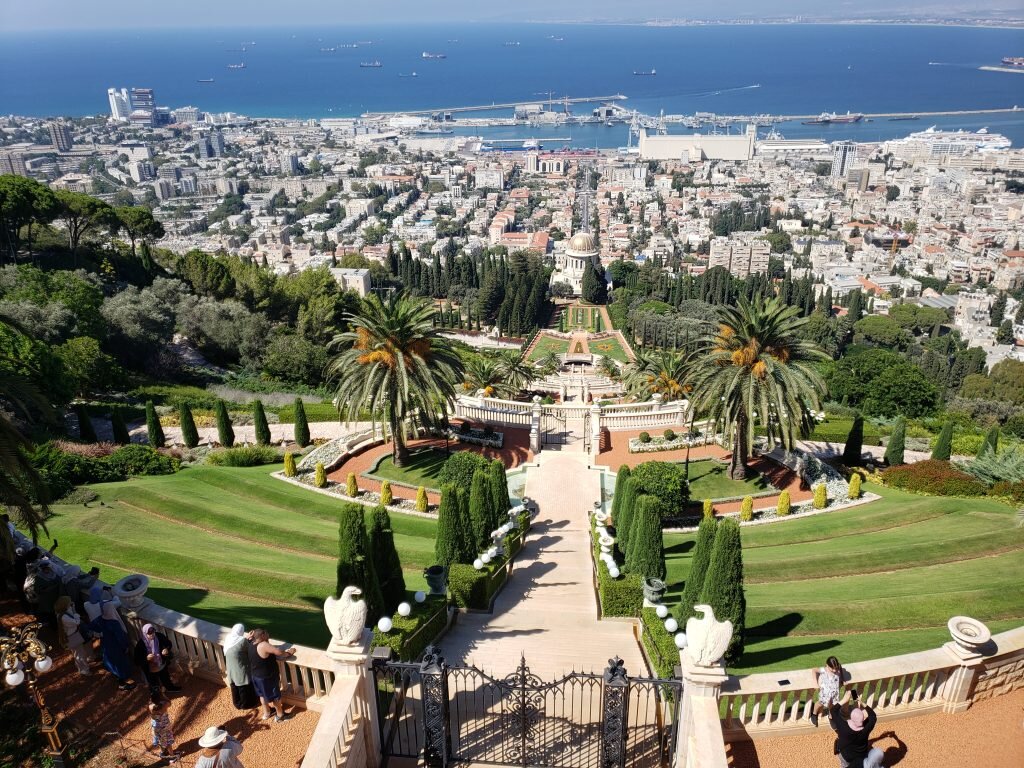
Top view of the gardens to the ocean.
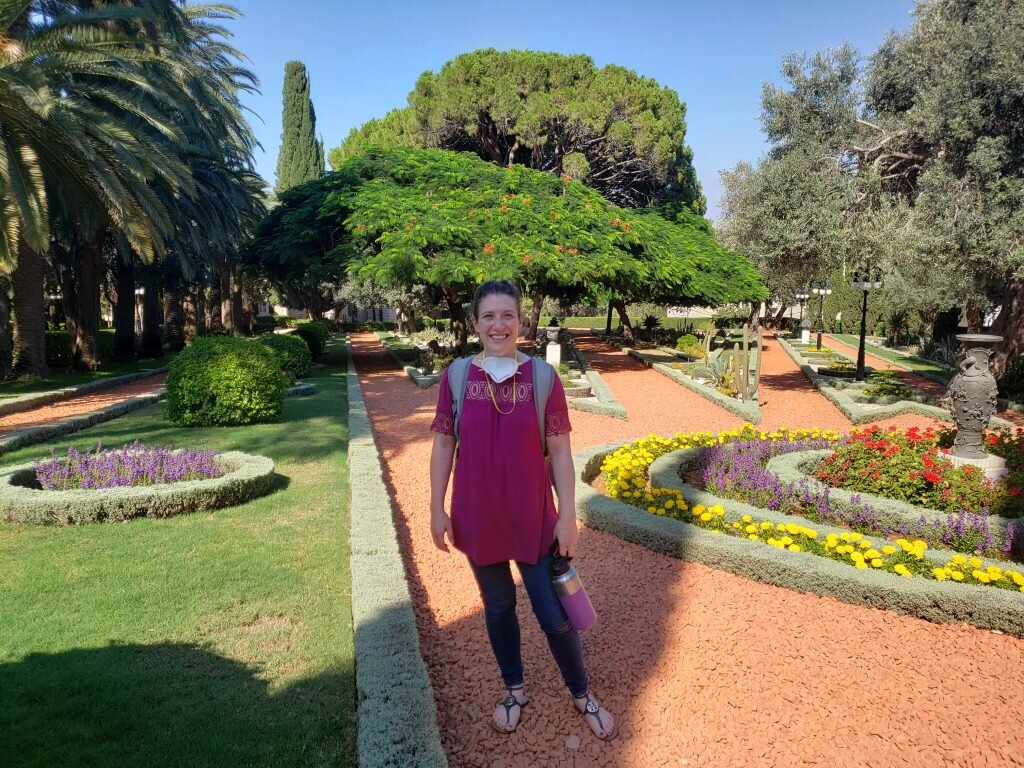
This is the beautiful central garden area with the shrine

After our walk in the gardens we were all hot and tired so we decided to retire to the air conditioning for a while, and I tackled a couple of my fruits I’d bought the day before. The prickly pear was so unique – it consisted of very hard seeds in a sweet, almost star fruit like flavored pomegranate-aril type flesh. The apricot was the best I’ve ever had and made me realize the fresh apricots we get in the US are severely under ripe, which is why they are always so tart. This one almost tasted like a peach it was so sweet. For our final night in Israel, we decided to have one final פלאפל. The next morning we said farewell to Israel and headed to the airport.
Last photo in Israel, about to head into the airport!