Well I hope all the Moms and Mamas out there had a great Mother’s Day. I know I did, celebrating with my mom and the ones who made me a mama. I hope you all got to celebrate your mom or baby mama and tell them you love them. I strongly believe every Mom is a superhero. I just hope there aren’t 3 million new undesired Mom titles bequeathed next year upon women without the right to choose. I shouldn’t get discouraged – maybe just maybe, the government will do something to actually help women instead of keep us down. Ha! Good joke, I know, but a girl can dream (but apparently do nothing else) about equal rights!
Enough about bodily autonomy the hellscape Republicans are planning for women in the US the things keeping me up at night! Actually last week, on top of that freedom killer, both kids were sick so we had a lot of things keeping us up at night. Will as usual gave me the best mother’s day present ever – free time. This meant I could catch up on my sleep this weekend despite the 1am doom scrolling over the previous week. After sleeping in I also mended a couple items that needed mending and worked on a little project that has been on my list for months! I hope you all were so lucky!
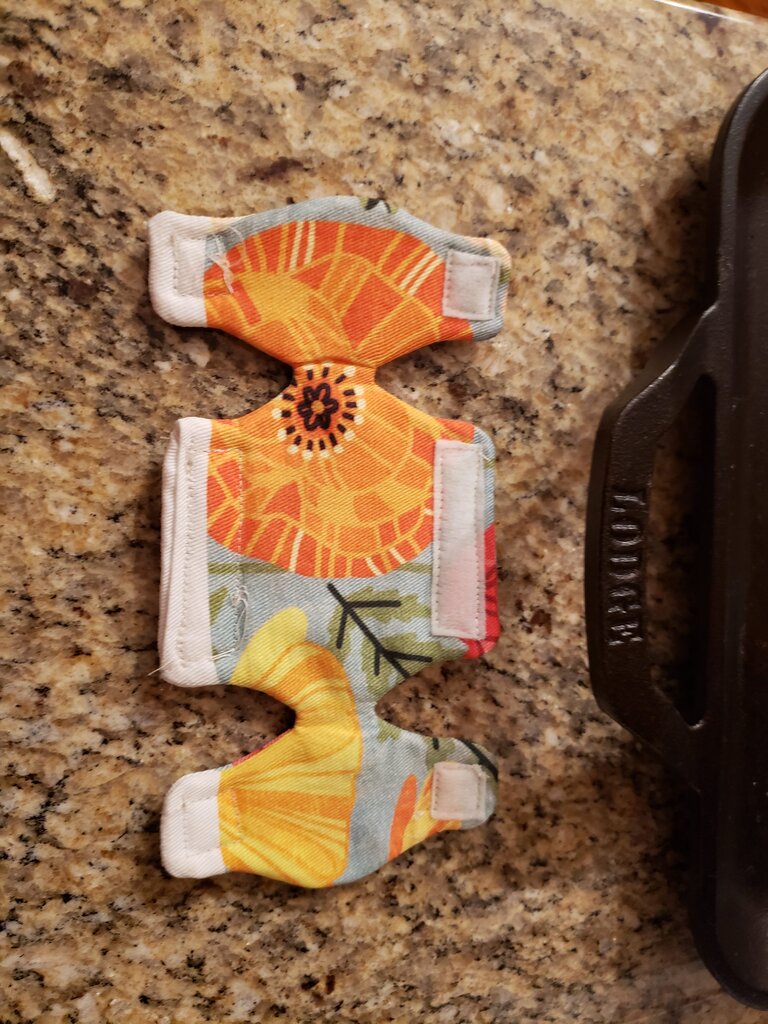
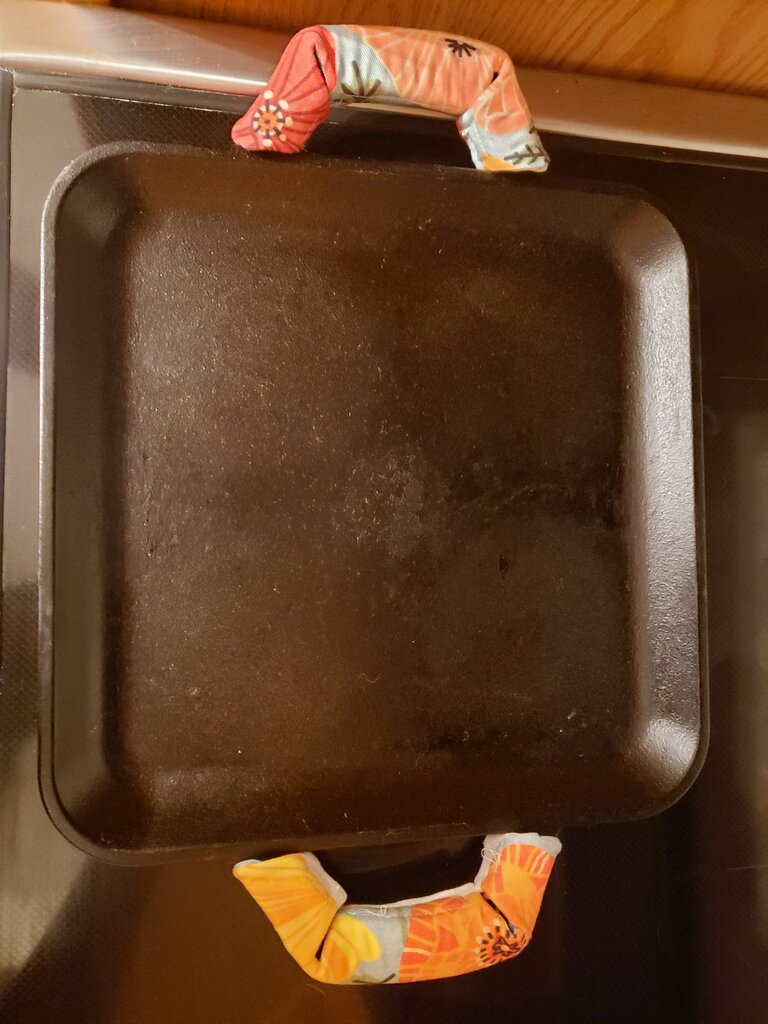
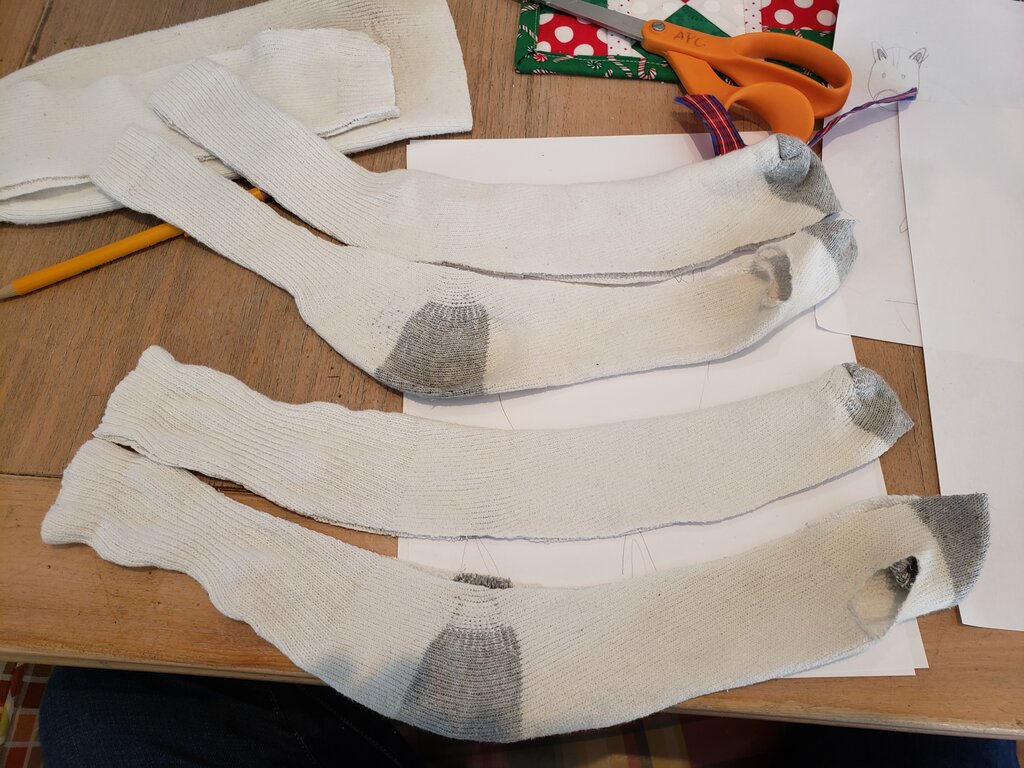
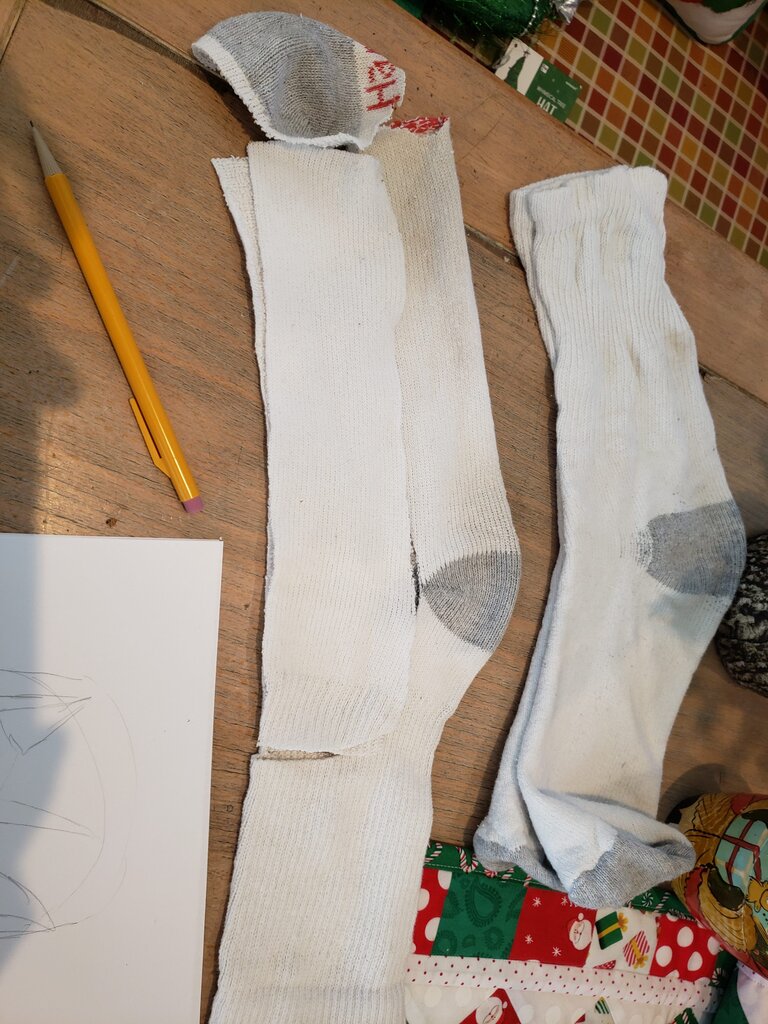
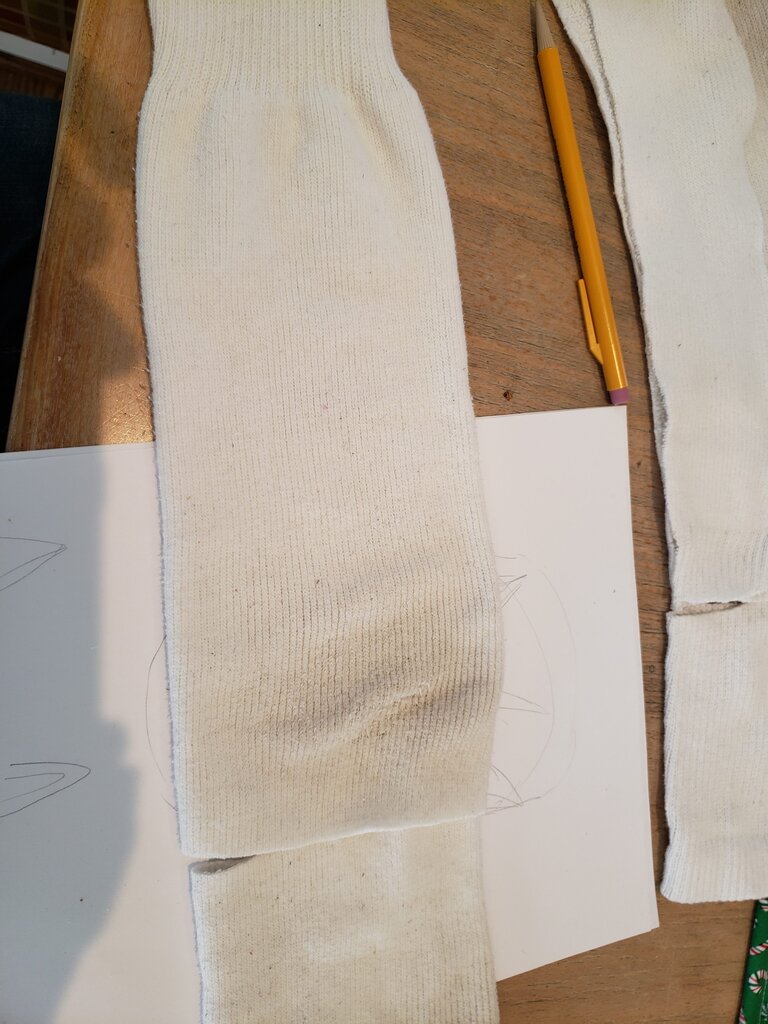
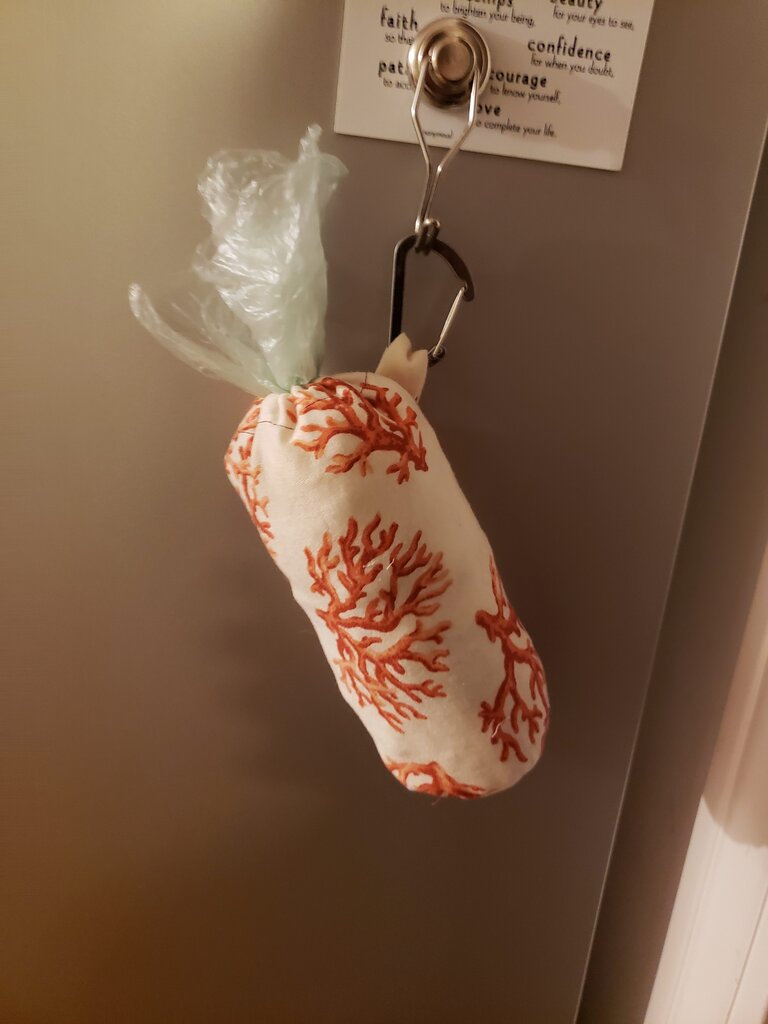
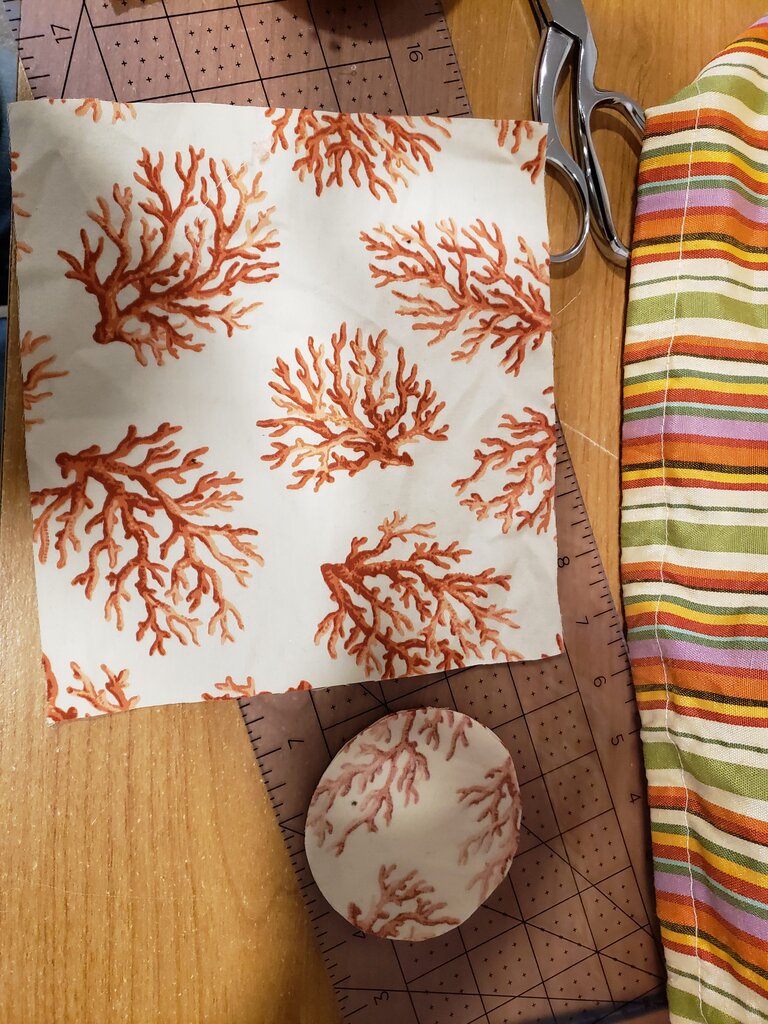
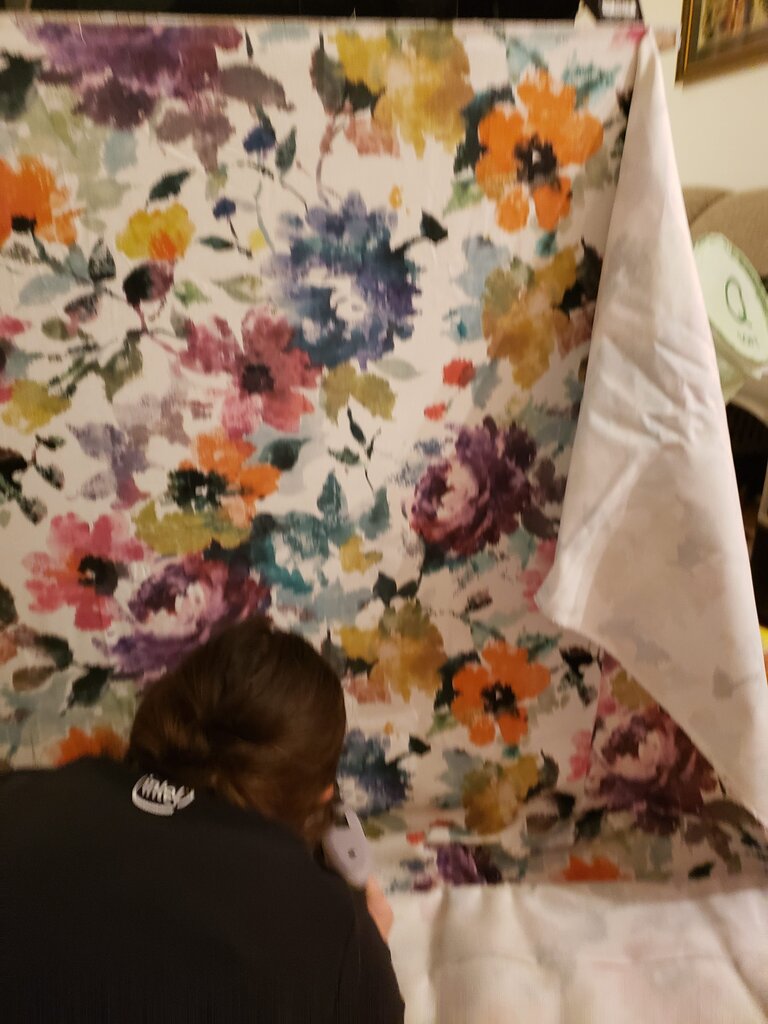
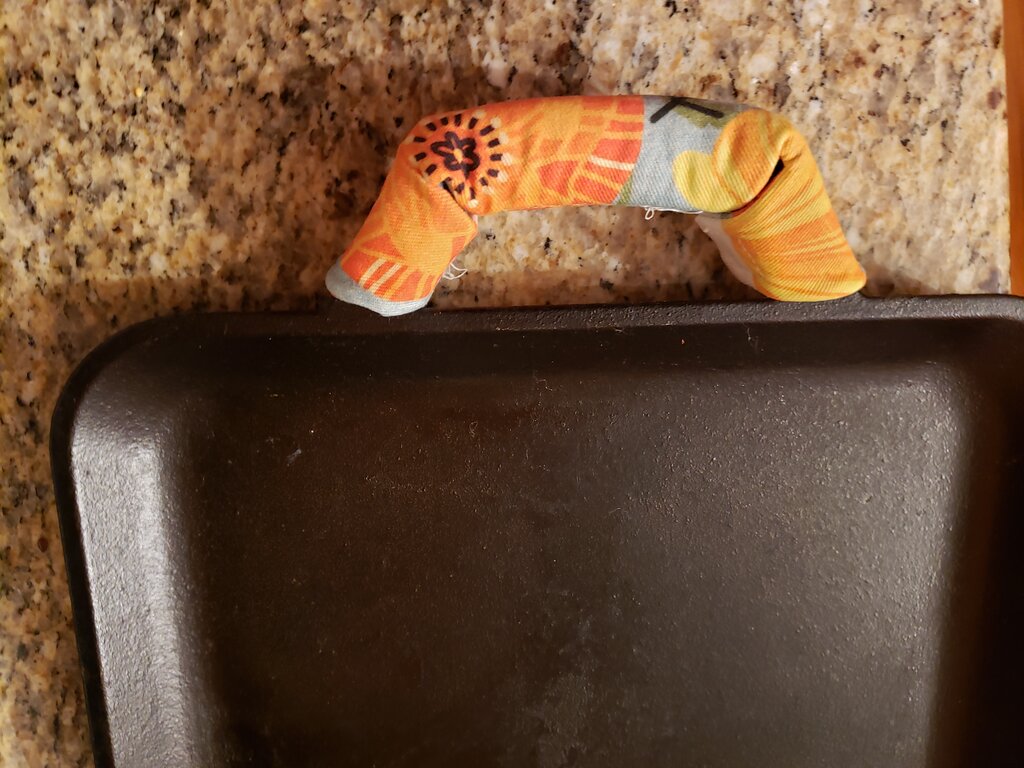
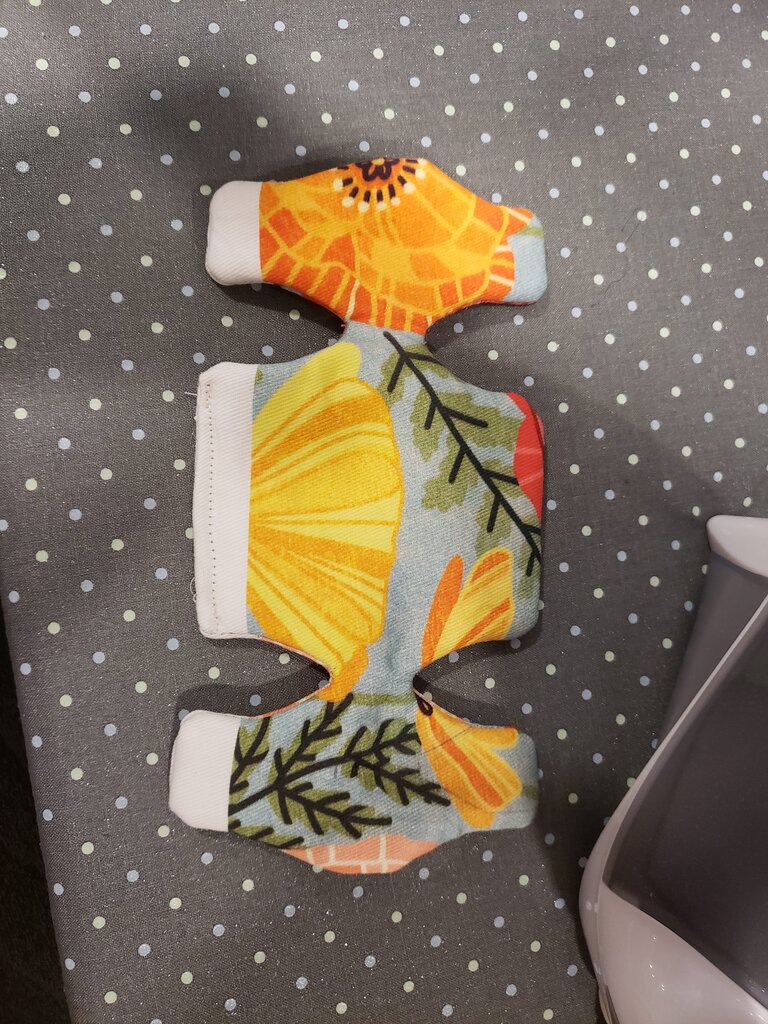
The little project was a set of potholders for the handles on my cast iron griddle! I loved my old griddle, but after our oven died (wasn’t the oven, was the breaker) we replaced it with an induction cooktop model. I do love it, but it meant I had to get rid of my fabulous griddle pan. I changed to a cast iron griddle (pretty much the only option) but it took a lot of getting used to. It doesn’t heat as uniformly as my old griddle, and once it comes to temperature it stays hot for a long time. This meant I needed to adjust my cooking process a bit. The good news is, a s long as I remember to preheat the griddle it works like a charm! This unfortunately means that even the handles get very hot. I have to keep a potholder on hand to hold the pan still while I flip the pancakes. This isn’t a terribly convenient option, and I’ve been longing to make some covers that stay on easily, but can be removed when cleaning is needed. The shape of the handles meant I haven’t seen a fabric version before, so with a teensy bit of geometry I came up a pattern that I liked!
Oh and if you got this far you already deserve to hear about May’s contest! I’ve got a sweet prize for you this month! One lucky winner will receive a pound of the Ladybeekeeper’s own honey and an adorable little honey dispenser! All I need from you honeybees is a comment on how you will help make a woman’s life or women’s lives better.
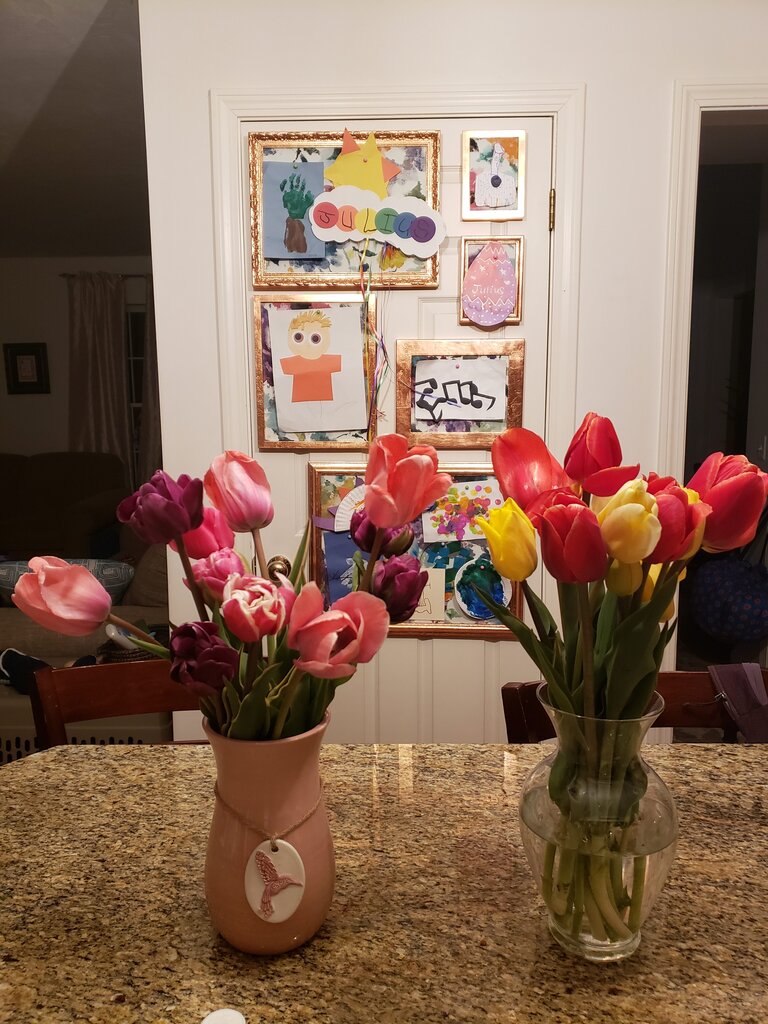
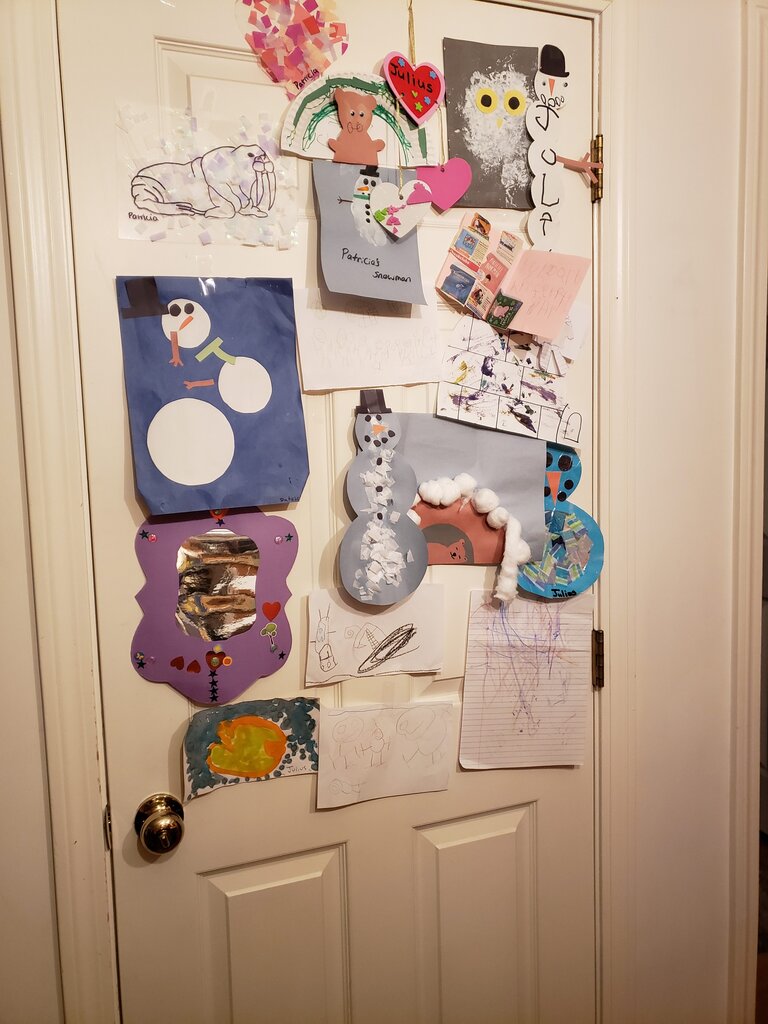
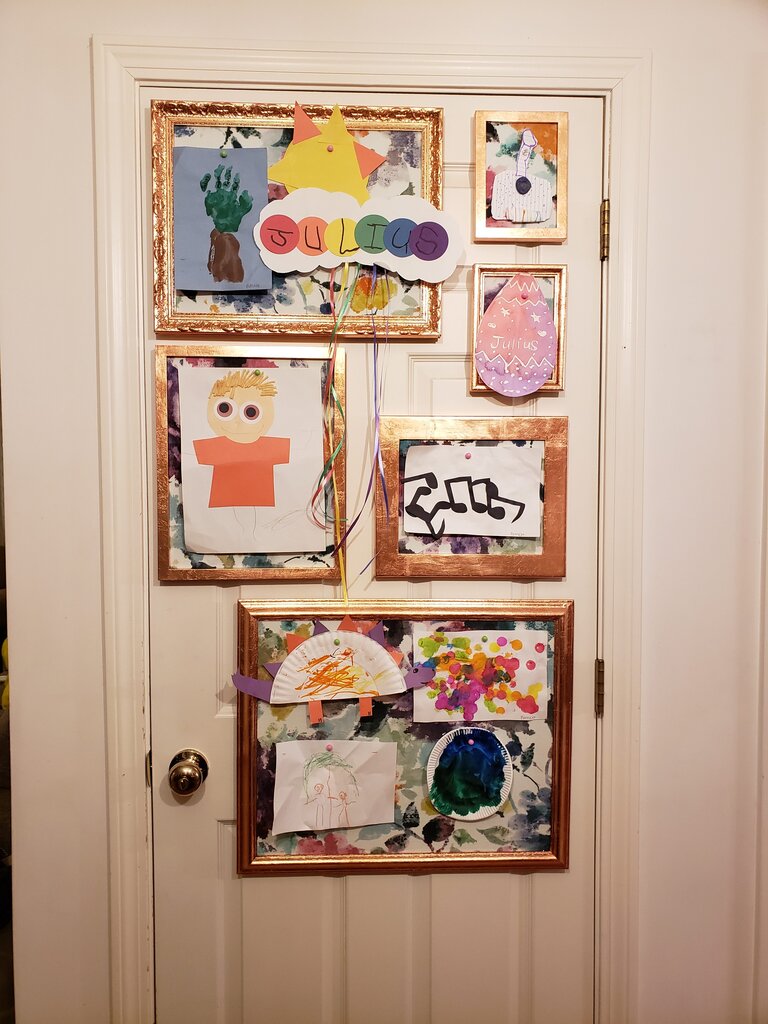
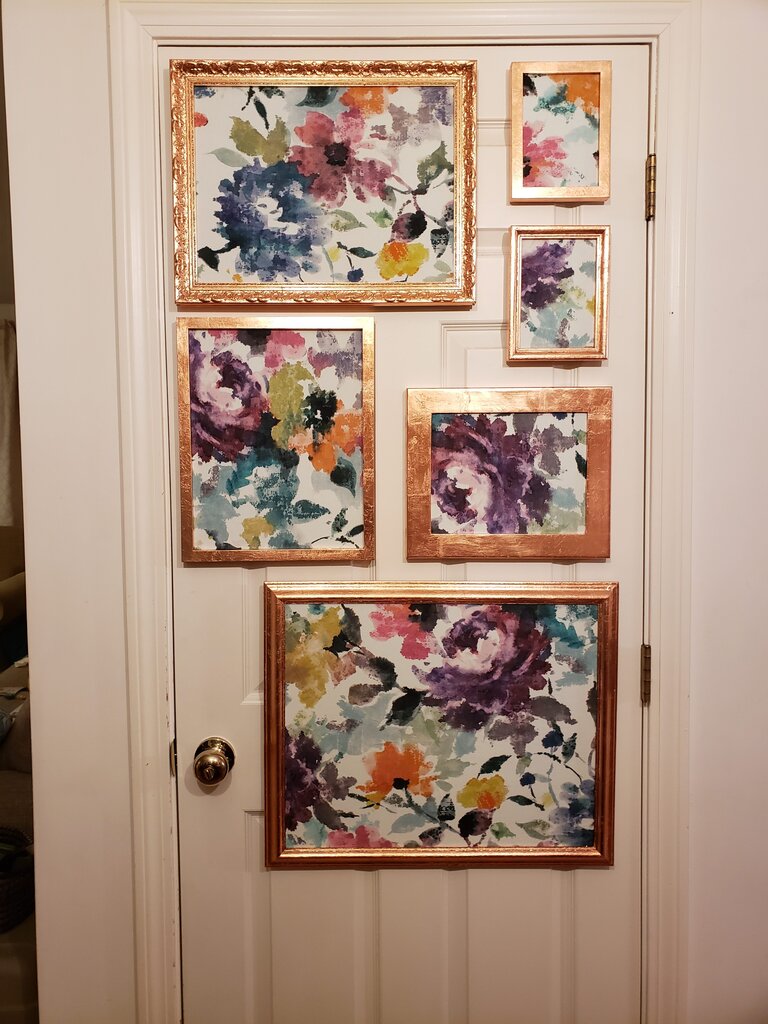
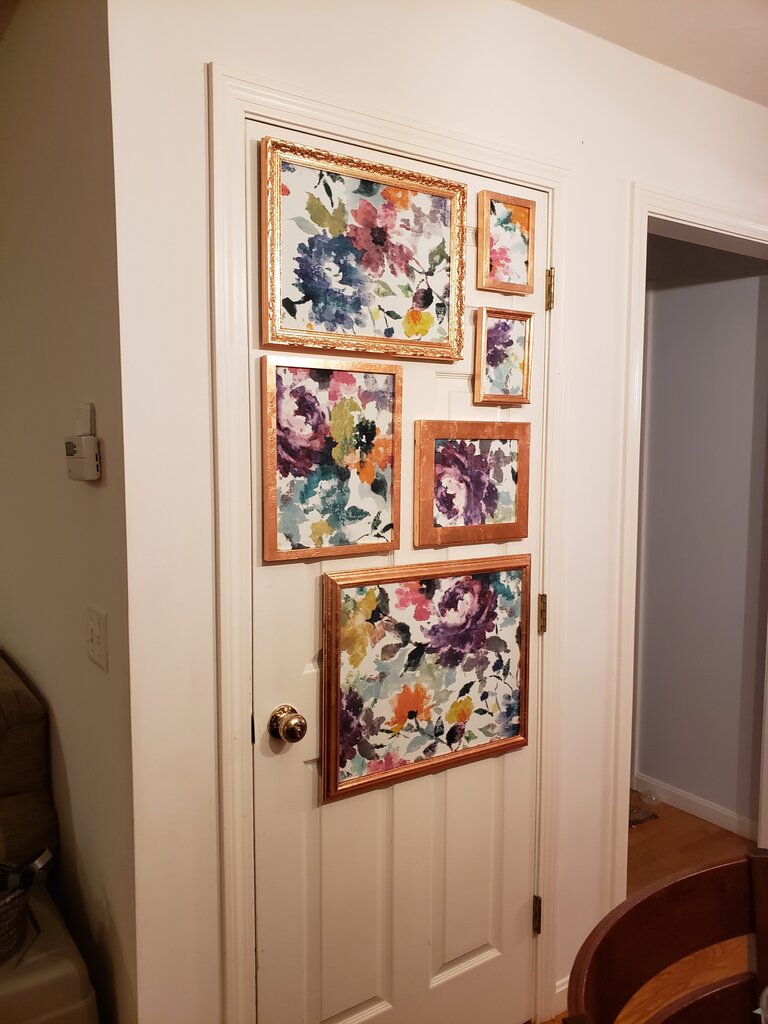
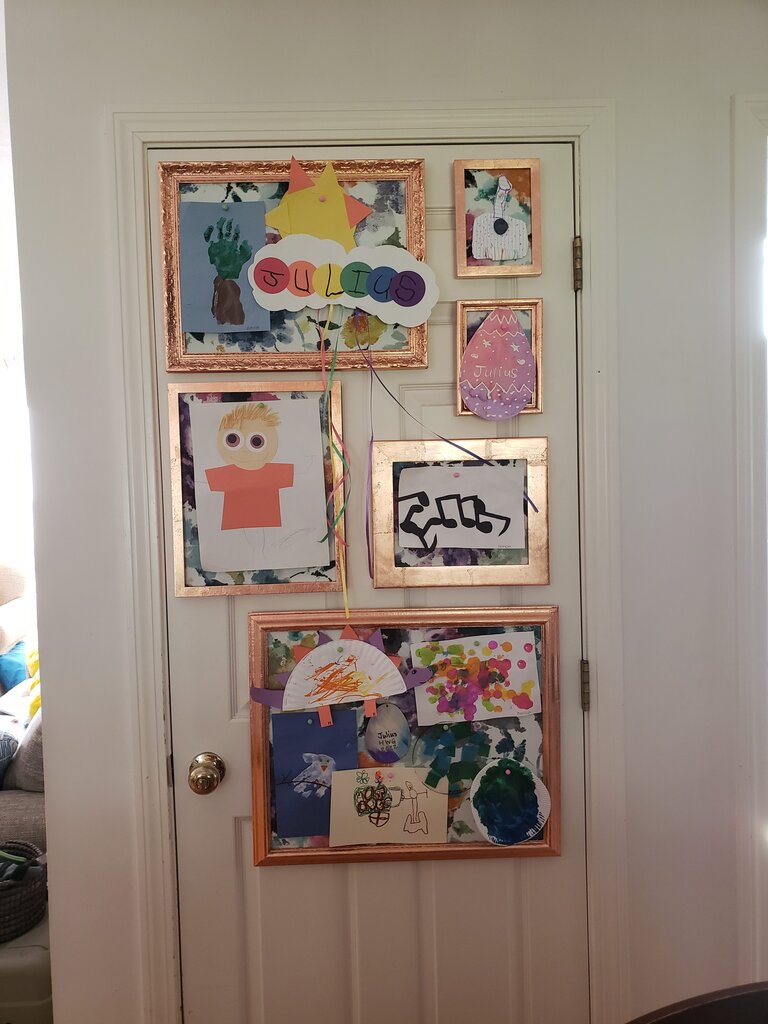
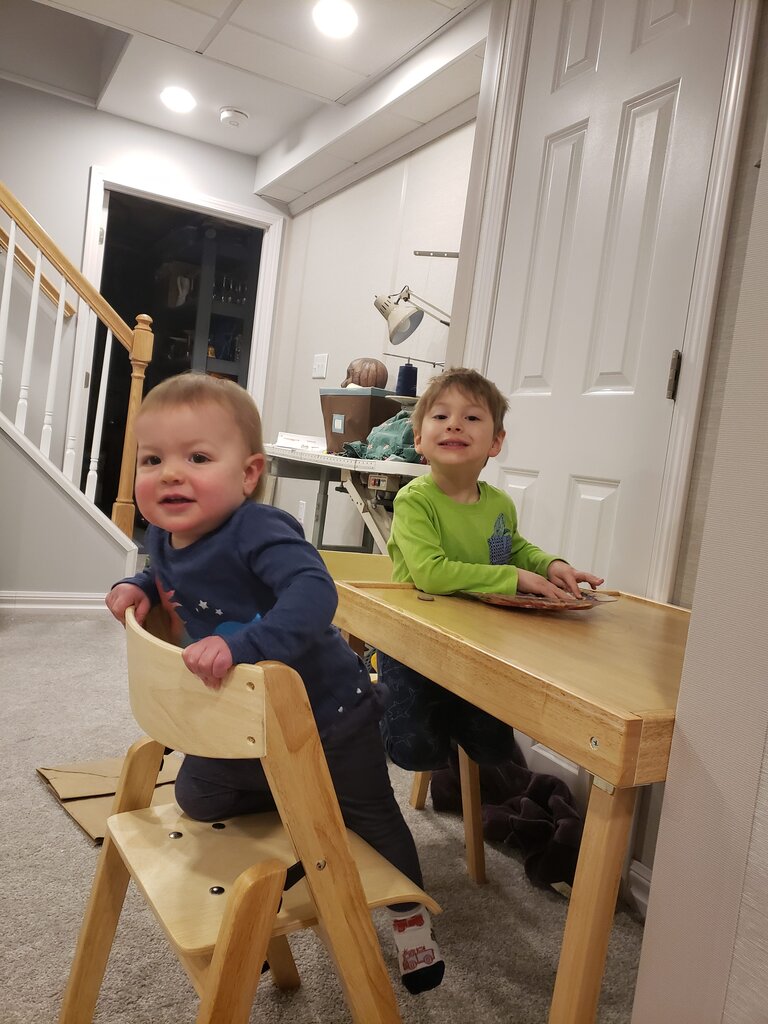
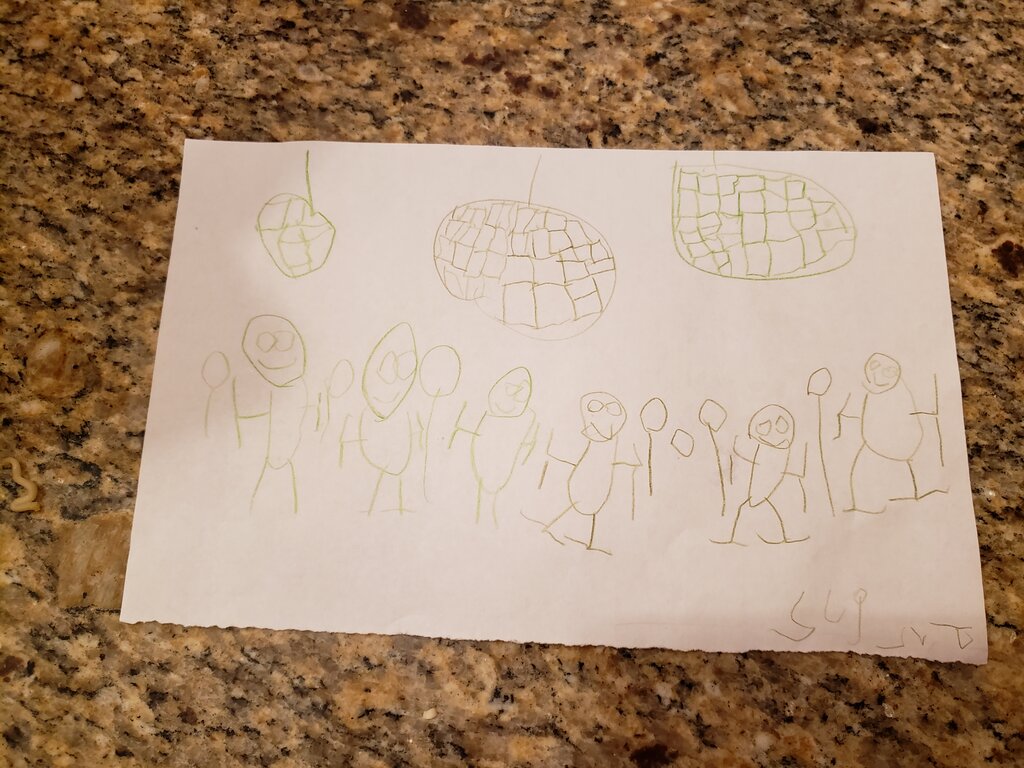
Julius and Patricia and Will always work to make my life better, and Mother’s Day was no exception. As an example, Julius and Patricia made me several art projects for Mother’s Day which I will cherish. Julius on Saturday could not contain his excitement for one of the gifts he and Patricia (and Will) made for me and blurted out “it’s a frame!!!” Will heard him and shouted, “shhhhh” but Julius by this point couldn’t stop himself, he kept talking and started describing the frame and how they made them. It was so adorable I couldn’t help but laugh. Okay on to the pot holders…
Cast Iron Pot Holders
What you’ll need (for each holder):
- about 1 square foot of cotton scrap fabric
- 1/2 sq ft of of insul-bright
- about 5″ of 1/2″ velcro
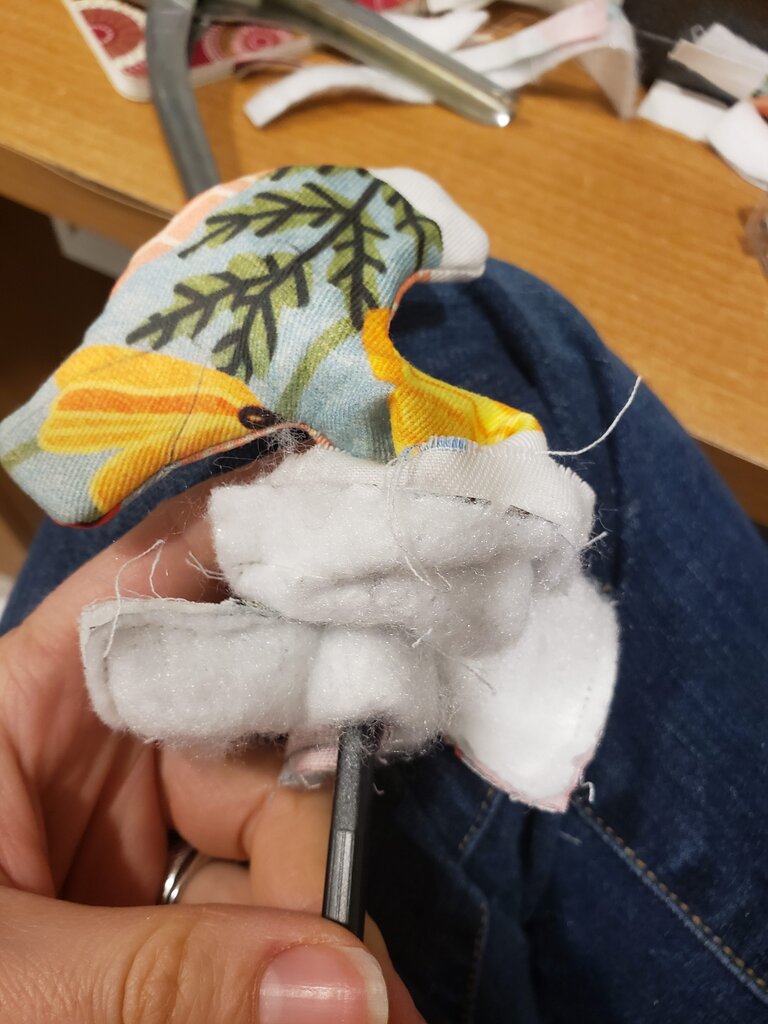
- a chop stick or something to turn the piece with
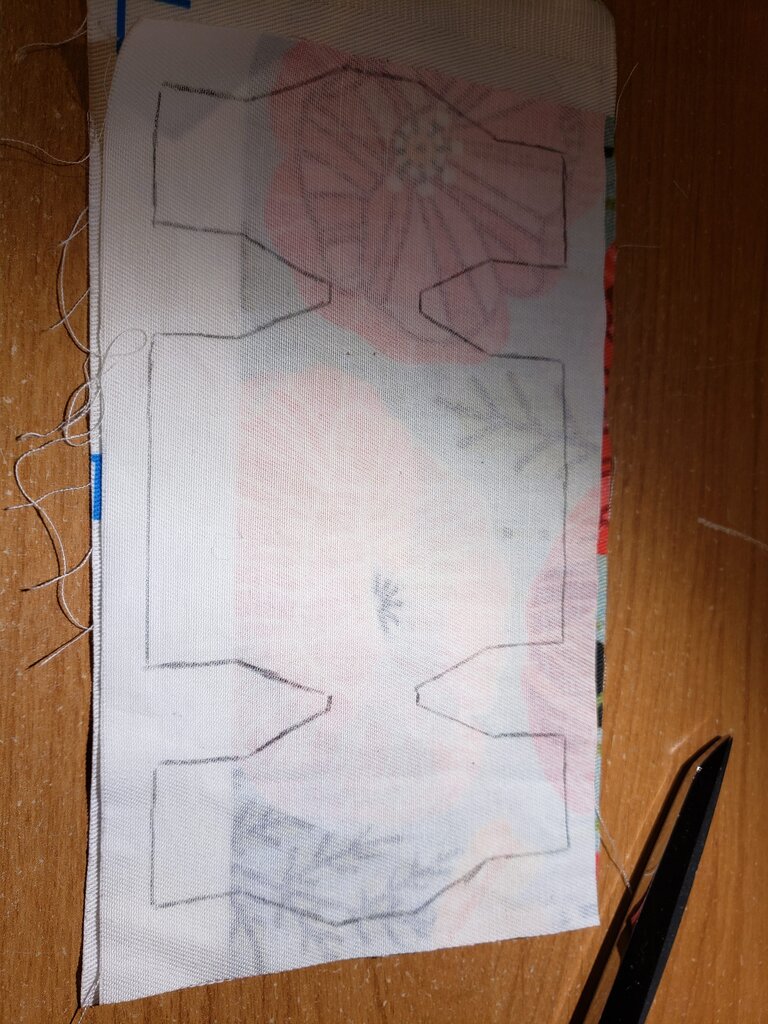
- pattern here
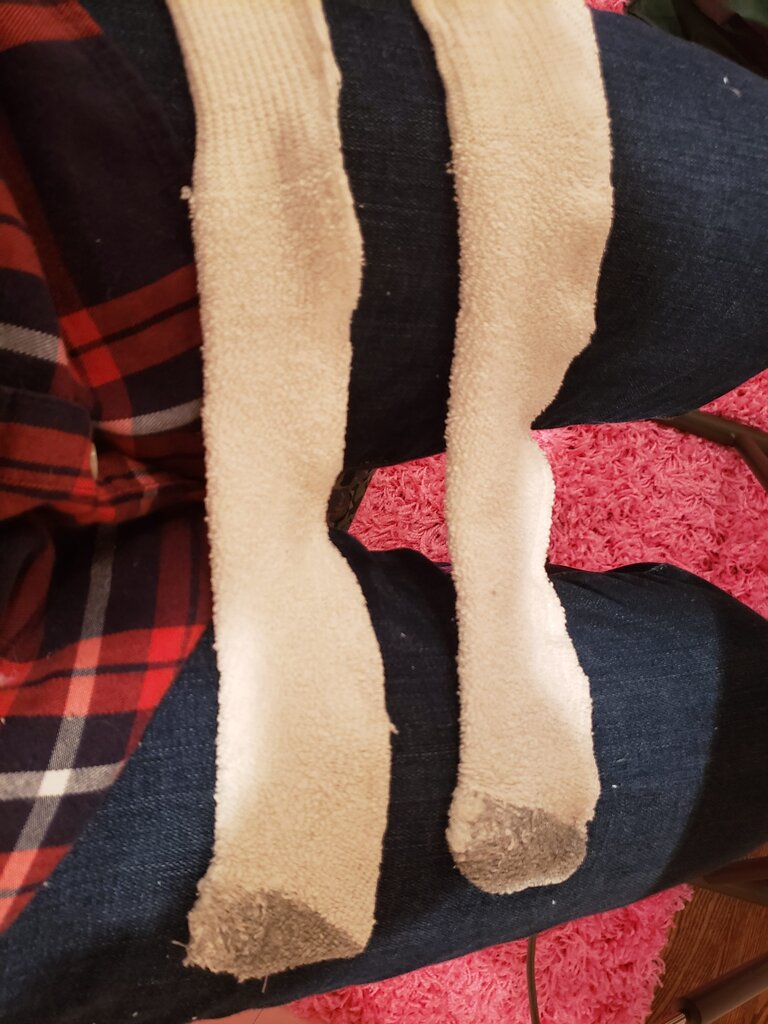
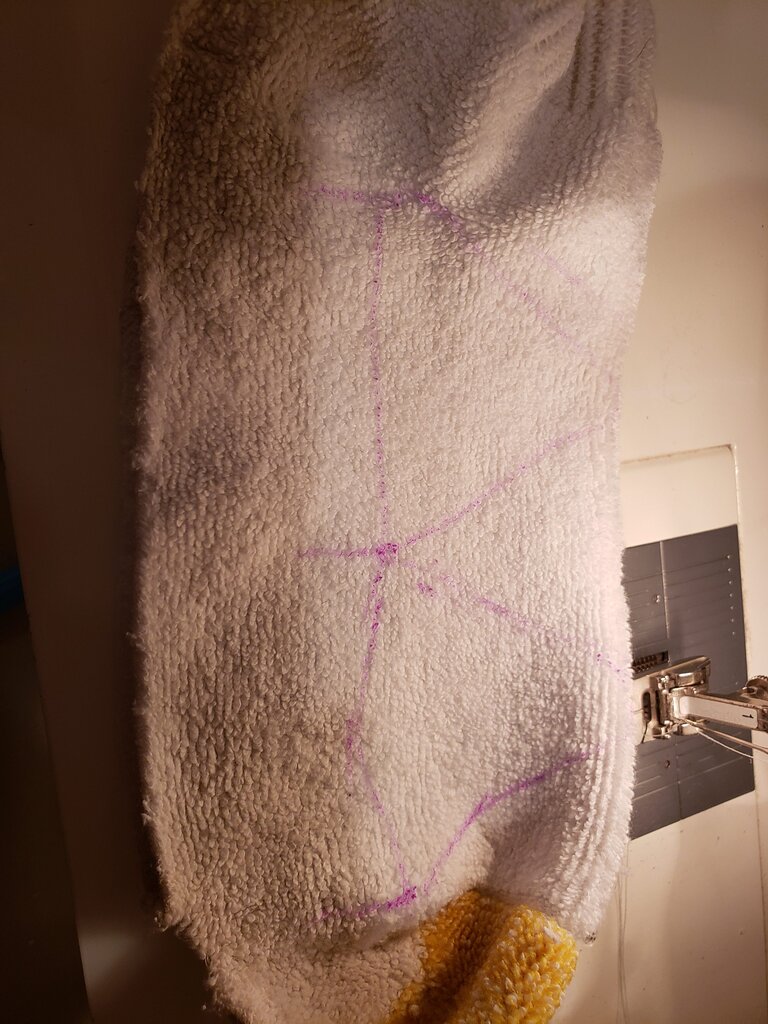
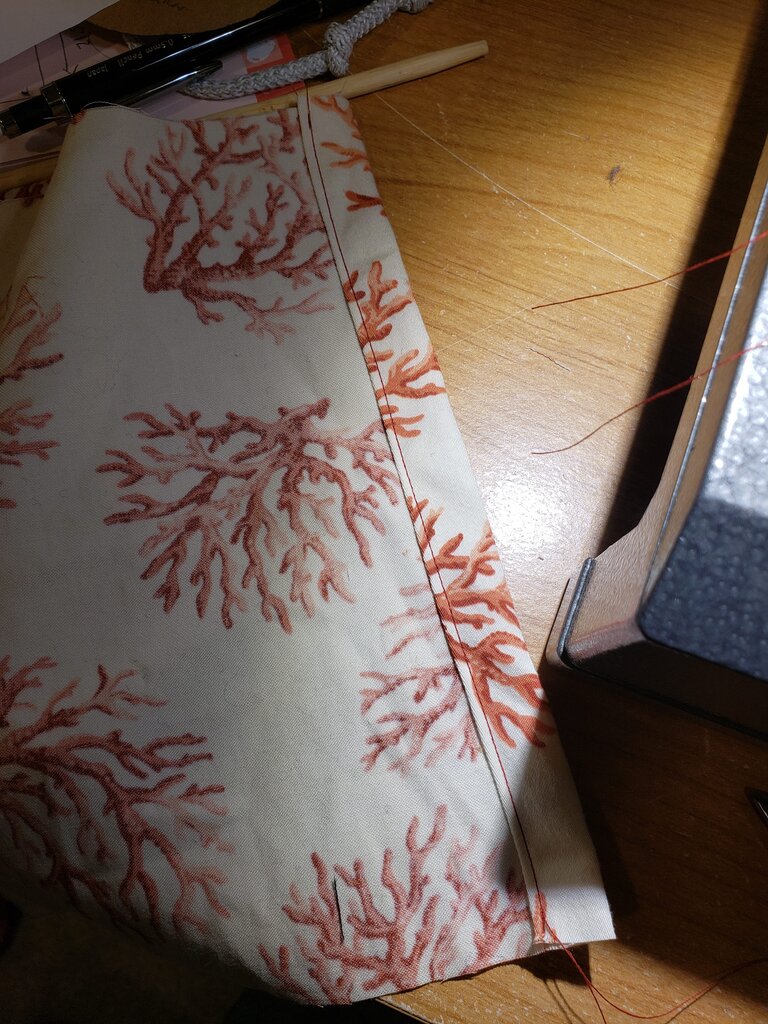
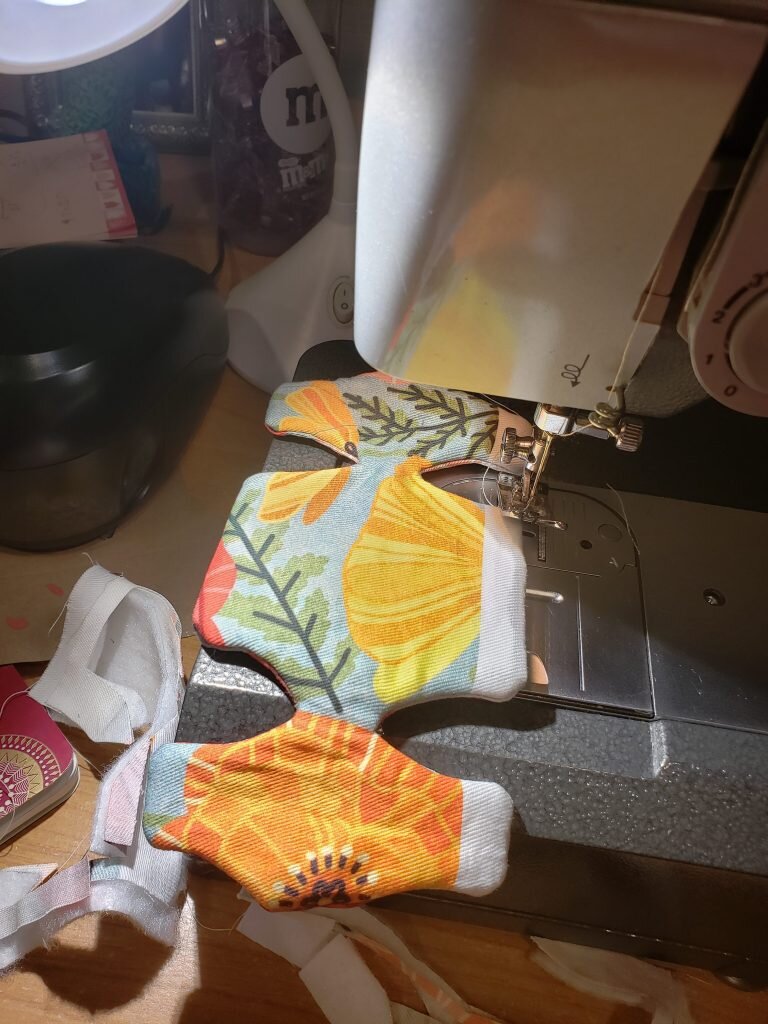
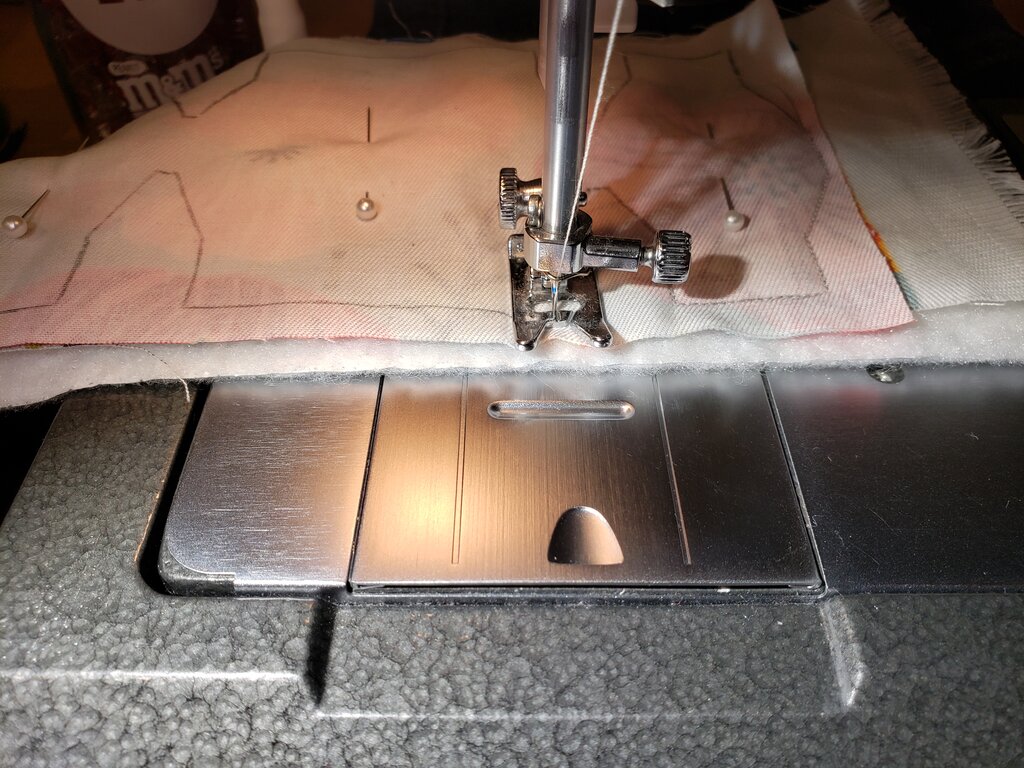
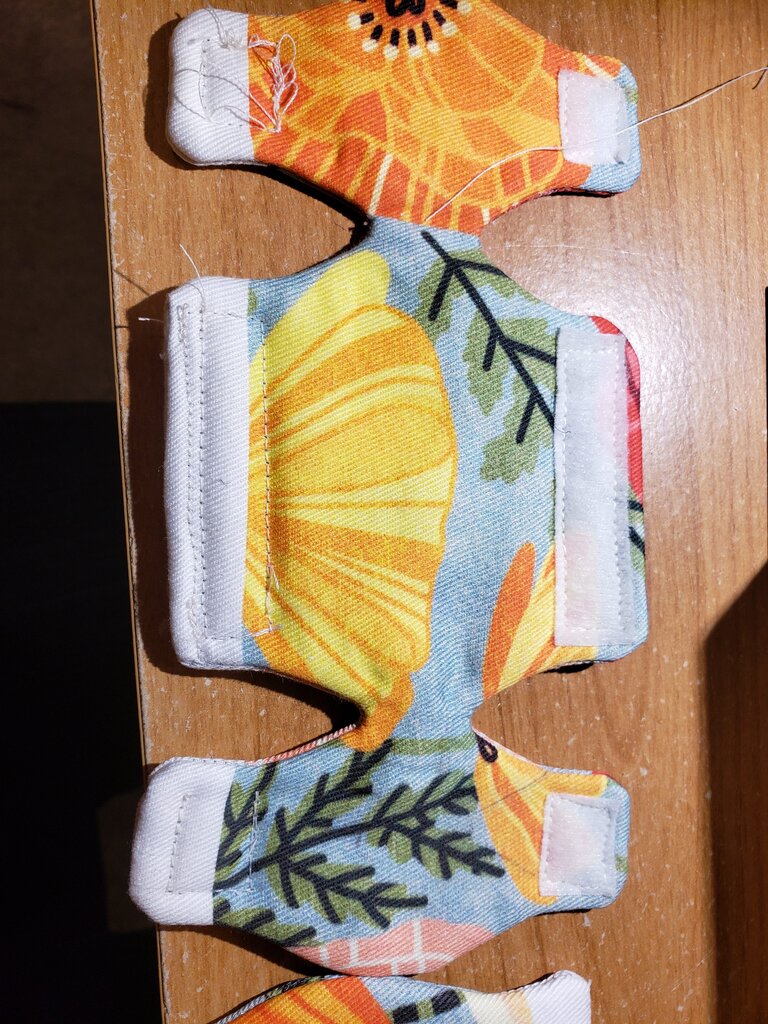
- Draw pattern onto the reverse side of one piece of your cotton fabric.

- Below the cotton fabric, place another piece of cotton fabric, right sides together, followed by a piece of insul-bright. Pin together.
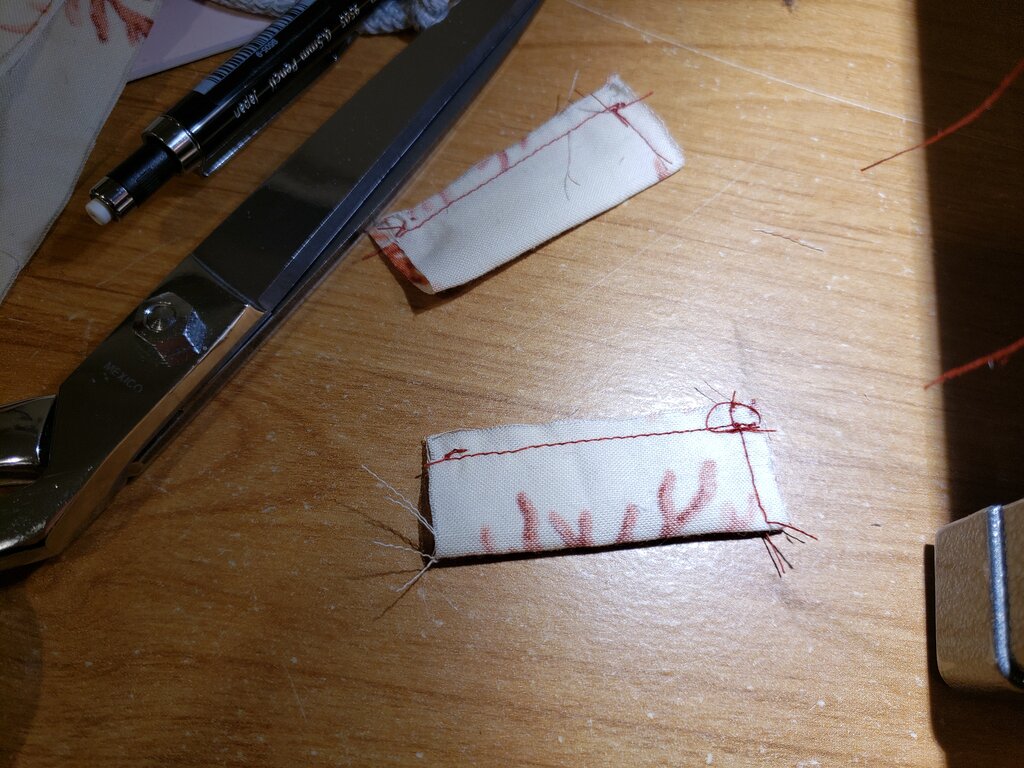
- Starting at the bottom edge of the central octagon, start stitching on the line you drew.

- Stitch all the way to the opposite edge of the central octagon. You’ll leave this bottom piece open for turning.
- Trim the entire piece very close to the stitching (about 1mm away). Clip any points.

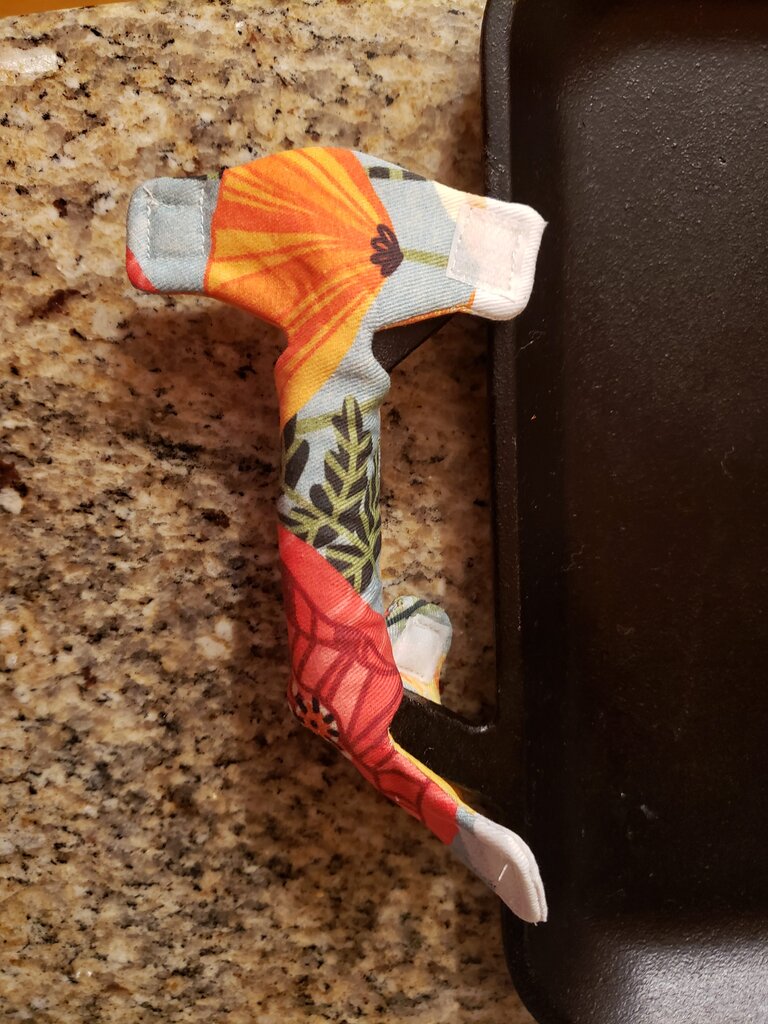
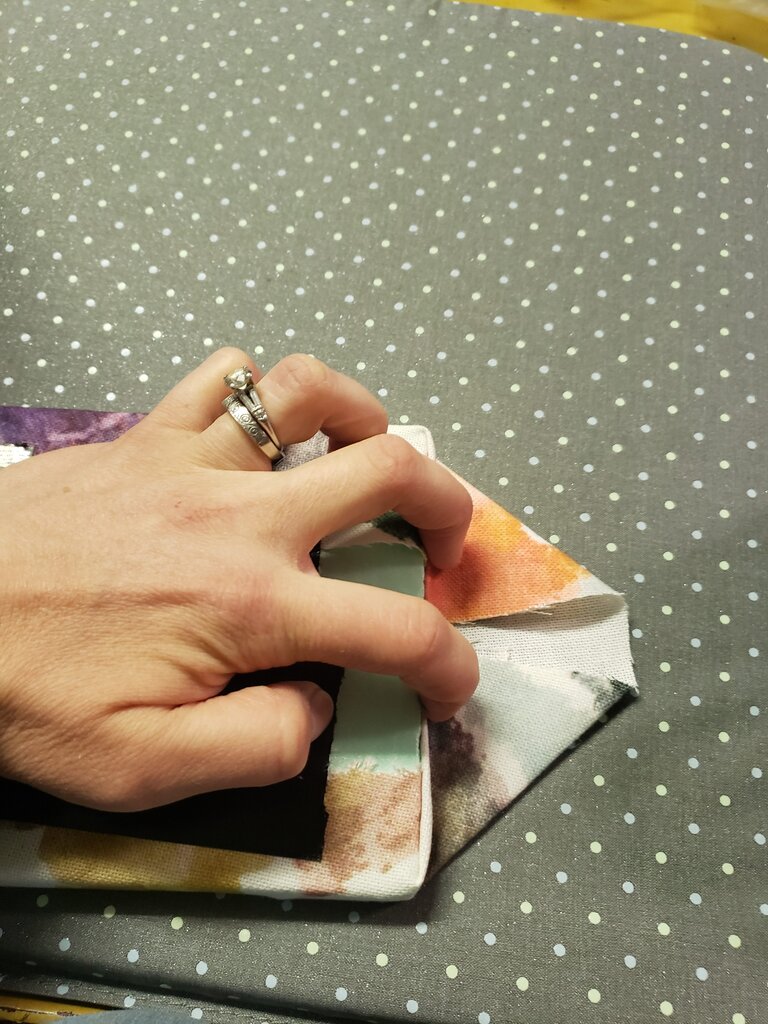
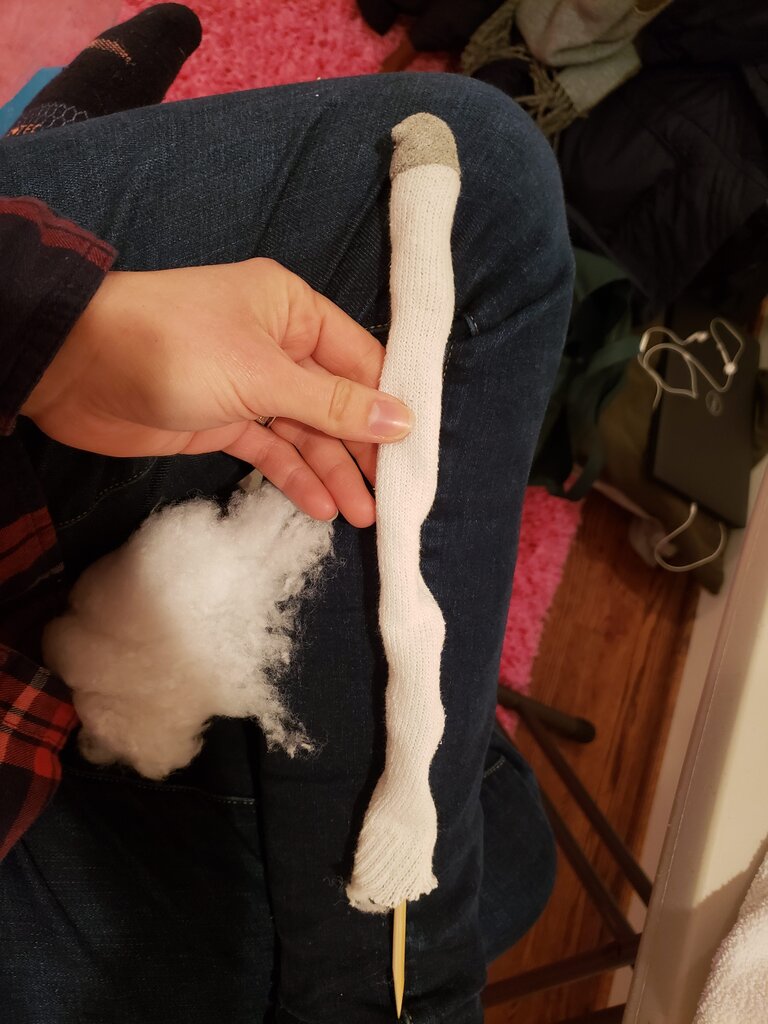
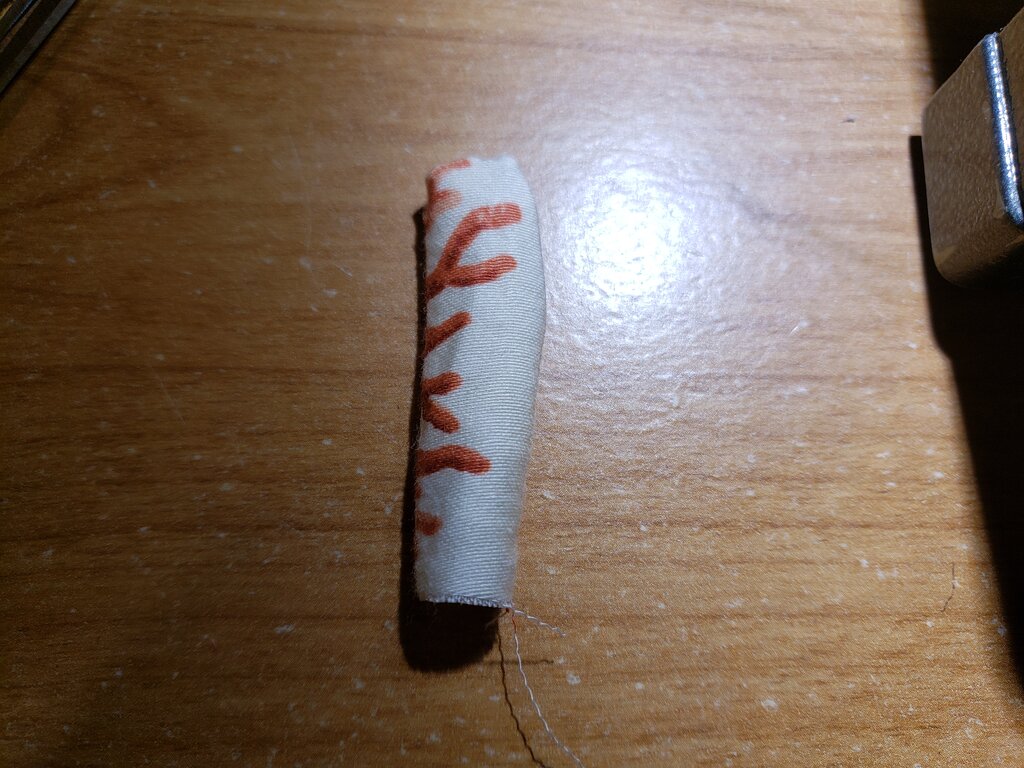
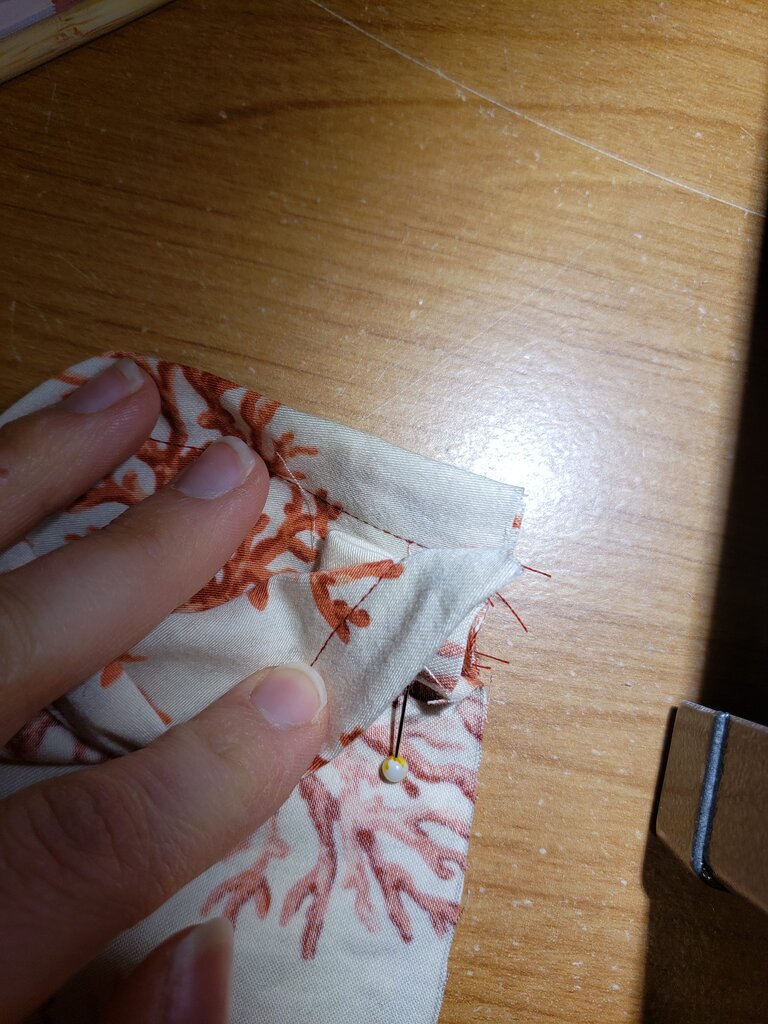
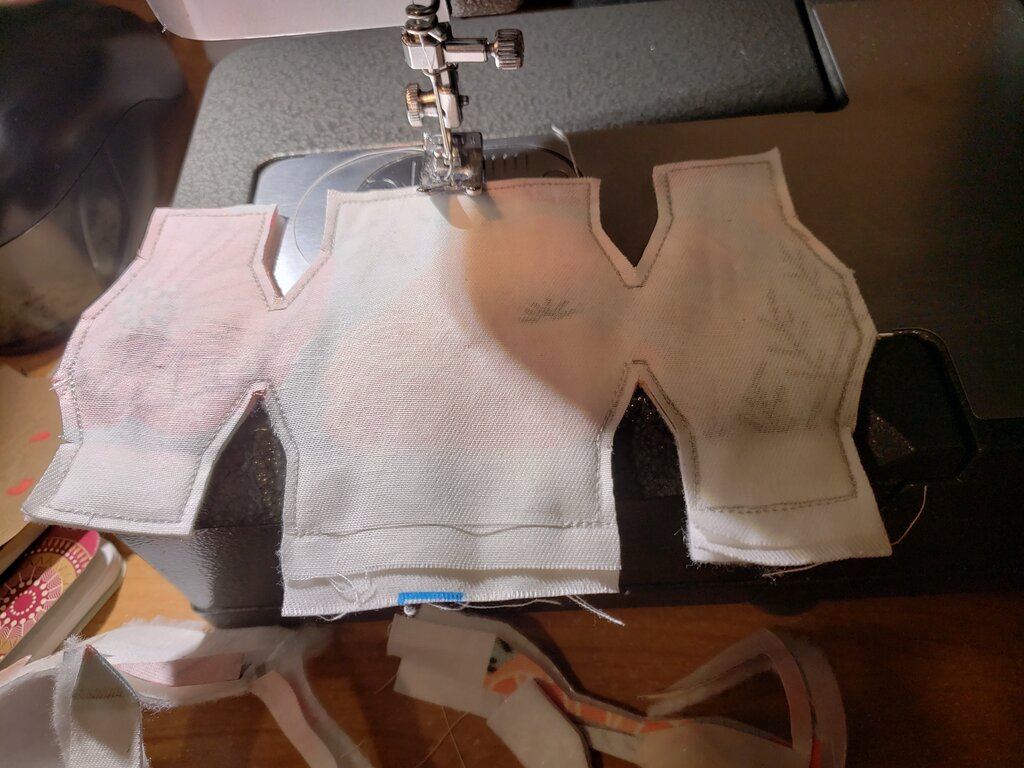
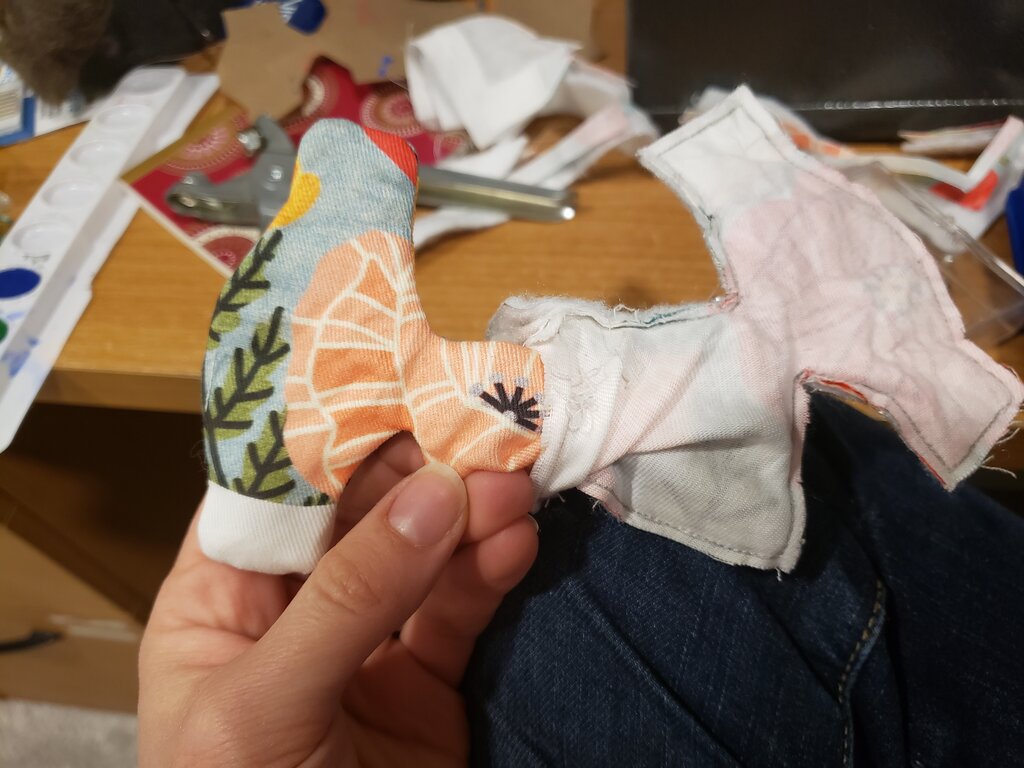
- Start to turn the piece right side out. Start at the top part of one the small octagons, and start to turn inside out through the narrow corridor between rectangles and out the unfinished side. It was VERY tight. I had to work the fabric quite a bit to get it to go out the corridor.

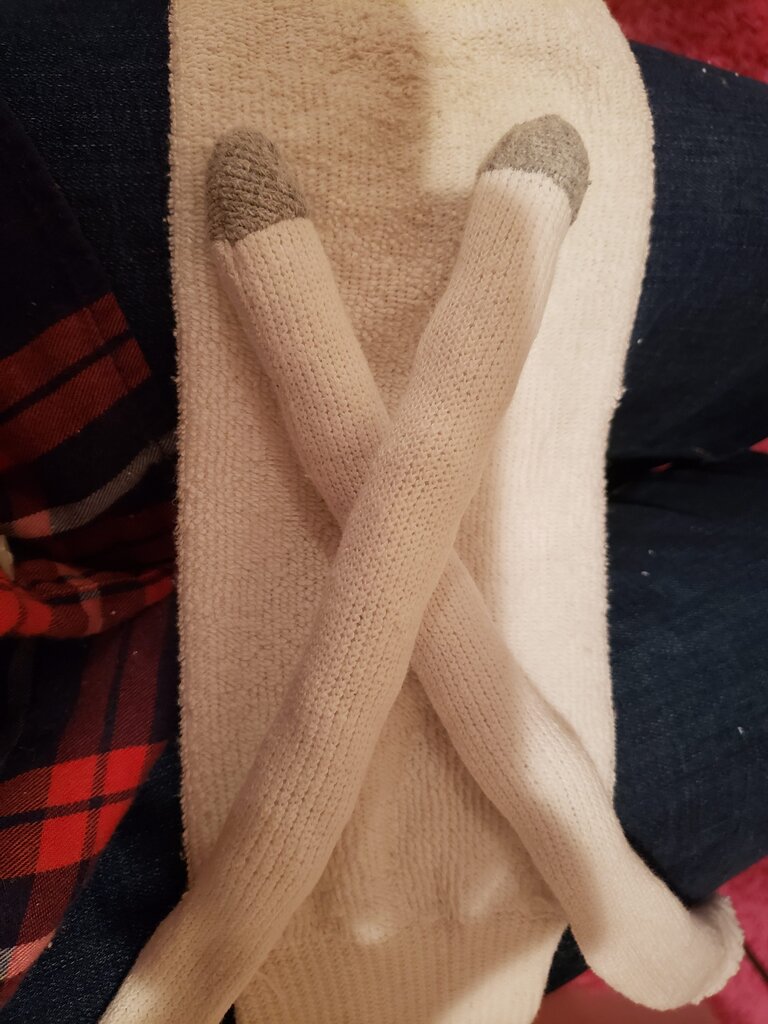
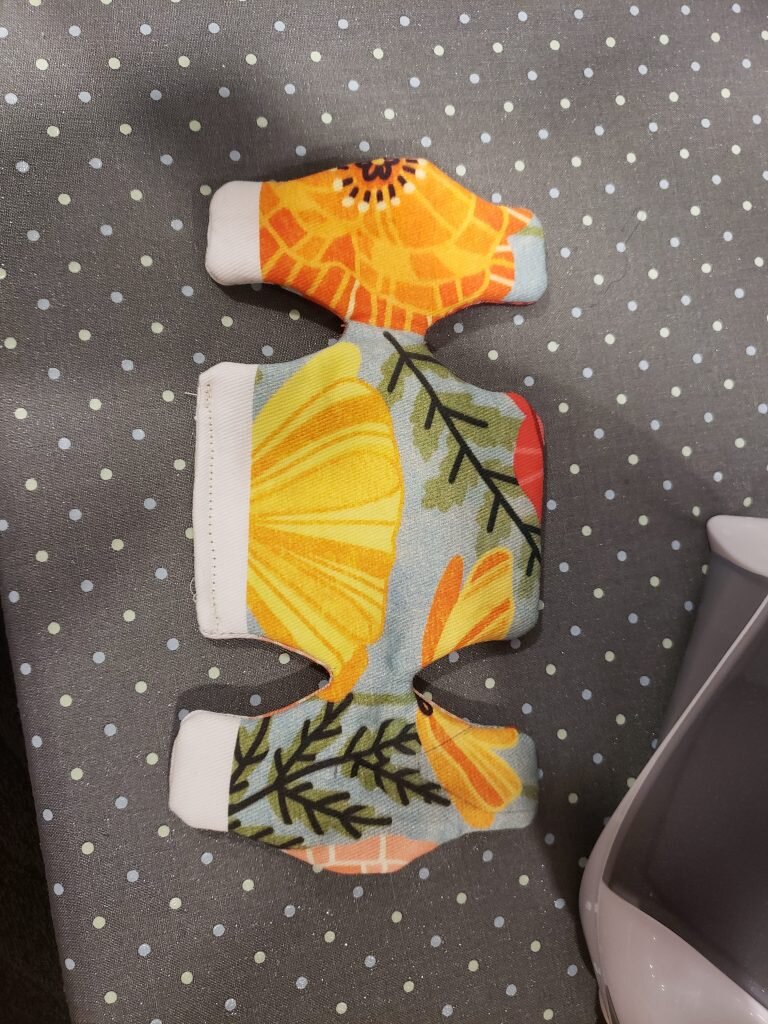
- Repeat step 6 for second small octagon, then press piece flat with hand.

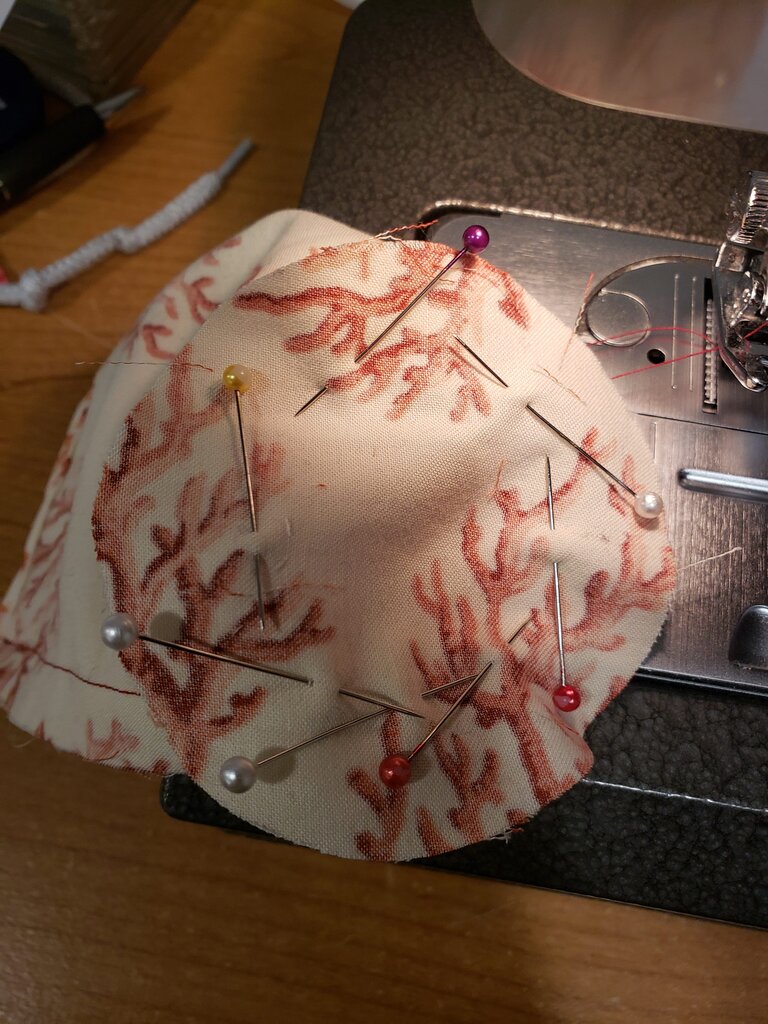
- Turn under the unfinished bottom edge of the central octagon. Stitch.
- Press entire piece flat with hot iron.
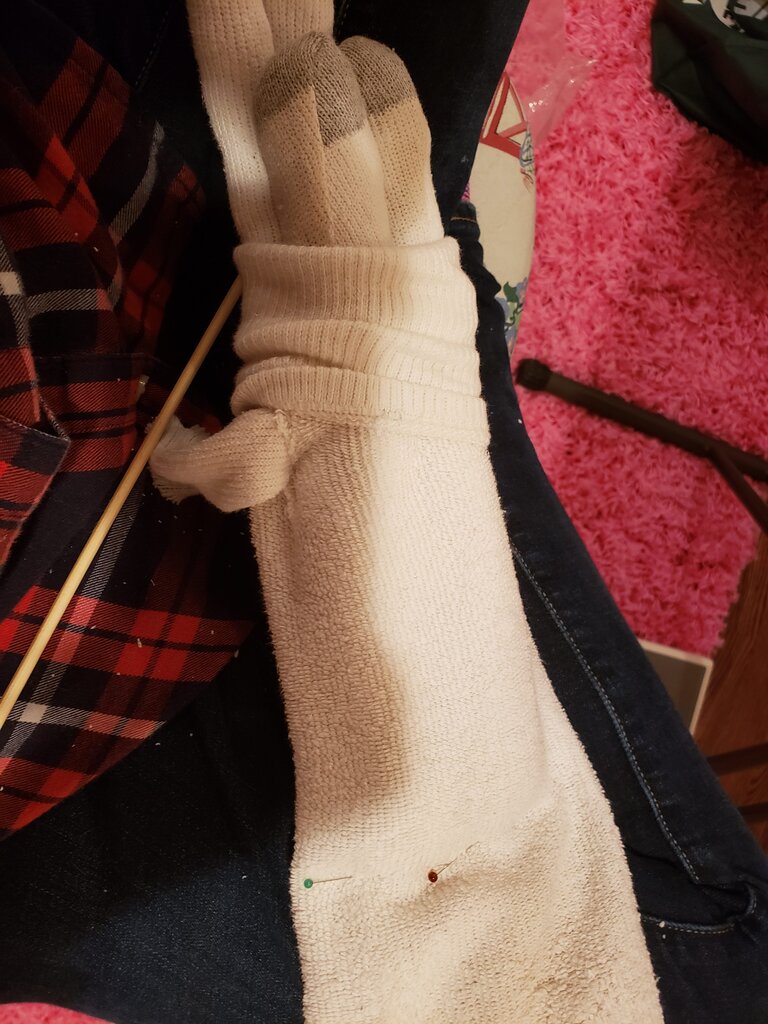
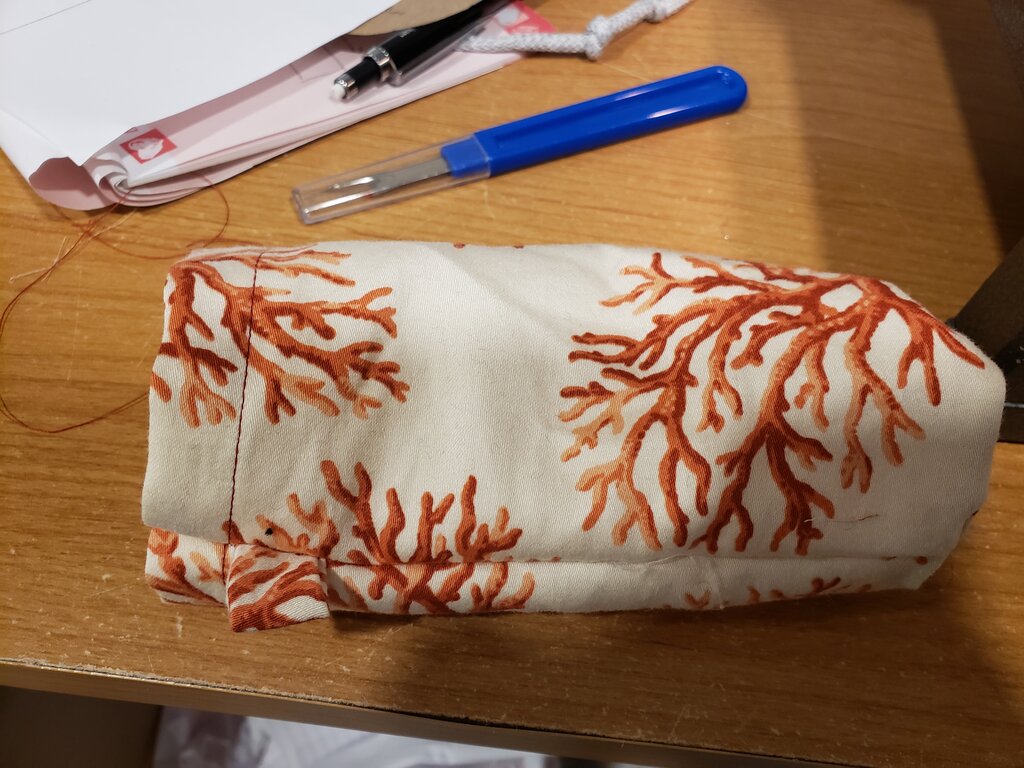
- Attach a piece of velcro hook to the bottom of the large octagon.

- Attach a piece of velcro loop to the top of the large octagon on the opposite side of the velcro hook.

- Repeat step 10 and 11 for the small octagons.

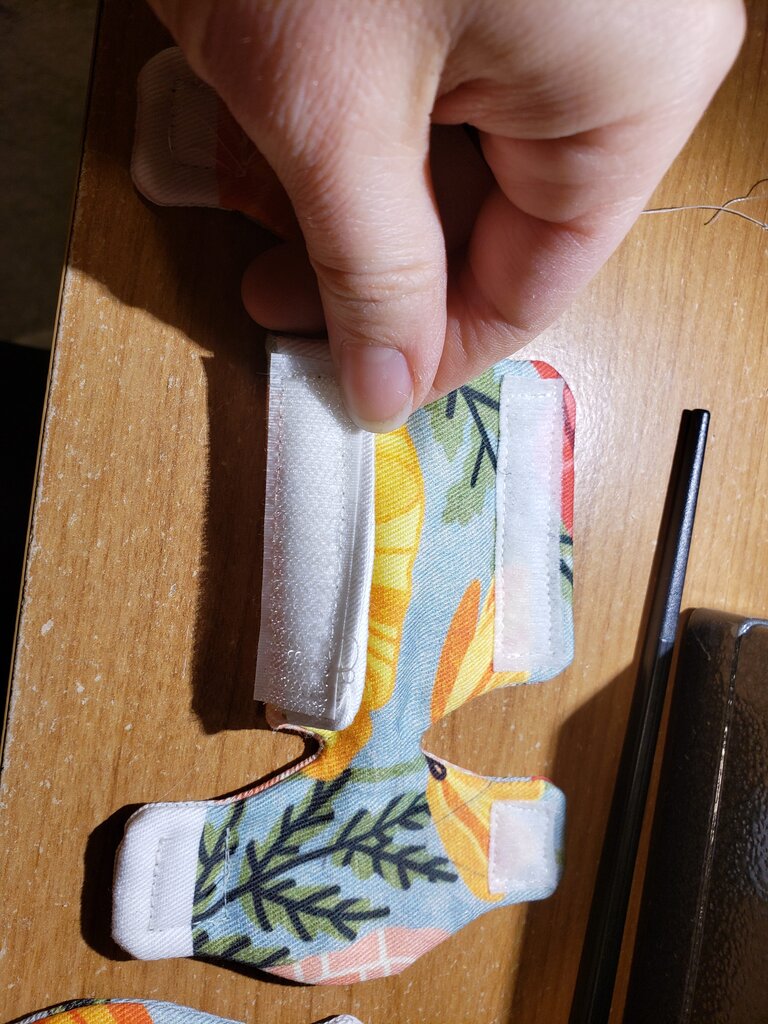
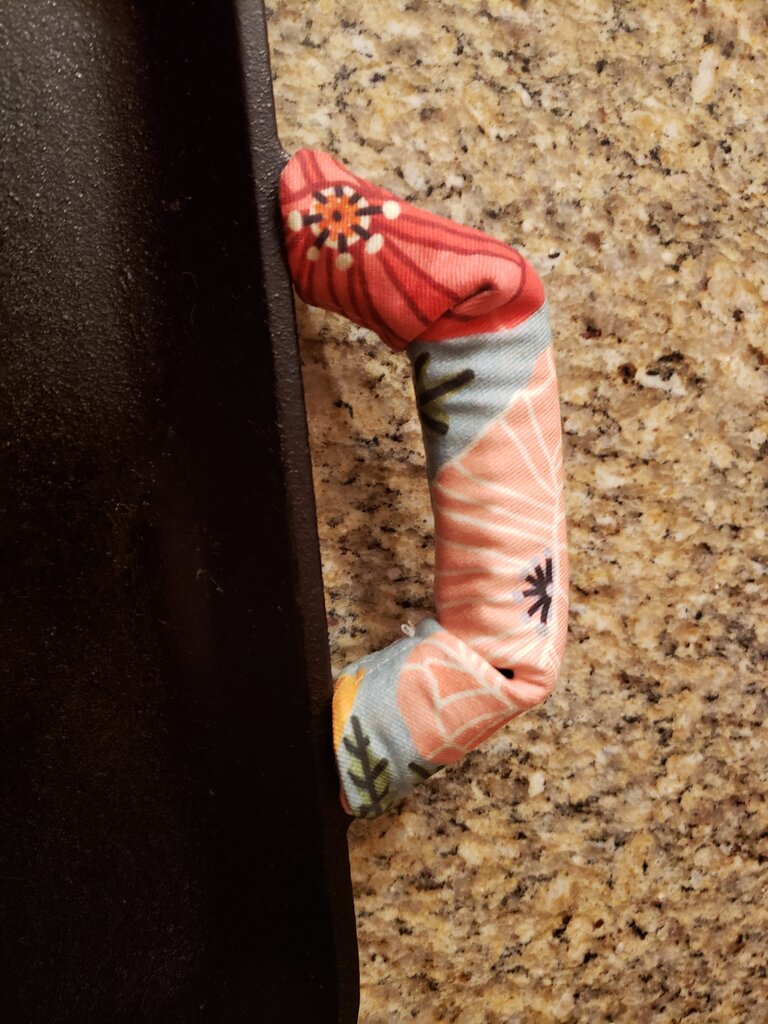
To attach to your pot handle, wrap the central octagon around the center of the handle and secure with velcro. Fold each side down and wrap around each side of handle and secure with velcro.