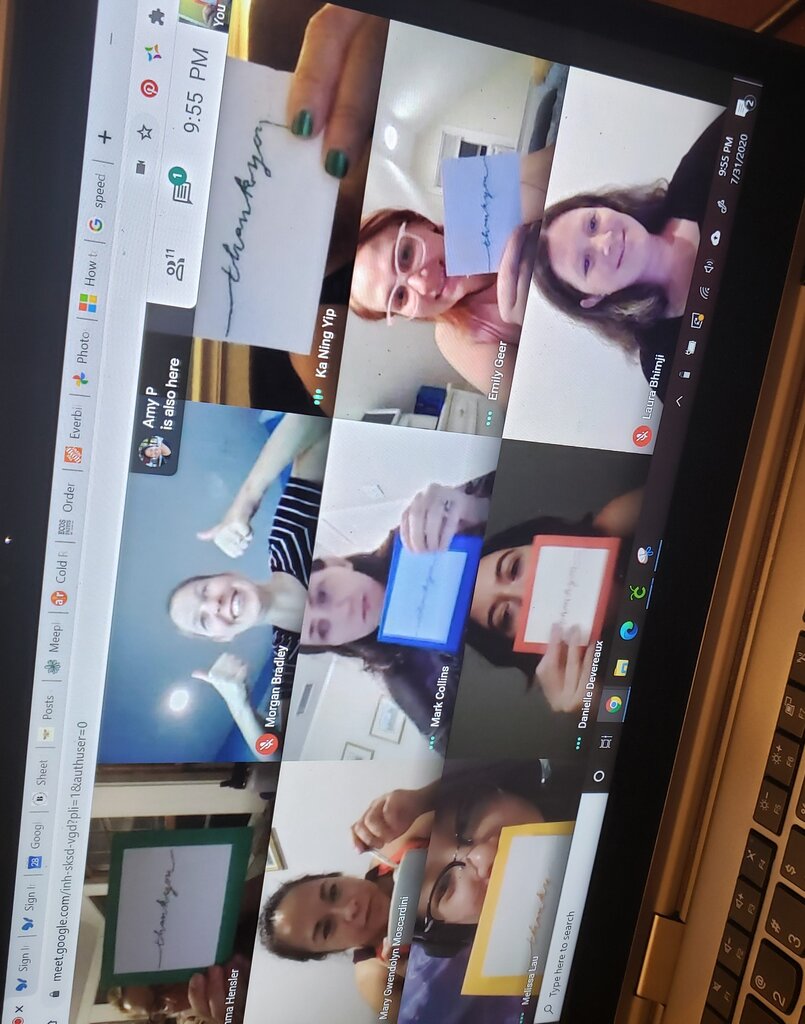
Well this is going to be a quick one because I’ve been sick the last two days. In brighter news my sister in law, Erin and my sister, Mandy threw me a virtual “sprinkle” for baby #2 this weekend! It was a bee-themed family tea party and so very fun and cute. And despite not having a registry everyone gave the baby girl such sweet and thoughtful things. On top of all that brightness my co-workers (I shall remind you my co-workers are 70% male) threw me a surprise shower last week complete with silly games. I had no idea it was coming, and actually had prepared to give a presentation in the meeting (though my manager had urged me to not work too hard on it, suspicious now that I think about it). They really had me surprised! I’m so lucky to have such great family, friends and co-workers.
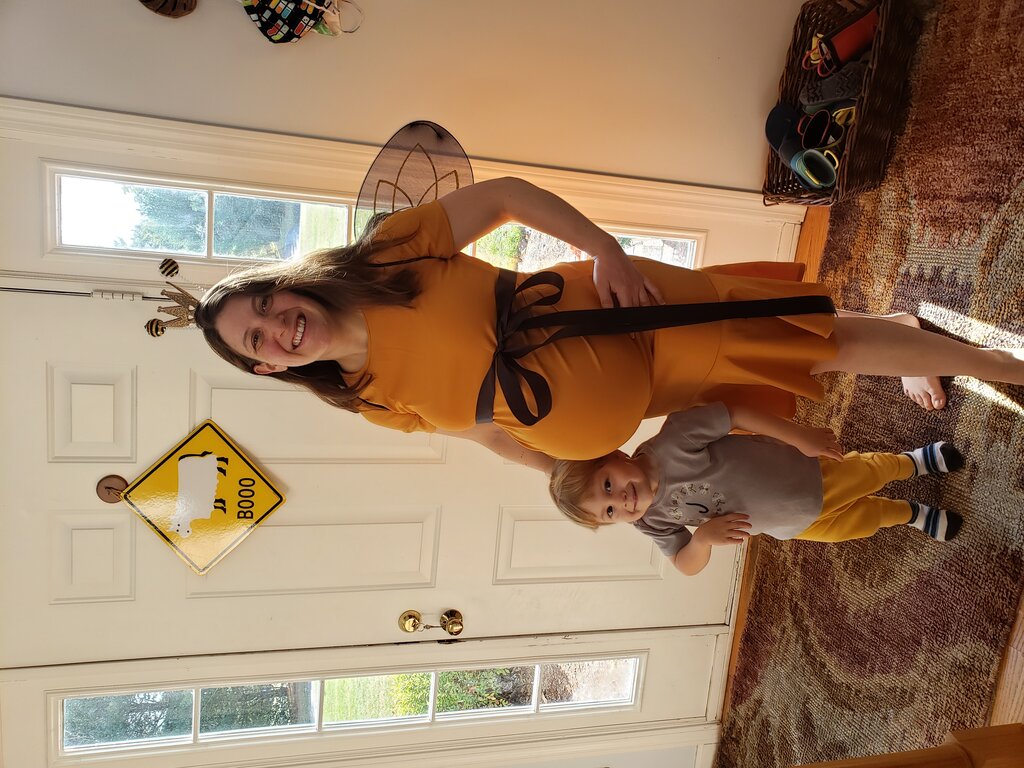
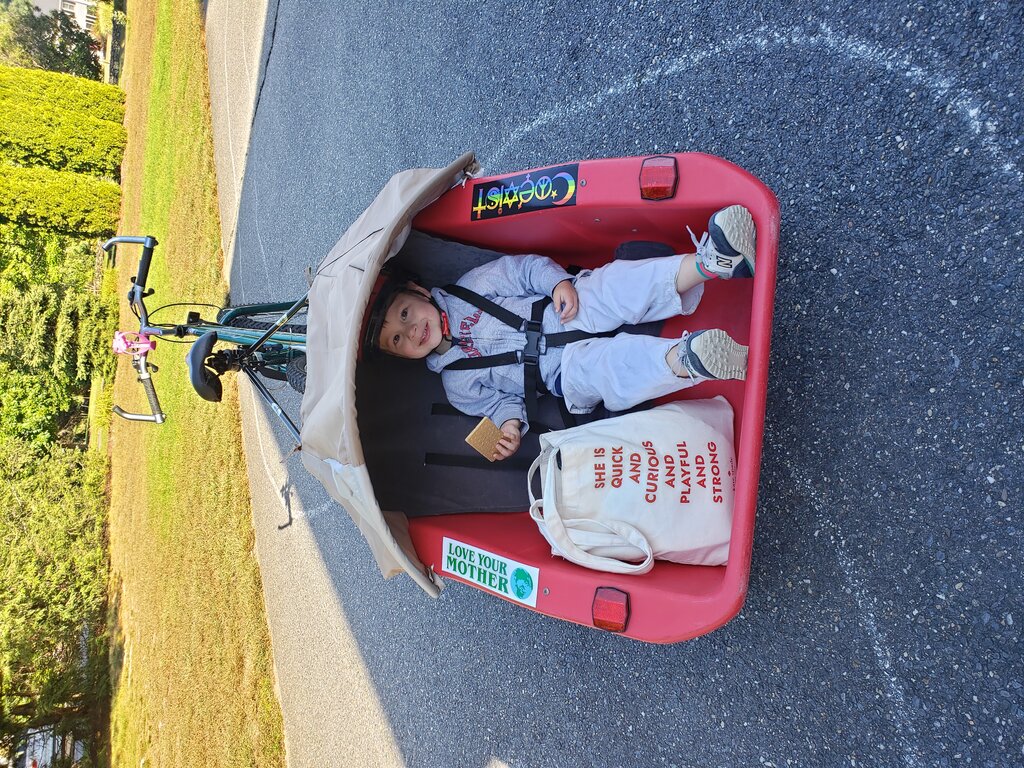
Me and my little bee
Julius and I have been preparing for Halloween. We decorated the house, and have been acquiring pumpkins, gourds and mums on our bike rides to local farms. The other day Will, Julius and I were at George Hill Orchards and decided to check out the gourd and ornamental pumpkin patch. (They have 3 pumpkin patches!) I picked out a huge swan neck gourd and Will picked it up so I wouldn’t have to carry it. Then I found this adorable little green warty pumpkin and decided I wanted that one too. Julius, apparently disappointed he wasn’t carrying anything, grabbed the next little pumpkin he saw (a little sugar pumpkin) and said “and this one is mine”. Will and I both looked at each other and chuckled and Will said “well if you can carry it, you can take it home”. And the little guy carried it all the way to the farm store, not a short walk.
For Halloween night I ordered a bunch of things from Oriental Trading, and will probably set up a table at the end of the driveway. You may recall that we get a total of 8 trick-or-treaters every year (and in previous years it was even less) so buying gift bags from Oriental Trading did not break the bank at all. Plus I can use them for my trick-or-treating idea for Julius! Since the CDC thinks trick-or-treating is a high risk activity (I’m not 100% sure I agree) and we are avoiding anything above low risk, we are not going to go out. Instead – we are going to have Julius trick-or-treat from door to door around our house! We have a front door, side door and porch door as well as a door on our shed. All total that’s more houses than we hit up last year. If we’re feeling really up to it I’ll have whoever answers the doors put on a silly disguise at each door. We may also pop down to meemah and meepah’s house for some treats.
The other day I was staring at the adorable coffee filter butterflies that have been on our sliding glass door, and decided they clashed with the Halloween decor. Then I had a stroke of genius! Why not make coffee filter bats?! We could use the same technique with bat-colored markers. I put them all up on the window and reused Julius’ moon artwork from earlier this year at daycare! They look a bit like devils, but I suppose that works for Halloween too.
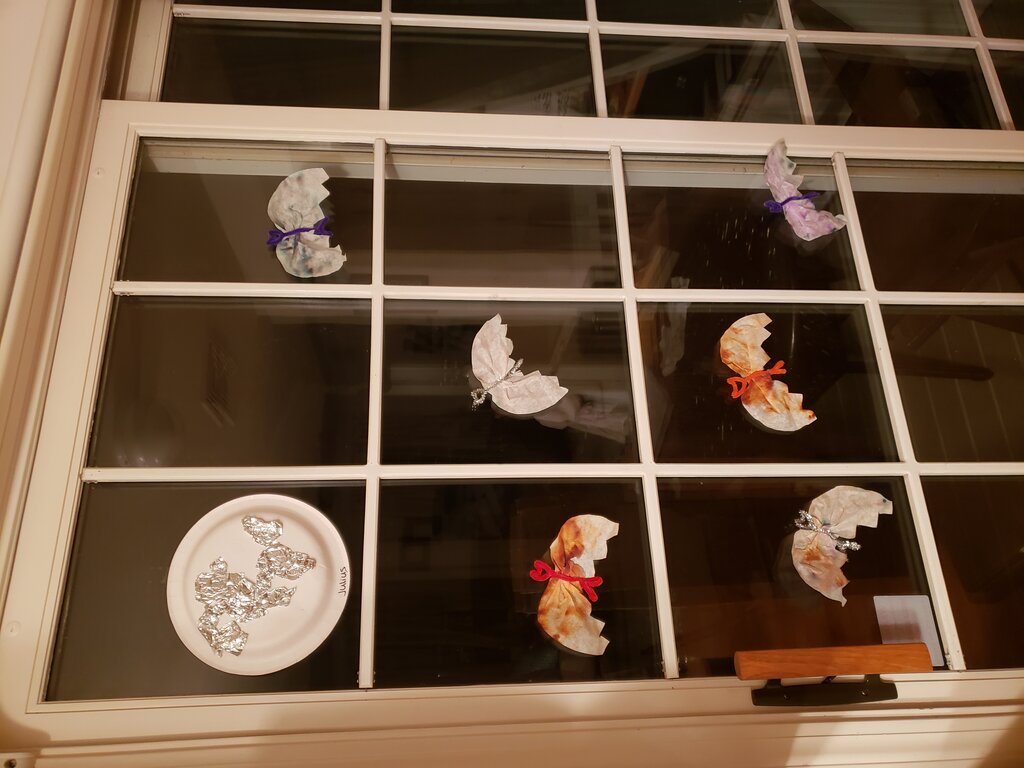
Bats on a dark night.
Coffee Filter Bats (or Devils)
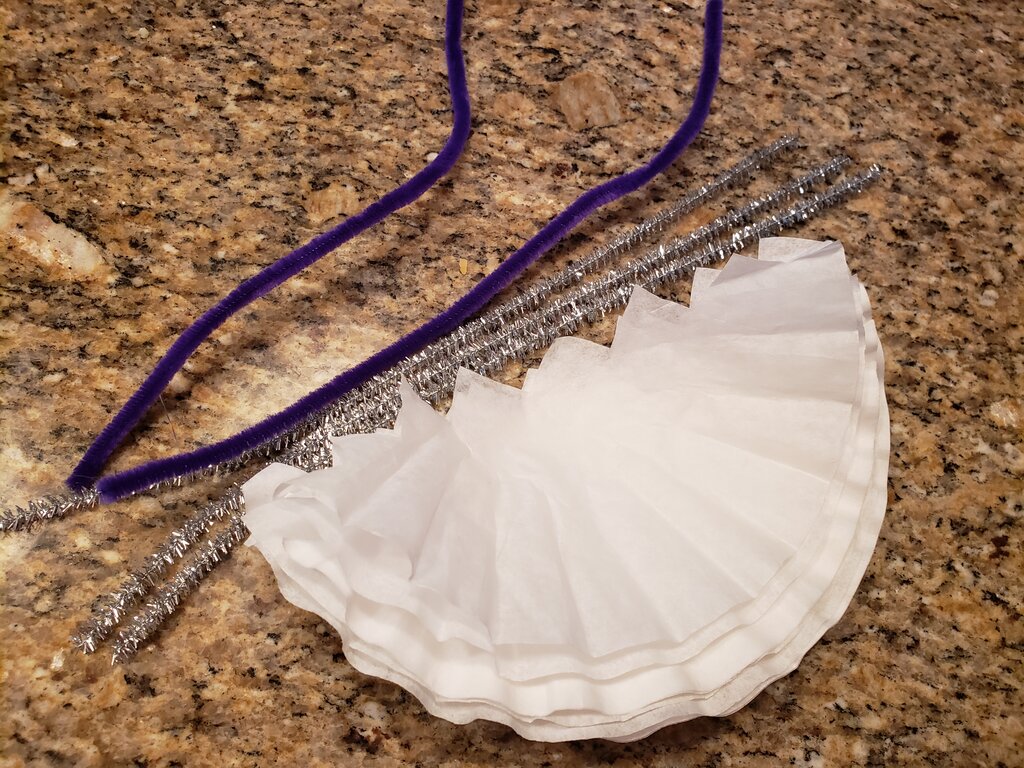
What you’ll need:
- coffee filters
- washable markers in browns, blacks, greys and purples
- medicine dropper
- pipe cleaners in corresponding colors
- Take coffee filters and cut them in half down the middle in a jagged line.
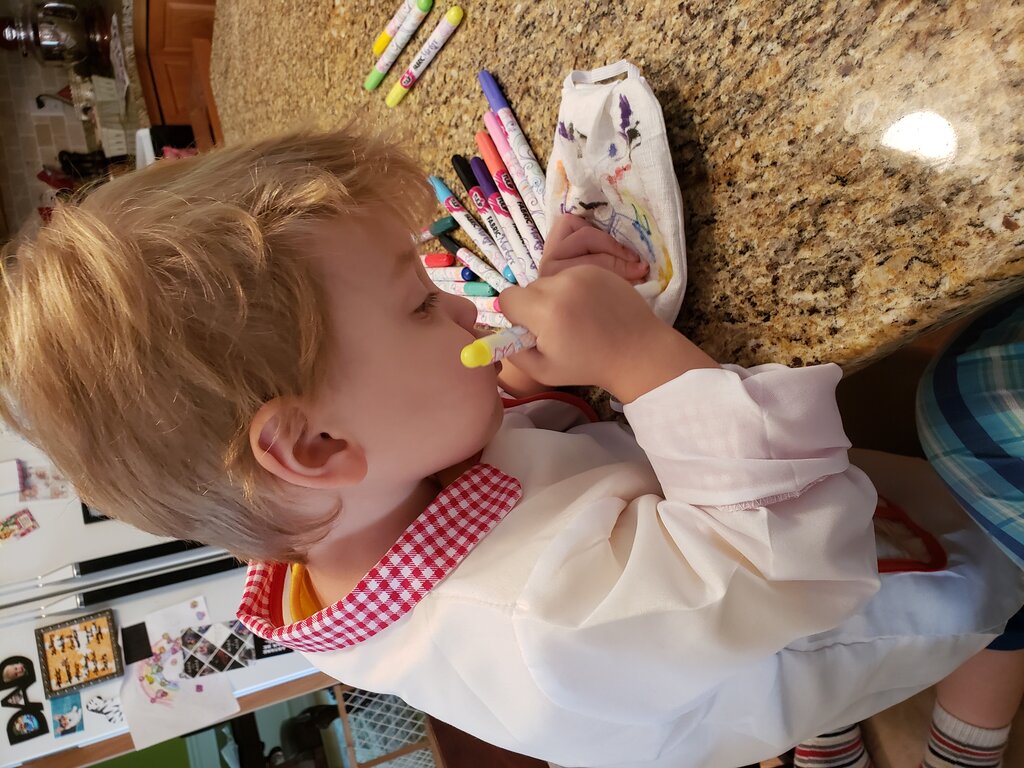
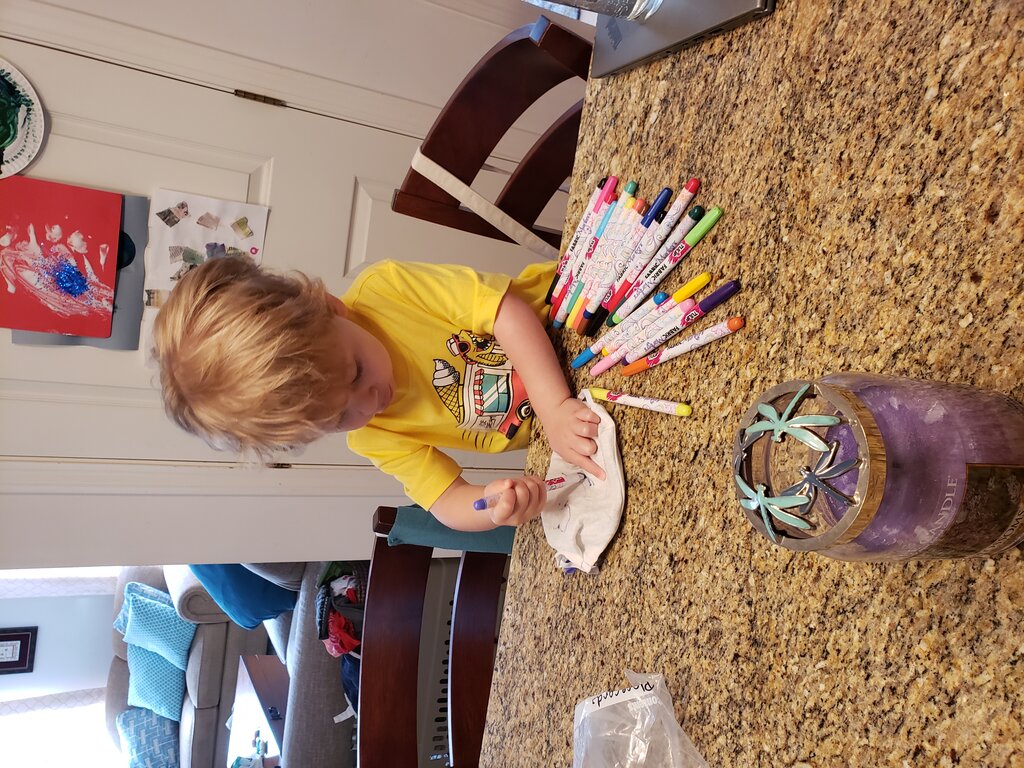
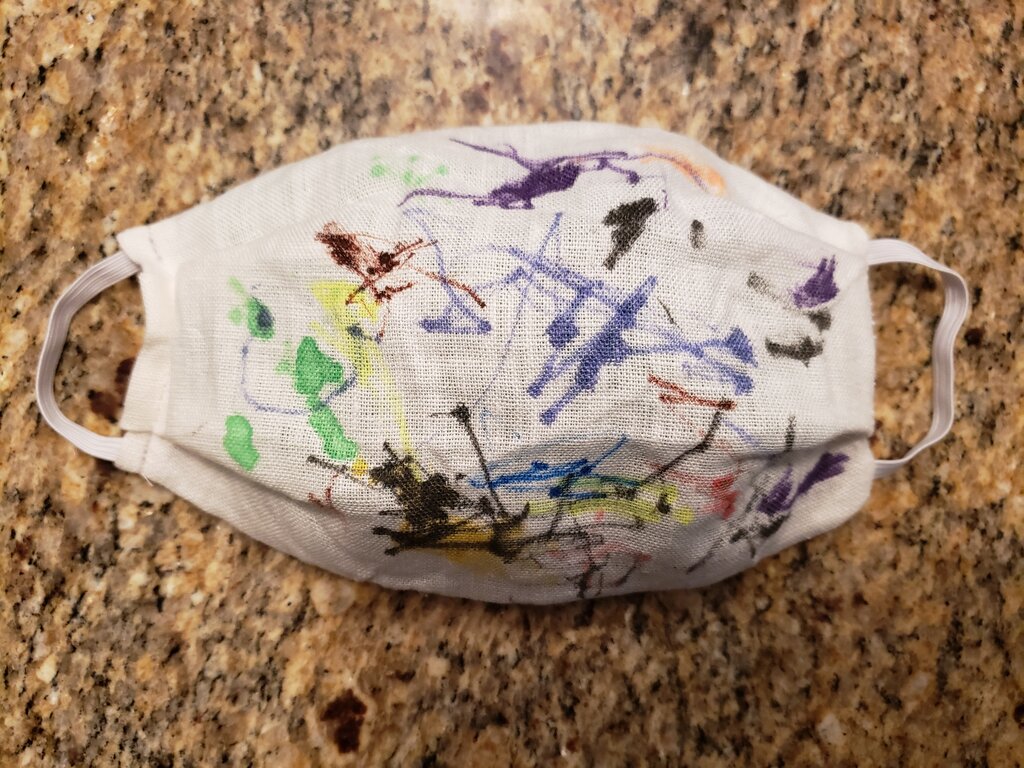
- Have child color on the coffee filters with washable markers. (The more marker the better – Julius went a bit light on his)
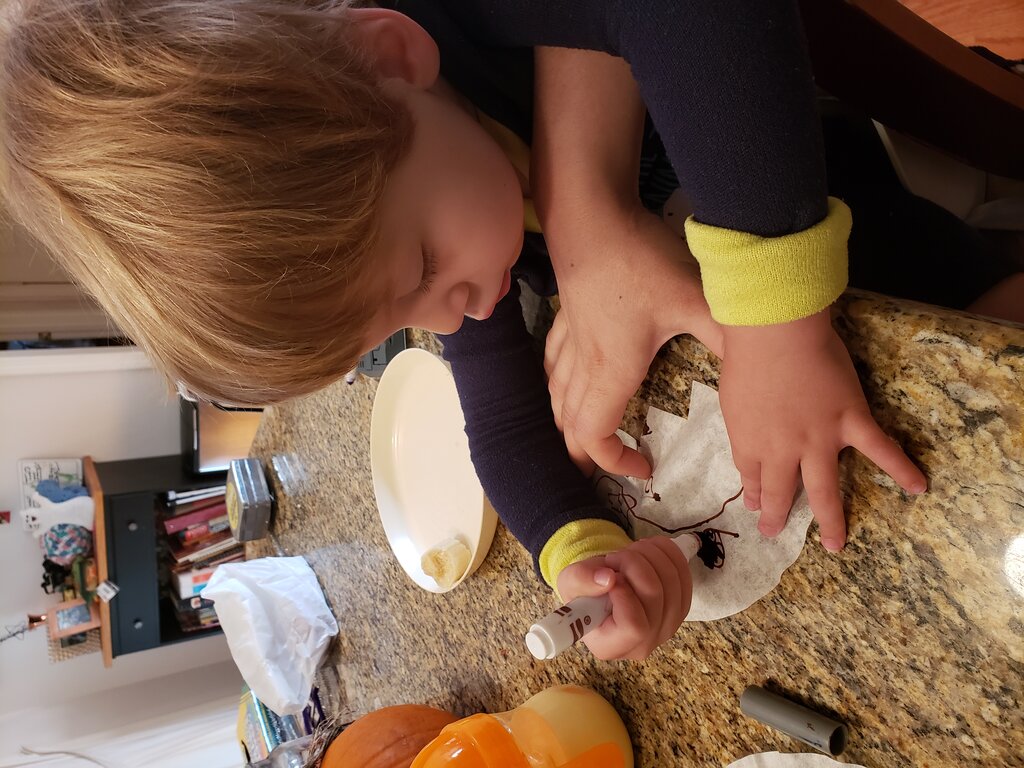
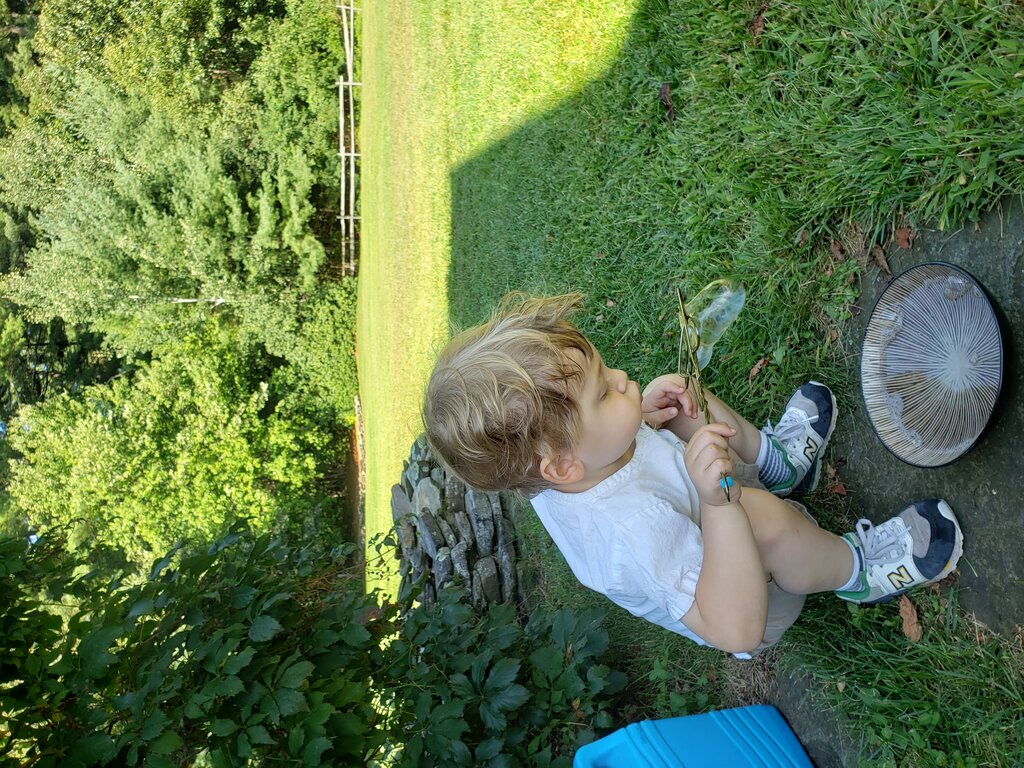
I love his concentration when coloring.
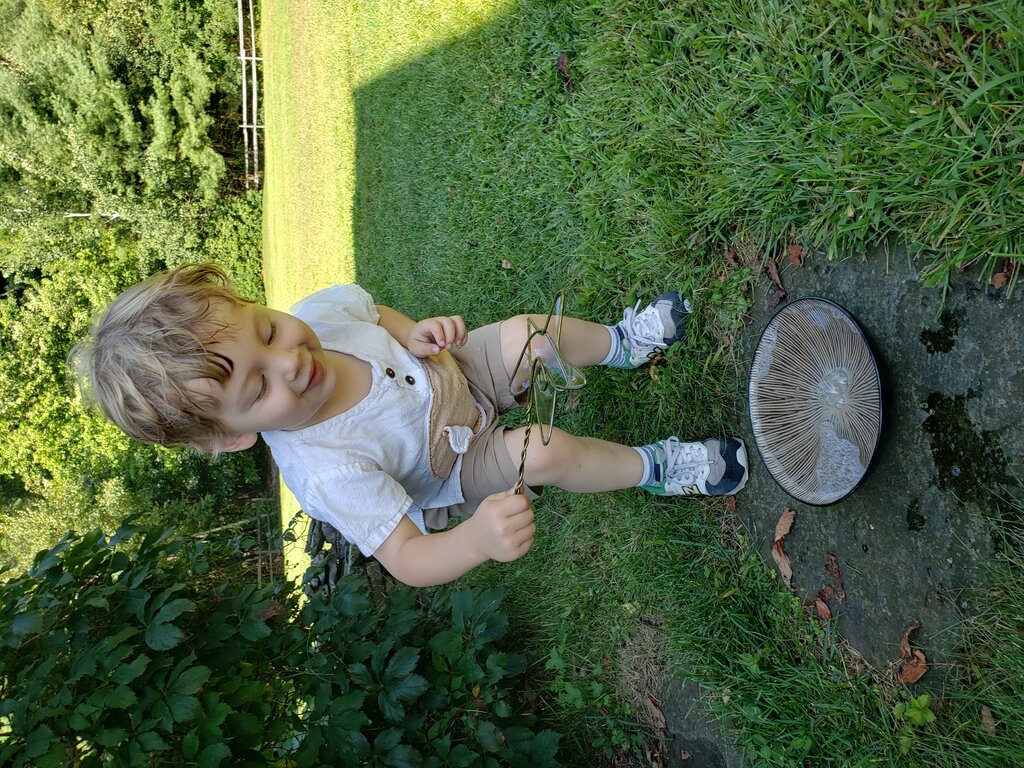
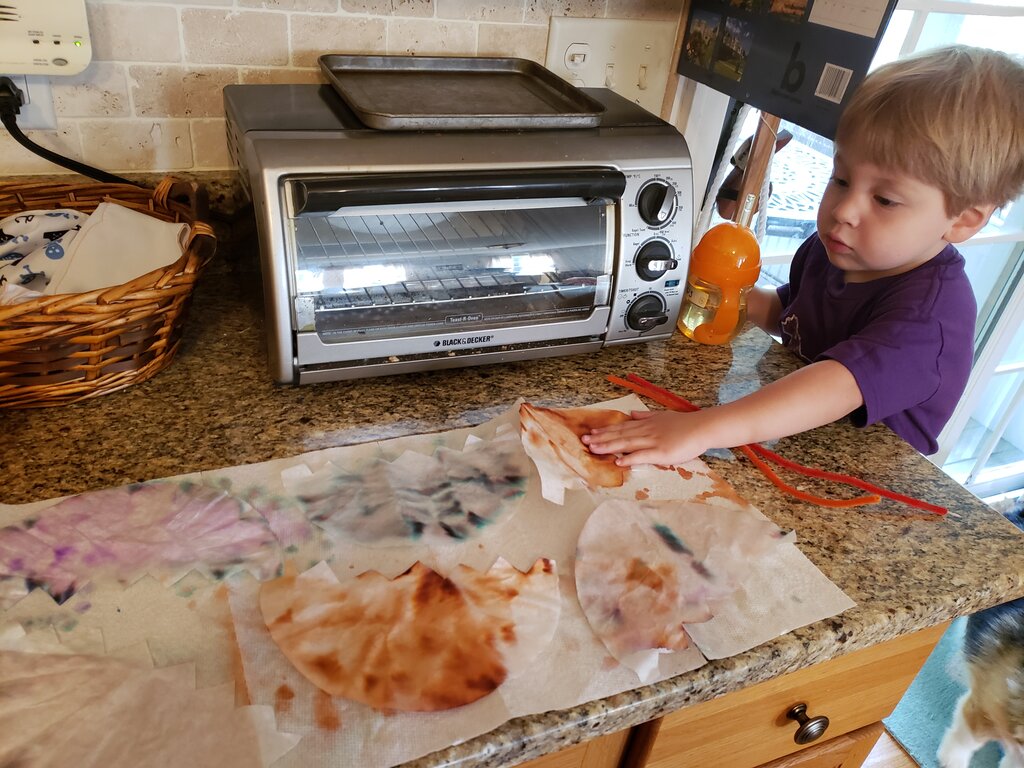
- When they are finished, provide them with a medicine dropper and a cup of water to wet the coffee filter and make the markers bleed.
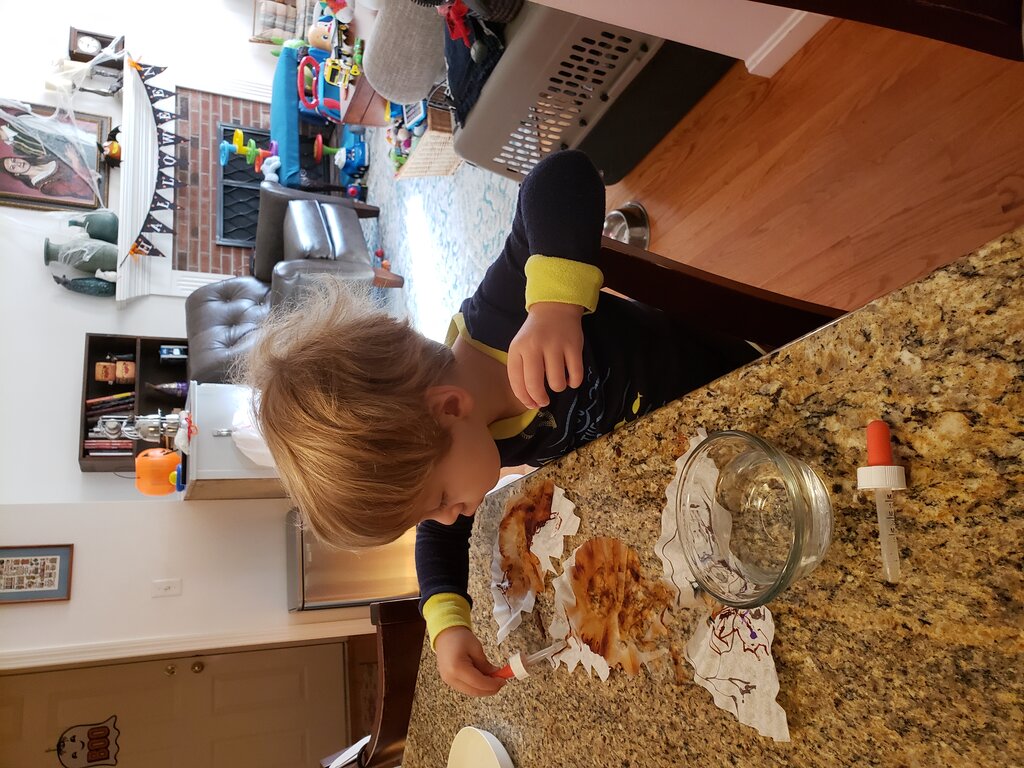
Dropping water on his bat wings.
- Place coffee filters on towels to dry.
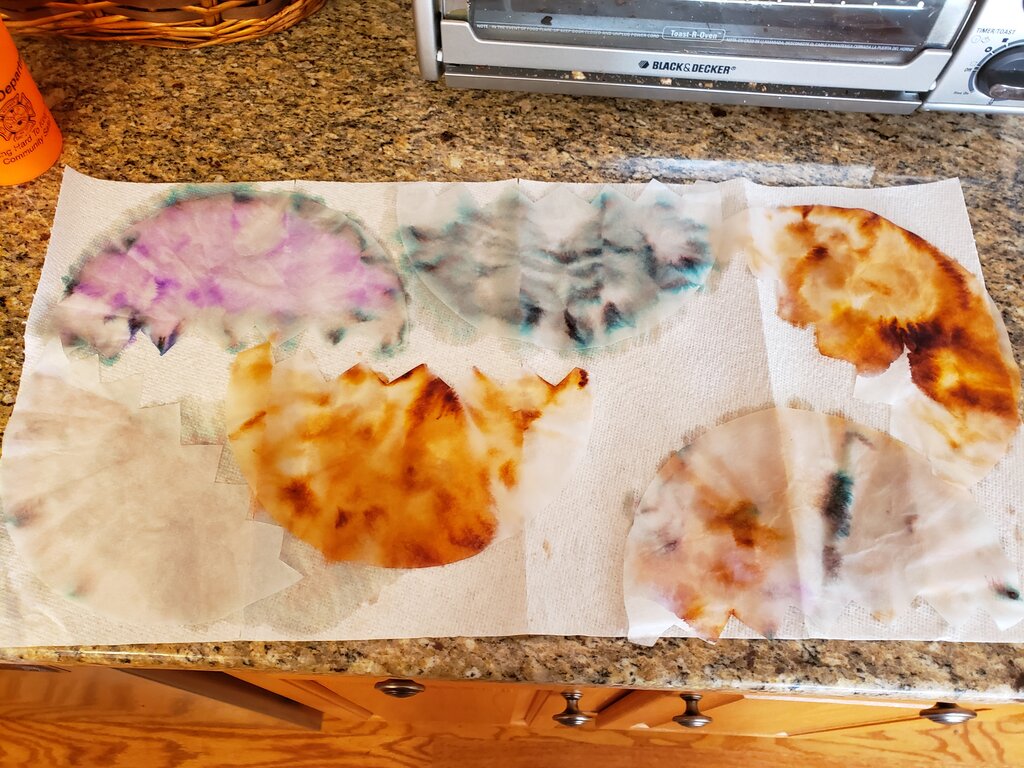
Letting the wings dry.
- When coffee filters are dry, form your bat’s head with pipe cleaner. Fold pipe cleaner in half and then twist to form a quarter-sized loop.
Testing wings for dryness.
- Form ears onto the loop.
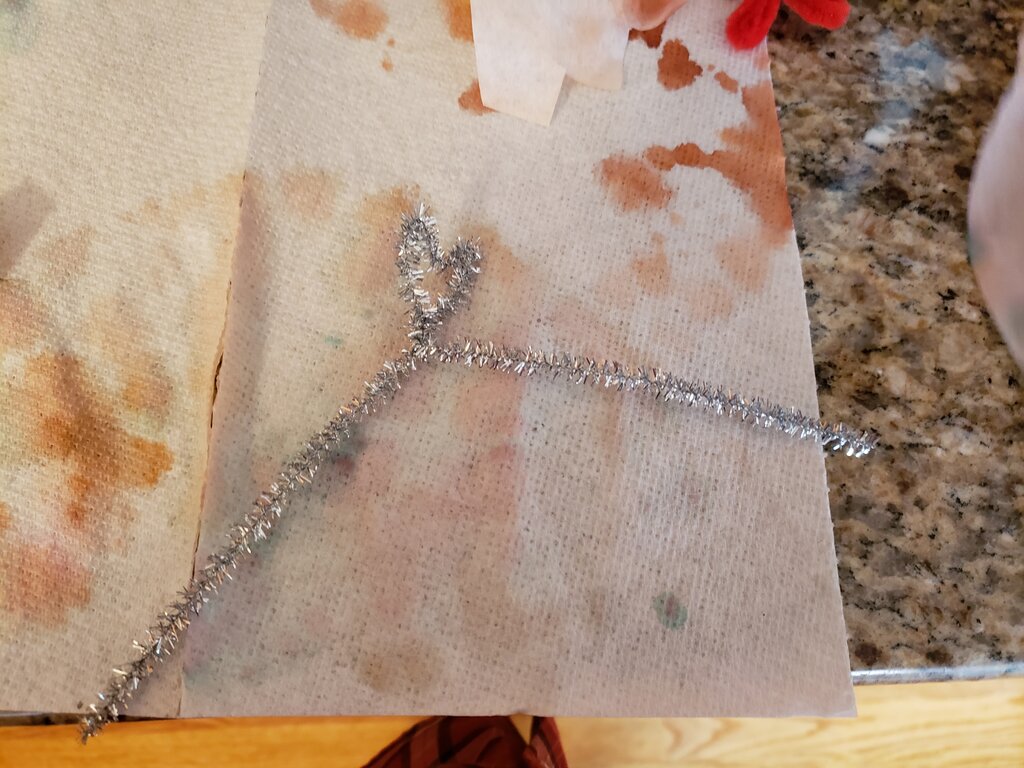
Form bat head.
- Insert coffee filter wings underneath the head in between two tails of pipe cleaner, scrunch slightly.
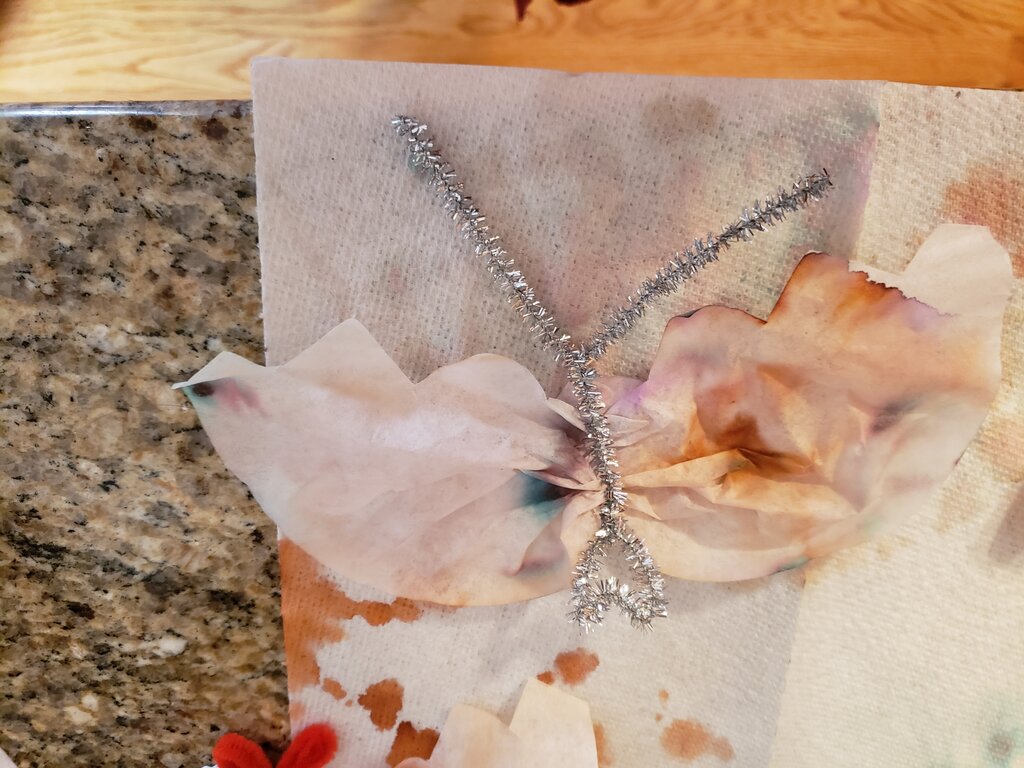
Secure wings under bat head.
- Twist pipe cleaners together below wings and form legs.

Form legs.
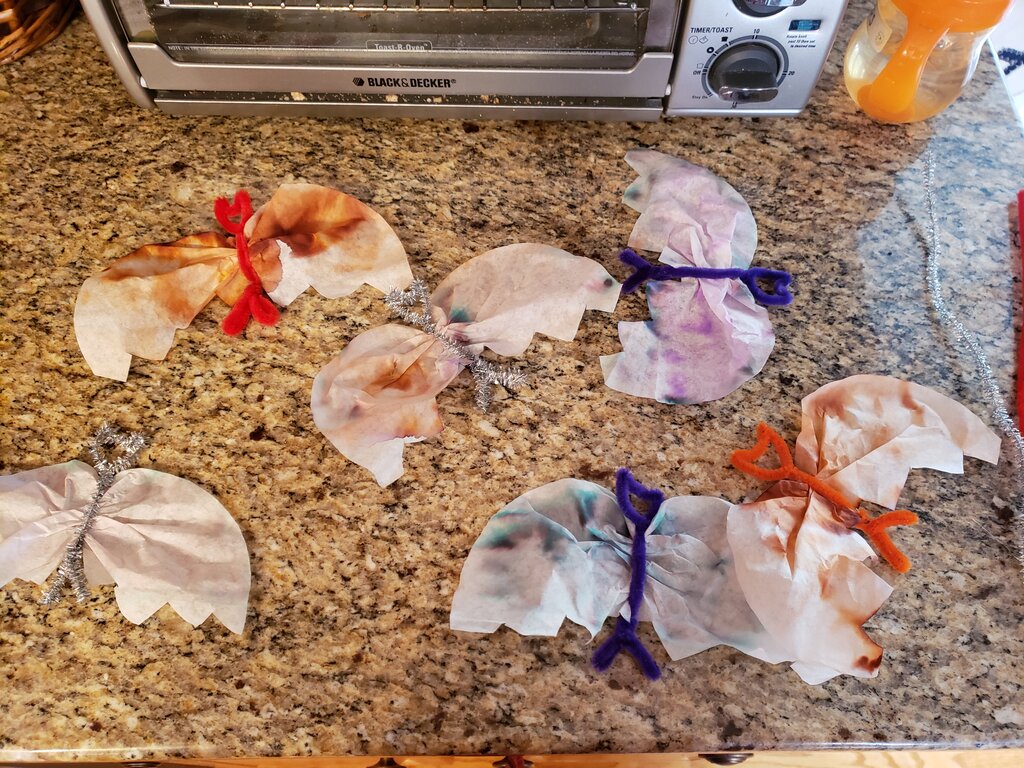
Finished bats
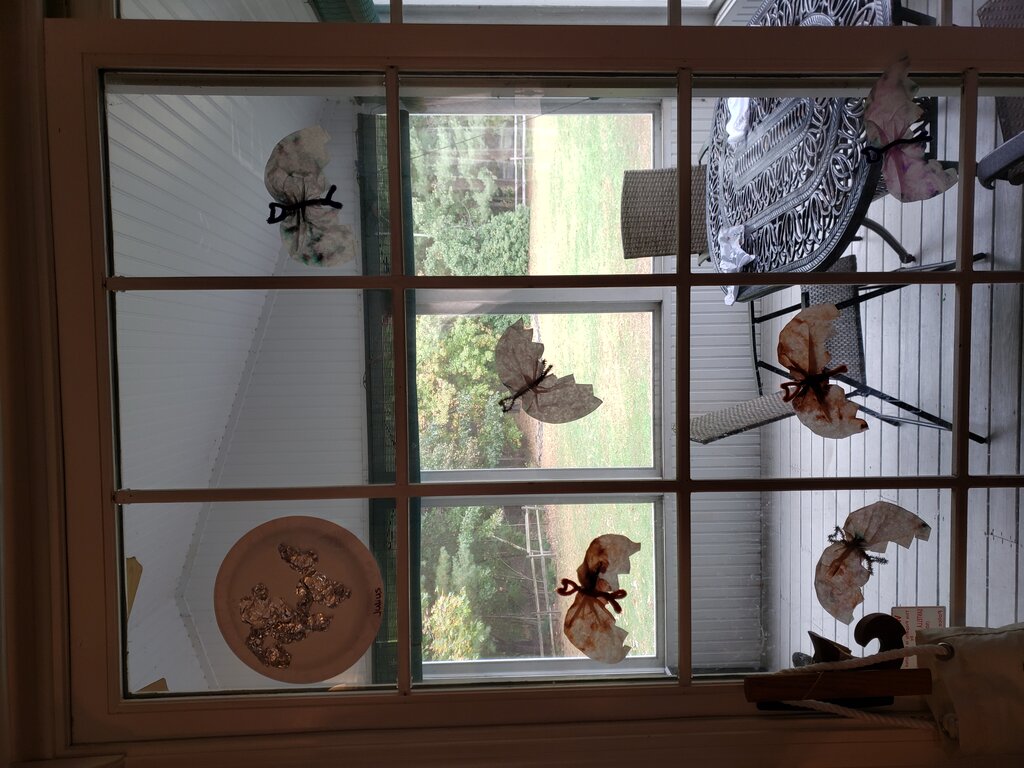
Bats in daylight?! Watch out…
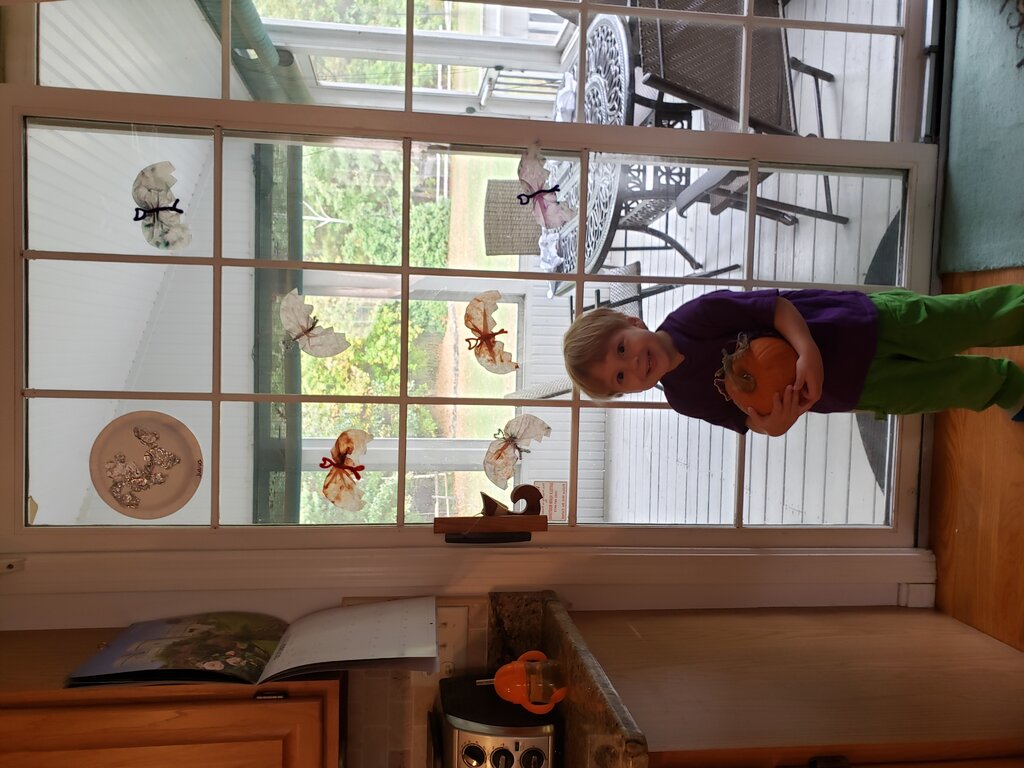
Julius with our Halloween setup.