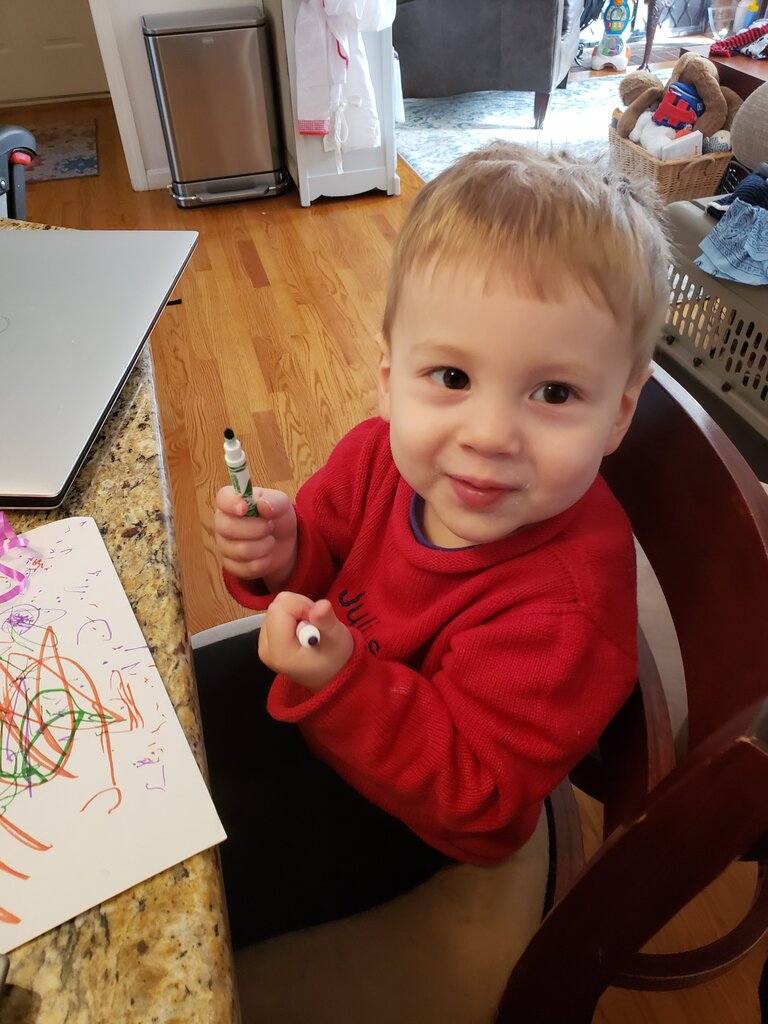
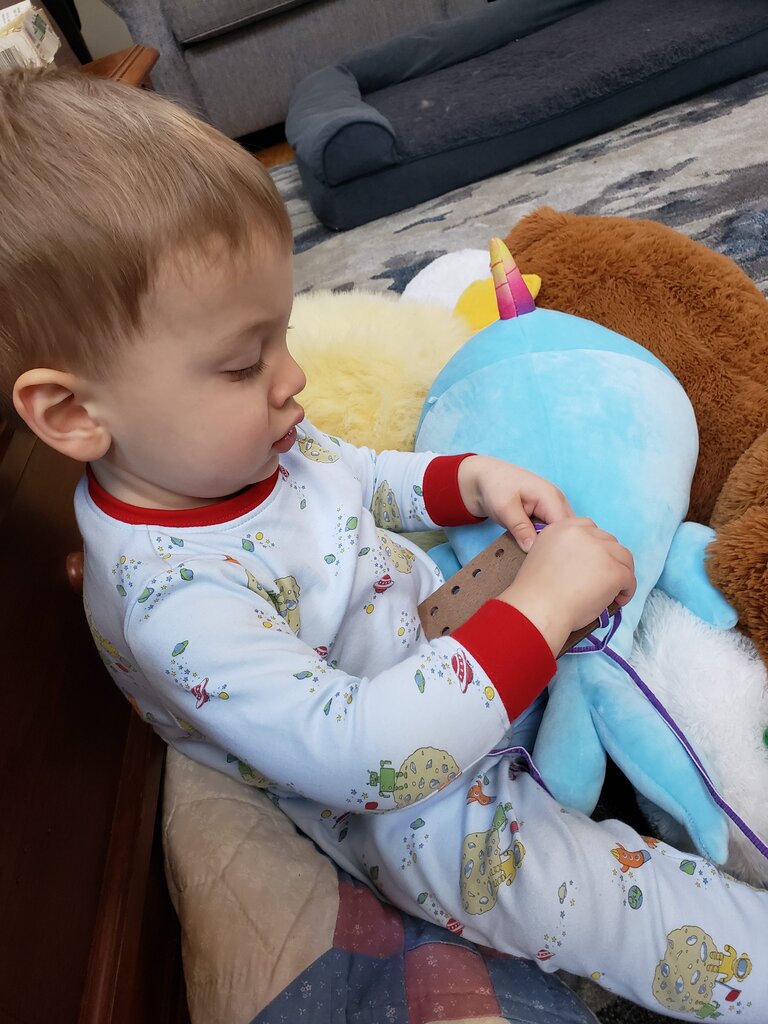
Holy cow, just finished The Witcher series on Netflix and I’m now going to read all the books. I just love fantasy with magic and a good love story. Julius (obviously) has not seen it, though he has heard the song “Toss a Coin to Your Witcher” about a dozen times. Julius’ favorite show remains My Neighbor Totoro. Which brings me to a post (and set of posts) I’ve been putting off for far too long. For Julius’ second birthday we decided to host a Totoro themed party. The main snags that came up were that his birthday is in November, right when the weather gets too cold to go outside and Will and I both ended up being diagnosed with pneumonia about a week before the party. This meant I was out of commission for half a month before the party, trying to struggle through party decorating and planning as if it were some mad fever dream. Perhaps needless to say I didn’t get to accomplish everything I wanted. Here’s what I managed…it was still pretty awesome and Julius loved it (which is all that matters).
My Neighbor Totoro Toddler Party
Theme
If you’ve never seen My Neighbor Totoro, you should give it a try. It is an adorable story about two little girls who meet a giant bunny-owl type forest spirit called Totoro. Mei, the main character, is a little girl who is not yet school age (and Julius adores). She stumbles upon the huge sleeping Totoro in the forest underneath a giant camphor tree when playing in her backyard. She has several encounters with Totoro and his friends which include an iconic Catbus. As with all Miyazaki’s films there are heavy themes of protecting nature.
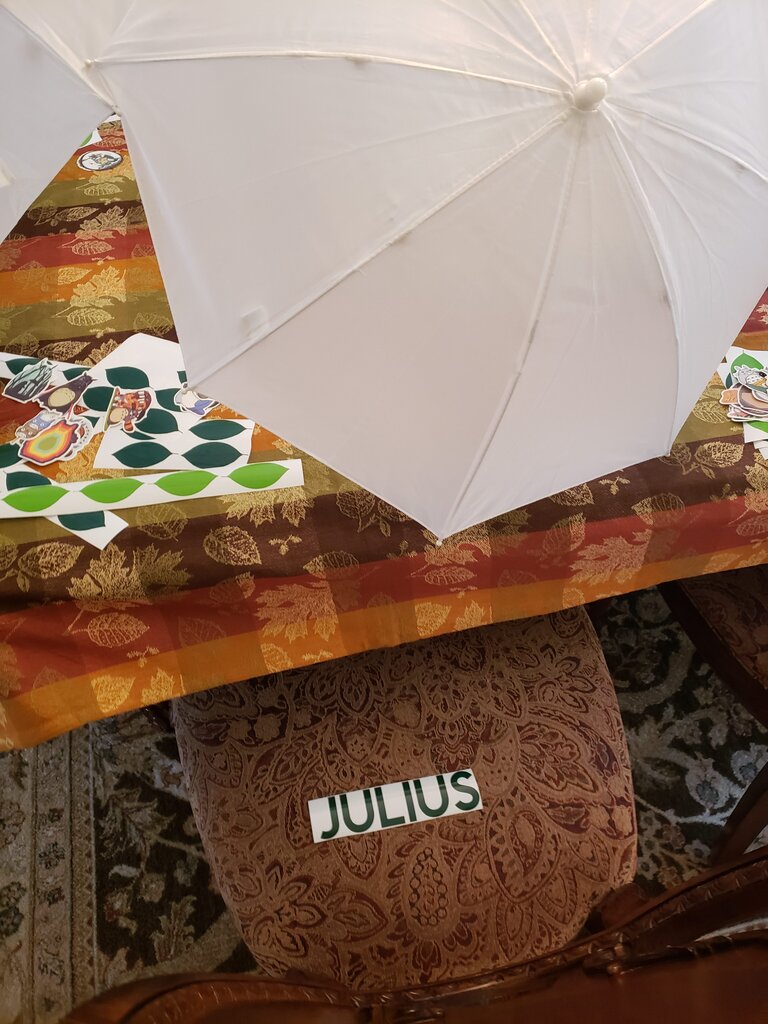
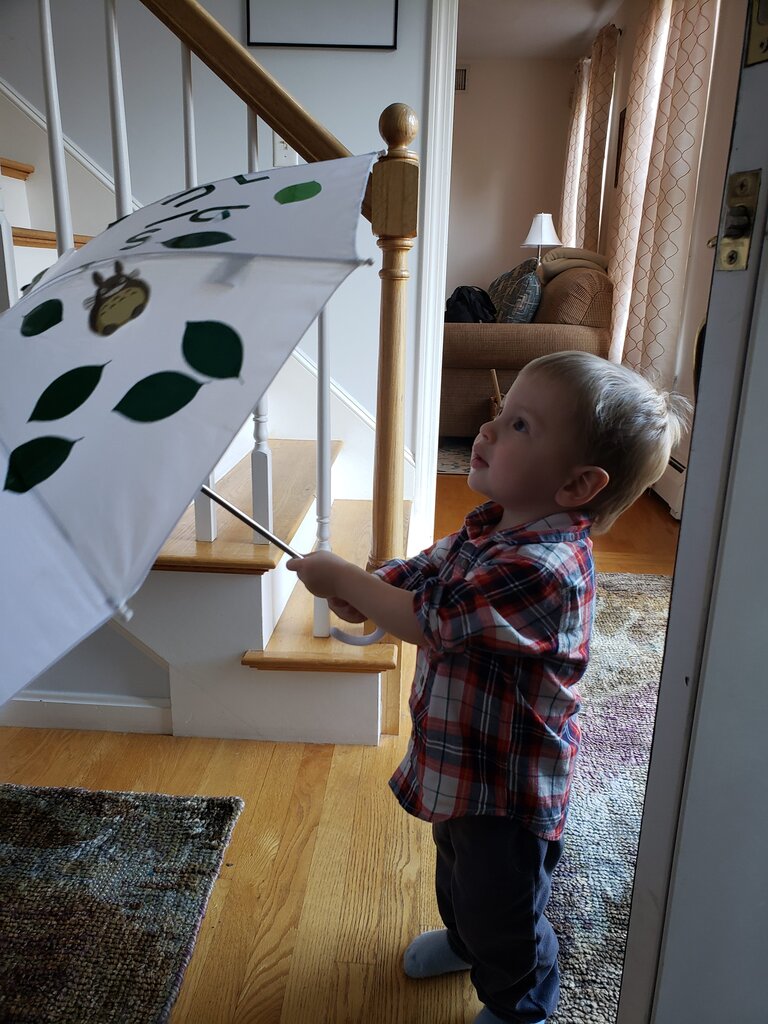
For the invitation I sketched a picture of Totoro holding an umbrella, which Totoro wields as a magic staff in much of the movie. I sketched and colored it on my Yoga X1 Carbon which I’ve become quite fond of. As always, I used Evite to send out the invites.

Activities
Umbrella Favors
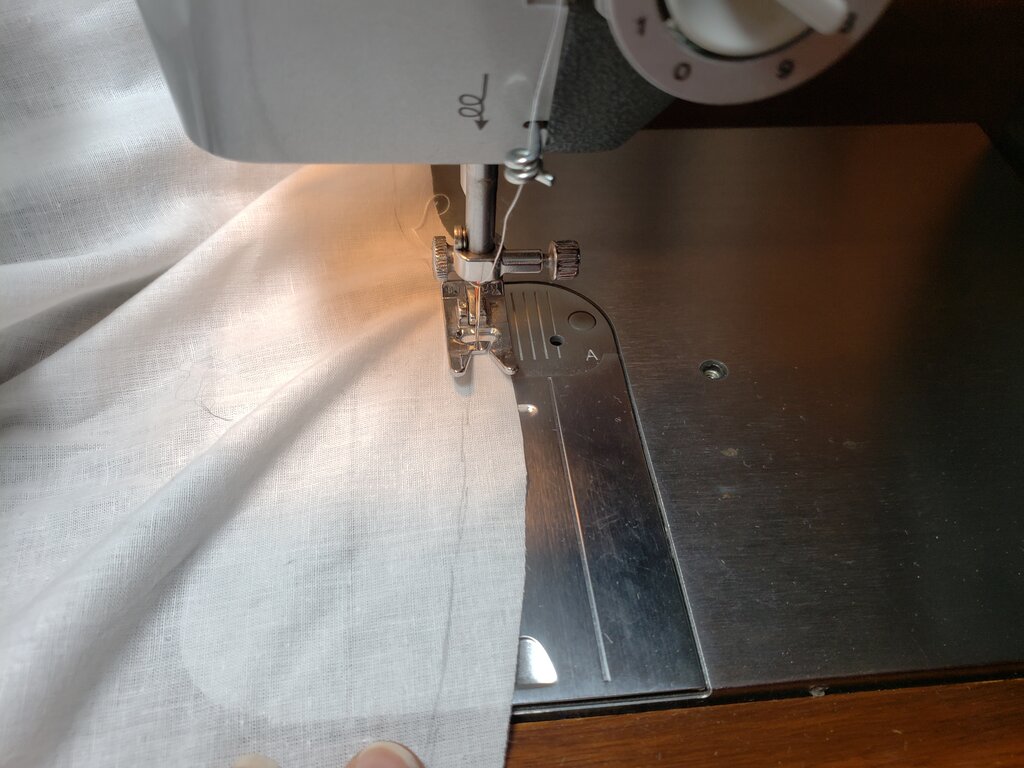
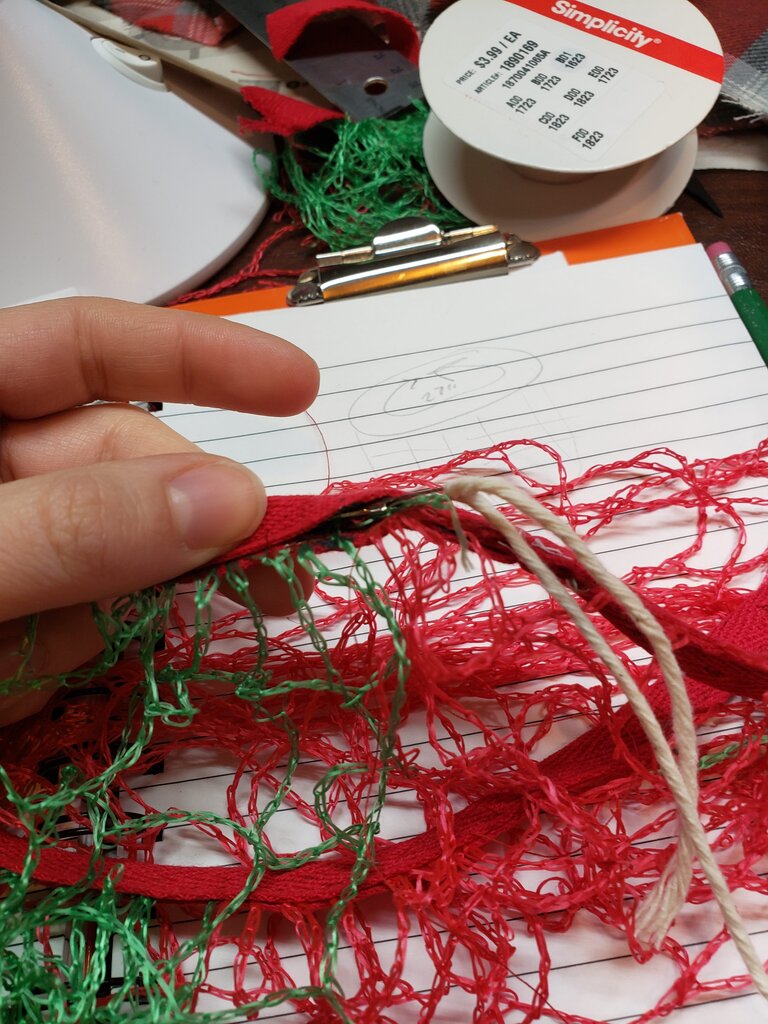
Julius’ favorite word around this time was “umbrella” and Totoro uses an umbrella as a sort of magic wand after Mei’s sister Satsuki gifts him her umbrella. I bought cheap white umbrellas from Oriental Trading to use as a canvas and intended to have the kids color them with fabric markers. At the last minute I decided not to use the fabric markers because they are technically not safe for kids under 3 (though I honestly think no products say things are safe for kids under 3….) Instead I bought a bunch of waterproof Totoro stickers online. In addition I bought green permanent adhesive vinyl and cut out each child’s name and a bunch of leaves with my cricut – this was even cheaper than the Totoro stickers.
Umbrella Stations ready to go…
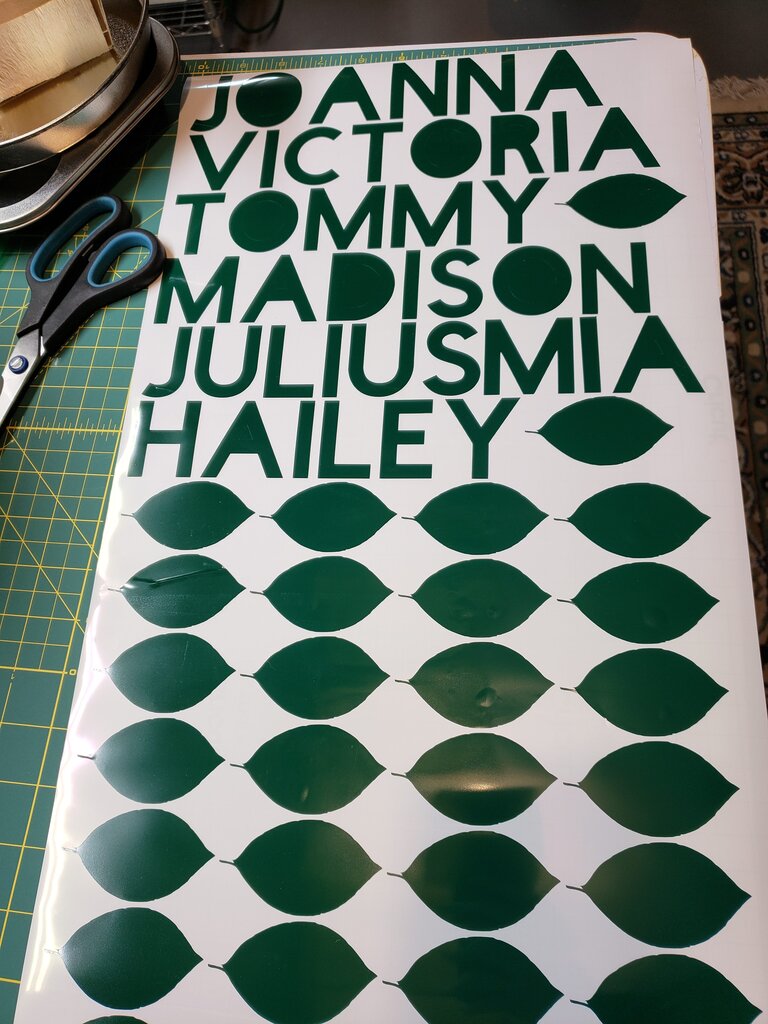
Cricut cutouts of leaves and kids’ names.
We had all the kids do this craft first to keep them occupied while other guests were arriving. Julius and the other kiddoes loved sticking the stickers on the umbrellas, though they really would not survive a rain storm.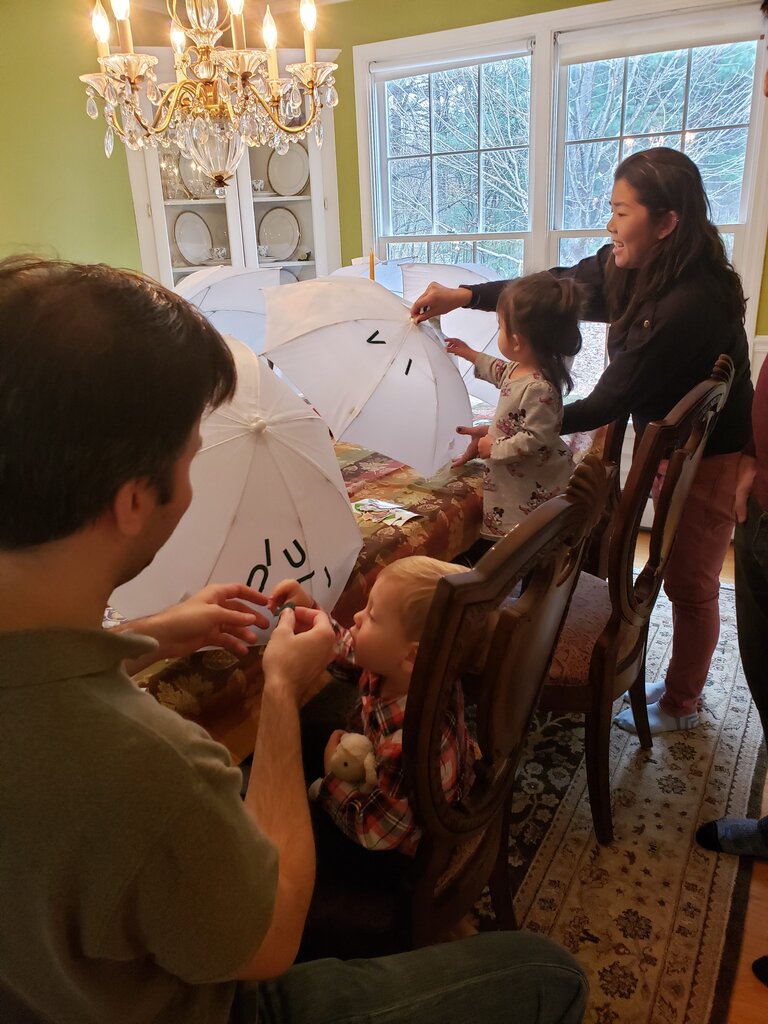

Enchanted Forest Playset
As I mentioned earlier, Julius’ birthday is in November, which unfortunately is too chilly around here for an outdoor party. Totoro is all about exploring the outdoors, and I wanted Julius to have the whole Totoro experience so I set about making an indoor toddler friendly playset. I kept the entire thing a surprise by setting it up in the room over our garage.
Soot Sprites
Leading up the stairs into the man cave, I sprinkled dozens of “soot sprites”. These are elusive spirits that hide in dusty corners of old houses. Mine were simply black glitter pom poms with tiny googly eyes hot glued on. I didn’t have the patience to glue on more than a couple dozen eyes, so I strategically scattered the few with eyes amongst the plain ones. Julius knew exactly what they were when he entered the staircase.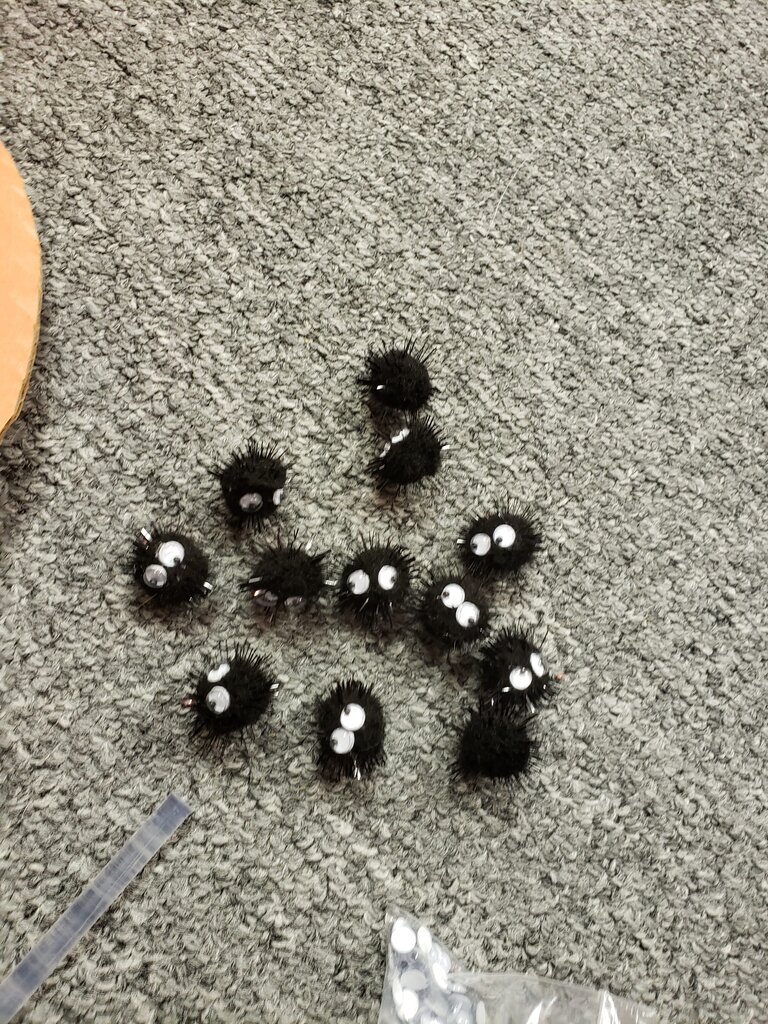
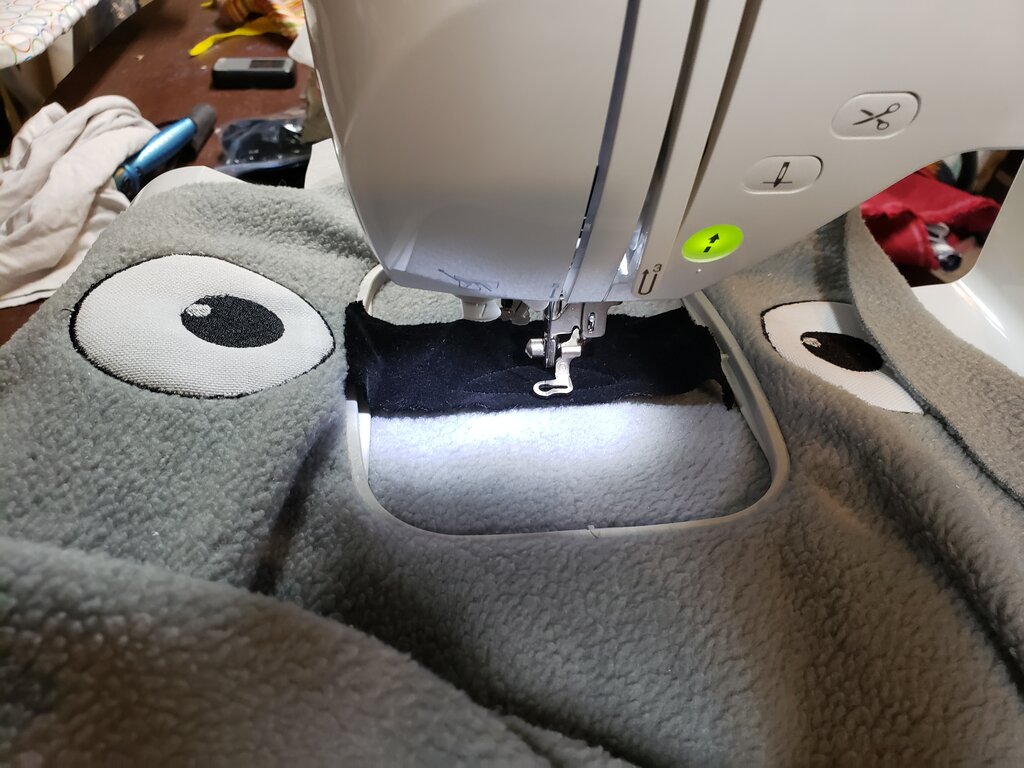
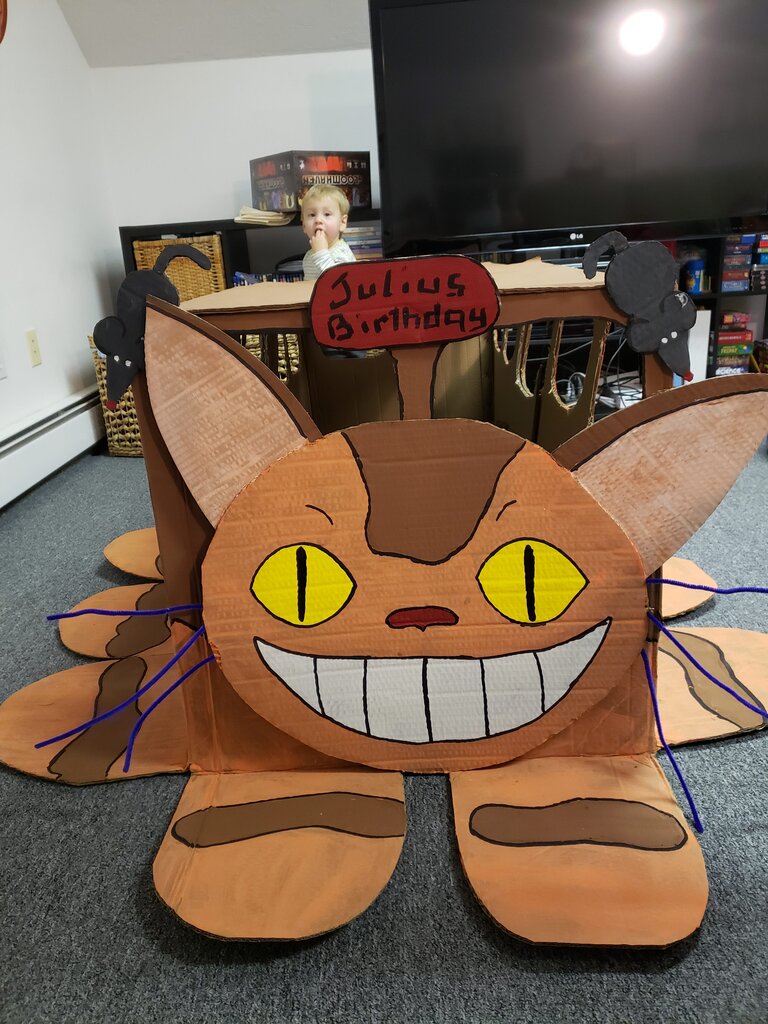
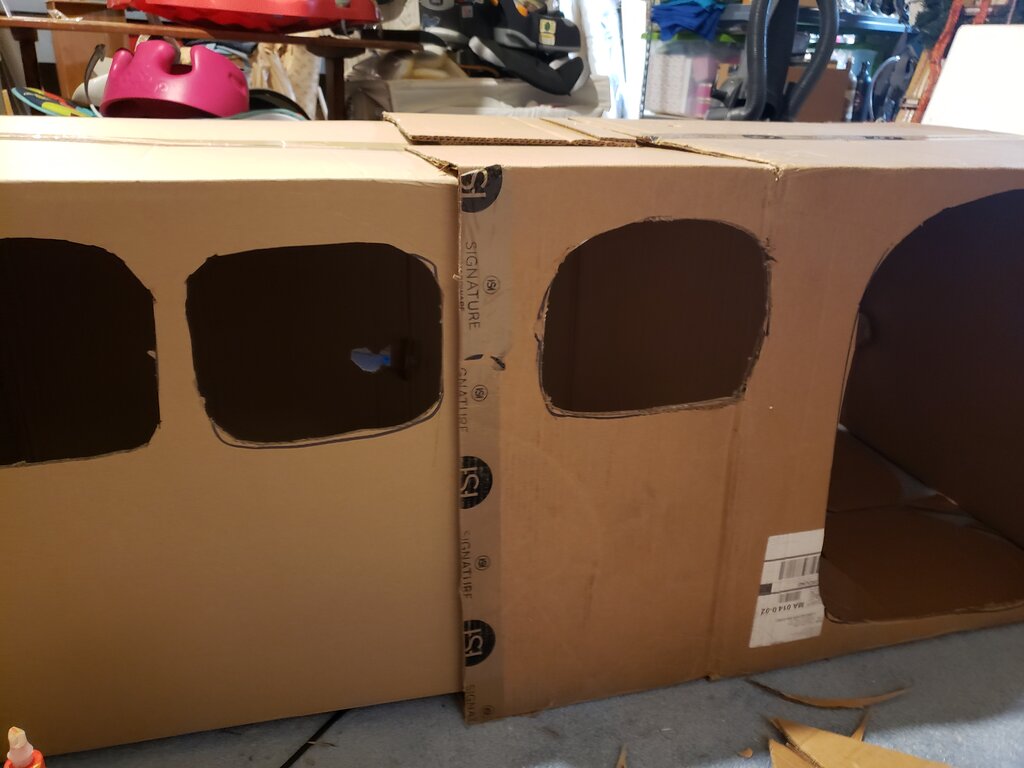
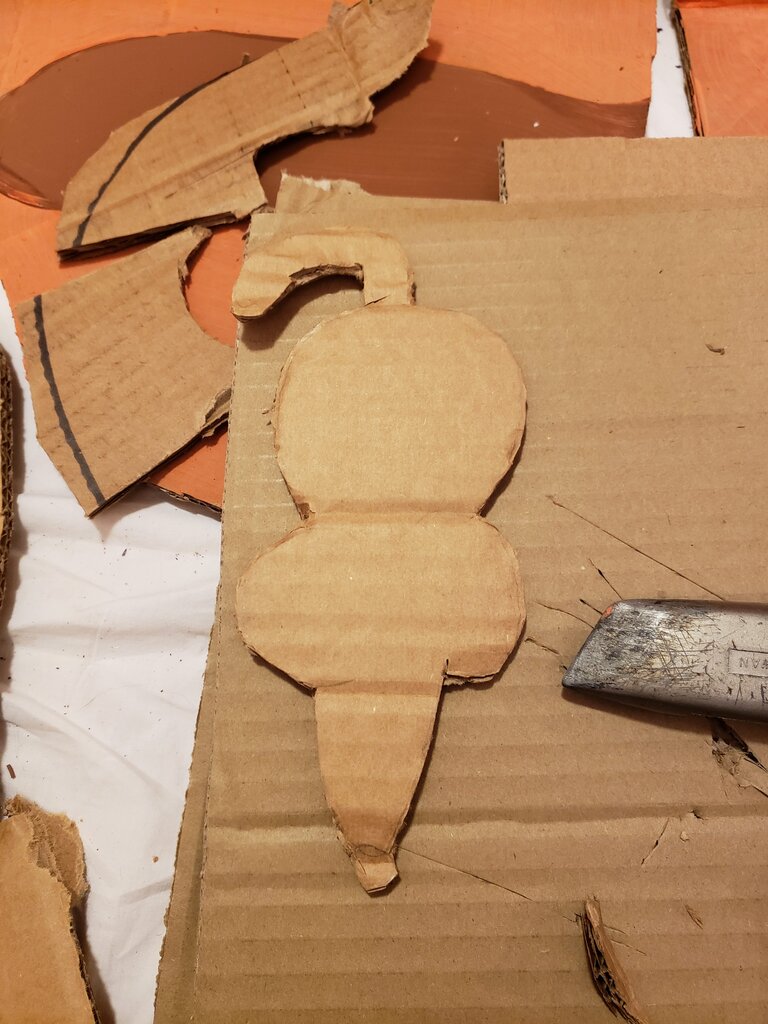
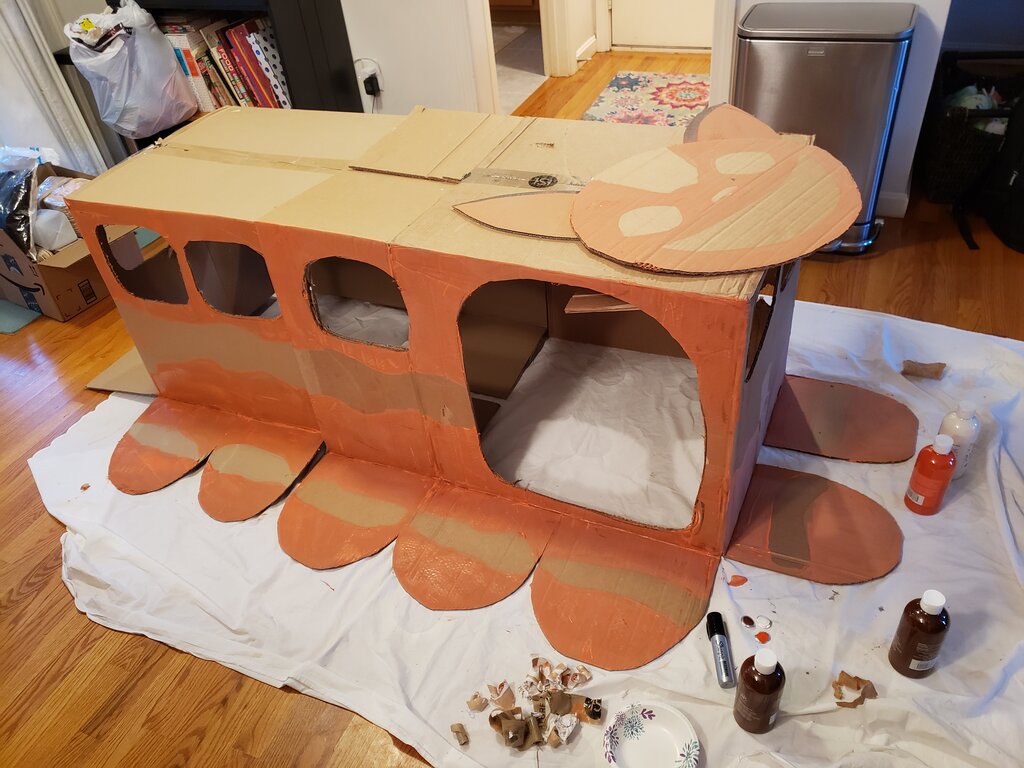
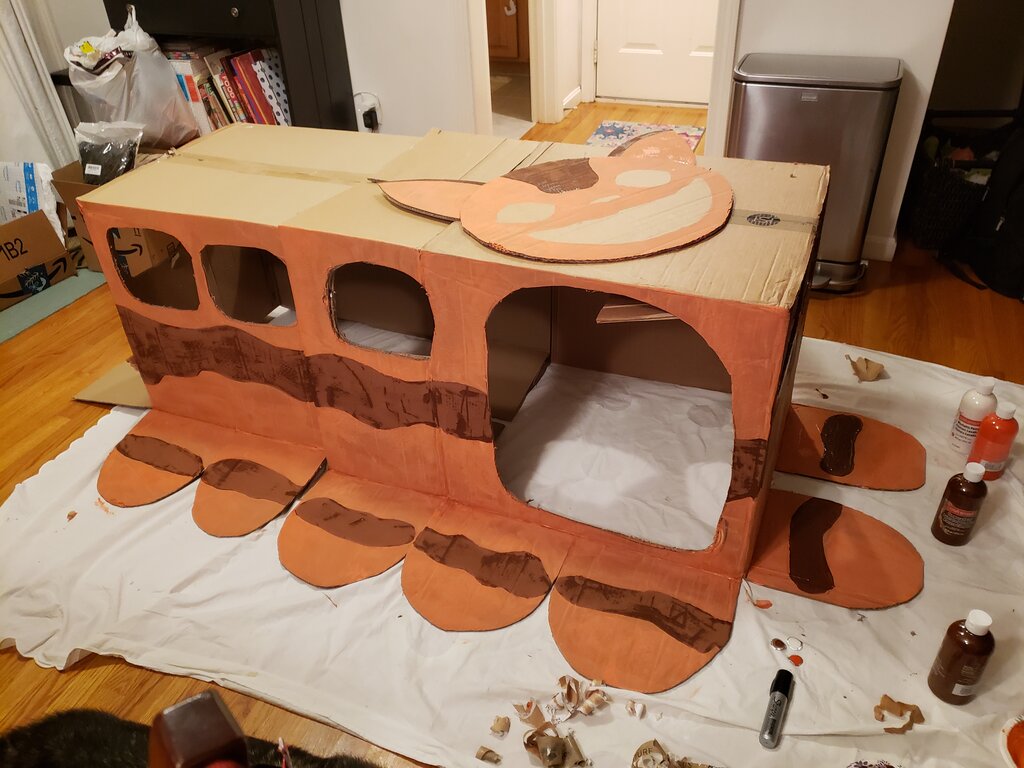
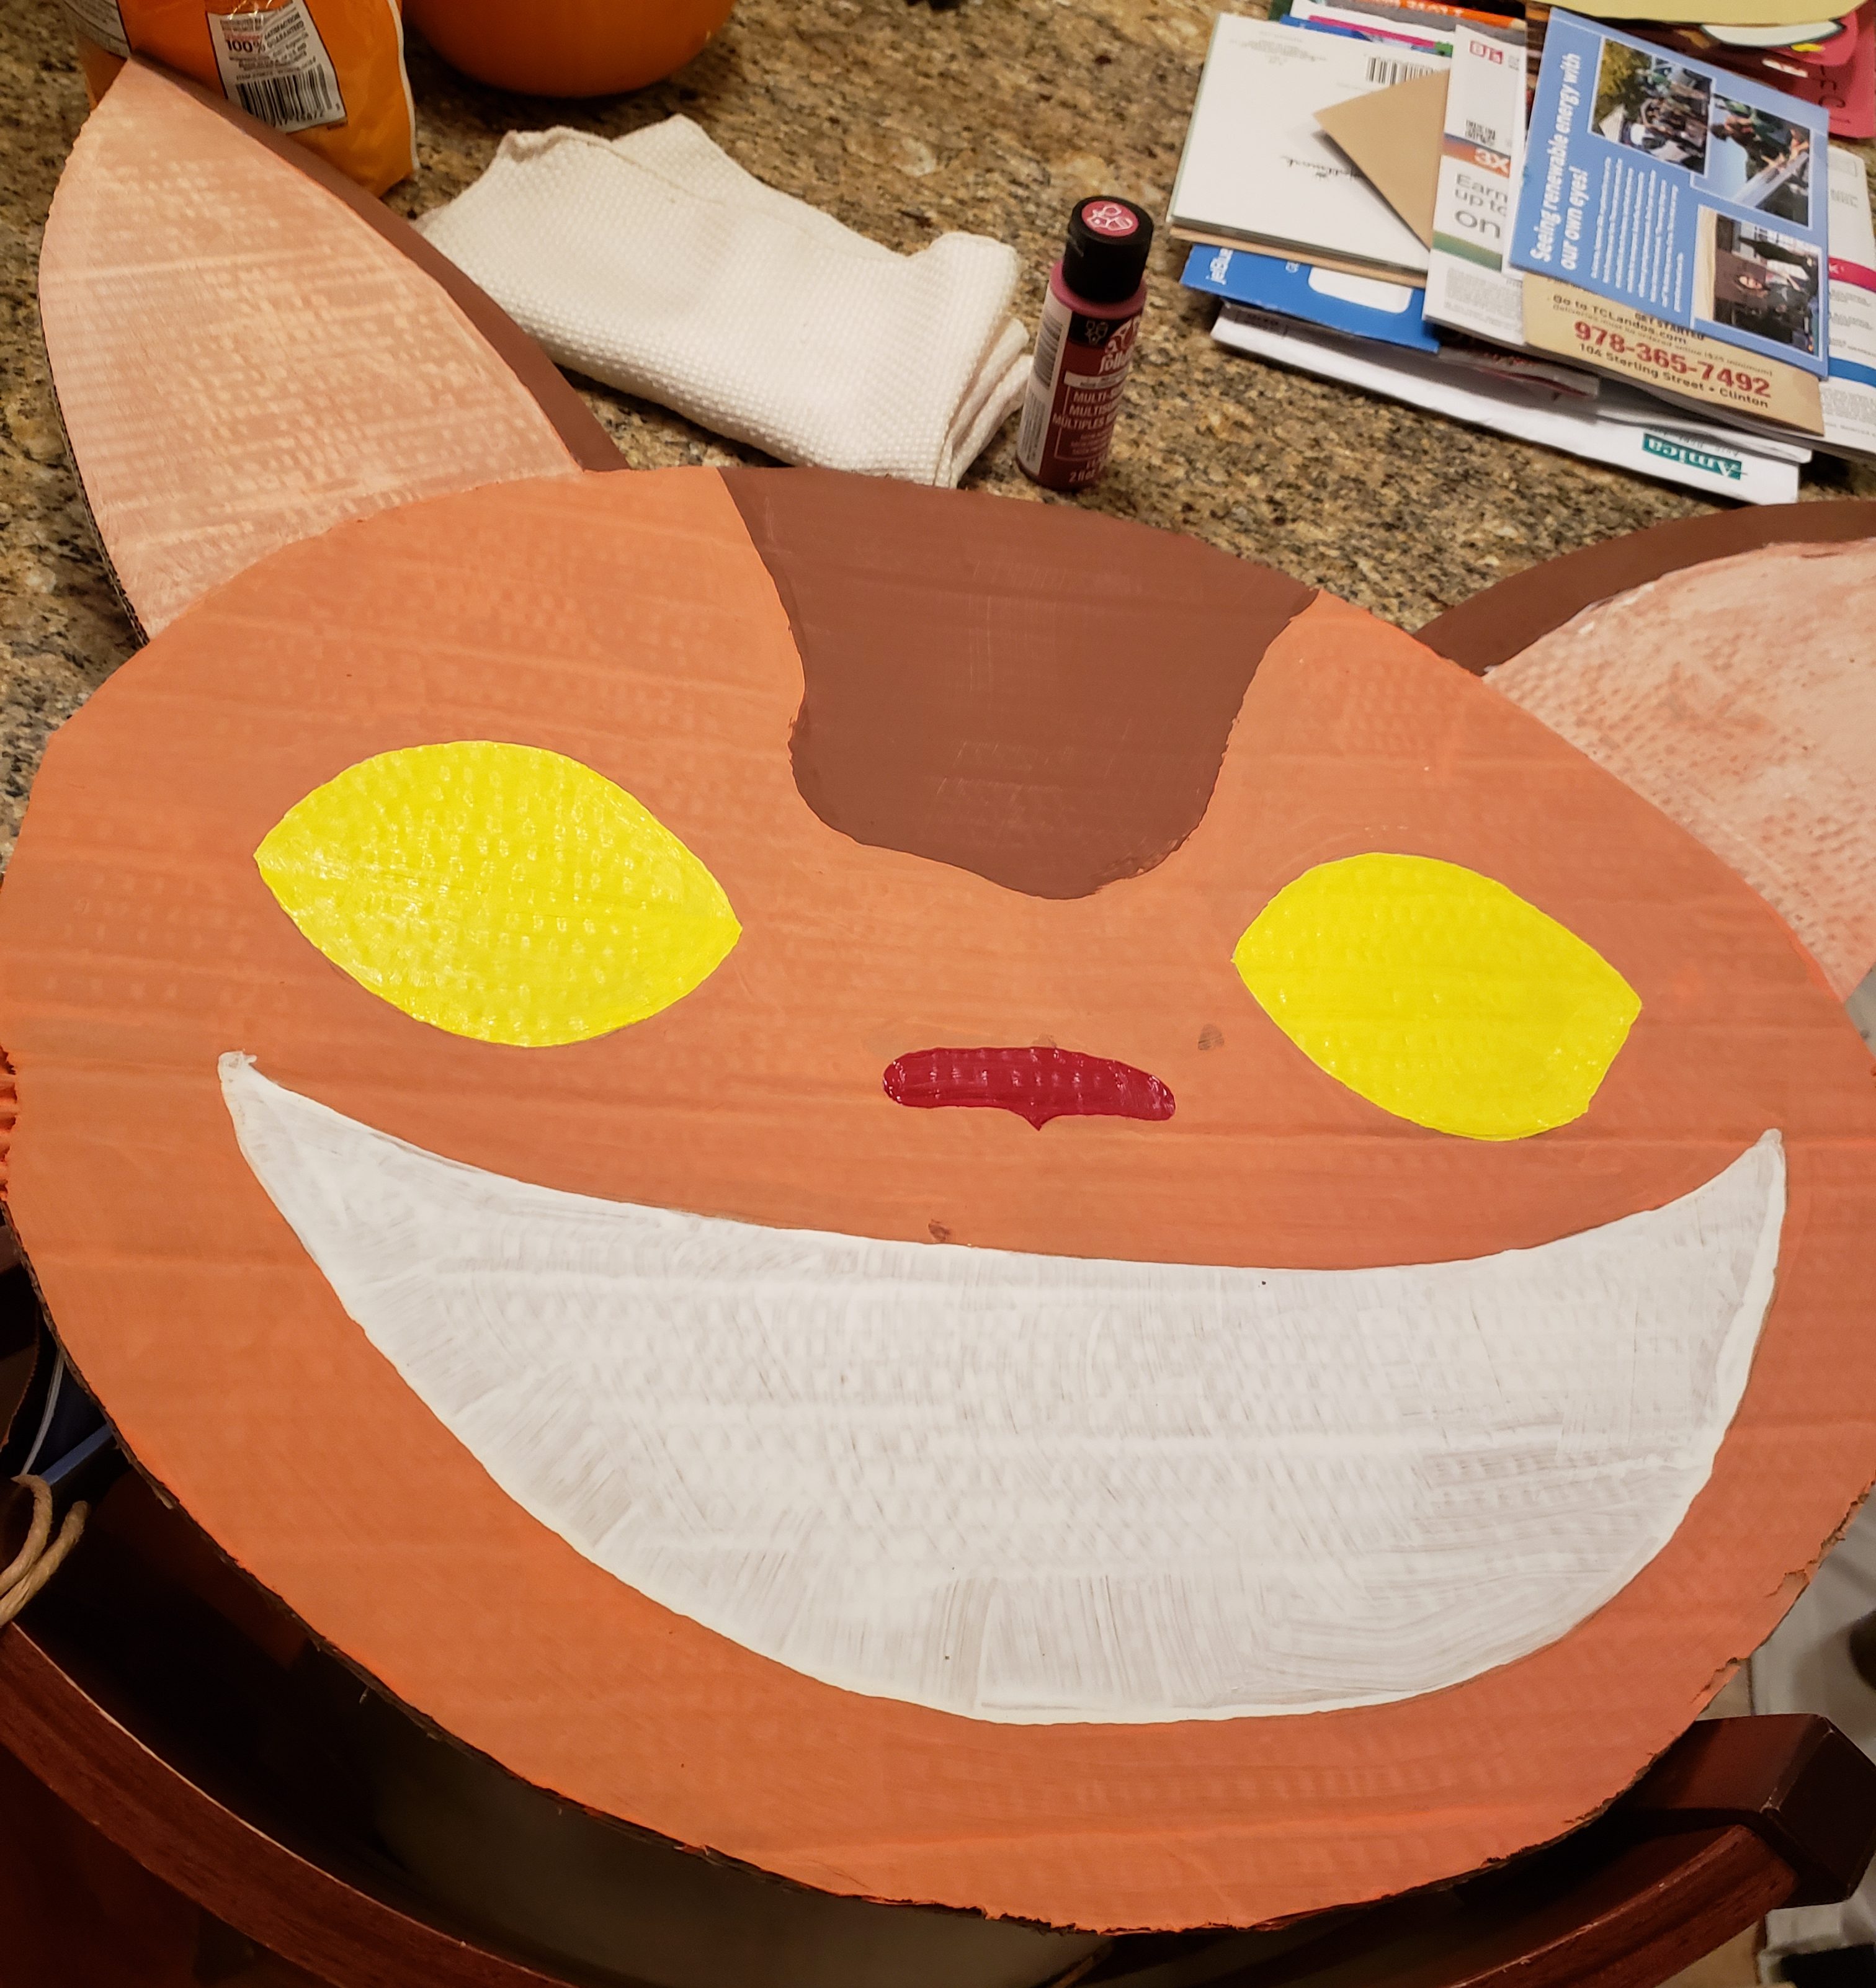
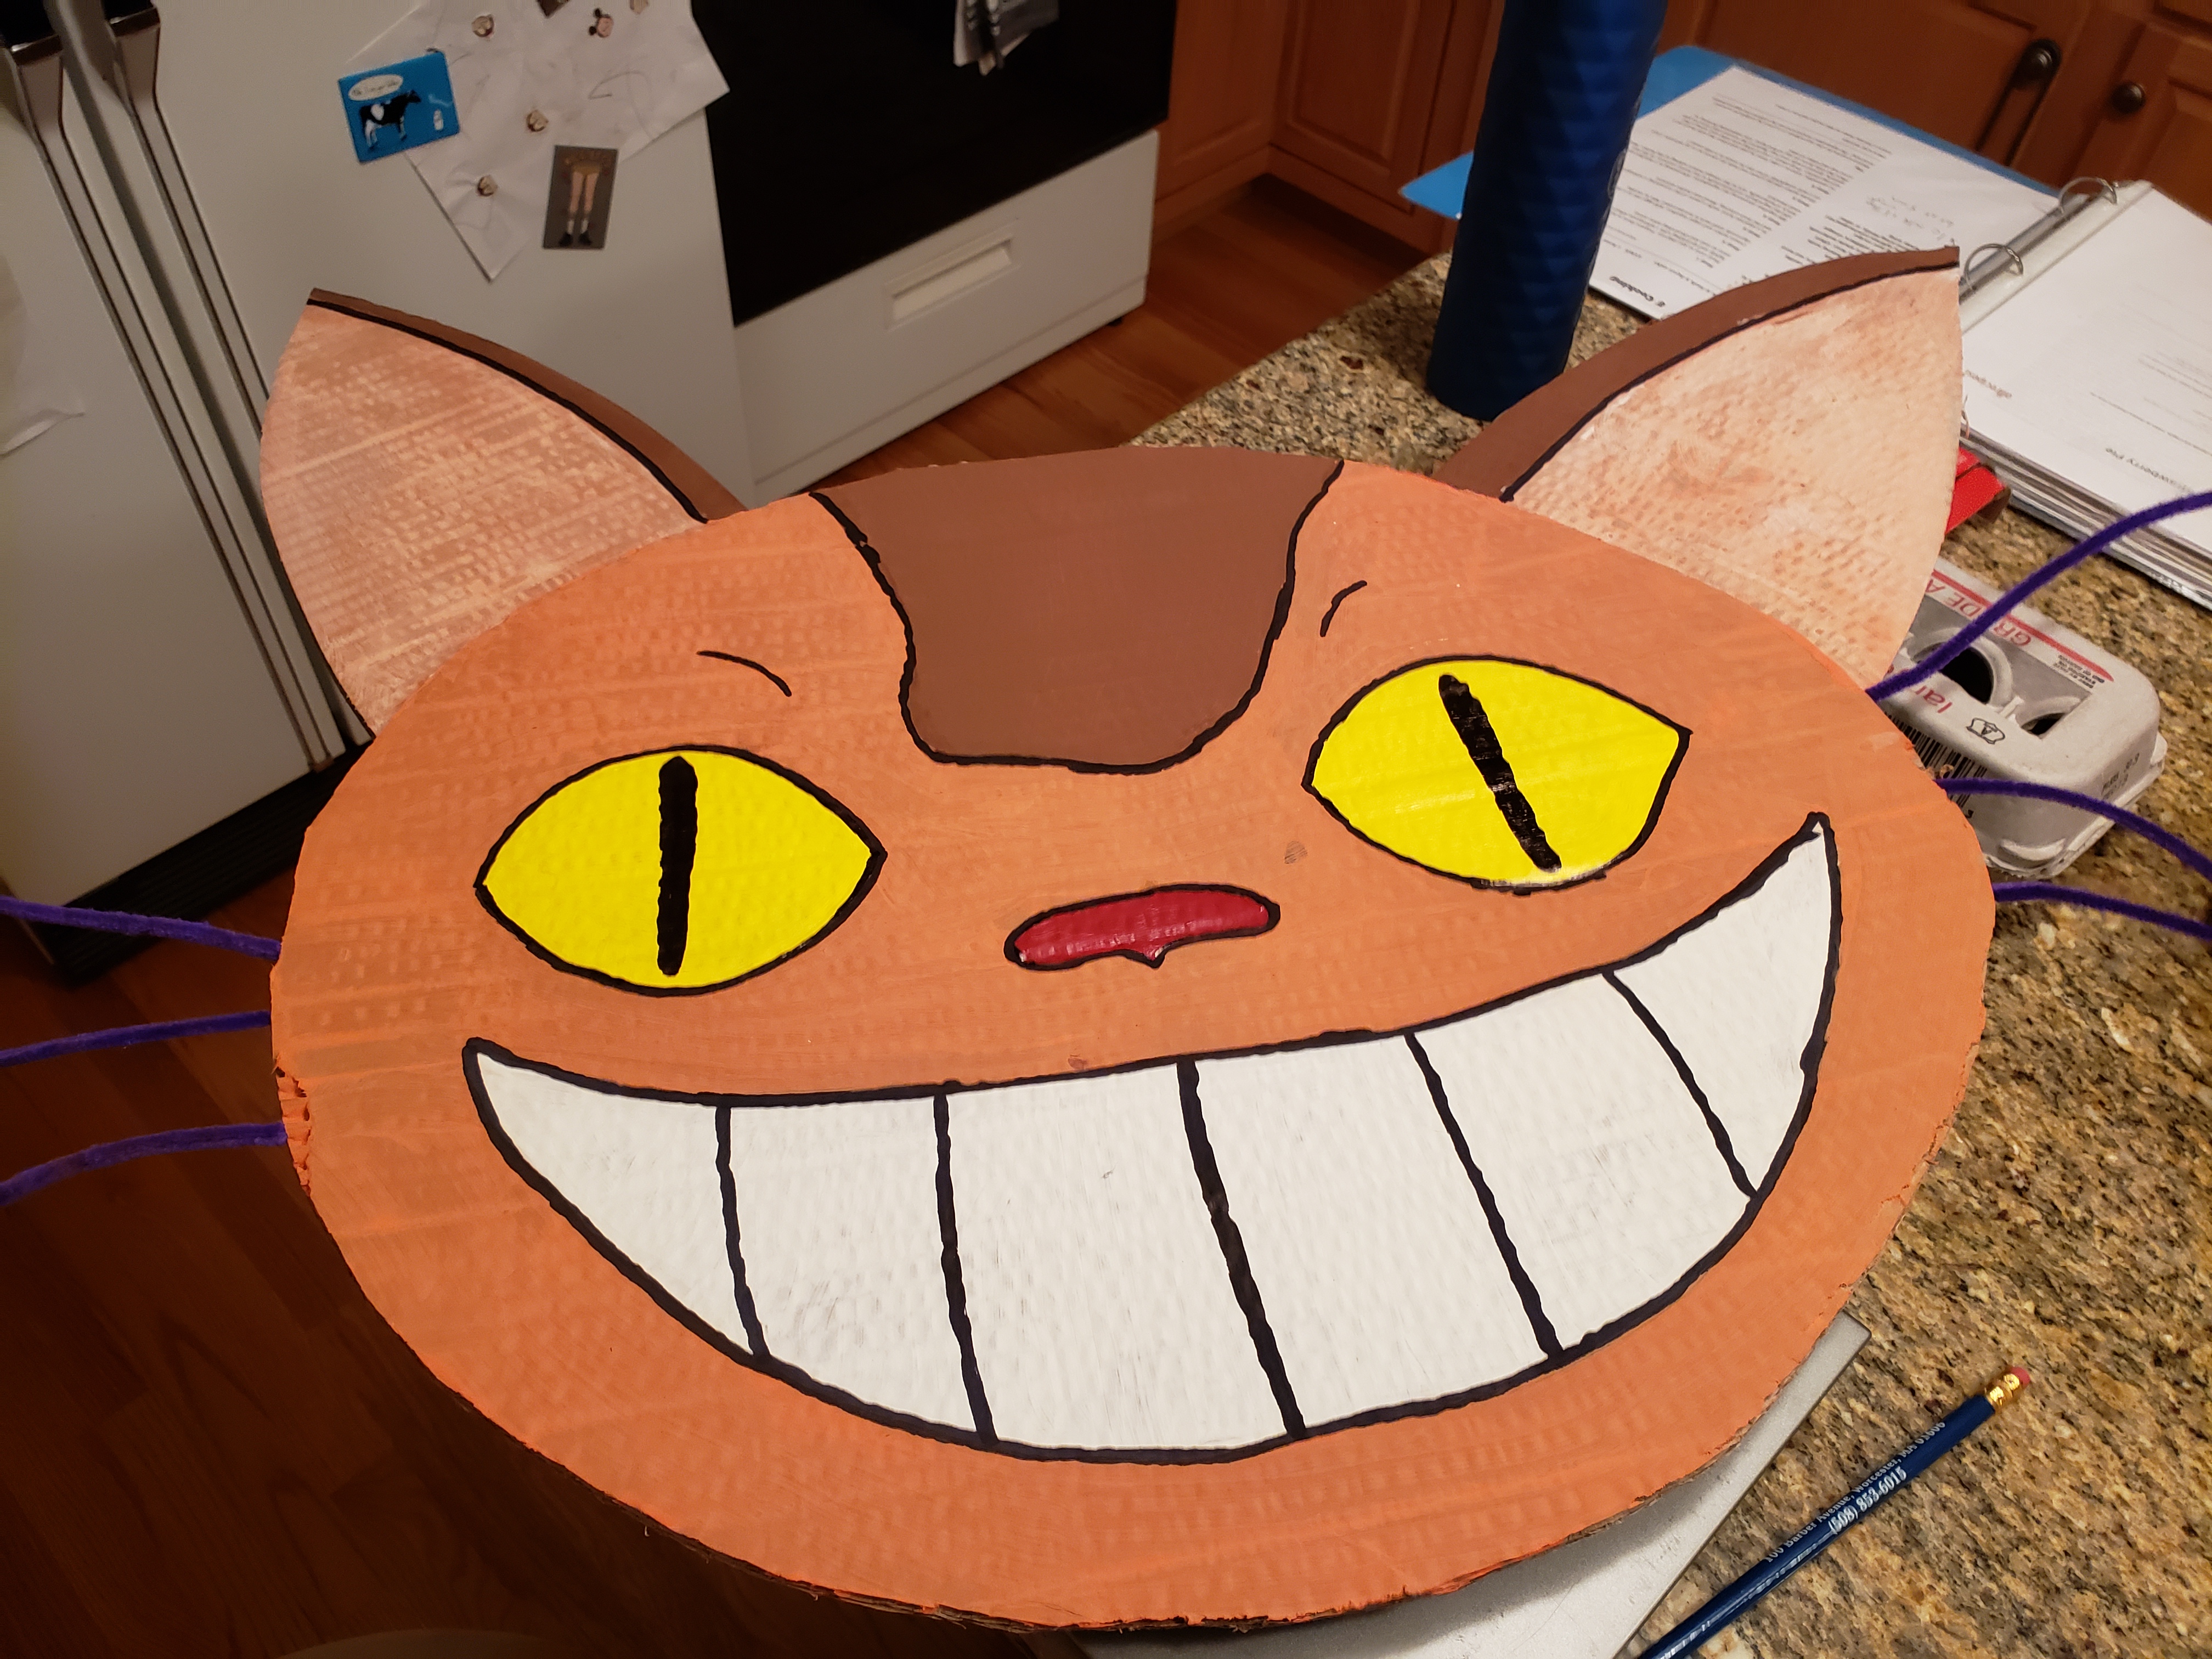
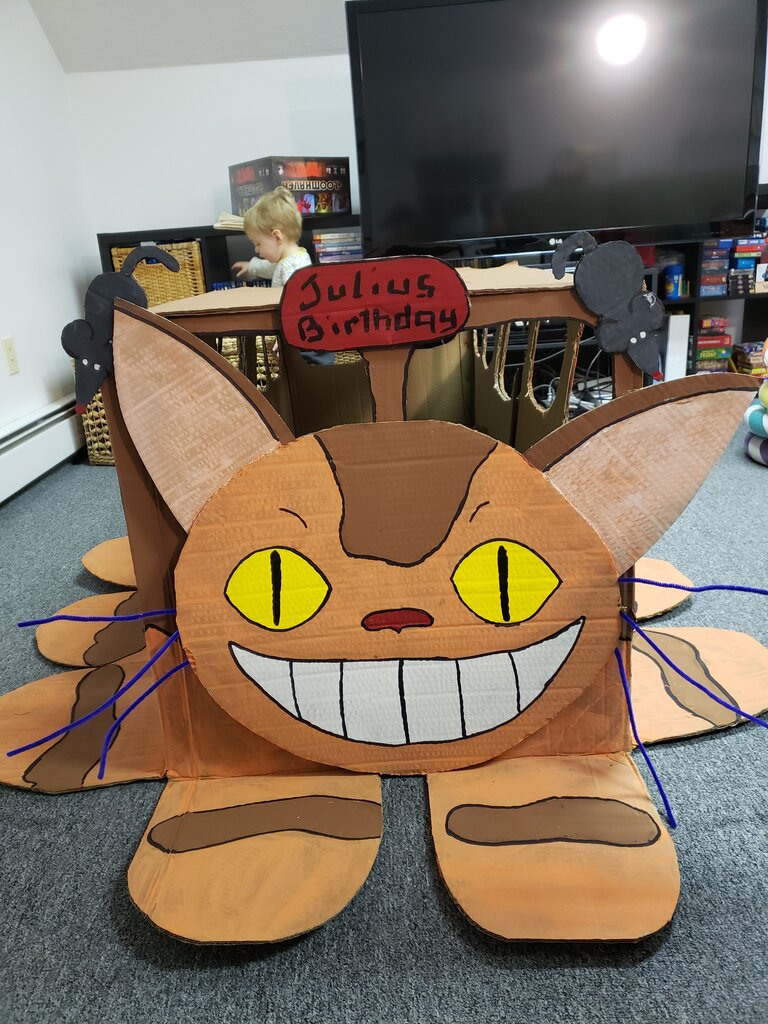
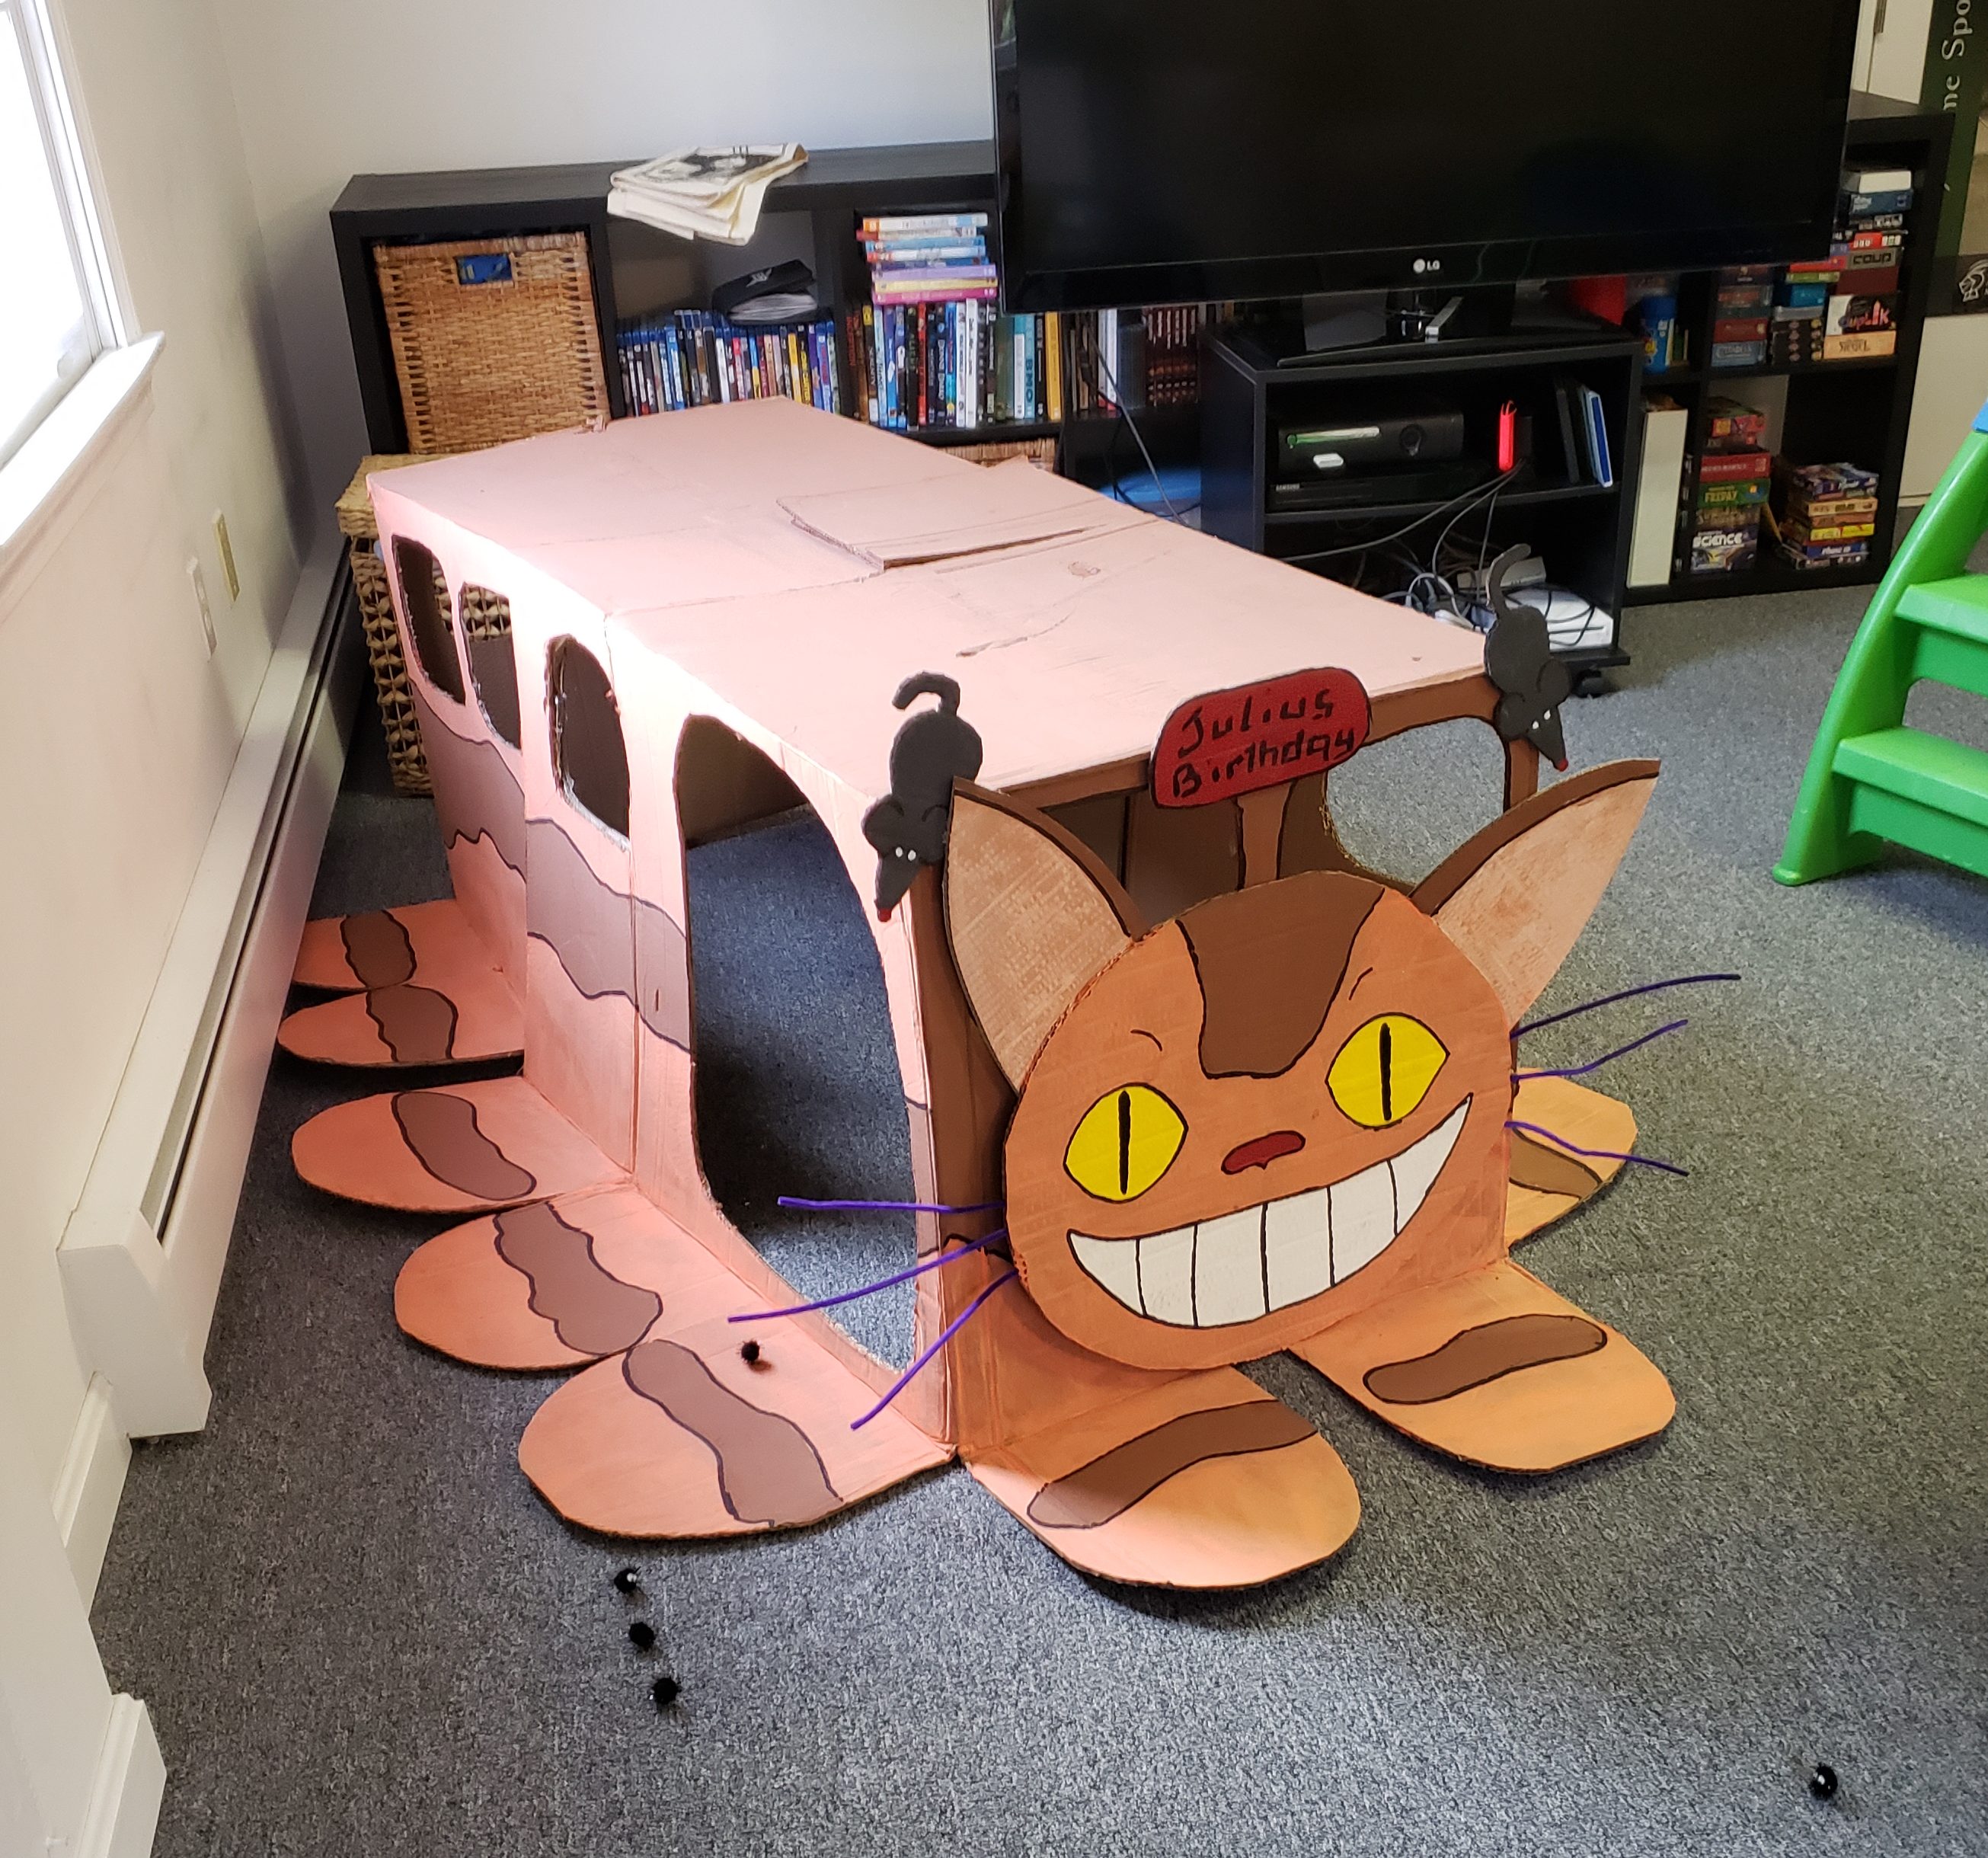
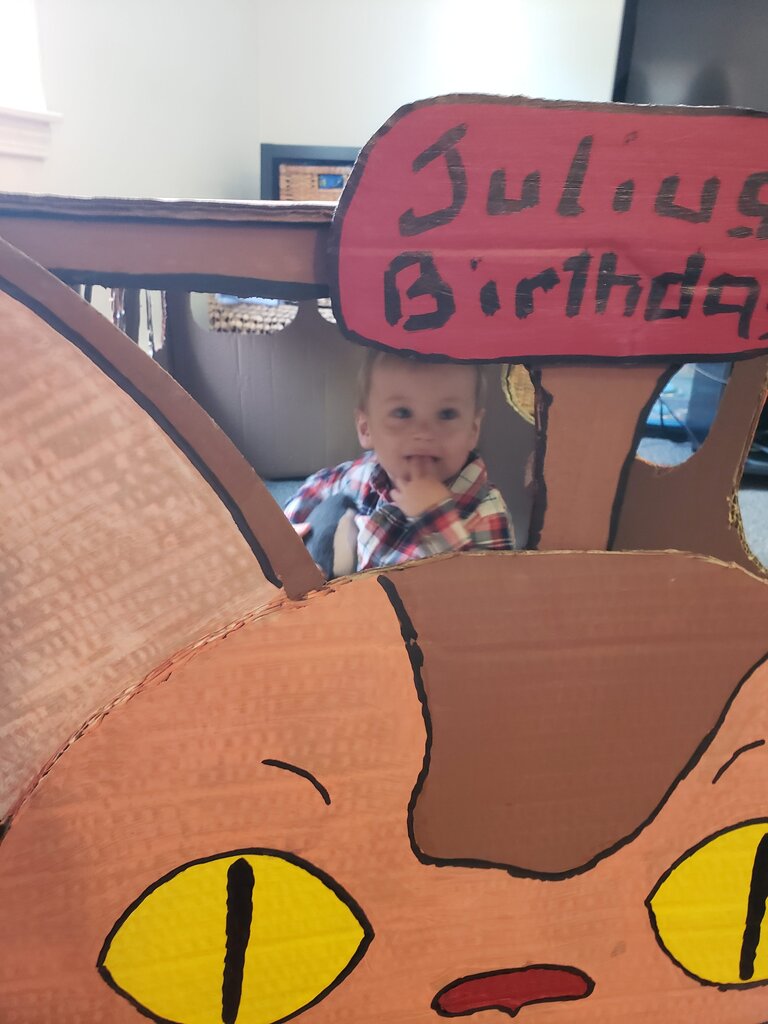
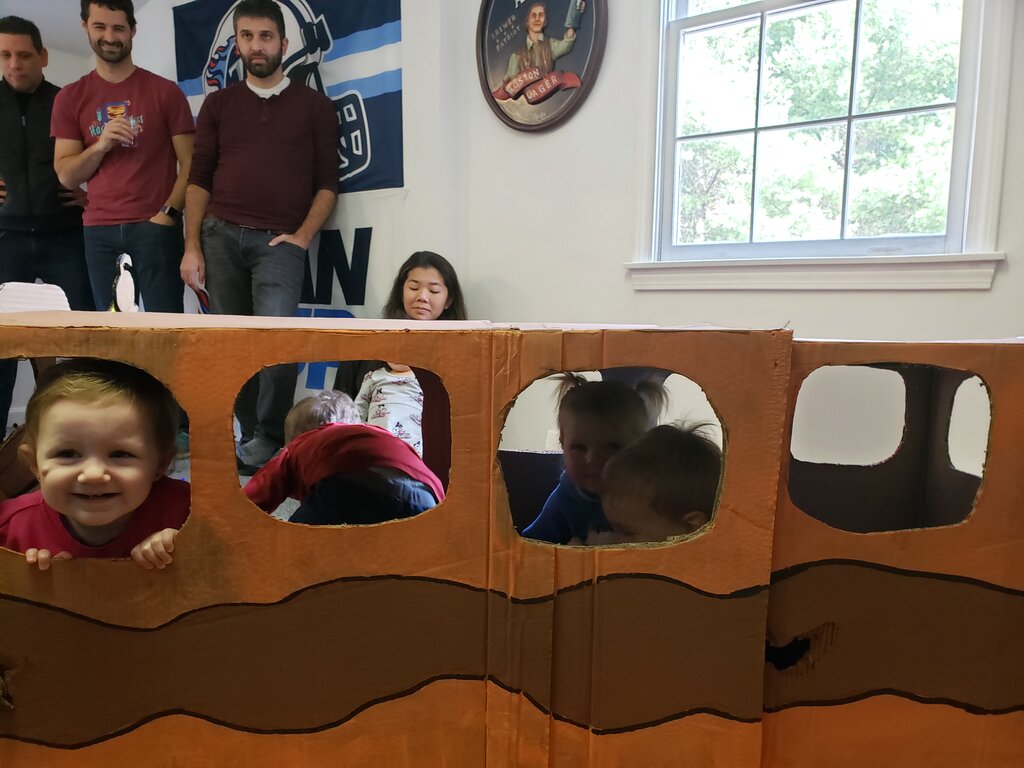
The Catbus
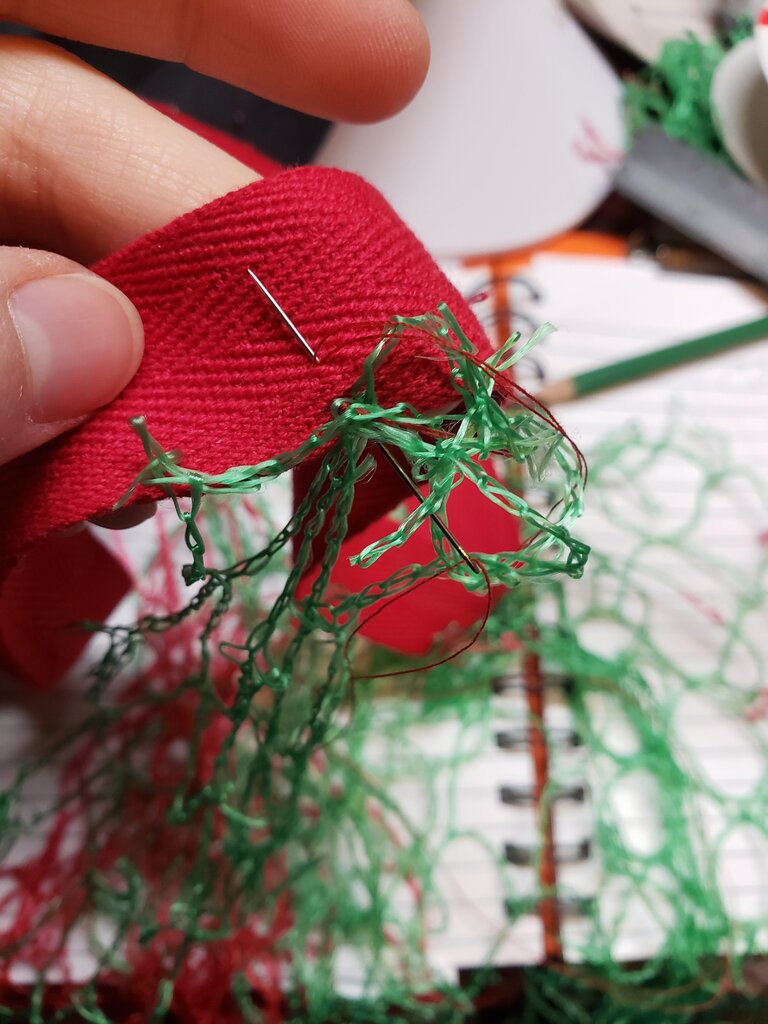
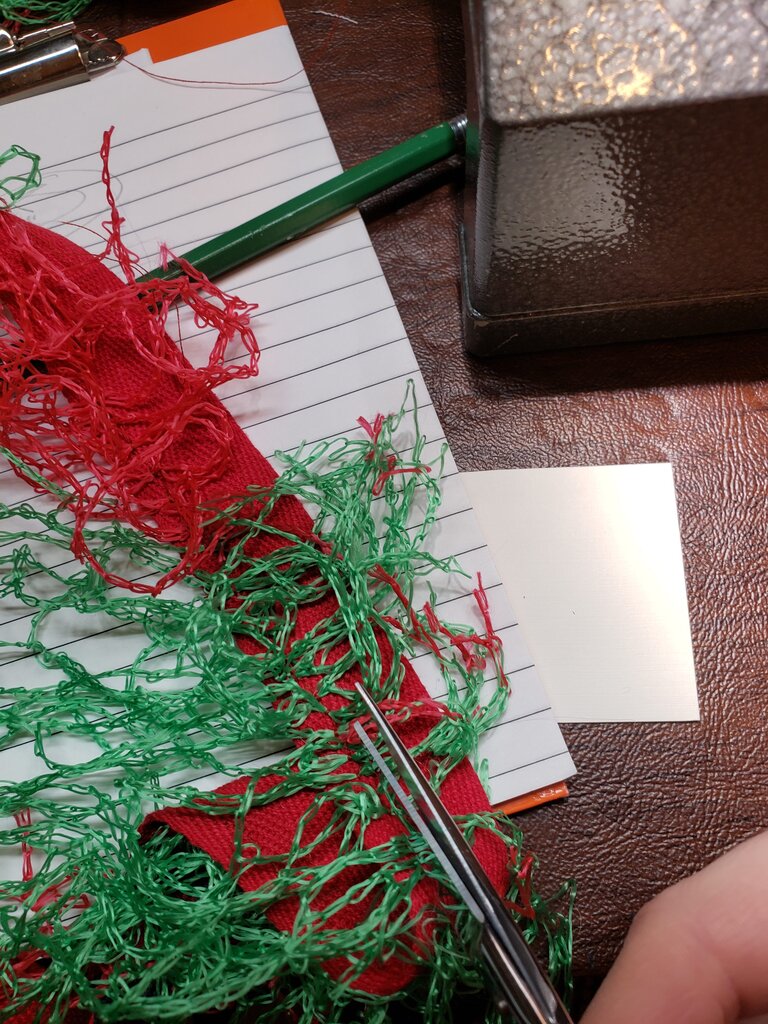
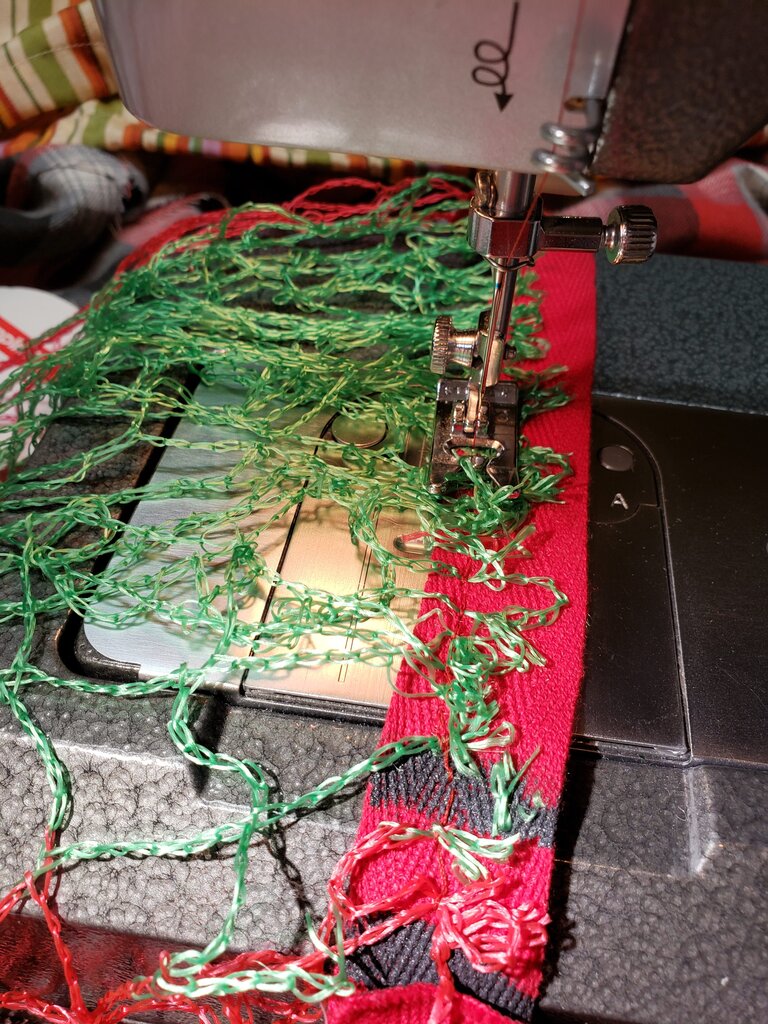
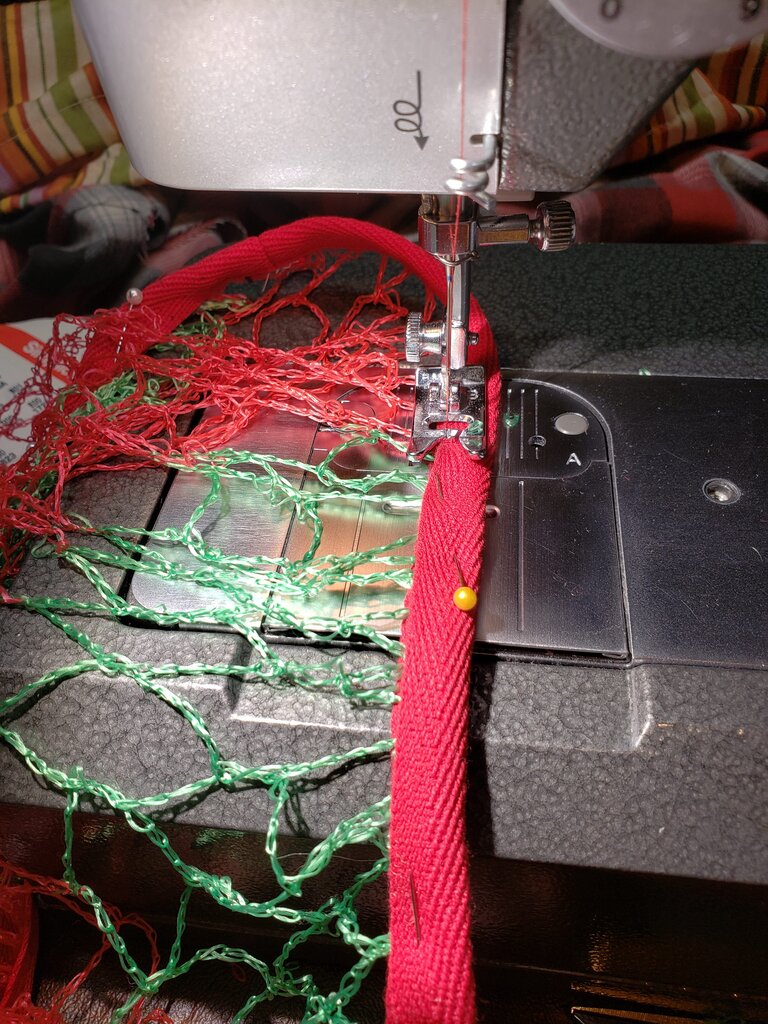
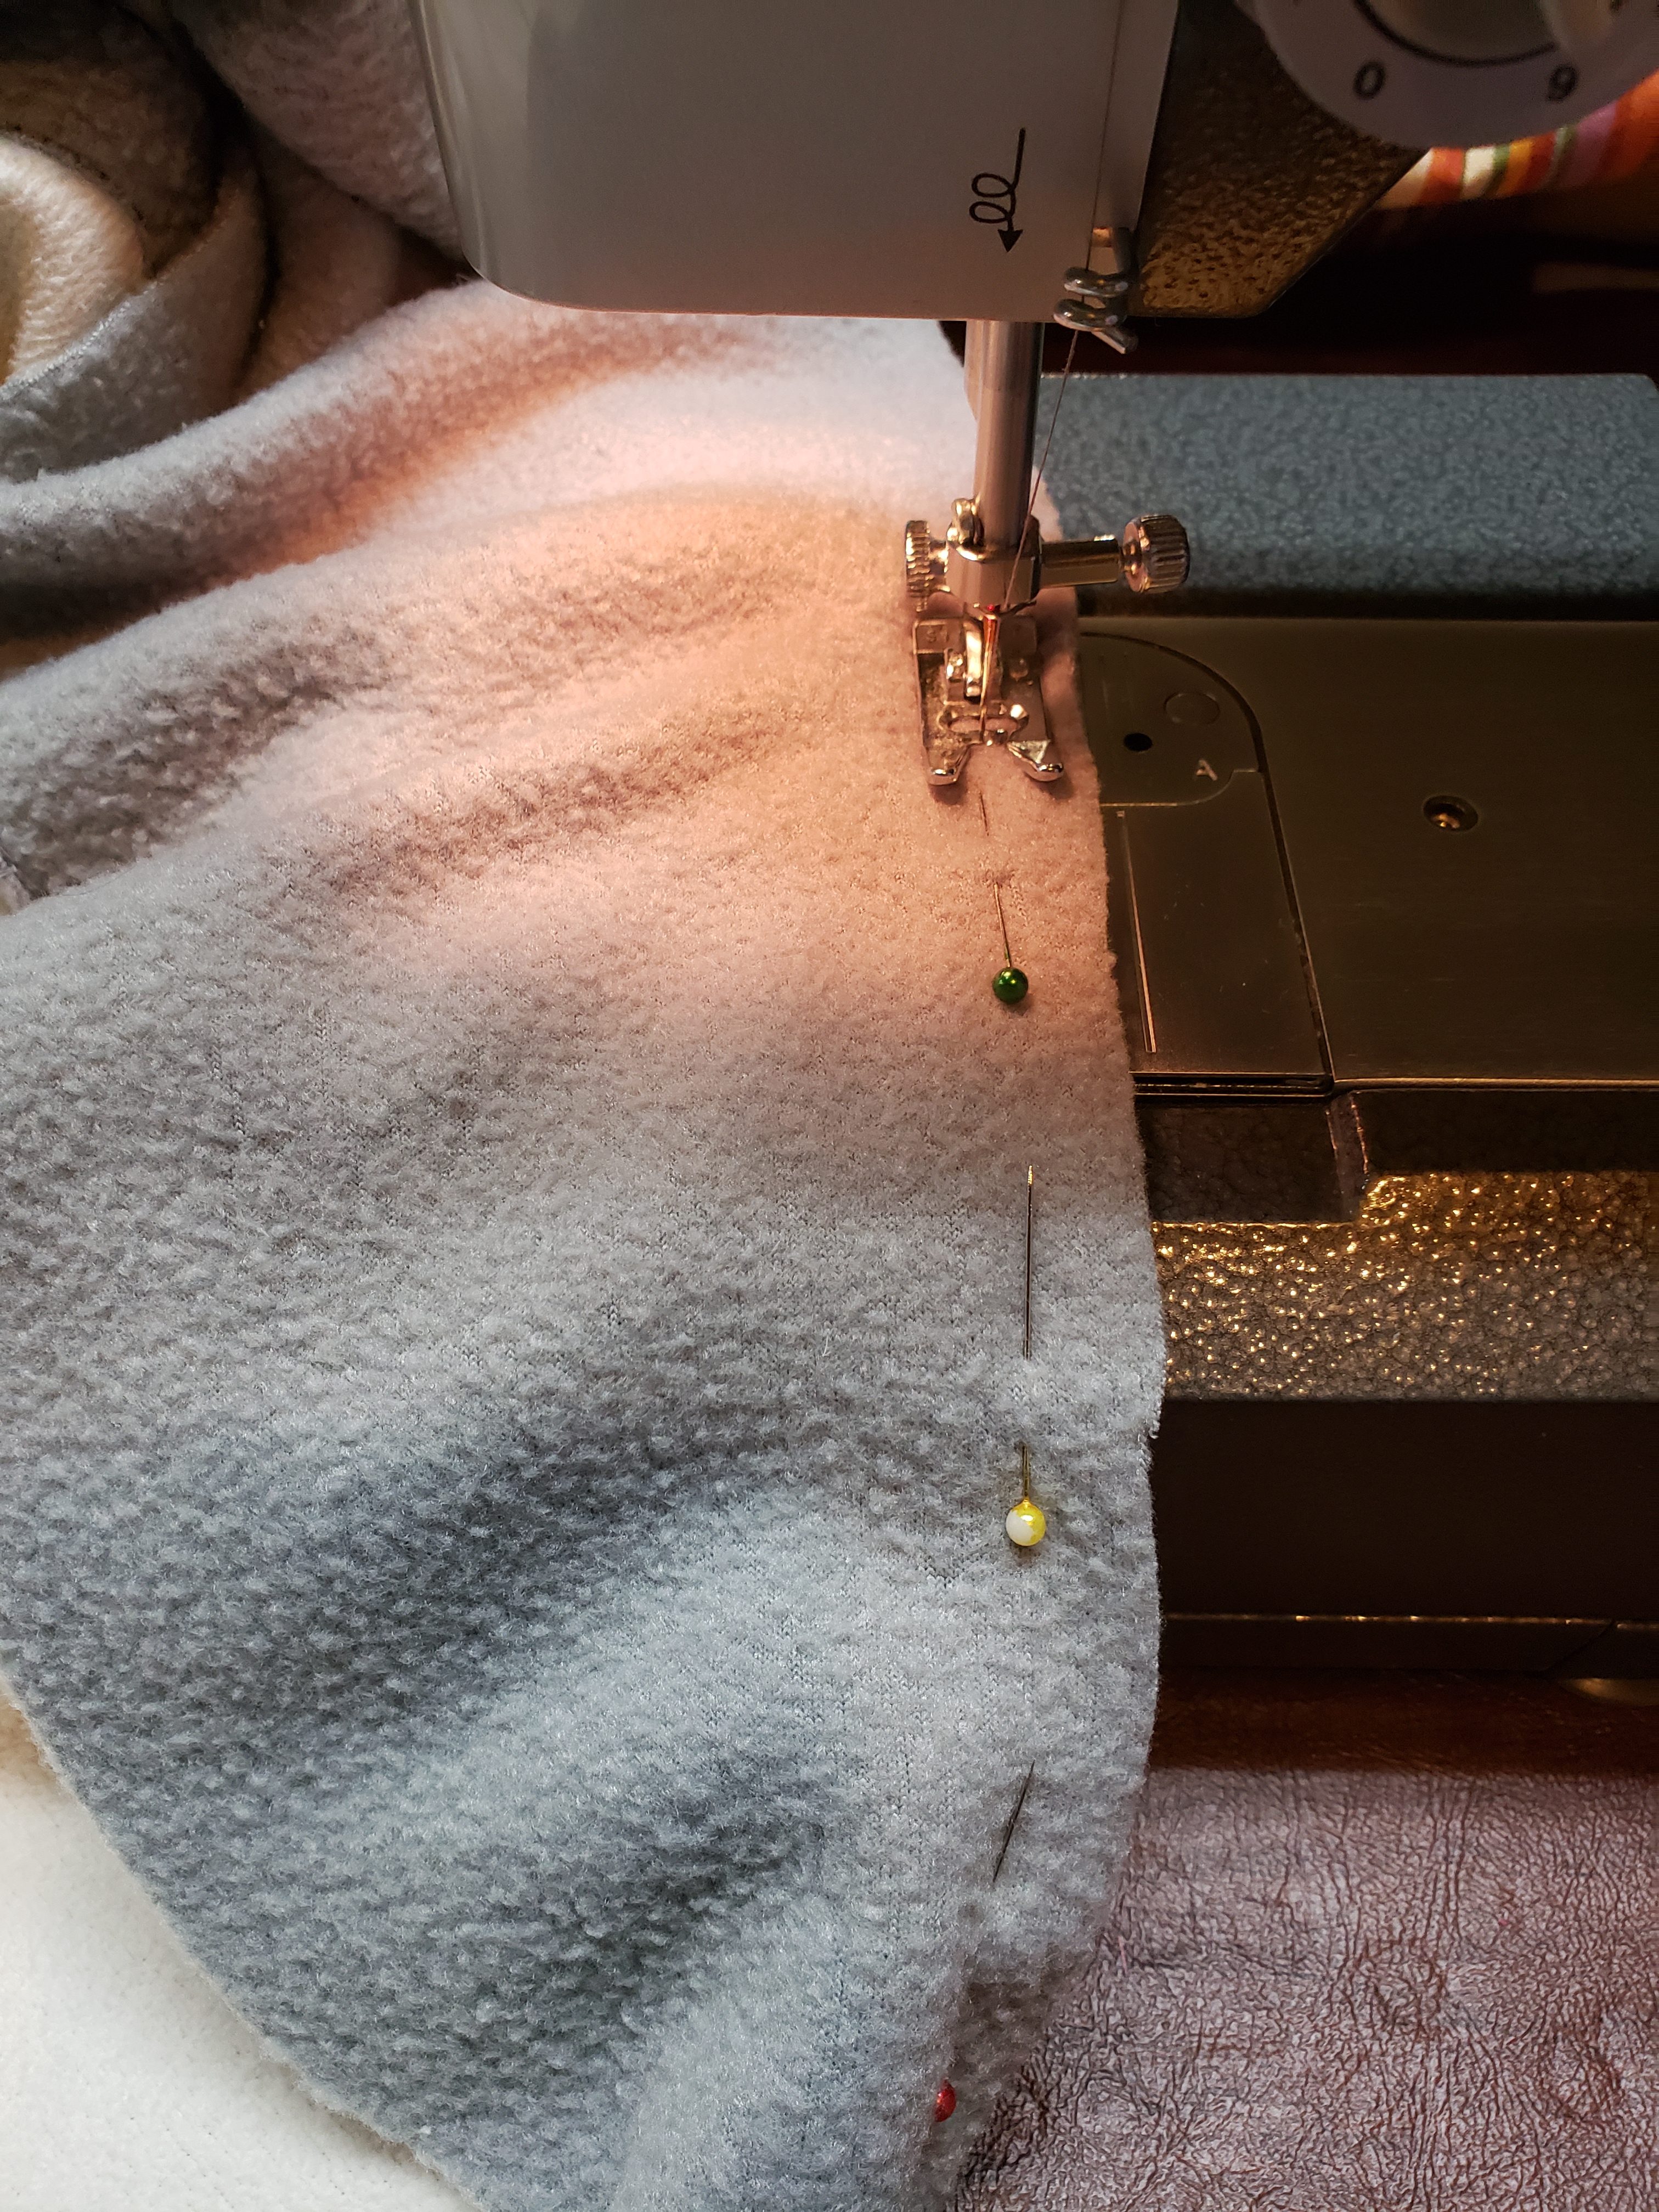
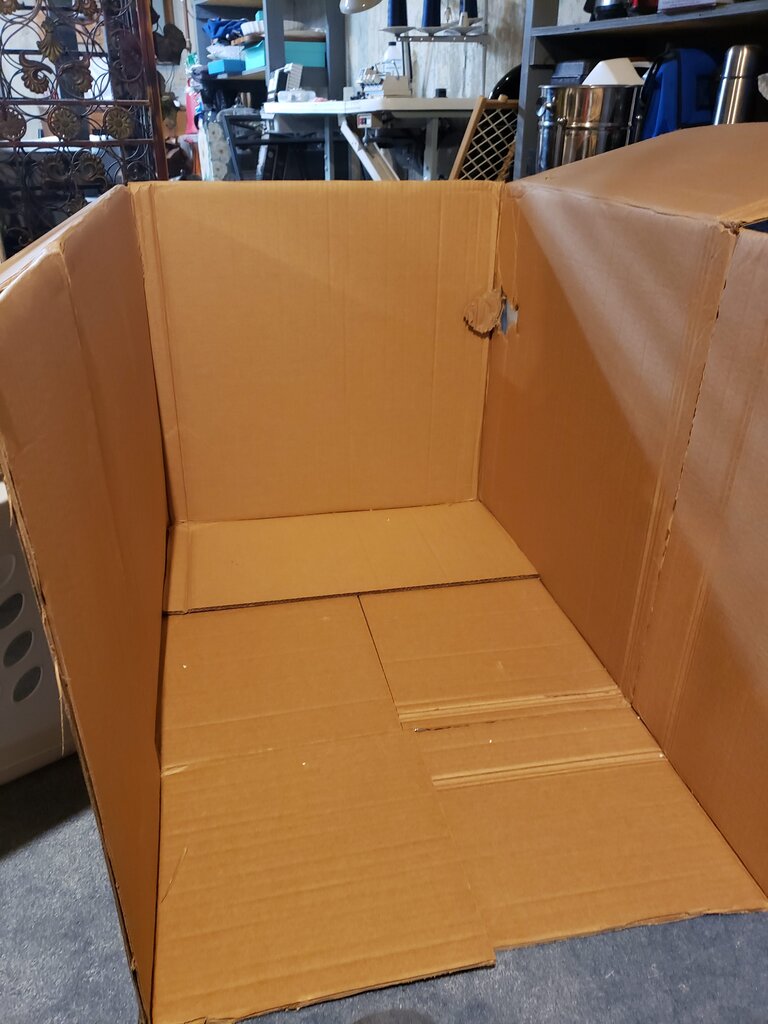
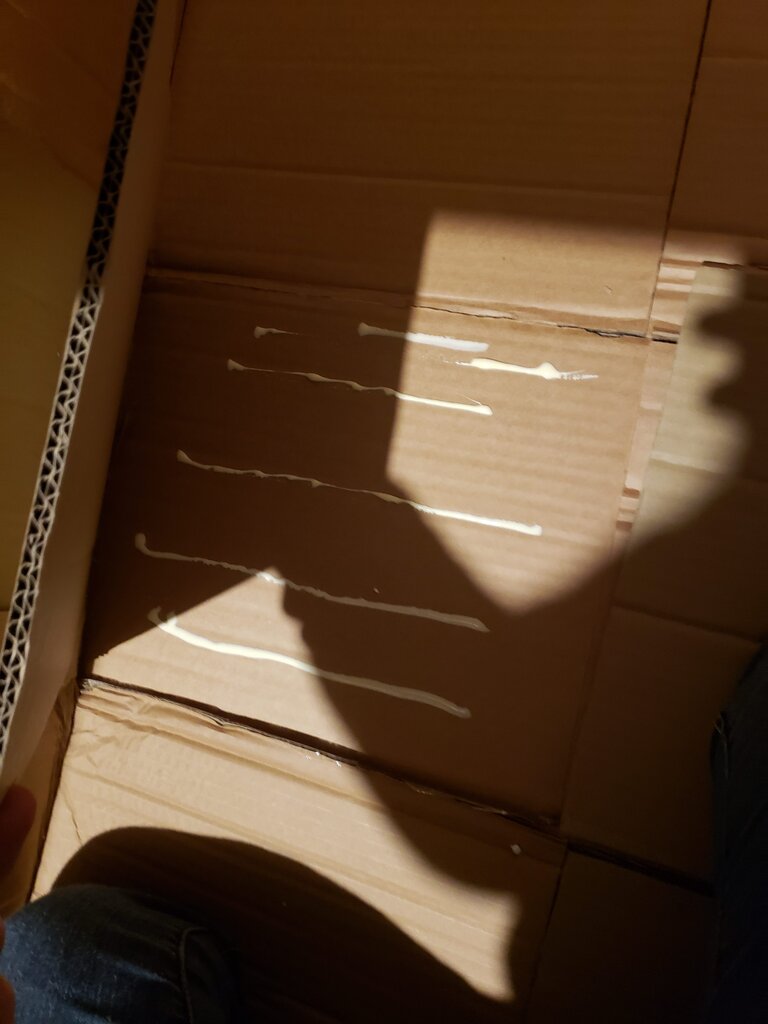
In the story, Catbus helps Satsuki find her sister Mei when she goes missing. While the Catbus is normally covered in fur inside and out I made the Catbus entirely out of recycled boxes. This took me the longest time to make, since I worked on it for a solid week while I was sick with pneumonia (before I actually knew I had pneumonia). I was so exhausted that I could only work on it for about 30 minutes at a time before I’d have to take a nap again. Somehow I finished it before the party. I’ll post the how-to in a later blog entry.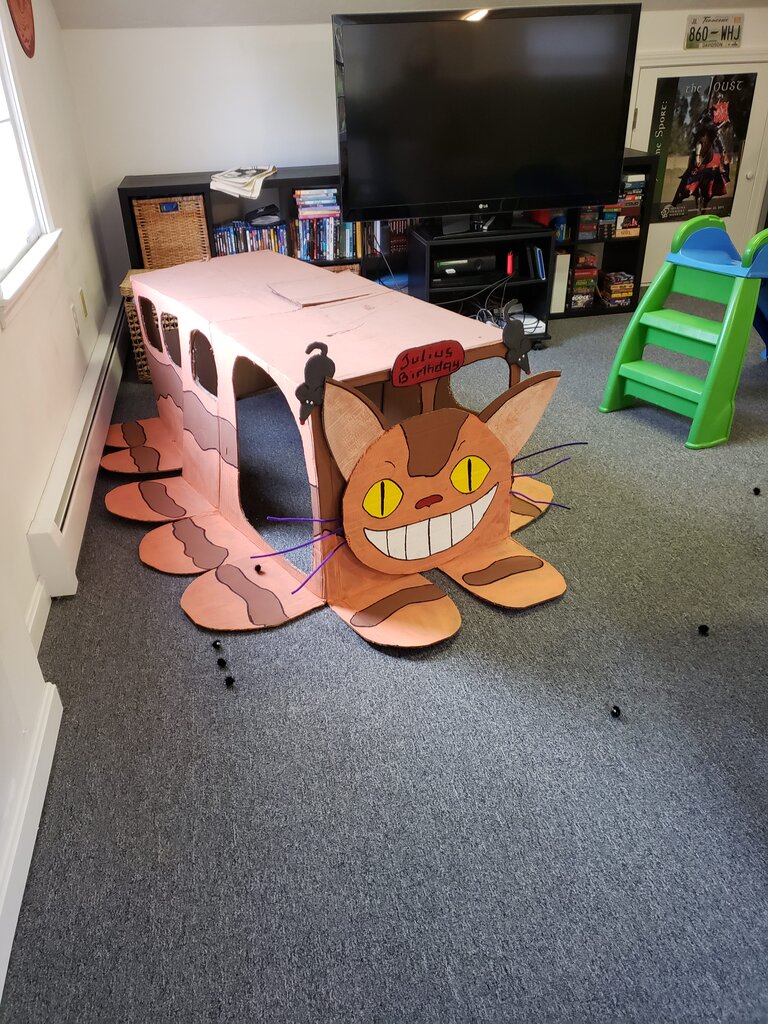
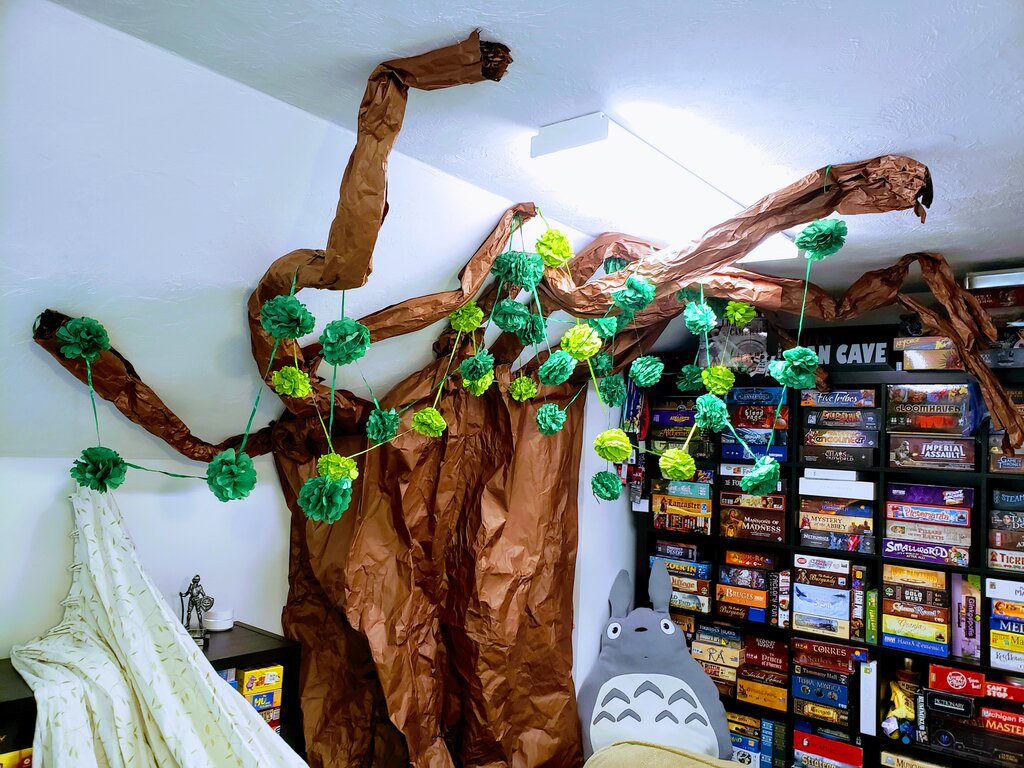
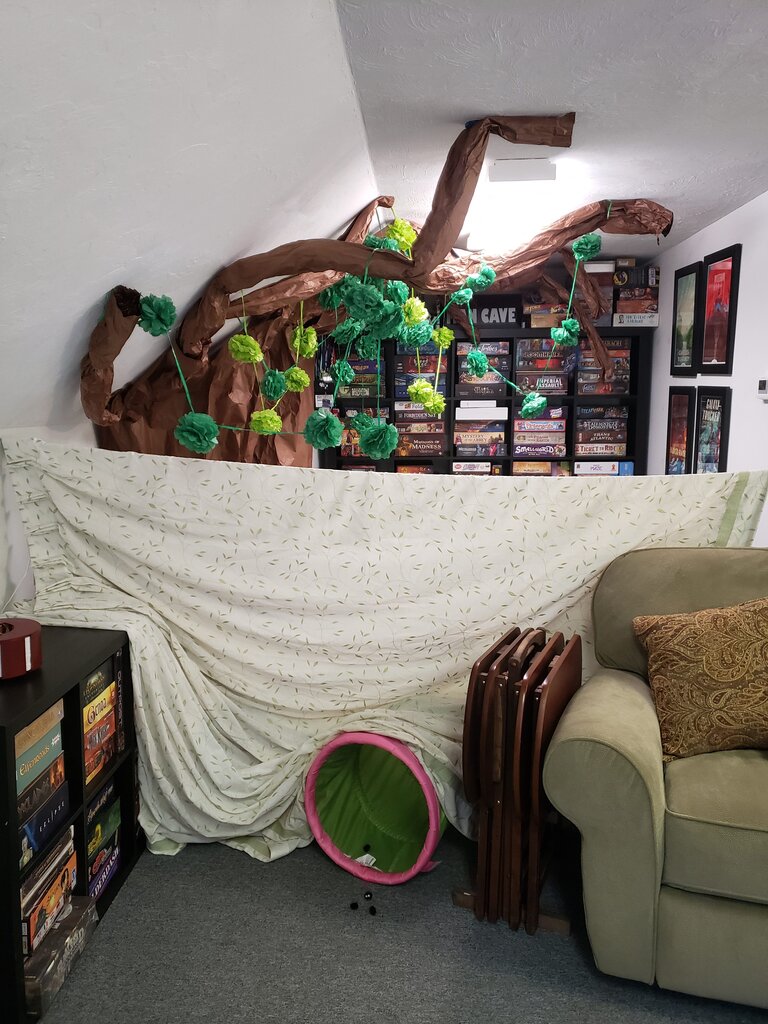
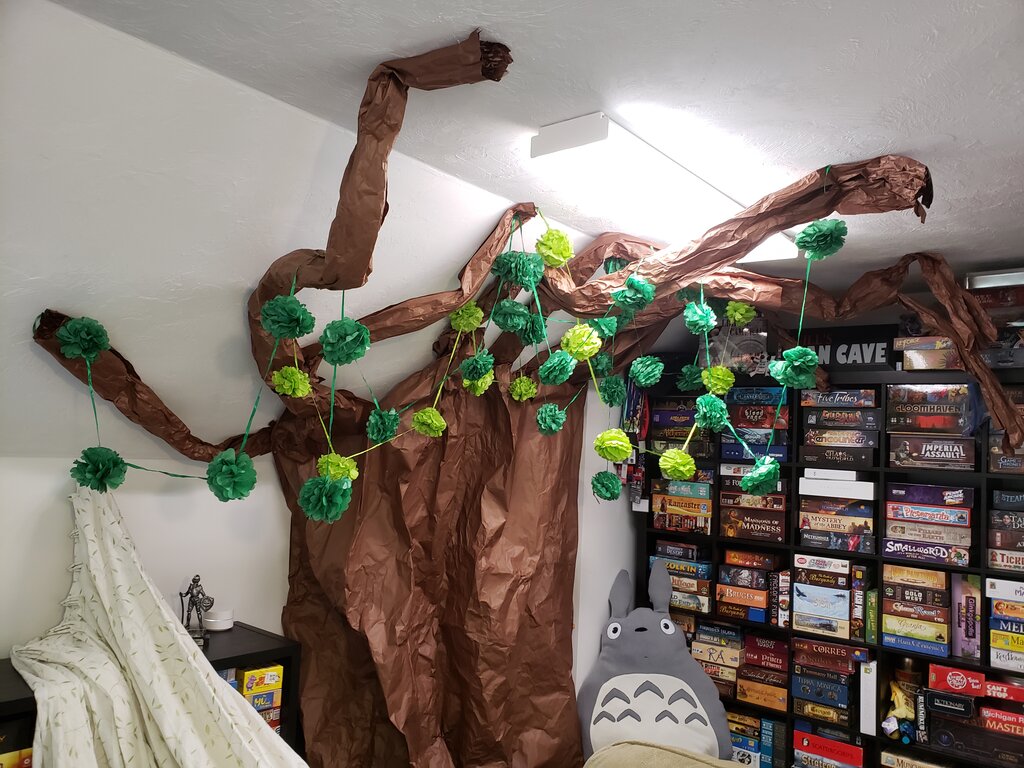
The Big Camphor Tree
My friend Ibis had the great idea to do a giant spooky tree in our office cafeteria as part of the Halloween decorations this year, so when we took it down I recycled the paper into a giant camphor tree. While the Halloween tree was barren of leaves, I got a couple packages of green paper garlands from the Dollar Tree to make our camphor tree lush and verdant! I used blue tape and push pins to adhere the tree and branches to the walls and ceiling.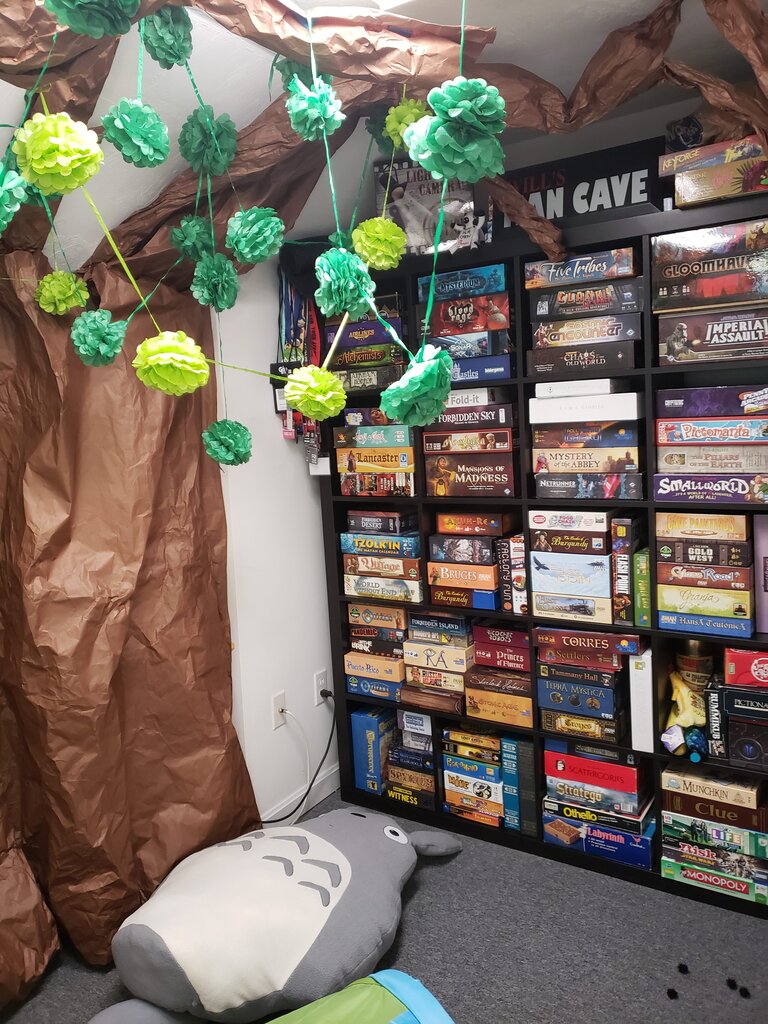
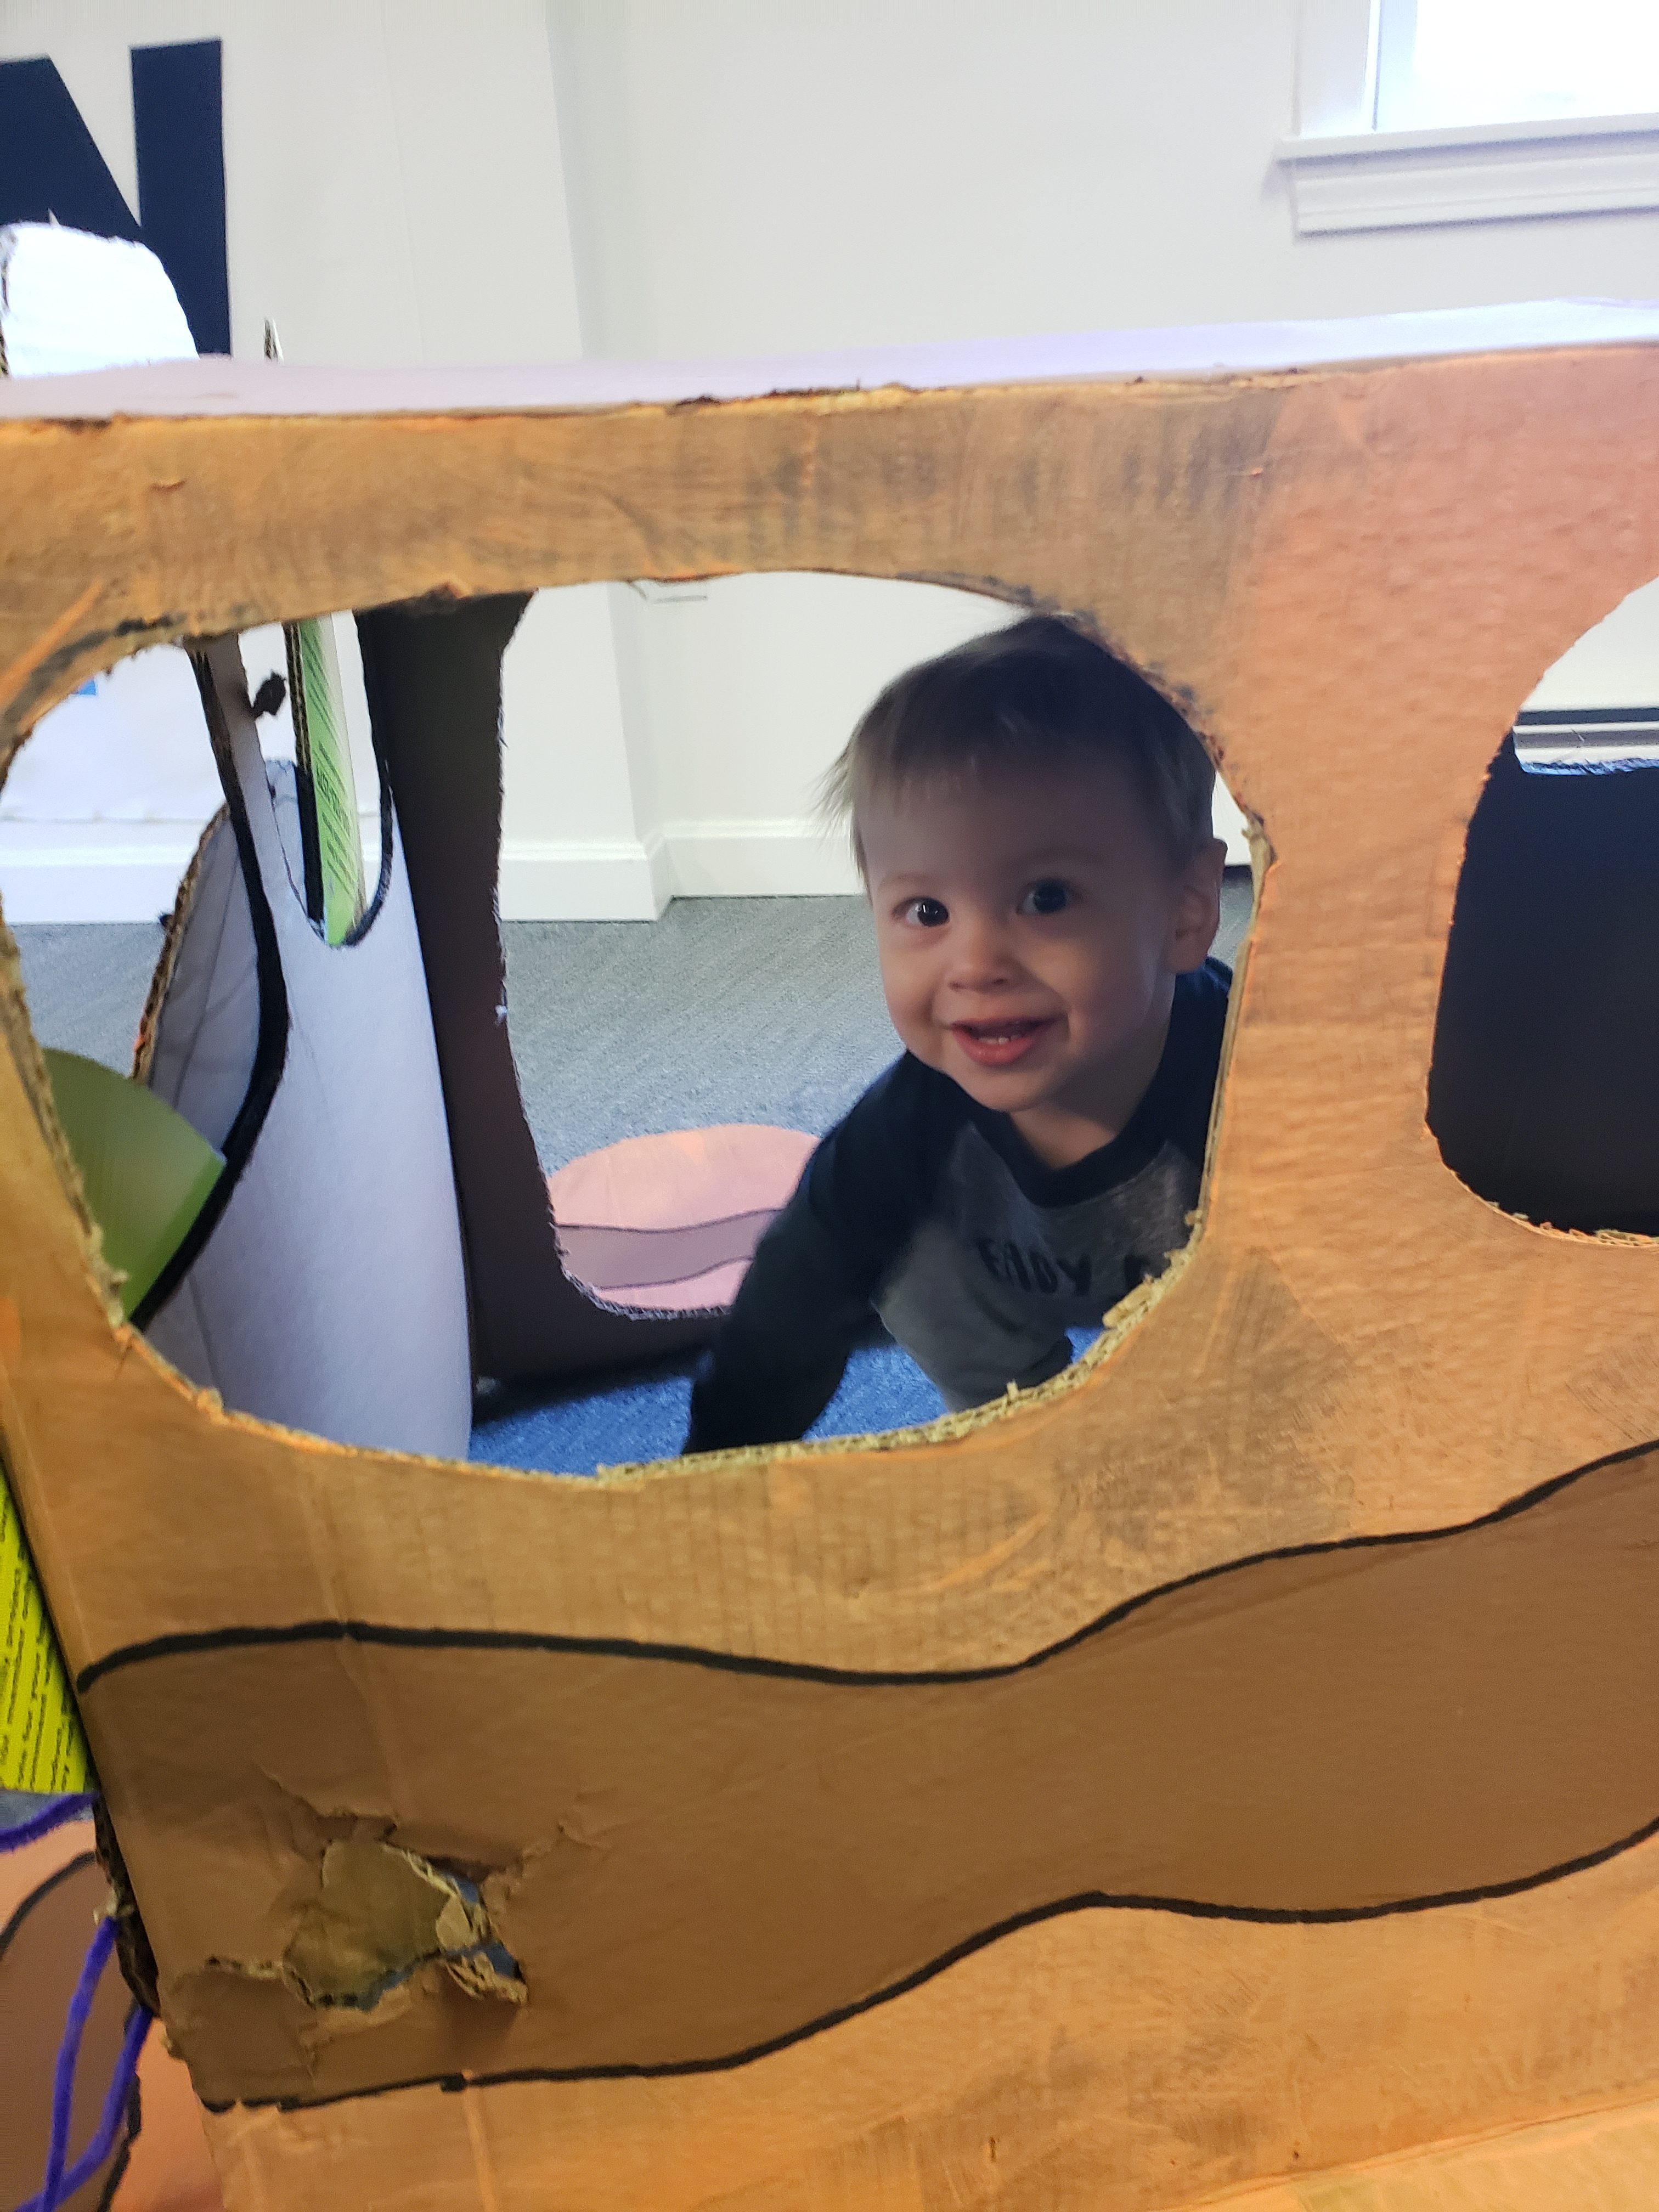
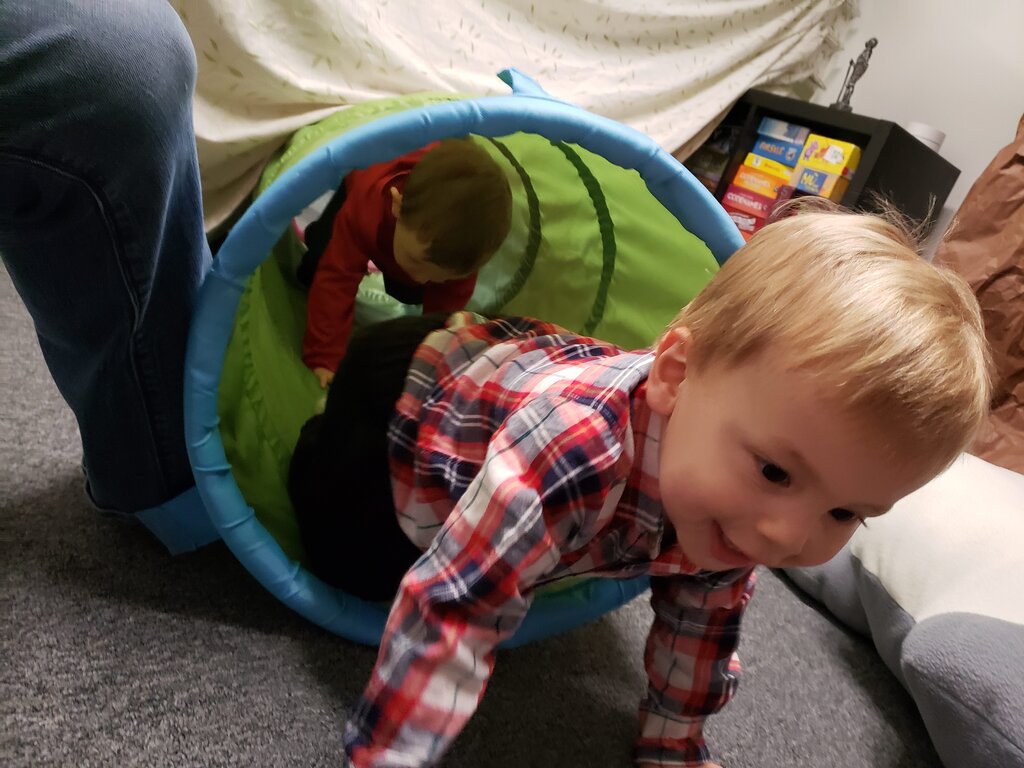
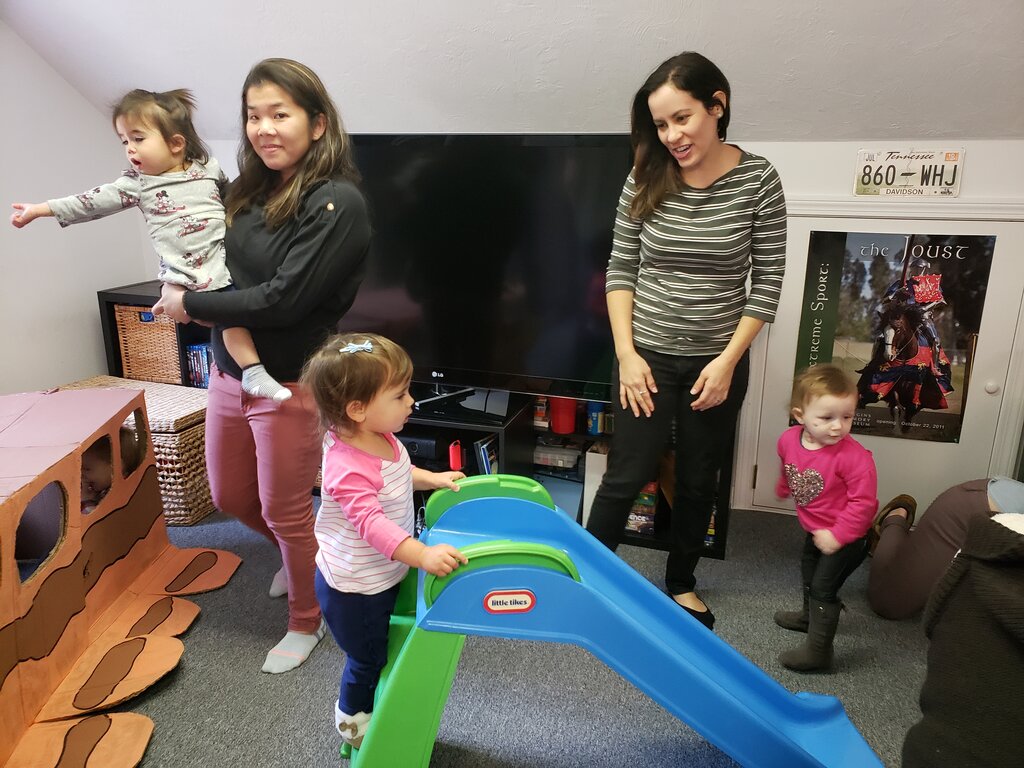
Hidden Path to Totoro
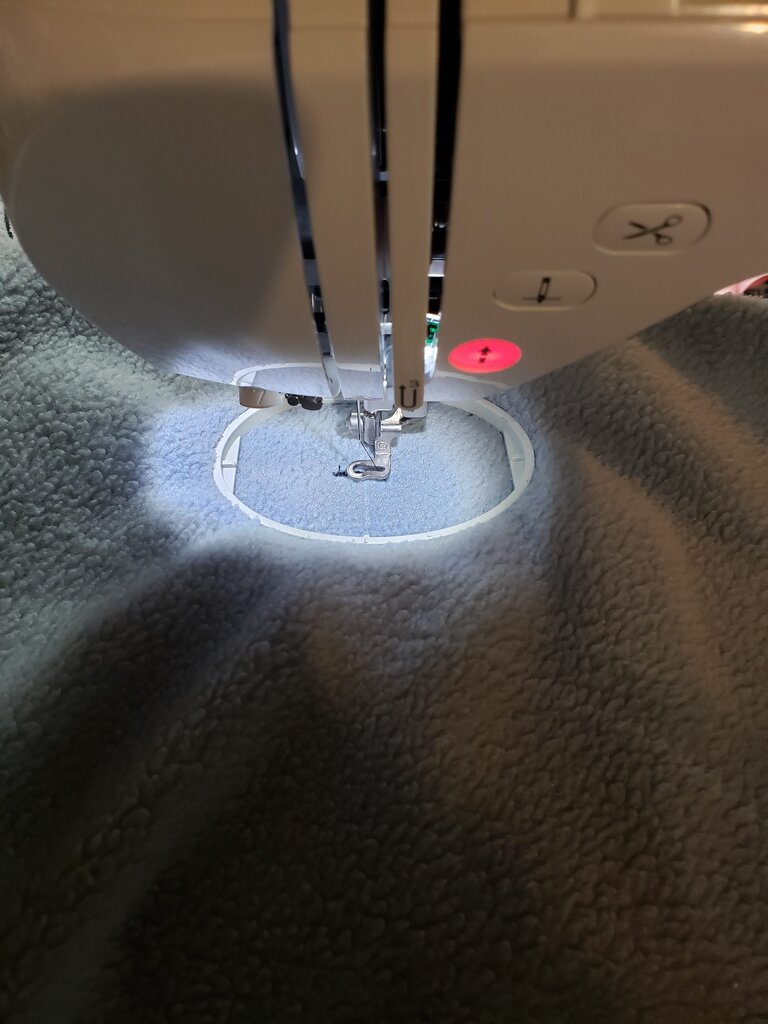
Of course Totoro could be found hidden under the big camphor tree, just like in the movie, so I made a little path from the Catbus to the Camphor Tree which included a slide and a tunnel. To make it a bit less obvious what was under the tree, I used two adhesive Command hooks with a clothesline hung between them, then draped over an old curtain with leaves on it from Will’s grandmother. I already had an Ikea play tunnel that I used underneath the curtain, so the kids could climb into the area with Totoro under the camphor. Most kids were too nervous to see what was on the other side of the tunnel so I had to shimmy through myself first (going to have to lose some weight next time) and Julius followed right after.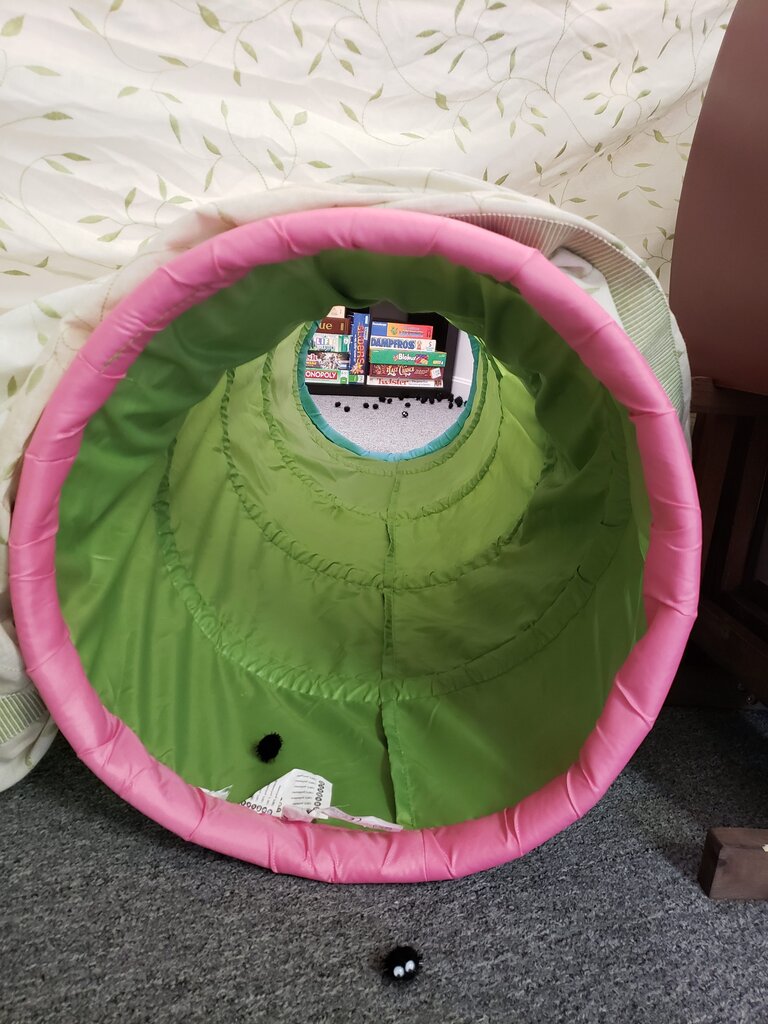
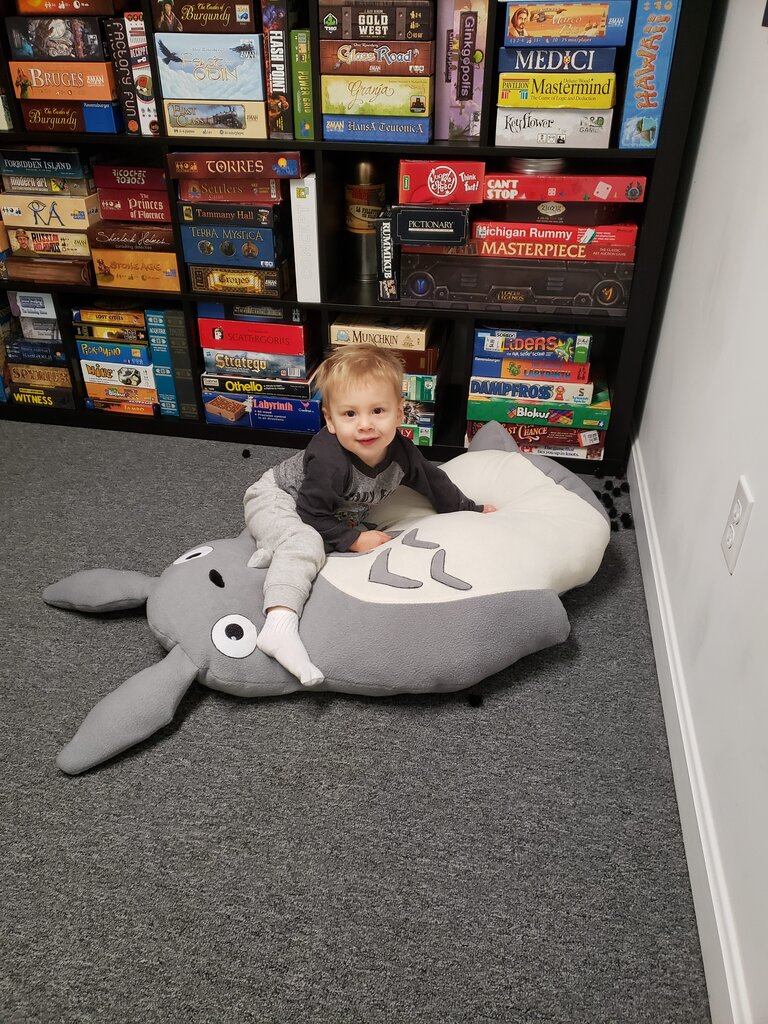
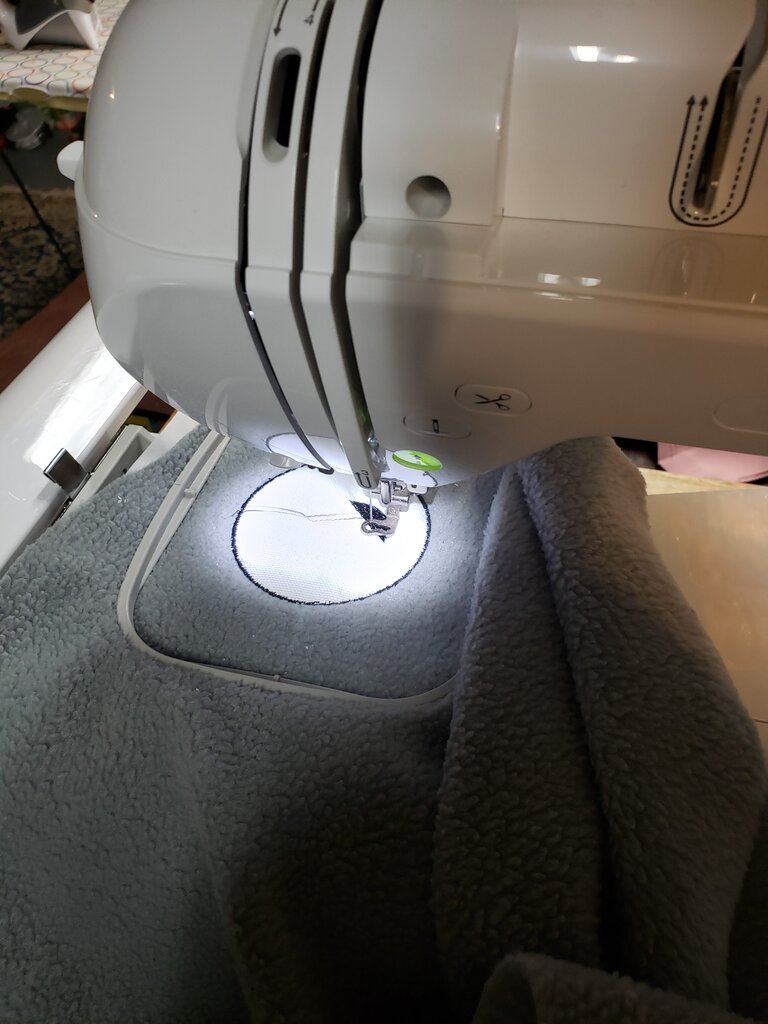
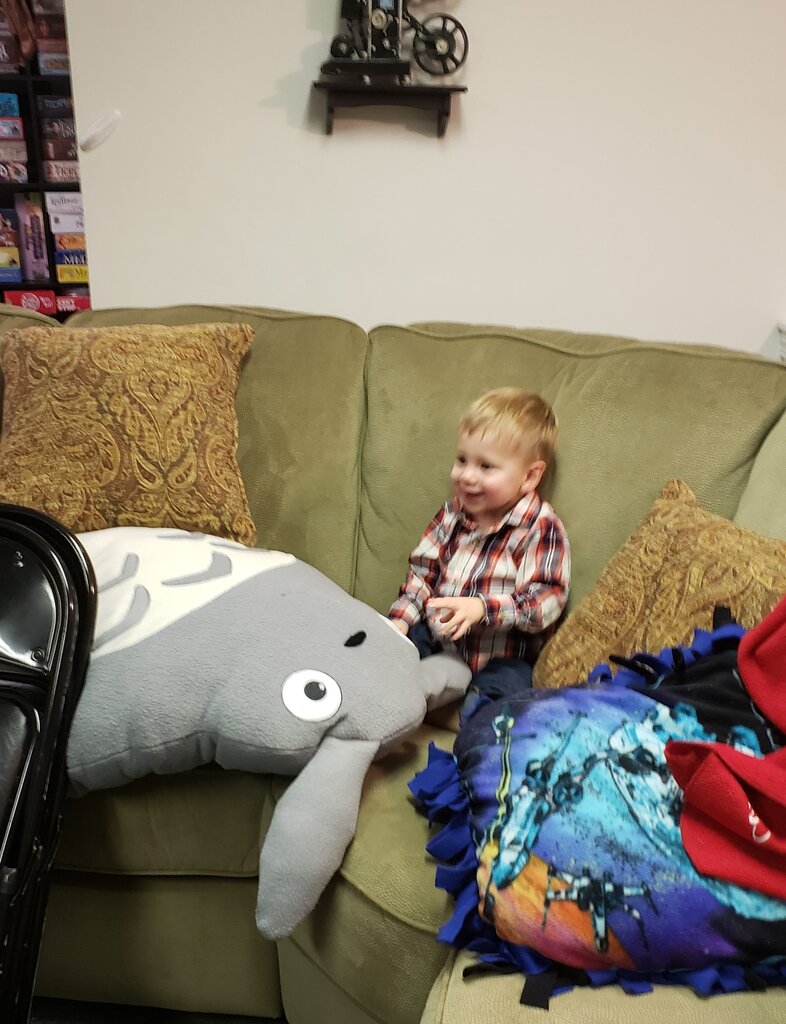
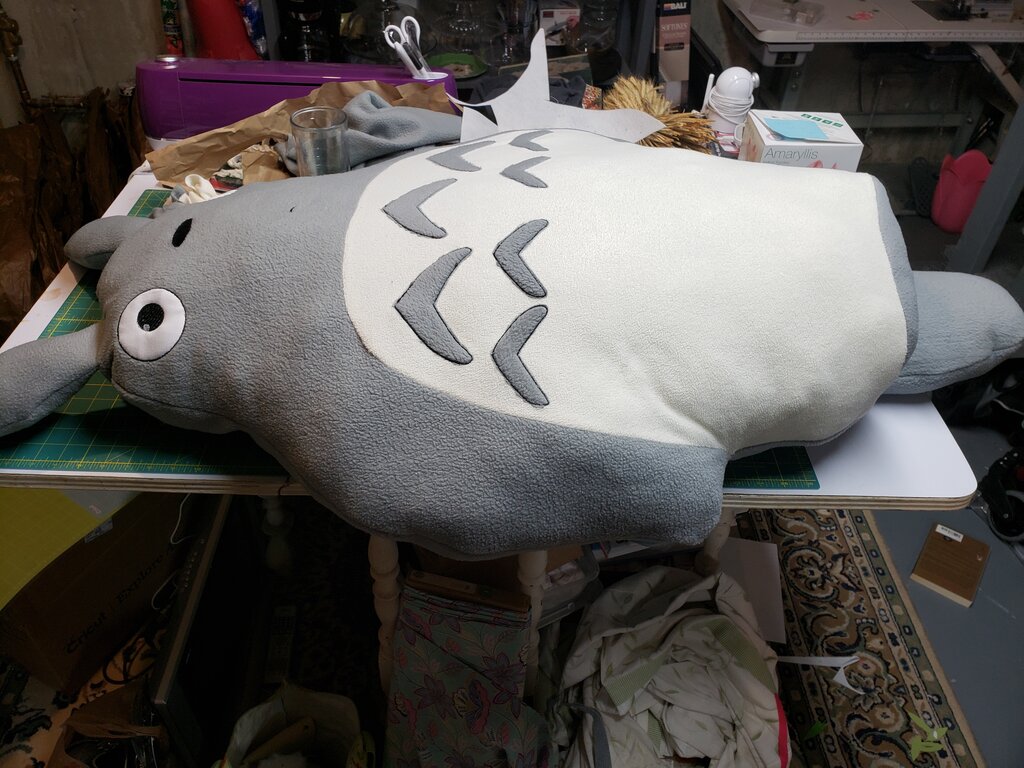
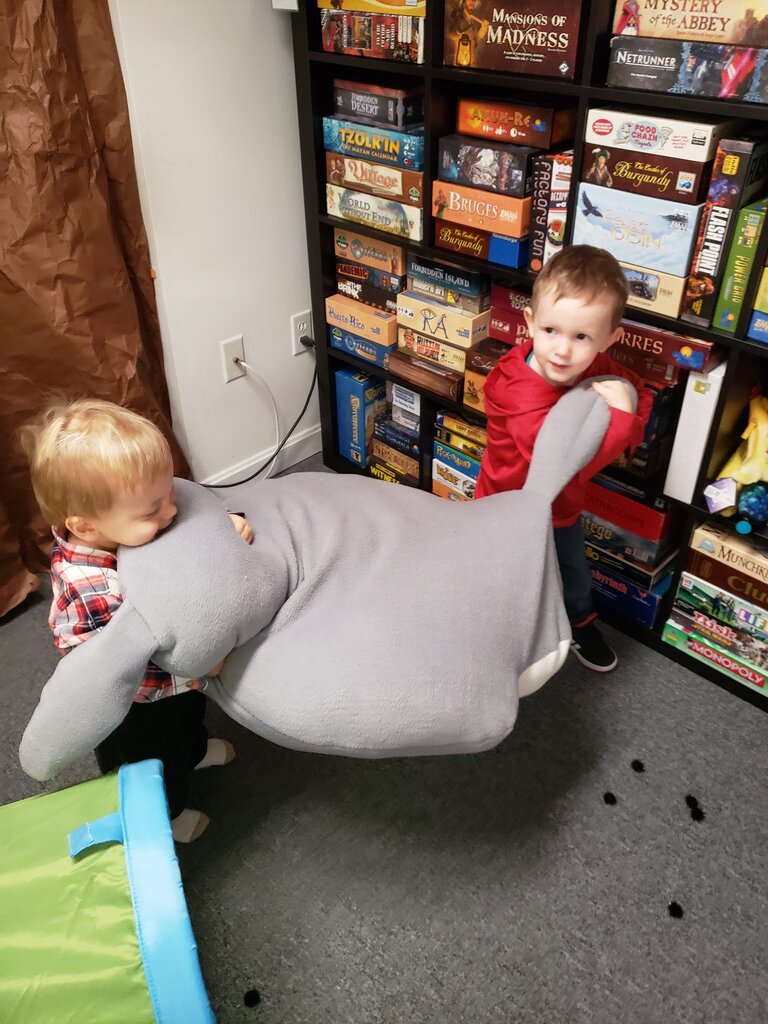
Big Totoro
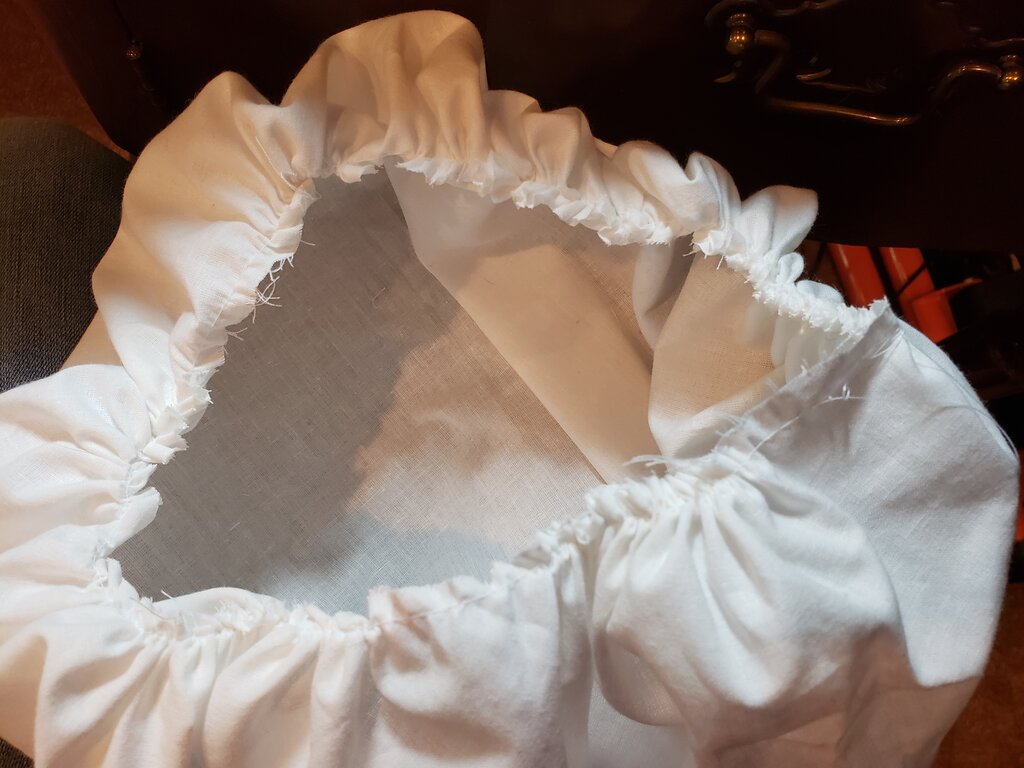
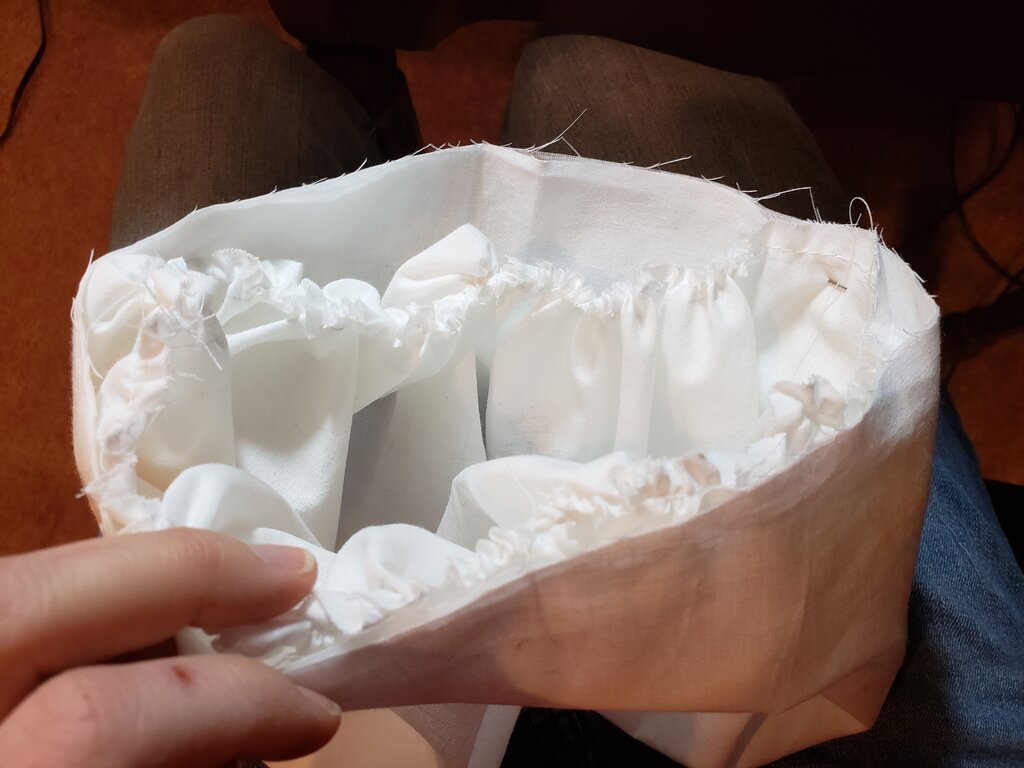
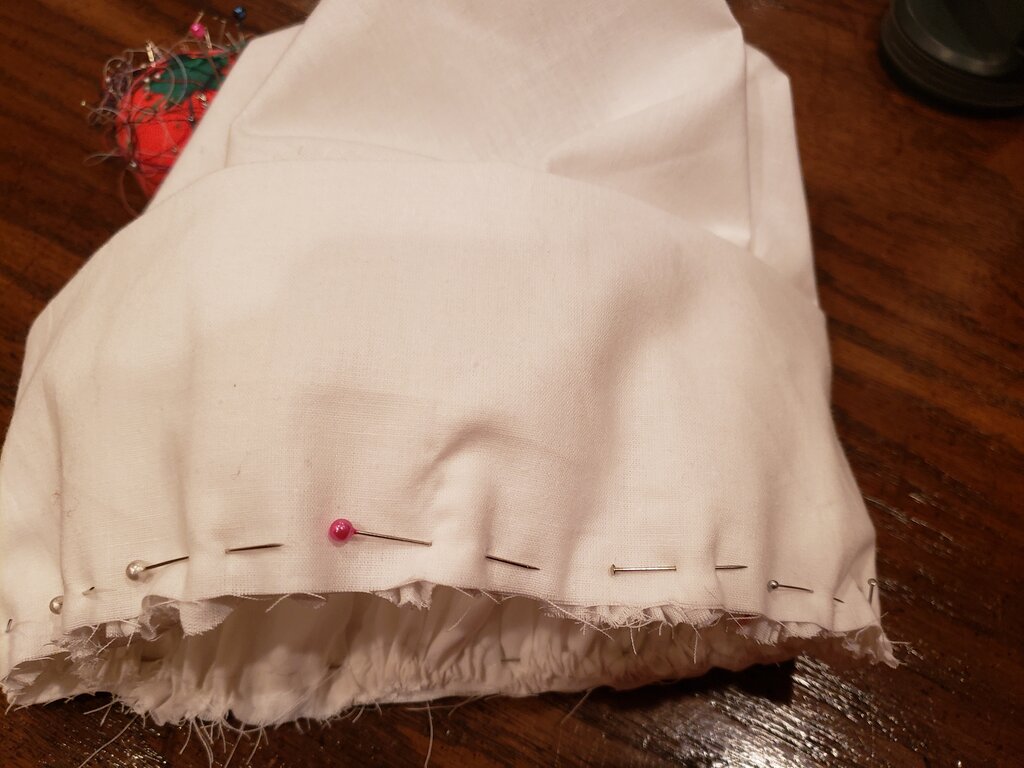
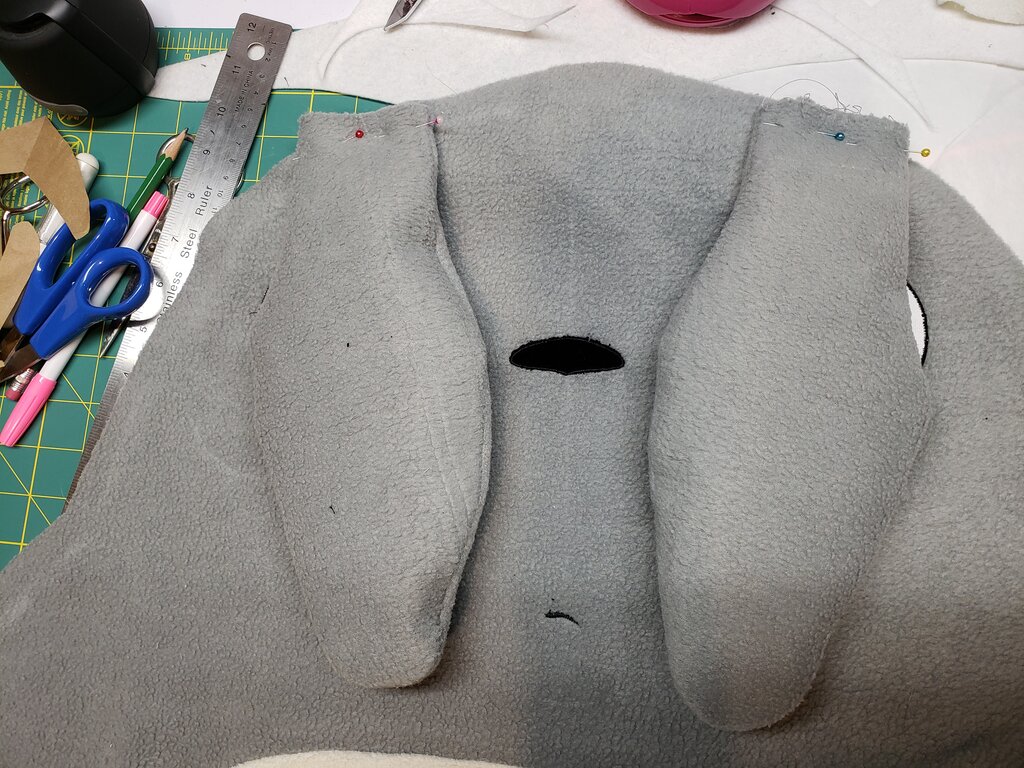
I don’t think you can have a Totoro party without Totoro. Totoro was waiting for the kids on the other side of the tunnel! I’ll put up another post with instructions on making this big guy, but I made him from old blankets I bought at Savers so he was very inexpensive, even with the cost of 5 pounds of fiberfill. I intended to stuff him with packing peanuts, but (maybe this is a good thing) I wasn’t able to find anyone online getting rid of large quantities of peanuts. Julius was very happy and huggy when he saw Totoro, so I’d say the hunt for Totoro was a huge success!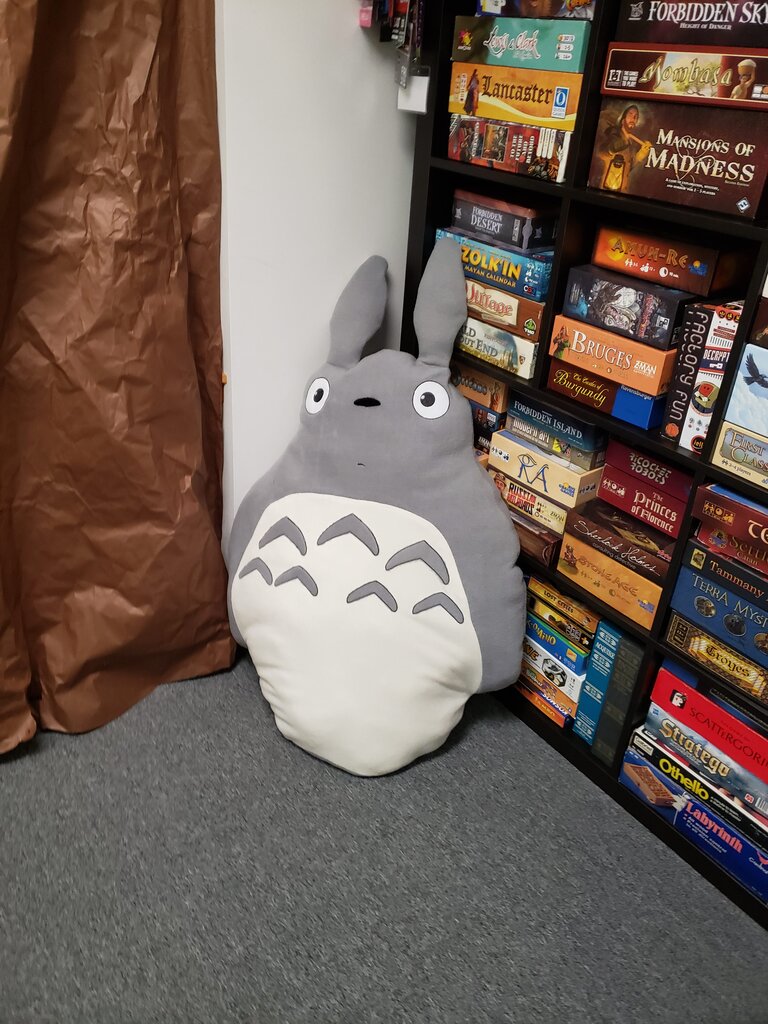
Food
Menu
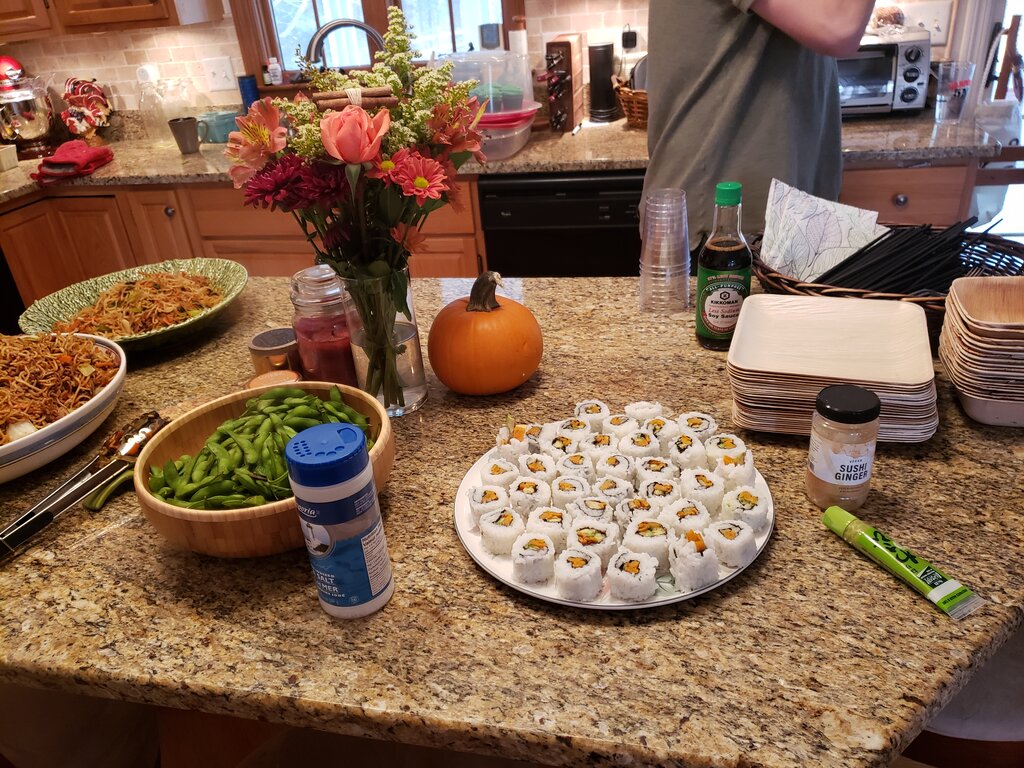
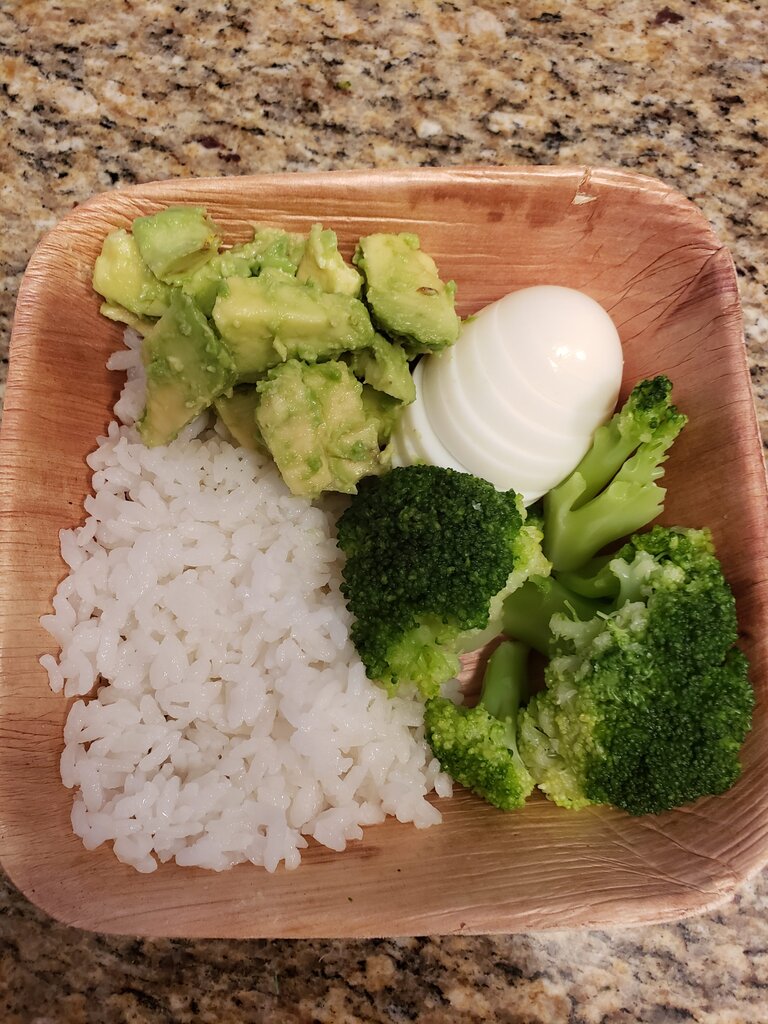
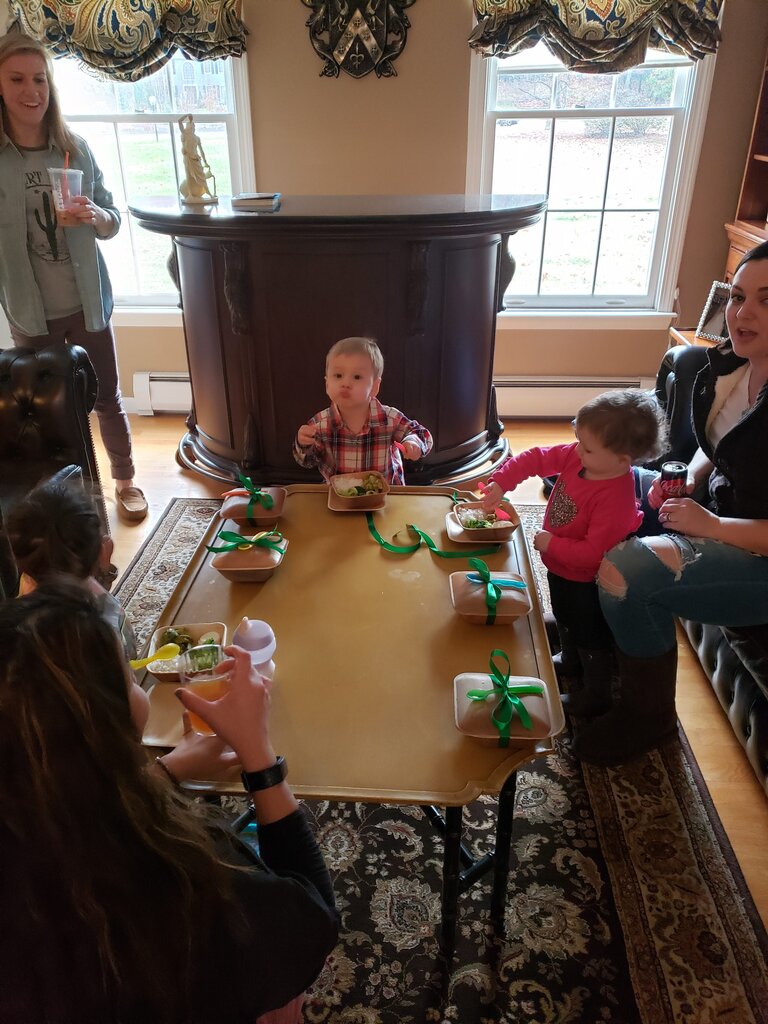
After the Totoro hunt, everyone was hungry for lunch. For the kiddoes I prepared Bento Boxes with Julius’ favorites ingredients. These were prepped right before the party started, and were kept chilled on the porch (it was nearly freezing that day hence why we couldn’t have the party outside). The bento boxes were made from a 5.5″ square palm leaf bowl, and a 6″ square palm leaf plate “cover” held on with a green ribbon. They looked really cute and were completely compostable! We served them at a very short sofa table that we moved to the lounge.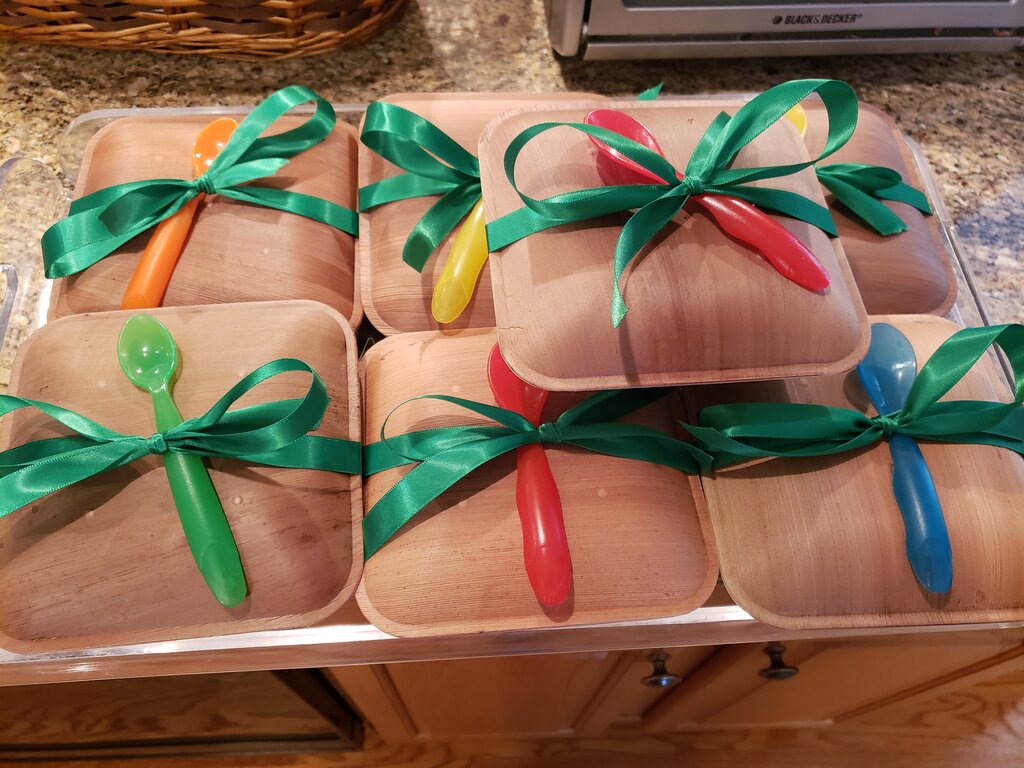
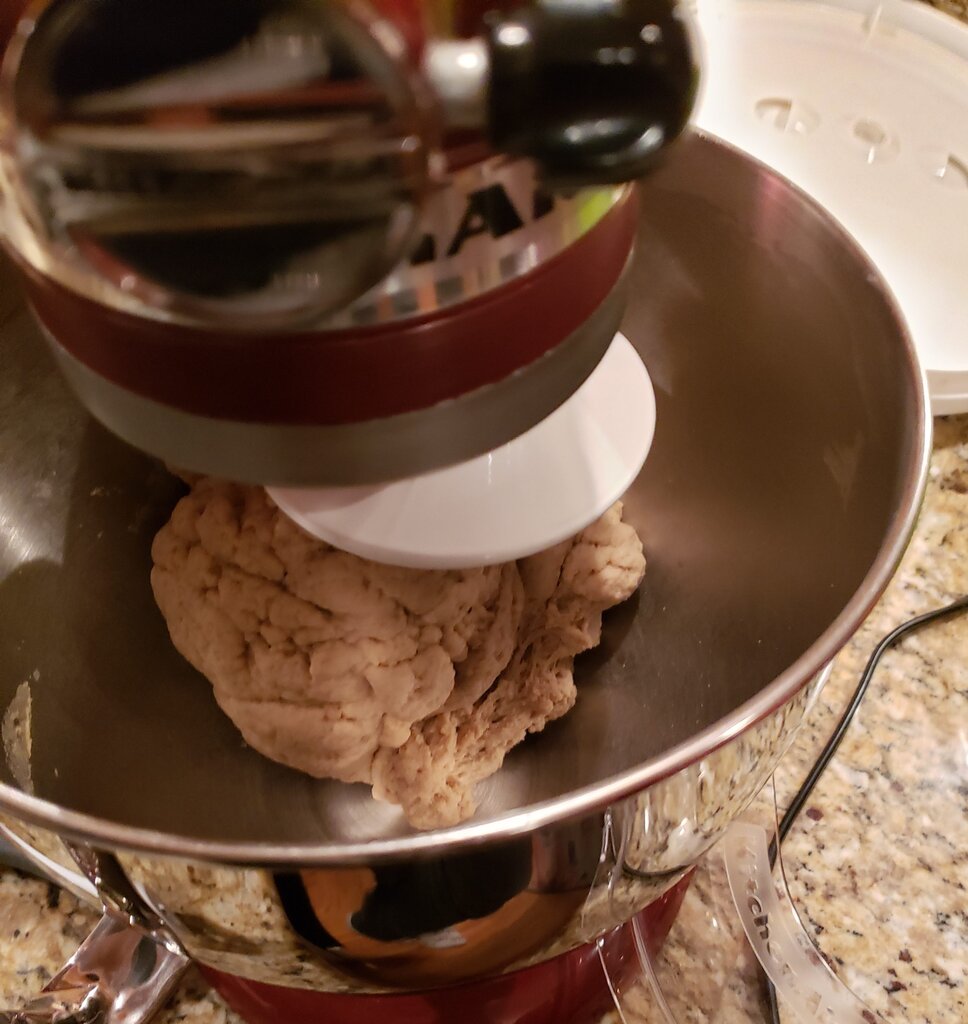
I made a double batch of the sushi the night before and simply served it chilled (I know, I know this is not how sushi is made to be eaten, but I had to entertain toddlers so I couldn’t play sushi chef during the party). In the interest of time I did not tempera the sweet potato and instead roasted it until soft. I served it with wasabi, pickled ginger and soy sauce. It was the first thing that disappeared, so it must have been alright.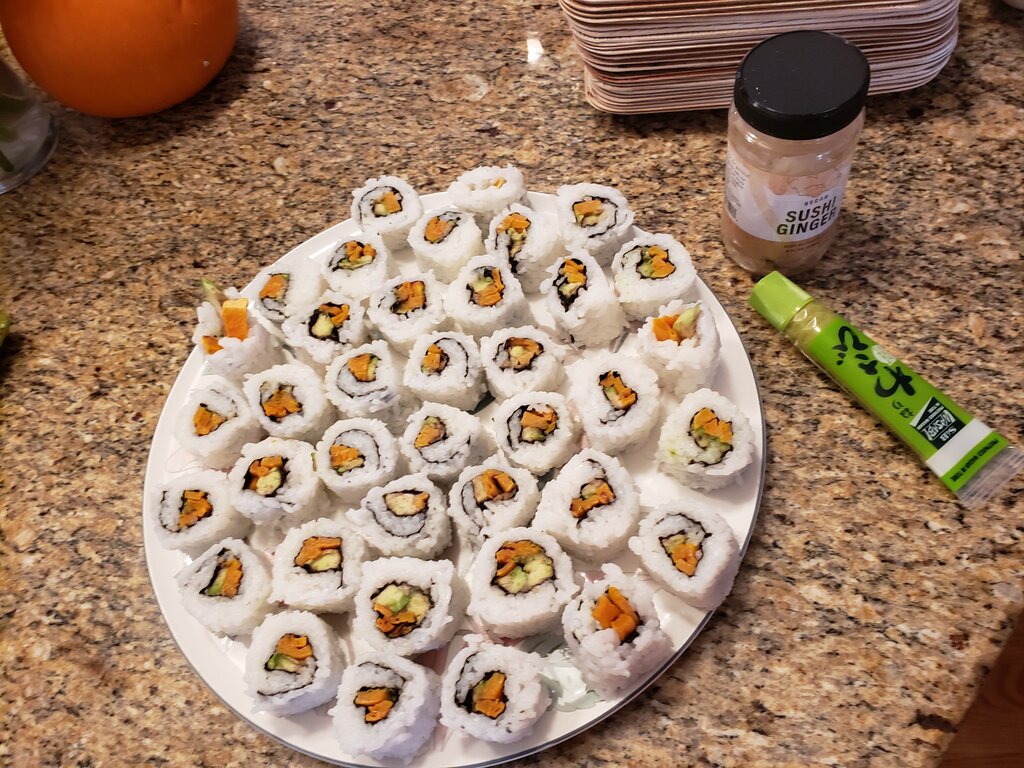
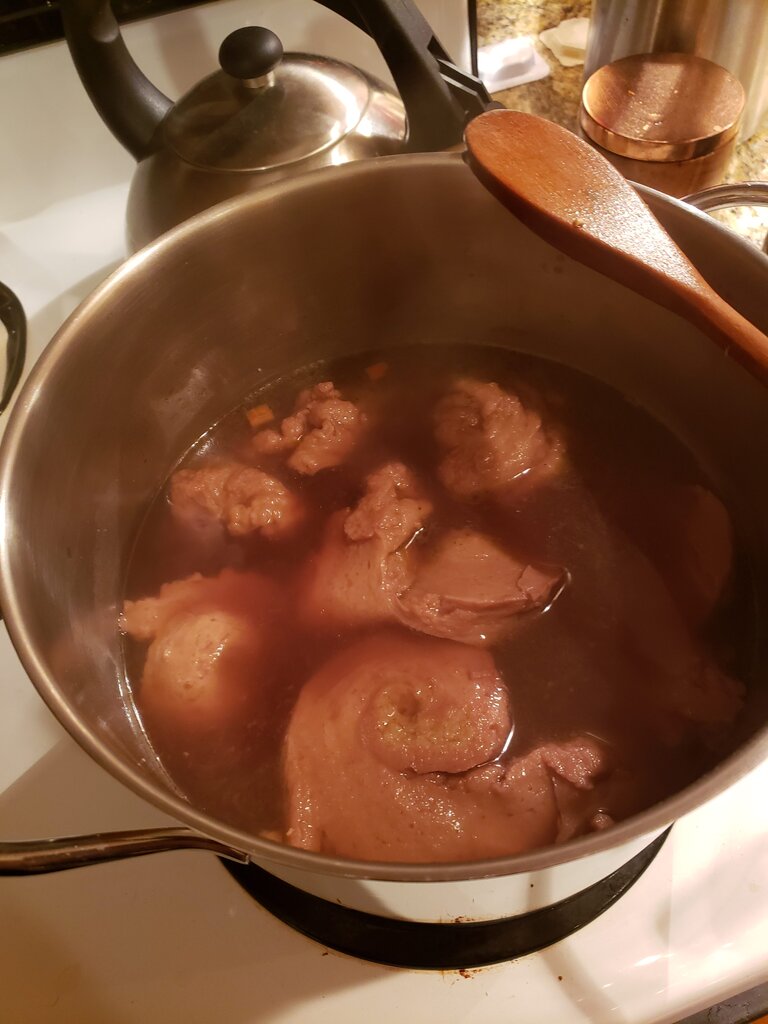
For the Yakisoba I chopped everything in advance the night before (I made a triple recipe, plus a single recipe of the vegetarian version for 15 adults). I also mixed up the Yakisoba sauces and stuck those in the fridge. We had someone allergic to shellfish so in lieu of the oyster sauce I used the website recommendation of substituting “stir fry sauce”. In addition I used ground pork instead of the pork belly since it was easier to find. For the vegetarian version I just omitted the meat, doubled the veggies and stir fried everything in oil instead. For the sauce, I threw together something that tasted more like teriyaki sauce since I omitted the Worcestershire sauce (it contains fish). Before the party I quickly made the Yakisoba, transferred it to their serving dishes (which were oven safe) and held it in the oven on warm (150 degrees F). This worked perfectly. Also – fun fact – I found my Yakisoba noodles at Walmart in the refrigerated (not frozen) section!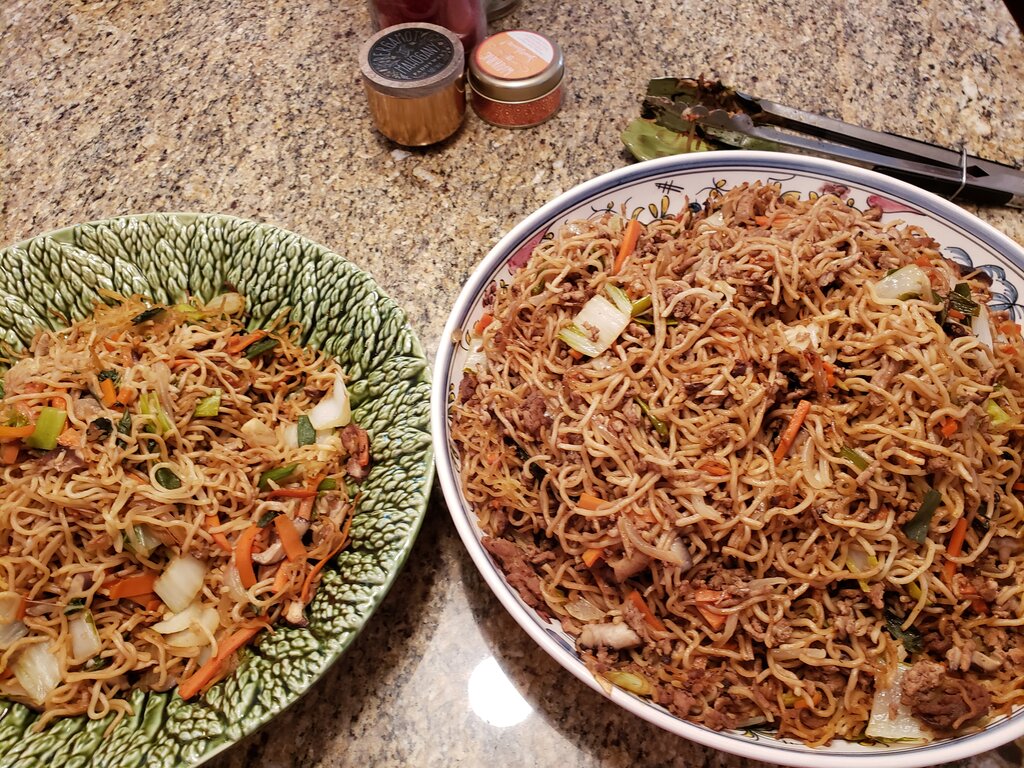
The edamame was purchased frozen at Trader Joes and I steamed it a few minutes before I served everything. I served it with sea salt.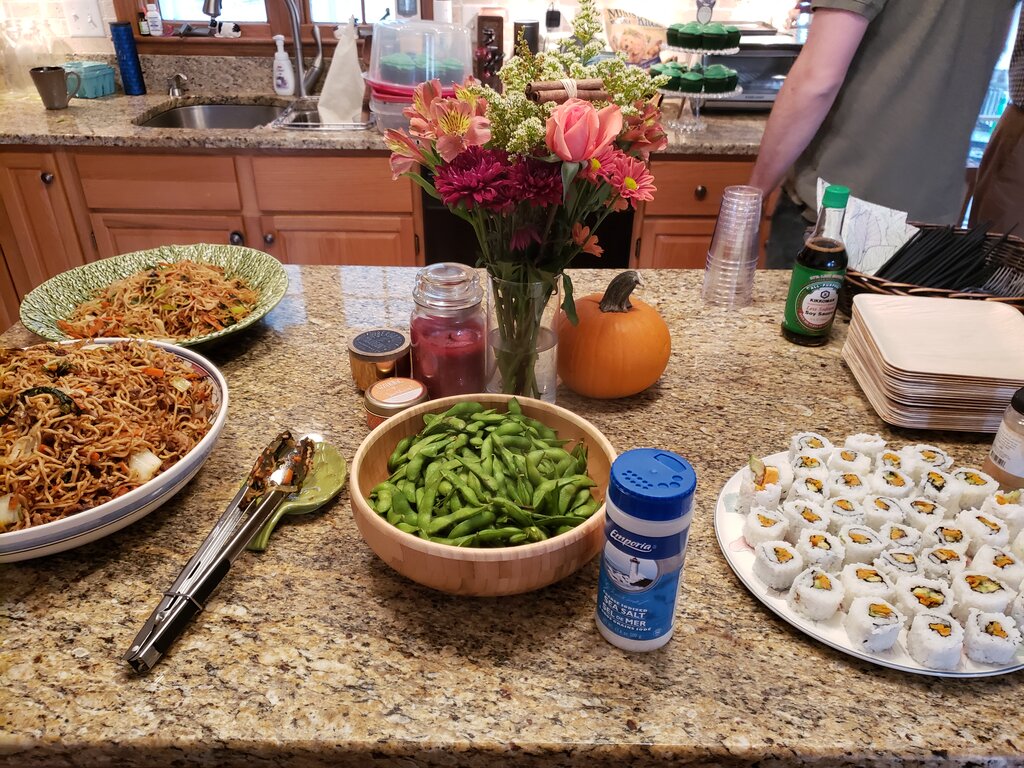
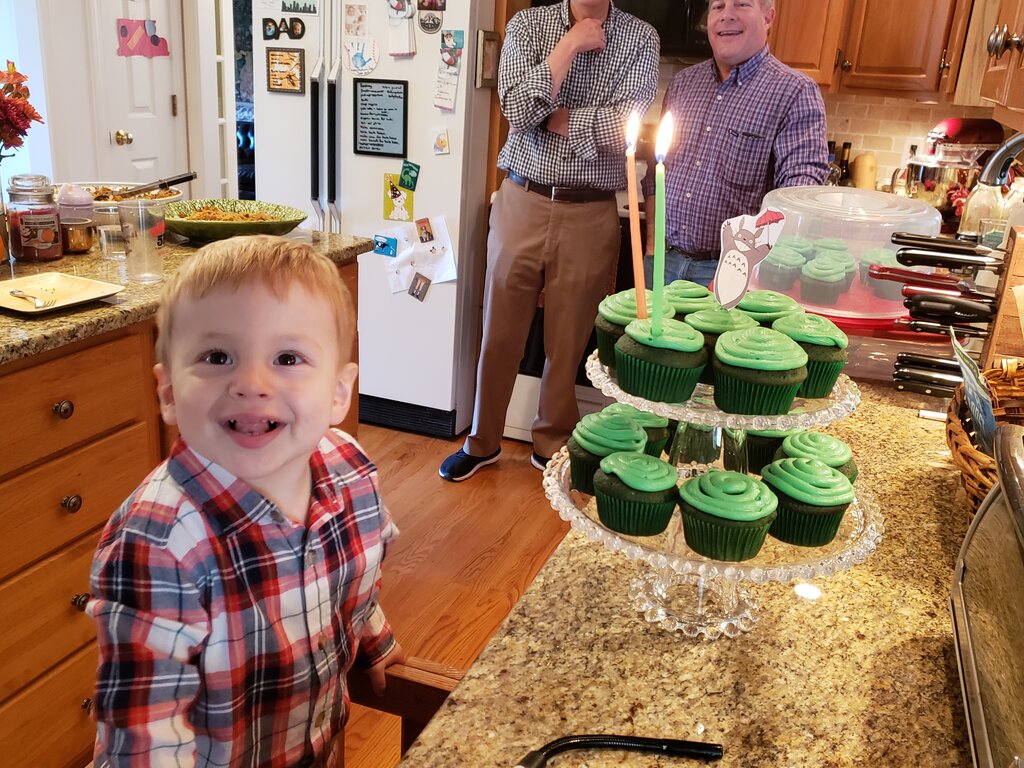
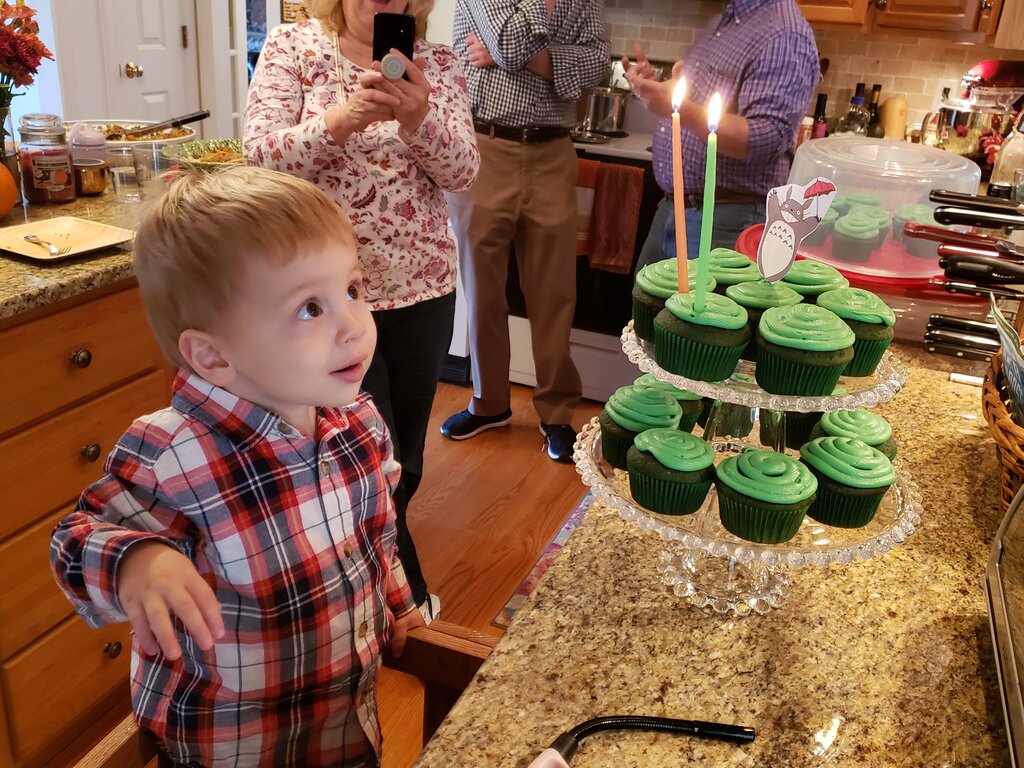
I had big plans to make a Totoro cake but I was so behind after the pneumonia that this got cut. Instead I made green velvet cupcakes with cream cheese frosting. I didn’t even have time to make any cute toppings so Will printed two of my Totoro invites on cardstock (one mirror reversed), cut them out and glued them together with a toothpick sandwiched between. I thought it looked like the big camphor tree if you squinted hard enough.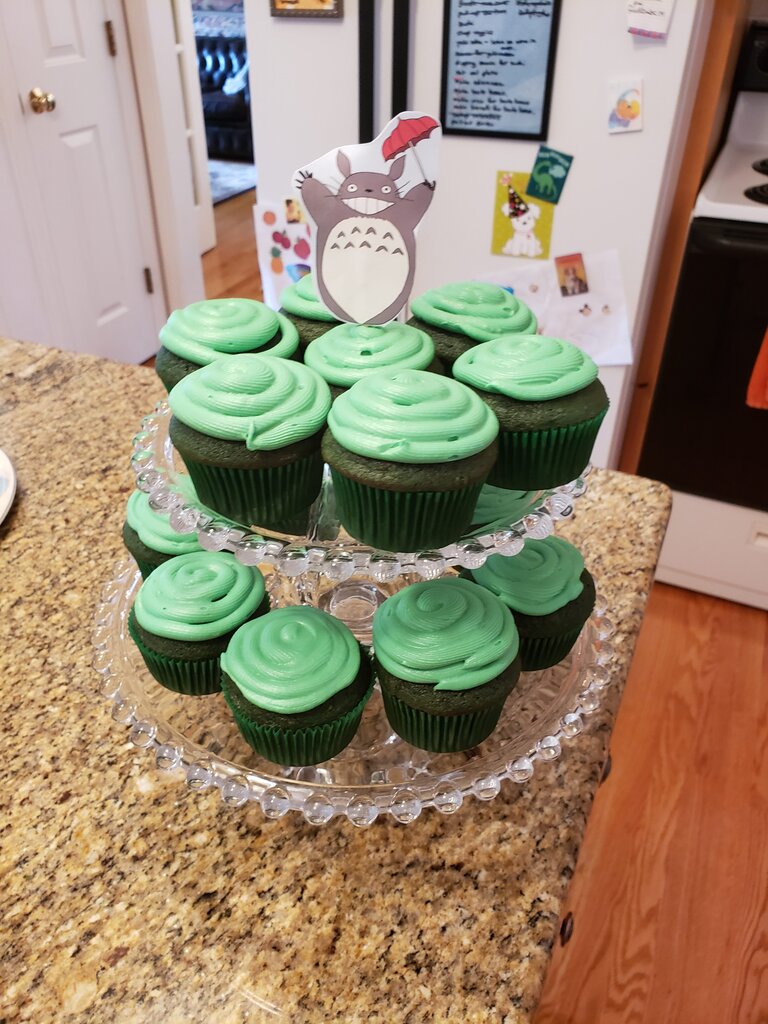

Thank you to my mother and father in law and my parents for helping to clean, set up the party and prep food before everyone arrived!