Julius has full on separation anxiety again. Every morning that I drop him off at daycare he cries uncontrollably and I have to extricate myself from his grasp and practically run out the door to escape. It is incredibly heartbreaking, especially since I hear him wail, “mama! Mama!!!” as I dash out the door. It was bad enough when he was an infant and would just cry when I left, now Julius verbalizing that he doesn’t want to stay at daycare really is another level. Recently he asked me why I have to go to work and I answered “so I can make money to buy things for my Julius”. He immediately followed up, “I make money?” To which I had to respond, “no, your job right now is to play and learn at daycare.” I explained how money was a necessary but terrible part of life, and he needn’t worry himself with it until he was grown. He wasn’t satisfied with this answer so our conversation turned onto a ridiculous/adorable path of Julius devising how he could make money at daycare to “help out mama”.
A couple days later while I was leaving the daycare Julius started up his usual crying routine. I managed to wriggle myself free after a very sad hug, and turned to wave at him one last time. He desperately sobbed out “I make money! I make money!” It was simultaneously heartbreaking and hilarious.
On a more lighthearted note, I have further developments on the wine front – I have no idea why but Julius is still convinced he is going to love wine. (“I like wine.” – Julius, age 2.) Yesterday I made a risotto with white wine, and he really enjoyed it (did I mention that it had cheese in it?) Afterwards I told him the risotto had wine in it expecting him to be excited that I “let him try wine”. He was at the time drinking a sippy cup filled water and didn’t even put down the cup to remark, seeming thoroughly unsurprised. When I followed up with, “did you know that it had wine in it?” He stopped drinking, held up the sippy cup filled with water, smiled really big and said “this? This (is) wine?” I almost died laughing. I only hope he doesn’t ever say “I like wine” in front of any government authorities.
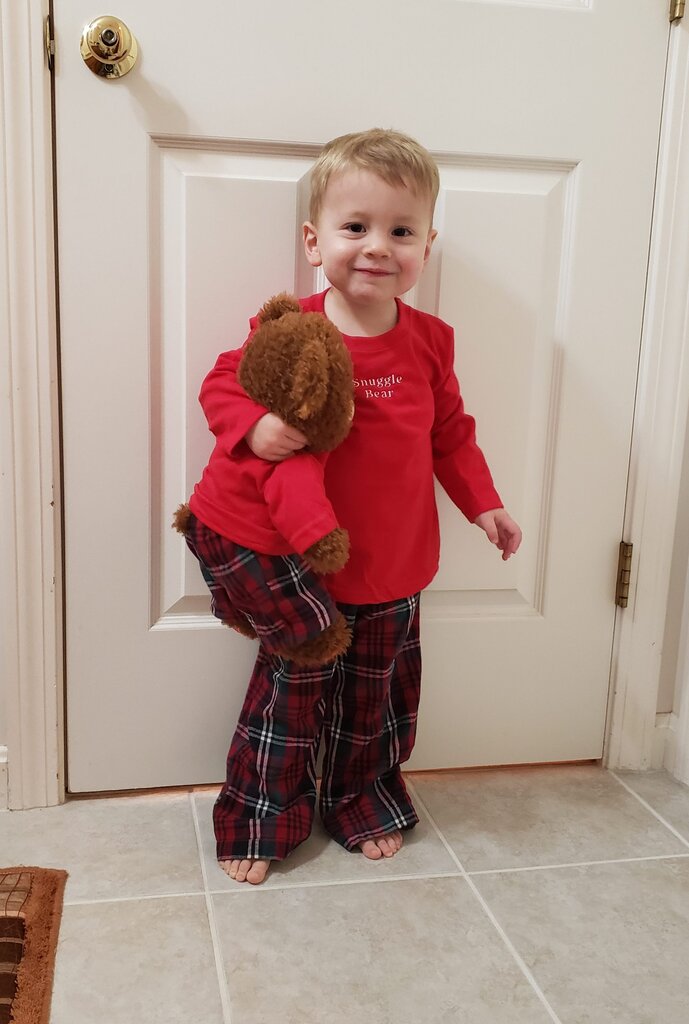
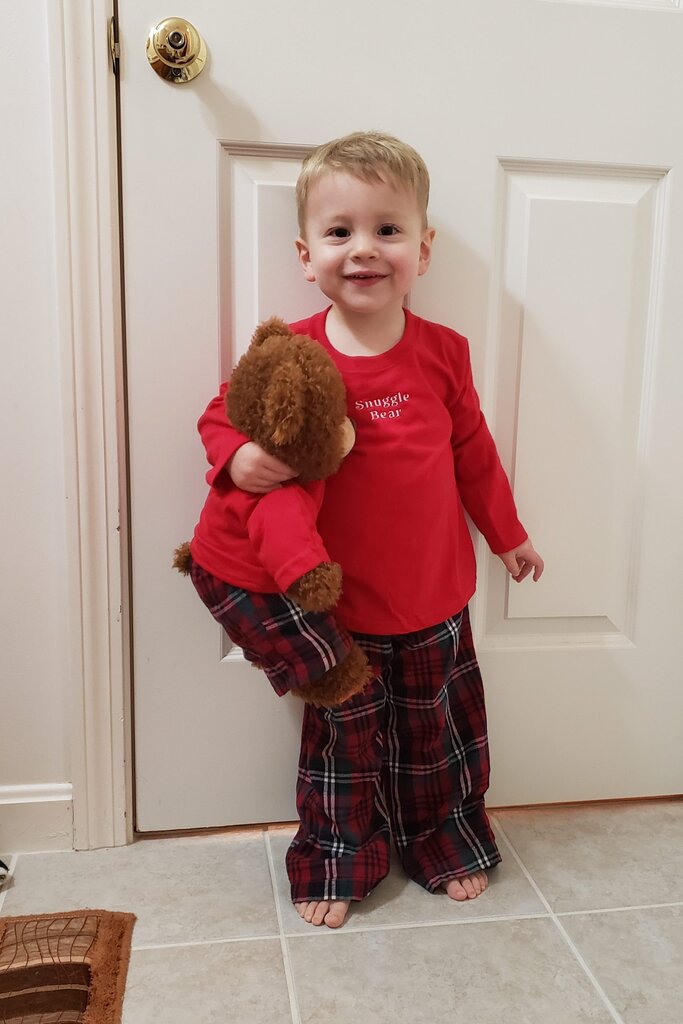
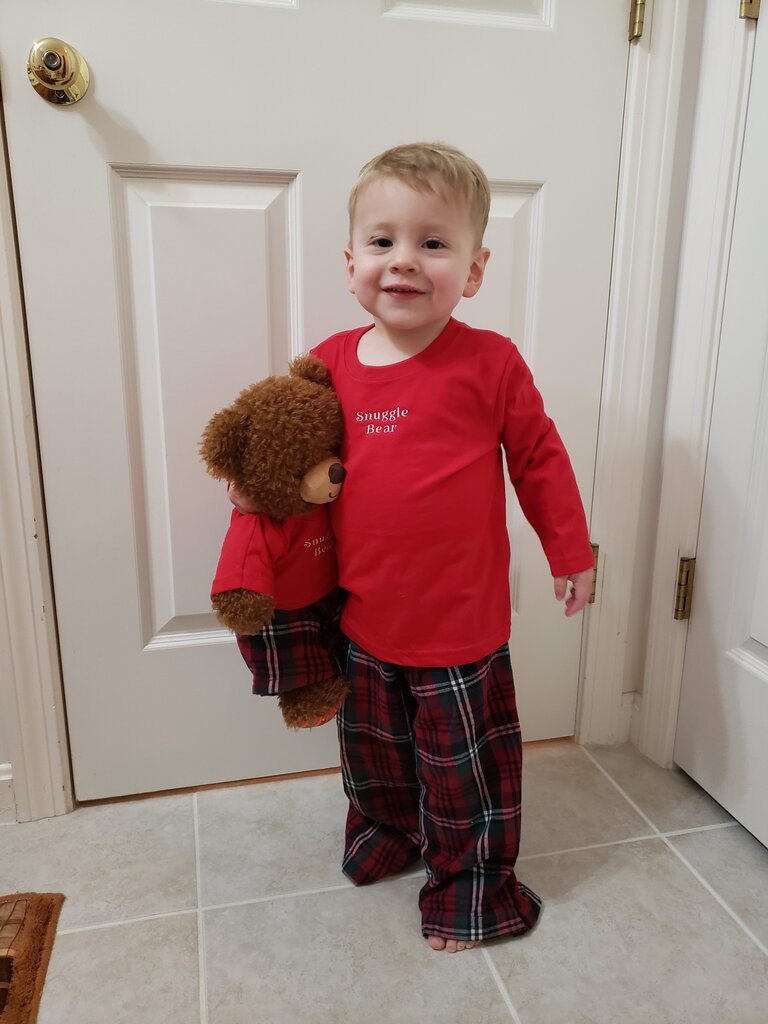
On a completely unrelated note, you can use the following pattern to make your adorable 2-year-old match their adorable Build-A-Bear. Julius got his Build-A-Bear, Stuffy Bear, on his birthday this year so the bear only cost his age – $2! We let Julius pick out some accessories, but he only was interested in some roller skates and a happy birthday balloon. This meant Julius’ birthday-suit roller skating bear only cost $19! No one could believe we got out of Build-A-Bear spending less than $20. (Until I told them birthday suit really meant that Julius wanted his bear in the buff…)
For Christmas I decided to make Stuffy some PJ’s to keep him warm at night. This clothing set was a snap to make and since I used recycled flannel for the pants it only cost me $3. Making Julius and his bear matching outfits for $6 is pretty incredible if you ask me. The truly comedic part is that Julius still wanted Stuffy to remain nude even after opening Stuffy’s PJs. I showed Julius several days after Christmas that he and Stuffy had matching outfits and he was finally happy to allow Stuffy to wear his PJs to bed. 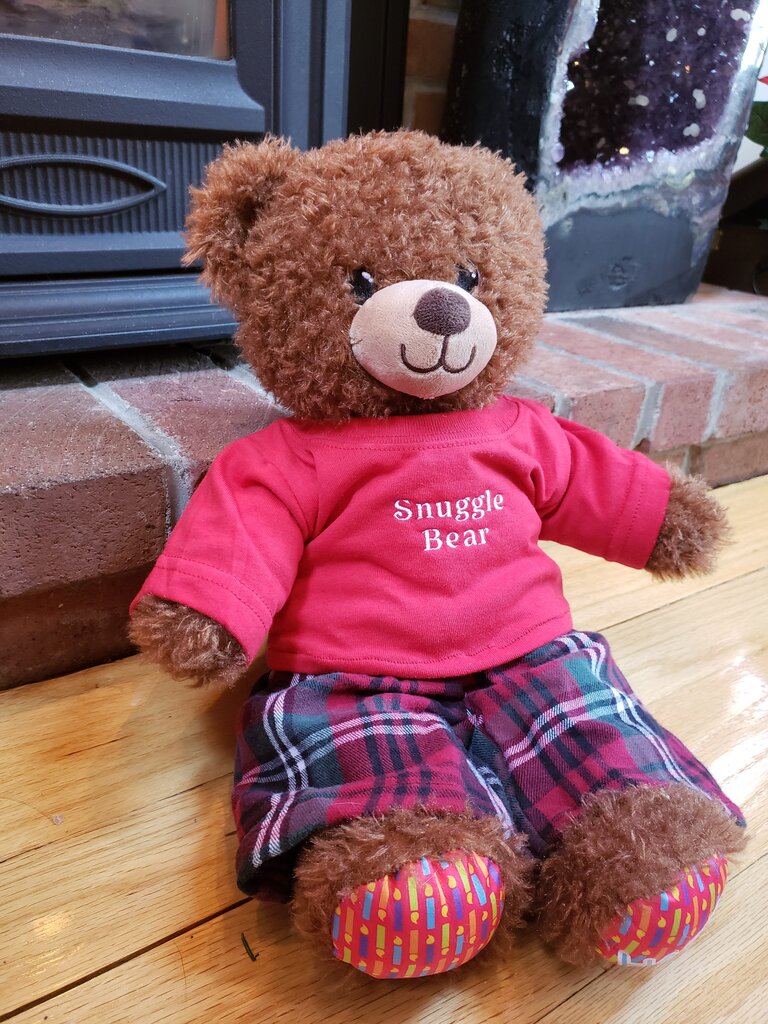
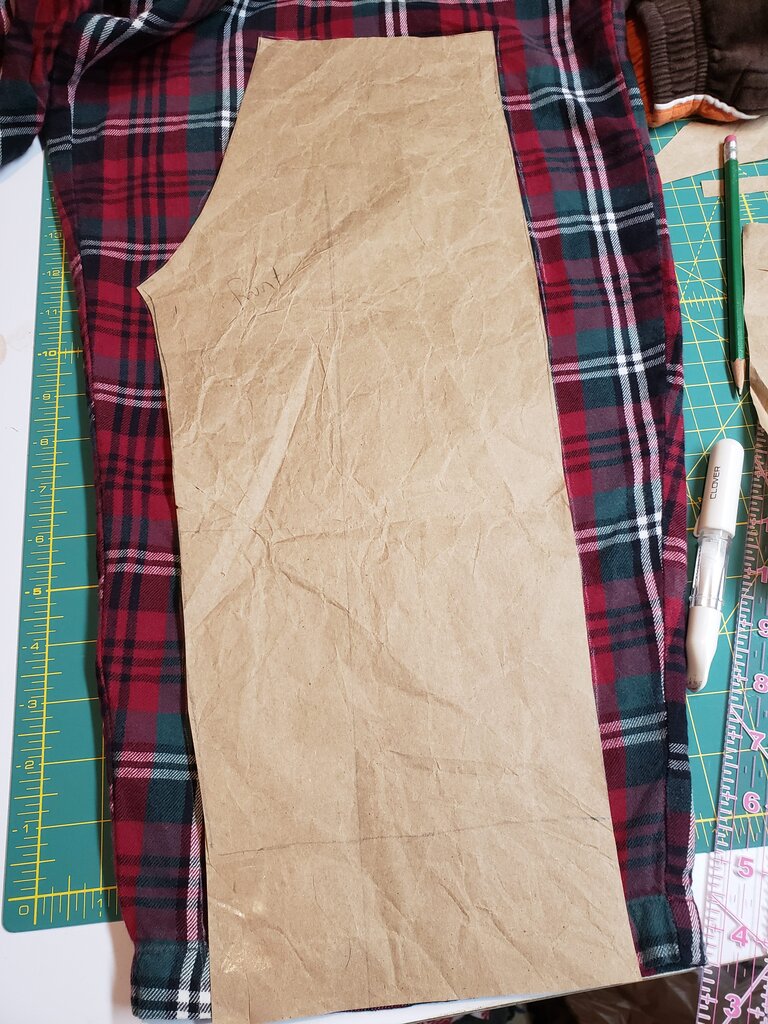
Build-A-Bear Pajama Pants
What you’ll need:
- The pattern here
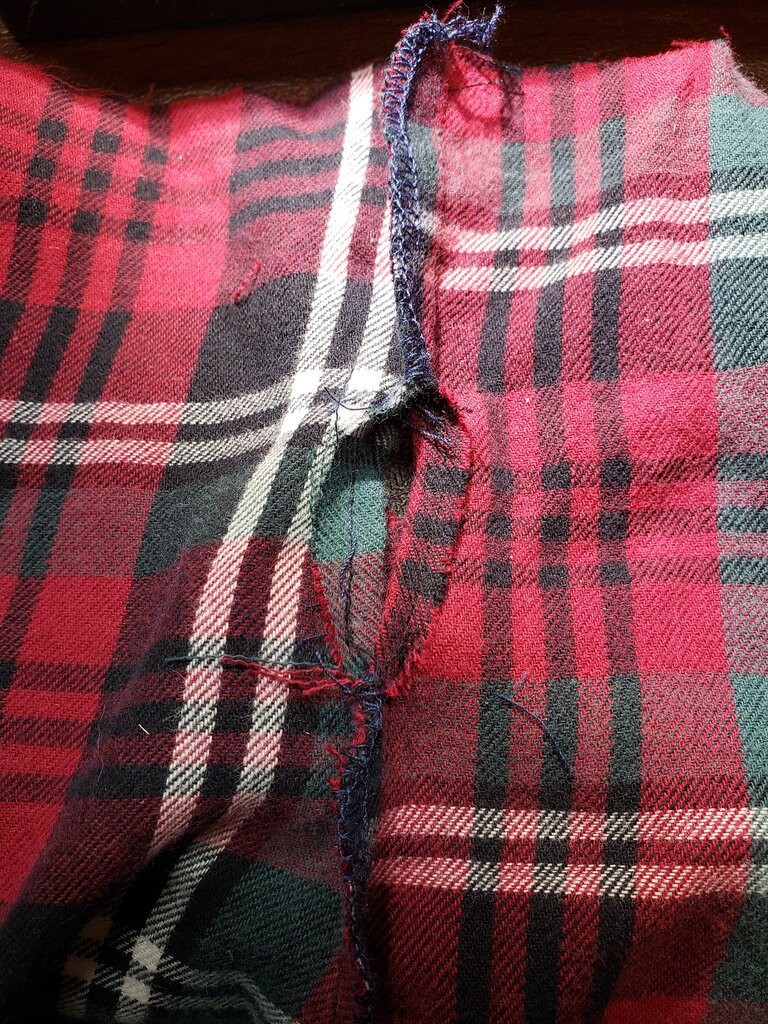
- 1/4 yard of flannel fabric (or an old pair of dad’s pajama bottoms – I made both Julius and Stuffy’s pants with one pair of Dad’s pants)
- 1 foot of 1/2″ elastic
Follow the instructions for the 2T Toddler Pajama pants with the following change:
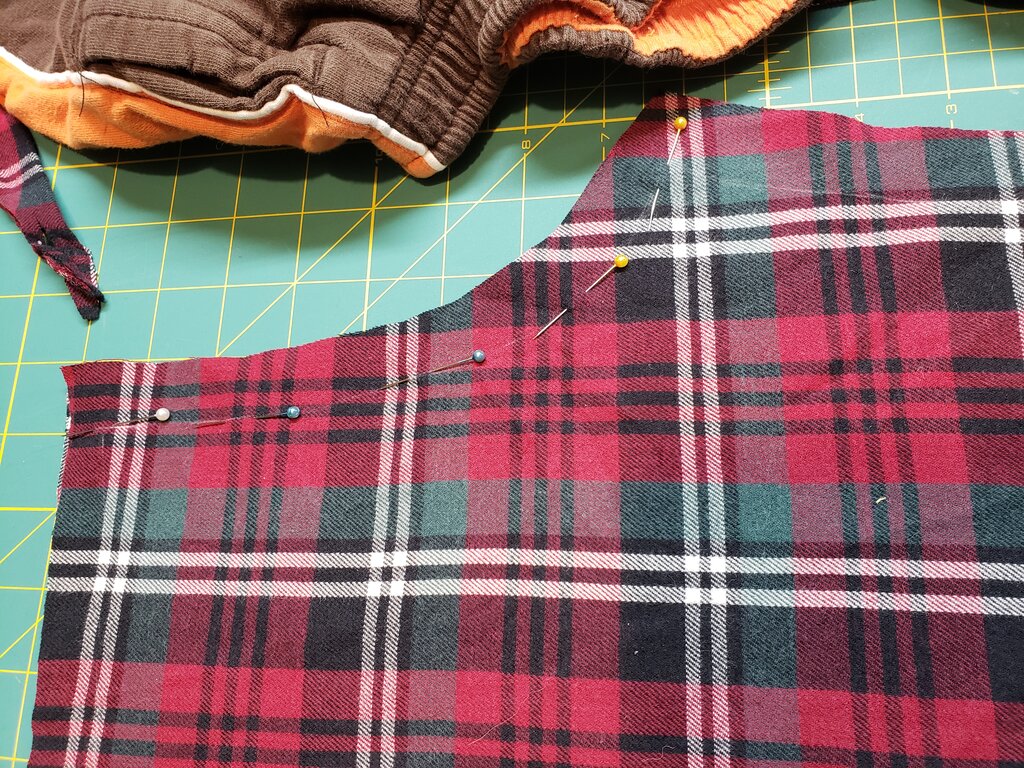
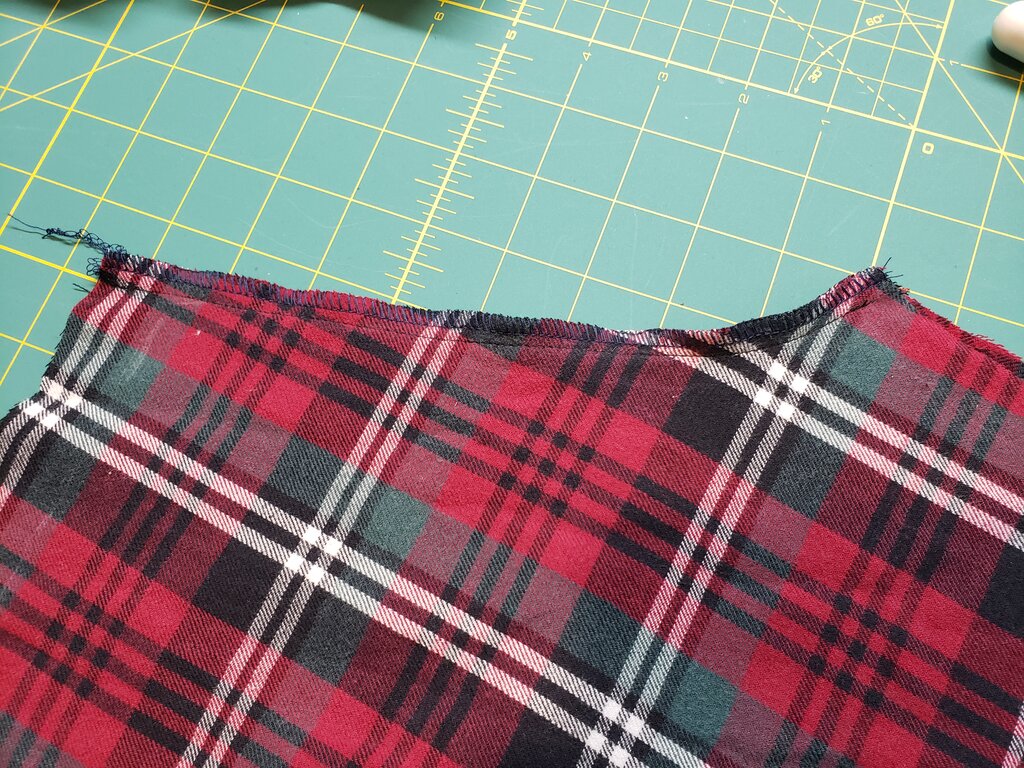
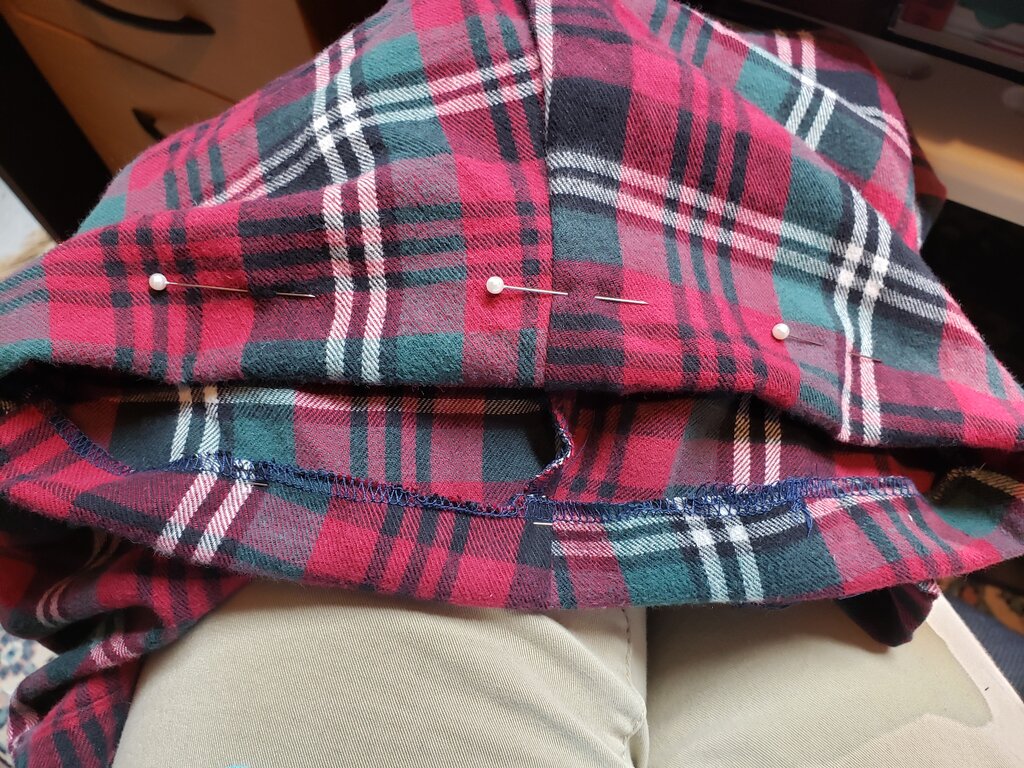
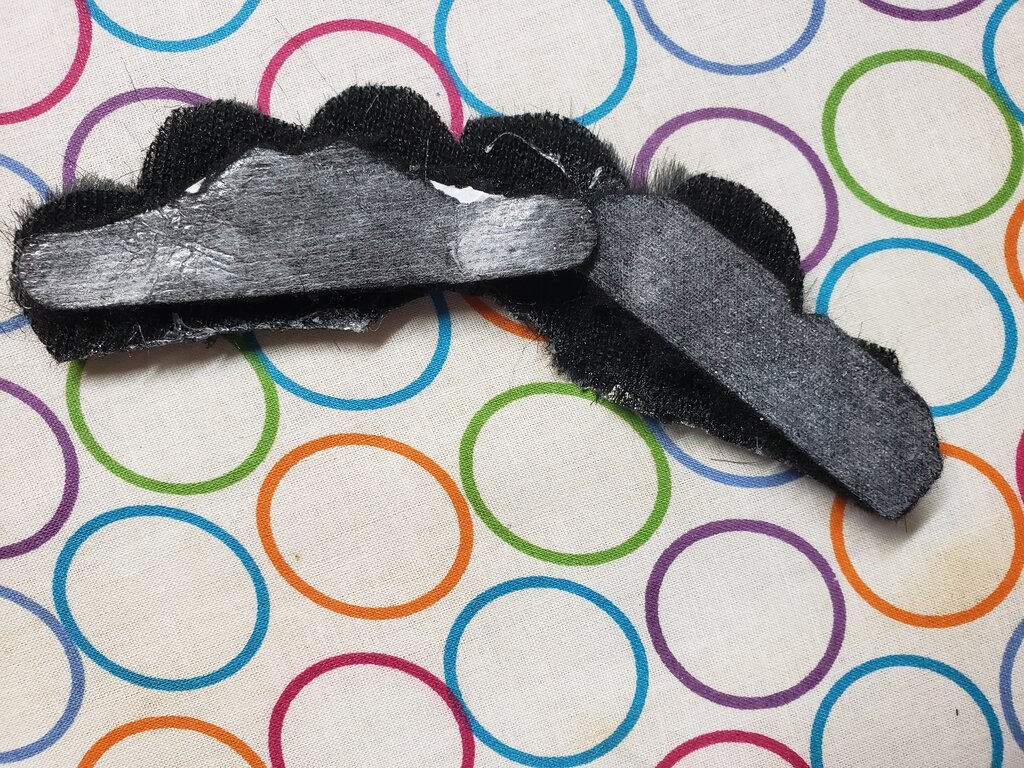
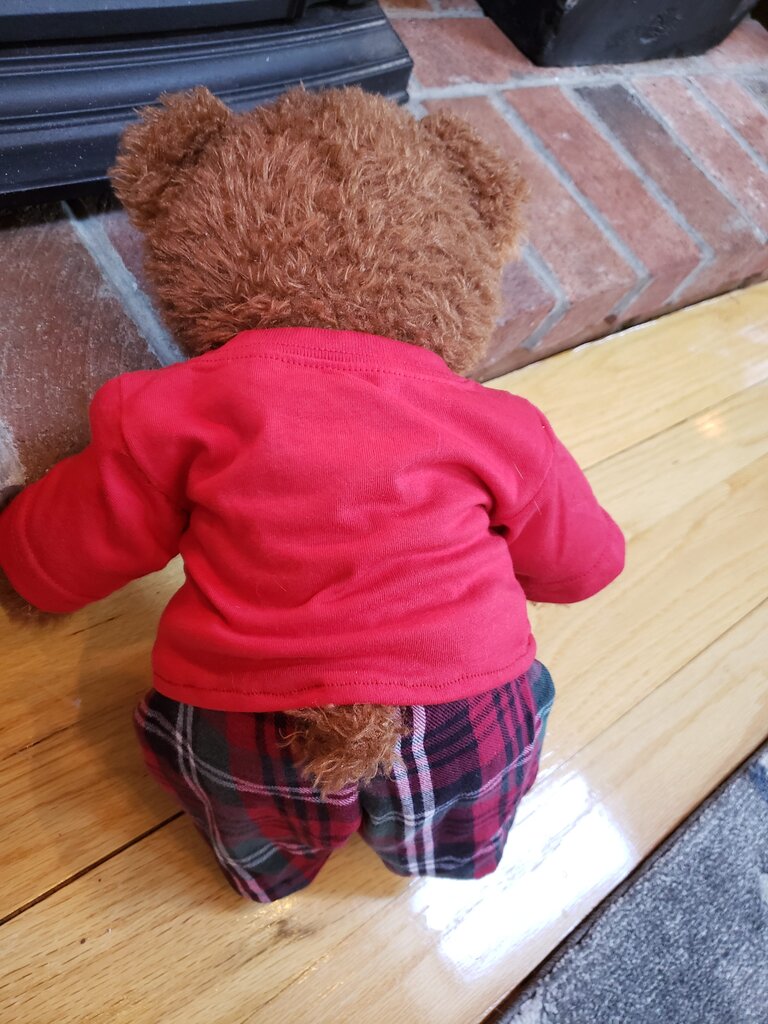
- In step 2, mark where the tail hole will be from the pattern and leave that portion unstitched.
- In step 3 only stitch and serge the sections surrounding the tail hole, leaving the gap for the tail unstitched. Fold the seam allowance towards the pants then stitch 1/4″ from the gap for the tail into the seam allowance on either side of the gap.
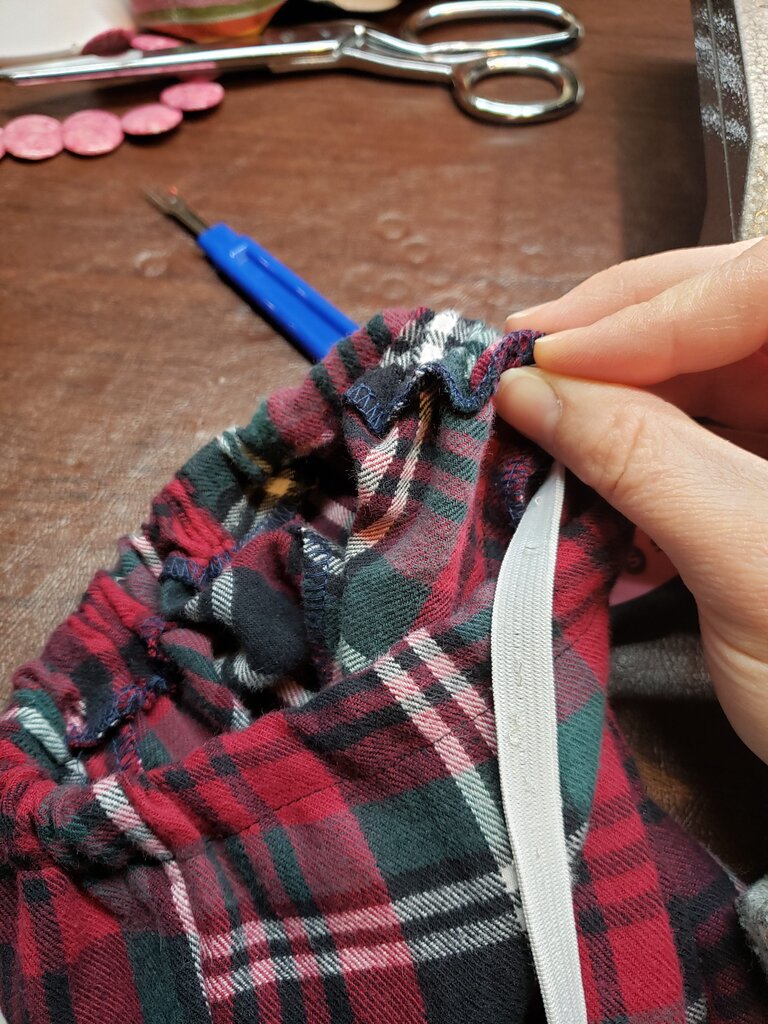
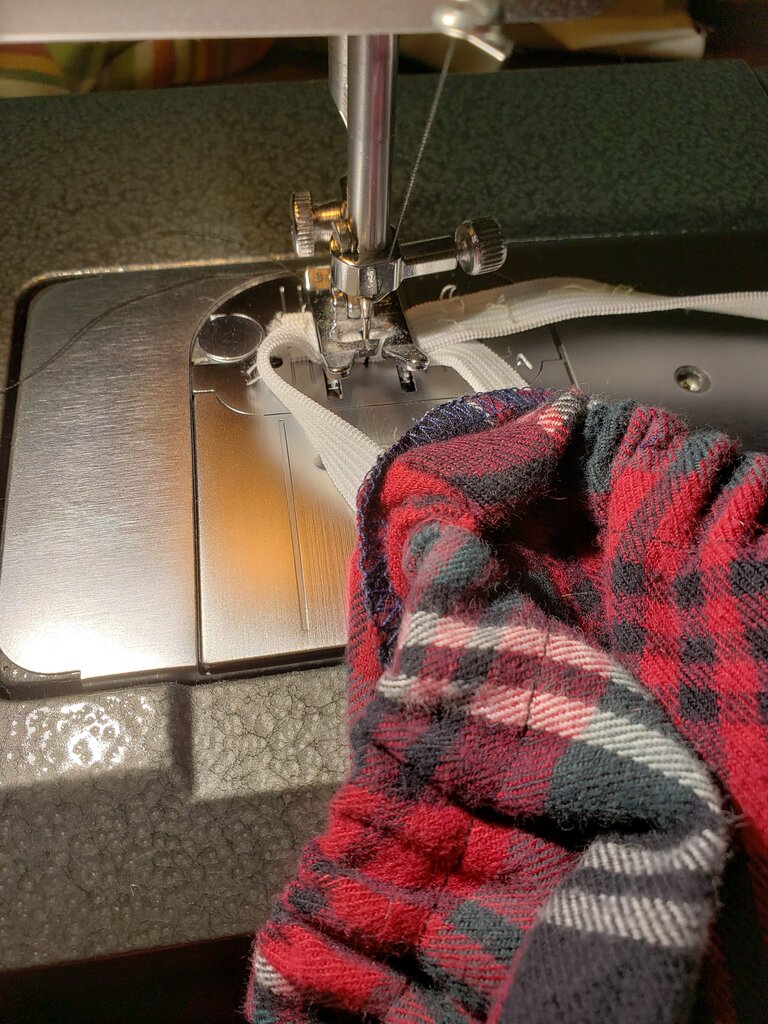
- In step 10 the piece of elastic will only be 12″ instead of 21″.
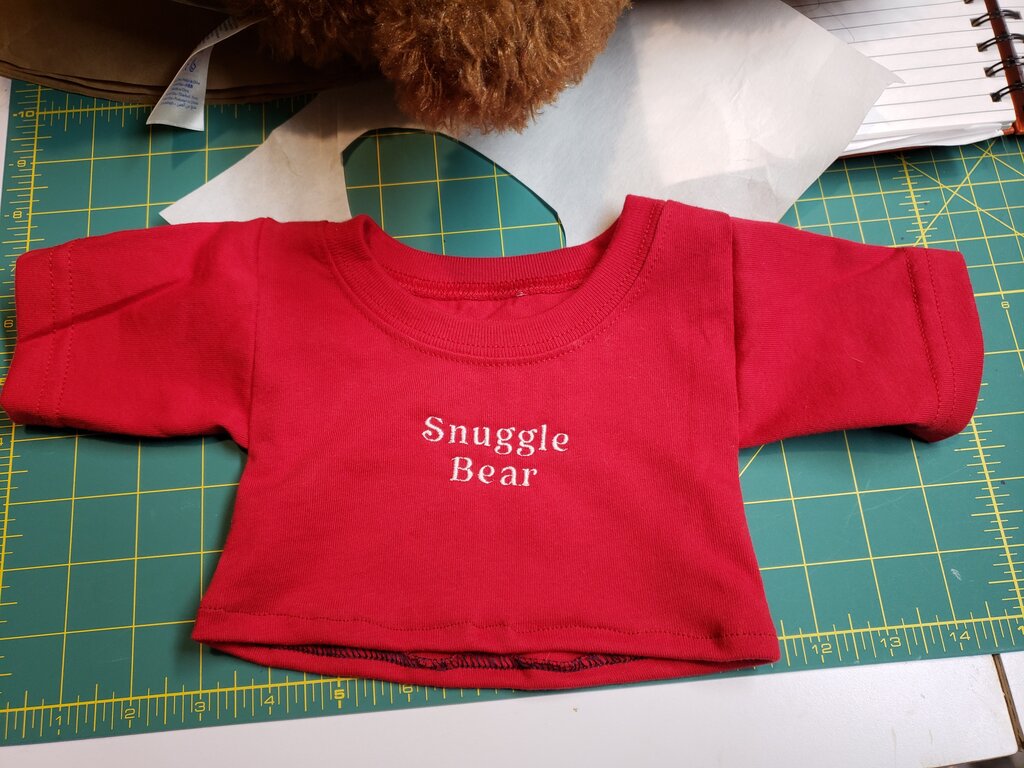
Build-a-Bear Long Sleeve Tee (from a toddler 2T shirt)
What you’ll need:
- Template here
- Size 2T toddler shirt (I bought mine for $3 from Walmart)
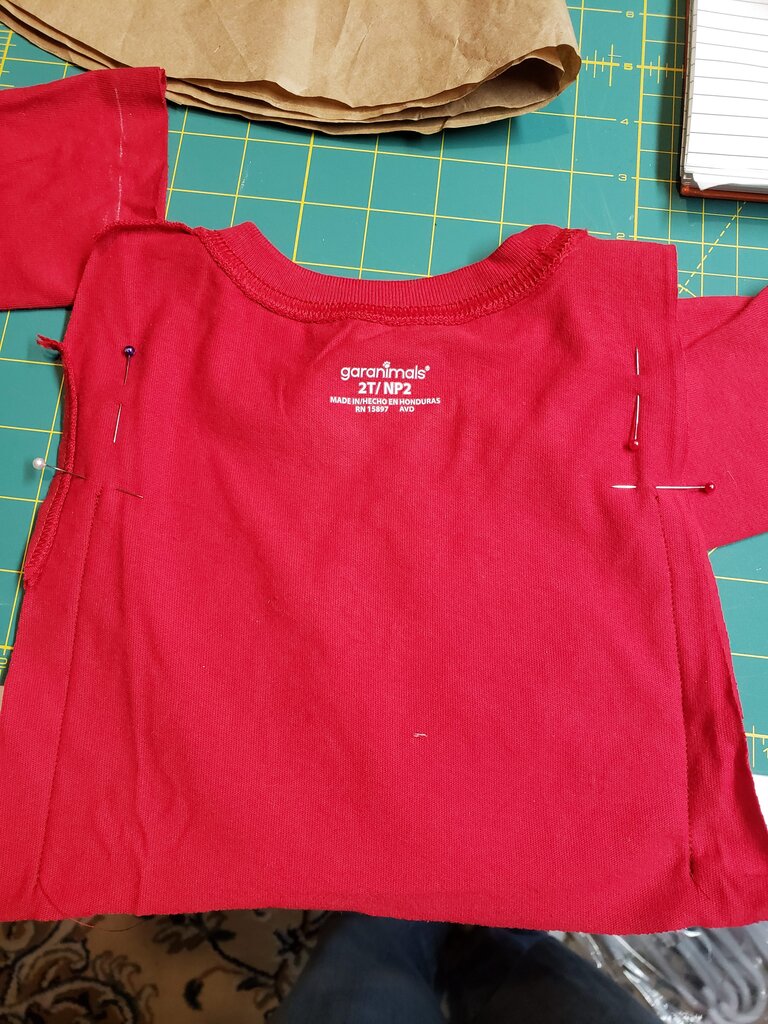
- Take your 2T toddler shirt and lay template over it so the template is lined up with the shoulders and centered. Mark.
- Cut out around your markings through both front and back layers of the shirt, leaving 1/2″ seam allowance.
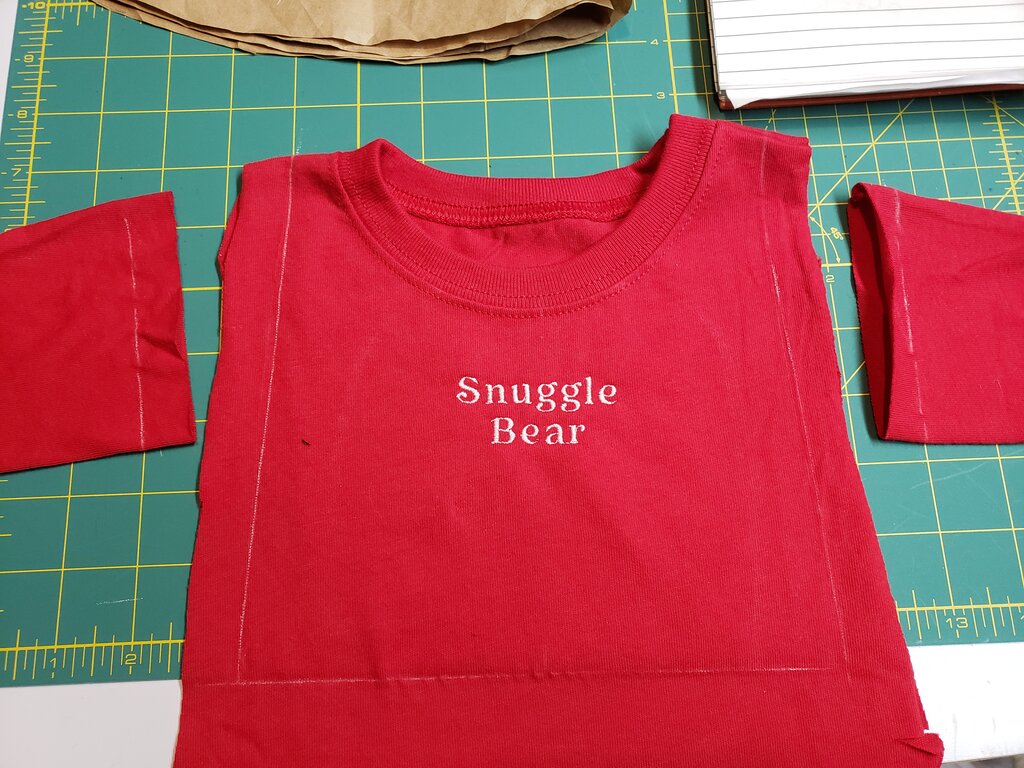
- Measure from the cuff of each sleeve up 3.5″. Mark.
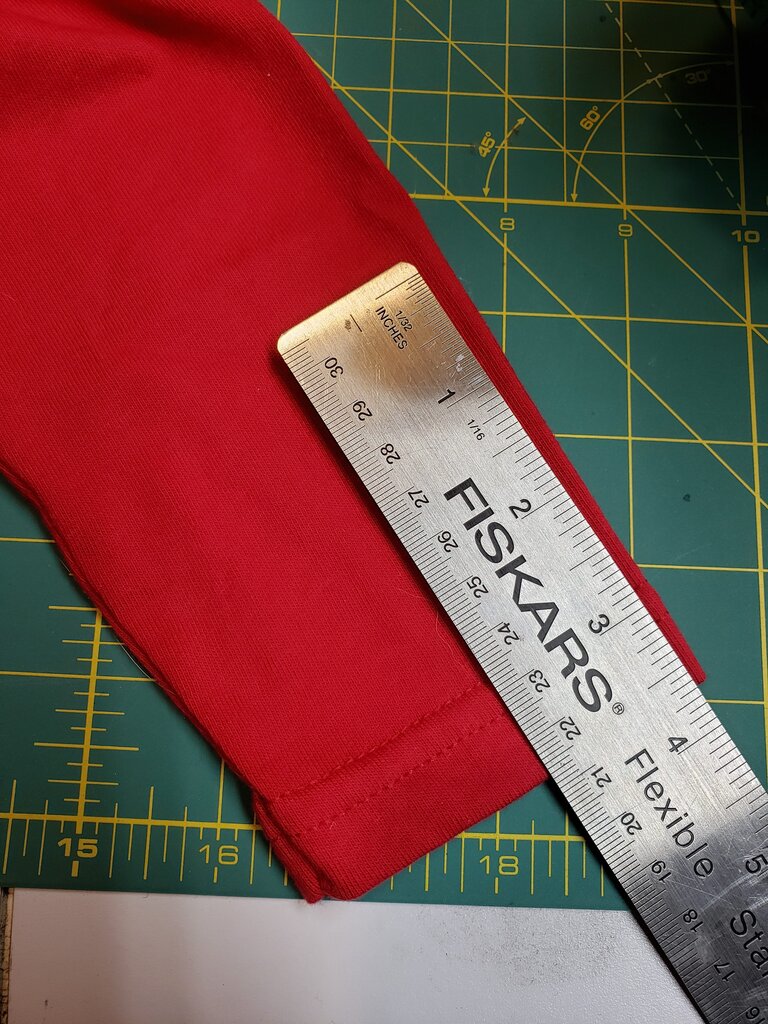
- Cut off the sleeve 1/2″ above each mark in step 3 (at 4″).
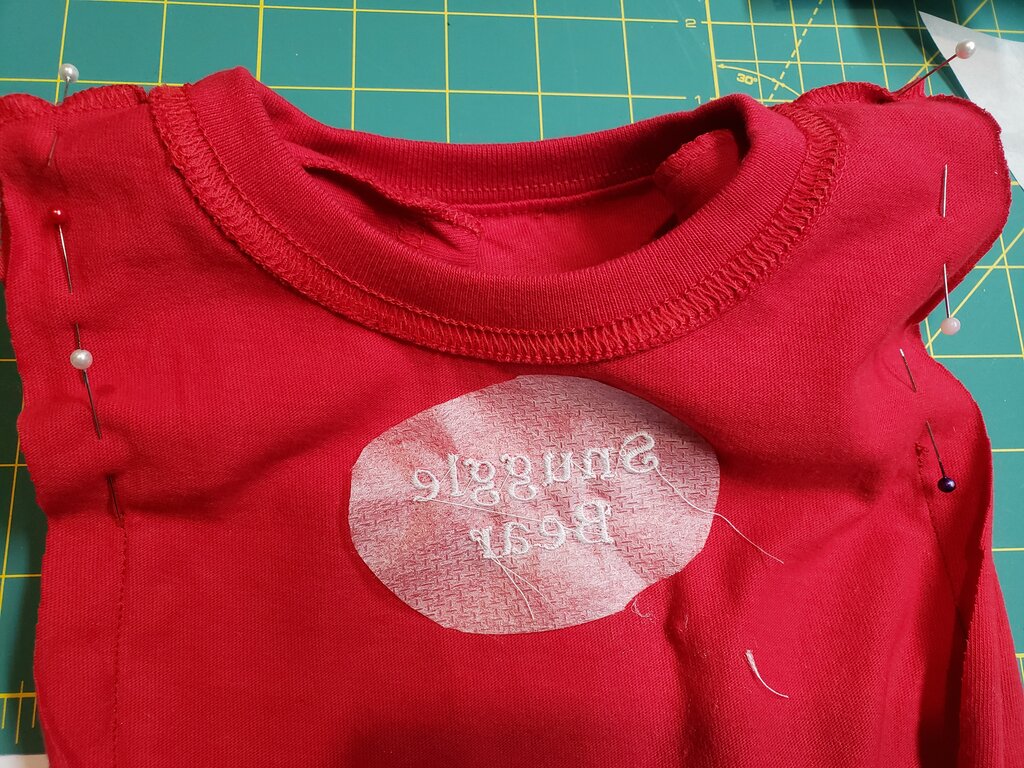
- Turn shirt inside out, and pin along the sides you marked. Leave a gap the width of your t-shirt arm (the length of the line you marked in step 3). Stitch.
- Place one sleeve inside one of the gaps in step 5. The sleeve should be right side out. Pin all around the armscye, so the right sides are together.
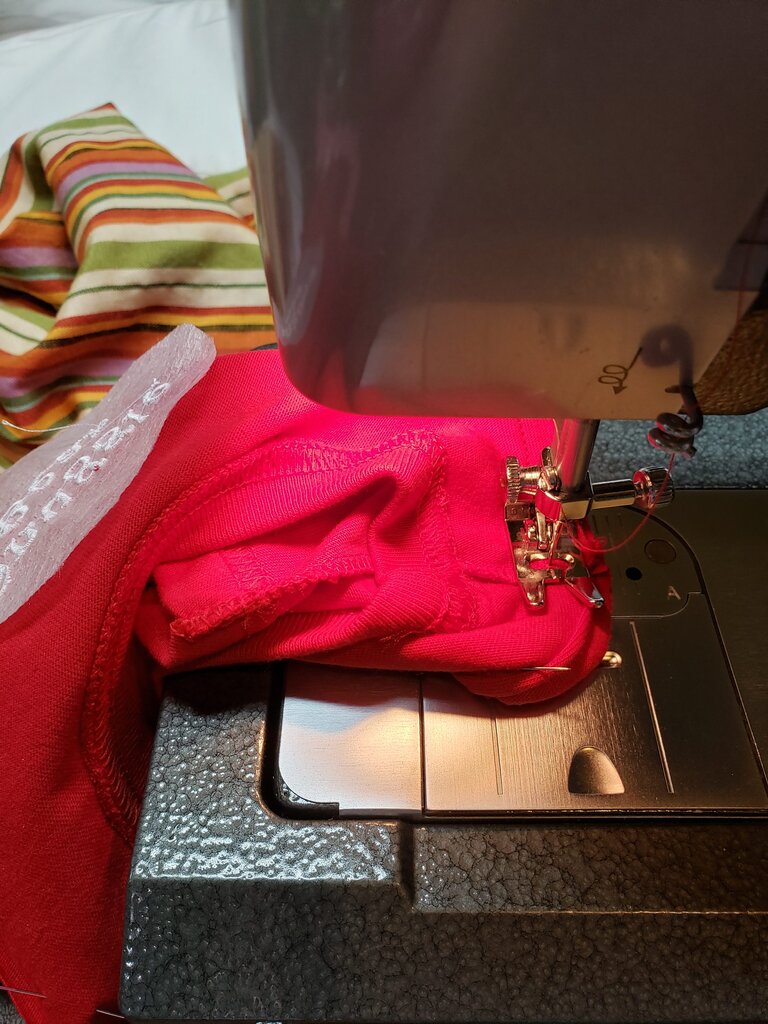
- Stitch around armscye.
- Repeat step 6 & 7 for other armscye and sleeve.
- Serge the bottom hem, fold inside and then stitch.