I’m going to start this one at with a sappy story (fair warning). The other day Julius was sorting through a box of stuff I had in the basement and he came across Yellow Bunny and Michael (tiger), Will & my childhood “lovies”. He pointed to them and asked “this?” (Which is his way of asking, “what is this?”) I explained that they were Dada and Mama’s Sheepy and Chris the bunny (Julius’ favorite stuffed animals) and that they would be very happy if he played with them. He picked them both out of the box and gave each of them a big hug. I burst out crying. Later, when I was recounting the story to Will, I had to start the story three times before I got through it. By the end we were both crying. I think we have the plot of Toy Story 4. (Though if we don’t, I want some royalties, Disney, for Toy Story 5.)
Speaking of Disney, I hope you all got to celebrate May the Fourth! Since the date fell on a Saturday this year Will and I hosted an impromptu May the Fourth celebration! I really have way too much Star Wars stuff. Aside from food and drinks the only thing I purchased for the party was a gingerbread man cookie cutter. I was planning to make wookie cookies and I really thought I had a gingerbread man cookie cutter, because who doesn’t have a gingerbread man cookie cutter? It turns out I don’t. I have 50+ hand picked cookie cutters of different shapes (including all the states my sister in law Erin has ever lived in), but no gingerbread man. I almost gave up, but then I found out Peter Mayhew had died and I felt I HAD to make them. It turns out, finding a gingerbread man cookie cutter in May is more difficult than you may imagine. I even got laughed off the phone by an employee of Party City! (At least I made someone laugh!)
Star Wars Open House
Invitations
I used Evite (as always) which has some great free “star fantasy theme” cards. We chose this one which seemed to be the closest rip off to Star Wars that we could find. The text for the card is pasted below so you can peruse the links at your convenience. ;) 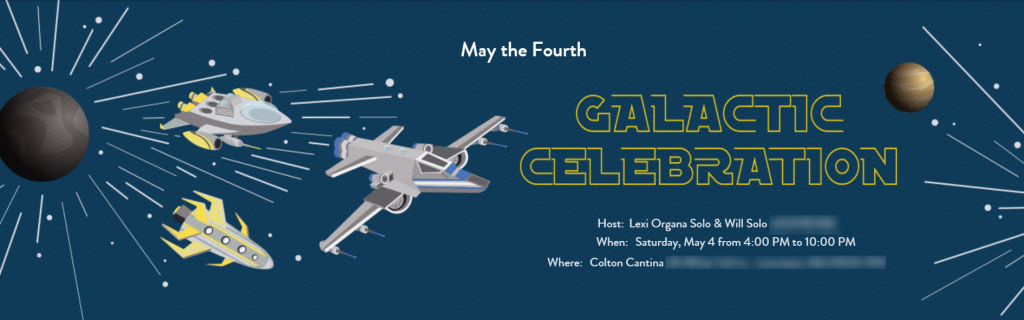
May the fourth be with you as we celebrate the eminent defeat of the Galactic Empire at the Colton Cantina. Drinks and appetizers will be served; merriment will ensue. Trust me it will be better than a dance party at Bright Tree Village. Feel free to swing by anytime 4-10pm or stay the whole time. Younglings welcome. Costumes strongly encouraged.
The response text was:
Join the Rebellion?
- Yes!
- Do or do not…
- No, rebel scum.
Theme
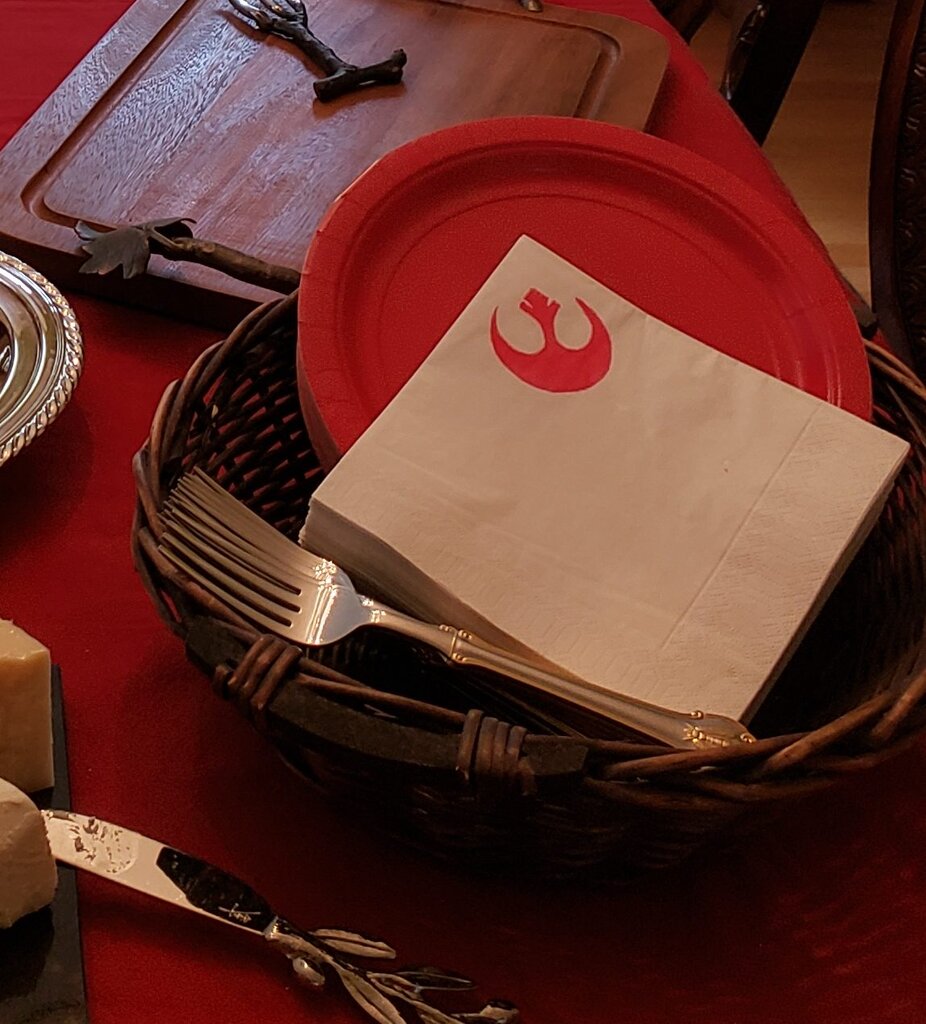
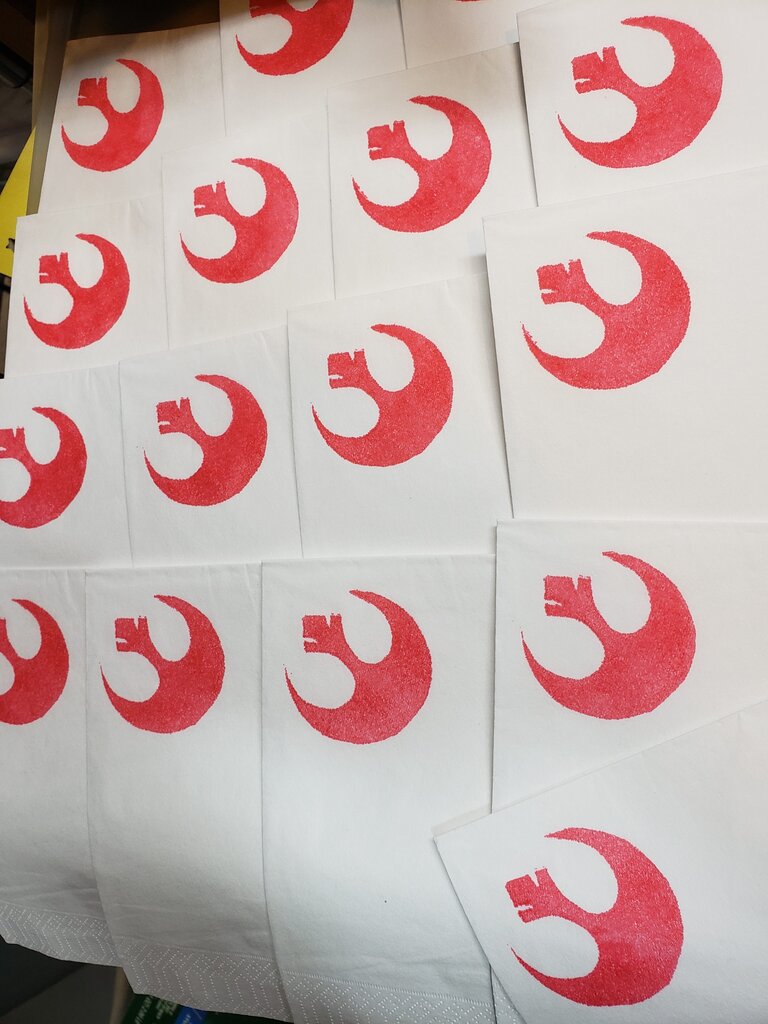
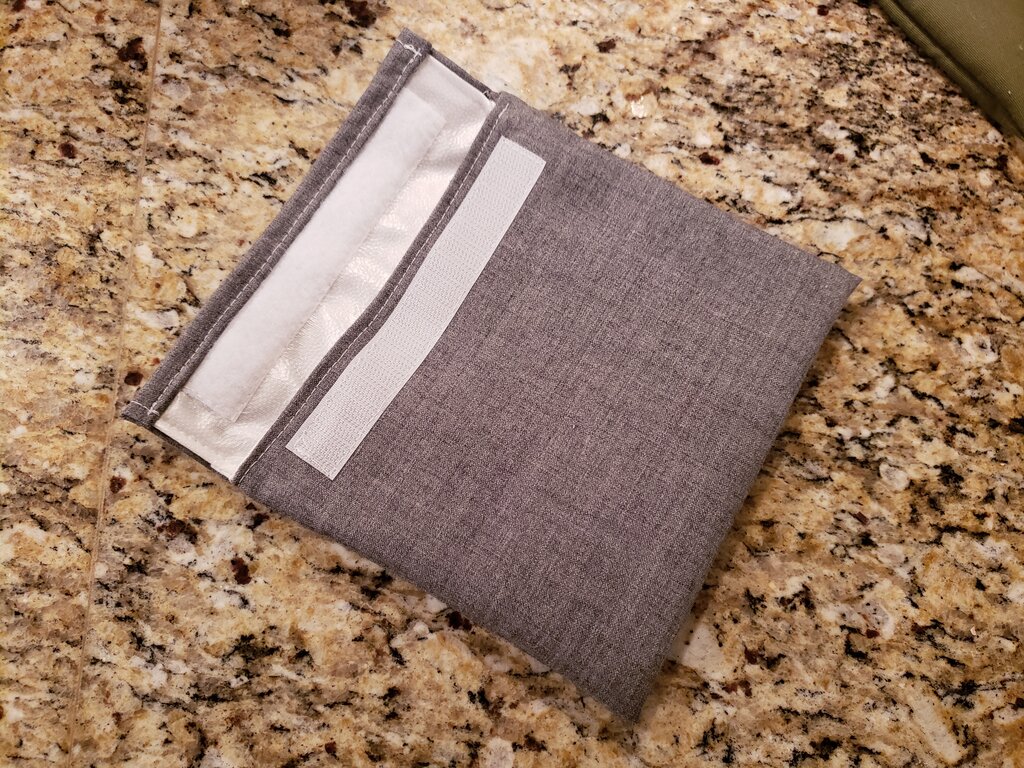
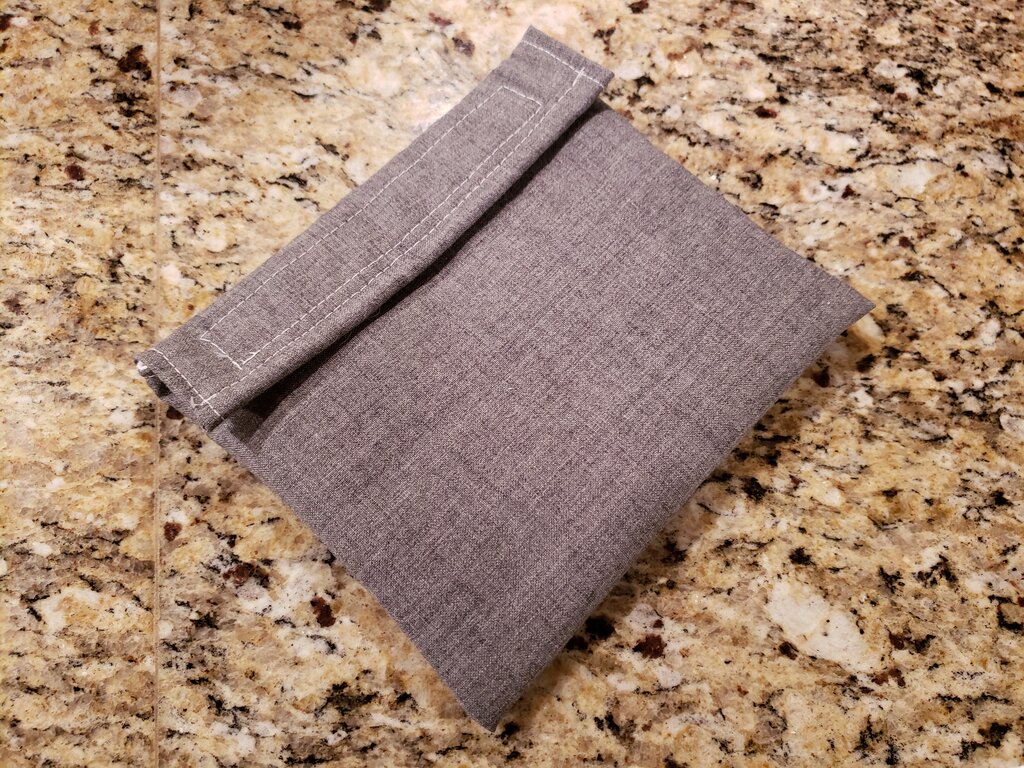
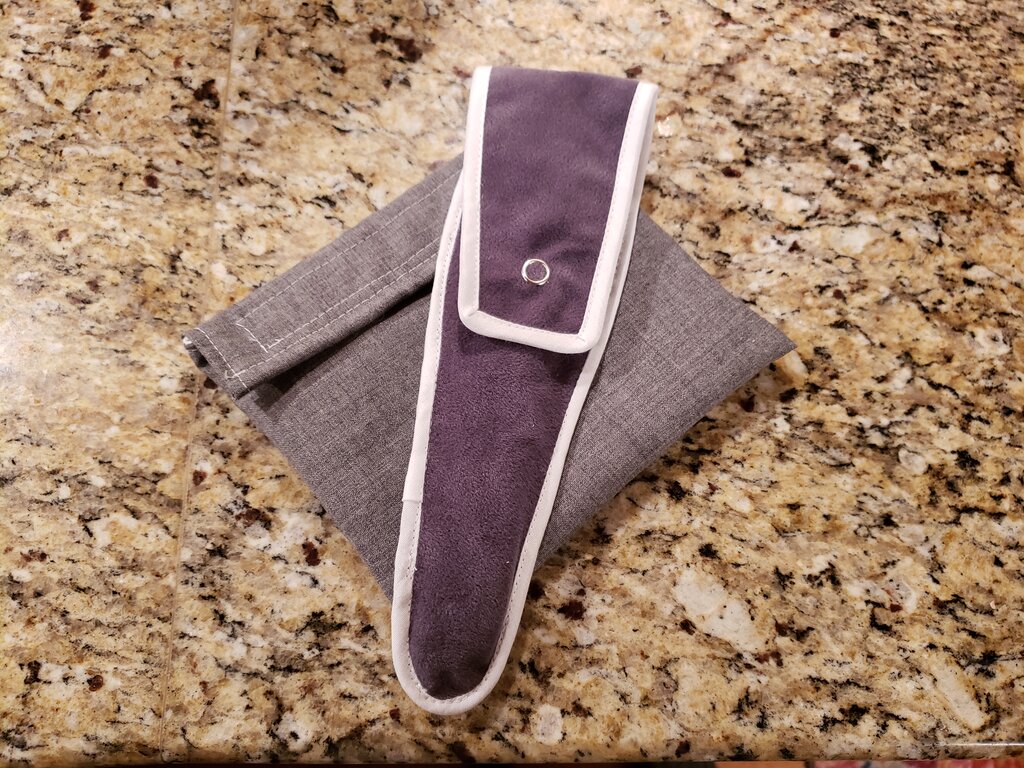
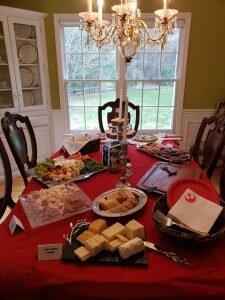
We would never be part of the empire, so obviously the theme was the rebel alliance. The rebels are a rag tag bunch who are not much united in uniforms with the exception of the red alliance starbird. For this reason we chose to use red and white elements throughout the party (red and white M&Ms, red plates and tablecloth, white napkins with the starbird etc).
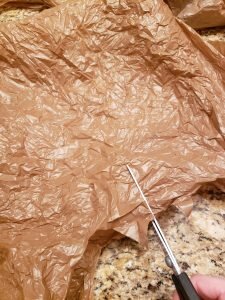
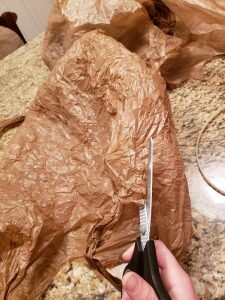
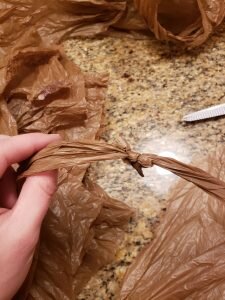
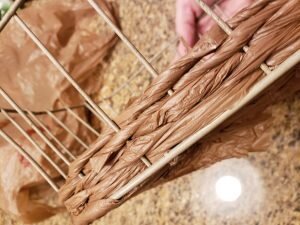
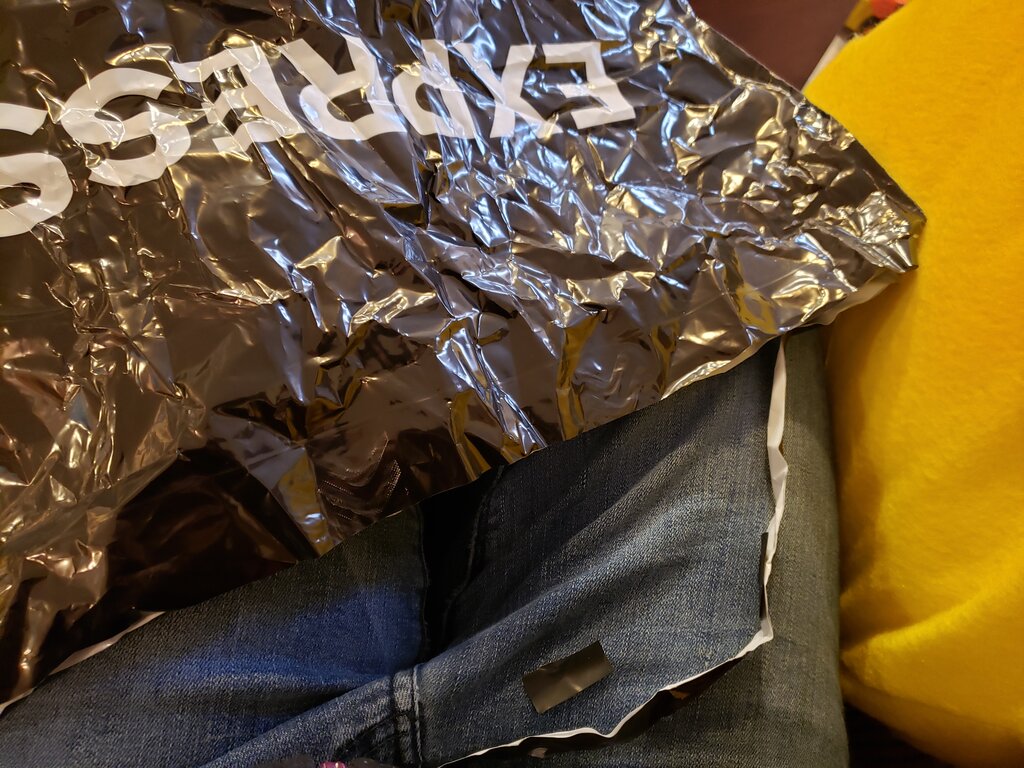
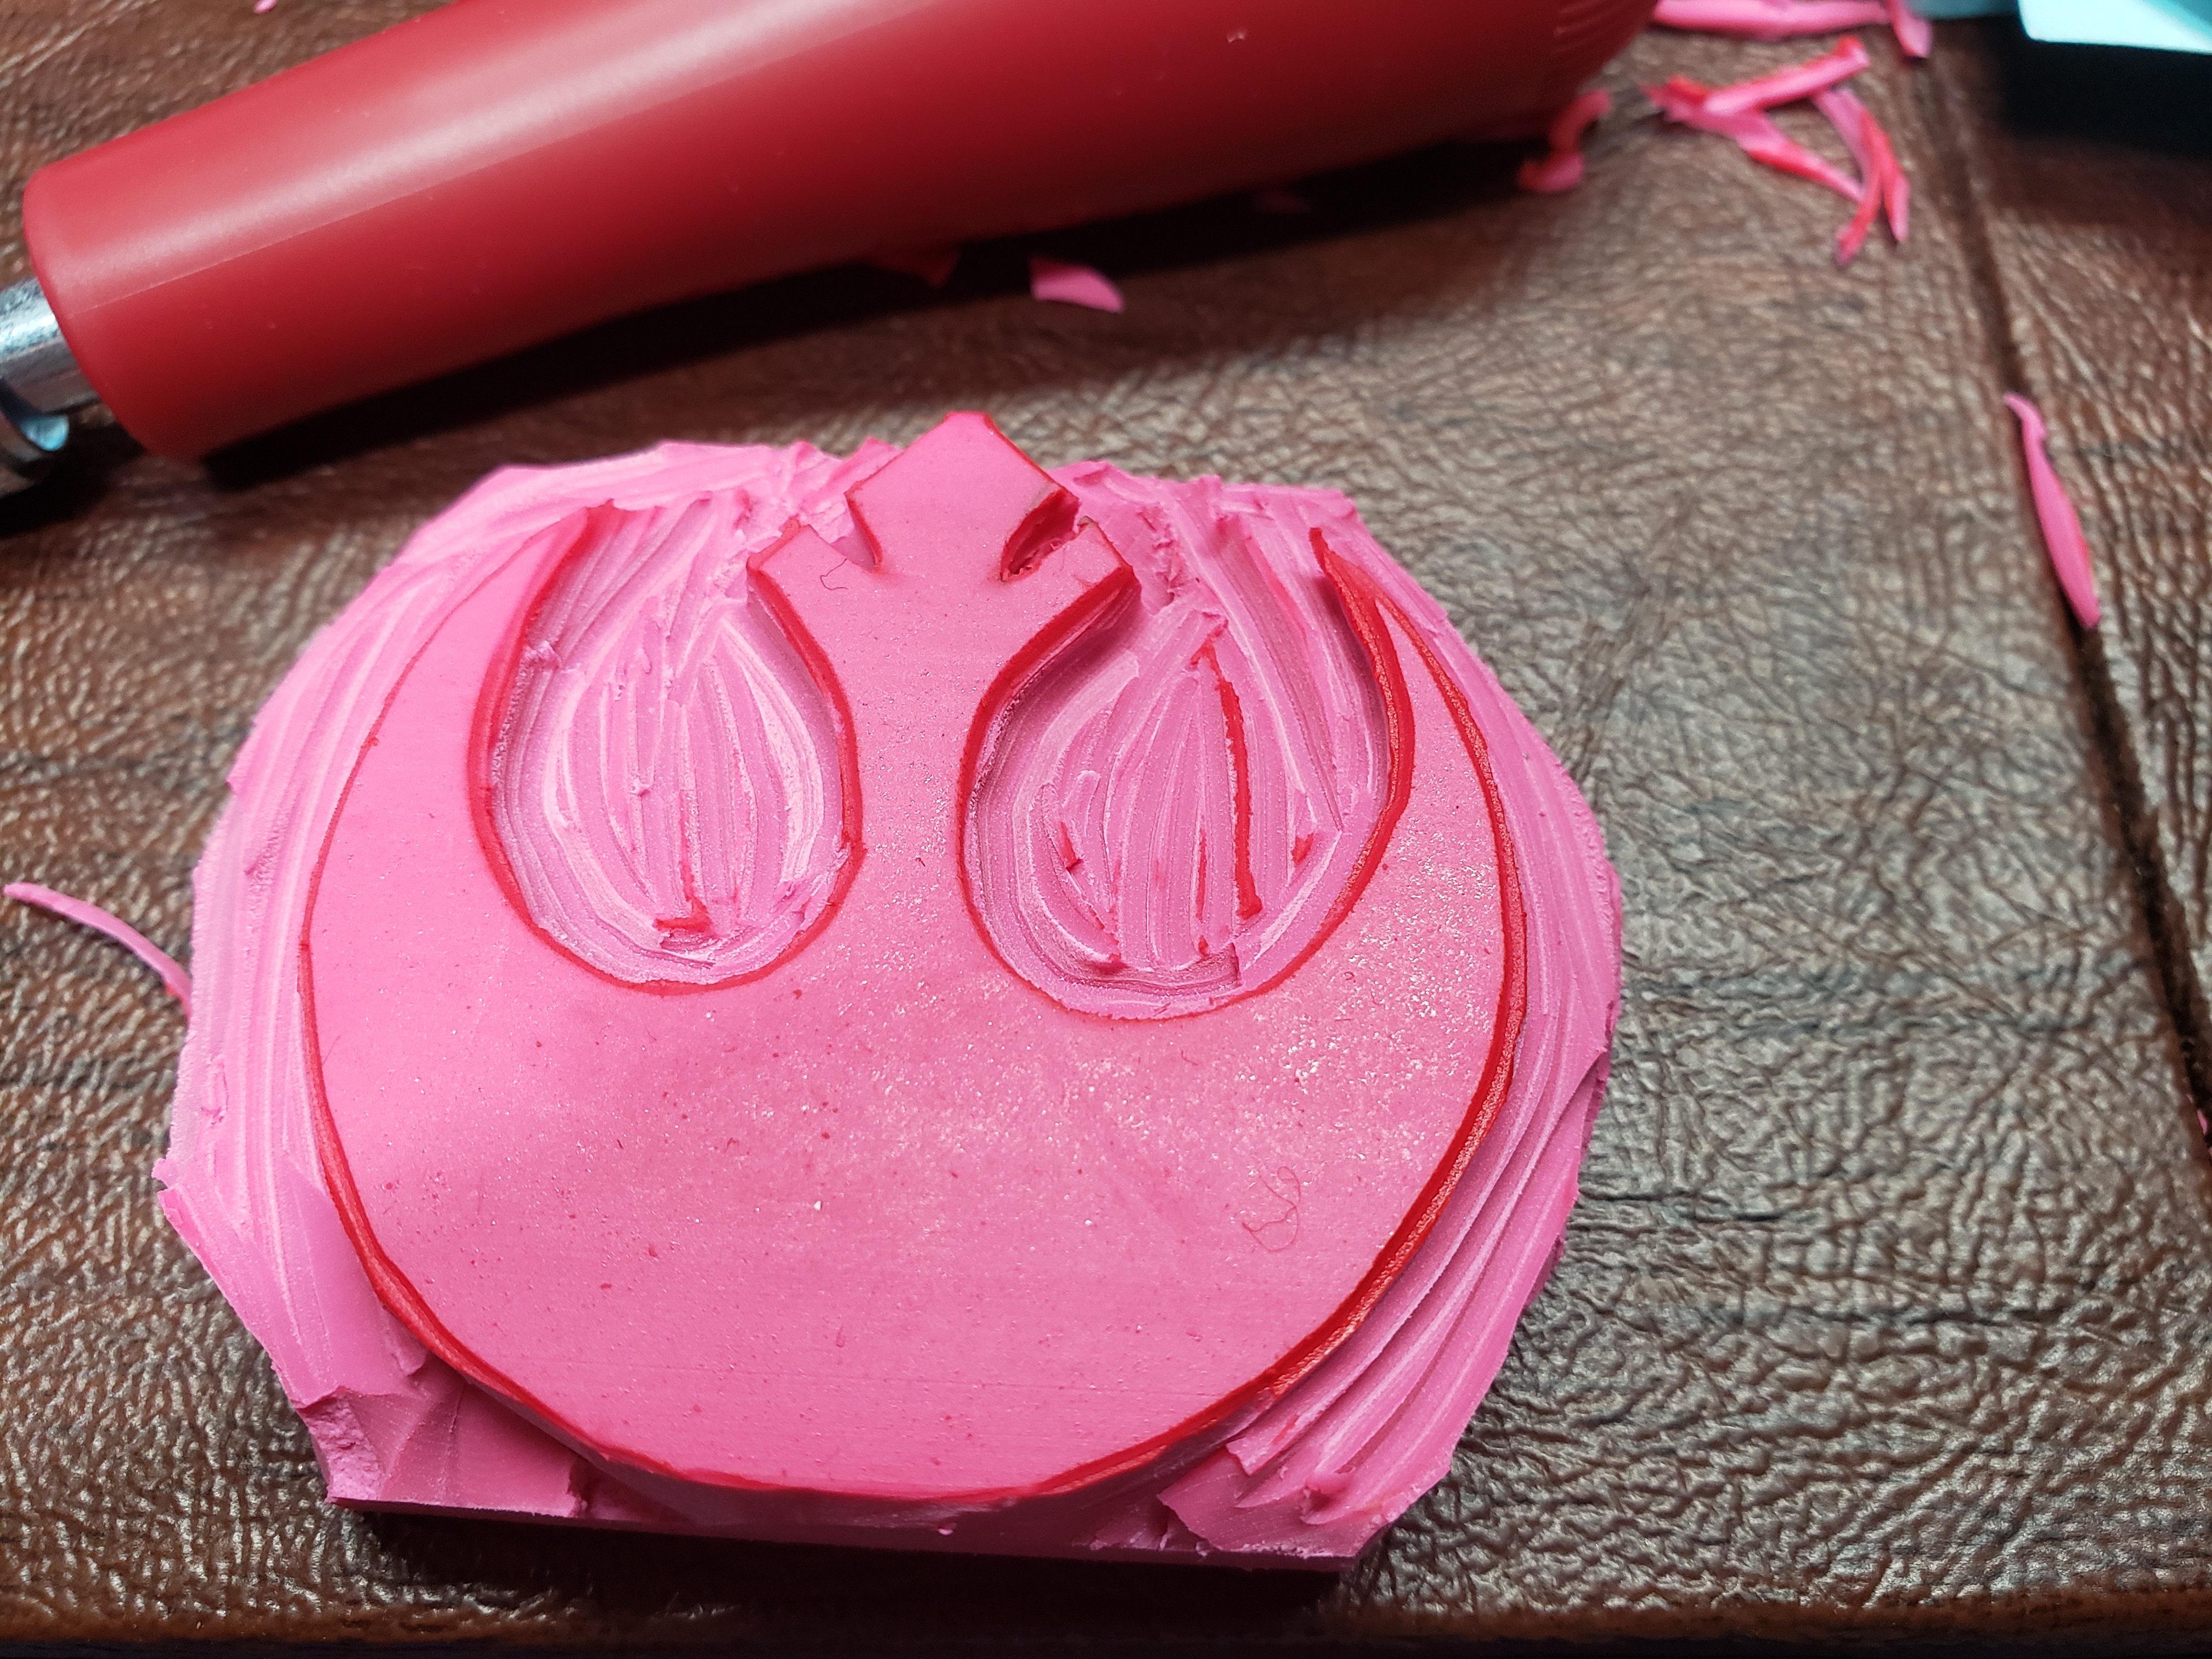
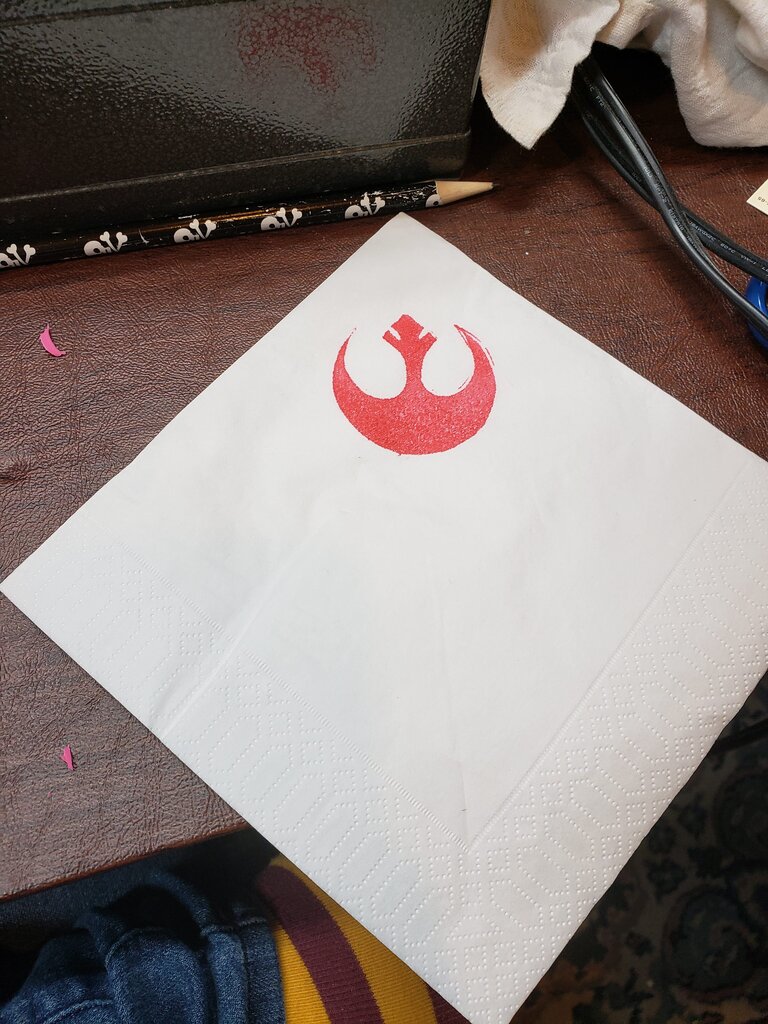
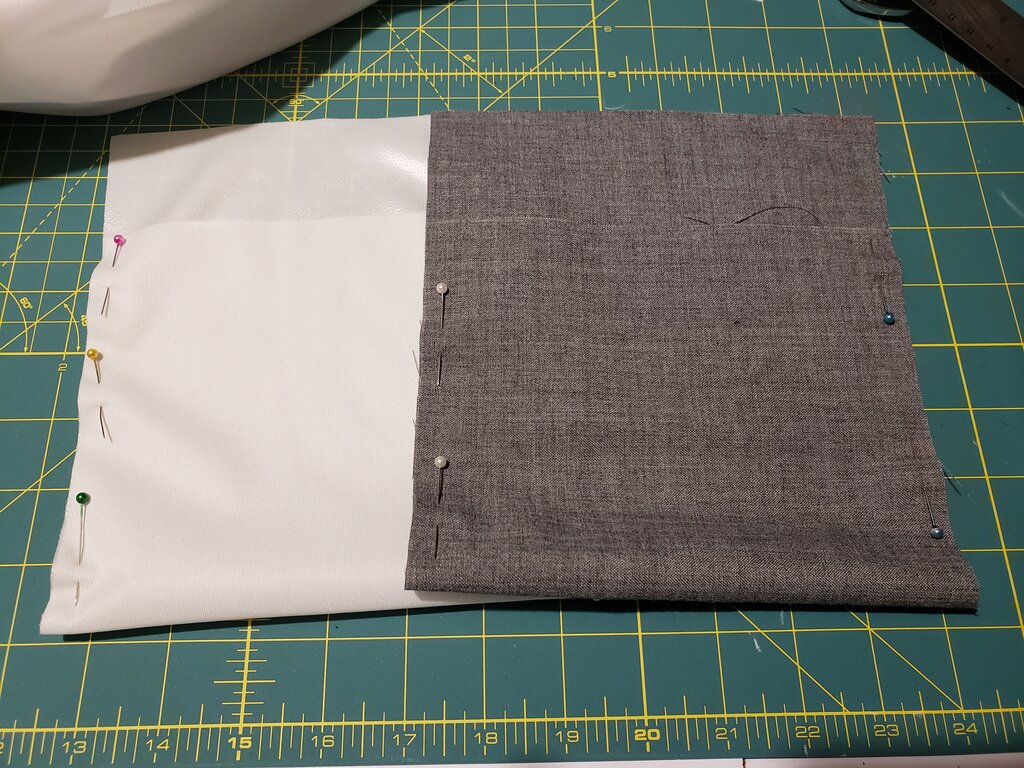
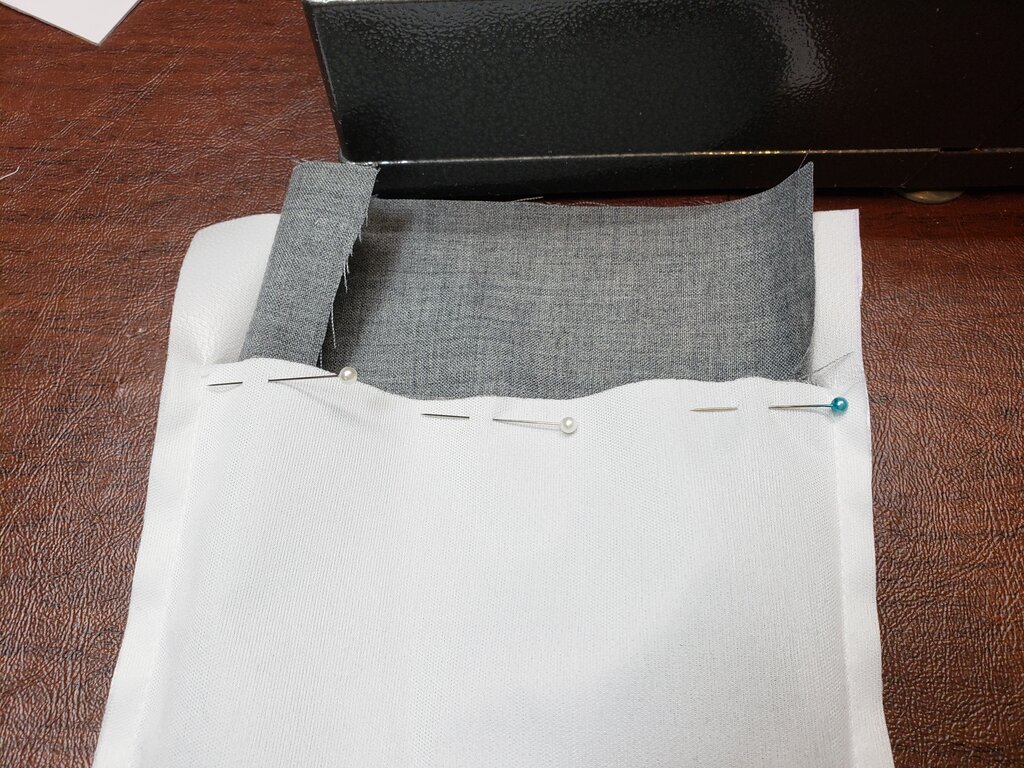
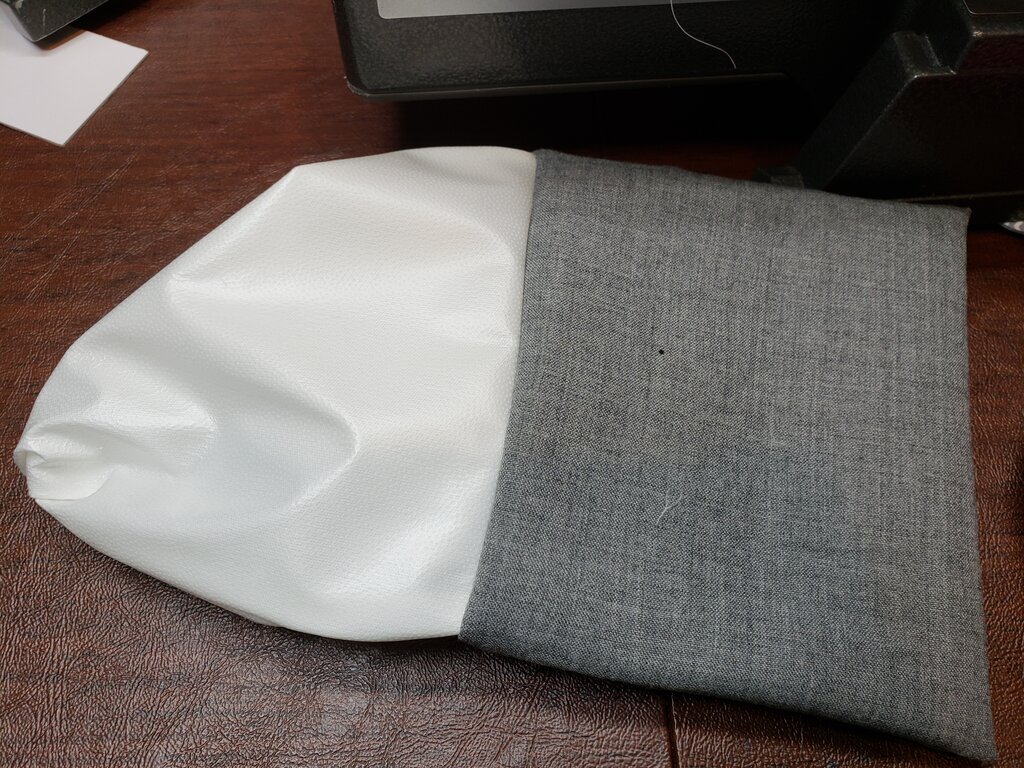
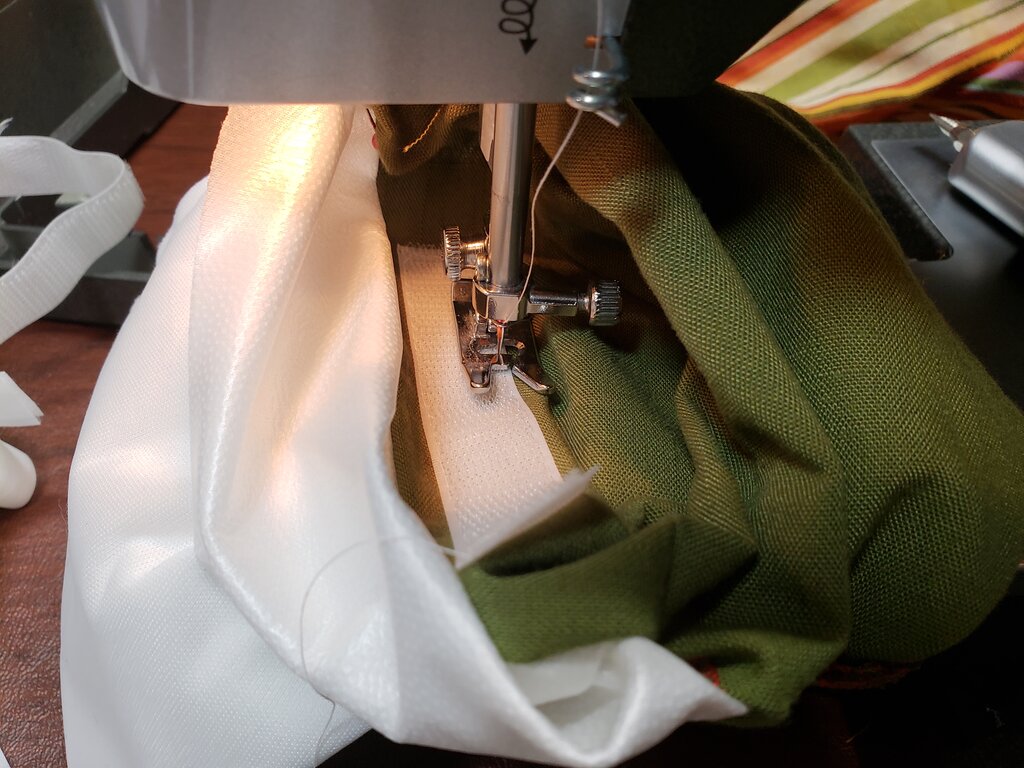
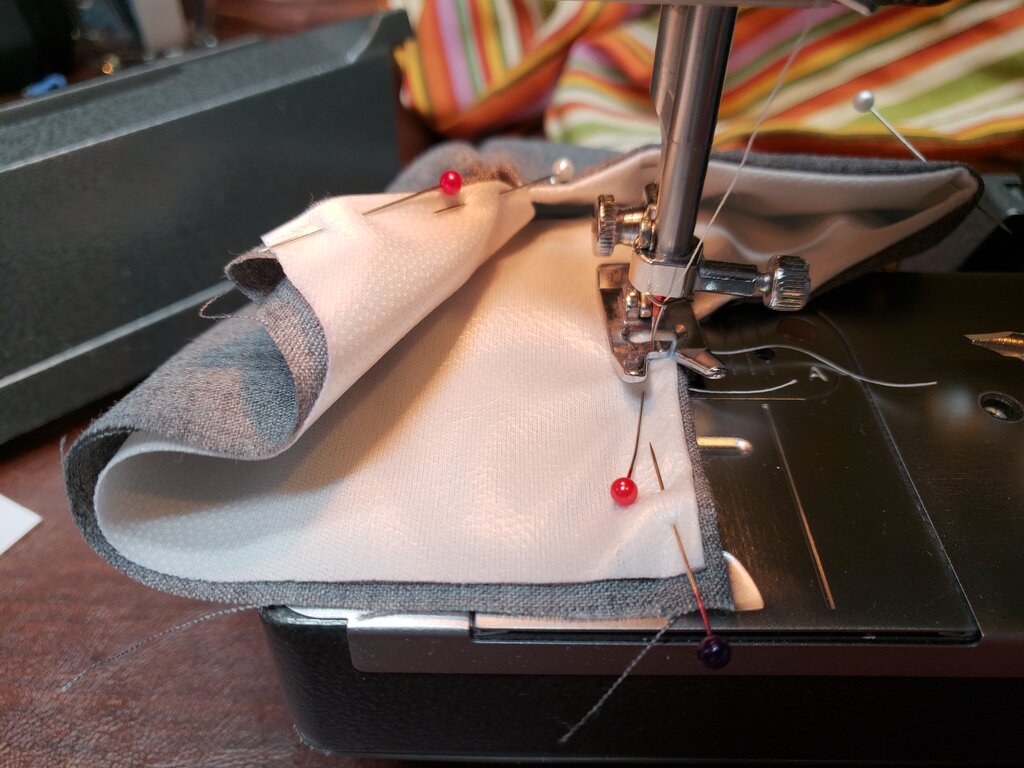
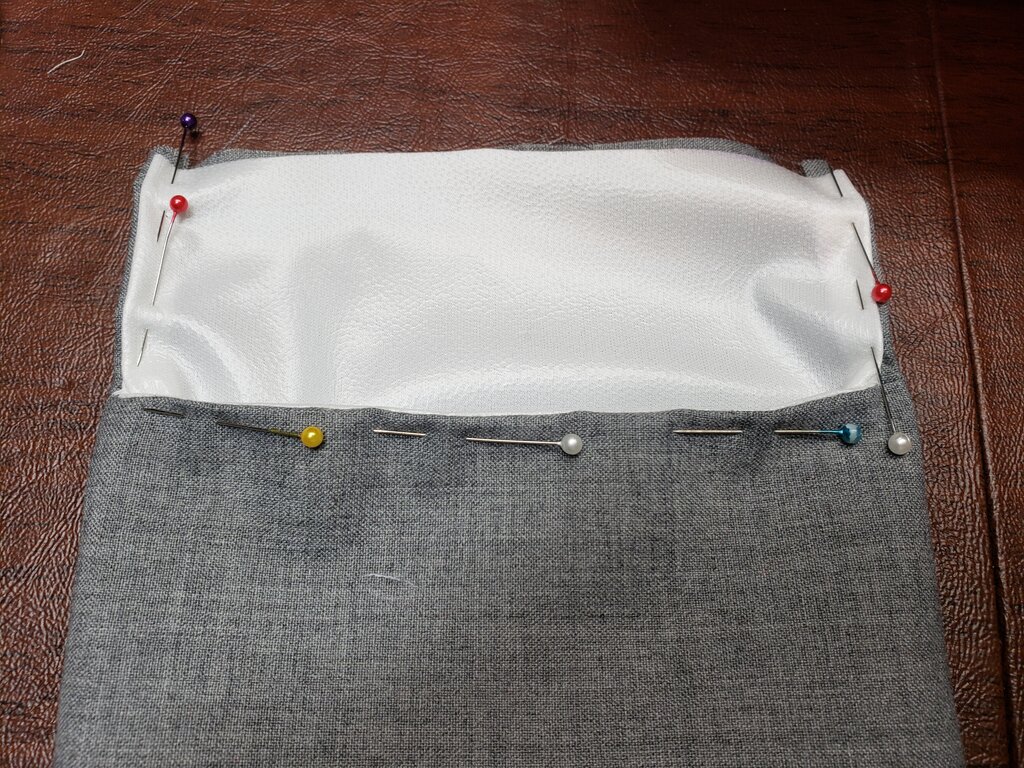
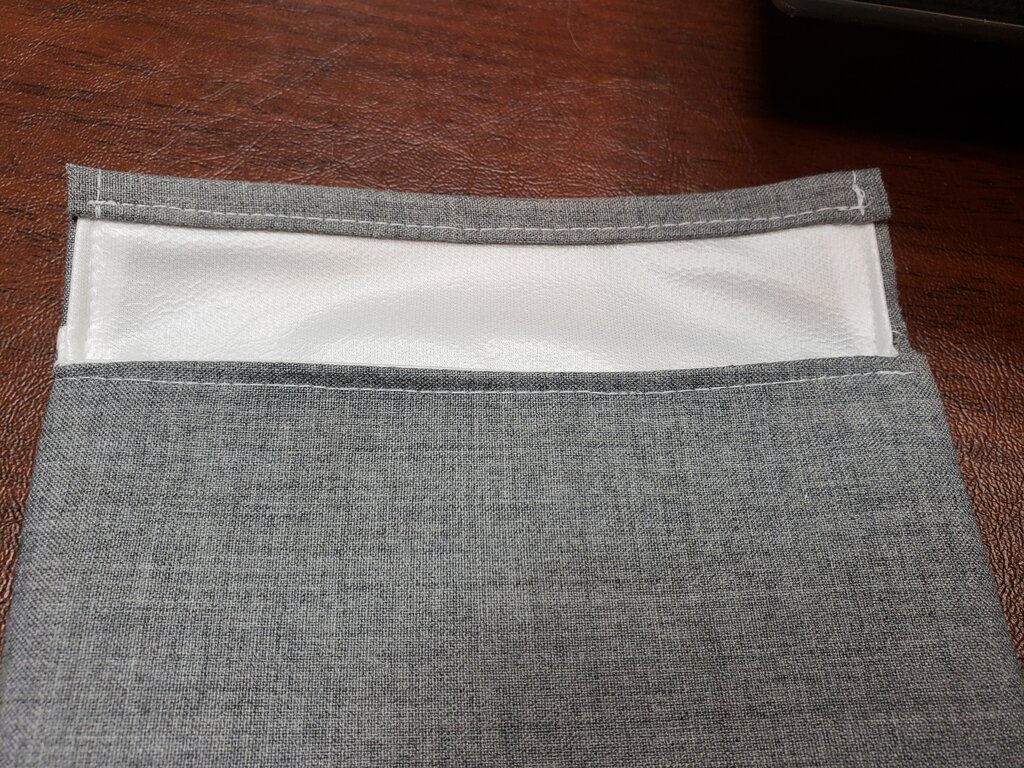
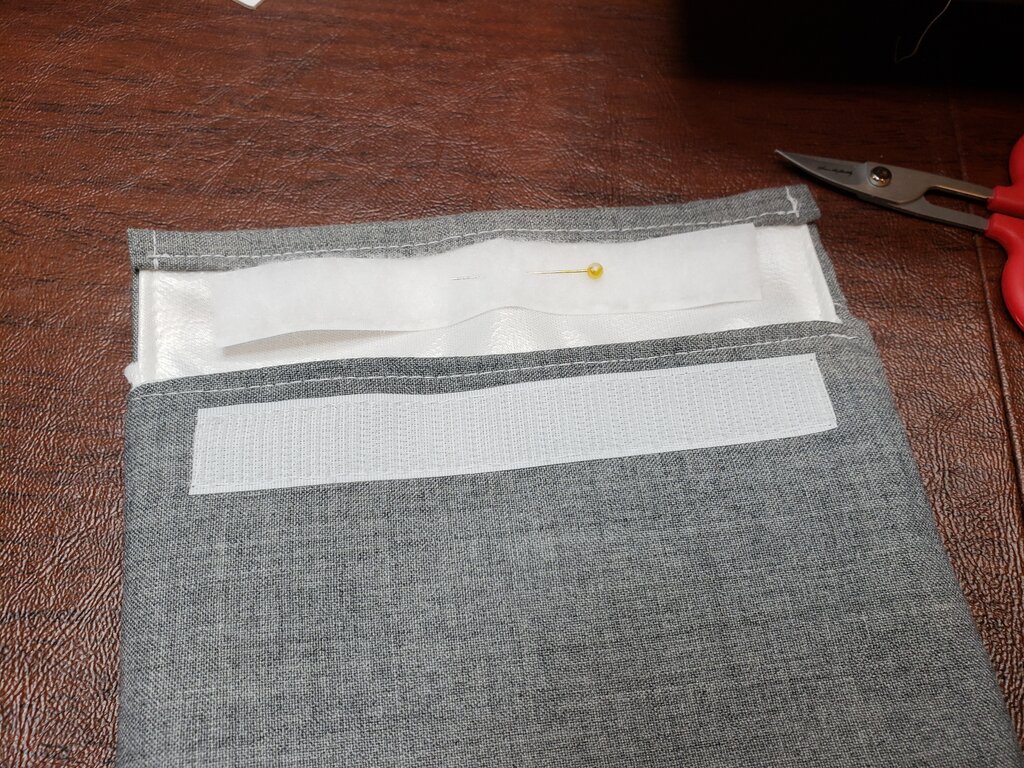
The napkins were very simple to make and color fast. There will be a tutorial next week with instructions.
Activities
Laser Tag
We planned to have Laser tag but unfortunately (this whole month) it rained. We have a dozen of the old Laser Challenge Team Force sets from my childhood. Someday we will have a laser tag party. I’m adding this to the activity list because it is an awesome idea if you can find these old sets at a yard sale.
Photobooth
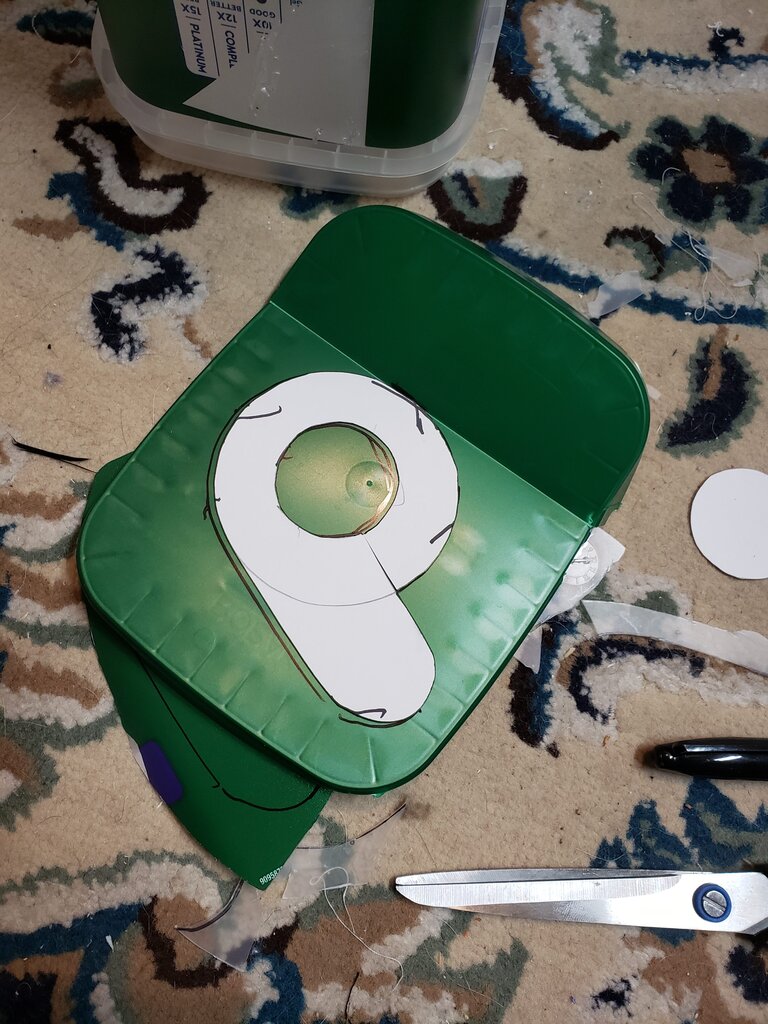
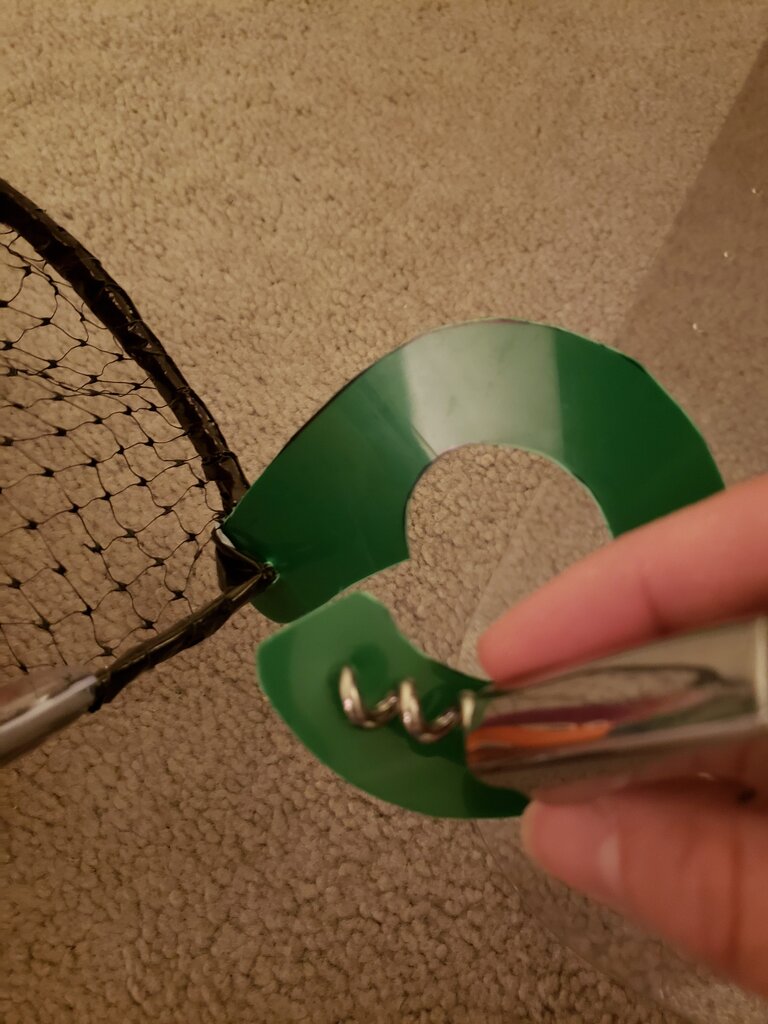
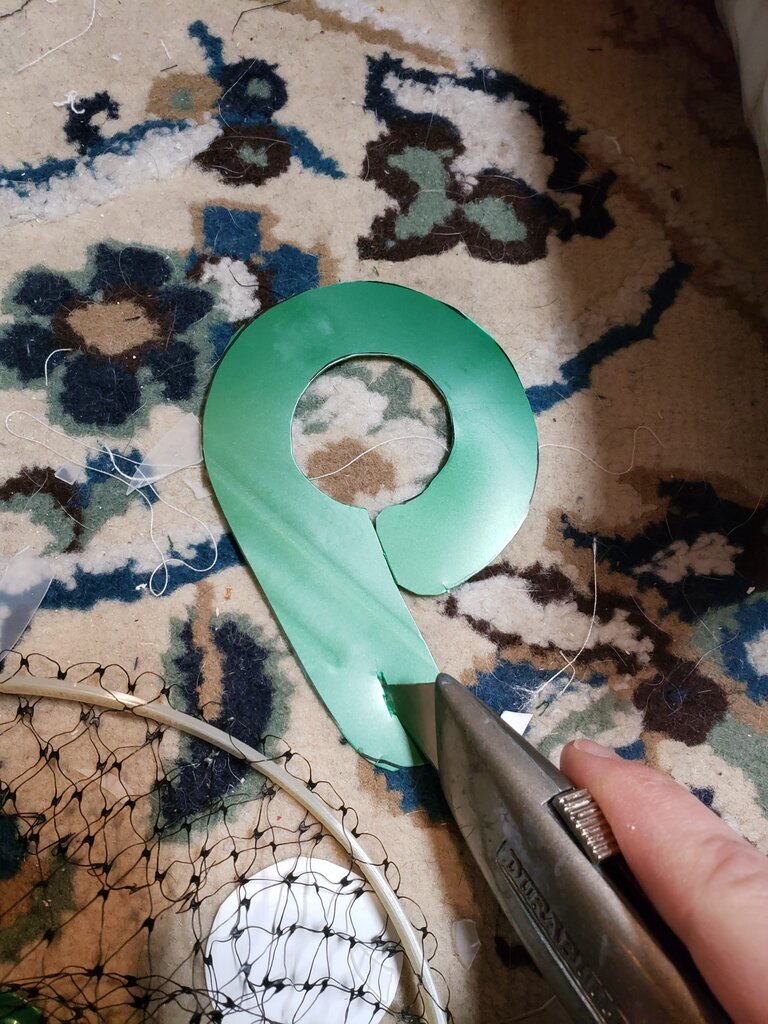
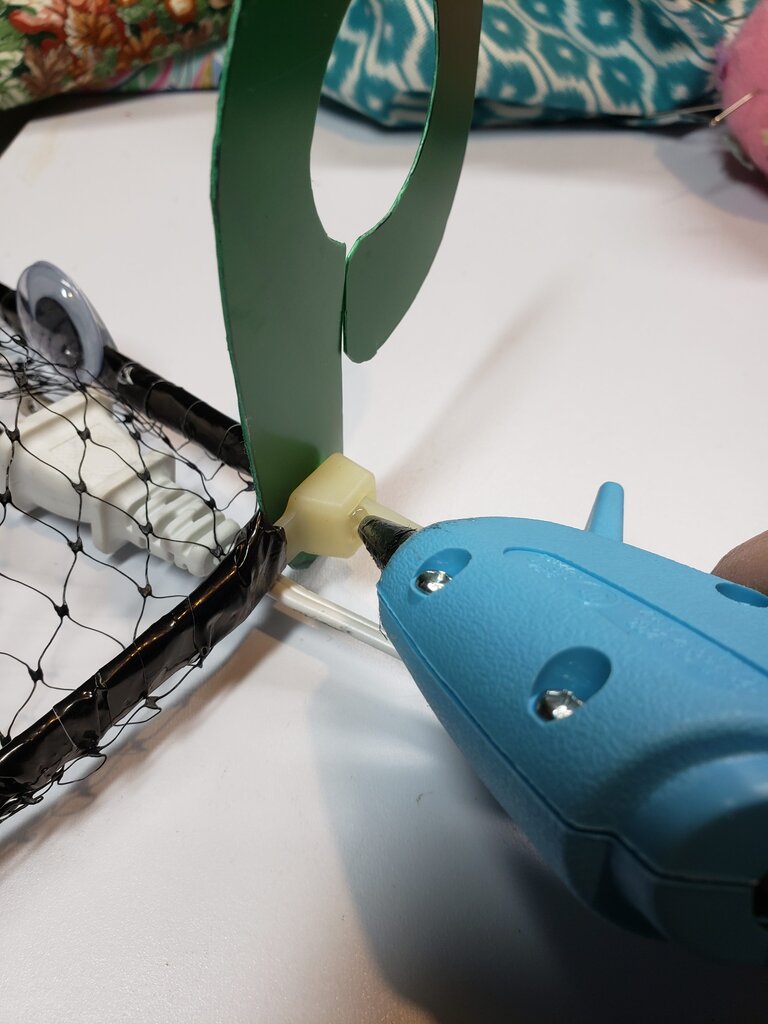
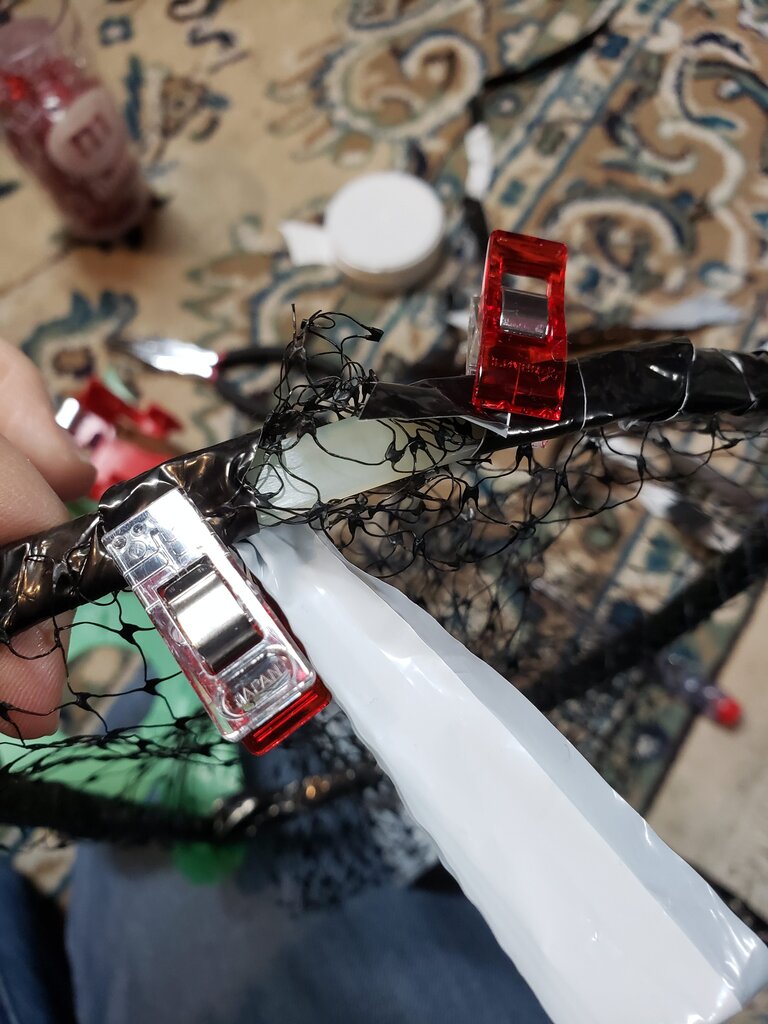
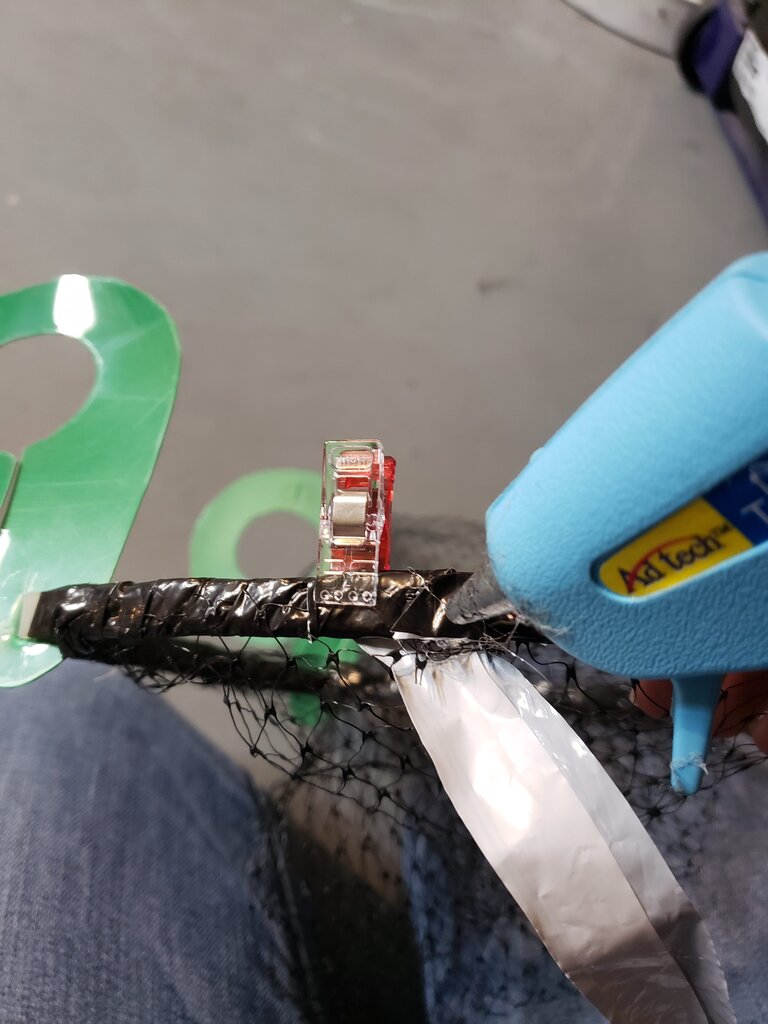
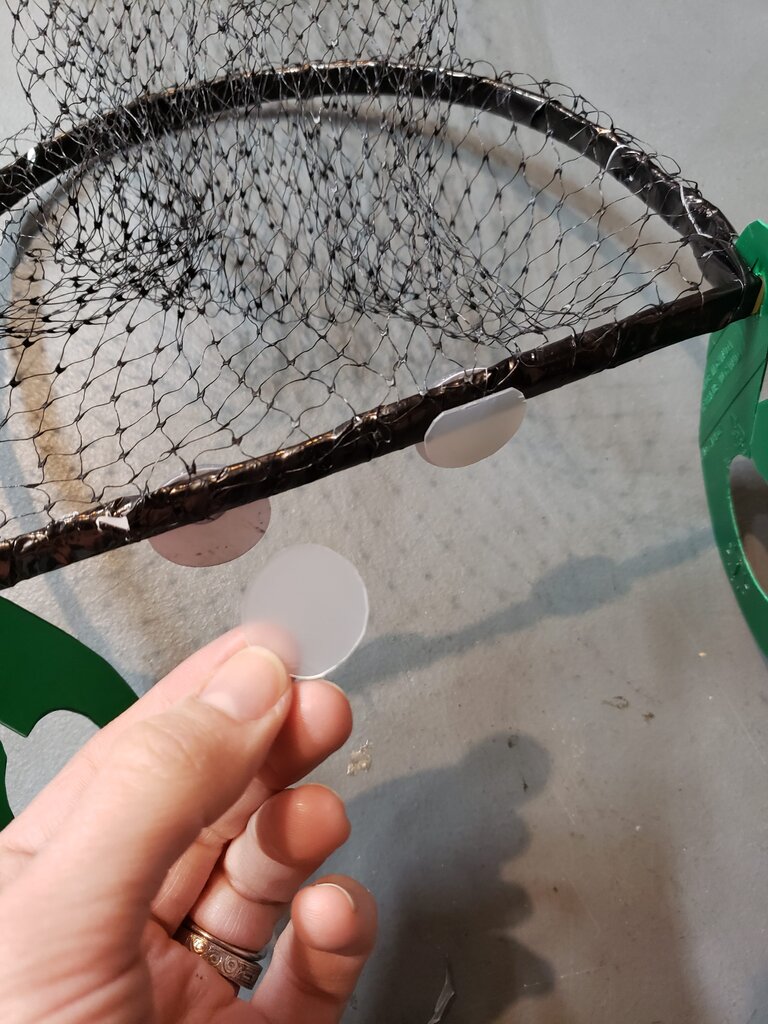
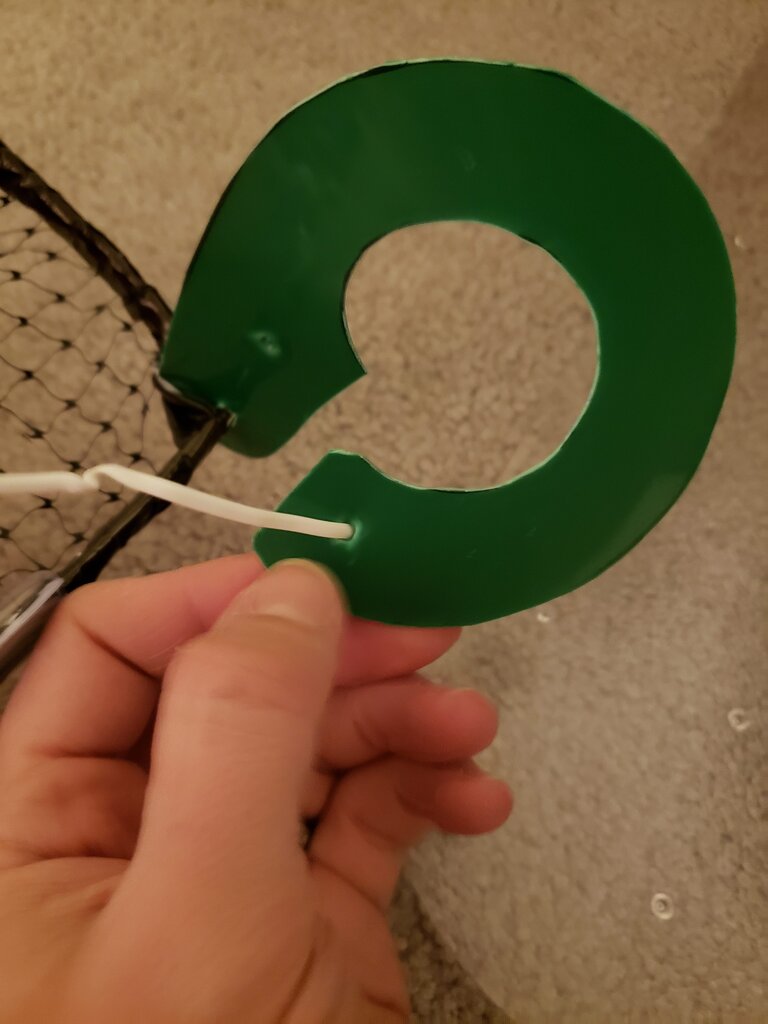
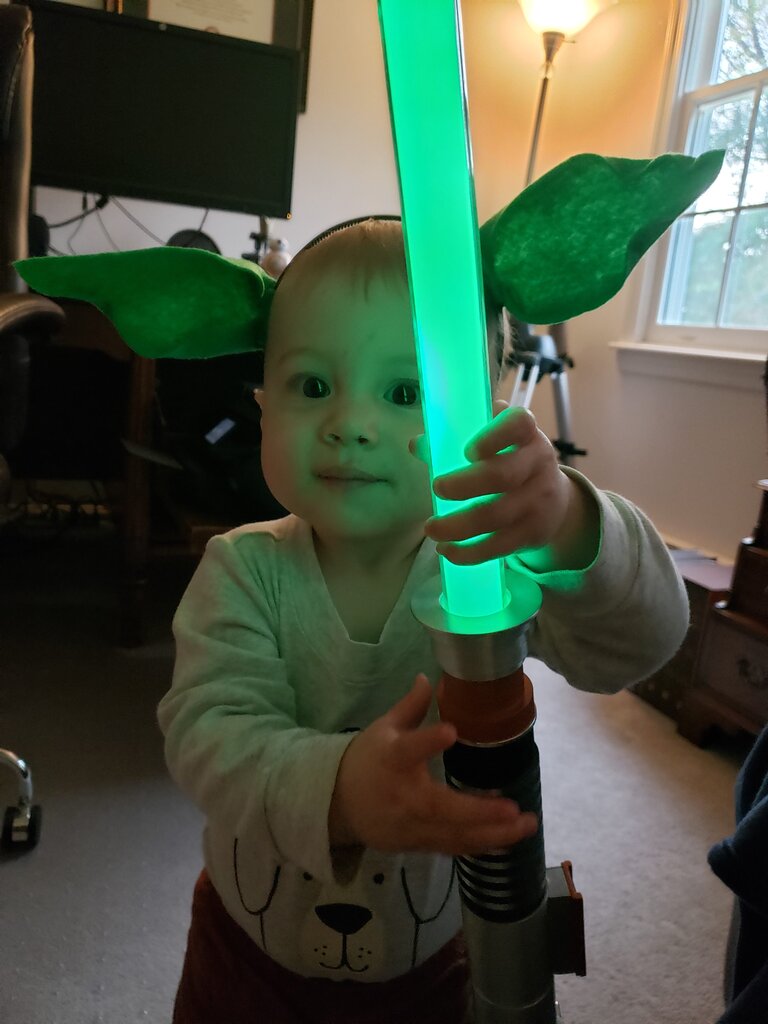
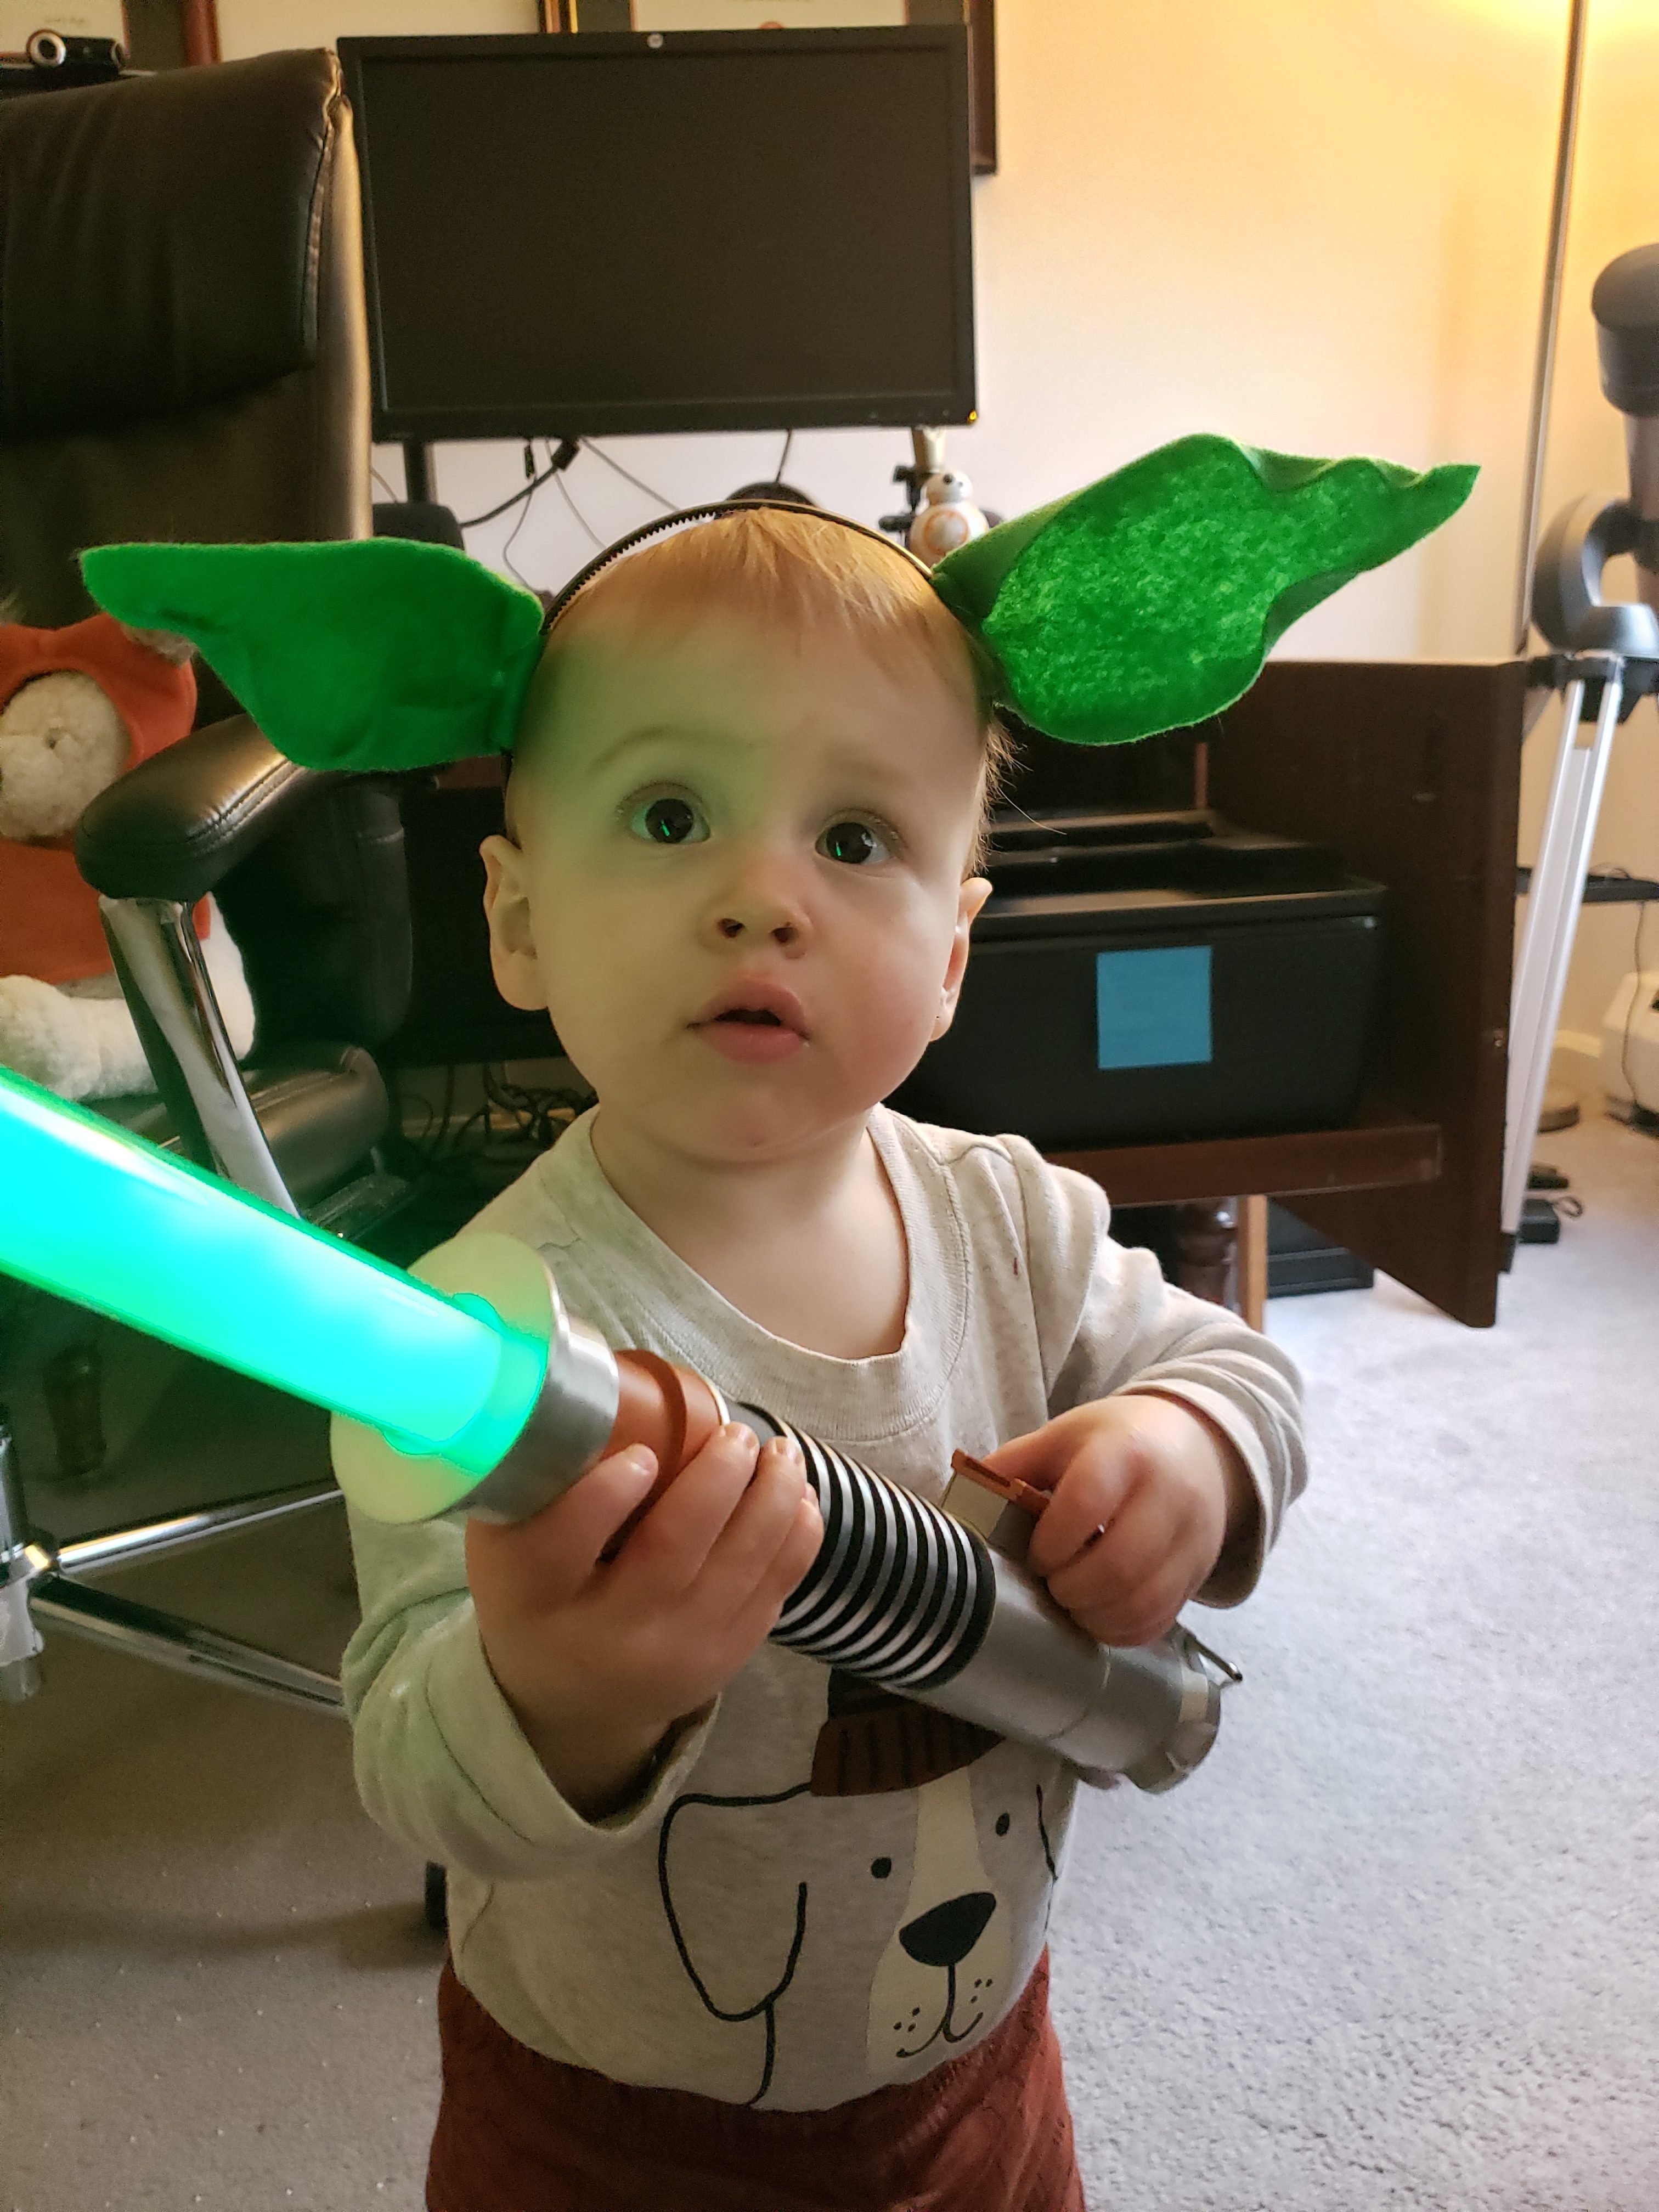
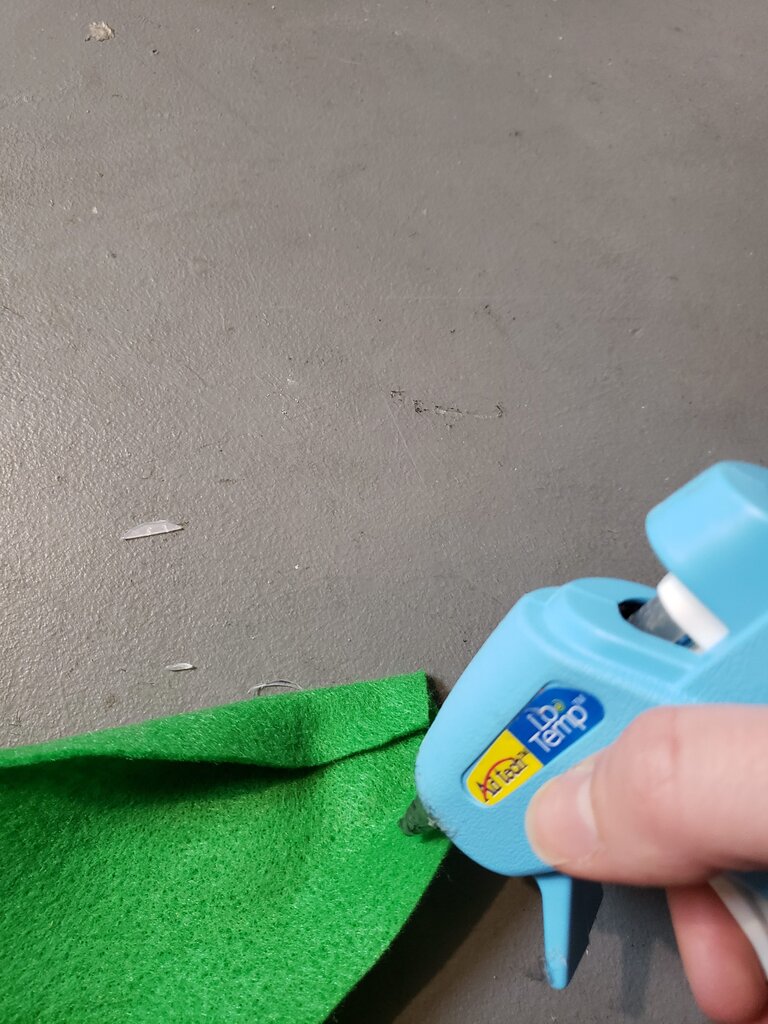
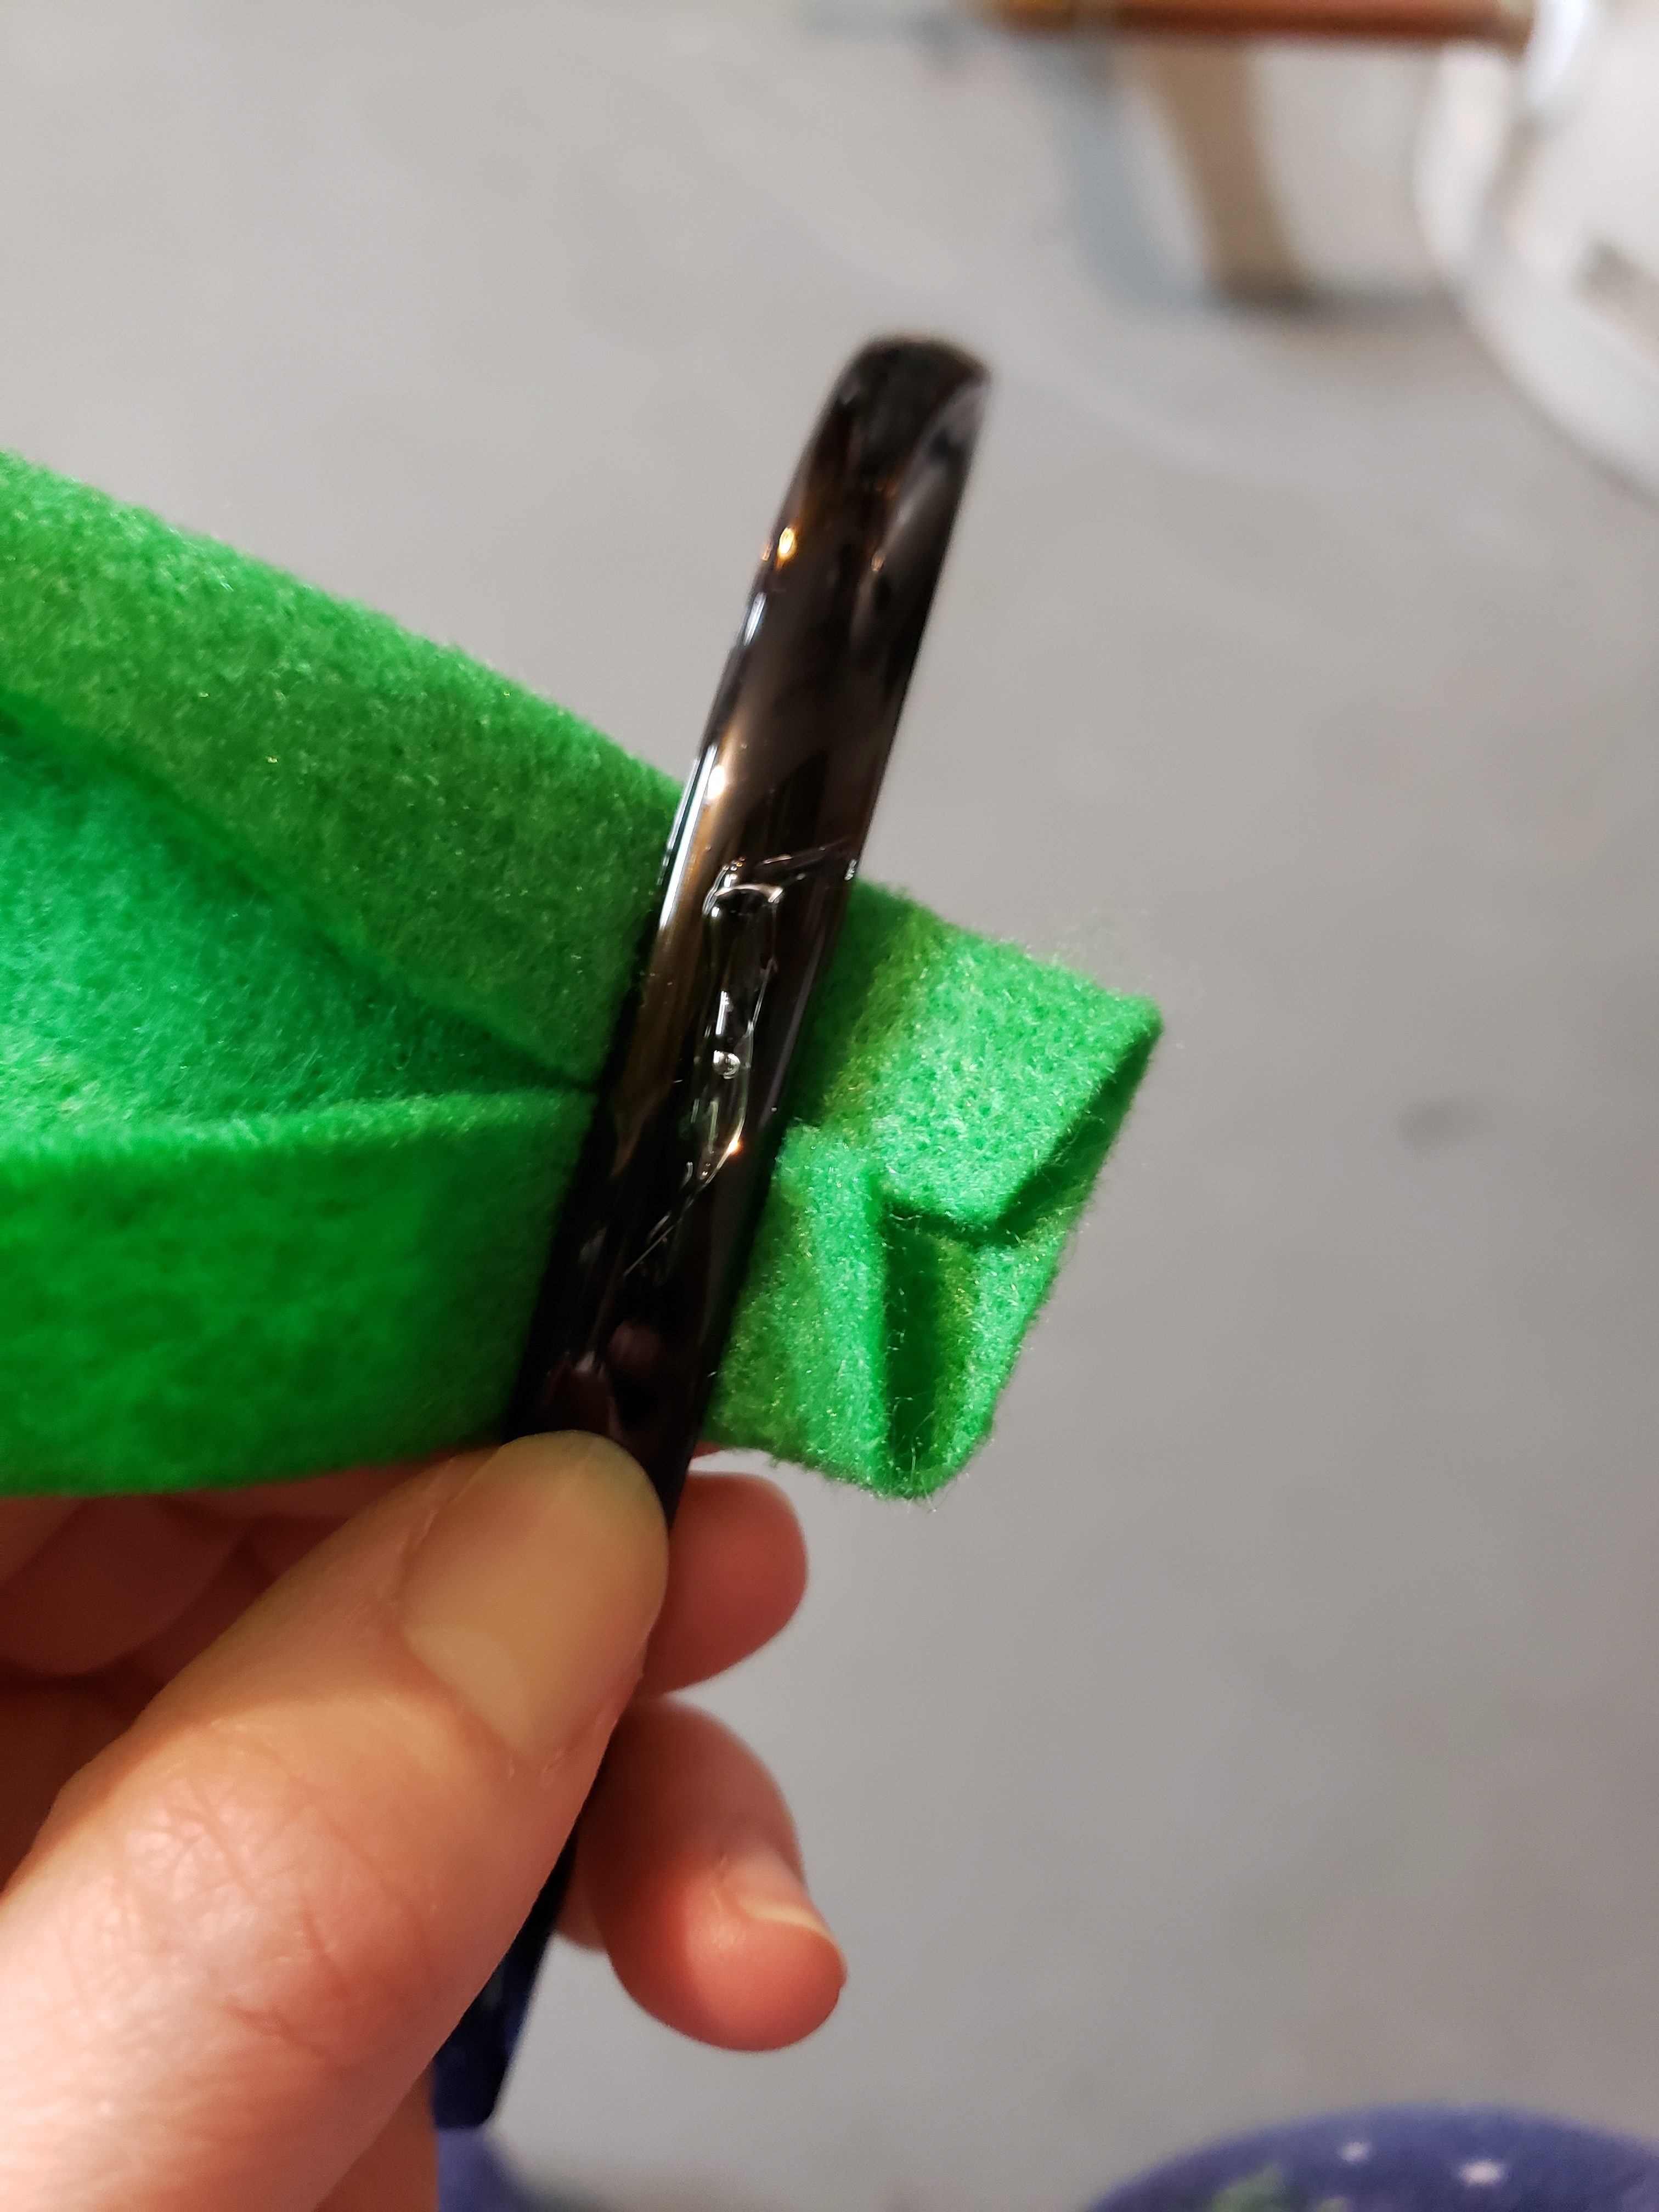
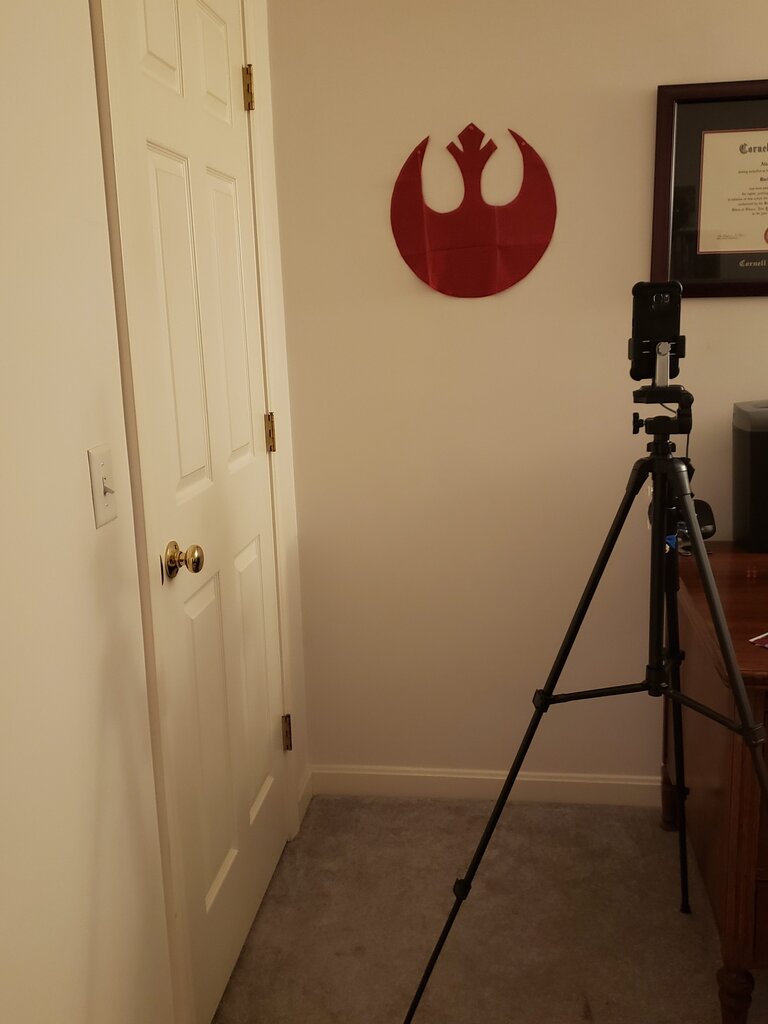
I used the Photobooth Mini Full App** with my husband’s old phone and a tripod to create a photobooth. For props I used a bunch of light sabers we already owned, my meditation cloak/jedi robe, the Chewbacca ears, and these easy to make Yoda ears (which Julius loved wearing – tutorial next week). For the background, I cut out the rebel symbol in red felt (which I already had on hand) and tacked it up onto one of our white walls.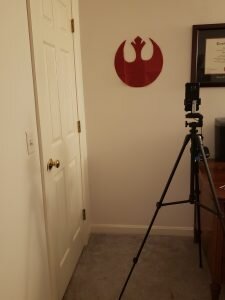


photo: Joe Kerekes

photo: Joe Kerekes
Star Wars movies
What is a Star Wars party without Star Wars movies?! We of course own all of them (mostly in blu ray) so we prepared to have a movie playing in the man cave and on a small tv in the living room. At the end of the night, everyone still around watched Return of the Jedi in the man cave(with a lot of audience commentary).

Everyone is enthralled with RotJ
Food
We had a lot of fun with the food. I made the appetizers as simple as possible – almost no prep work – but we had a lot of fun naming them. Here are the print outs for the labels. I got to use almost all my Star Wars themed cooking equipment with the exception of some cookie cutters and my Star Wars pancake molds…

(Devoured) Roast “porg” photo: Joe Kerekes
- Roast Porg (rotisserie chicken I reheated in the oven -slightly morbid)

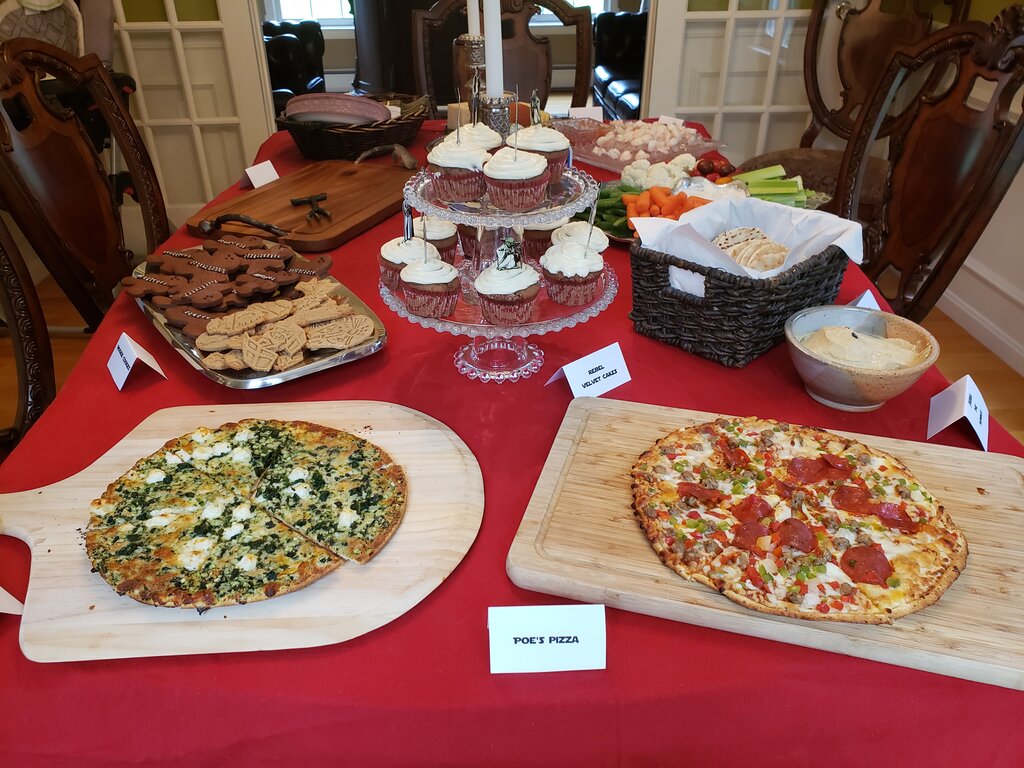
- Poe’s pizza (frozen omnivore pizza)
- Finn’s Flatbread (frozen vegetarian pizza)
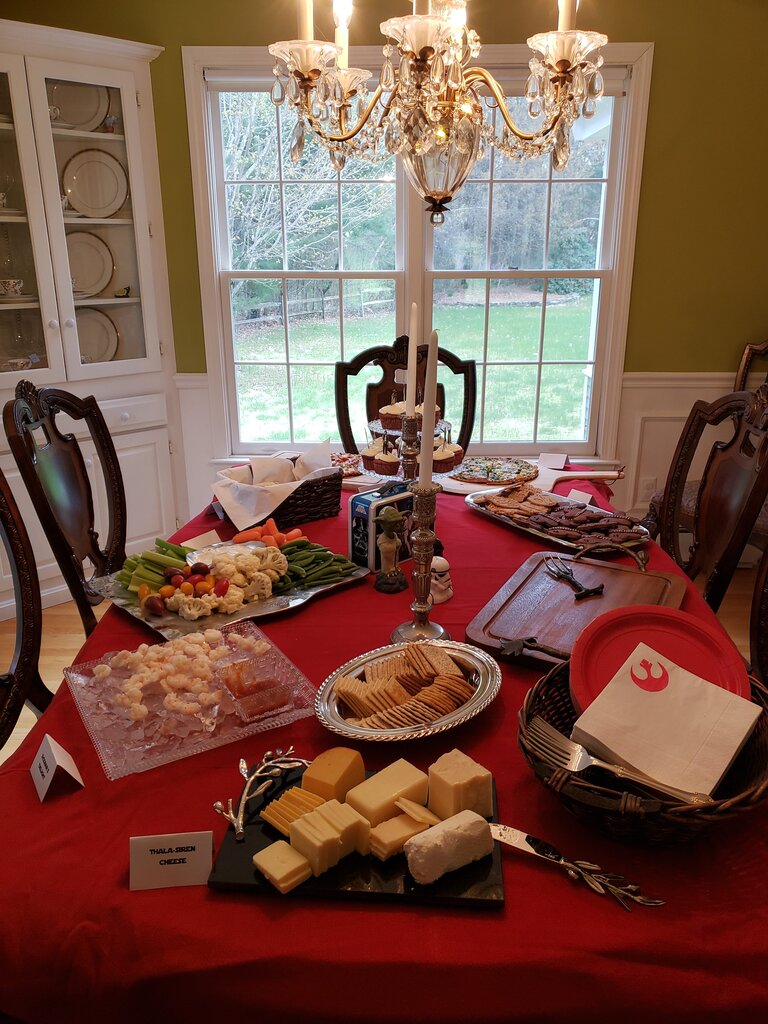
From left to right: Nerf fodder, Ackbar’s delight and Thala Siren Cheese
- Thala-siren Cheese (assorted cheeses & crackers)
photo: Joe Kerekes
- Nerf Fodder (Assorted veggies and ranch dip)

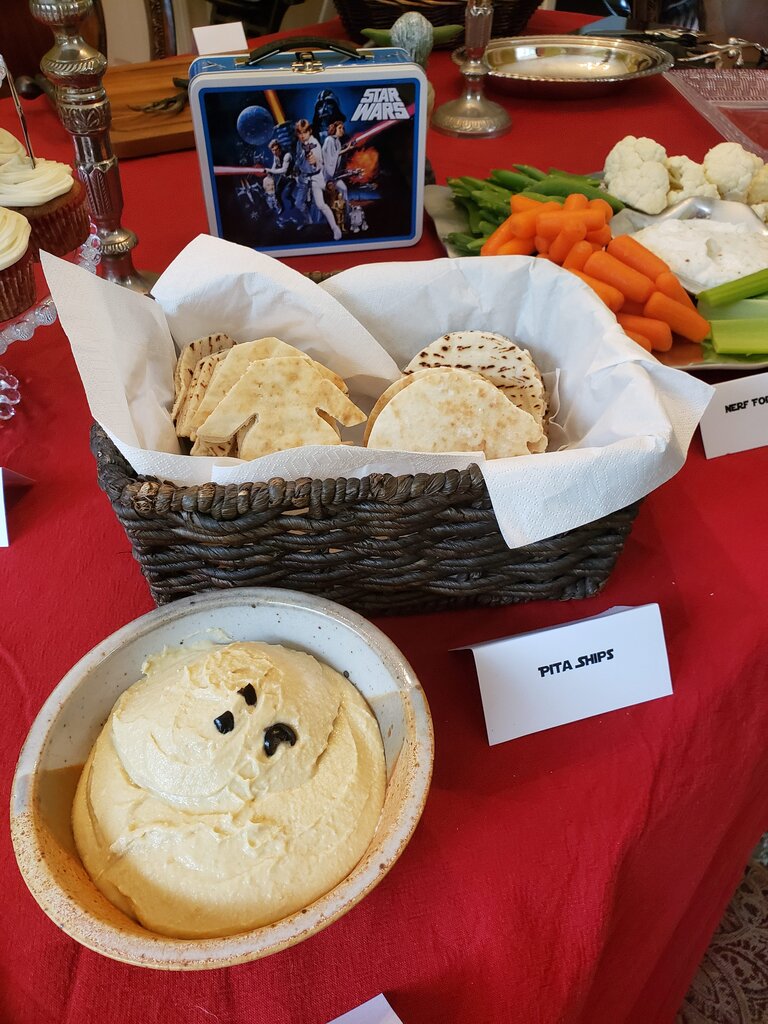
Jabba the Hummus & Pita Ships
- Jabba The Hummus (I piped the hummus into a bowl in the shape of Jabba and added olive eyes and mouth)
- Pita Ships (Just store bought pita bread cut into ship shapes with these sandwich cutters I apparently own – I honestly thought they were cookie cutters when I got them.)
- Ackbar’s Delight (these are just shrimp & cocktail sauce but because I’m concerned about global welfare I had to buy the USA sustainably fished shrimp that were slightly varying in size and didn’t have any tails and were slightly ground up because they must be mechanically separated.)

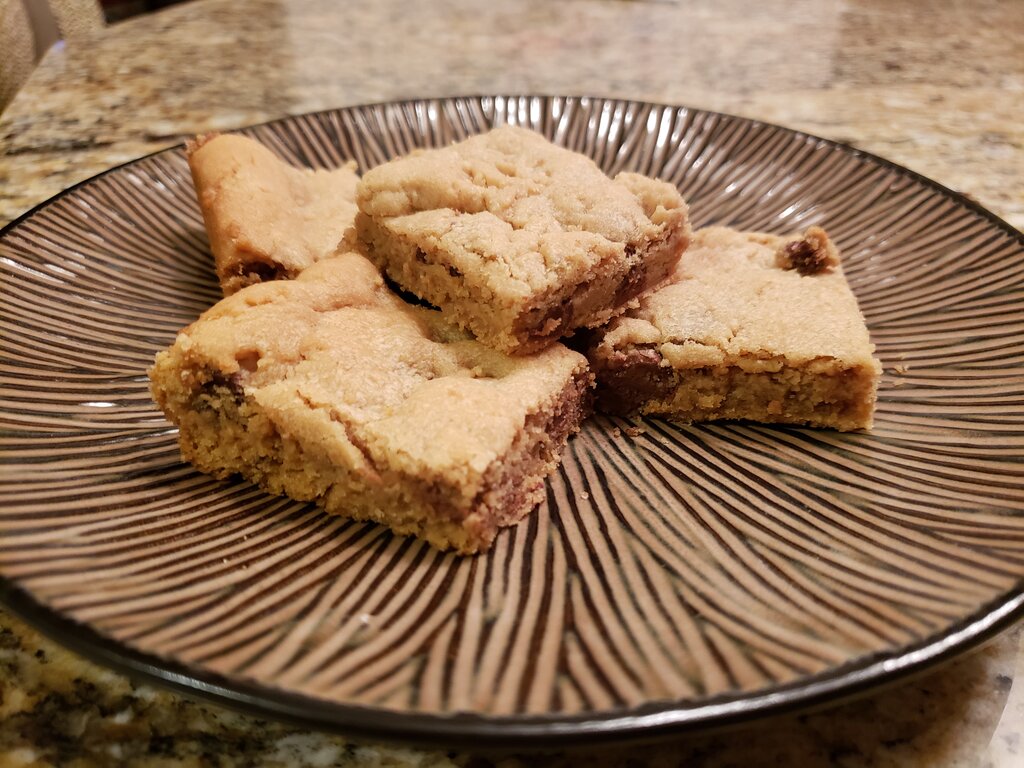
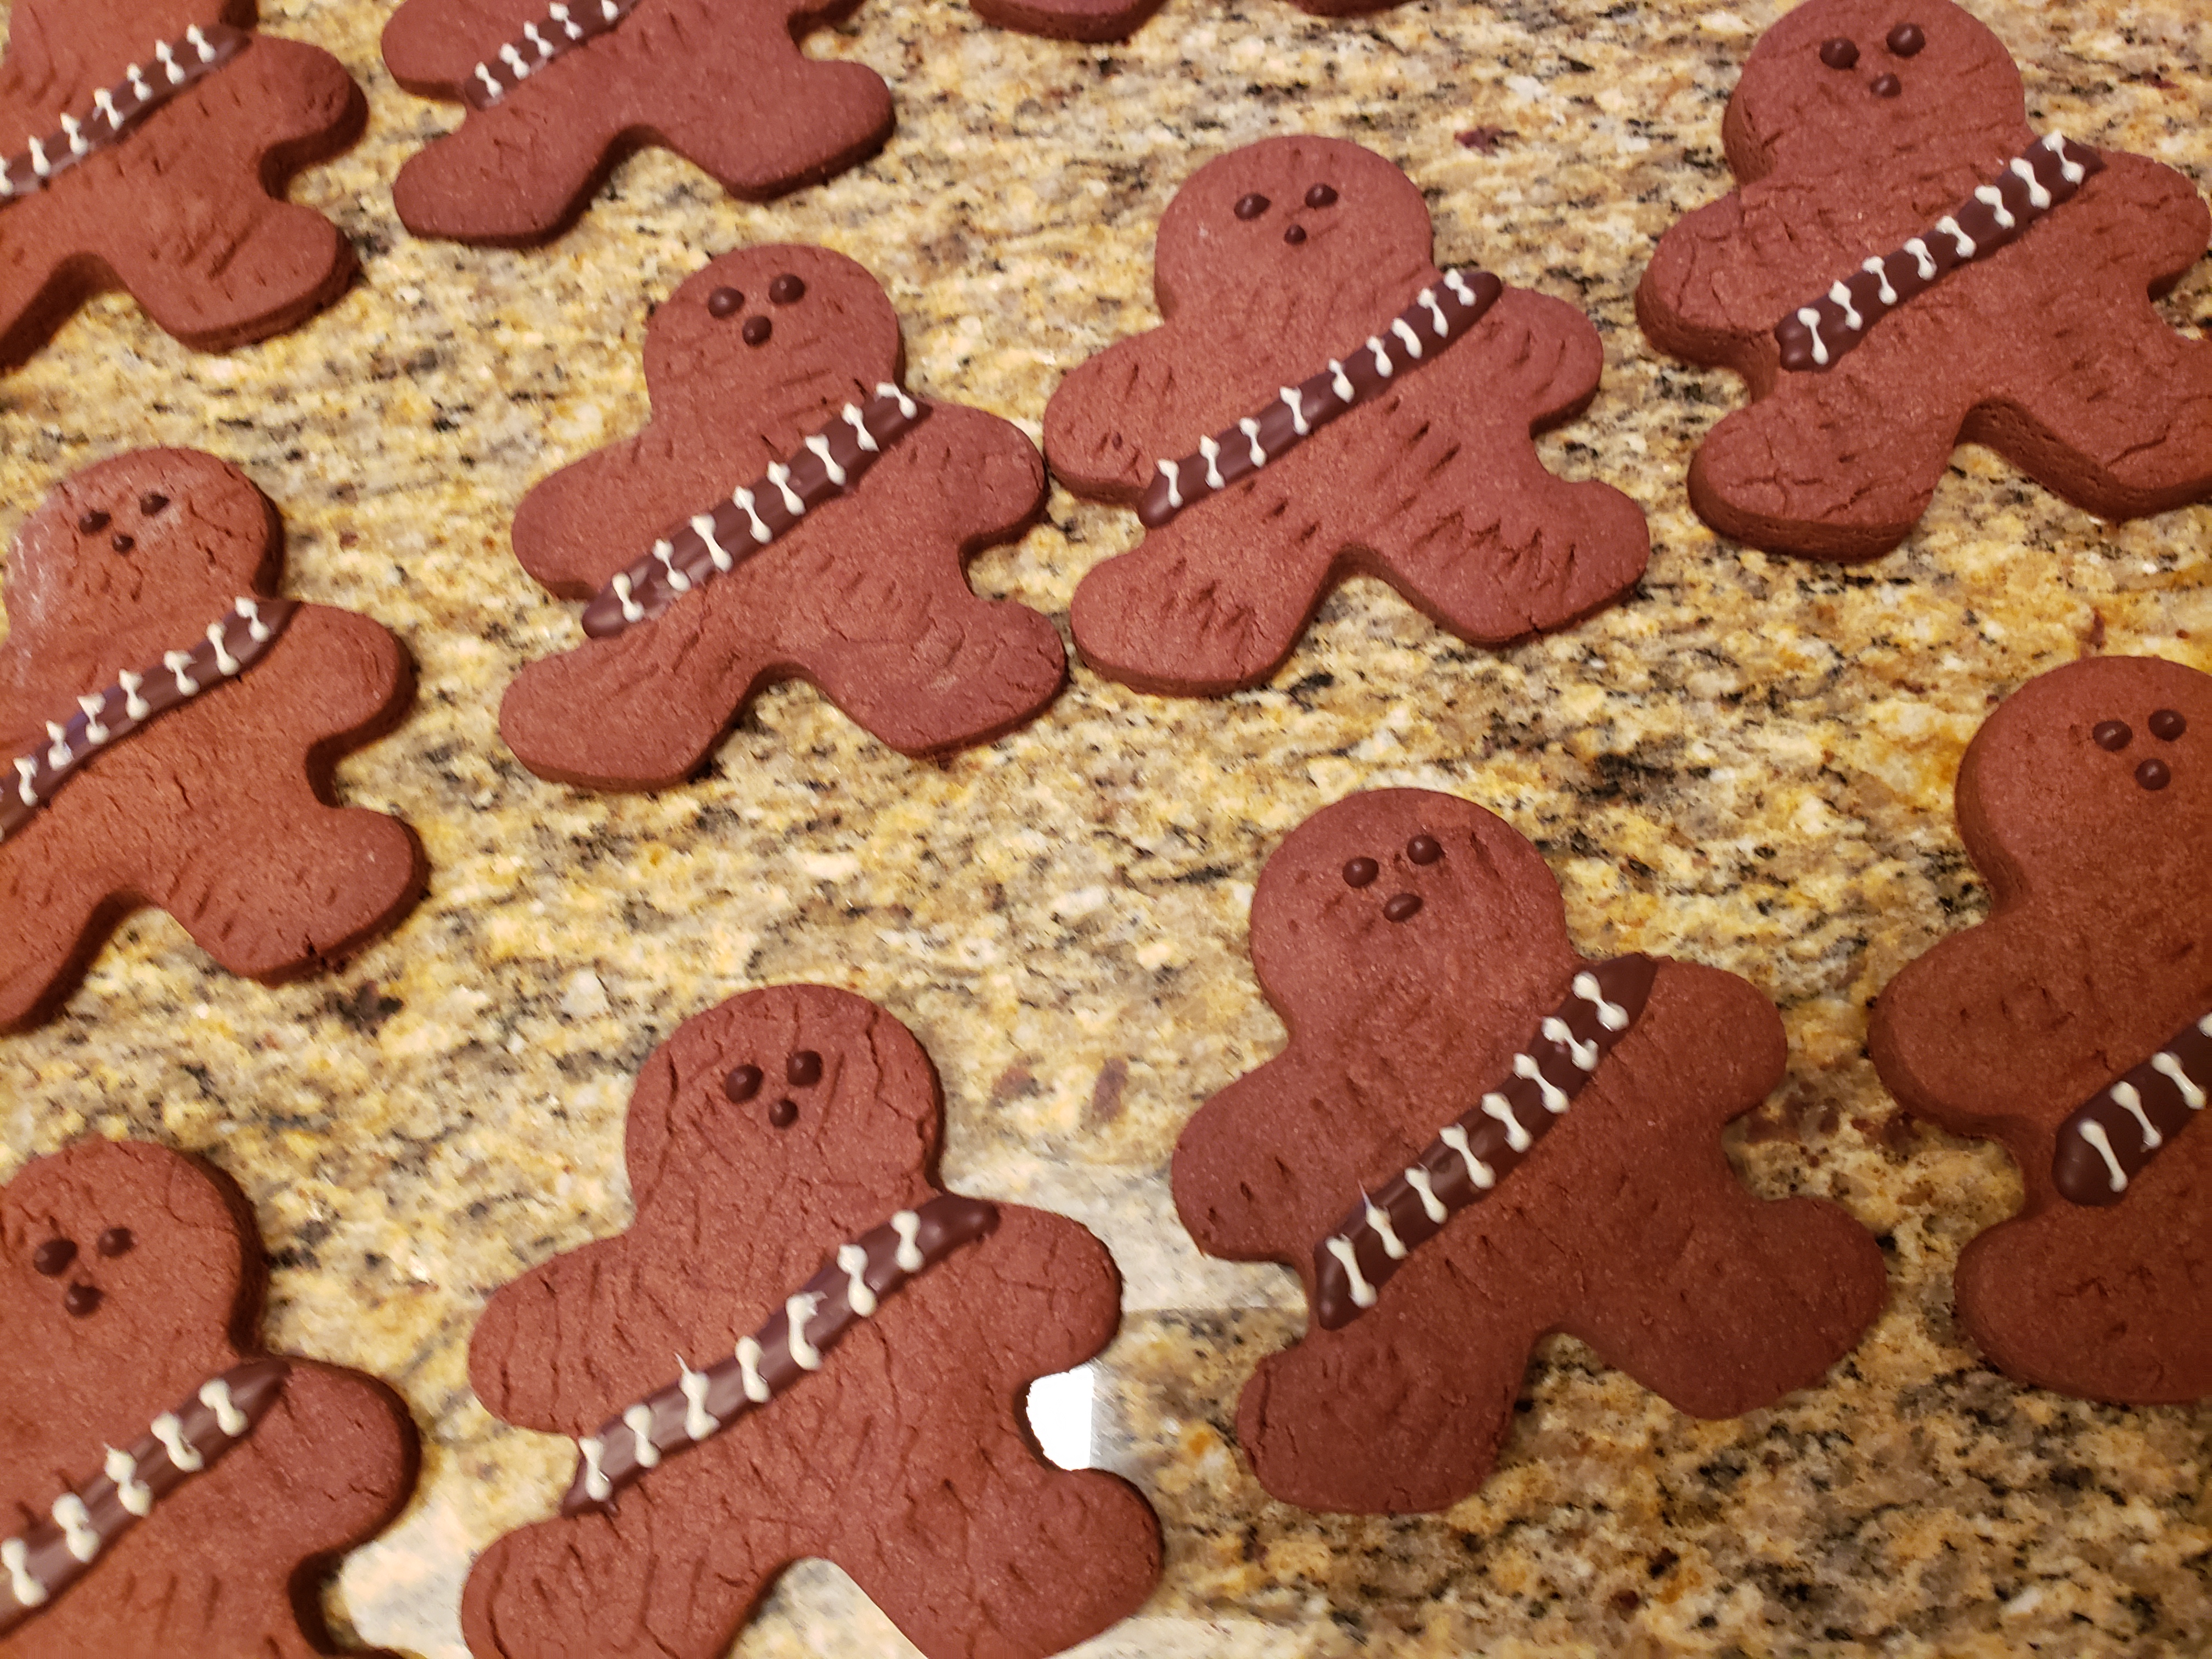
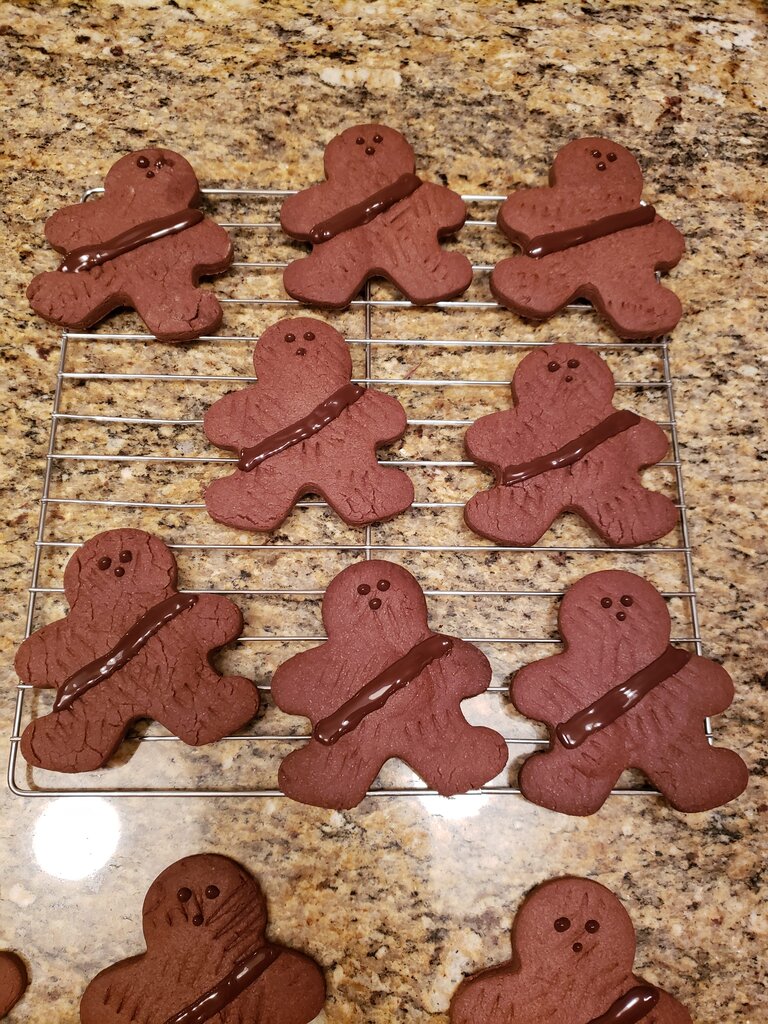
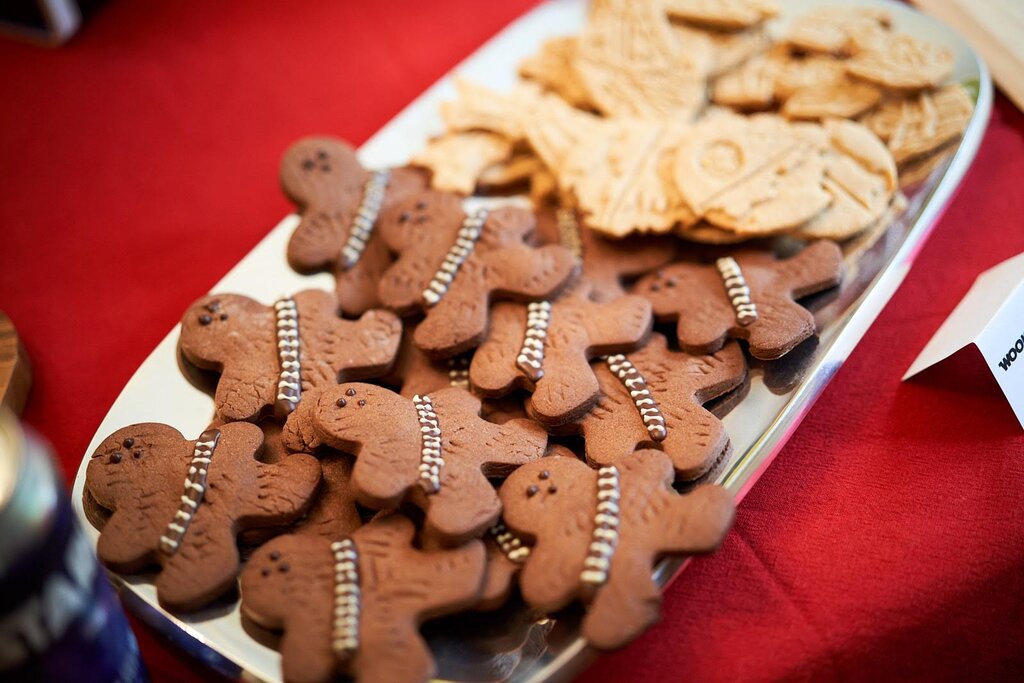
Wookie Cookies (left) and ship cookies (right – made by Ka)
photo: Joe Kerekes
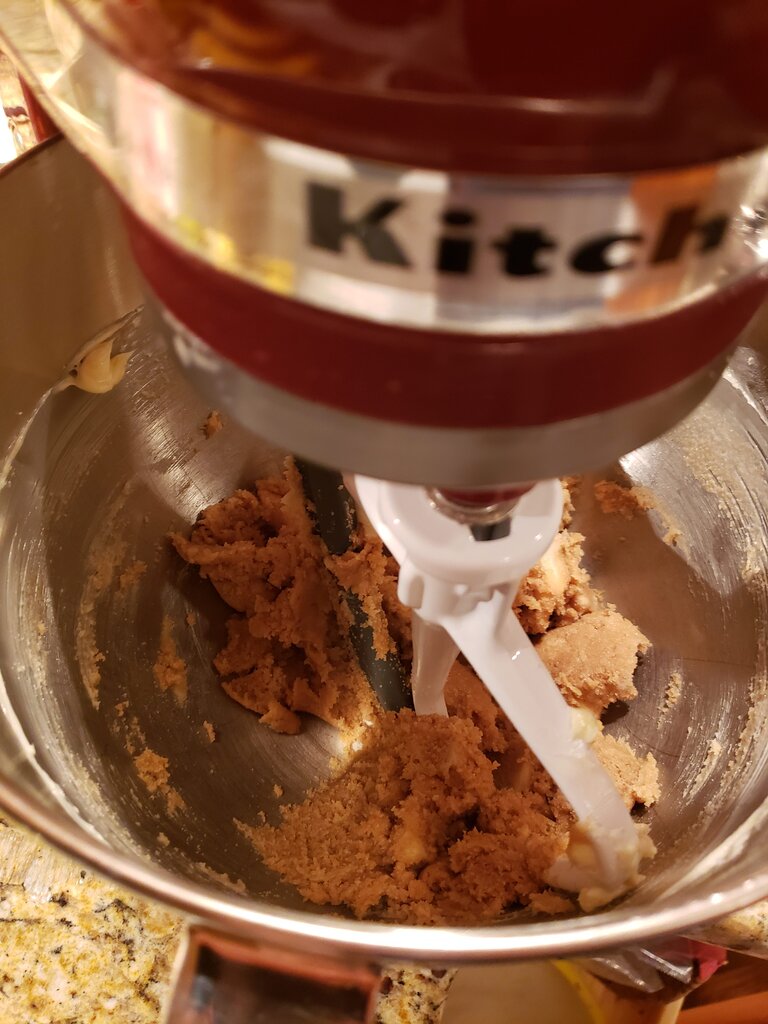
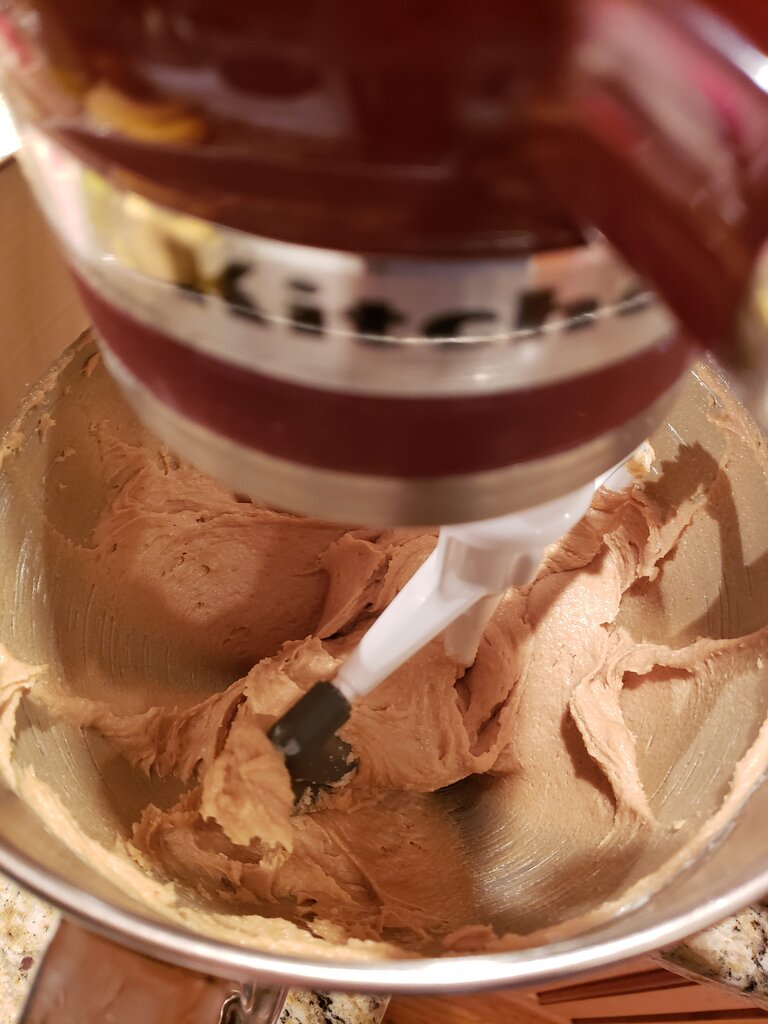
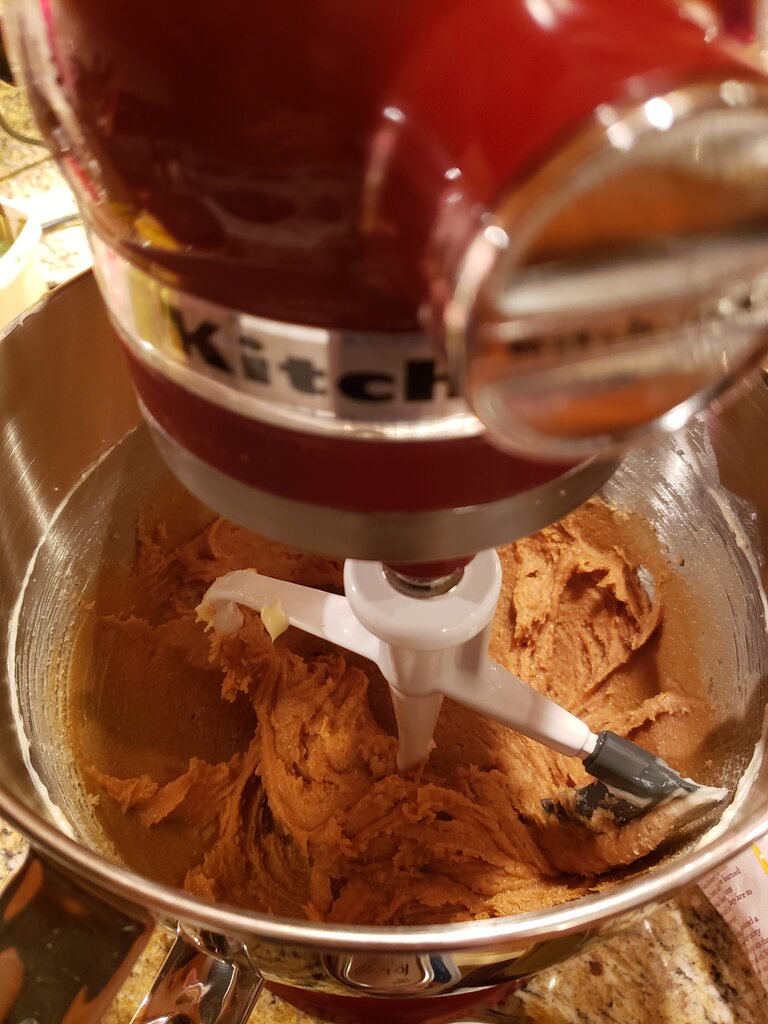
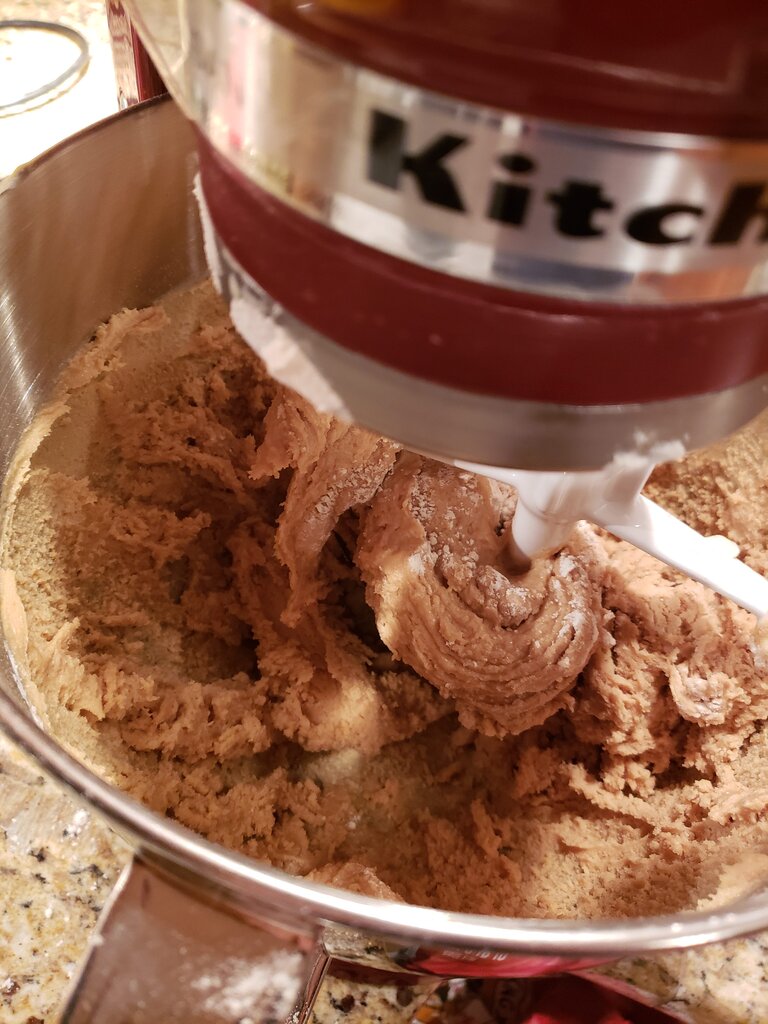
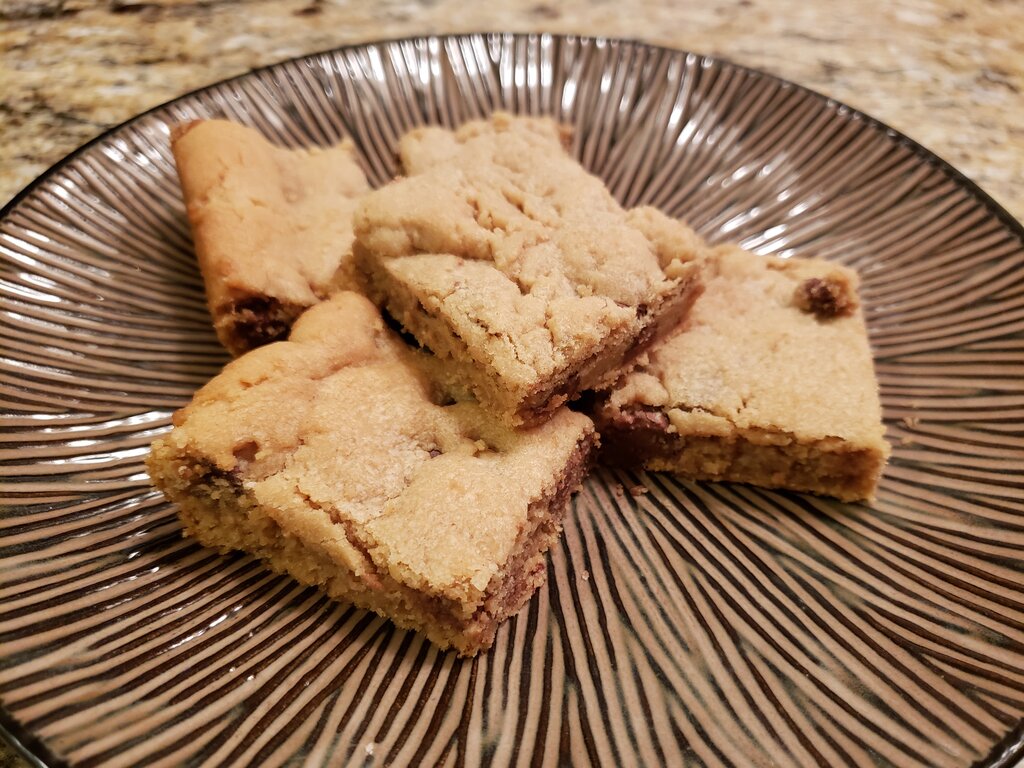
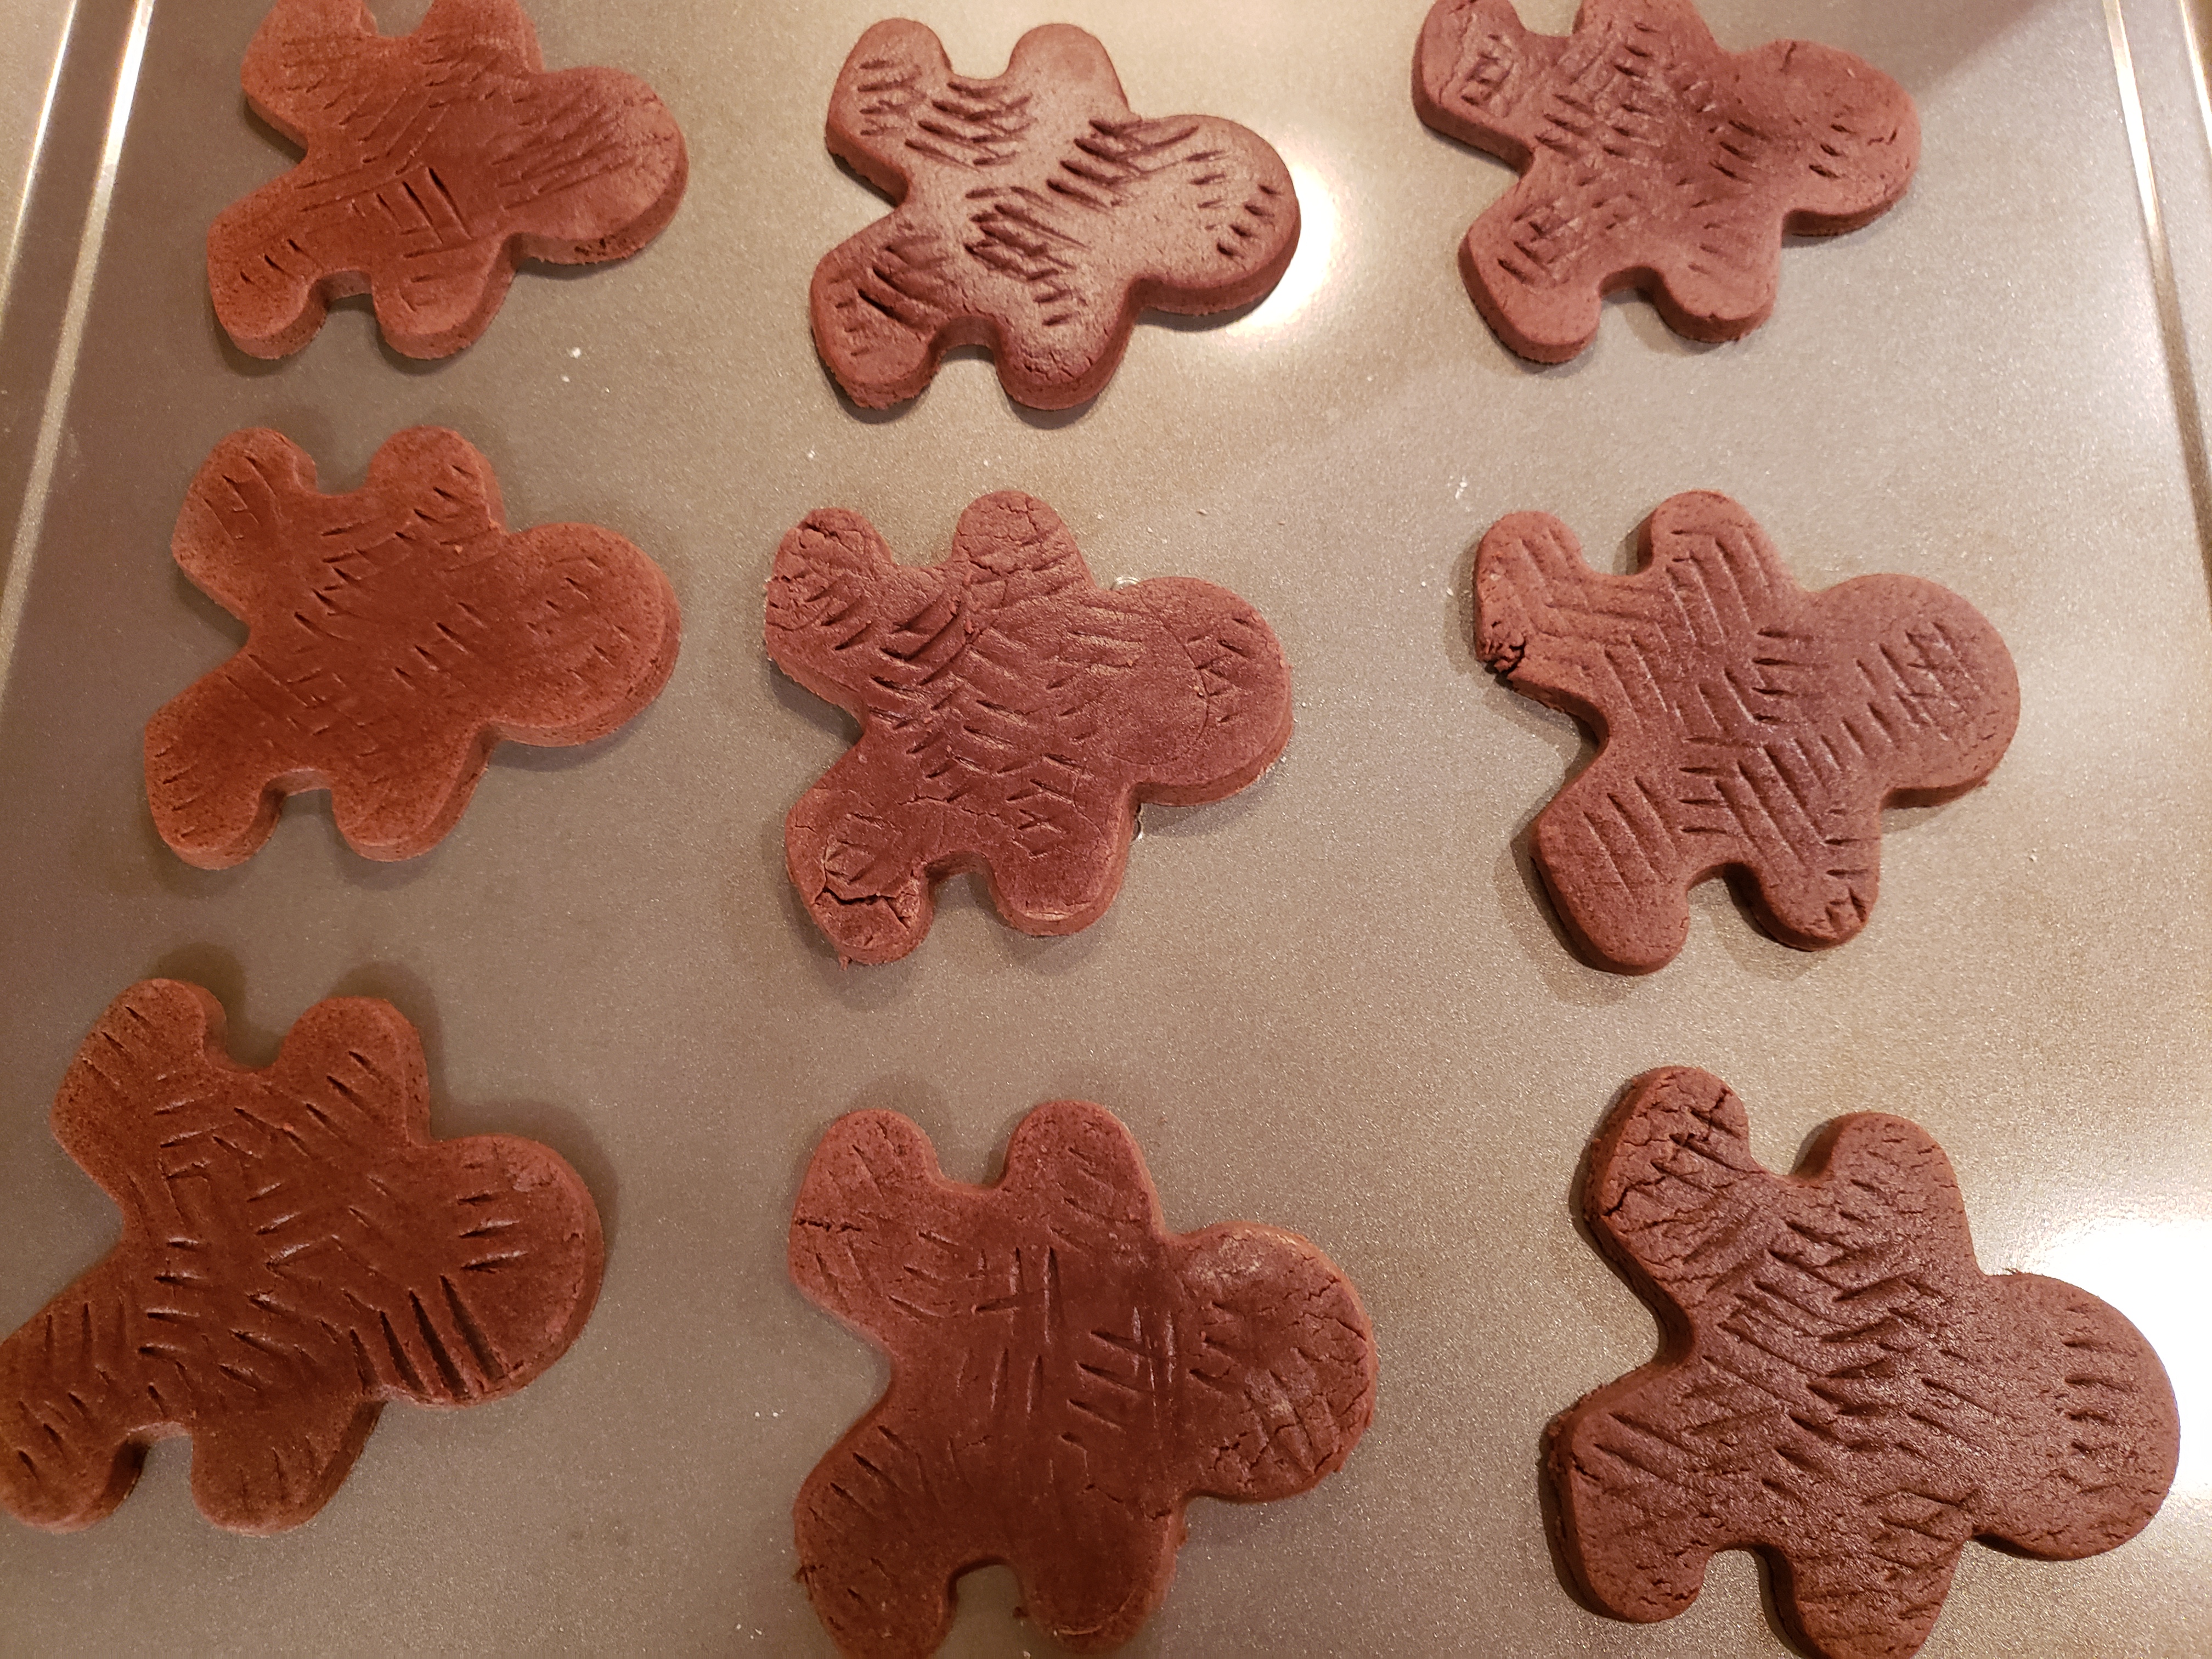
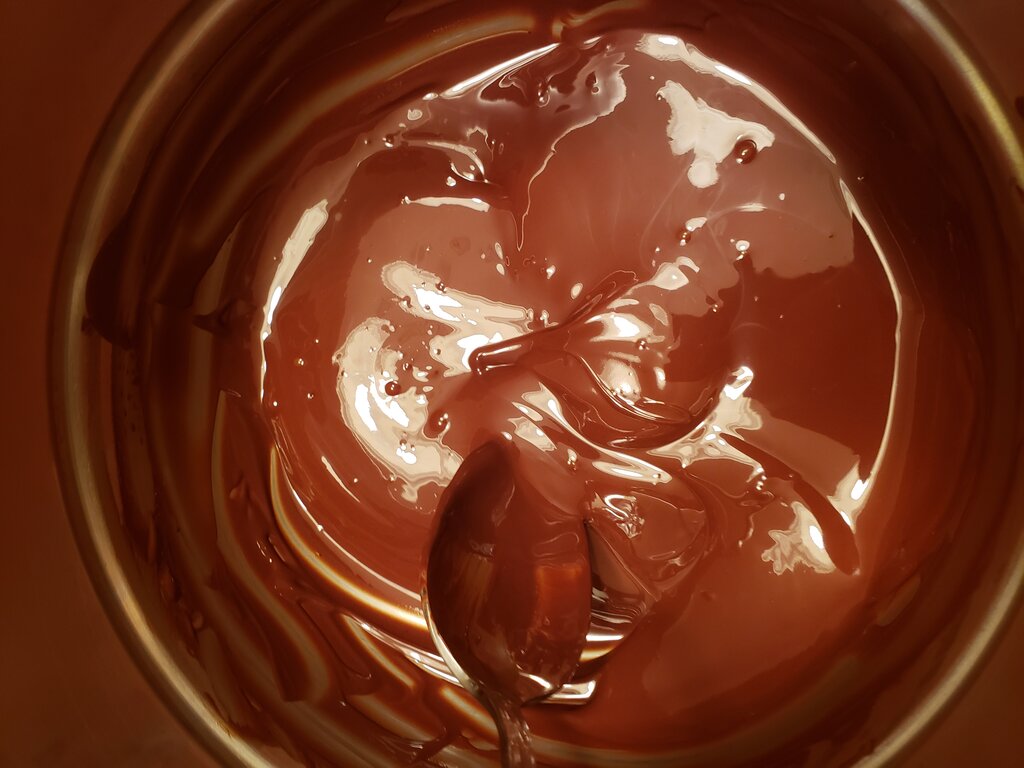
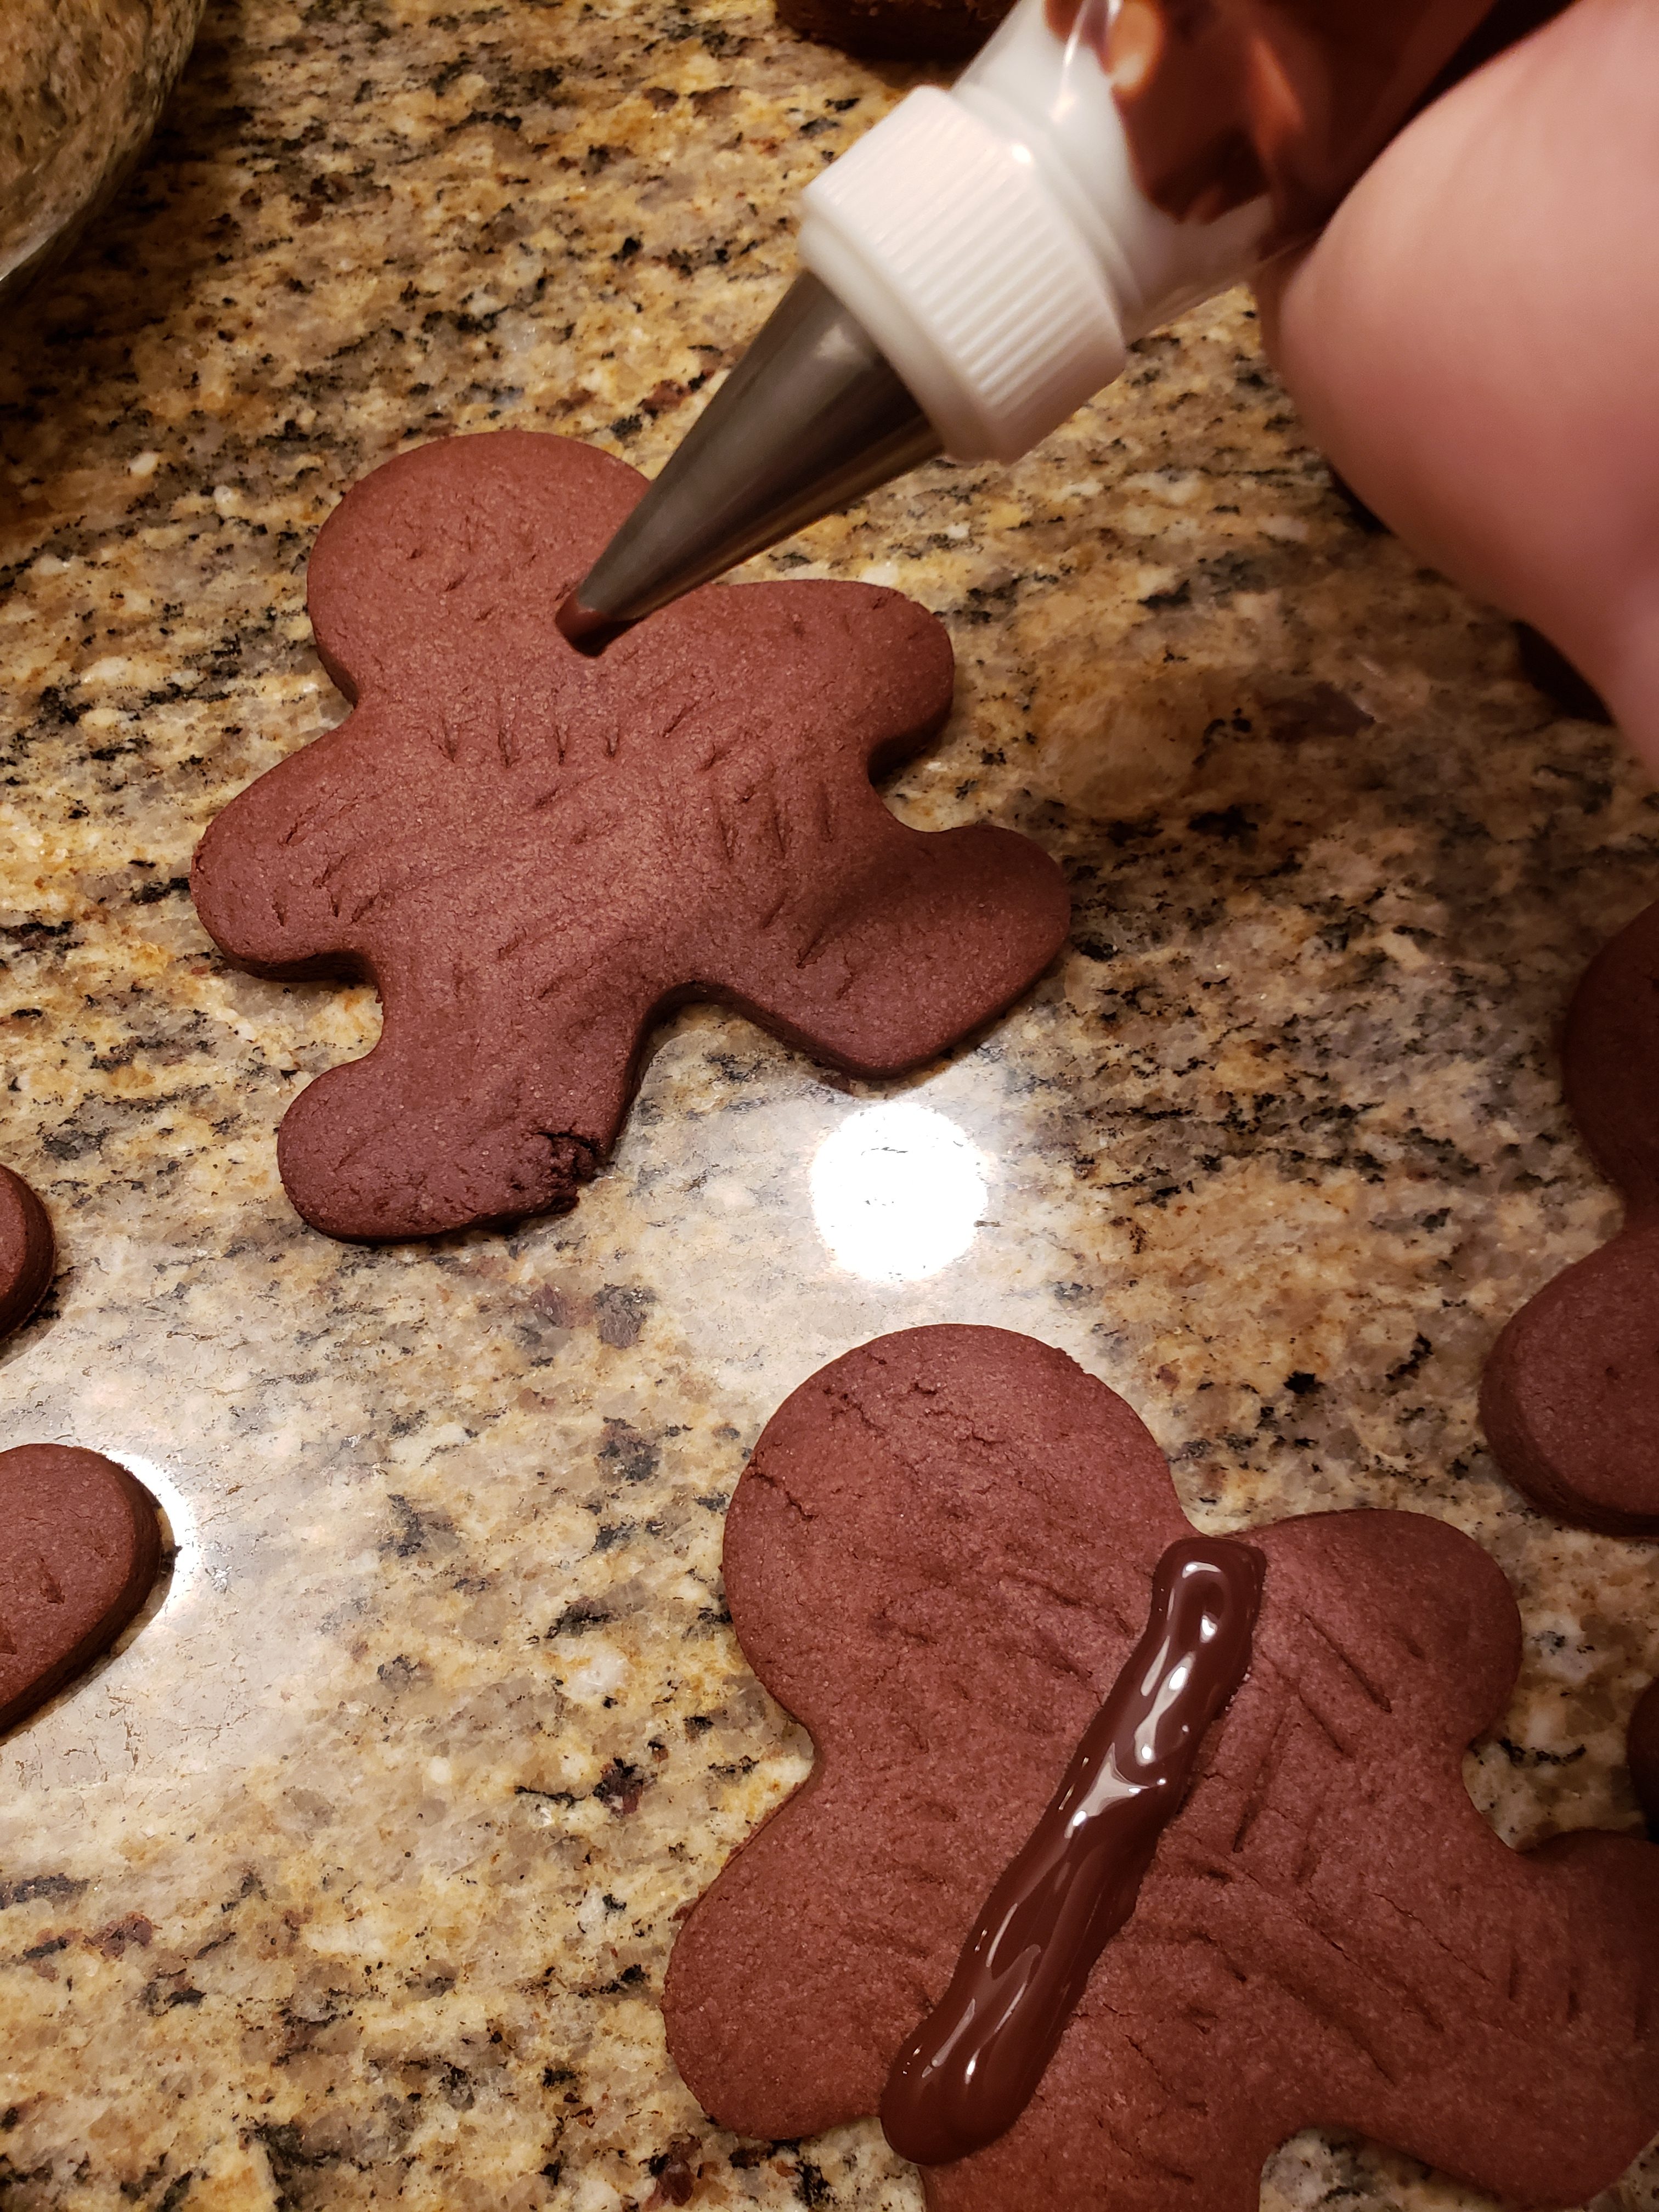
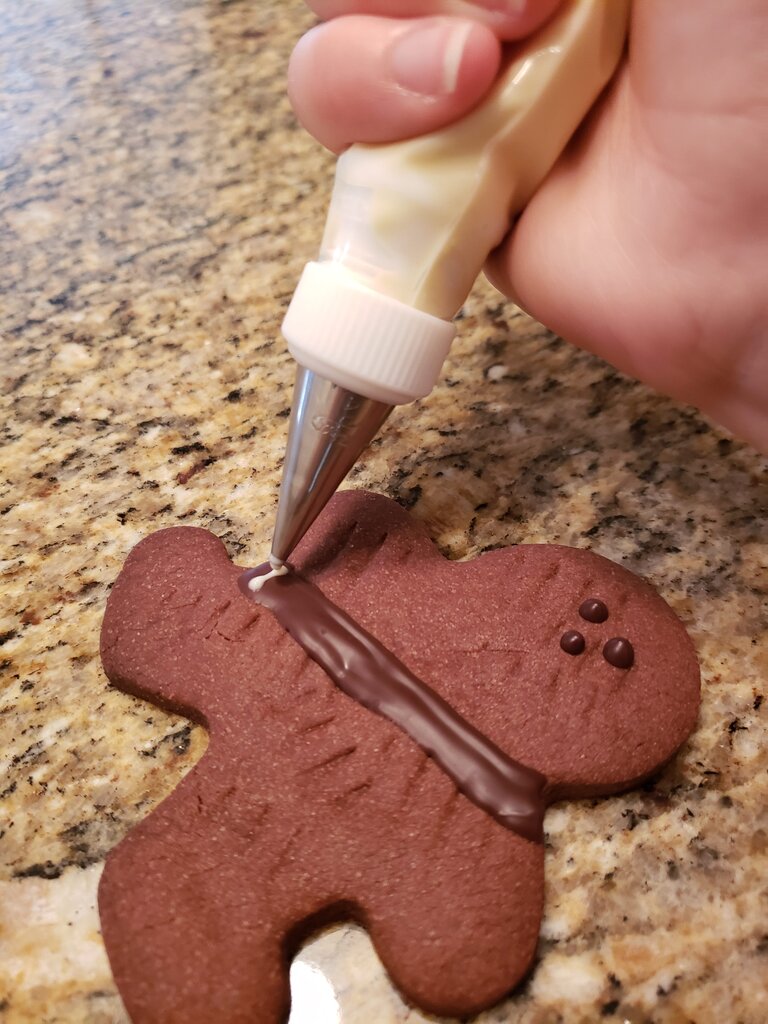
- Wookie cookies (chocolate sugar cookies, assembly instructions next week)

photo: Joe Kerekes
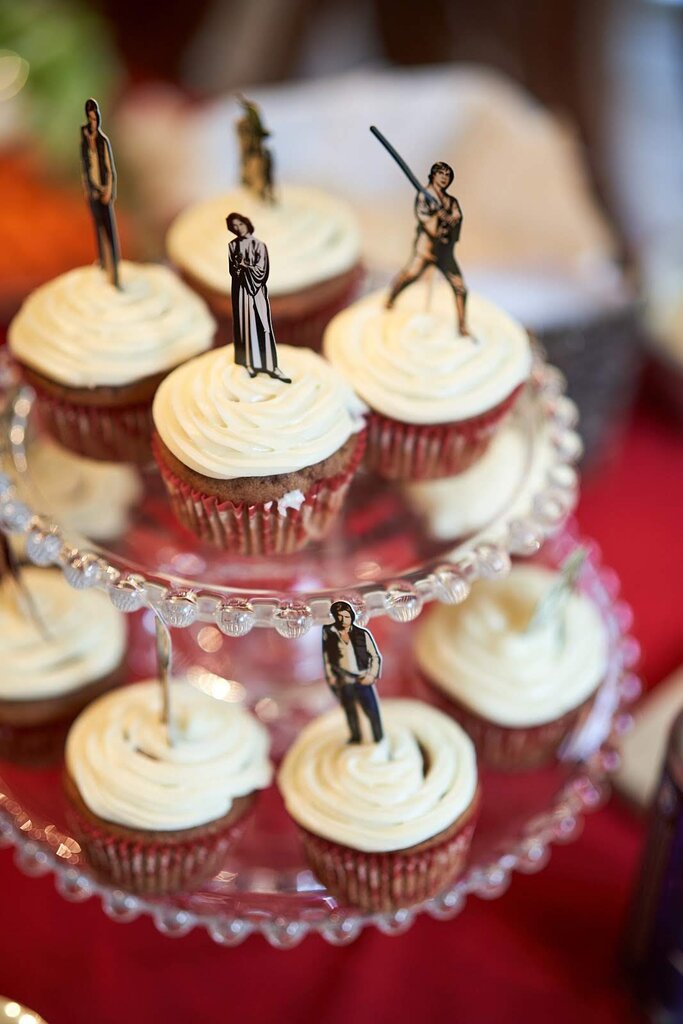
- Rebel velvet cakes (red velvet cupcakes with cream cheese frosting. I had to make them when I discovered I had these in the back of the closet)
Drinks
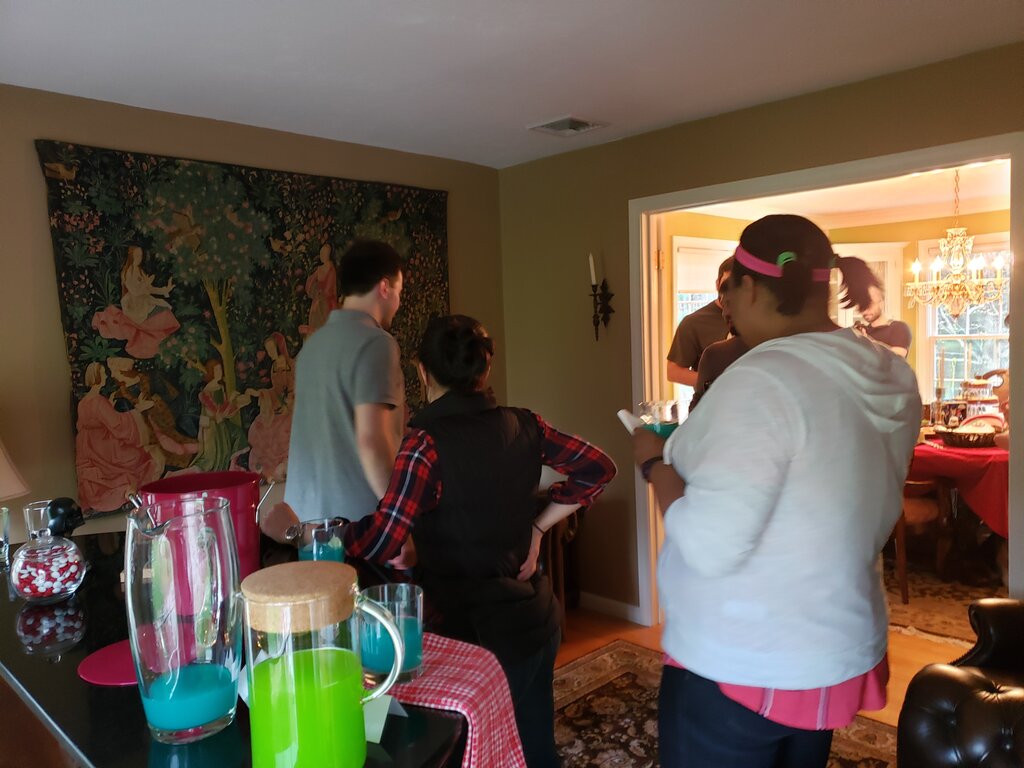
We had just as much fun coming up with drink names as we did food names. We thought the drinks you’d find at an upscale galactic establishment would be neon in color so I found a couple that I thought fit the bill. On top of that, I used my Star Wars ice/chocolate molds to make ice cubes using the top down freezing method which worked incredibly well to make clear ice!! I made each of the drinks for a crowd by changing the “oz” to “cups” and serving from a pitcher.
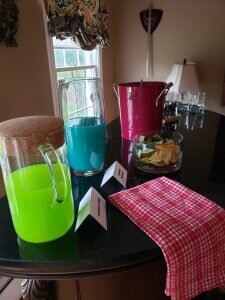
Crazy colored cocktails
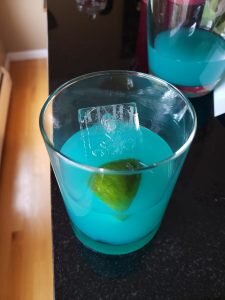
Is that Han Solo frozen in carbonite? Why yes, it’s clear as ice!
Dagobah Drink
- 1 oz. Midori Melon Liqueur
- 2 oz. sweet and sour mix
- 1 oz. lemon juice
- lemon wedge
Pour all ingredients into a glass filled with ice, stir, and garnish with a lemon wedge.
Electric Elephant
- 1½ oz. gold tequila
- 1½ oz. lime juice
- ½ oz. Blue Curacao
- ¾ oz. simple syrup
- lime wedge
Pour all ingredients into a glass filled with ice, stir, and garnish with a lime wedge.

I found these at Job Lot a few weeks before the party! How timely!
photo: Joe Kerekes
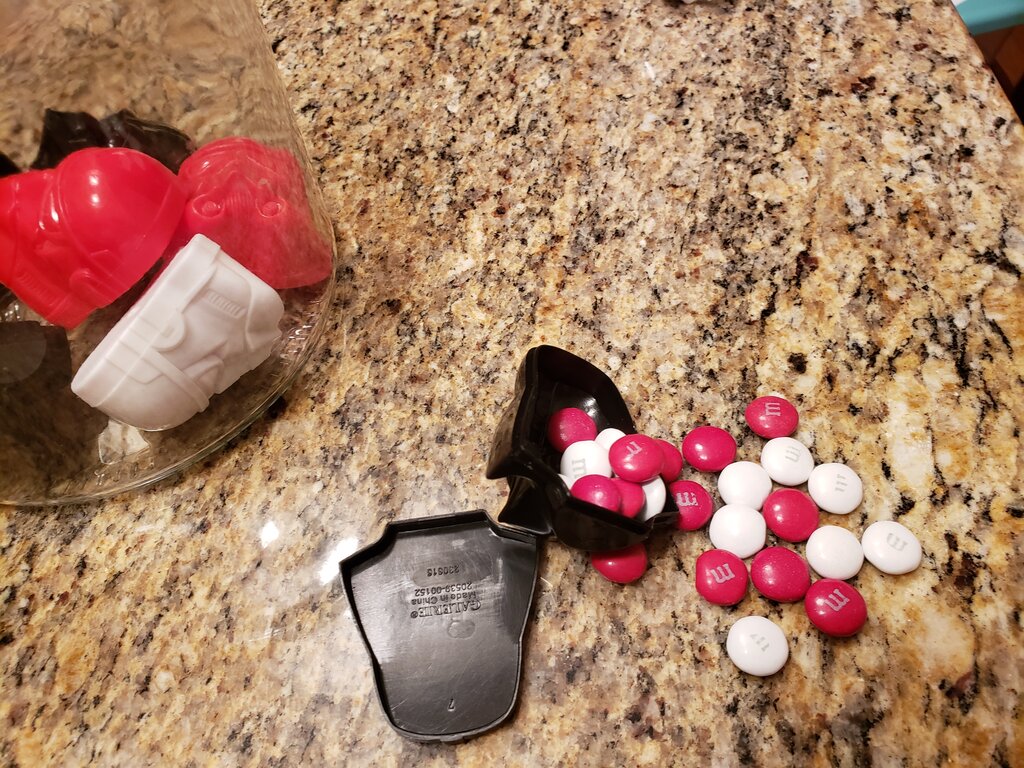
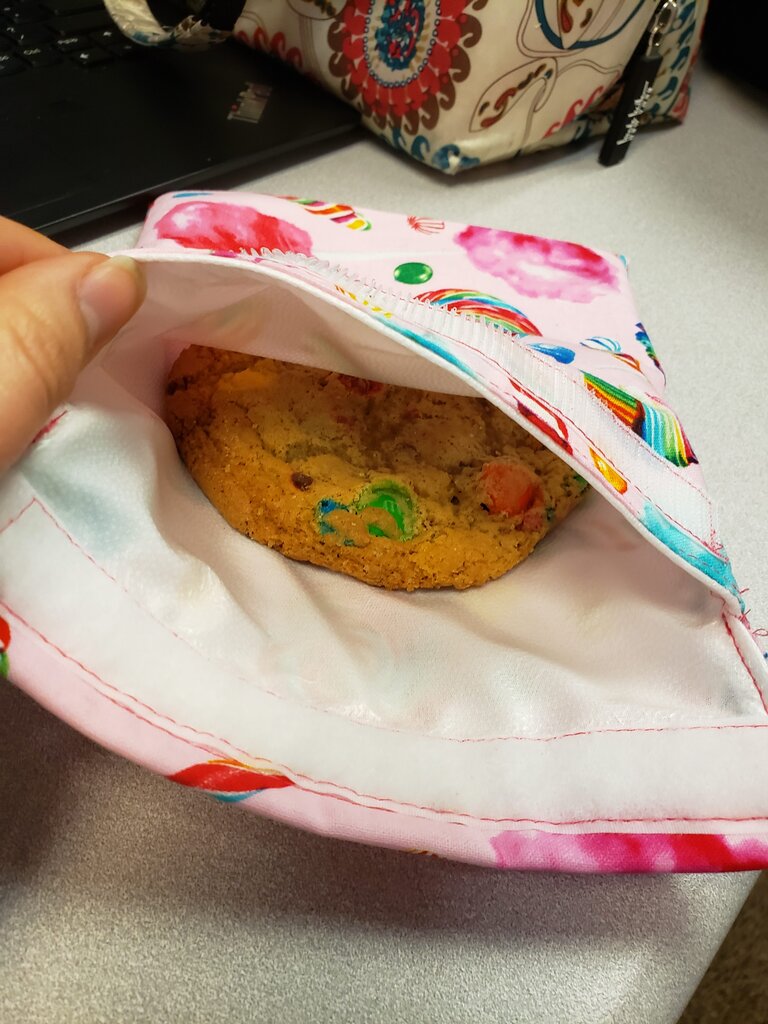
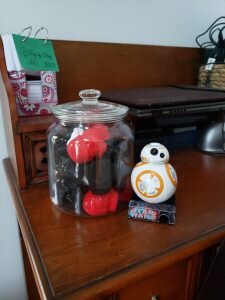
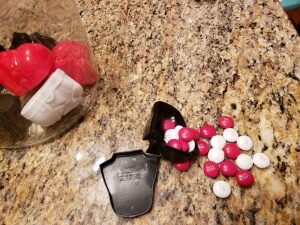
Favors
Who can resist giving out party favors?! I bought a pack of Star Wars valentines after Valentine’s day for like a nickle. I replaced the candy (which was some nasty Sweetarts knock off) with red and white M&Ms (Will painstakingly picked the blue M&Ms out of USA themed M&Ms we found at BJ’s – who was getting ready for Memorial day I guess?).

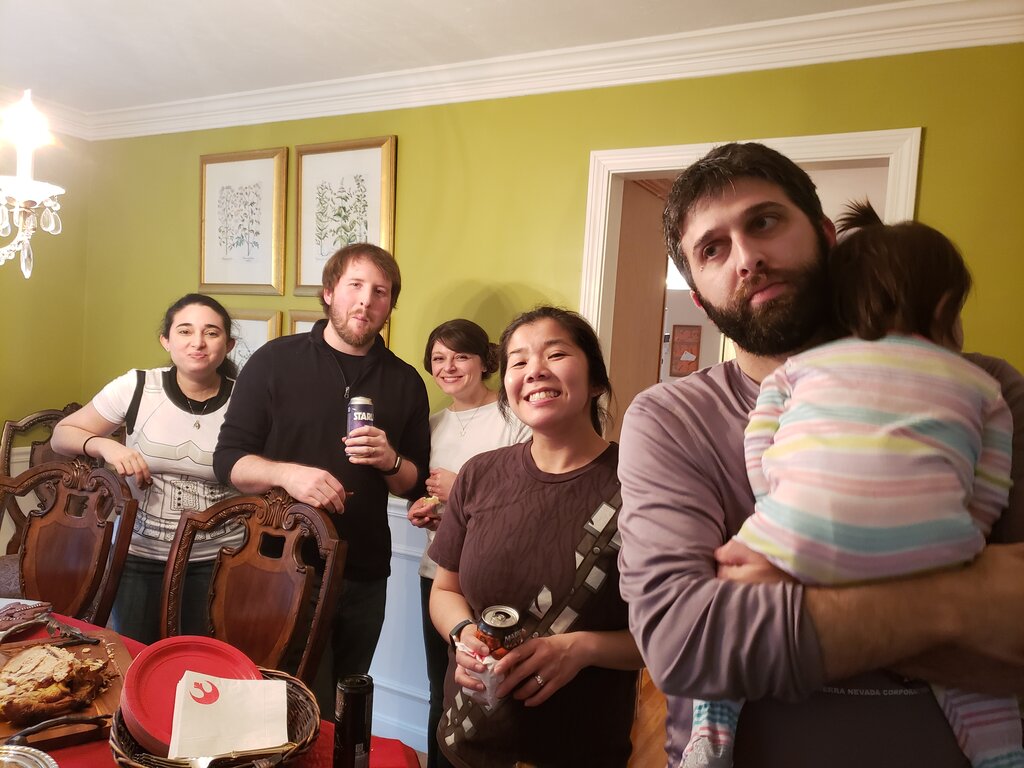
Danielle hands down won best costume. Her hair was perfect!!


- **A note on Photobooth Mini Full… Some of you may remember that for our prom party 8 years ago I made my own photobooth using an open source photobooth GUI connected to a webcam on my computer and I wrote a shell script to process the photos into strips and send them to the printer. The photostrips actually looked really cute and the whole thing only took me a couple of hours to set up. Of course now every device already has a camera on it so I figured there must be an app to do the same thing. Of course there is! After reading lots of reviews I decided to purchase the number one rated photobooth app on the play store “Photobooth Mini Full”. It sort of works out of the box, but took me at least 2 hours to get something to look halfway decent and do approximately what I wanted it to do (there is no option to auto print the photos like I did at the prom party and no way to select a photostrip size) since there are WAY too many options and no instructions on what any of them do! Yes, you read that right, it took me the same amount of time to figure out how to use this app for my purposes than it did for me to hack together my own photobooth from scratch in 2011. Good news, there is an option to save off your “photo montage” including settings, so you can just buy the app and upload this one so you won’t have to waste 2 hours figuring out settings! It was only $6, so I really shouldn’t complain so much, but figured since I don’t get paid by anyone for my opinions, I can give you my honest ones.