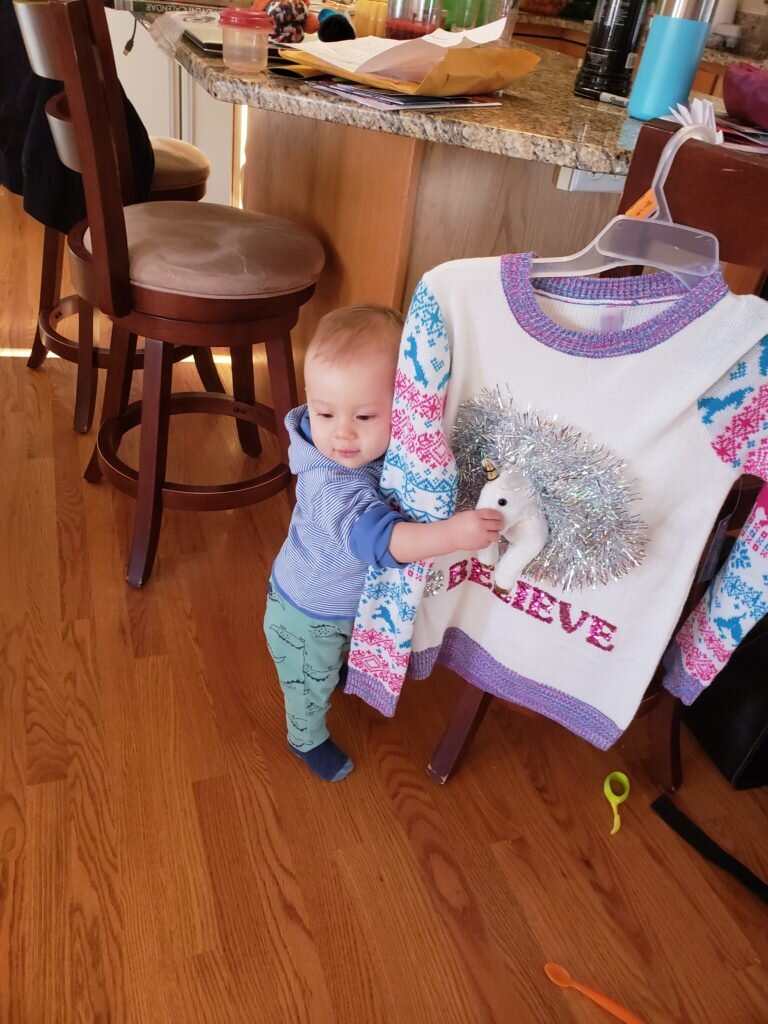
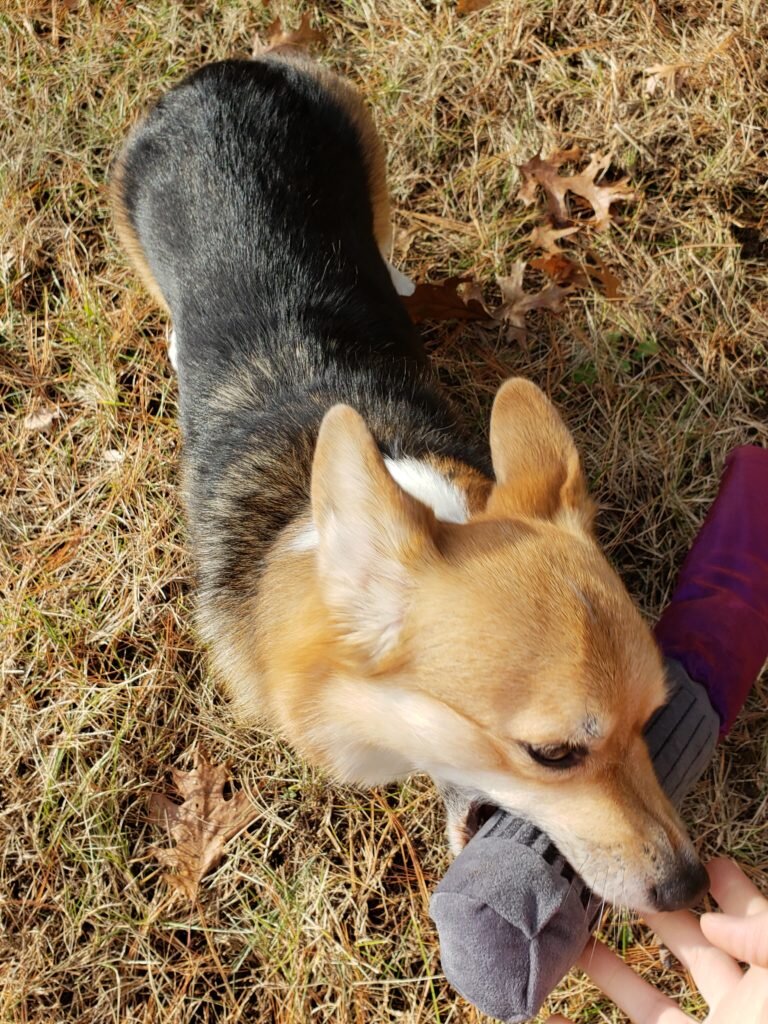
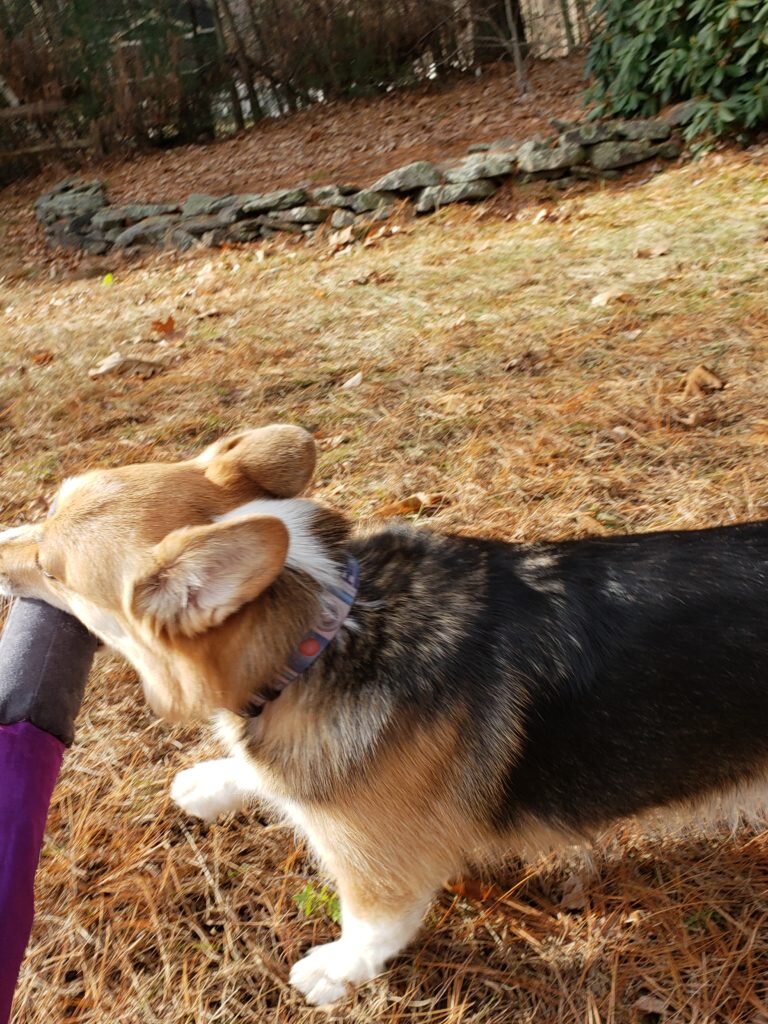
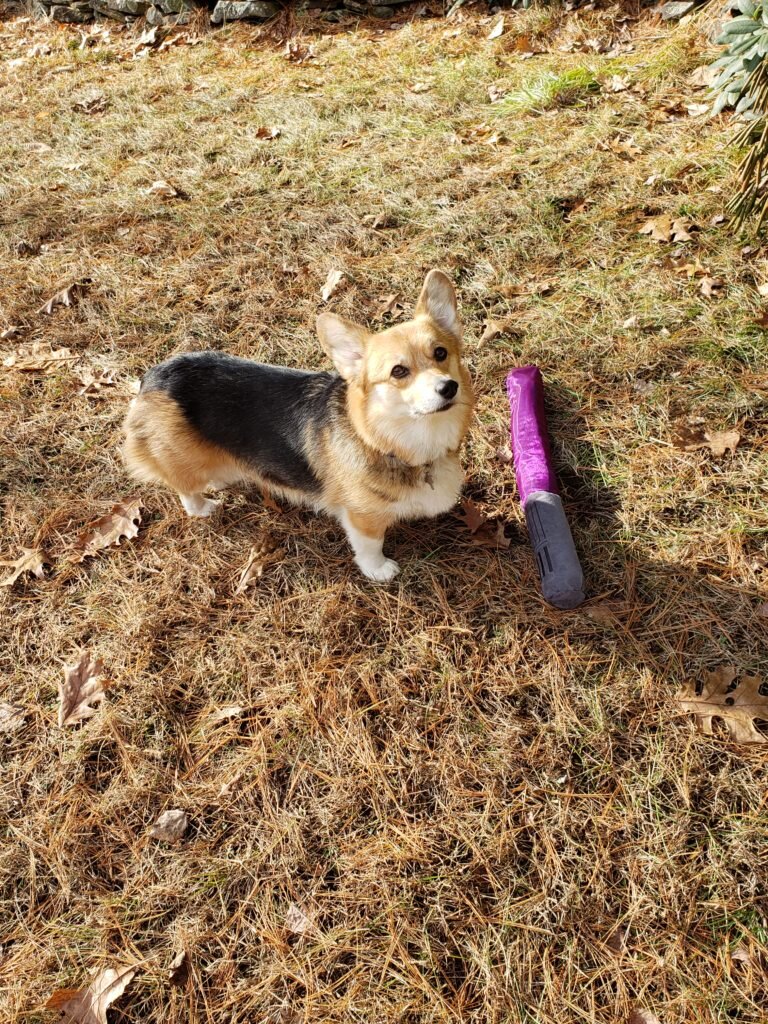
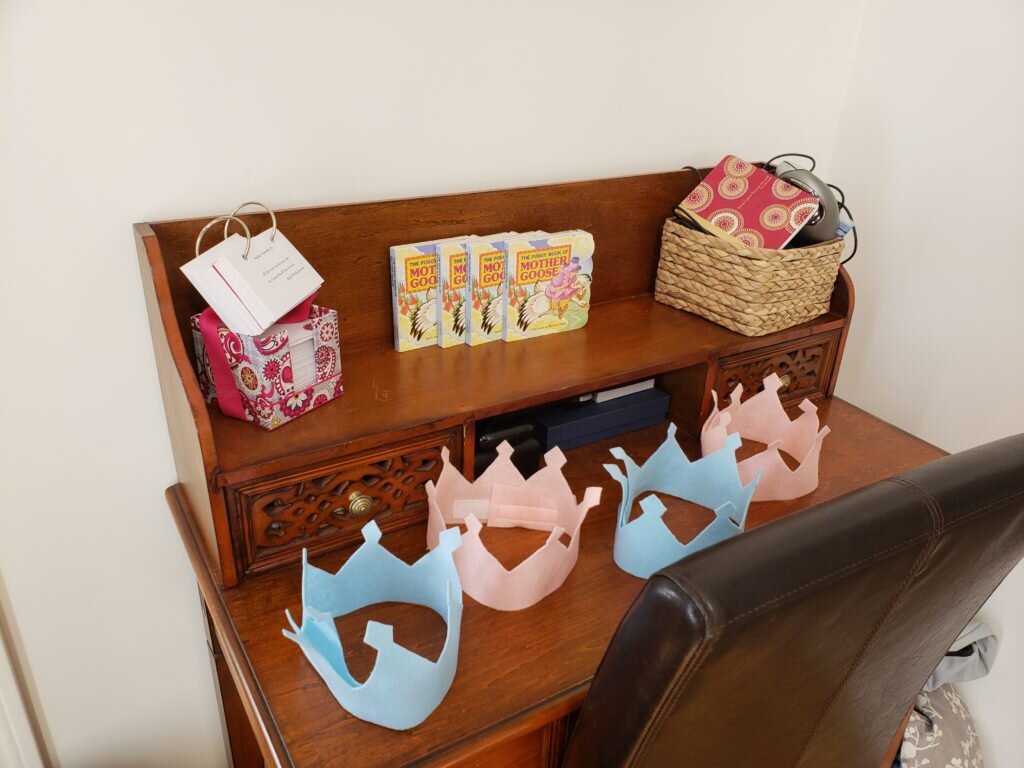
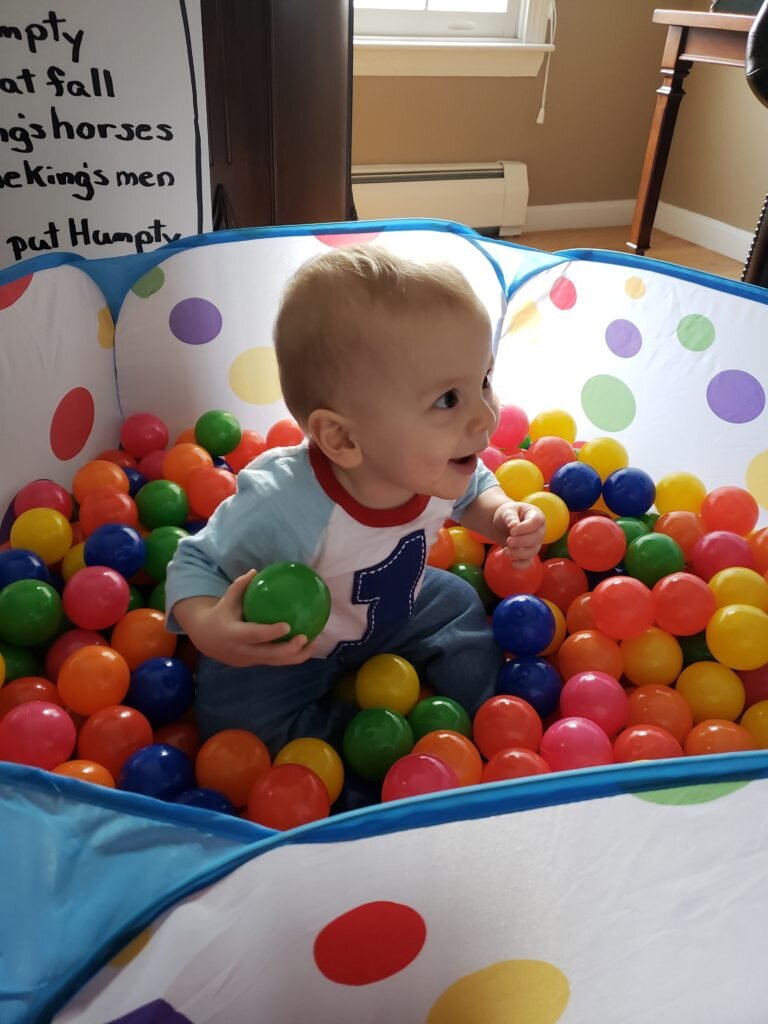
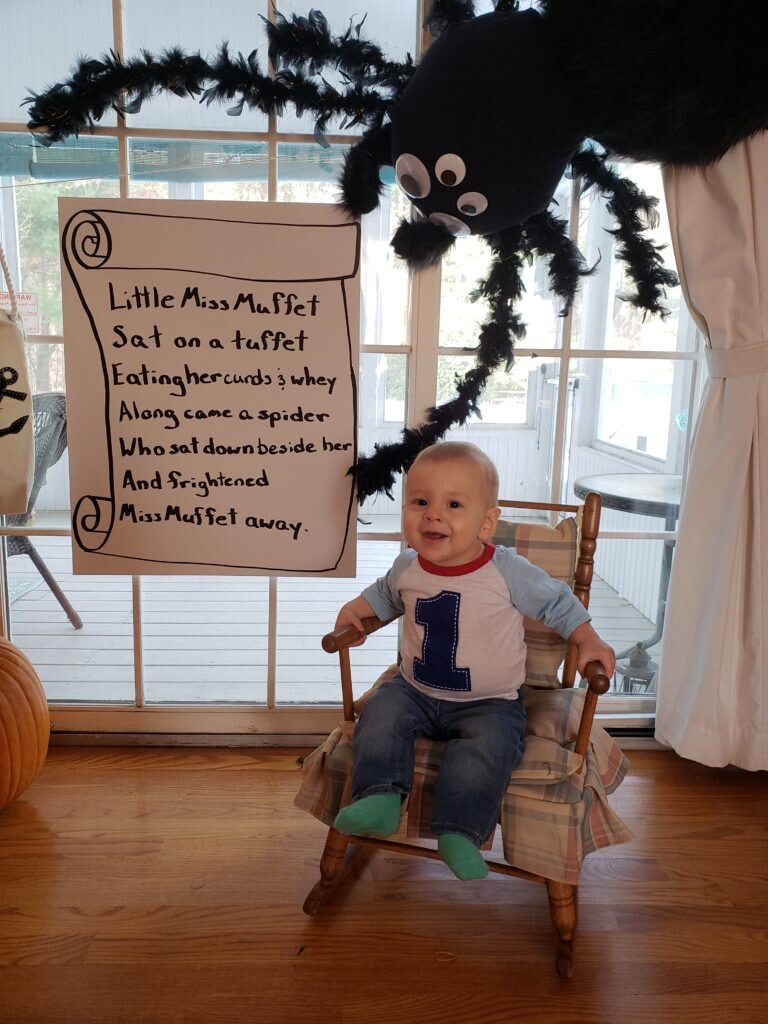
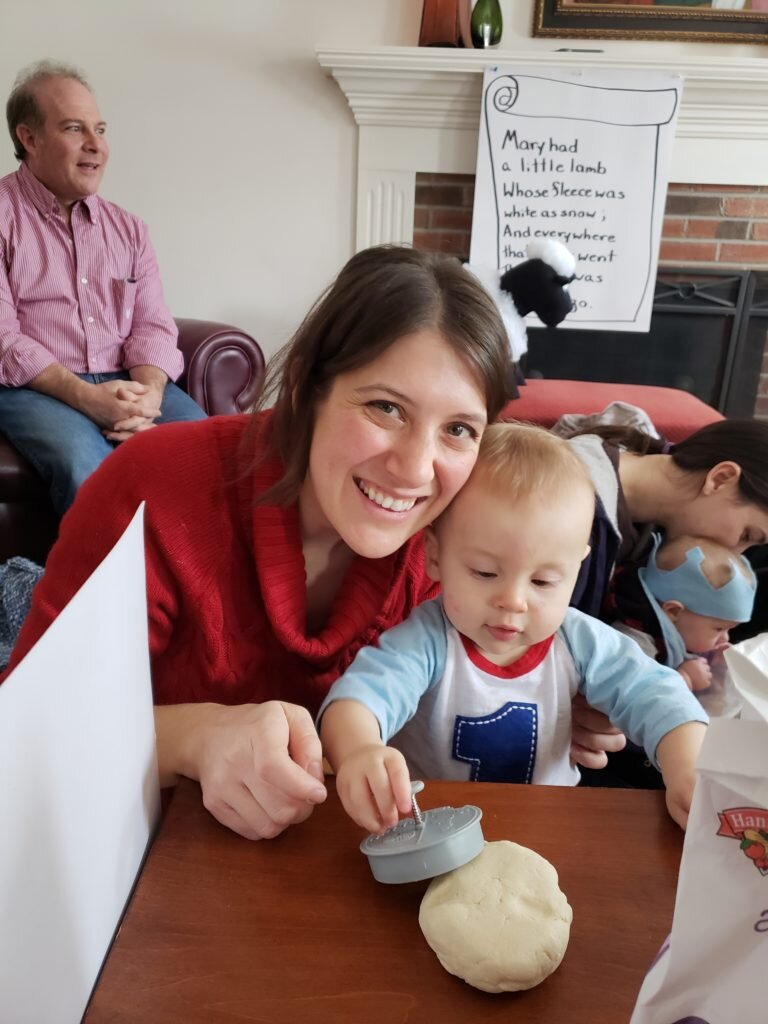
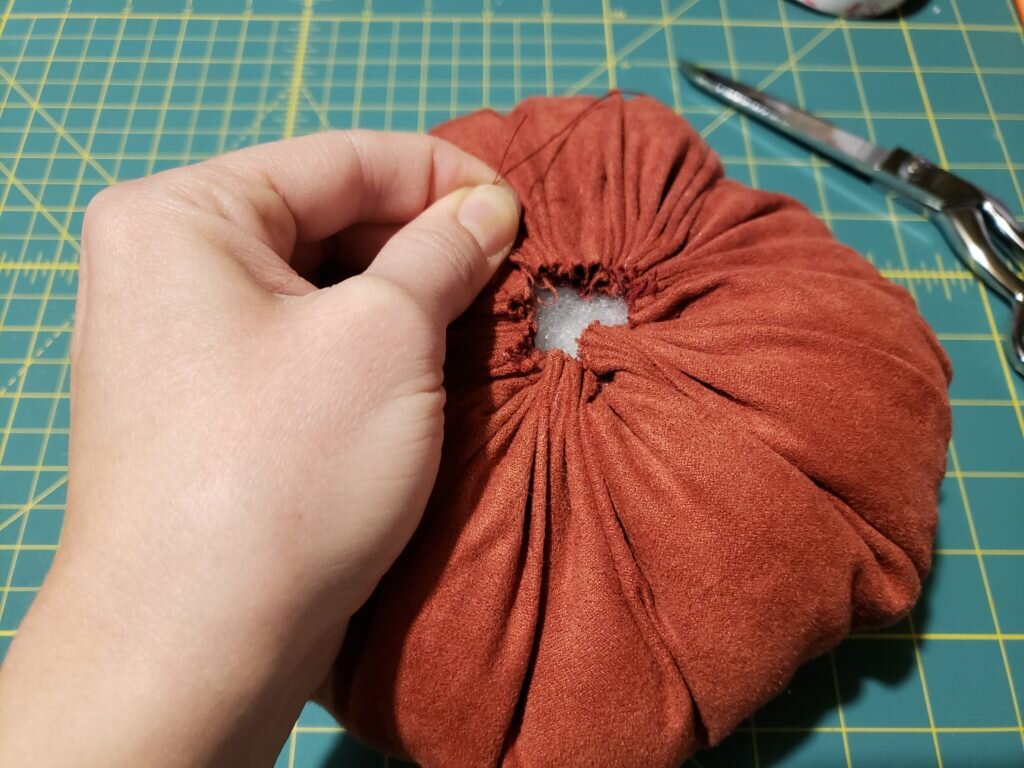
Julius has four more teeth as of yesterday! He’s up to 10 teeth total which is half the number of baby teeth he’ll have overall. I guess that could explain the recent fussiness. And come to think of it may explain why he keeps running into the bathroom and demanding to use his toothbrush. I guess he wants to keep those new pearly whites, pearly white. After the third day in a row that he did this I finally tried to get him to show me inside his mouth. This is a dangerous task since, much like a baby velociraptor, he tends to chomp on your fingers because he thinks it is funny. Perhaps this is why it took me another three days to realize he didn’t have just one new tooth but four!
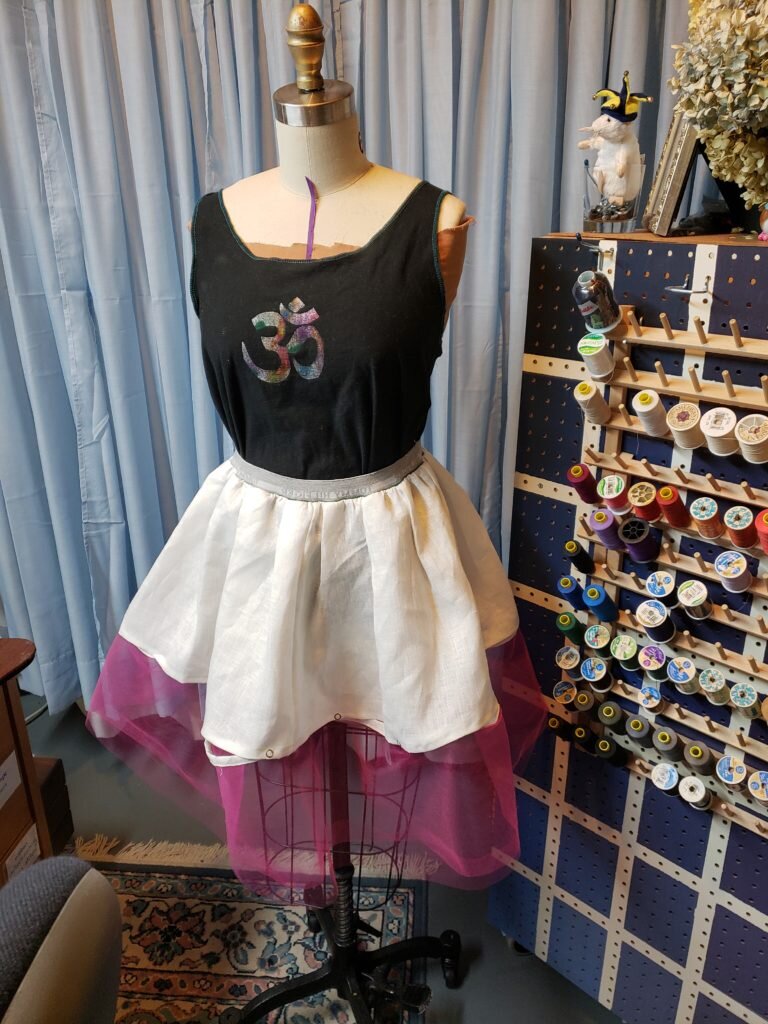
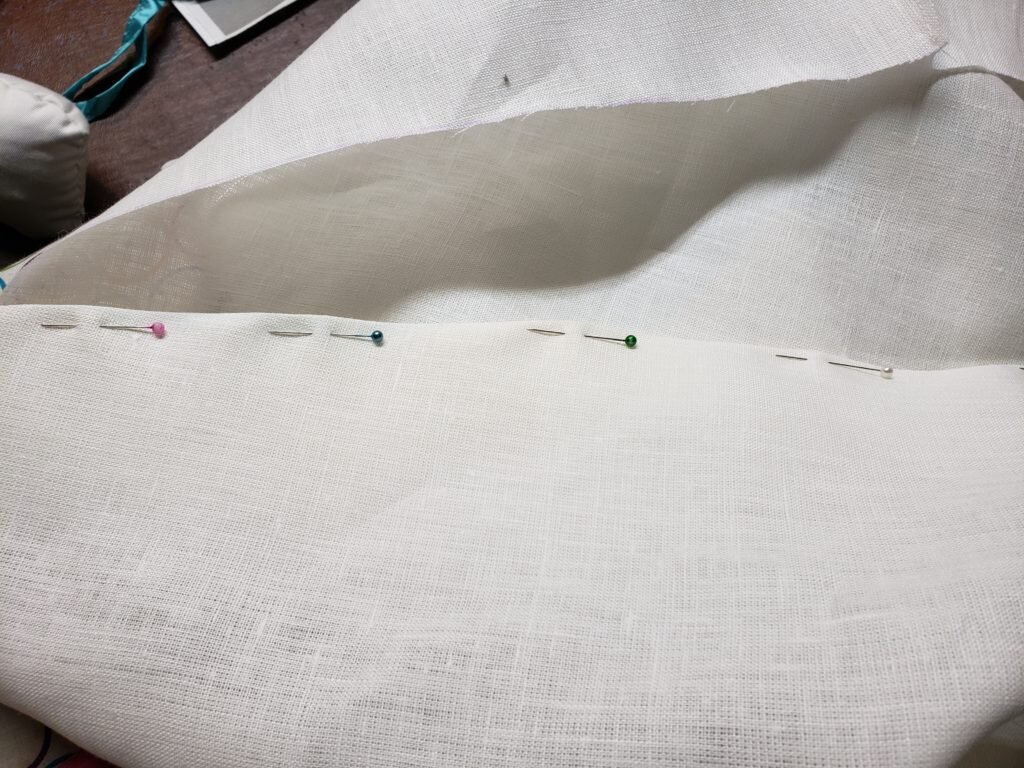
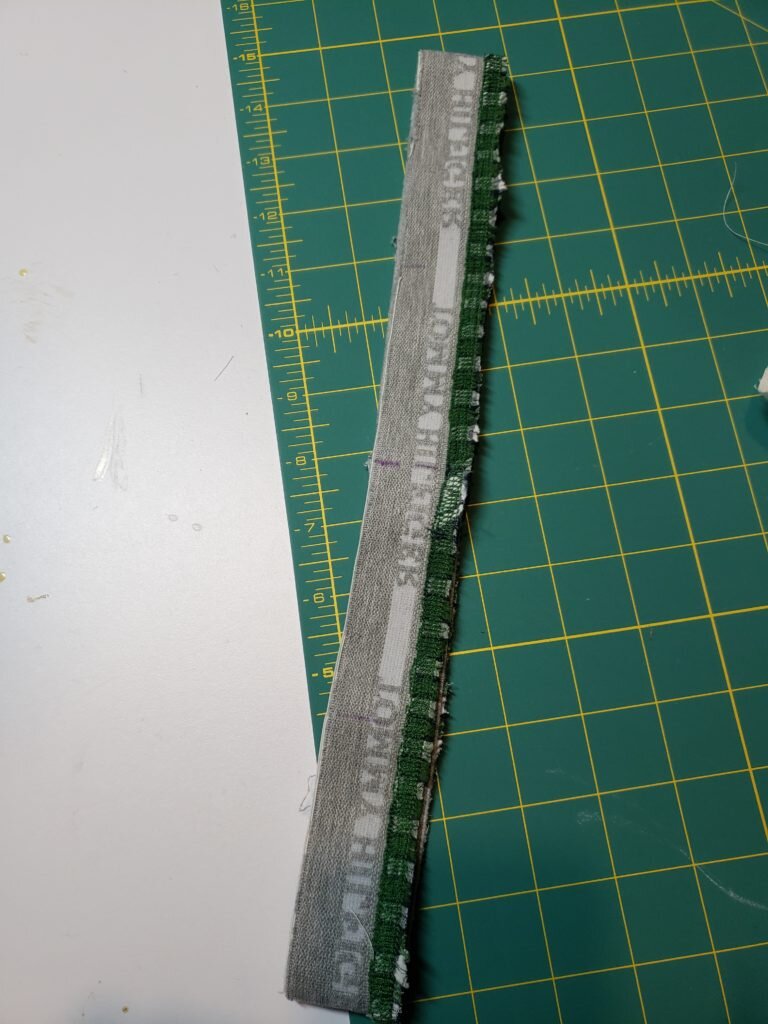
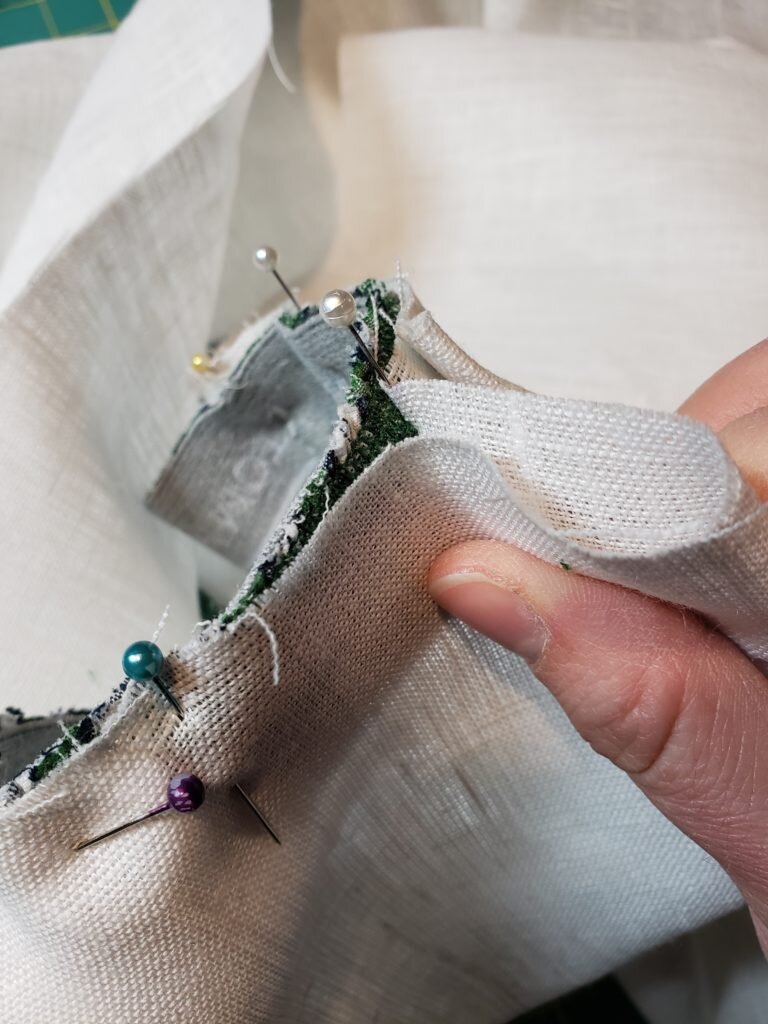
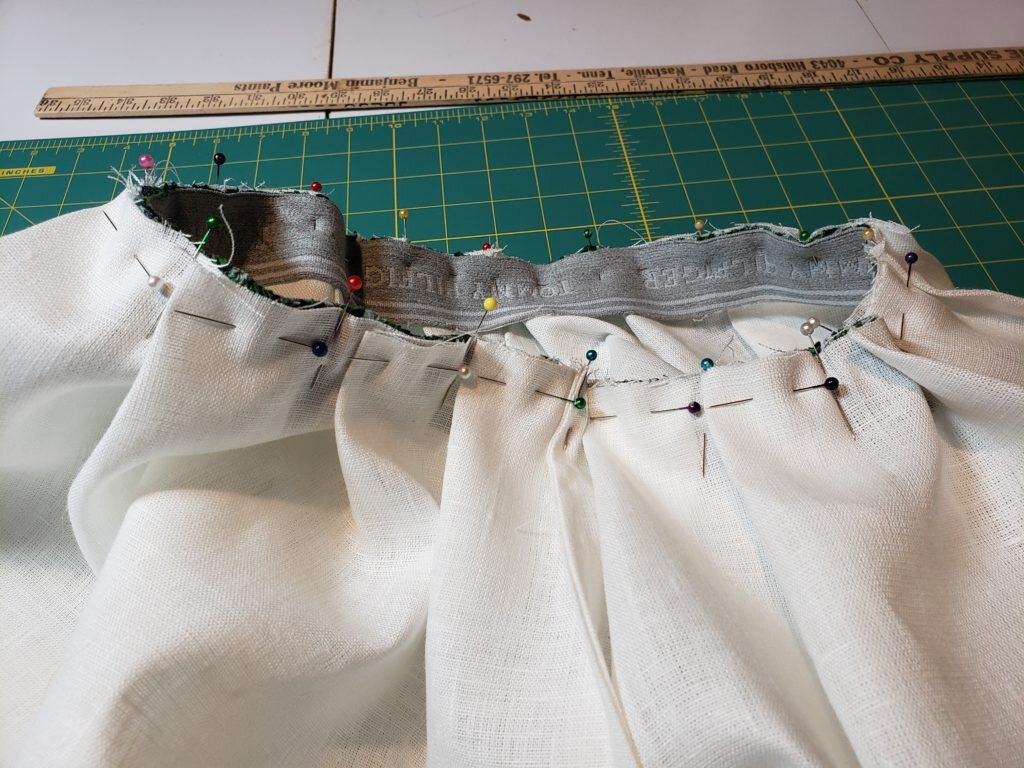
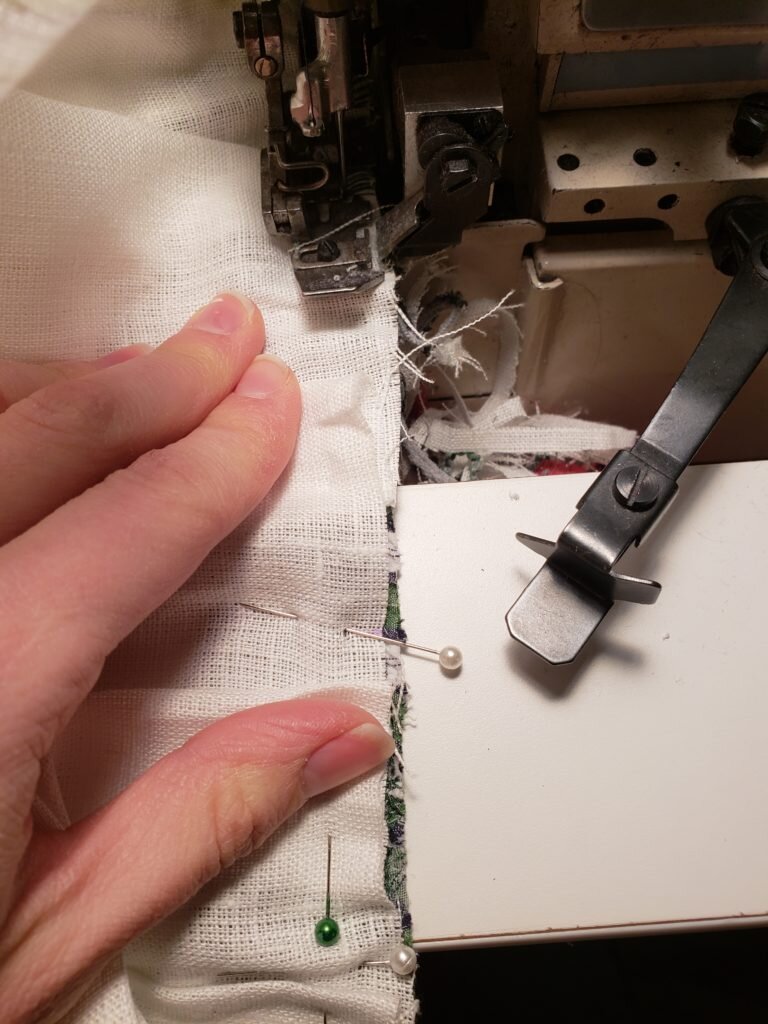
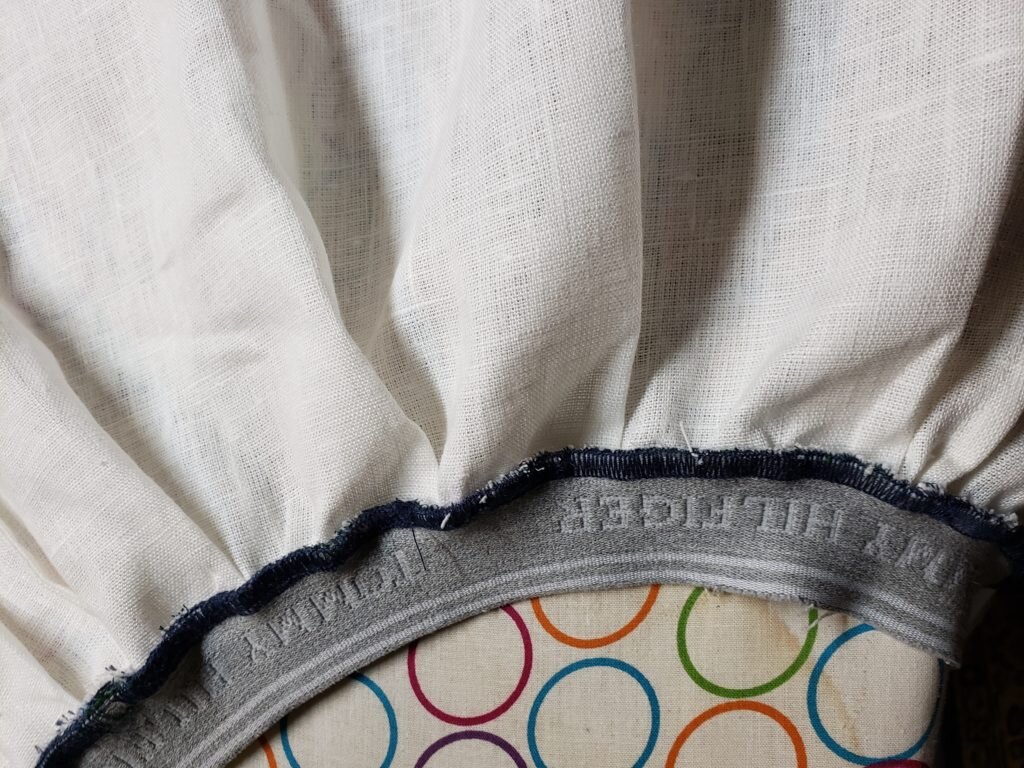
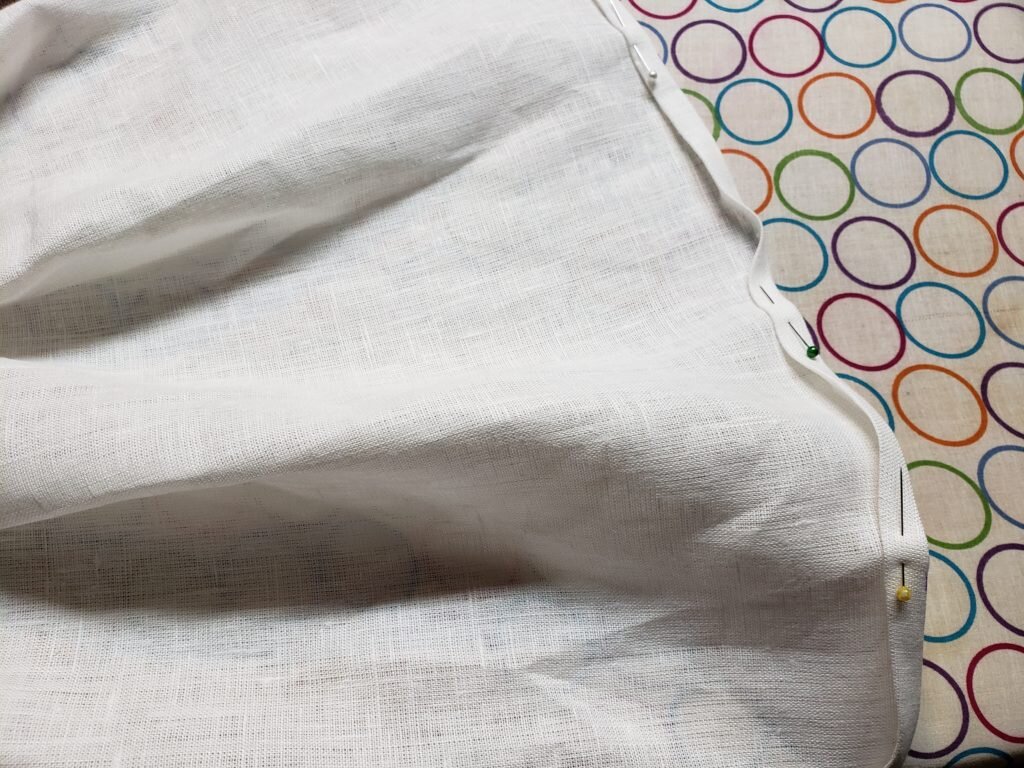
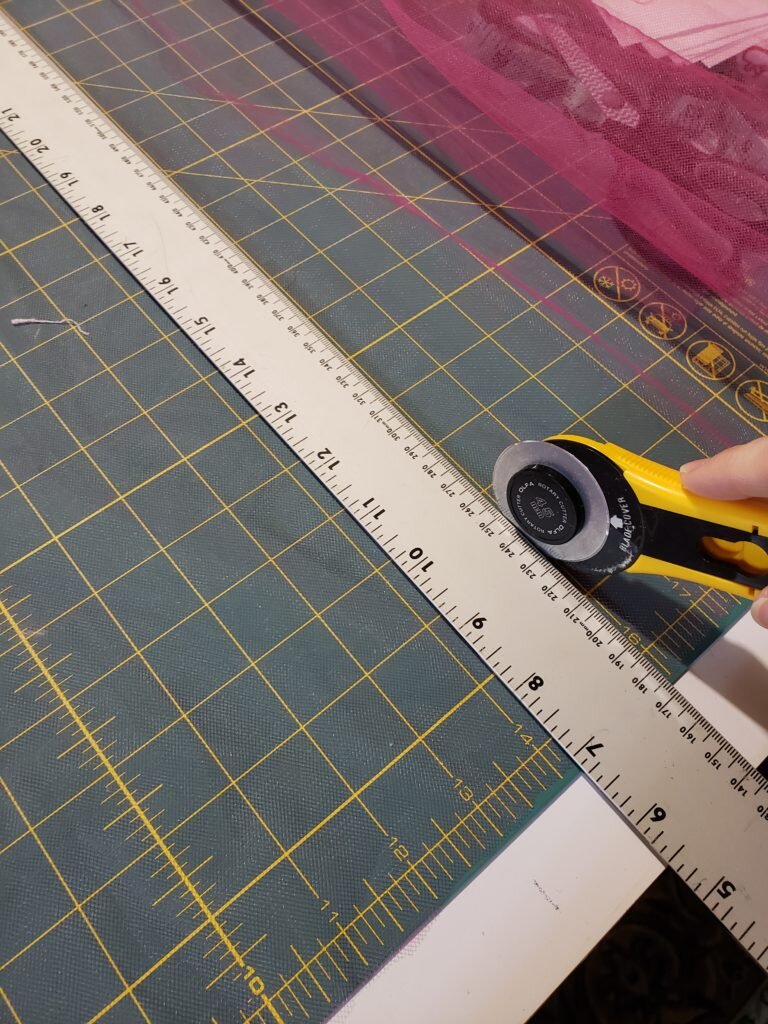
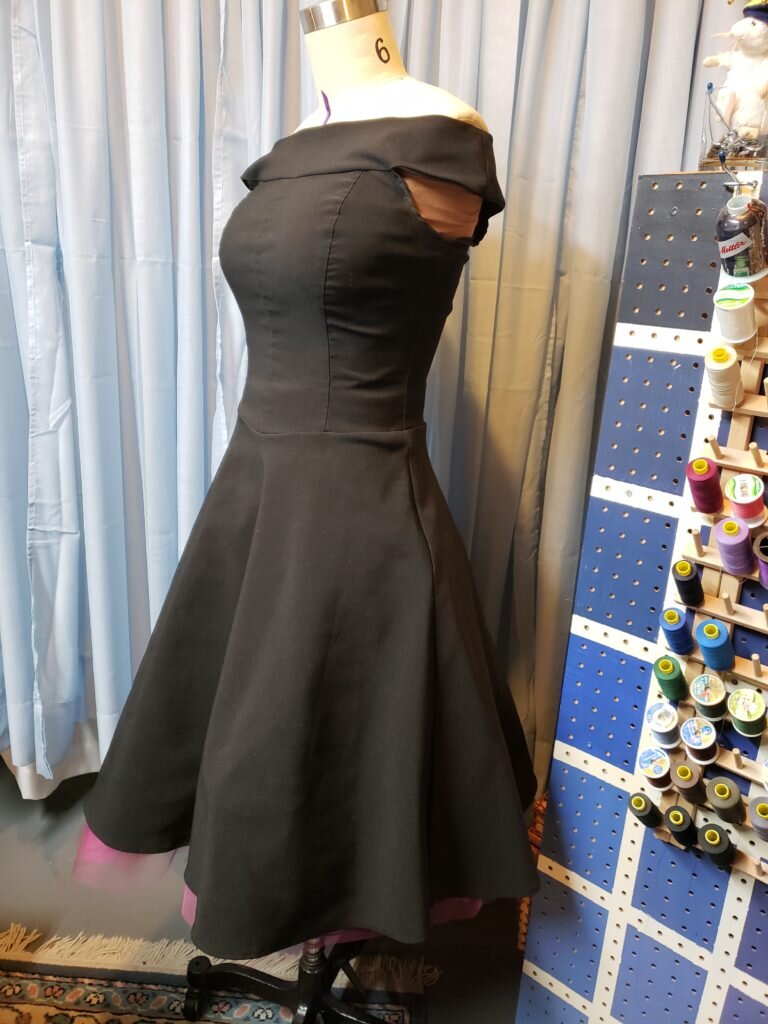
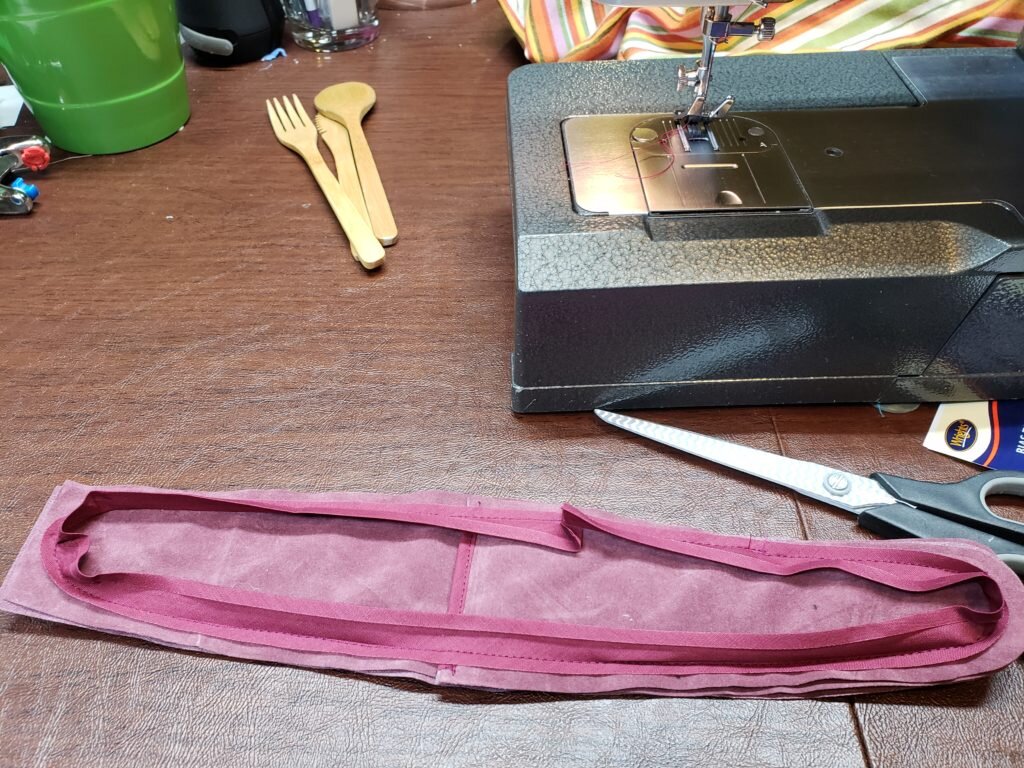
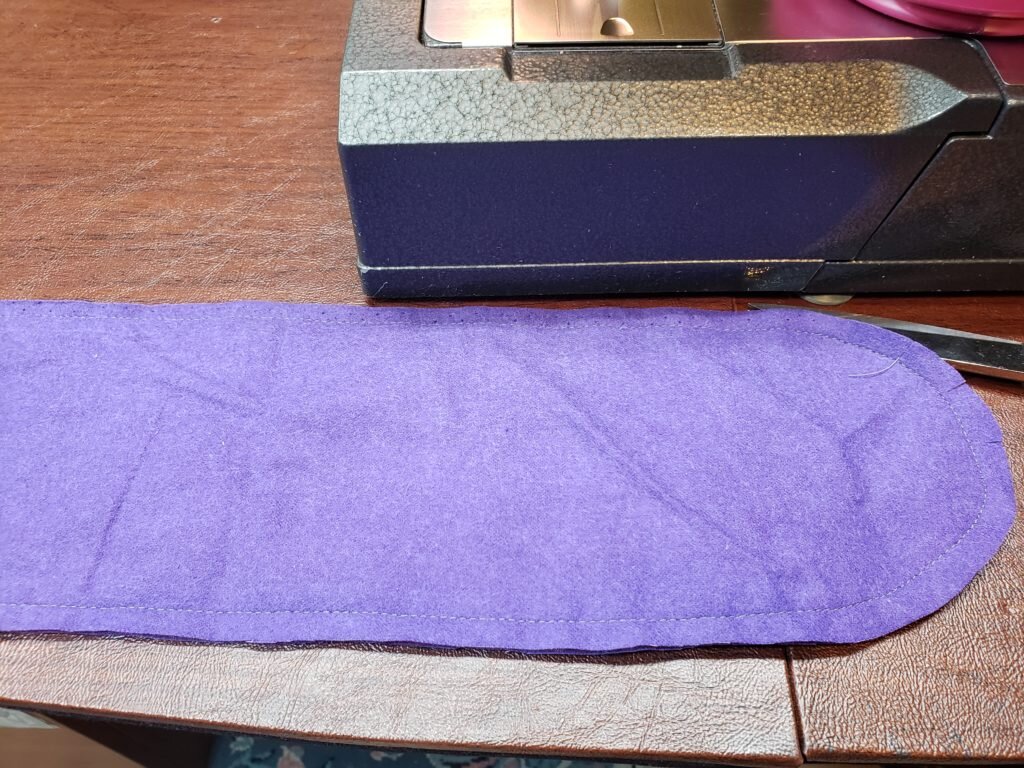
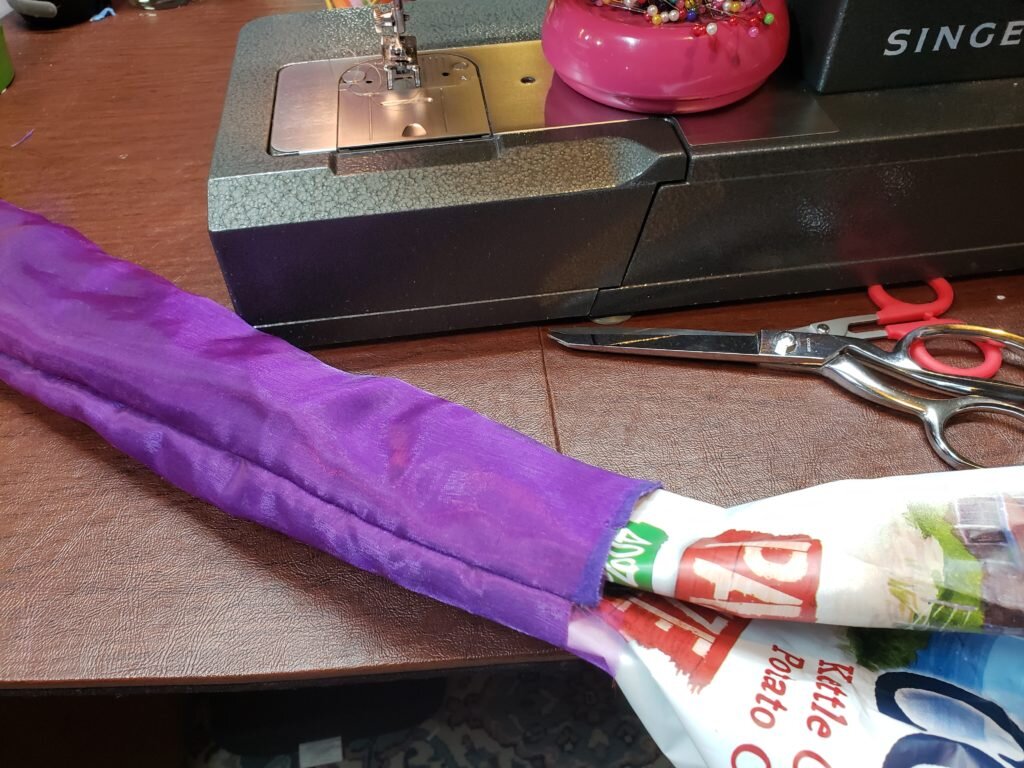
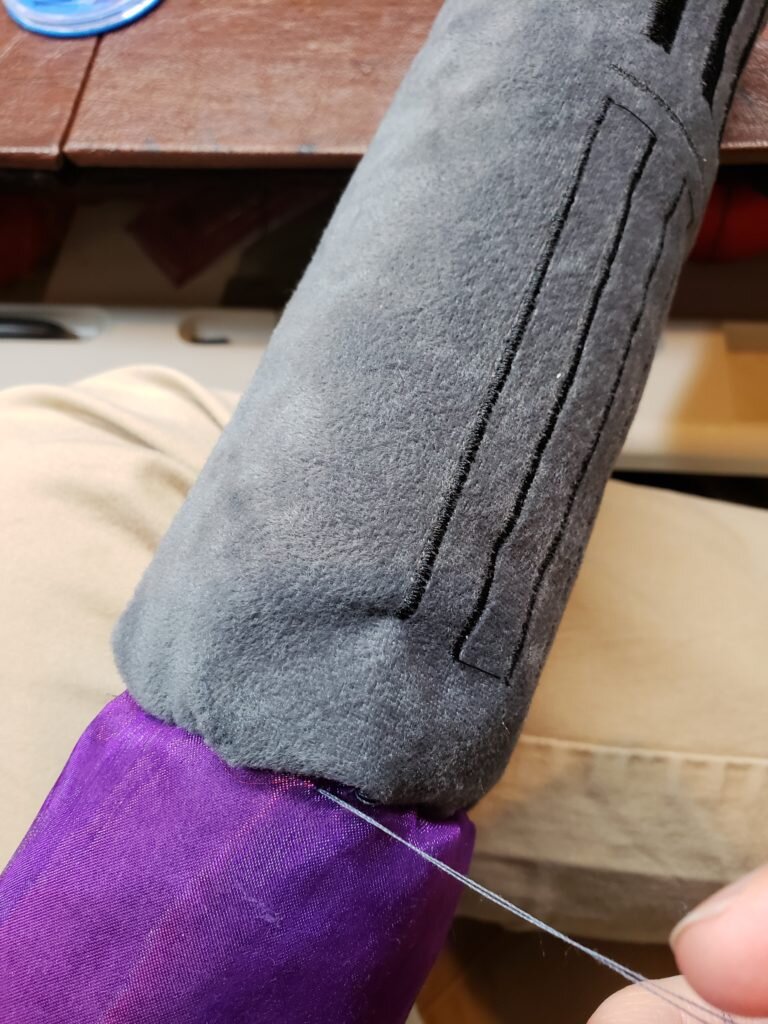
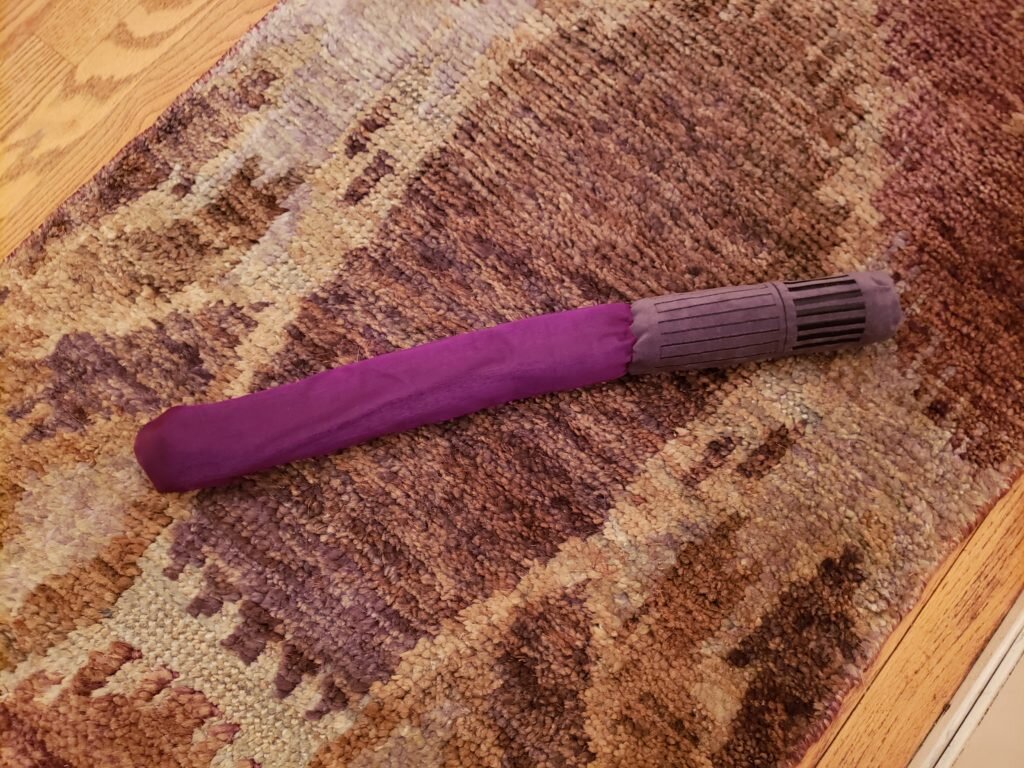
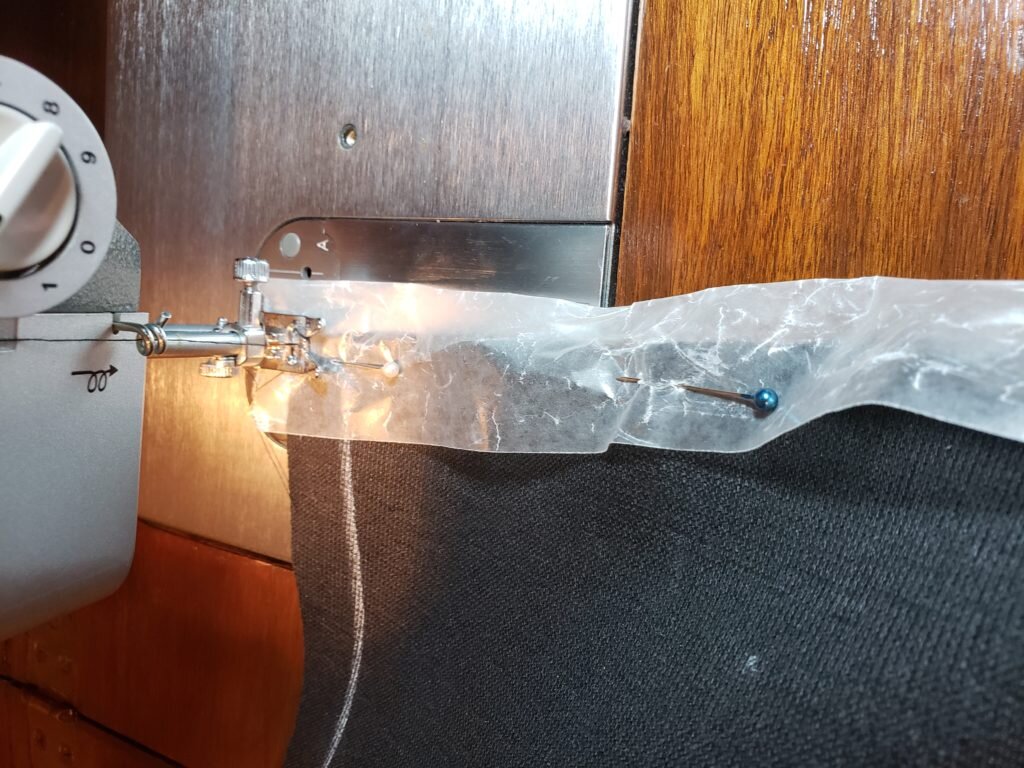
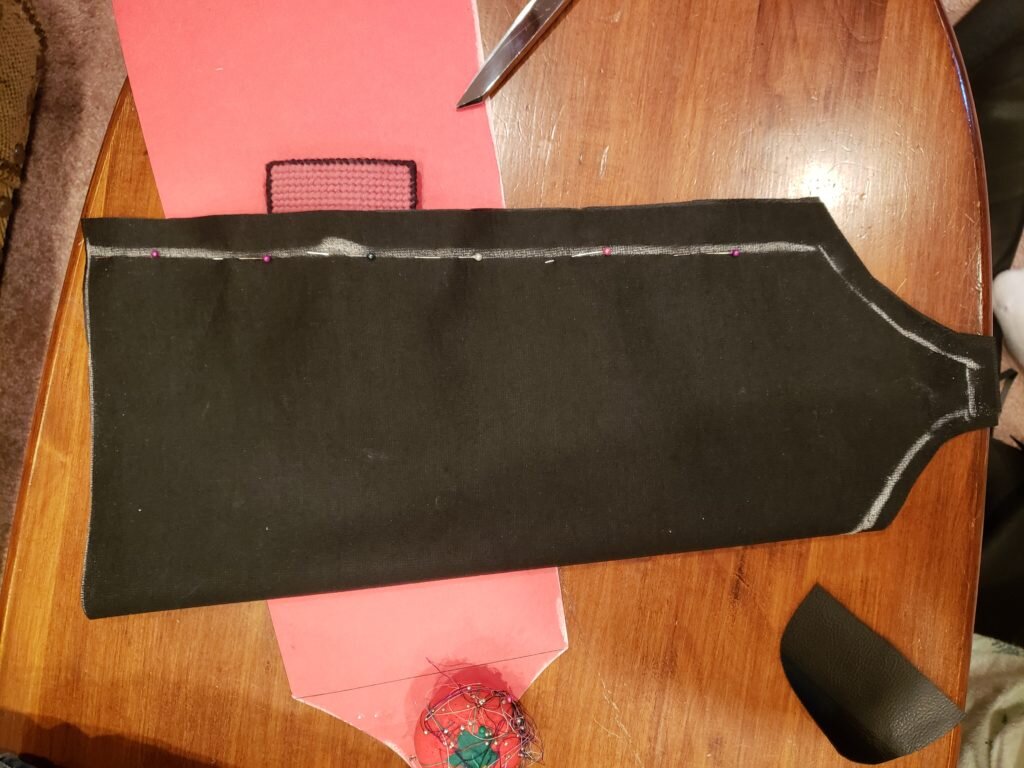
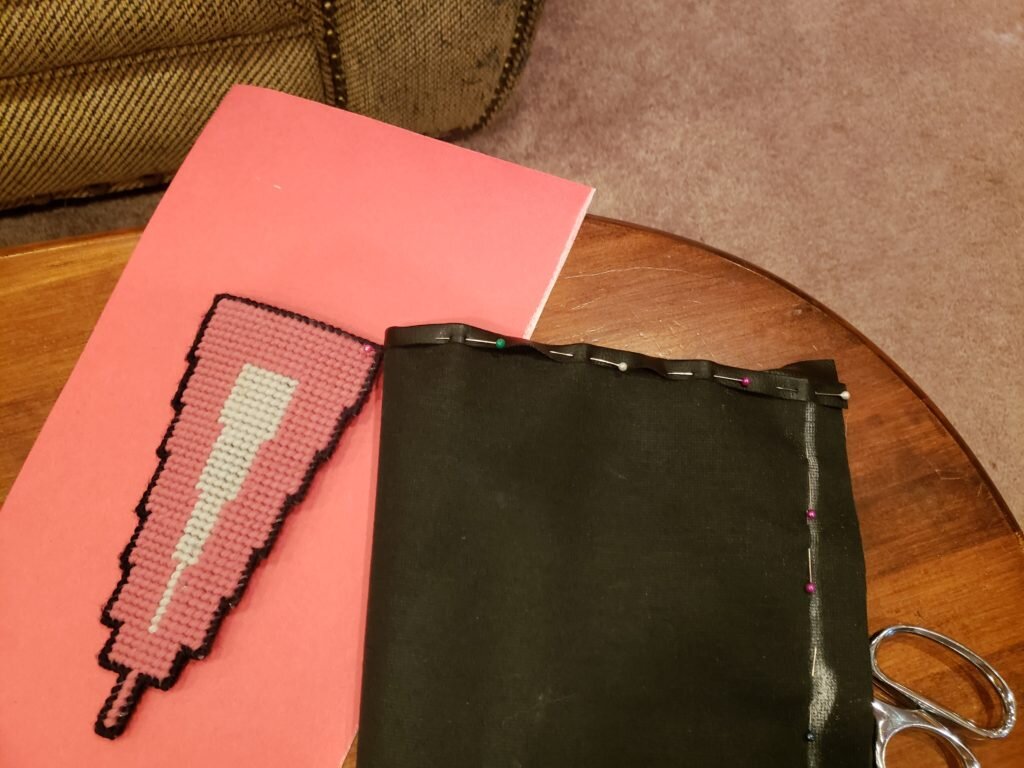
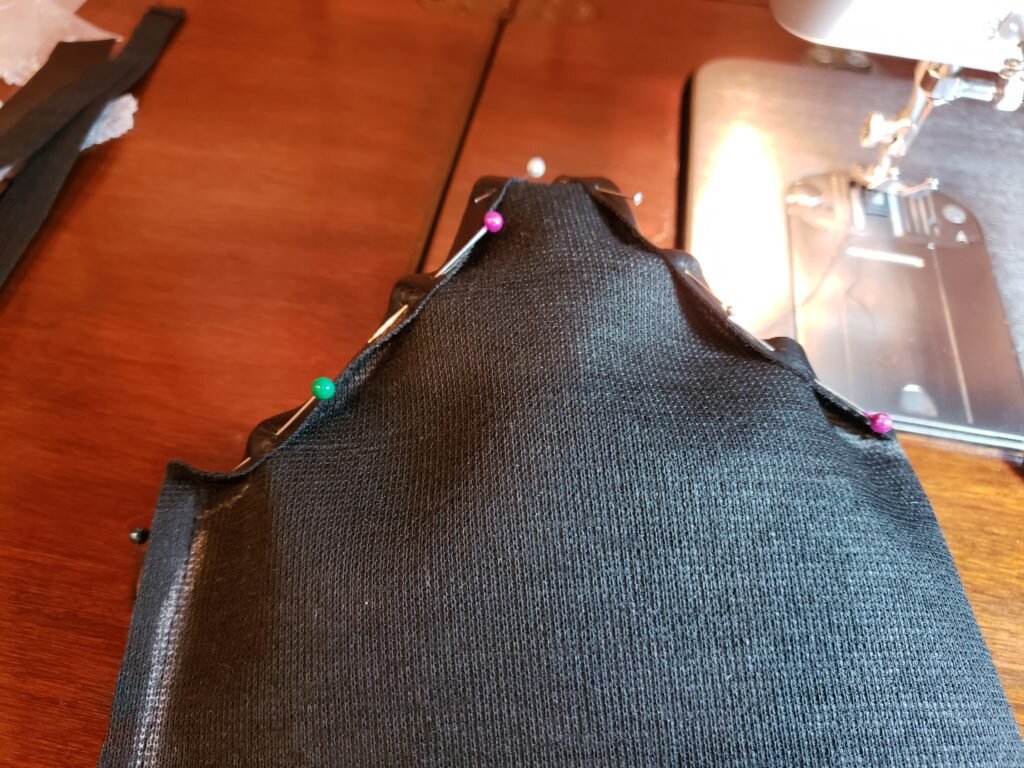
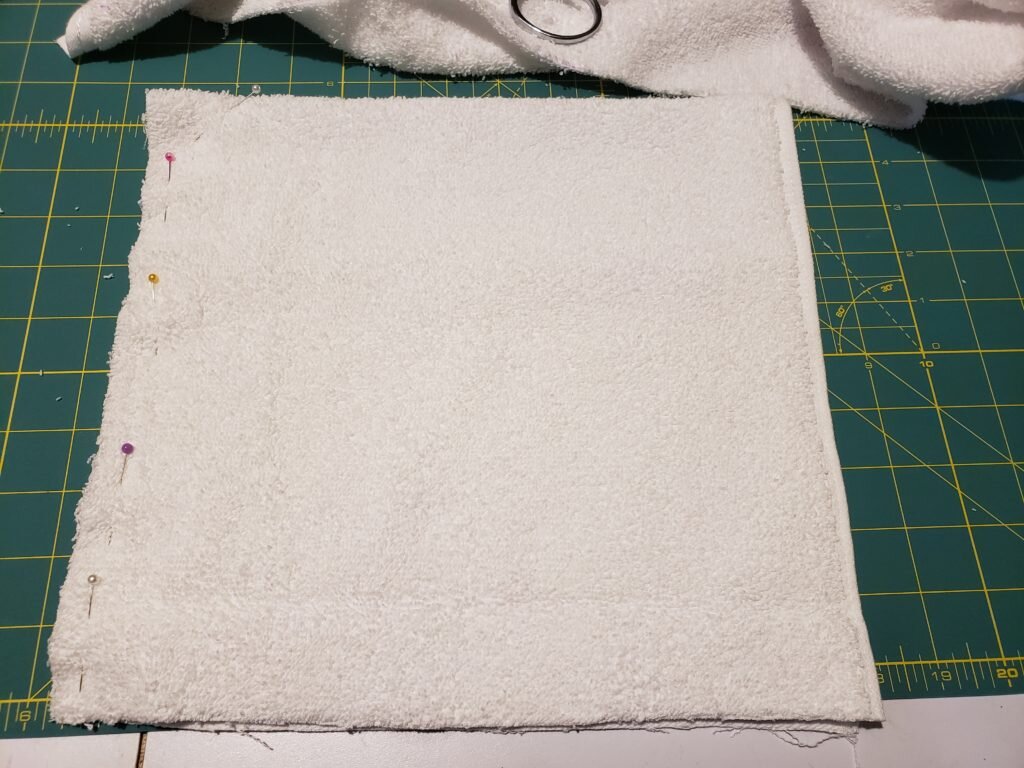
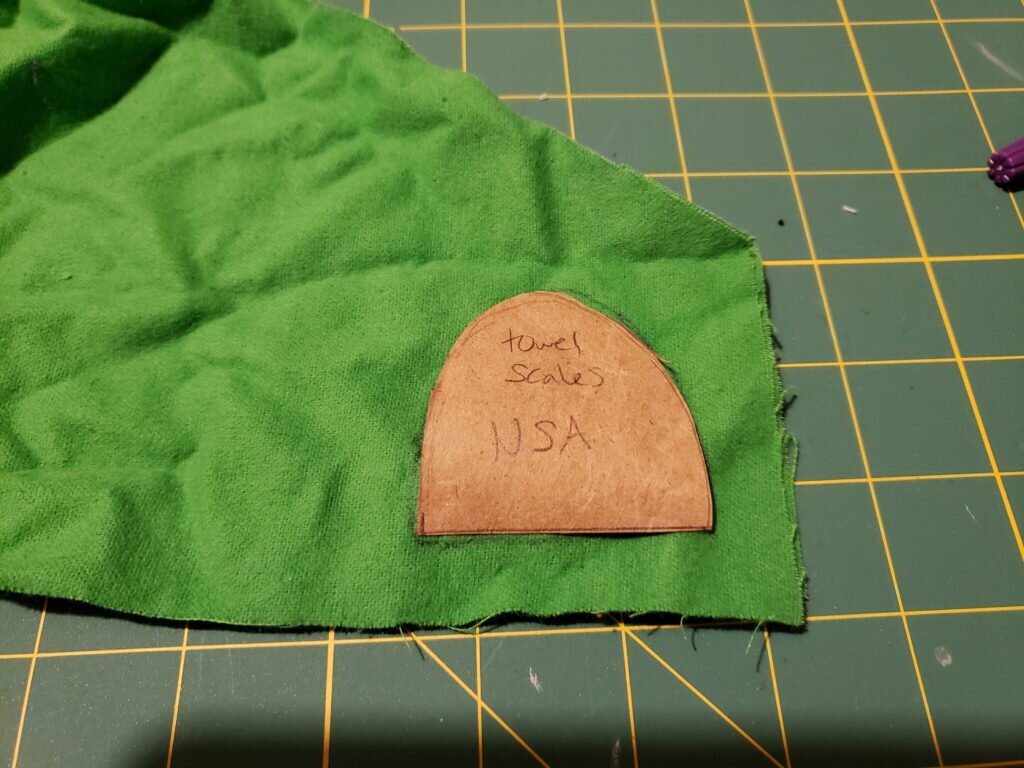
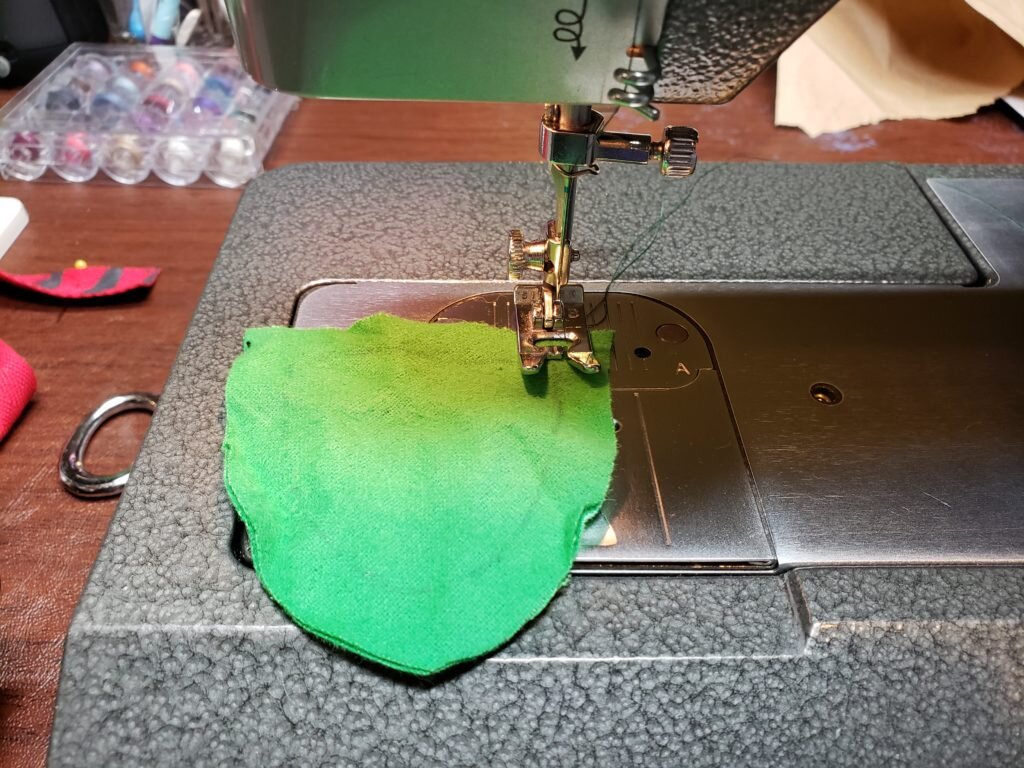
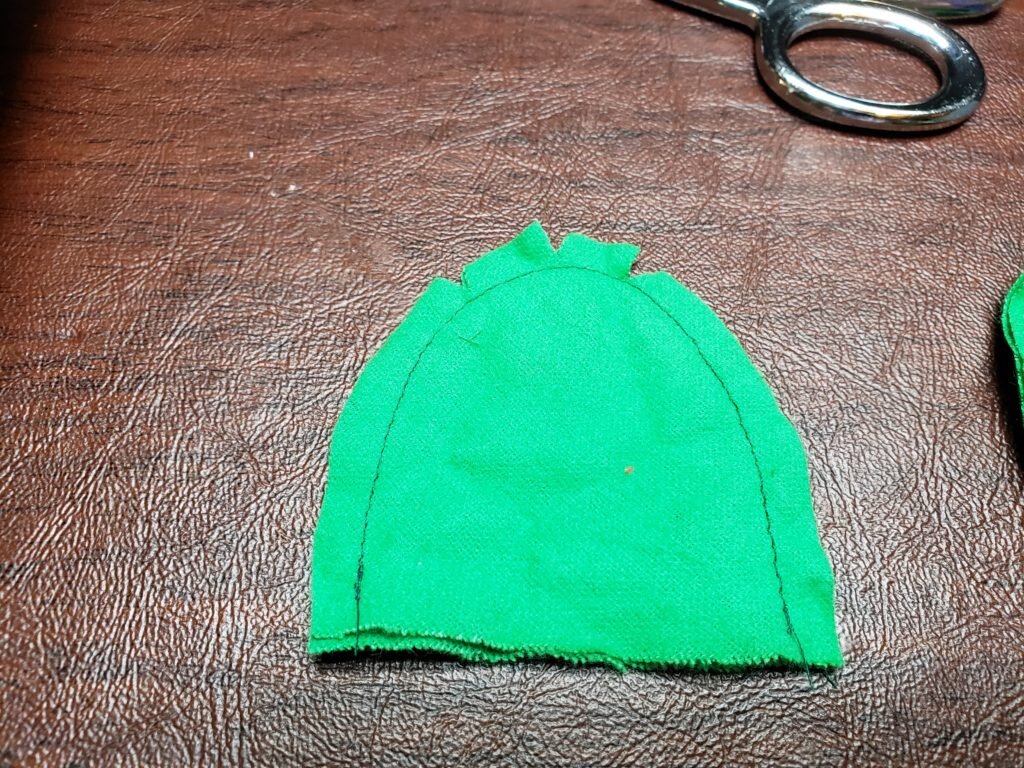
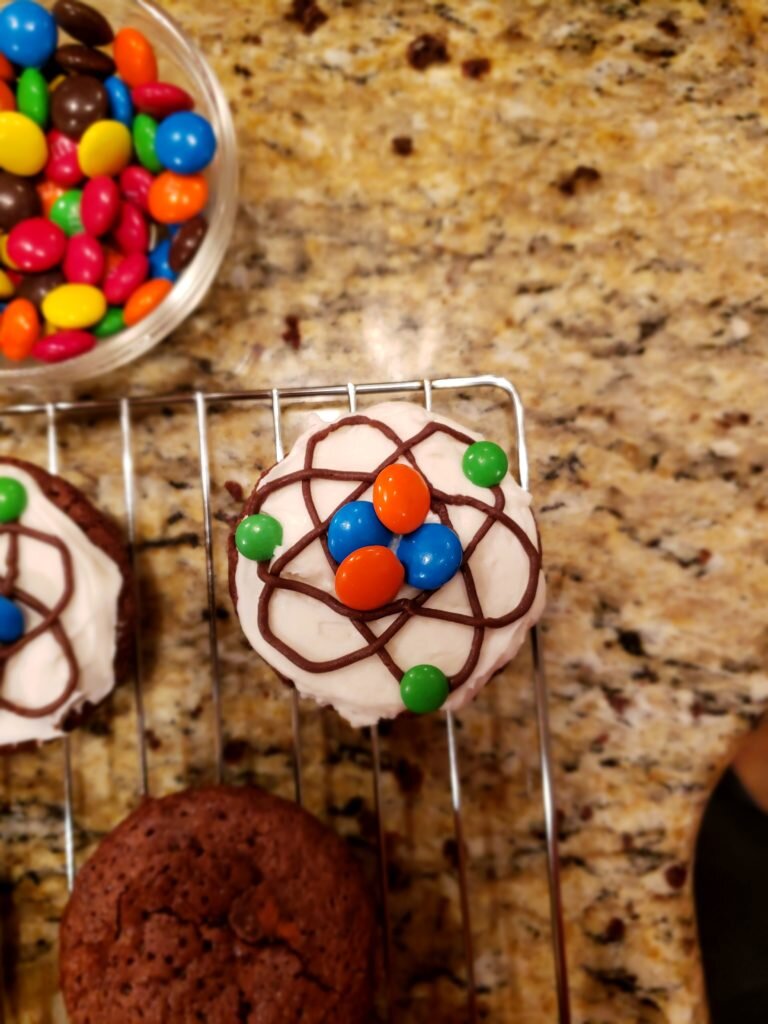
I believe I mentioned last week how we’ve been having different “fun friday” themes at my work. This one was “Science Friday” which was surprisingly difficult for a lot of people. I made a skirt, which I’ll show you how to make next week, and some fun themed brownies for my co-workers. Of course – since I am an engineer and work with lots of engineers I feel the need to point out that these brownies are entirely fictional atoms. I also need to point out that I am aware that helium doesn’t have 3 electrons (though I thank the multiple people who brought this up before eating the brownies). And while we’re at it I’ll throw in that I know the Rutherford model is inaccurate (but that Rutherford is mostly irrelevant when you are devouring brownies). Finally I know for a fact that these brownies are adorable and delicious, as evidenced by the lack of brownies I brought home from work on Friday.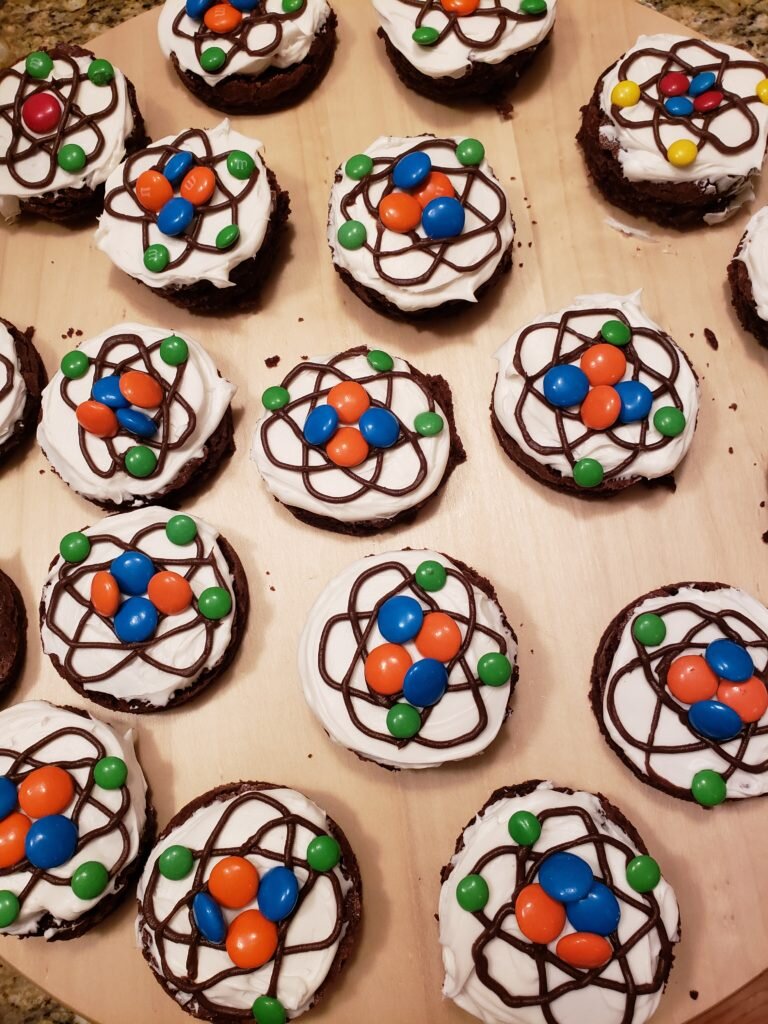
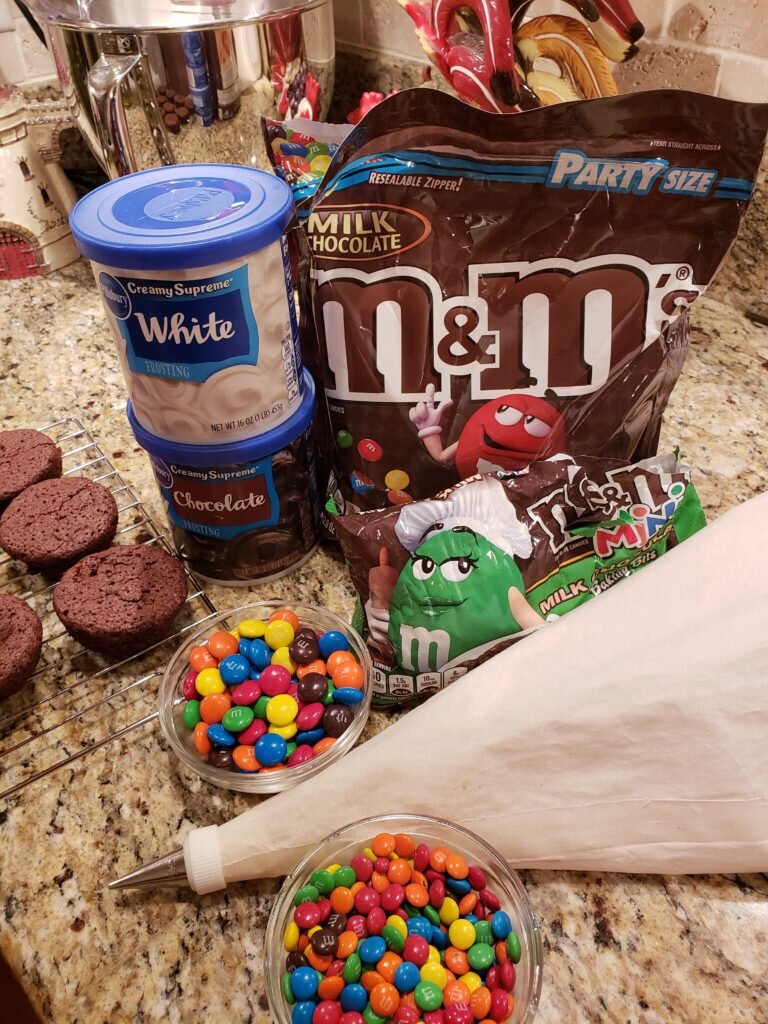
Atomic Brownies
What you’ll need:
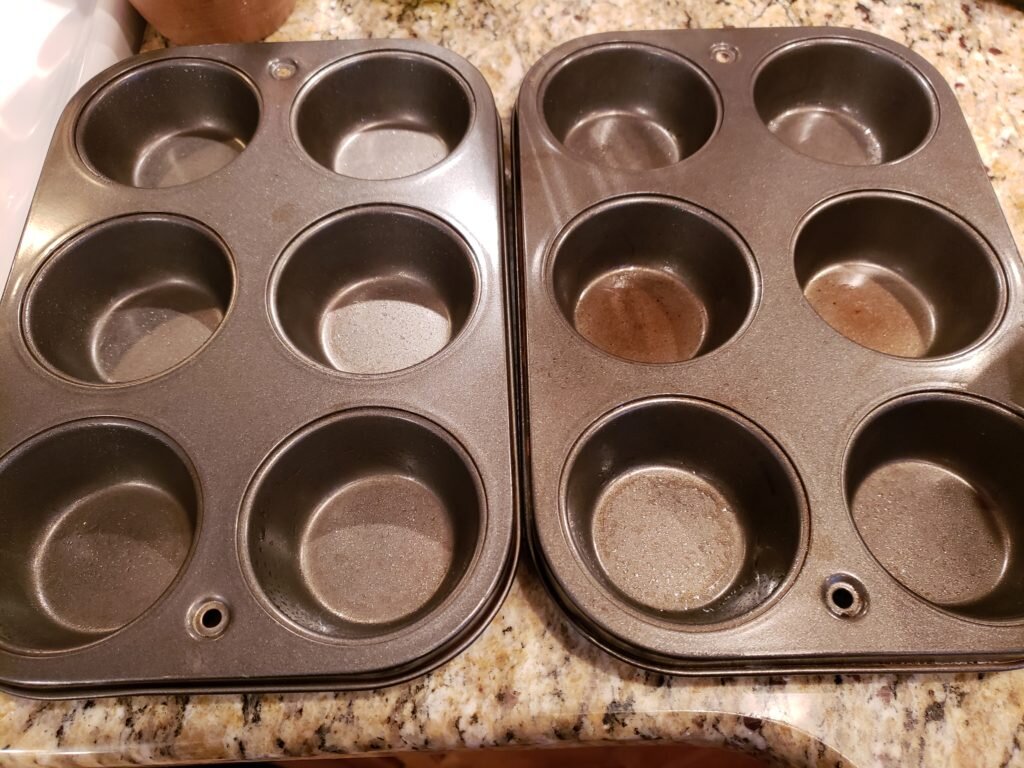
- 2 – 6 muffin tins
- brownie batter from here
- offset spatula
- size 2 pastry tip & pastry bag
- mini baking m&ms or m&m minis
- m&ms
- vanilla frosting
- chocolate frosting
- Grease muffin cups or line with cupcake liners.
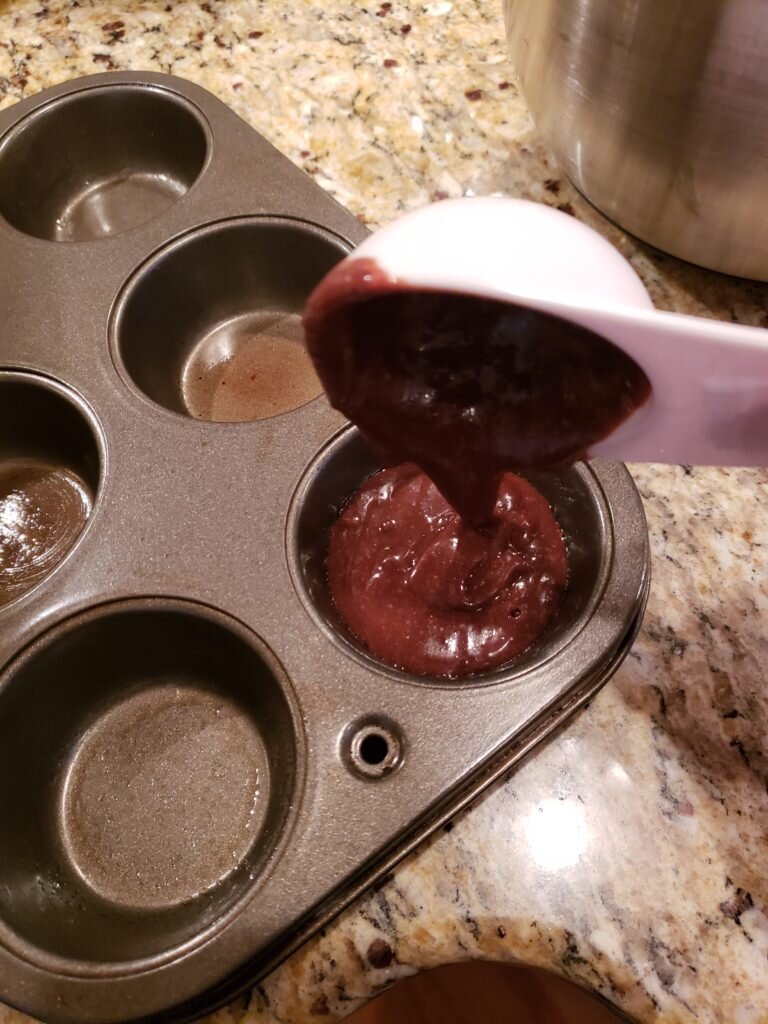
- Make brownie mix and pour into 12 greased/lined muffin cups (fill about half full about 1/4 cup of mix)
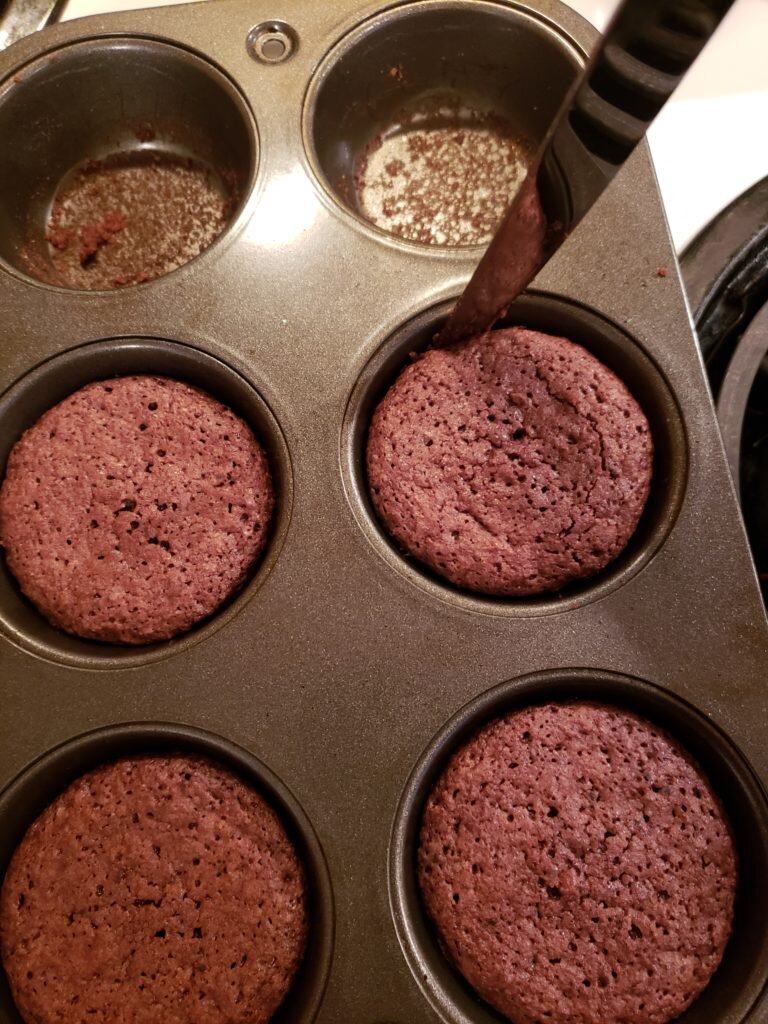
- Bake brownies for 15 to 18 minutes, using care not to overcook them.
- When brownies are done, let sit in pans on wire racks until fully cooled (around 15 to 20 minutes).
- When brownies are completely cool, run a knife around the edge of the muffin tin and pull brownie out. Repeat for other brownies.
- Stir frosting until soft – if I can’t get the light fluffy consistency I’m looking for I’ll using a hand mixer to whip the frosting into shape.
- Take a dollop of vanilla frosting with the offset spatula and smooth it onto the surface, holding the spatula level and turning the brownie. Repeat for other brownies.
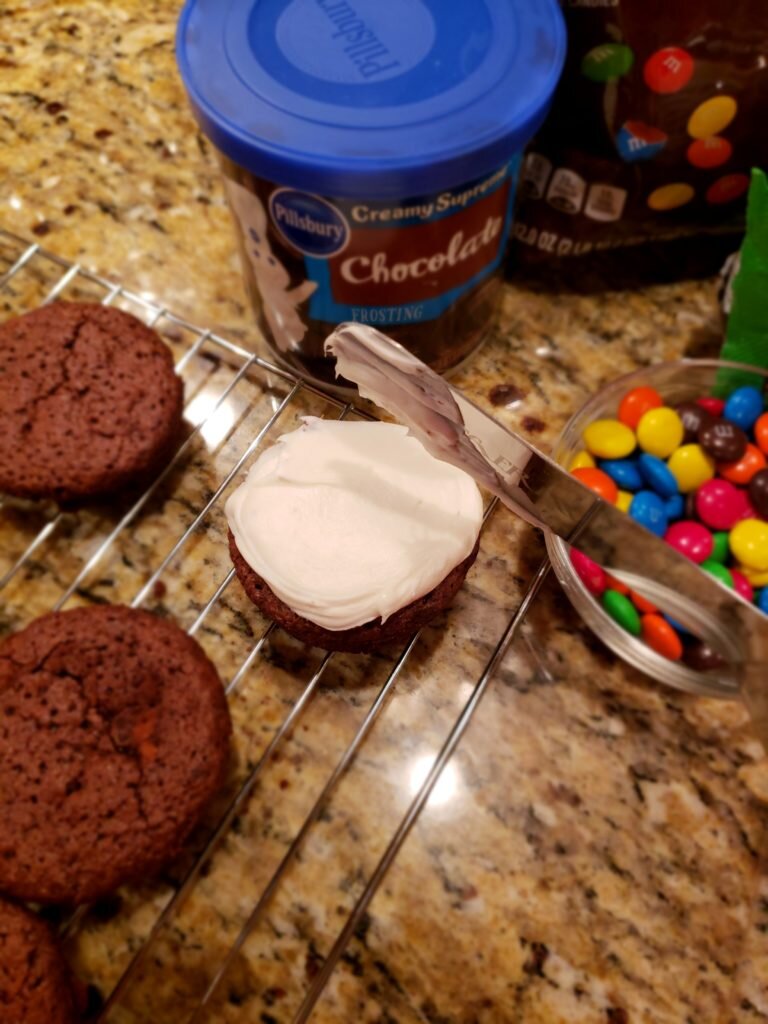
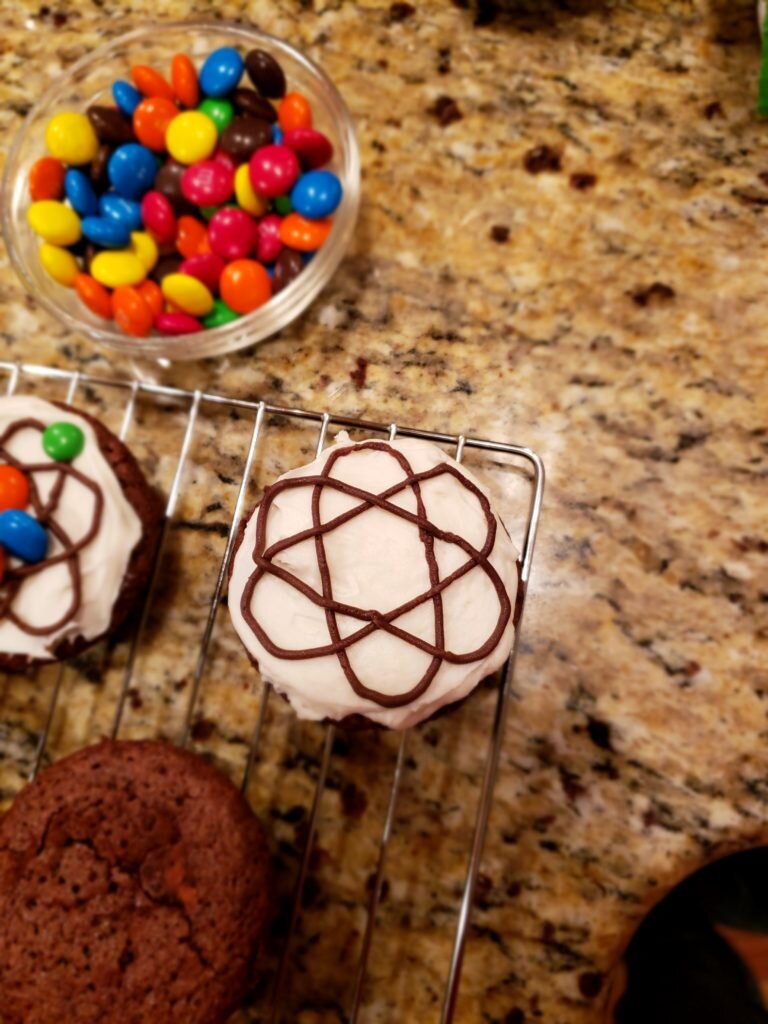
- Fill pastry bag with chocolate frosting and fit pastry bag with #2 tip. Draw an electron ring in the center of the cookie.
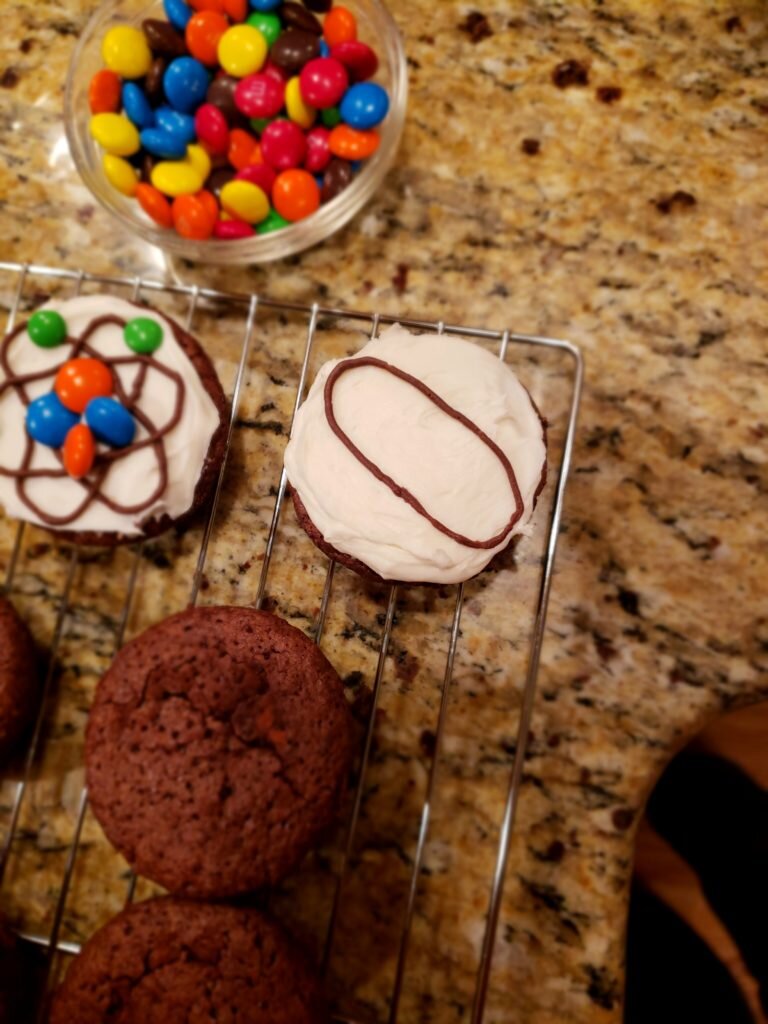
- Turn the cookie 1/6 of a turn. Draw a second ring over the first ring.
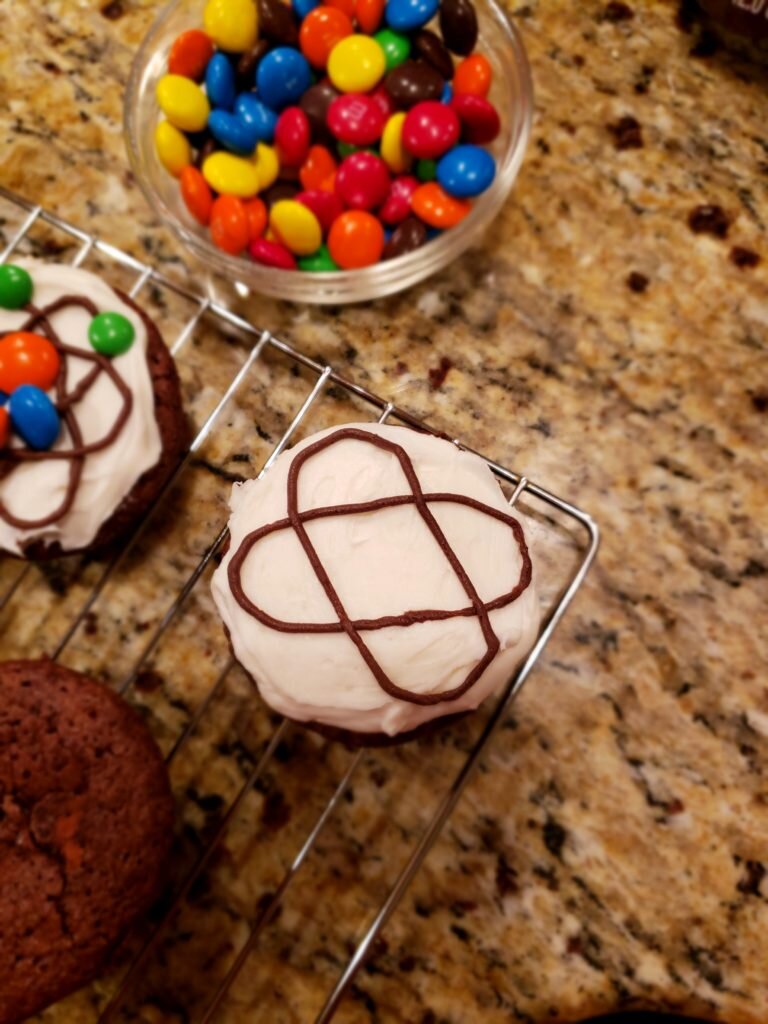
- Turn the cookie 1/6 of a turn again. Draw a third ring over the first two.
- Take 2 full size m&ms in one color and 2 full size m&ms in a second color and place in the center of the rings, alternating colors.
- Place a third color of mini m&m in each of the electron shells around the nucleus.
- Give them to a group of engineers and watch them scoff*.
*As a side note, I’m concerned Randall Monroe is out to get me because he posted this comic on “Science Friday”. I knew I wasn’t the only computer engineer who didn’t remember the difference between the Rutherford and Bohr models! I was just behind on my XKCD reading that morning!