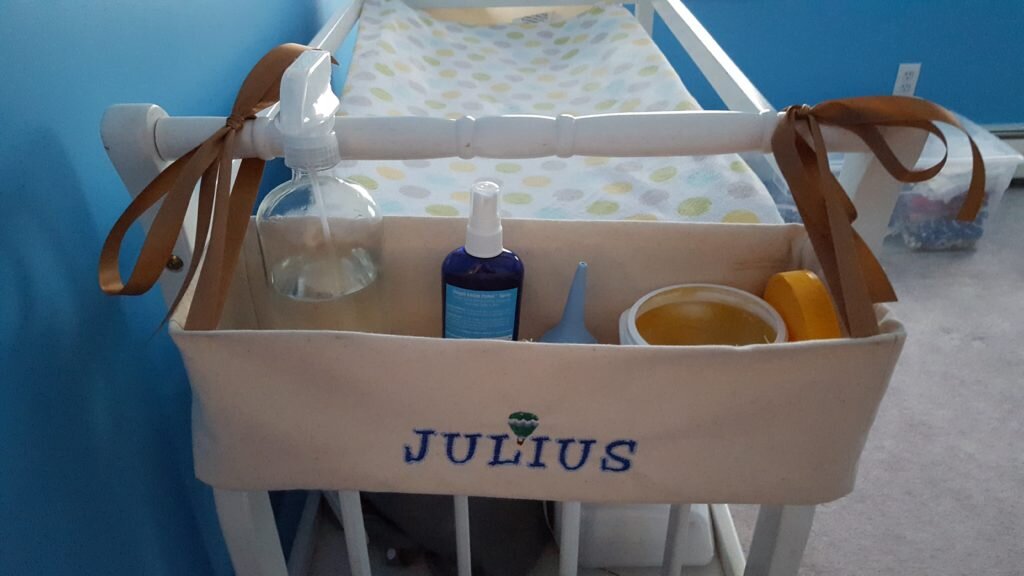
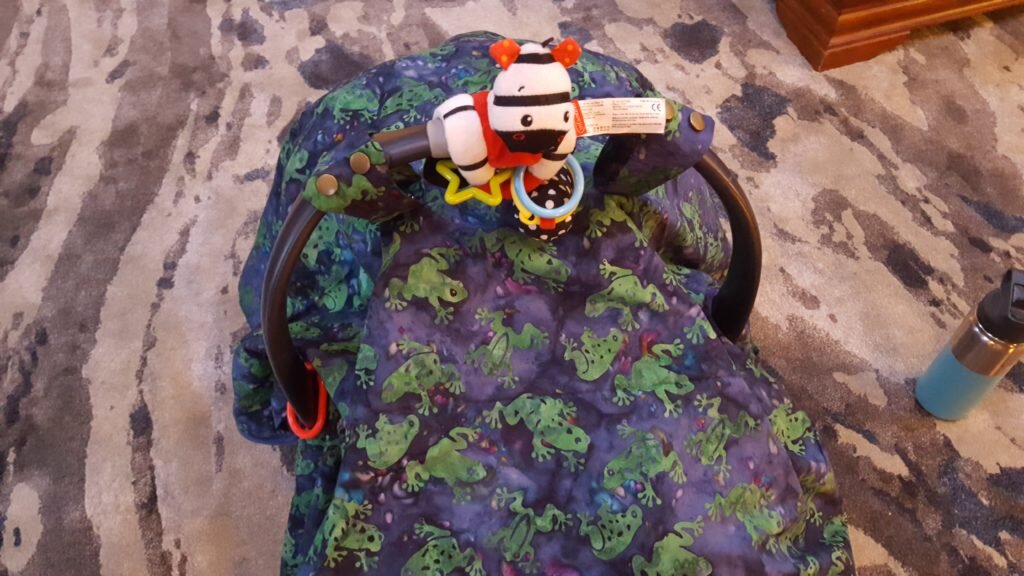
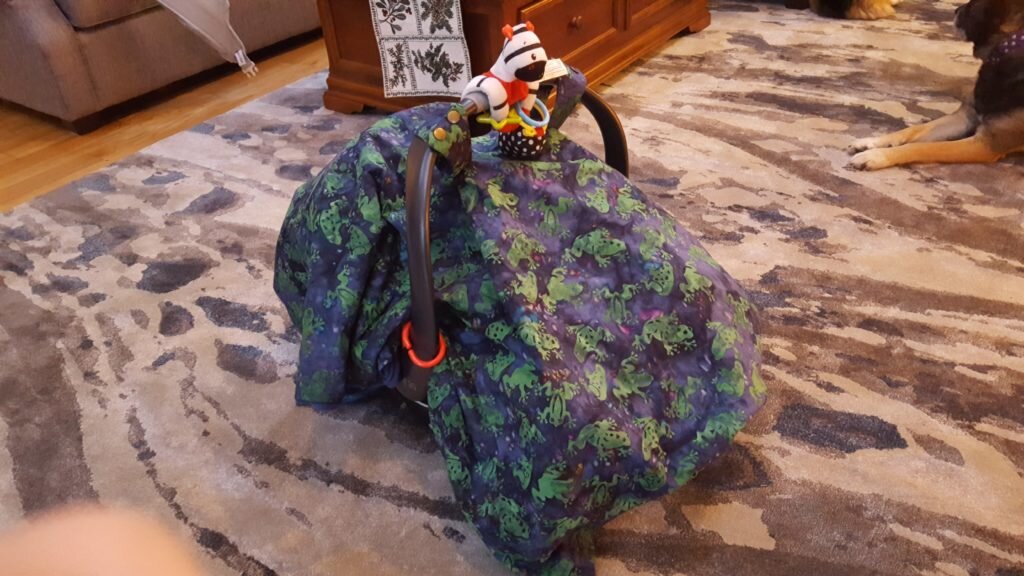
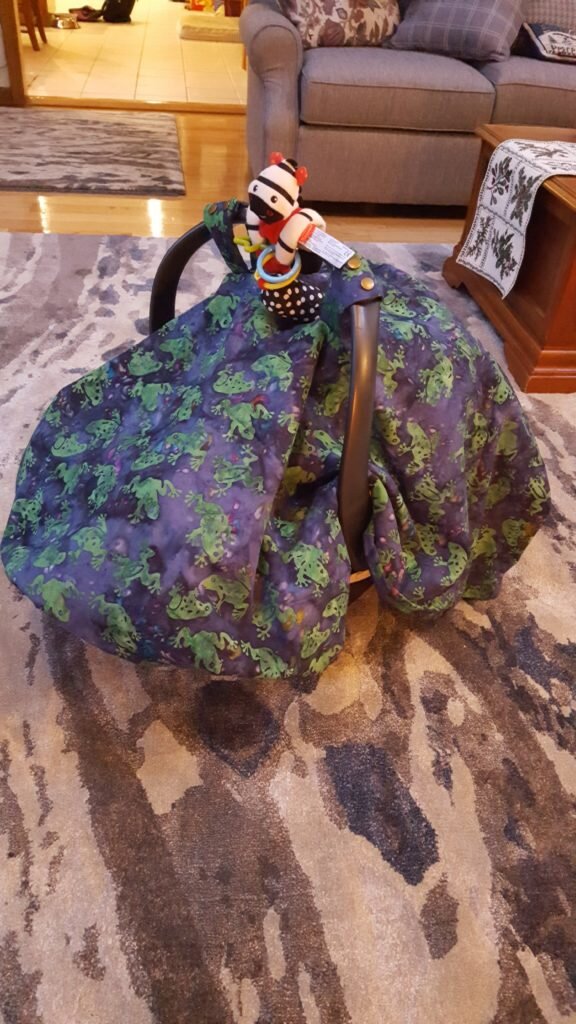
The last couple months we’ve been going up to my parent’s condo at Sunday River. It has been amazing because Will, my dad and I will ski while my mom watches the little guy. It is technically our chance to dip our toes into the whole babysitting/childcare situation. And I really mean dip our toes in since I’m honestly not sure our scenario really counts. You see we’re a bit spoiled in that we get to leave Julius in the capable hands of Grandma who is also conveniently a licensed and practicing R.N. currently working in postnatal/postpartum. While others lament that they worry about their baby’s well-being the whole time they’re out, I really only miss snuggling with him.
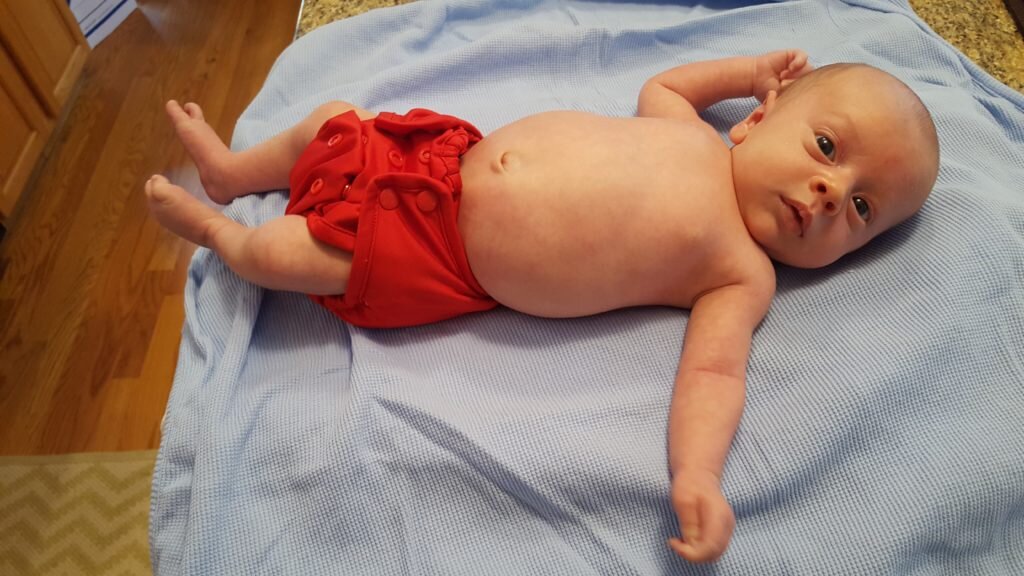
Due to all these baby qualifications, Julius must feel the need to pull out all the stops and go the extra mile to impress. As an example let me tell you about Julius’ latest development. Julius recently hung out with a 7 month old baby who was quite adept at getting around via army crawling on his stomach. Until this point in time, Julius would tolerate tummy time for approximately 12 seconds before either proceeding to lie there like a slug or screaming. (Unless of course he was asked to do it at the doctor’s office where he shows off gratuitously to the point where the doctor deems his tummy time efforts “wonderful” and she thinks I made the whole aforementioned slug/screaming scenario up for comedic affect.) Either way, after seeing this 7 month old baby moving around like a champ, Julius’ life was changed! For the next several days he put in heroic tummy time efforts of several minutes at a time and looked (as close as a 3 month old baby can look) like an olympic gymnast! Several days later he hangs out with Grandma, puts in that extra mile, and boom he rolls over! He hasn’t repeated it since but at least he put in the extra effort for Grandma’s birthday.
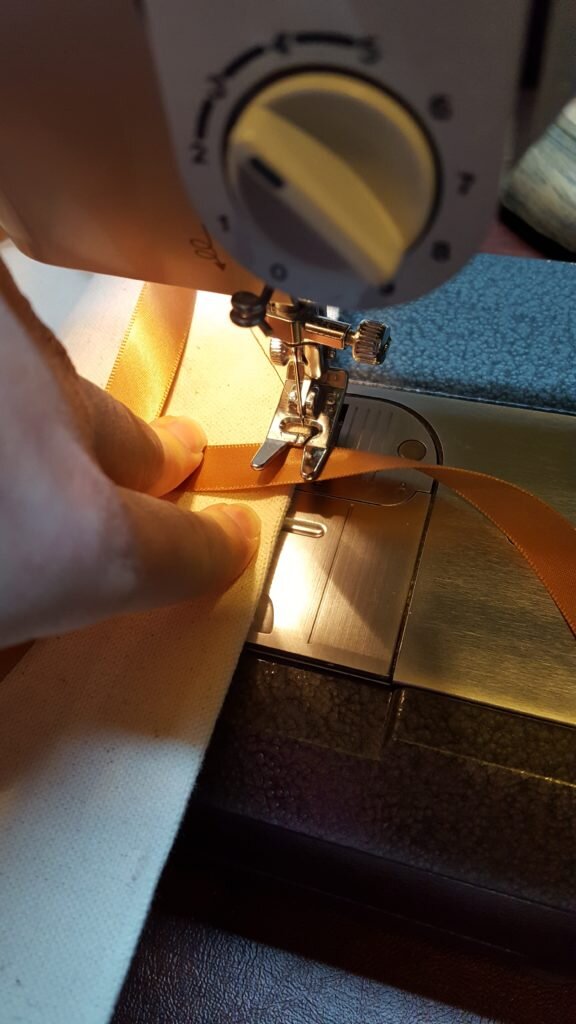
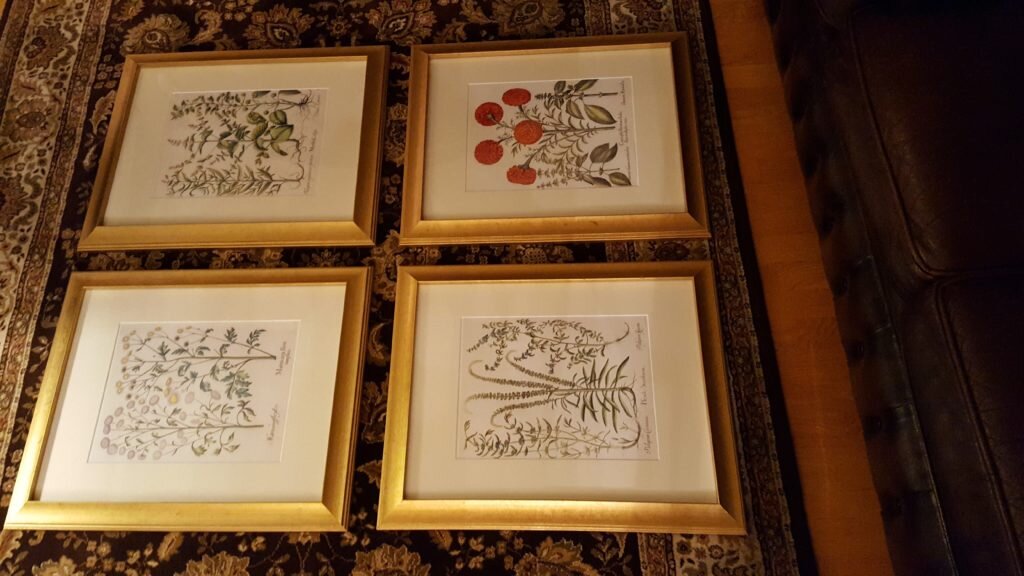
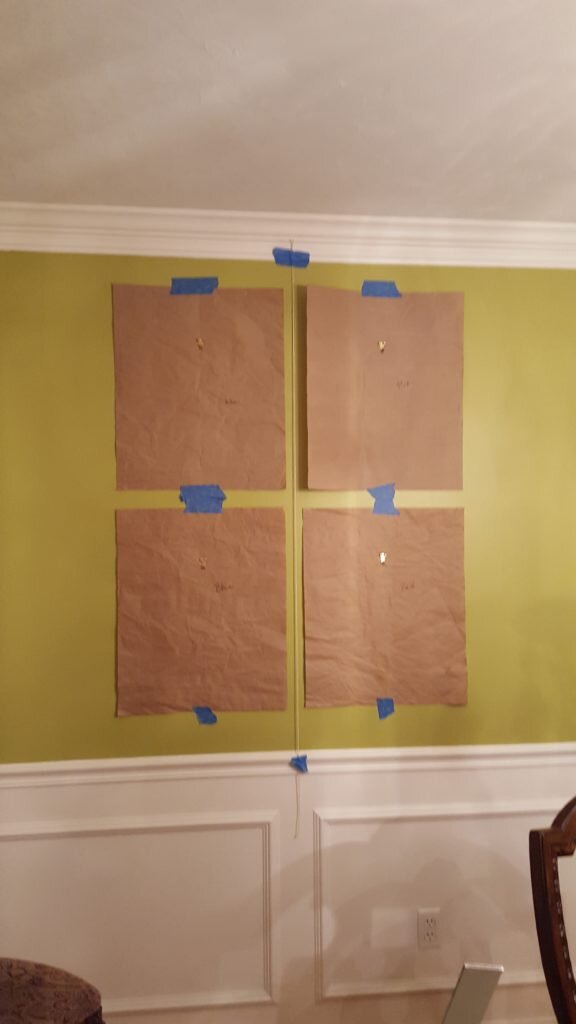
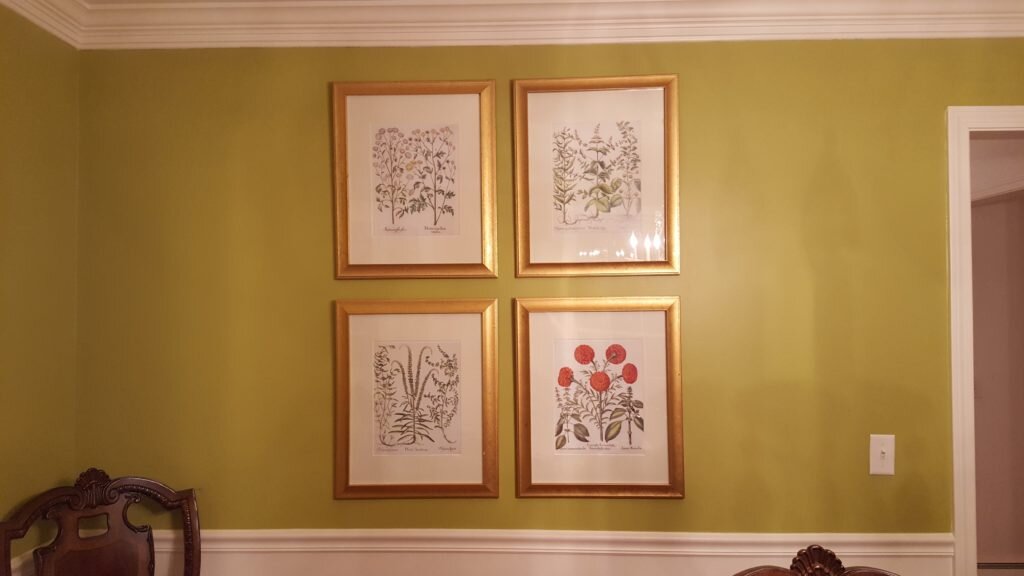
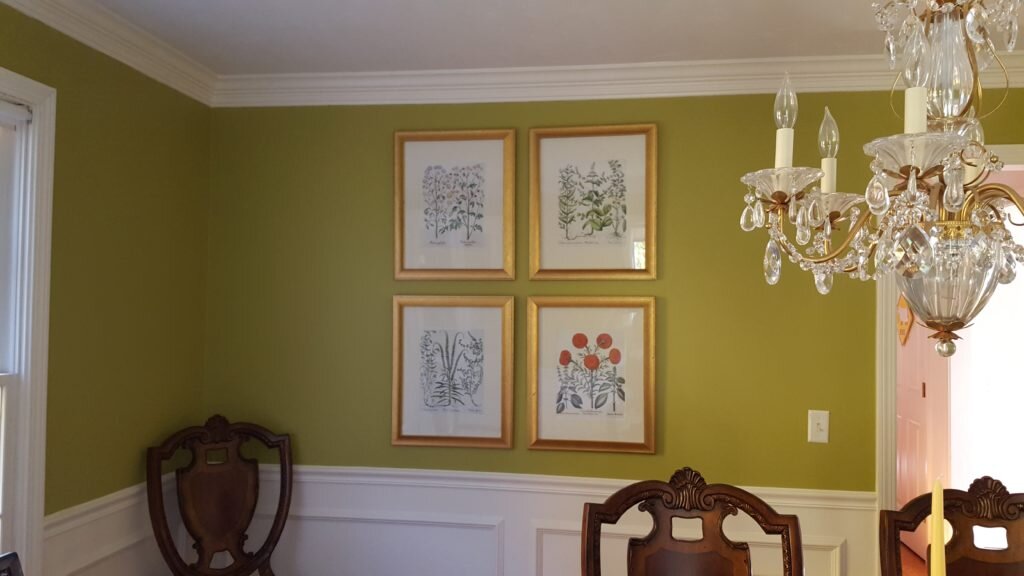
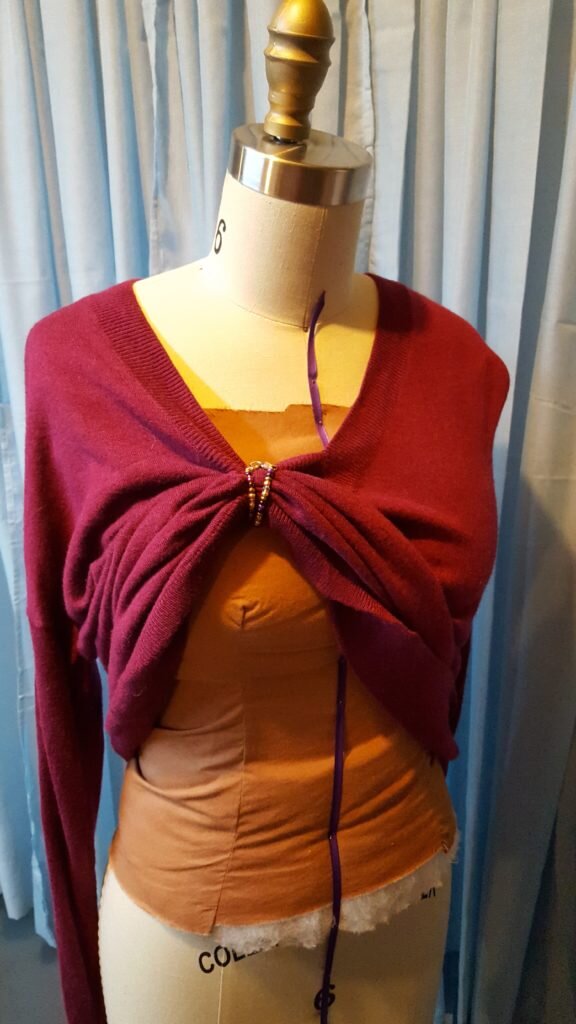
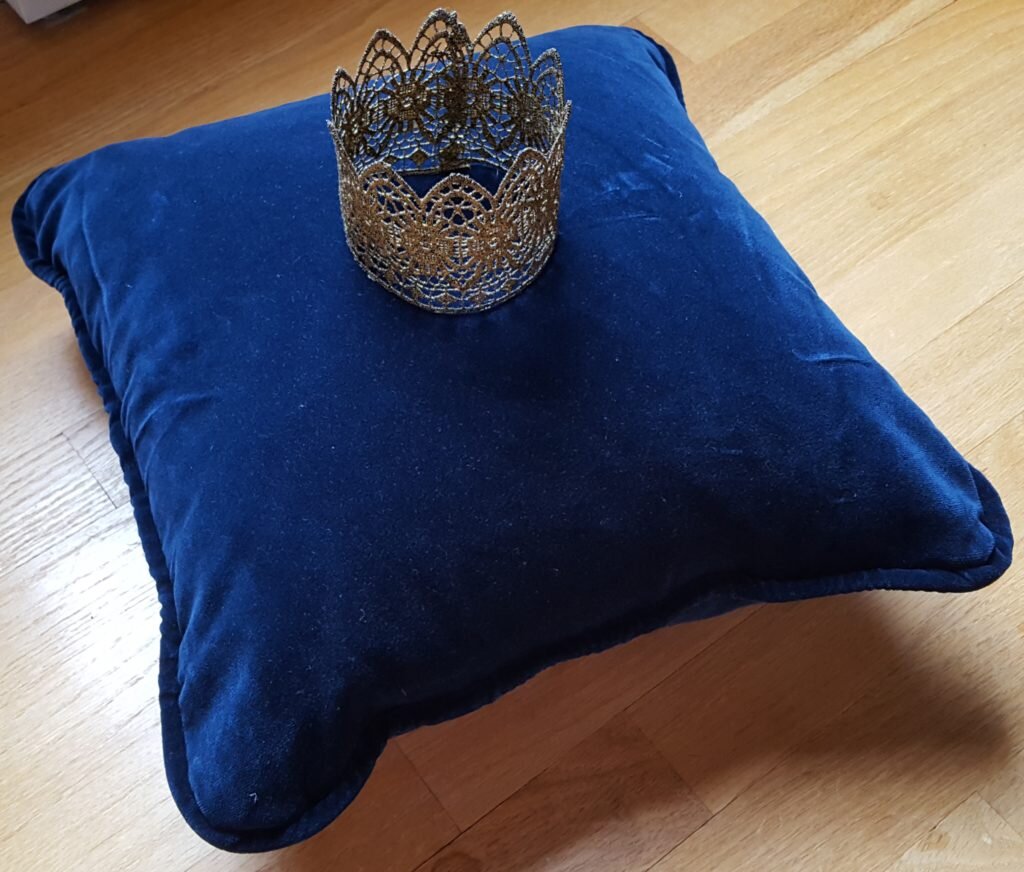
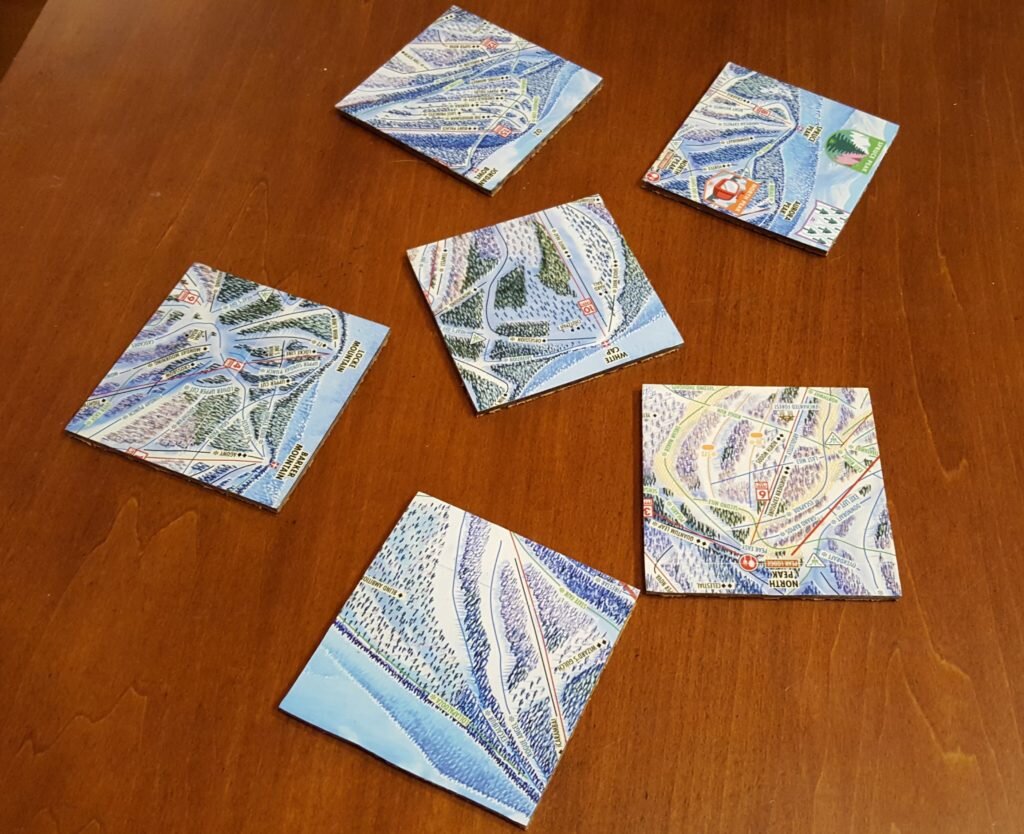
Well I couldn’t compete with that sort of present but I decided to make Mom/Grandma something anyway! Since we’re always at the condo Will had the great idea to get her a framed map of the mountain. I thought I’d add to that gift and make her some Sunday River map coasters from old trail maps! Many of the “DIY coaster” posts you see on Pinterest involve using a ceramic tile as the base. I started out by looking for ceramic tiles at every single hardware store in the area, and then online. The smallest square tiles that these stores sell are 4.25″x4.25″, which make comically huge coasters. After several stores, and several hours online I gave up on ceramic tiles and invented my own DIY coasters based on some wooden coasters I actually own. This method is a bit more time consuming, but I think the coasters look quite professional and they are the proper size. You could use this technique with any paper goods.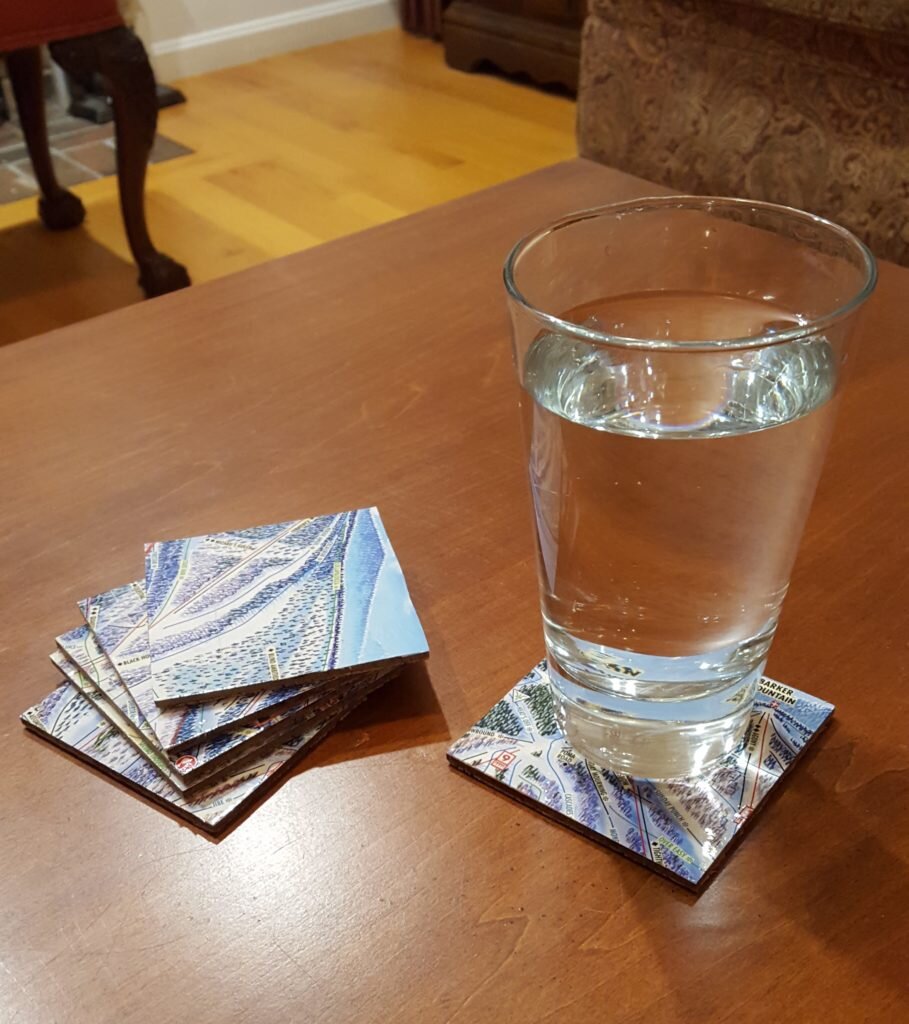
Trail Map Coasters
What You’ll Need:
- old trail maps
- hardboard (only about 1 sq ft)
- thin cork sheet (from the scrapbook section in your craft store)
- acrylic spray enamel
- wood glue
- mod podge
- foam brush
- x-acto knife
- waxed paper
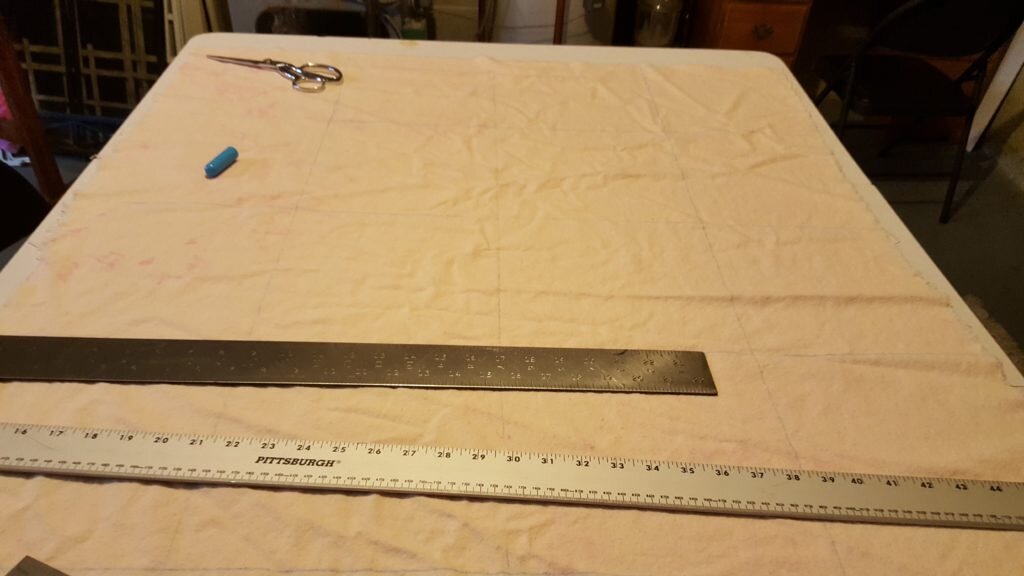
- Cut hardboard into 3.5×3.5” squares. I made 6 coasters. I did this using the combination of a circular saw and a hacksaw with fine tooth blade since those were the tools at my disposal.
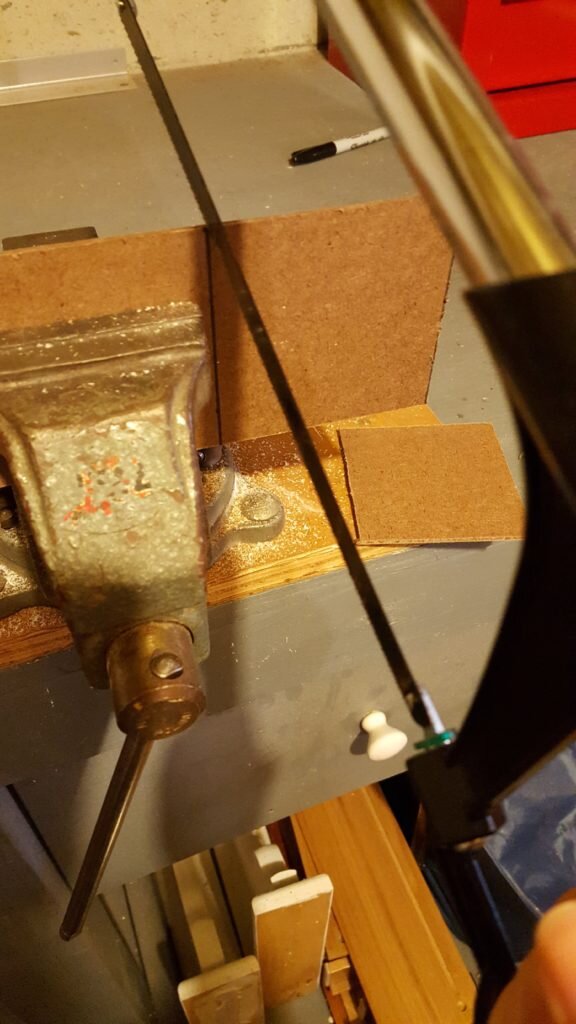
Cut squares from hardboard
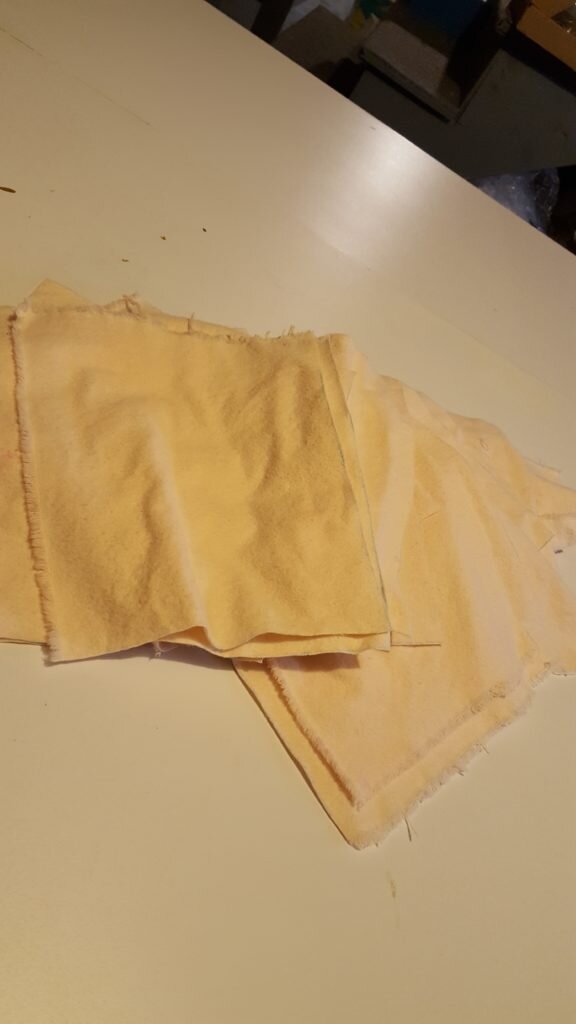
- Clamp all coasters together using a vice and sand all four sides using coarse and then fine sandpaper until they are smooth to the touch.
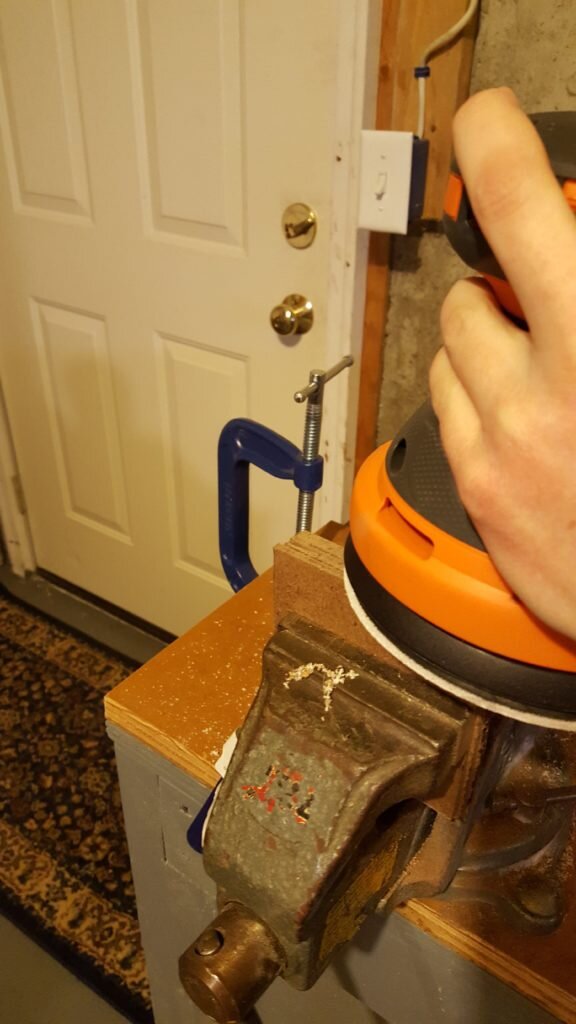
Sand edges of coasters
- Gently iron your map on a low setting under a piece of parchment paper to smooth out wrinkles.
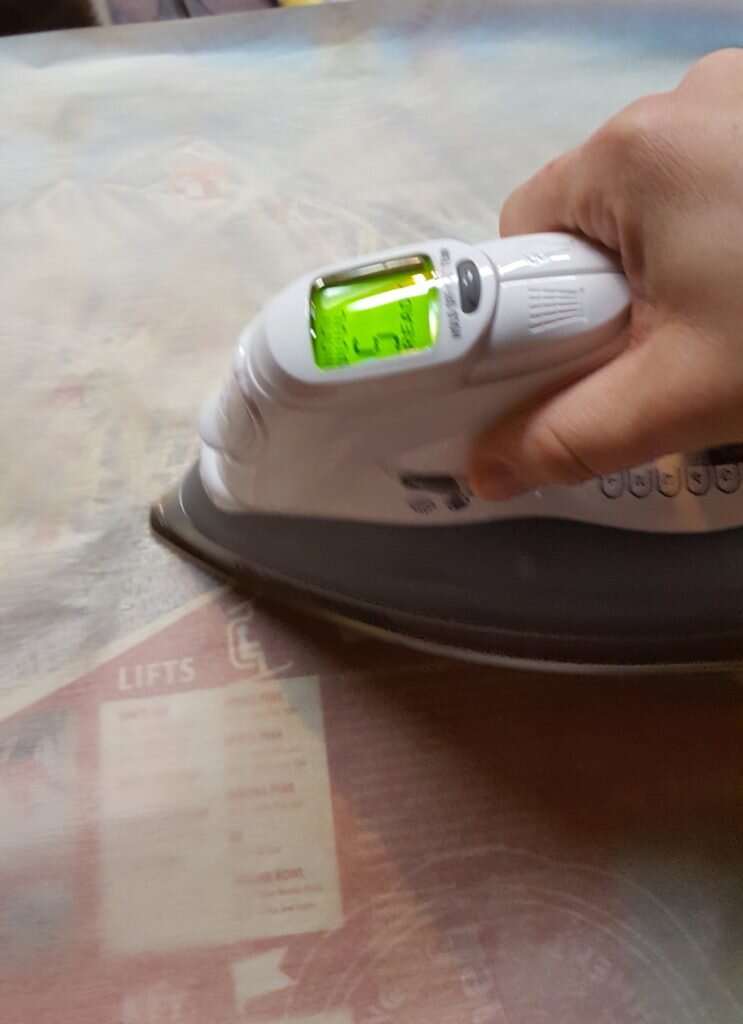
Iron wrinkles from map on low setting.
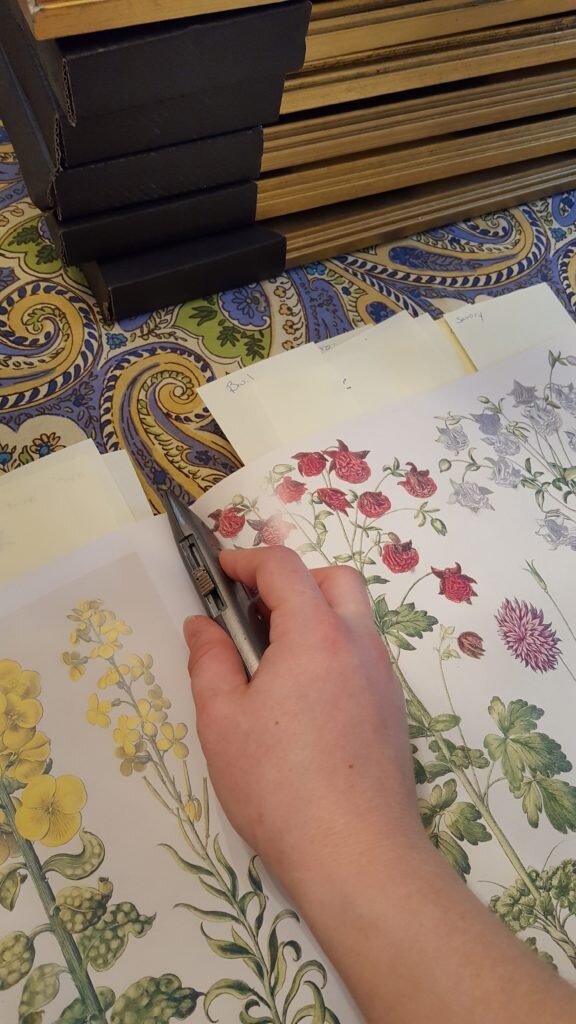
- Place coasters on the map in locations you desire. Using an x-acto knife cut out pictures from the map using each coaster as a template (since they may each vary slightly).
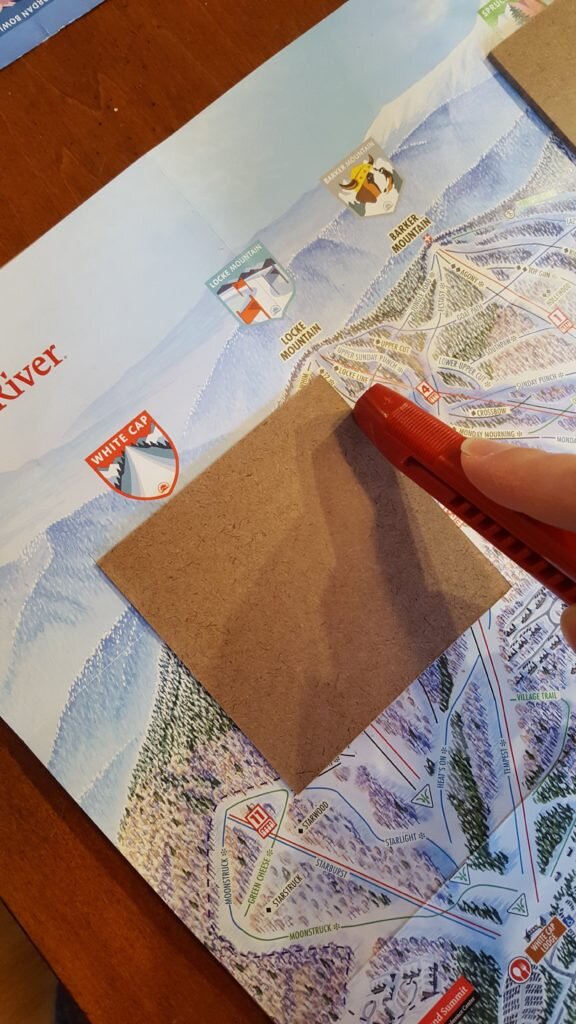
Cut out map using coaster as a template.
- Using a foam brush, coat the face of each hardboard square with mod podge and place the corresponding map cutout on top, right side up. Center and press down firmly, smoothing out any air bubbles. Repeat for other coasters.
Apply mod podge to face of hardboard using a foam brush
- Place a piece of waxed paper and a heavy book on top of the coasters. Let dry 30 – 45 minutes.
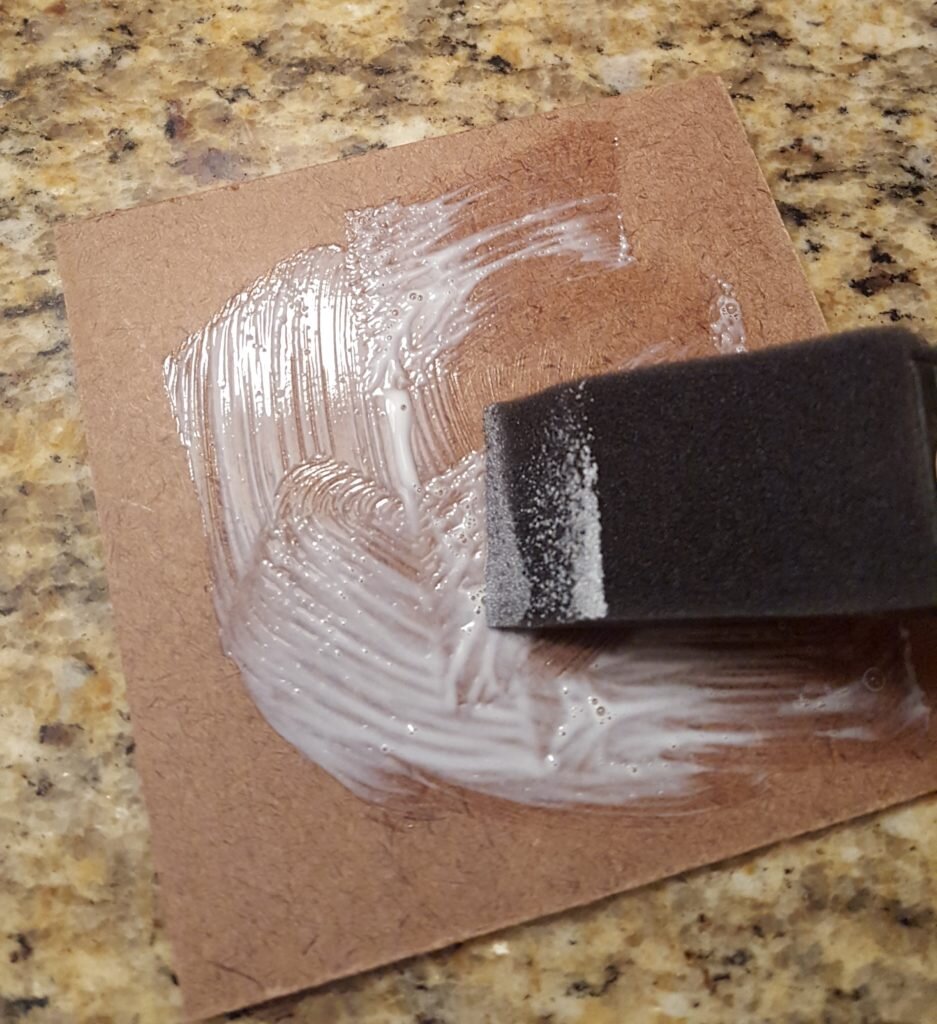
- Coat the face of each coaster with a thin coat of mod podge. Let dry 15-20 minutes and then apply a second coat.
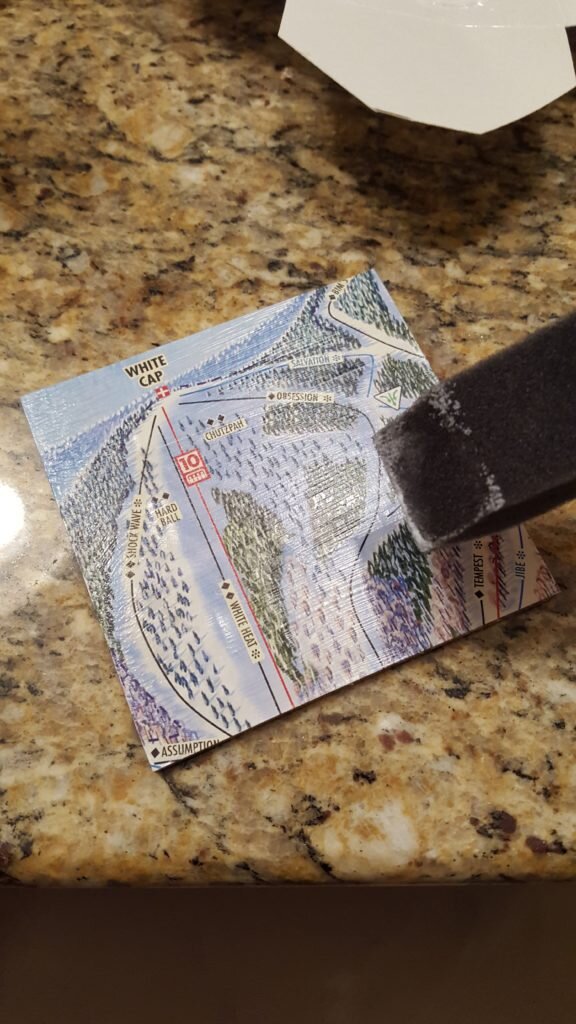
Apply mod podge over face of coaster
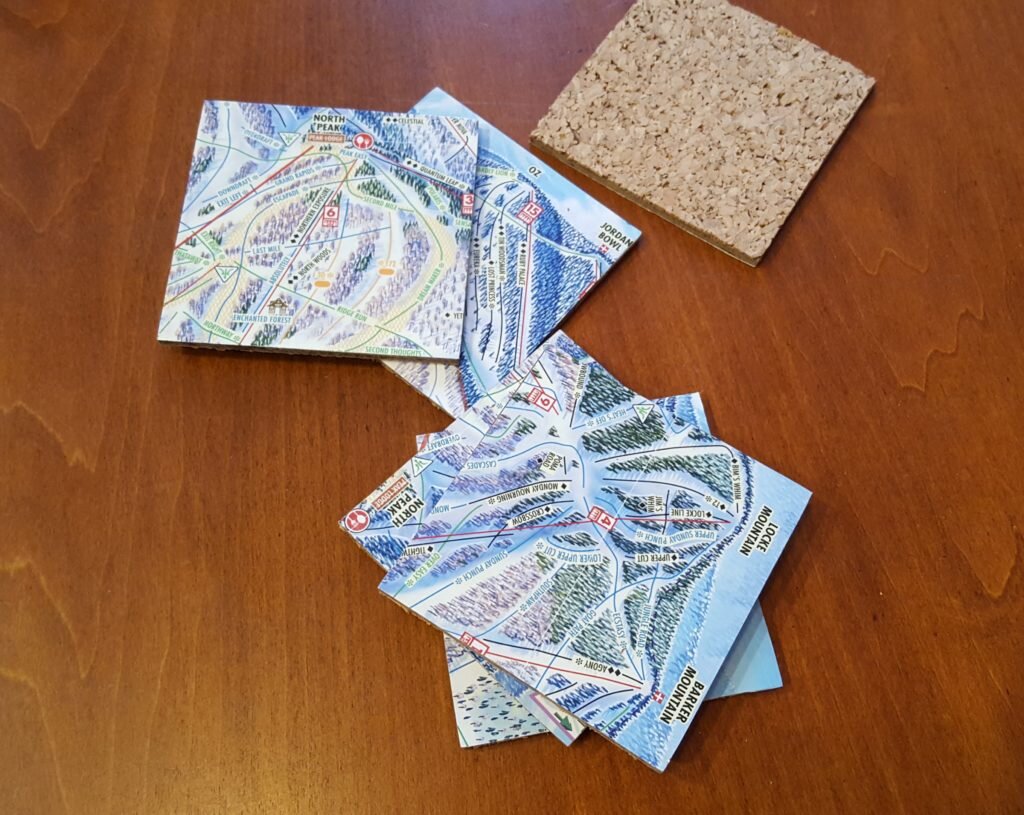
- After the coaster is completely dry, flip over and lightly coat the bottom side with wood glue using a foam brush.
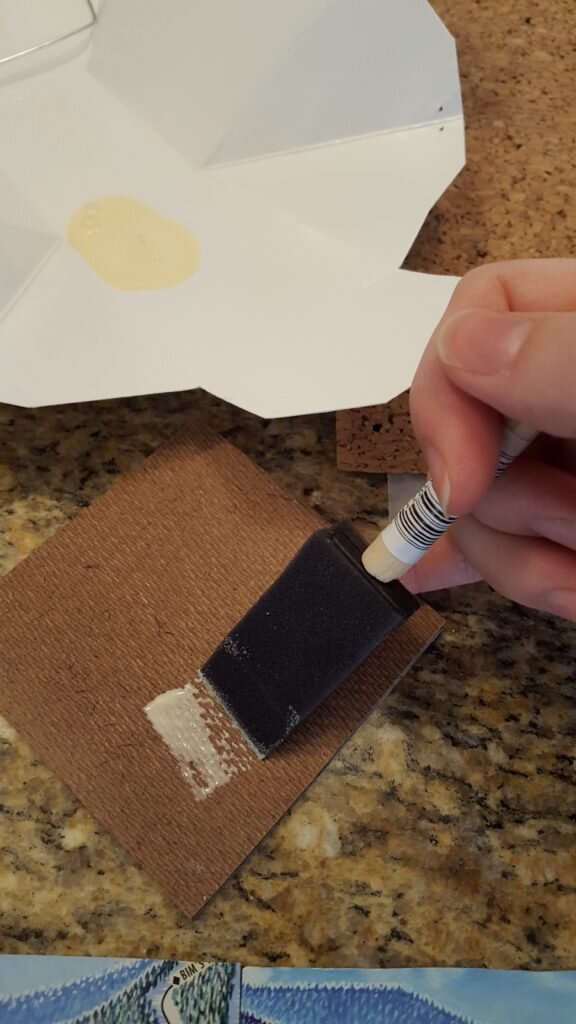
Apply wood glue to bottom of coaster
- Place the cork sheet on a sheet of waxed paper then press the wood glued side of the coaster on top. Repeat for other coasters, then place a book on top.
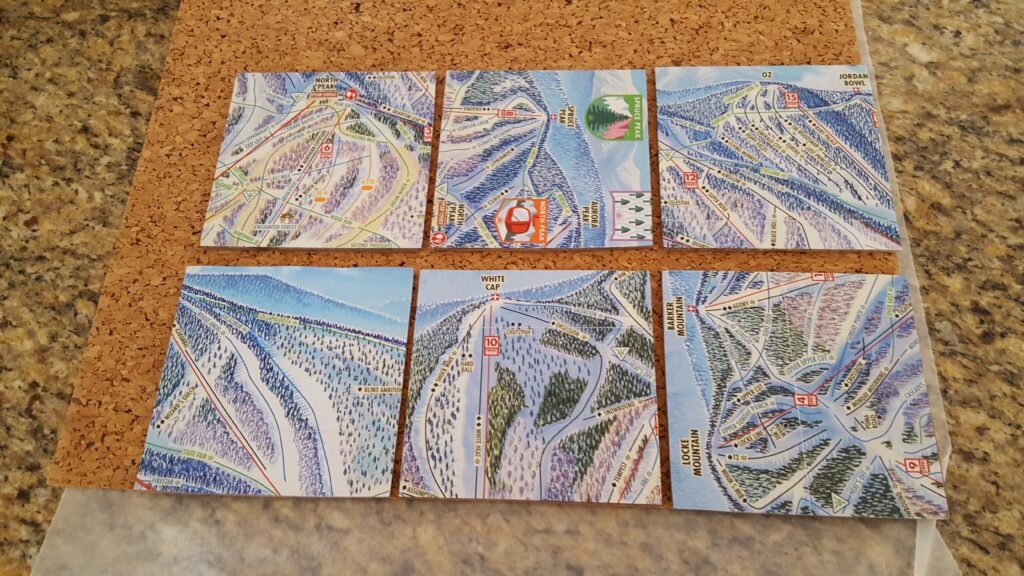
Firmly press coasters on top of cork
- When cork adhesion is dry (approximately 30 minutes), trim the cork around the coaster using an X-acto knife like you did in step 4 for the map pictures.
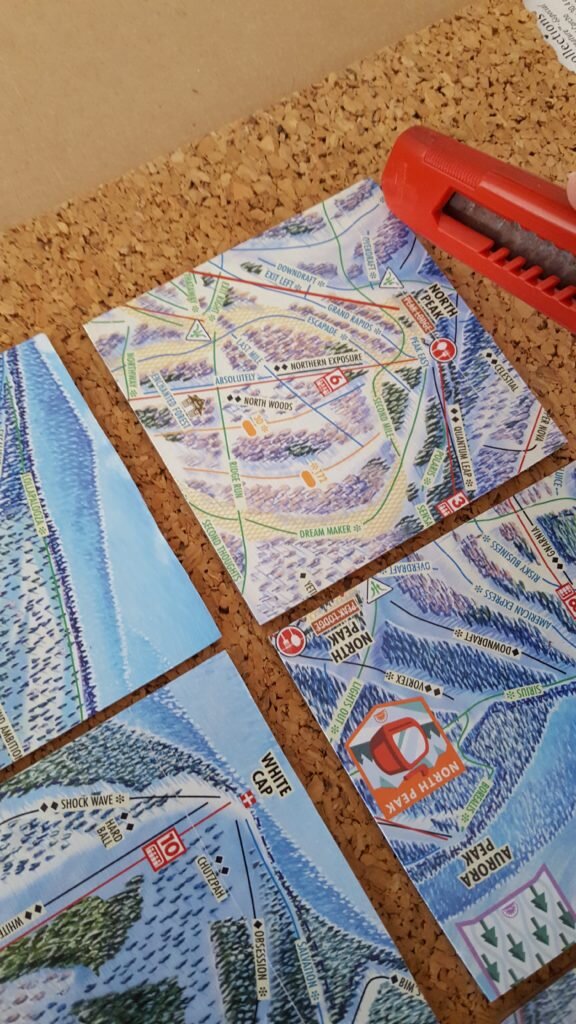
Trim cork
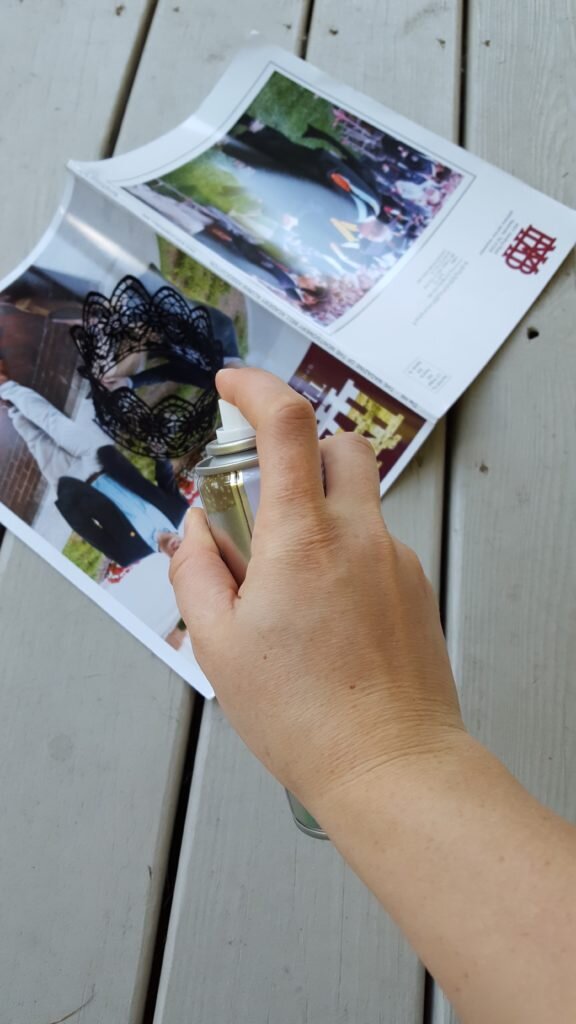
- Apply spray enamel according to bottle instructions.
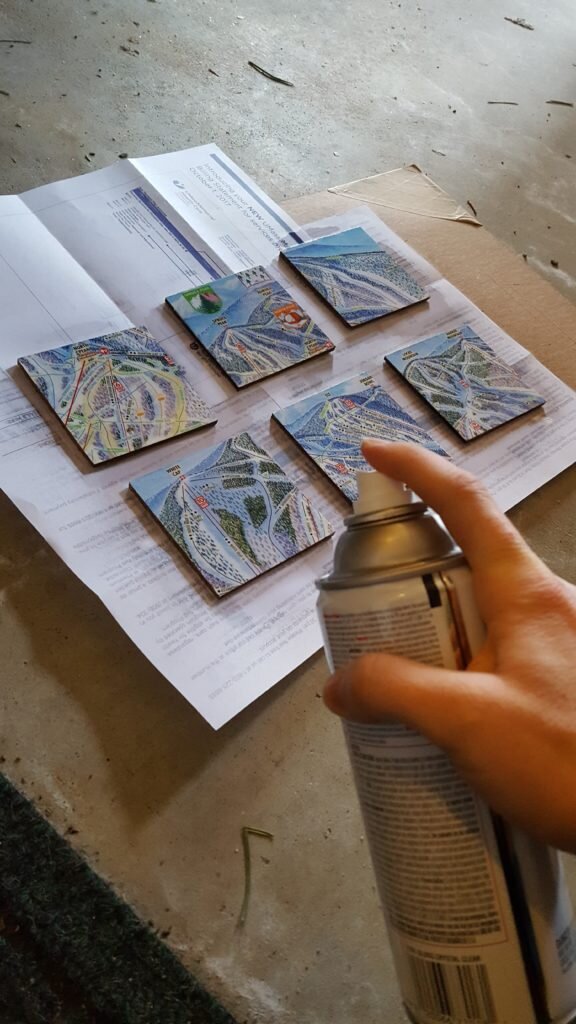
Spray with acrylic enamel.
![]()
![]()