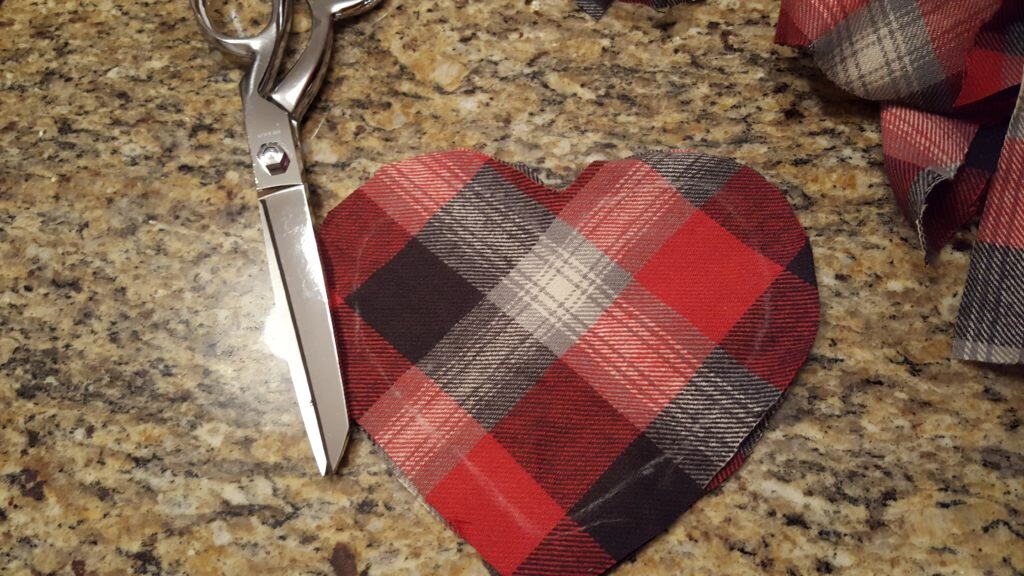
Last time I was in Disney World I purchased an adorable Pirates of the Caribbean themed set of Mickey Mouse ears! They are so cute, but they were Disney overpriced (I checked and they were $27). If you have a set of kids I recommend making your own. You can tailor them to any theme you want and they are very easy to make! Lots of people make theirs entirely using glue guns, but if you’ve read my blog you know that is just not my style. Don’t get me wrong, I love glue guns, but glue guns have a time and a place. If you want things to last… sew them.
For Will’s ears, the theme was fairly obvious. Star Wars. When Will and I met we bonded over our love of Star Wars. Will’s groom’s cake (southern thing) had Han Solo and Princess Leia on it and the phrases, “I love you.” “I know.” At one point Will admitted to me that much like the people who can’t picture marrying someone of a differing religion, he could not marry someone who did not love Star Wars. When Disney bought Star Wars a lot of people were concerned. Not Will. He was excited that a new Star Wars movie would be coming out every year for the indeterminate future. And double bonus – now it is appropriate to wear Mickey Mouse ears themed with Star Wars characters!
For Will’s ears I finally settled on Chewbacca because he’s a badass and I really wanted to make furry ears. This confused many people that I mentioned it to because Chewbacca doesn’t actually have ears. I had to explain to them that they are Mickey Mouse ears that are just themed like Chewbacca; they aren’t actually supposed to be Chewbacca’s ears. Much like the Ariel themed ones aren’t supposed to be Ariel’s ears. That didn’t seem to help. Oh well. Here are some Chewbacca themed ears! You can use the same pattern to make ears of any type!
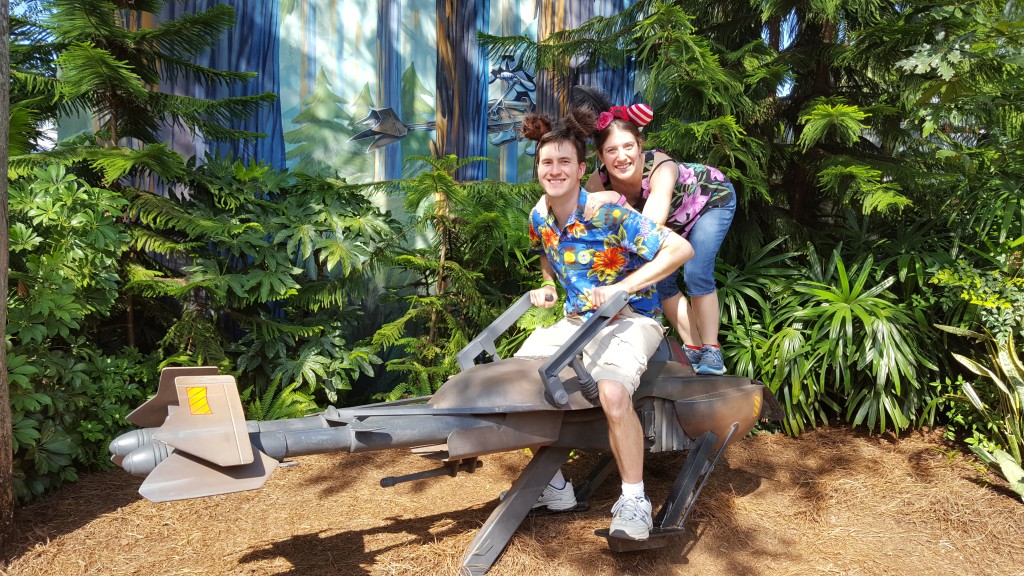
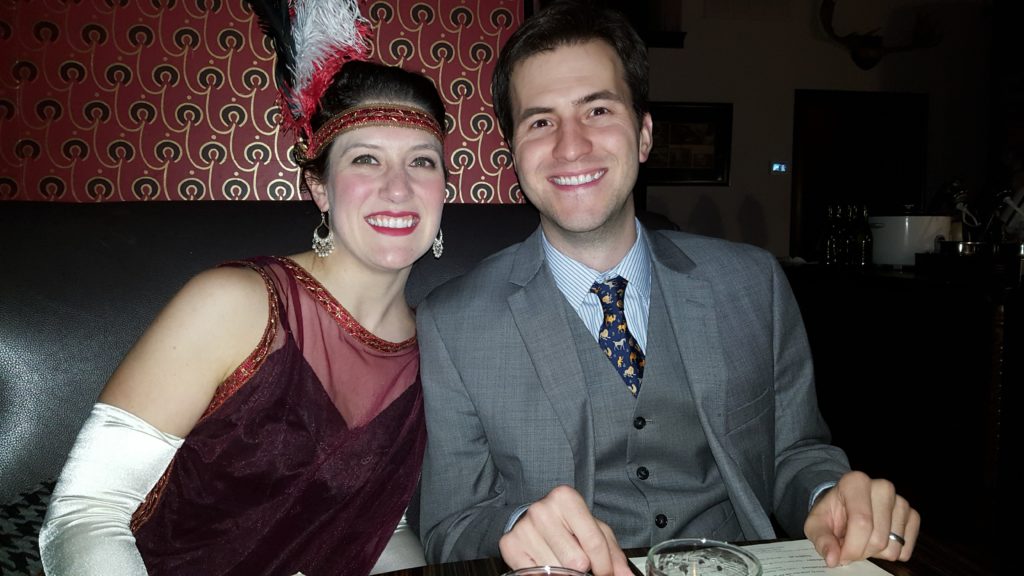
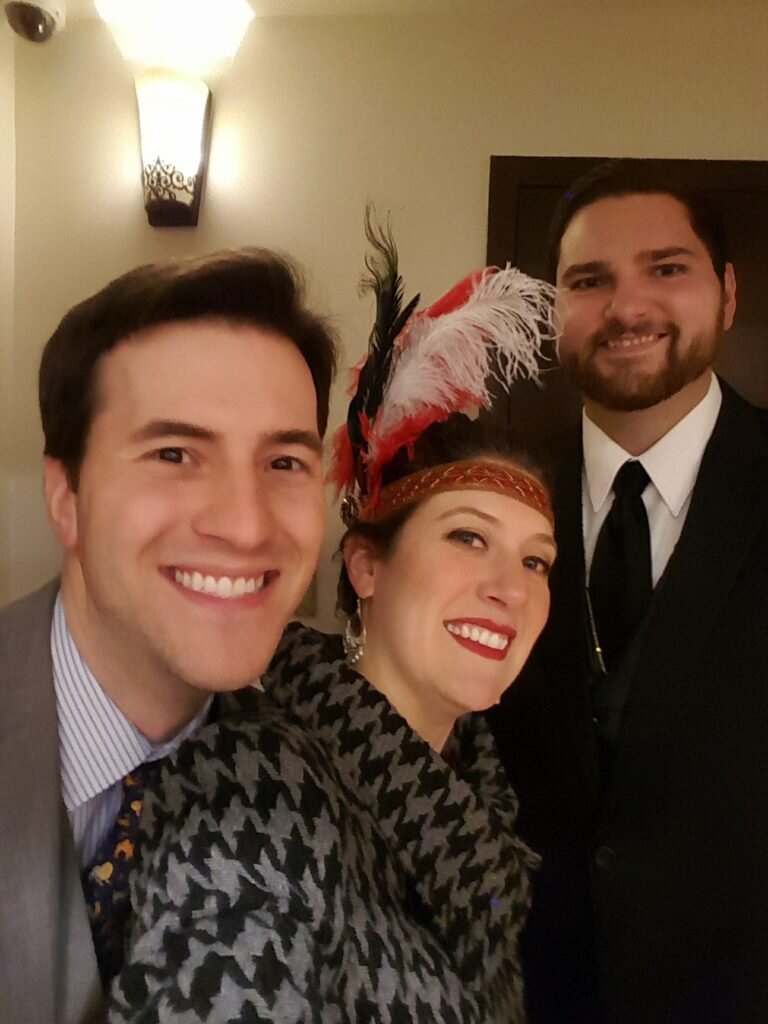
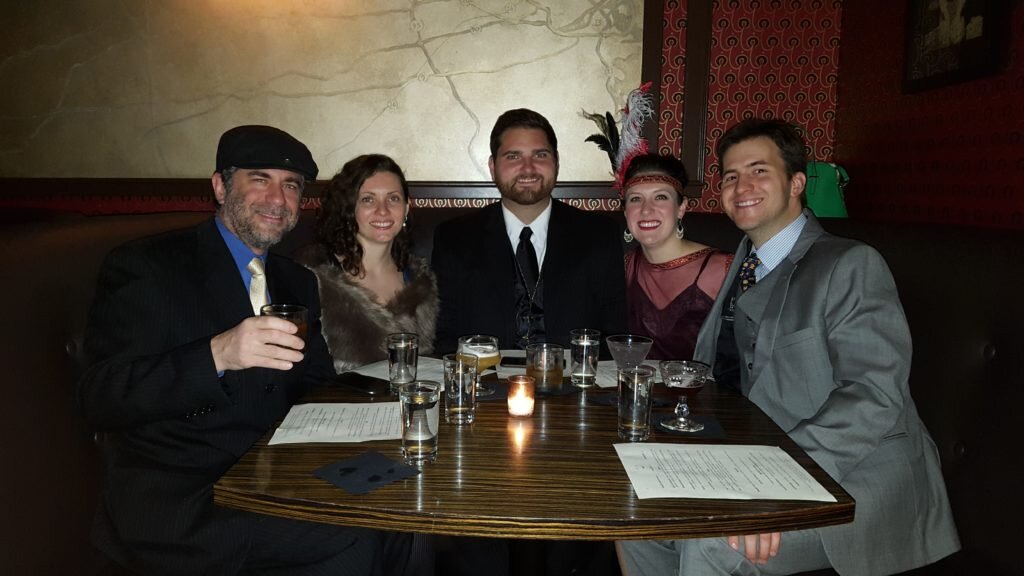
Will and I with our Mickey Mouse ears on a landspeeder
Oh and double bonus Will and I alternated wearing the ears while we were at MGM (or I guess its called Hollywood Studios now, boy I’m old) and happened to catch Chewbacca walking on his way to the next star wars show. I shouted “we love you Chewy!” and he turned and looked at Will’s ears. On his way back in after the show he bent down to get into my picture!
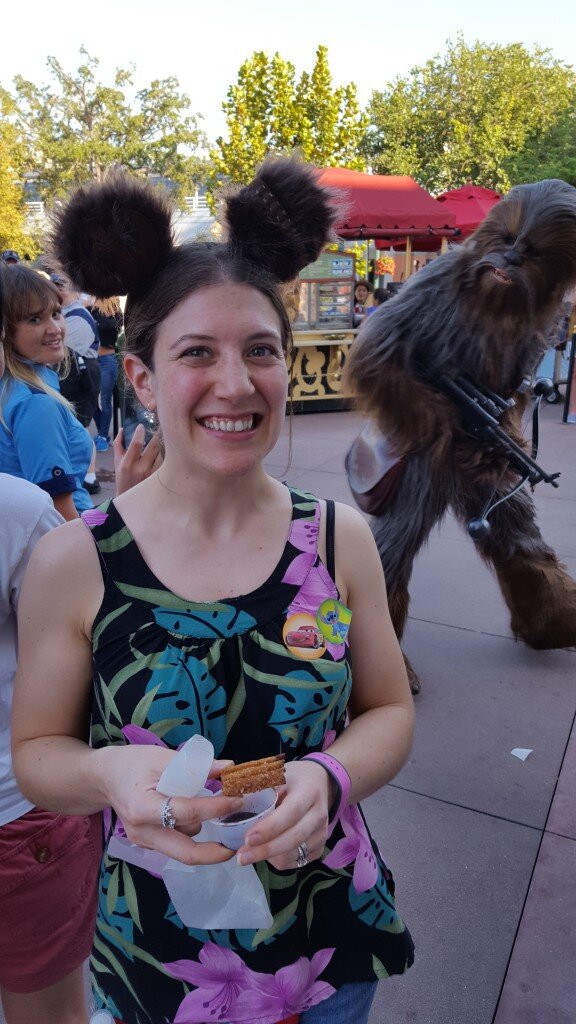
Chewbacca checking out my ears
DIY Mickey Mouse Ears (Chewbacca themed)
Note: if you just want normal Mickey Mouse ears, you’ll only need to do steps 1-6, 9-13 and instead of the grizzly fur, use any fabric of your choosing.

Will outside the beast’s castle. with his Chewbacca ears.
You’ll need:
- ~1 sq foot of Peltex 70 interfacing
- ~1 sq foot of faux brown “grizzly” bear fur
- ~ 6 sq inches of brown suede
- a Popsicle stick
- Silver paint
- polyester stuffing
- Wide headband ideally with fabric you can sew onto I used this one. If not you’ll also need the below:
- glue gun
- black broadcloth fabric
- cotton batting
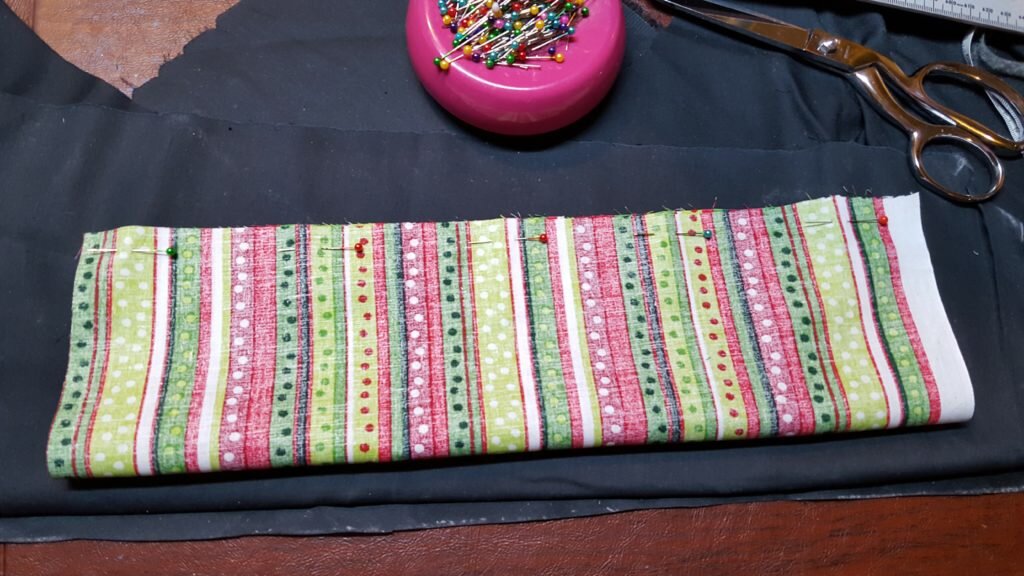
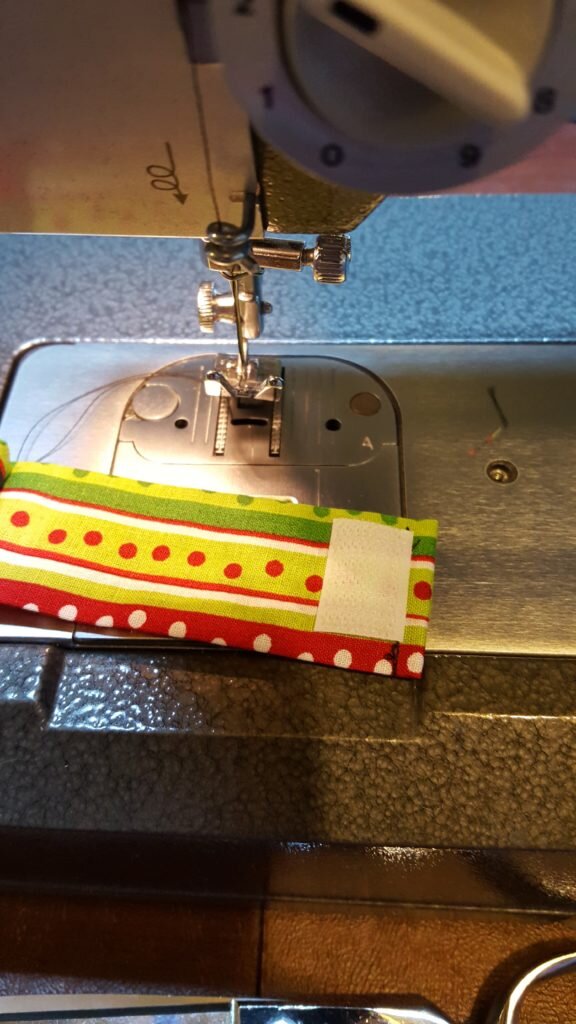
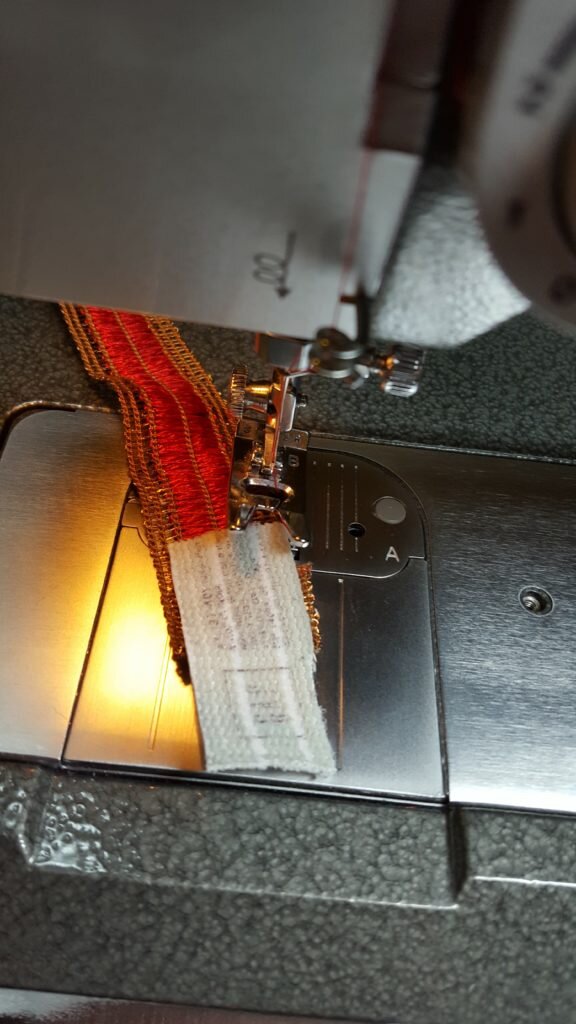
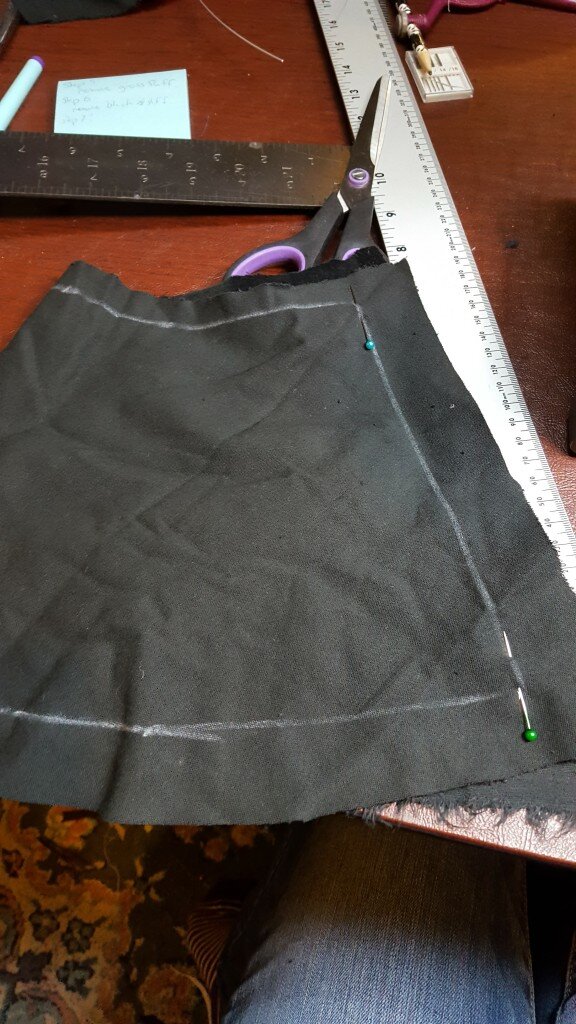
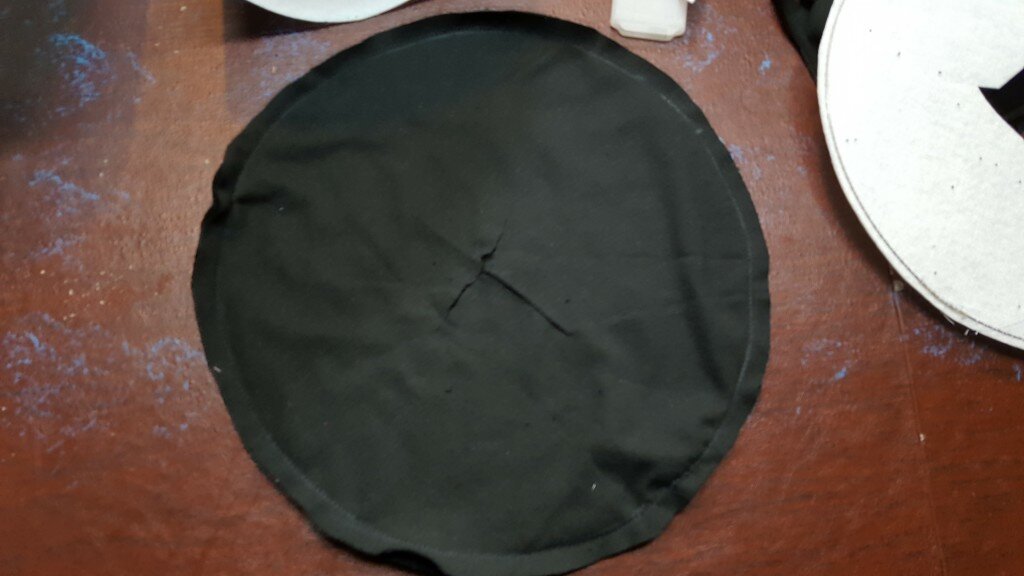
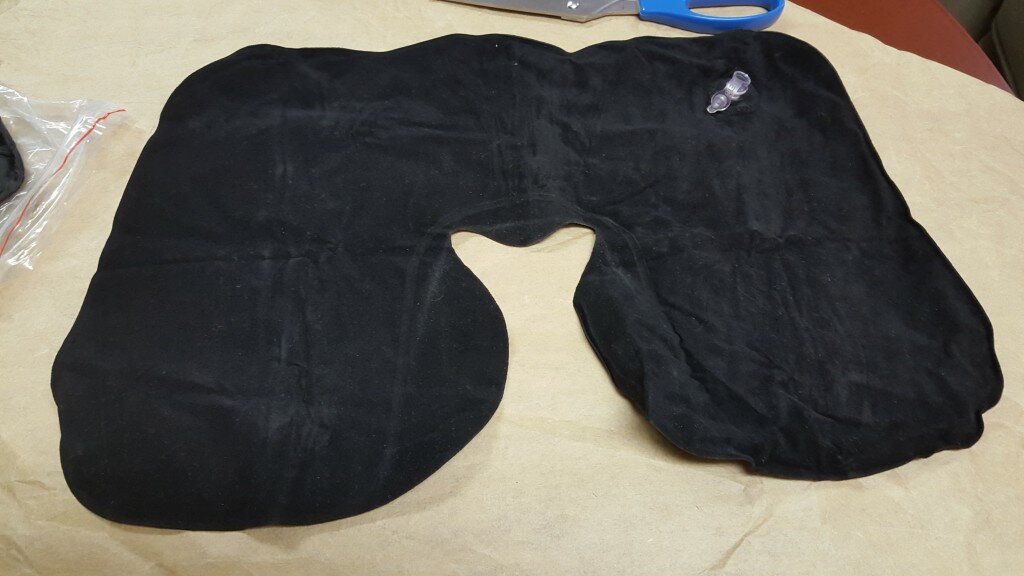
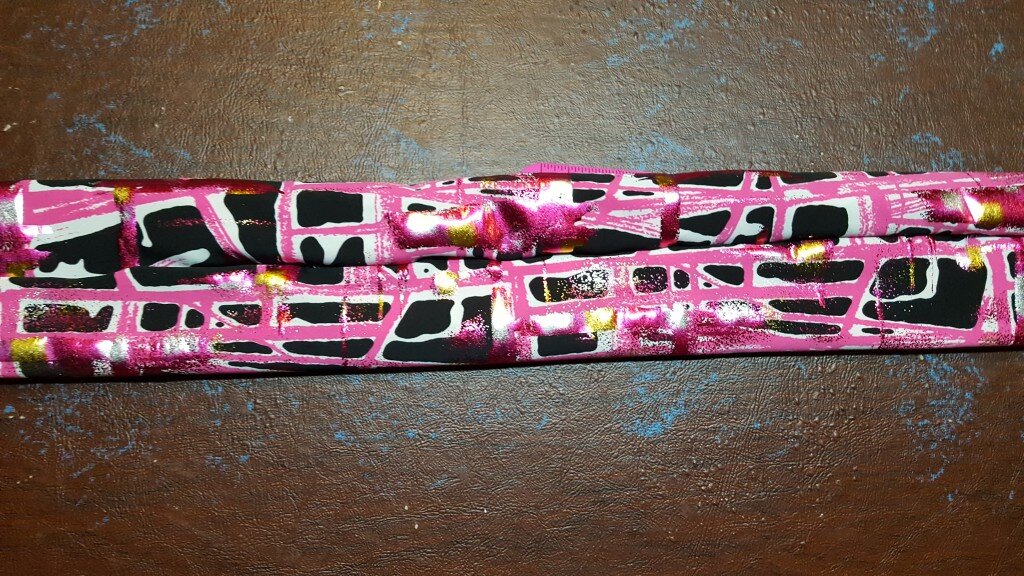
- If your headband is padded and able to be hand stitched into, skip to step 5. Otherwise, measure the circumference and width of your headband. Double the width and add an inch. Cut a strip of black broadcloth 2xwidth + 1.25 inches by circumference + 1 inch.
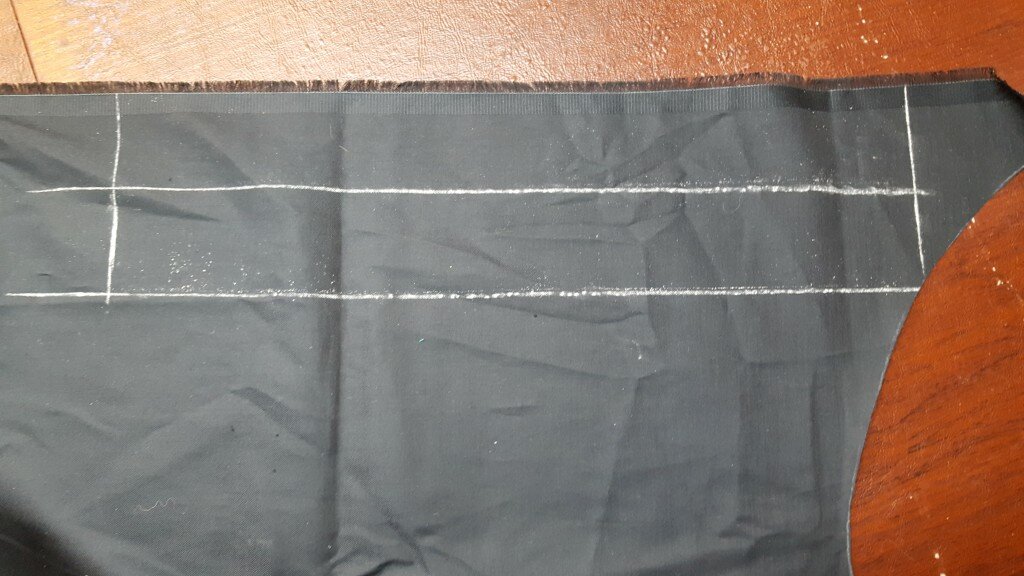
Cut broadcloth for headband
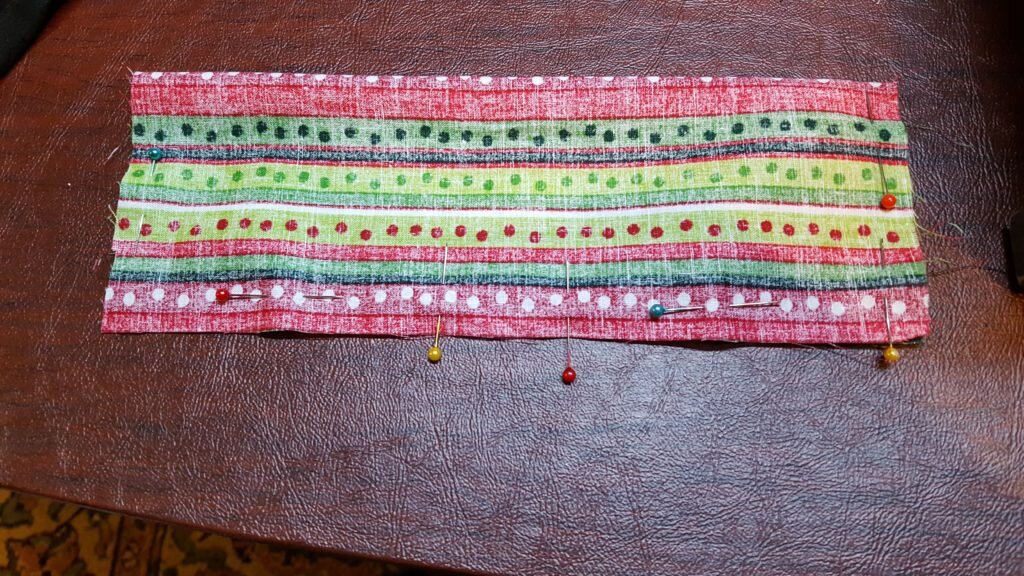
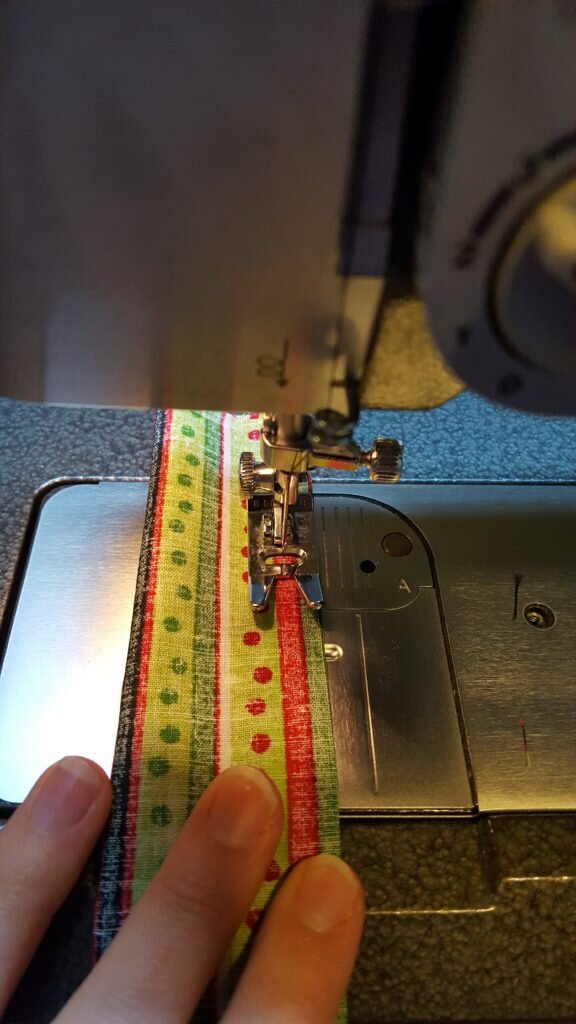
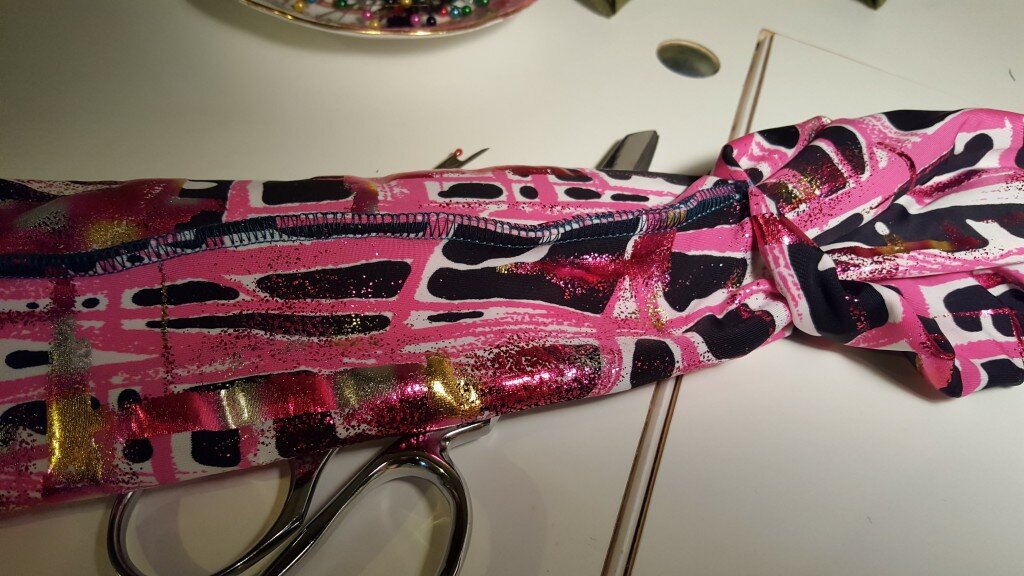
- Fold the strip in half the long way and stitch the short side closed (1/2″ seam). Stitch the long side closed (1/2″ seam).
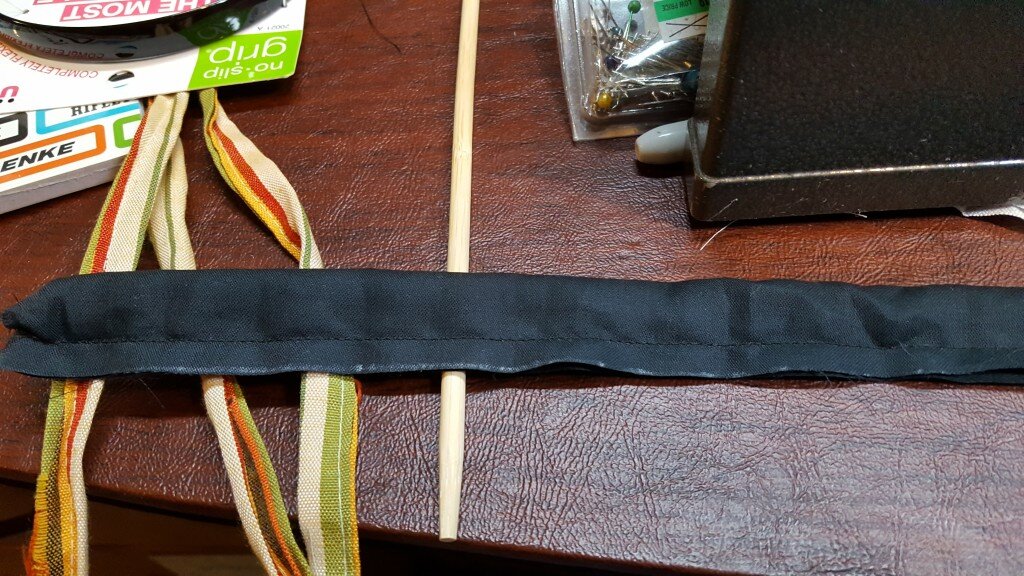
Stitch broadcloth into a tube
- Cut a strip of cotton batting to fit the headband. Hot glue to the headband.
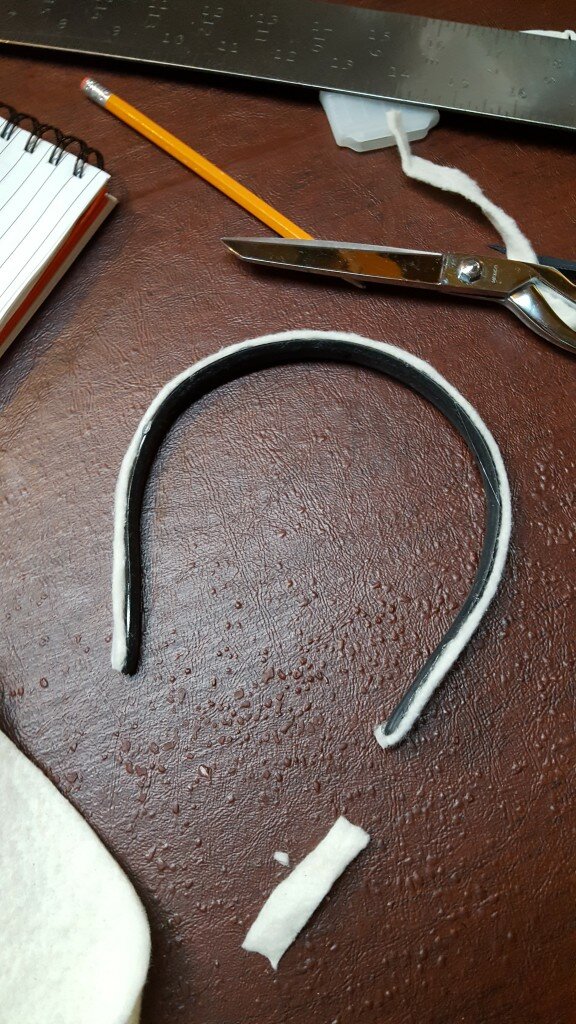
Hot glue batting to headband
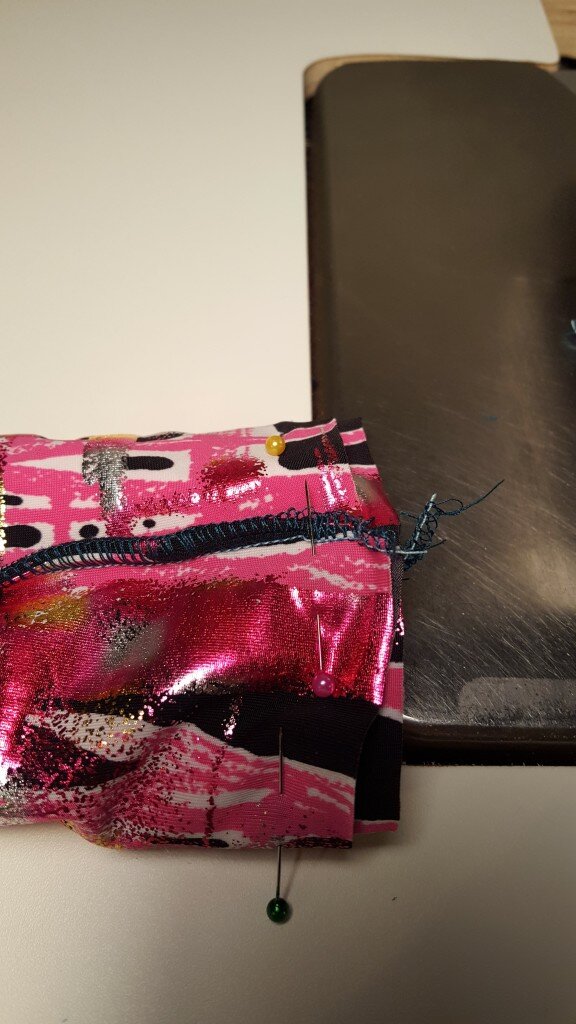
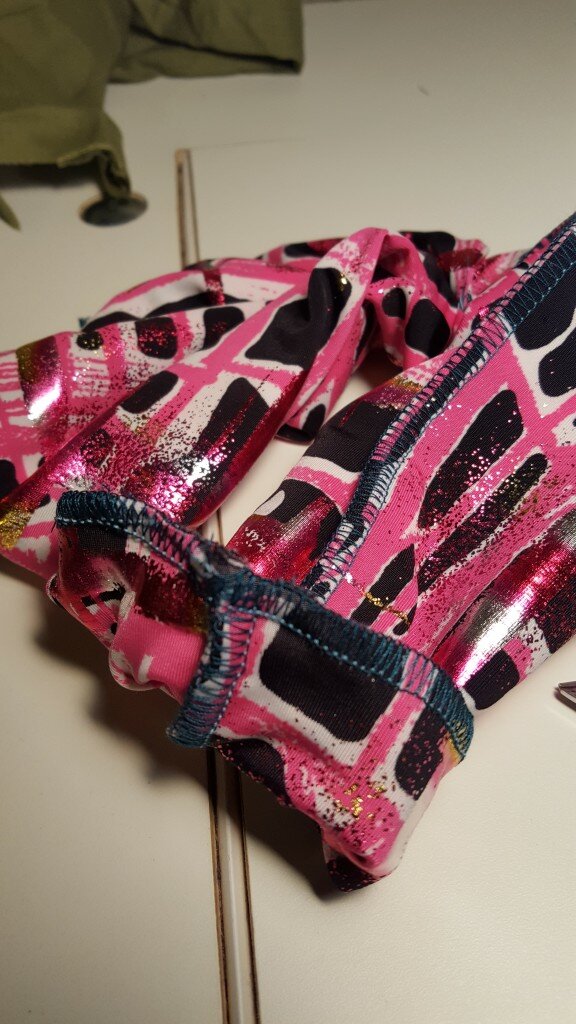
- Gently use the headband to turn the broadcloth cover inside out and simultaneously inserting the headband into the broadcloth cover. Hand stitch the opened end closed.
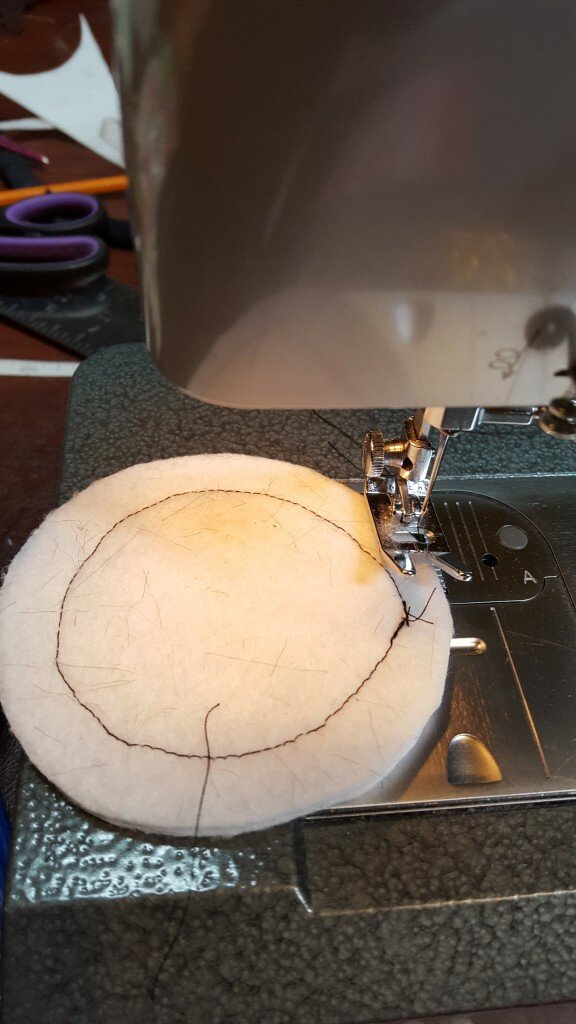
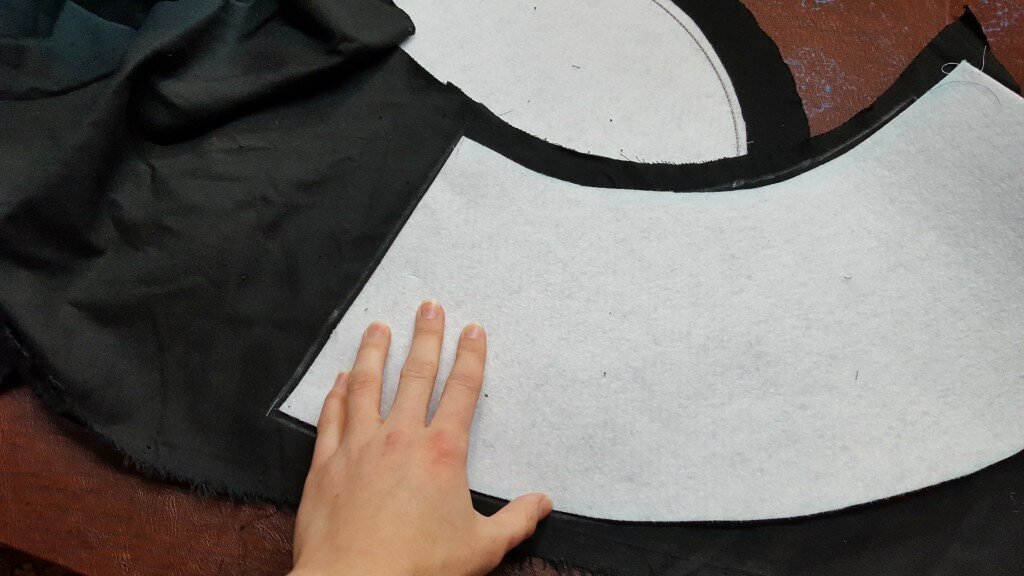
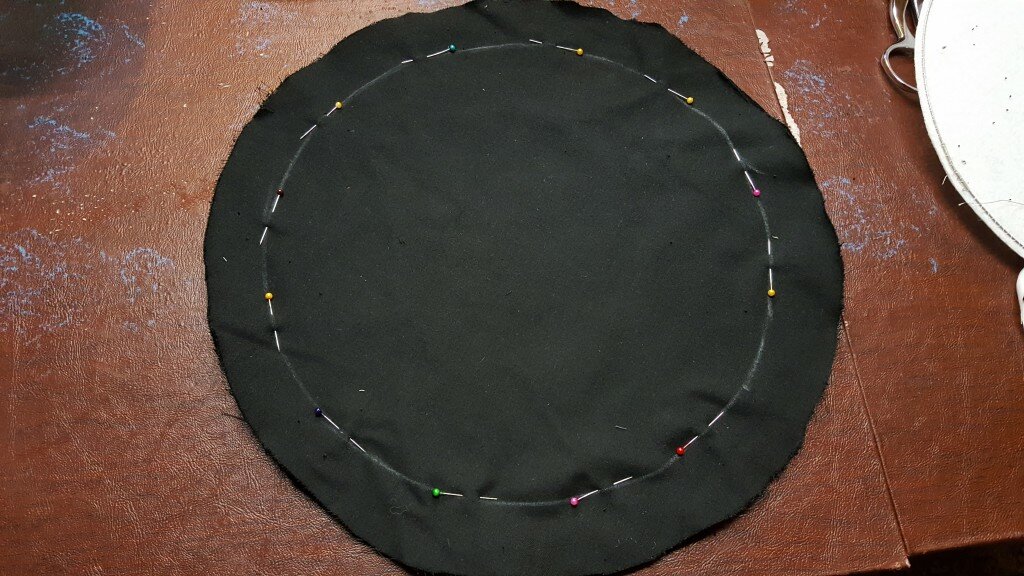
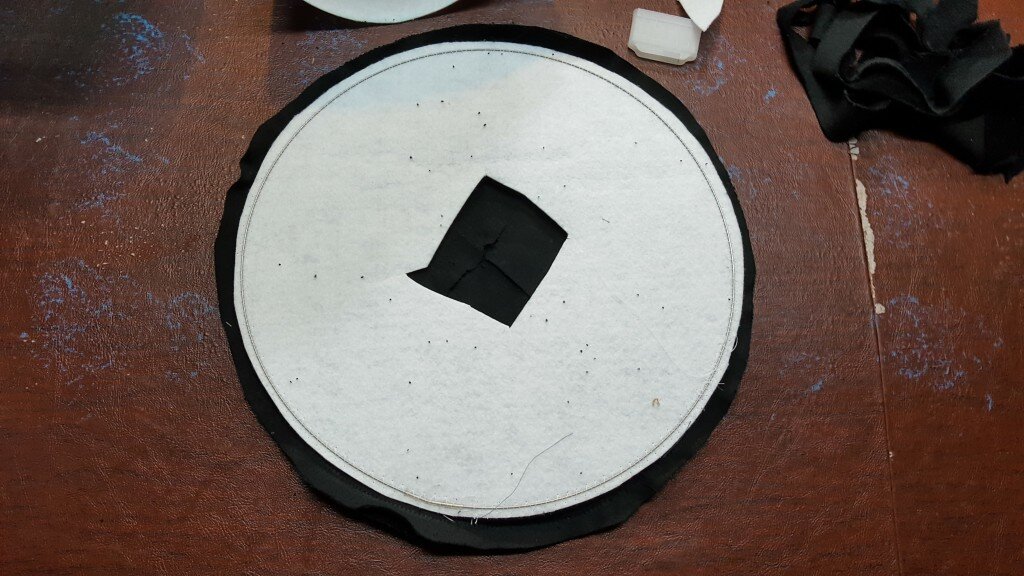
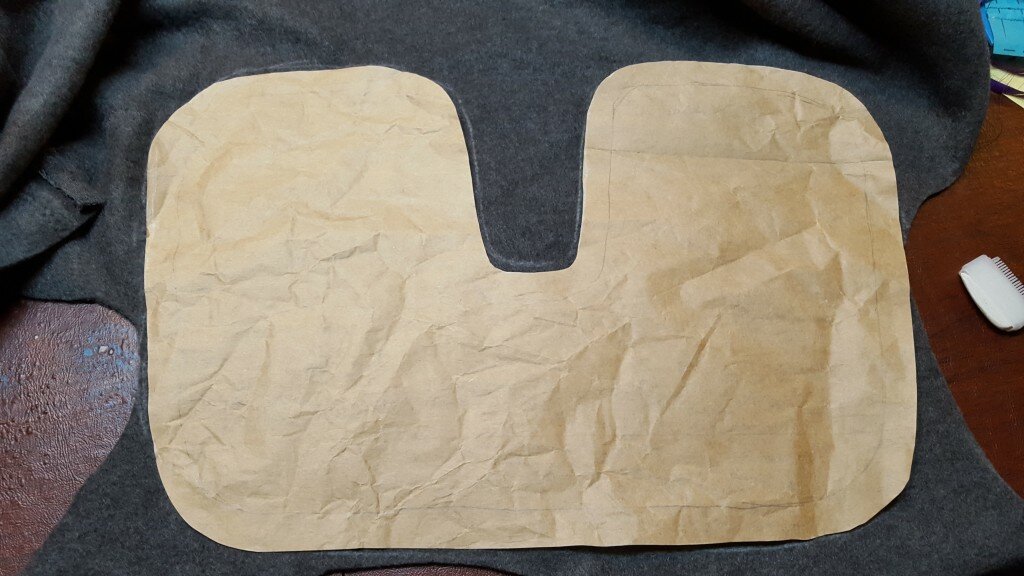
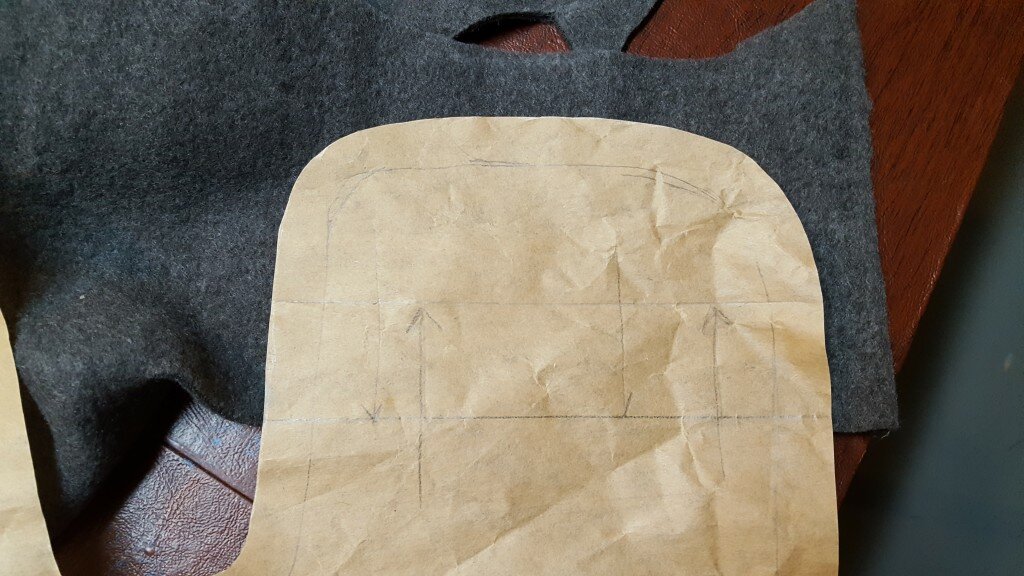
- Using a protractor cut 4 circles of Peltex 2″ radius.
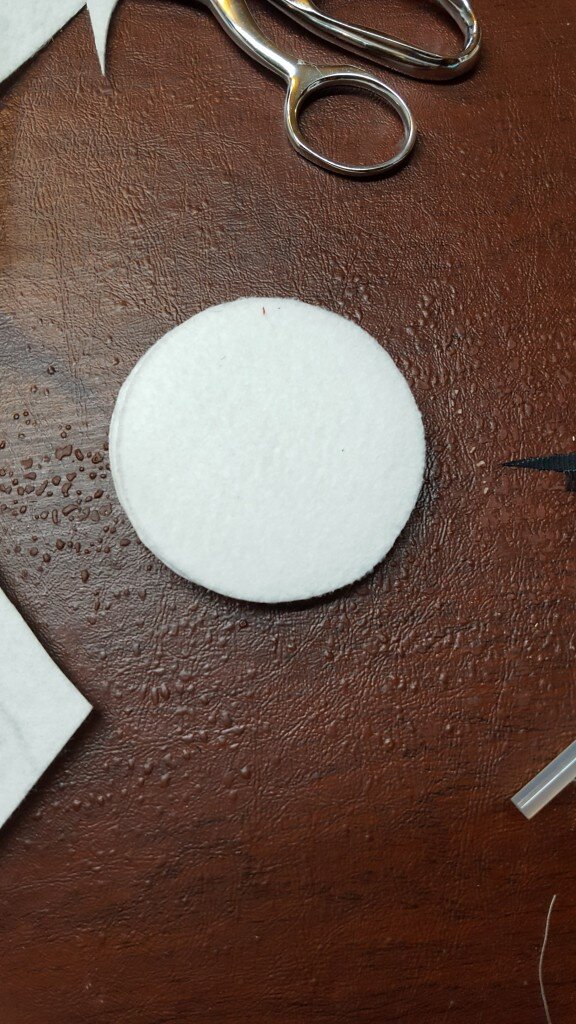
Cut 4 circles of Peltex 70
- Cut 4 circles of fur 1/2″ larger in radius than the Peltex circles. (Use the Peltex circles as a pattern.
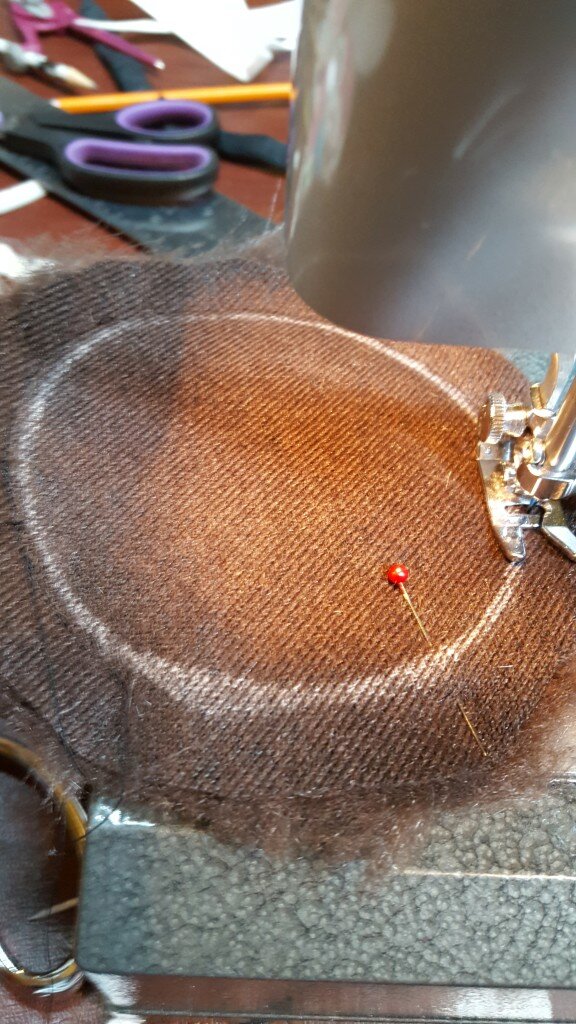
- Cut a rebel symbol out of suede. Make sure it is slightly smaller than 2″ radius.
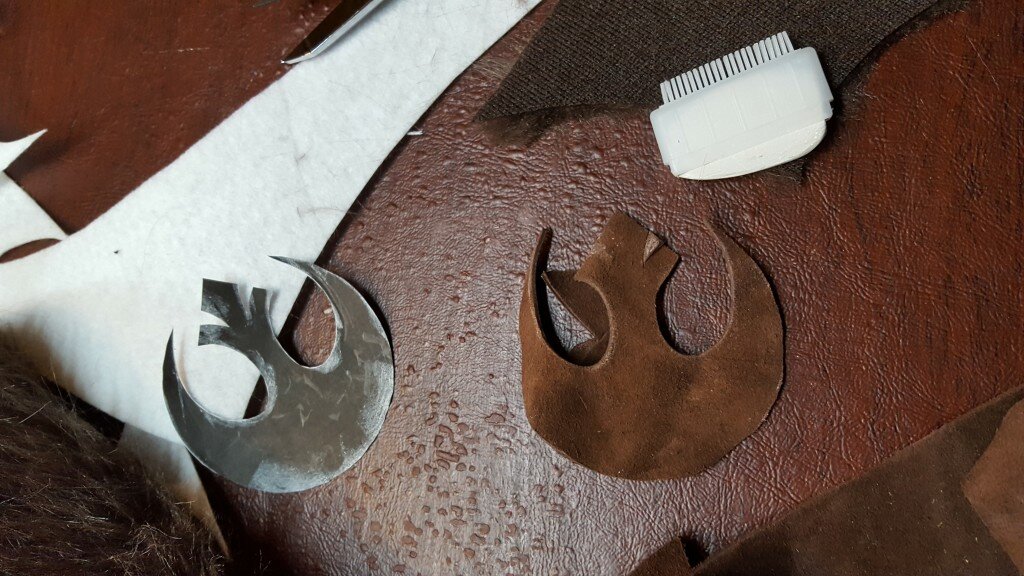
Cut rebel symbol out of suede
- Center and sew rebel symbol directly onto front of one fur circle.
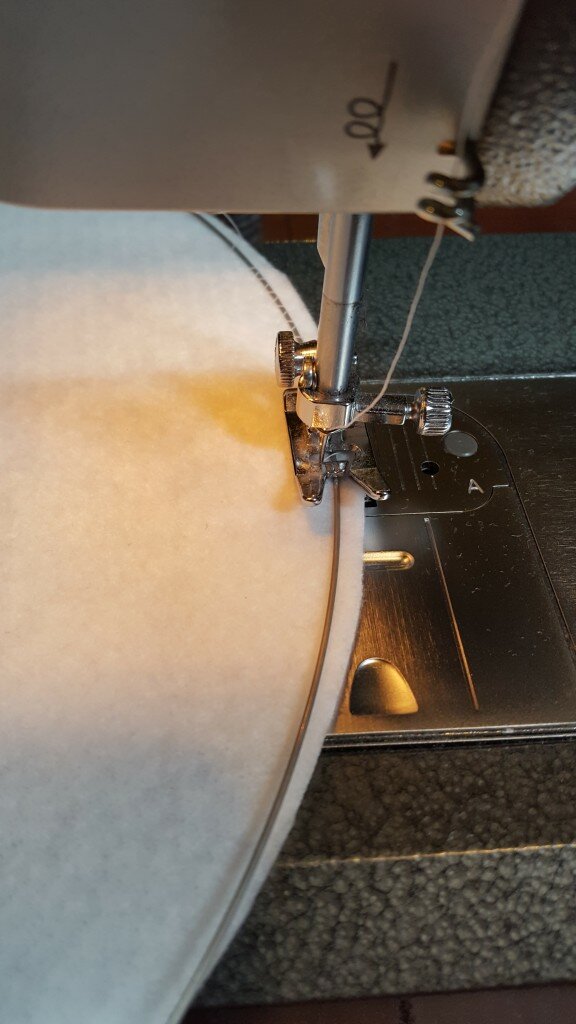
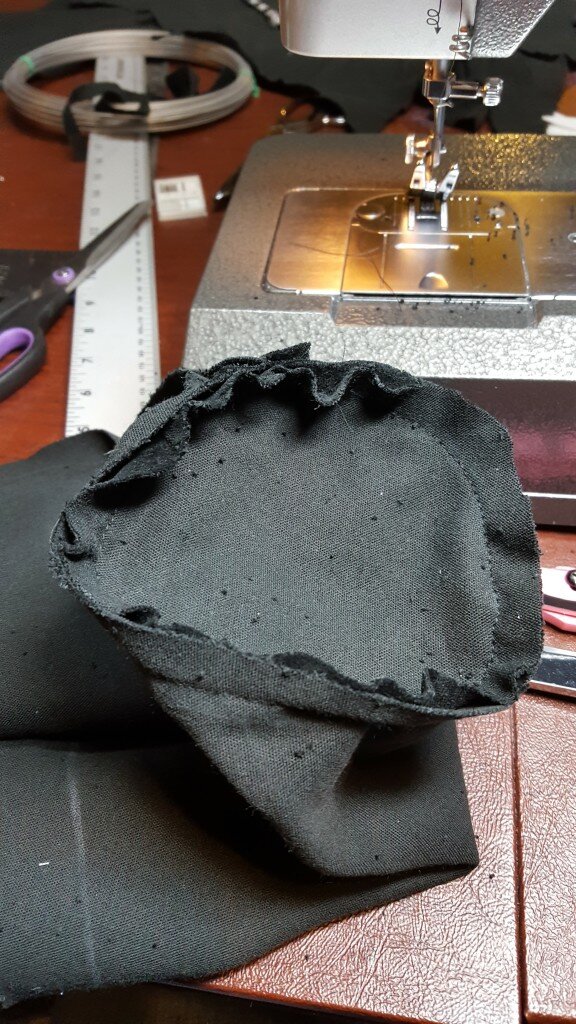
- Baste two Peltex circles together. Repeat for second set. Cut a line across the bottom of each set of circles, 1″ wide.
- Stitch two fur circles together, right sides together. Leave a 1″ gap at the bottom to flip and stuff. Repeat for second set of fur circles, making sure to leave the 1″ gap at the bottom of the rebel symbol.
Sew fur circles together leaving a 1″ gap at the bottom.
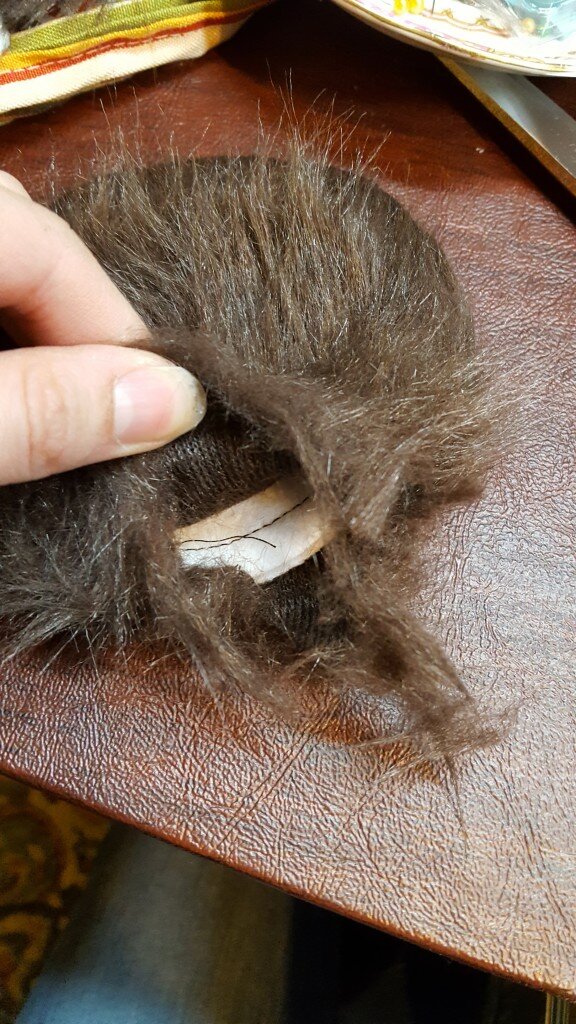
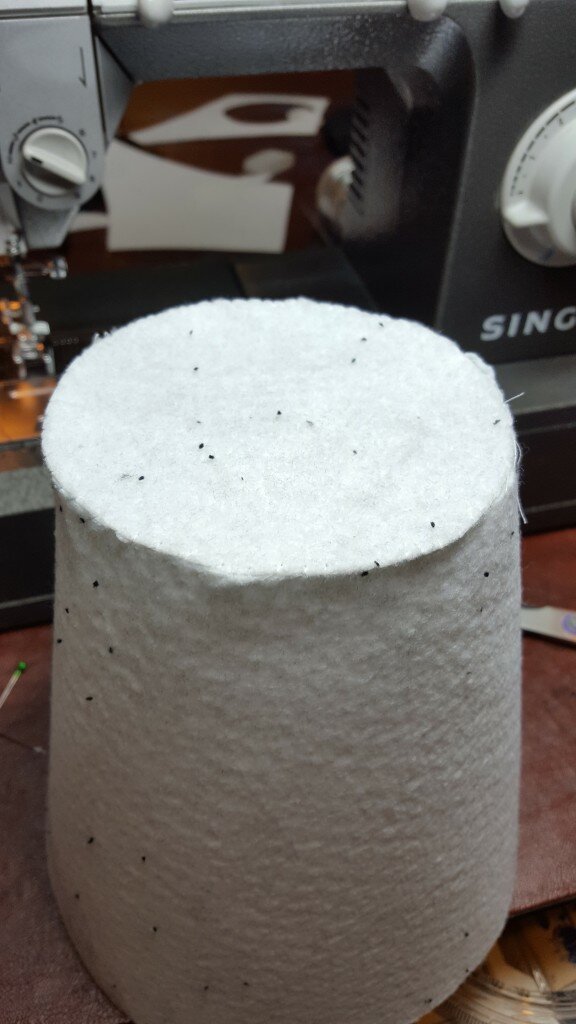
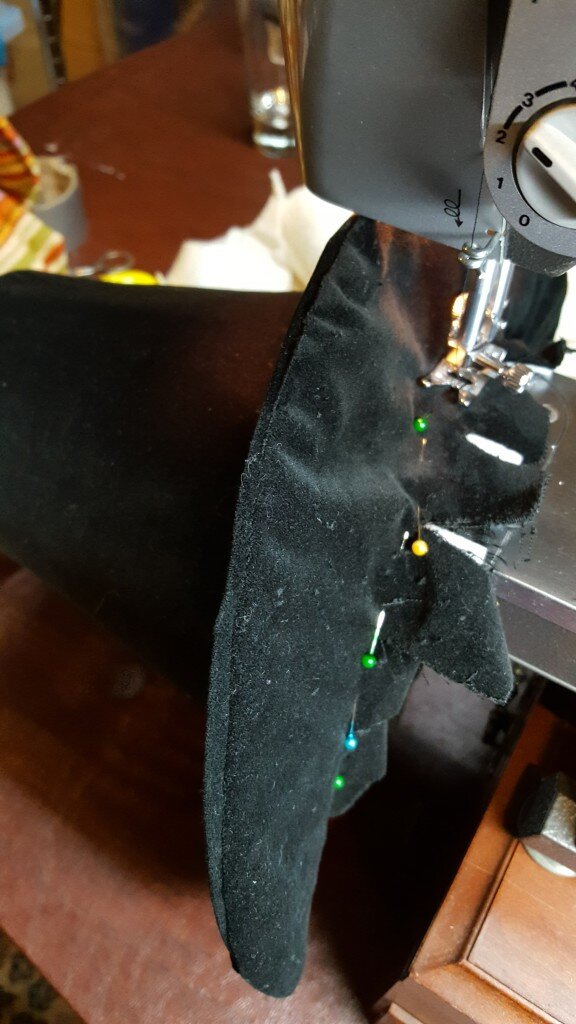
- Flip fur circles right side out. Take a comb and gently pull the fur out of the stitching. Insert a set of Peltex circles into each fur ear, with the flat side at the opening.
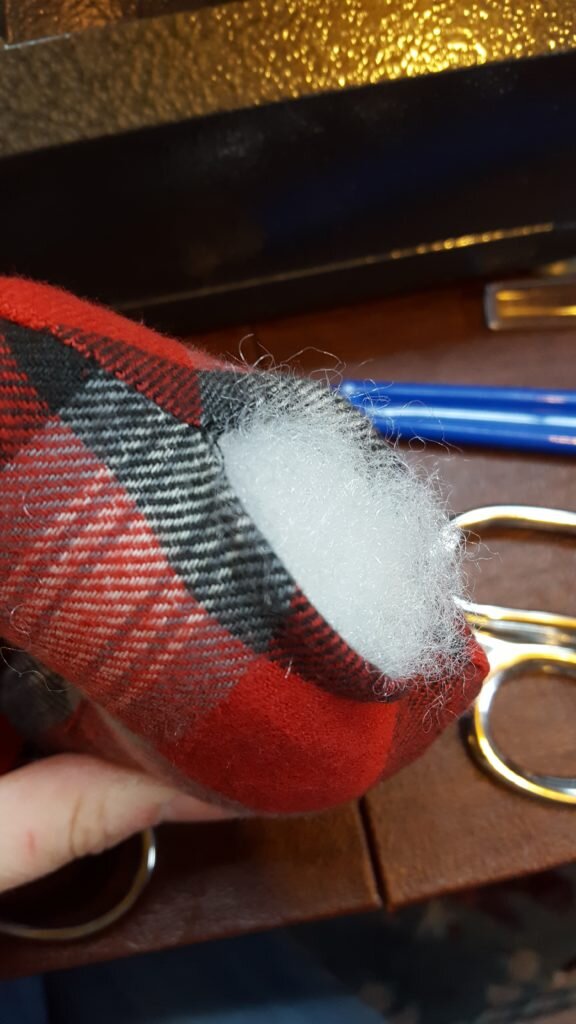
- Add a tiny bit of stuffing to each side of the ear.
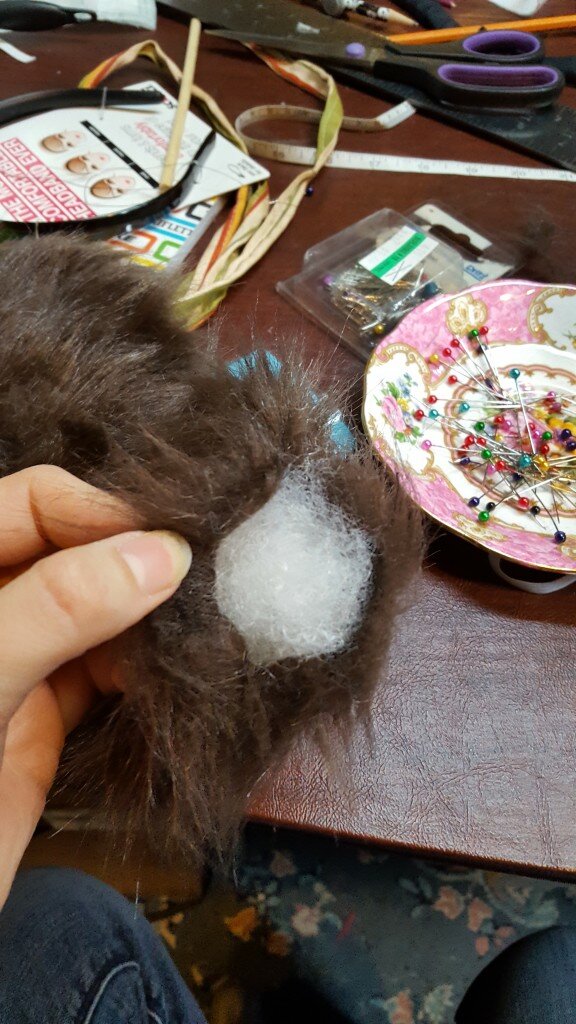
Add stuffing
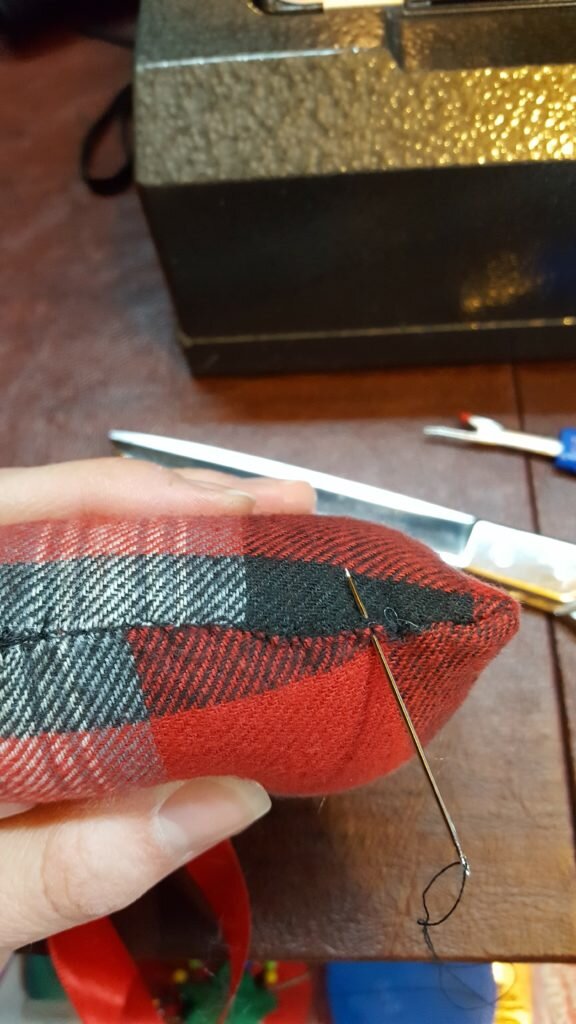
- Fold the excess fur on the open end of the fur circle into the ear. Hand stitch the ear onto the headband. The ears should be about 6 inches apart from each other. To make sure the ear stands up properly you’ll want to keep it 3 dimensional and stitch one side close to the front of the headband and the other side close to the back of the headband. Make sure you stitch to the interfacing as well.
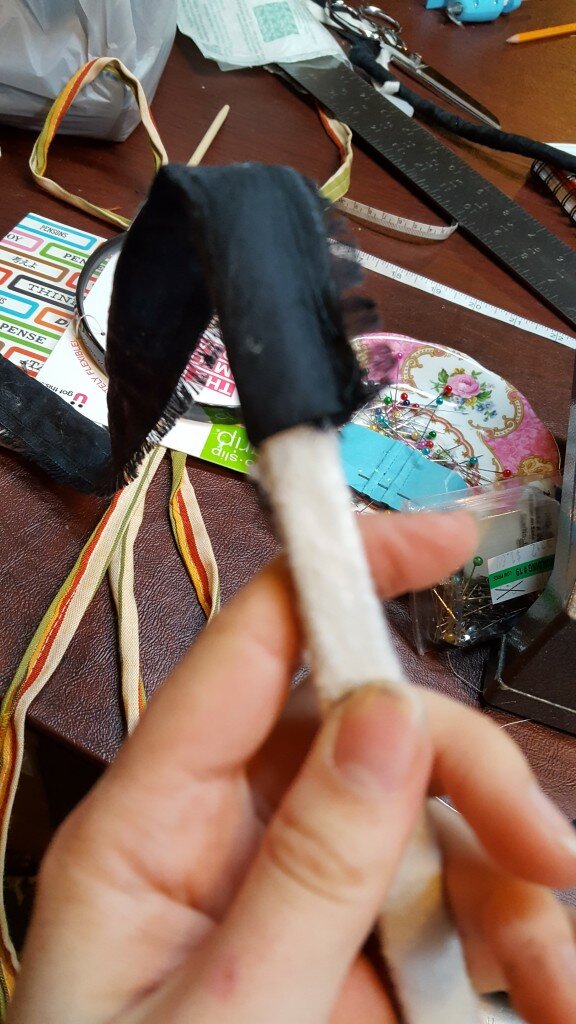
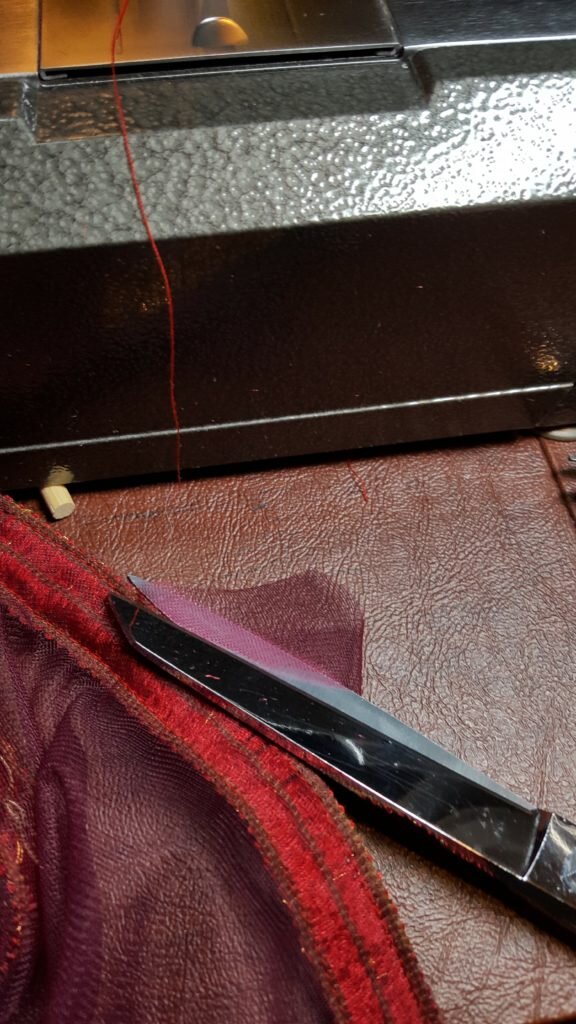
- Finally make the tiny Chewbacca ammo belt by cutting 10 pieces of popsicle stick about 2mm wide. Paint them with silver paint.
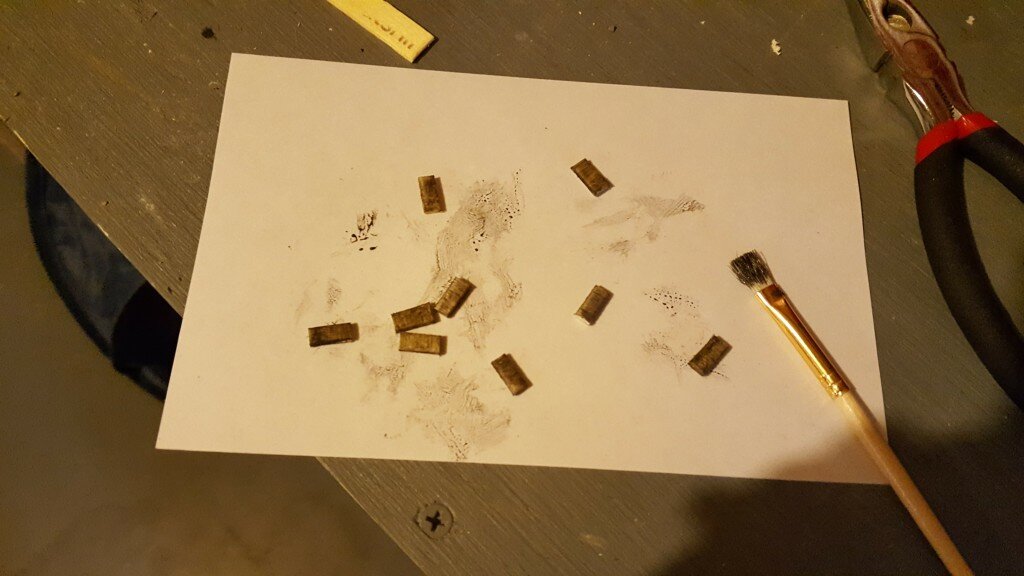
Cut and paint popsicle stick
- Cut a 1/2″ x 5″ wide strip of suede and an 1/8″ x 3″ strip of suede.
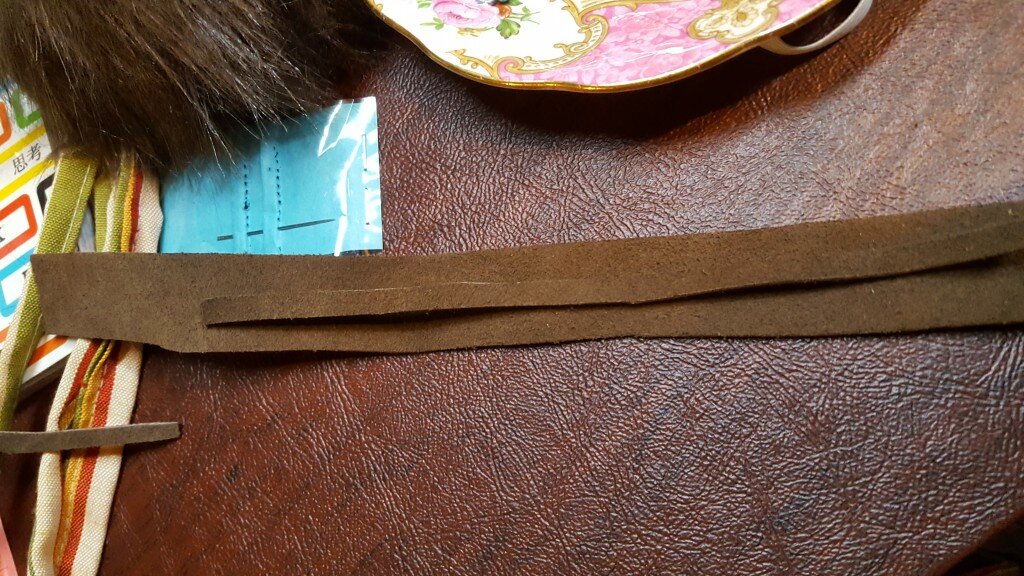
Cut strips of suede for belt
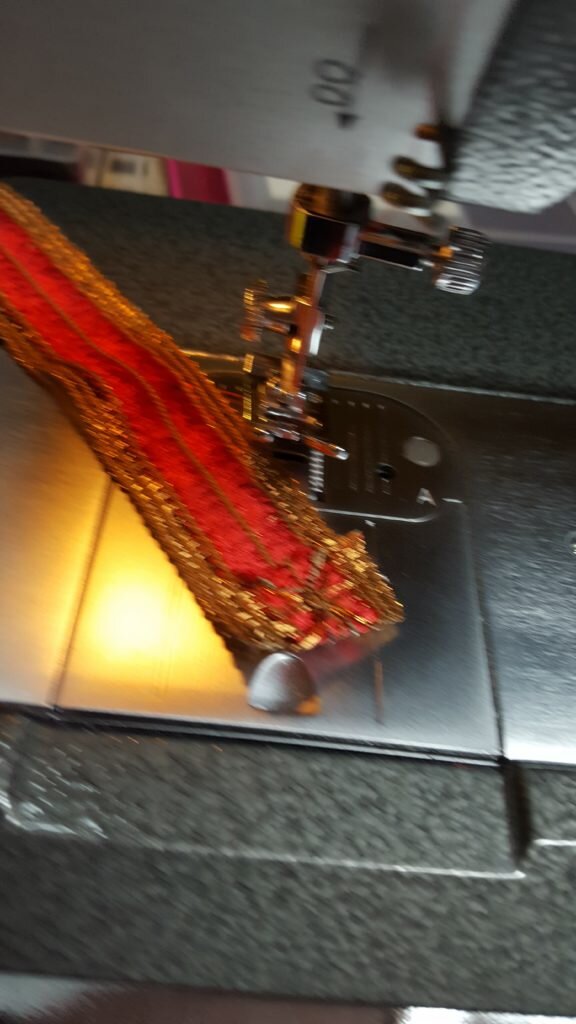
- Center the thin strip of suede in the larger strip. Using a leather needle, stitch across the top of the thin strip to attach.
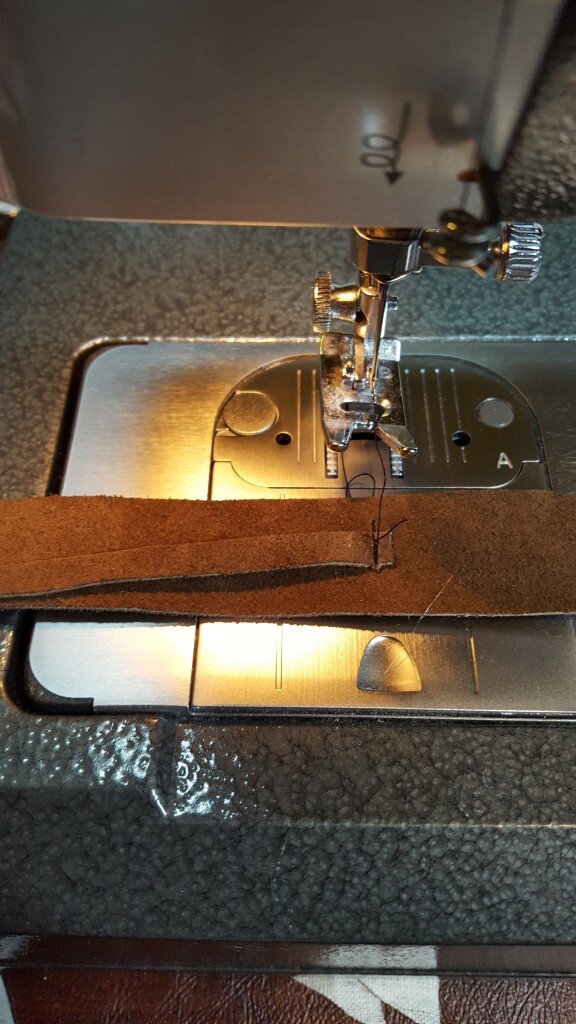
Stitch thin piece of suede to thicker piece of suede in center.
- Insert a piece of popsicle stick under the thin strip and stitch as close as possible to the popsicle stick through both strips of suede.
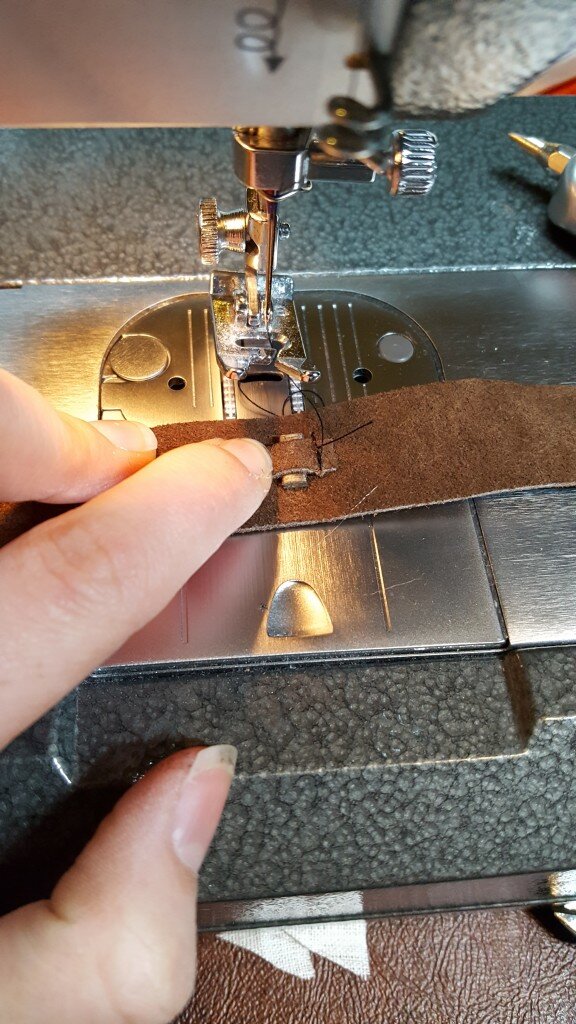
Insert popsicle stick and sew close to end of stick to hold it in place.
- Repeat until you’ve used up all the popsicle sticks or you run out of the thin strip of leather. Cut the thin strip down close to the last popsicle stick.
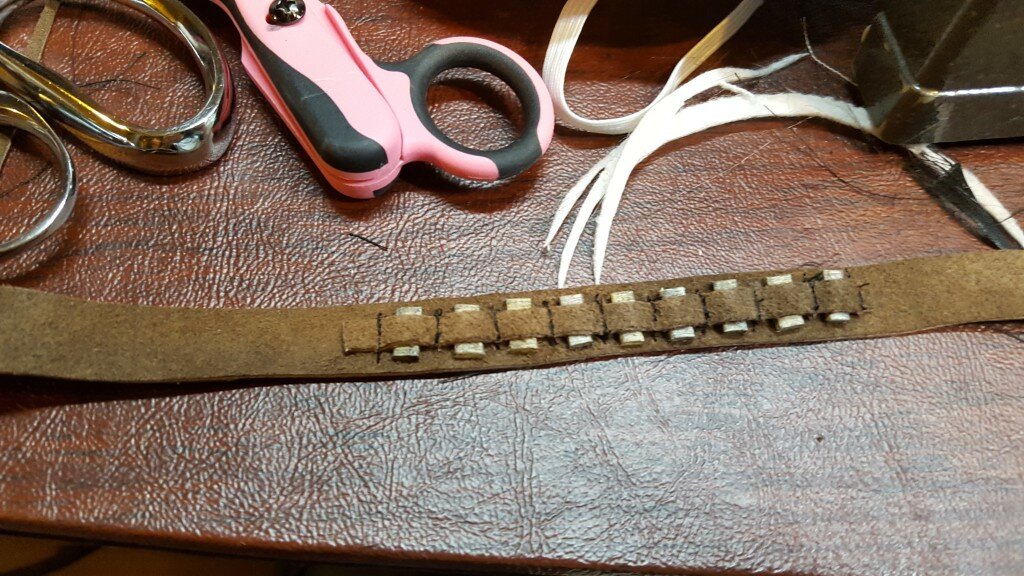
Finished ammo belt
- Right sides together fold the belt in half and stitch with 1/2″ seam. Insert over one of the ears and attach by a few hand stitches through the back of the suede and ear.
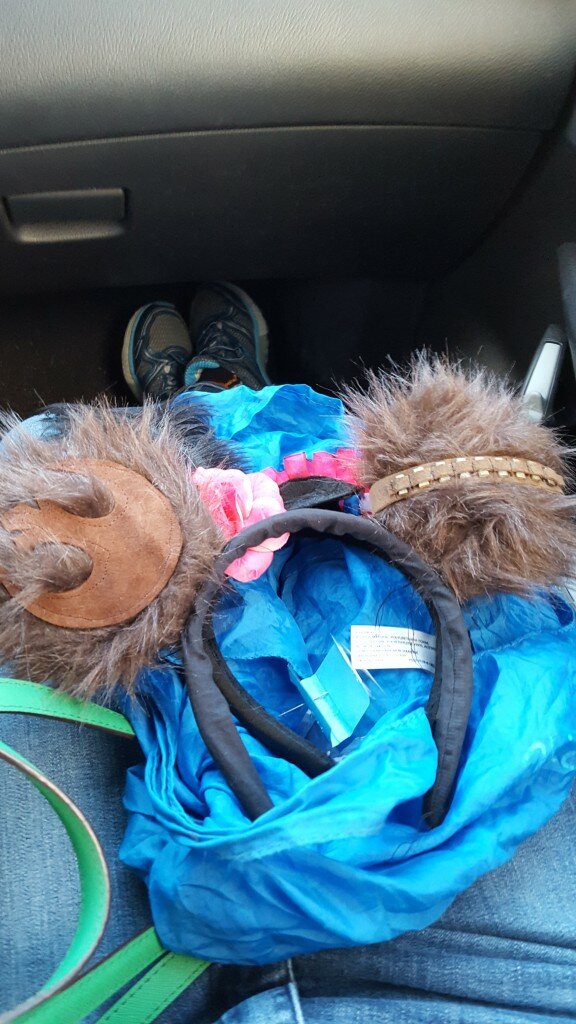
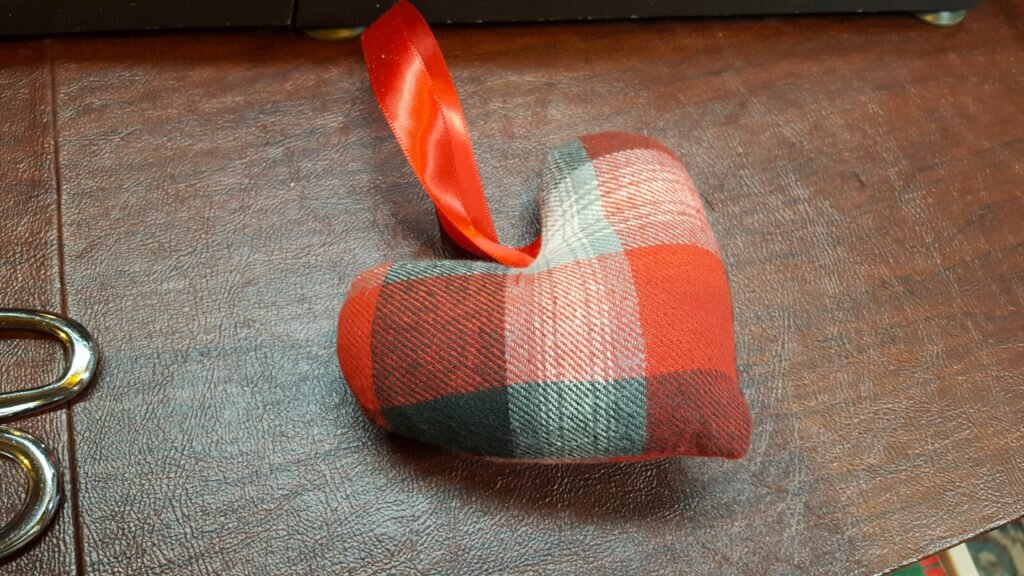
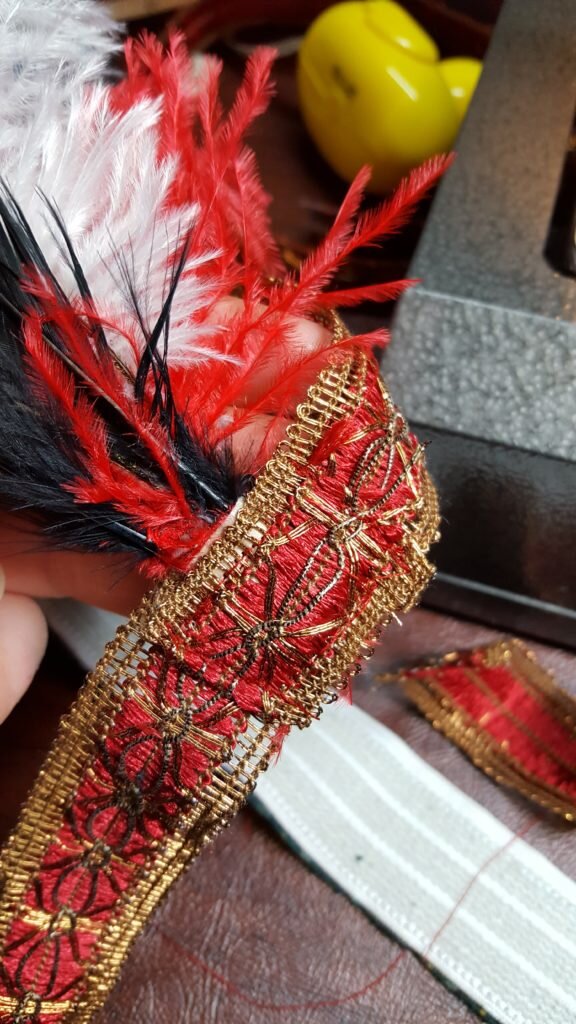
Finished Chewbacca ears ready for Disney!
These ears cost me only $6 to make, and I have so much furry material left I could make 3 more pairs…


