Crazy day today with the bees! Simon ordered some queens from a local beekeeper so I jumped on his order and got one as well since last time I checked Ingrid had perished. Well today, after I received the queen, I had this grand plan to take 5 frames out of my flourishing hive and put them in the dying hive and install the new queen.
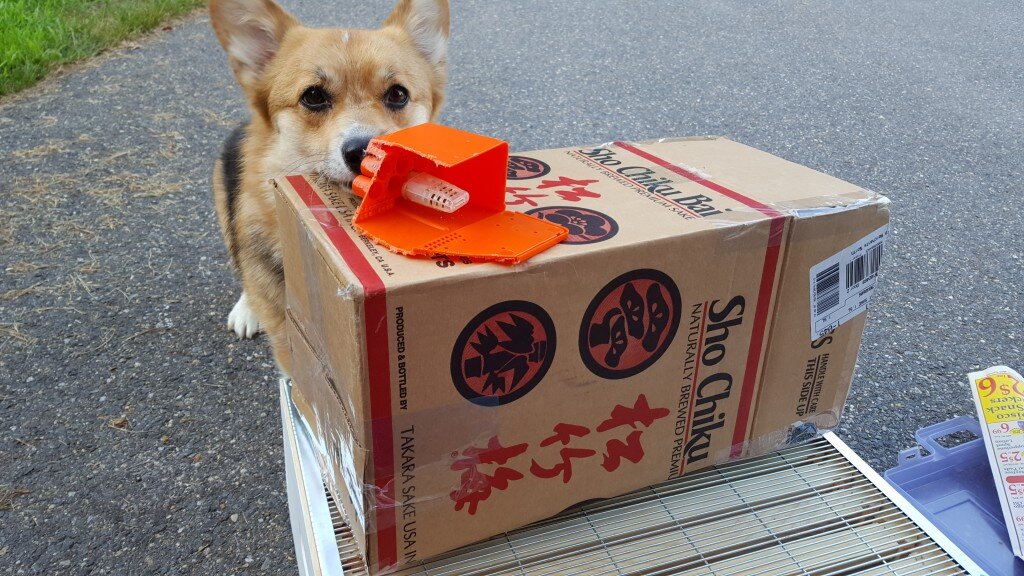
“Please let me meet the queen mom, I don’t even need a bee suit, see.” (Dany is a little too curious about bees.)
Well the first issue I had was that Betsy’s (flourishing) hive had produced SO MUCH HONEY that I could not lift the top deep. Crap. I am not a weakling either, so this thing must have weighted nearly 100 lbs. I guess this is a good problem to have, but my hive visits are not going to be very useful anymore. The other problem is that I could no longer get to the bottom deep to extract some frames of brood. Great. So I threw a queen excluder and a shallow super on top and called it a day.
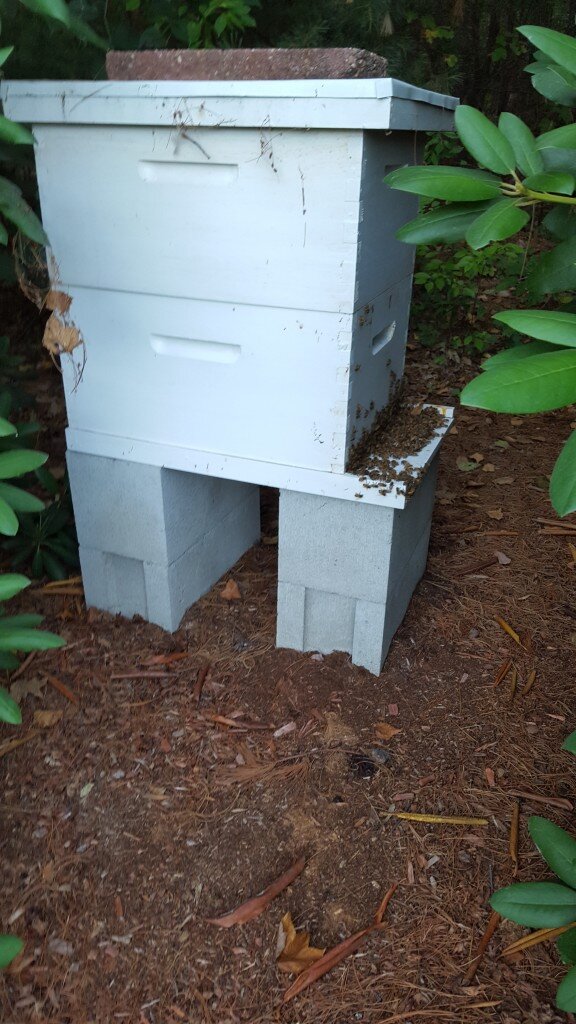
Betsy’s hive “bearding” (hanging out outside the hive to keep cool). You should have seen them when it was 95 out! It was only 70 out today!
The second hive seemed to have a rather large amount of activity going on, considering these bees have been queenless for a month. Odd. I opened that hive up and unlike the barren wasteland I expected to see, I saw 5 full frames of brood! Odd, but awesome! And then I saw her! A new queen! I had purchased Ingrid as a marked queen so she had a white spot on her back. This big beauty had no mark to be found. They must have created emergency cells from some of the remaining larvae and built their own queen! When the bees recognize they are queenless, they can create a queen by building out an ordinary cell and feeding royal jelly to the larvae inside. I am guessing/hoping she mated with my second hive too! (Seems like good sperm since that hive is so populous!)
Some beekeepers would probably suggest I re-queen the hive where the second queen was produced. To those beekeepers my response is firstly, it is August 4th. It takes around 7-10 days to accept a new queen, and by that point they may miss out on this nectar flow from this week’s rain. Secondly, my record with queen acceptance is PITIFUL (see this post and this post). Thirdly, if it ain’t broke don’t fix it. And finally THEY MADE THAT QUEEN. Long live the Queen, long live Queen Renée!
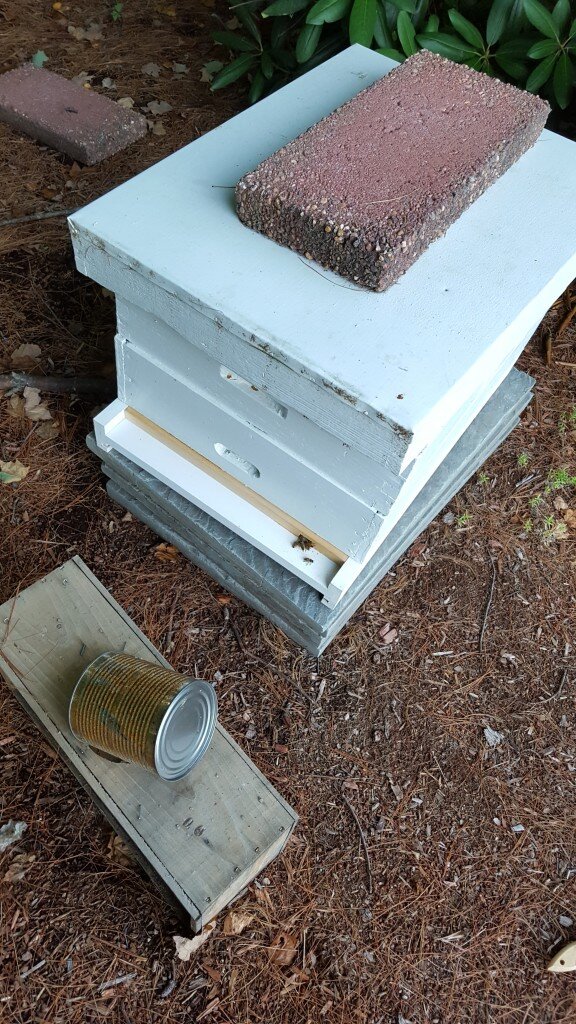
Renee’s hive – steady stream of bees at the entrance reducer (I removed this when I left).
Now what to do with this third queen?