Last year my brother and my (now) sister-in-law, Erin, got married. My siblings and I always try to get together in one place every year since the three of us are spread across the country. That year we had planned to go to my brother’s home in North Carolina. Well, we were going down there a few months before the wedding so I cooked up this hair-brained idea to throw Erin a surprise bridal shower. Since I love to plan parties I figured we could do everything ourselves and save money. I did realize that I’d have to ship things down or get them the day of the party since we would only have suitcases with us, but that did not deter me.
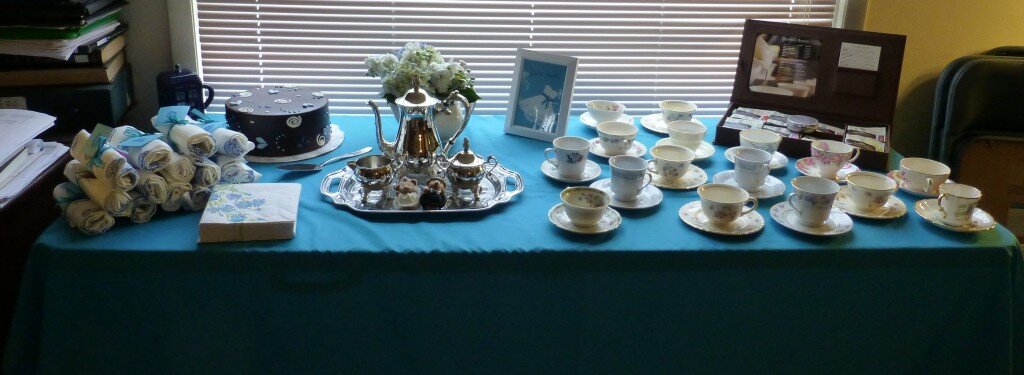
The tea table
If the party had been up here at my house I would have made all the food myself, but since we decided to make it a surprise and Will & I would be flying down, I had to do things differently. We decided on a tea party theme, so for food I ordered two large platters of tea sandwiches and normal bite size sandwiches from Whole Foods. I also let my brother in on the secret and had him pick up a bunch of different fruit for me so I could make it into a fruit salad. I ordered a cake and scones from a nearby bakery, recommended to me from one of her bridesmaids. The night before I left for the shower I baked several dozen sugar cookies in the shape of Texas with a heart over Dallas, where they would be getting married. (We have had the Texas cookie cutters for years since we have known Erin and had been dying for a chance to use them). These I carried onto the airplane. Finally on the day of the shower we picked up mini quiches, sweet tea and lemonade from Trader Joe’s.
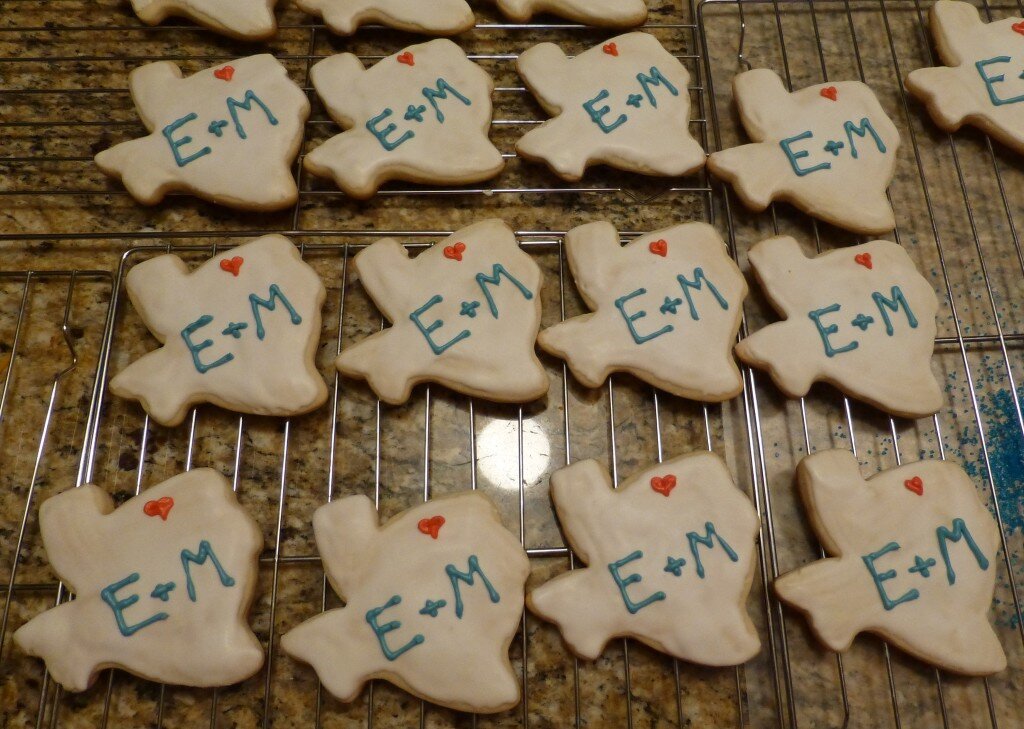
Cookies for the shower.
My brother helped me with the guest list and I hand made the invitations based on a design using doilies that I had seen on pinterest.
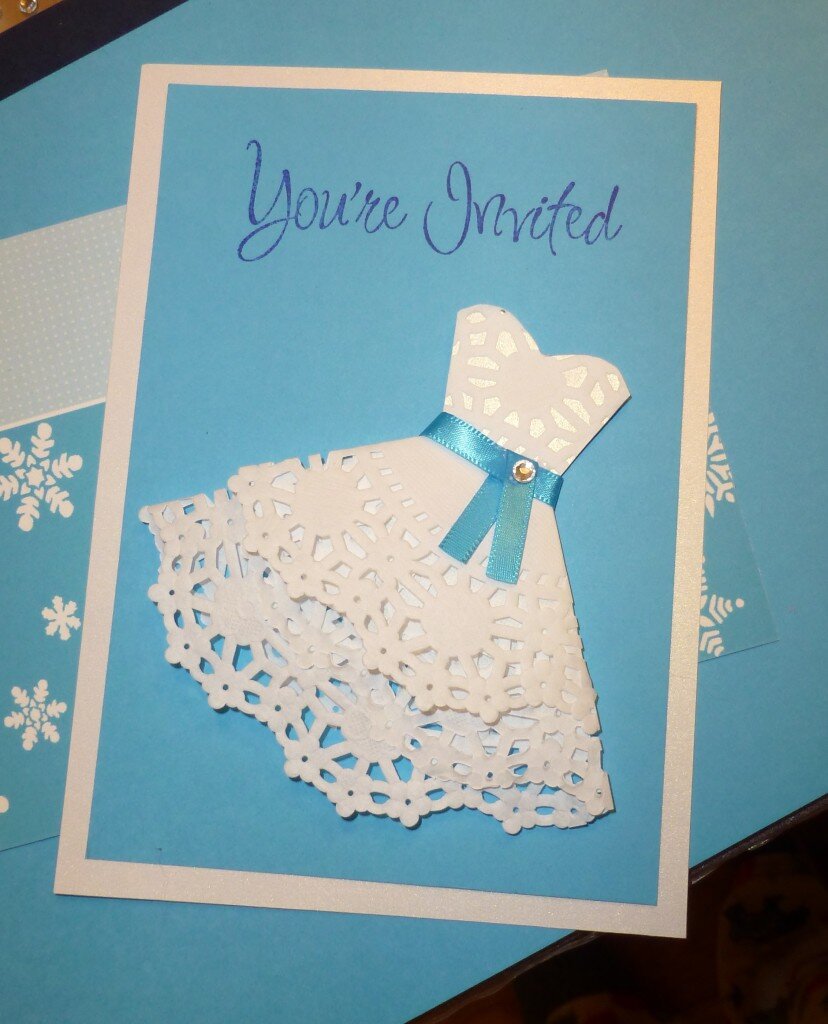
Handmade shower invitations using doilies.
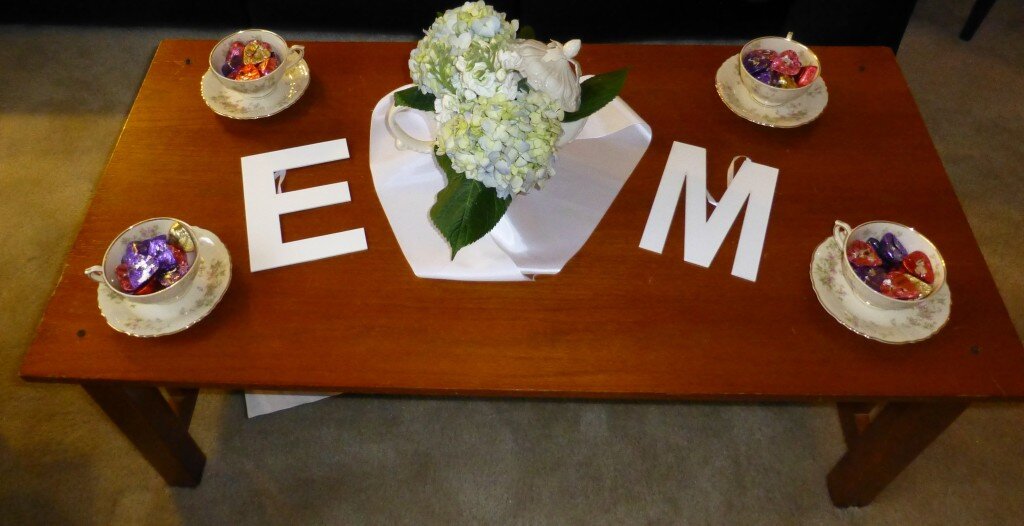
For decor, Erin’s local bridesmaids were fabulously helpful. They provided two folding tables and enough folding chairs for everyone! I couldn’t find any blue tablecloths in the color I was looking for so I purchased 6 yards of 60″ polyester fabric for 2.25 a yard from Wholesale Fabric Direct. I cut it in half and hemmed it to create two tablecloths that perfectly fit the folding tables. I shipped down a bulk set of mismatched teacups that I purchased off craigslist to use for the party and one of the bridesmaids borrowed a second set to use. My mom found a silver tea service at an antique store and I carefully packed this in my luggage with some of my pretty serving pieces. My mom had also purchased a couple white teapots for my shower which I combined with a teapot I had created during my pottery painting kick to use as centerpieces. I filled them with inexpensive flowers we purchased at Trader Joe’s and used floral wire to attach the lids like little hats.
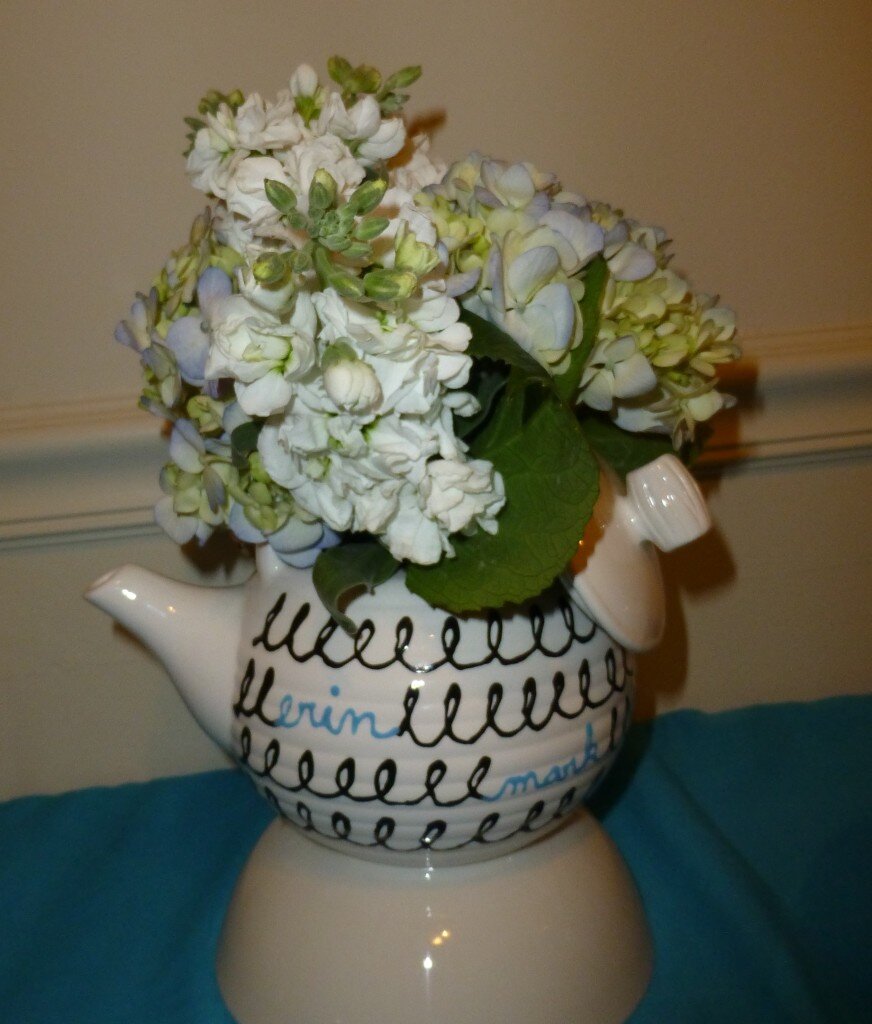
Another centerpiece with a teapot I painted at ceramics night.
My sister and the other bridesmaids were in charge of games. They did this cute candy matching game from here, but don’t forget to print out an answer key. We also did the “toilet paper wedding dress” game. Which is always fun. Finally my sister asked my brother a bunch of questions and Erin (and everyone else) had to guess the answers (everyone got multiple choice).
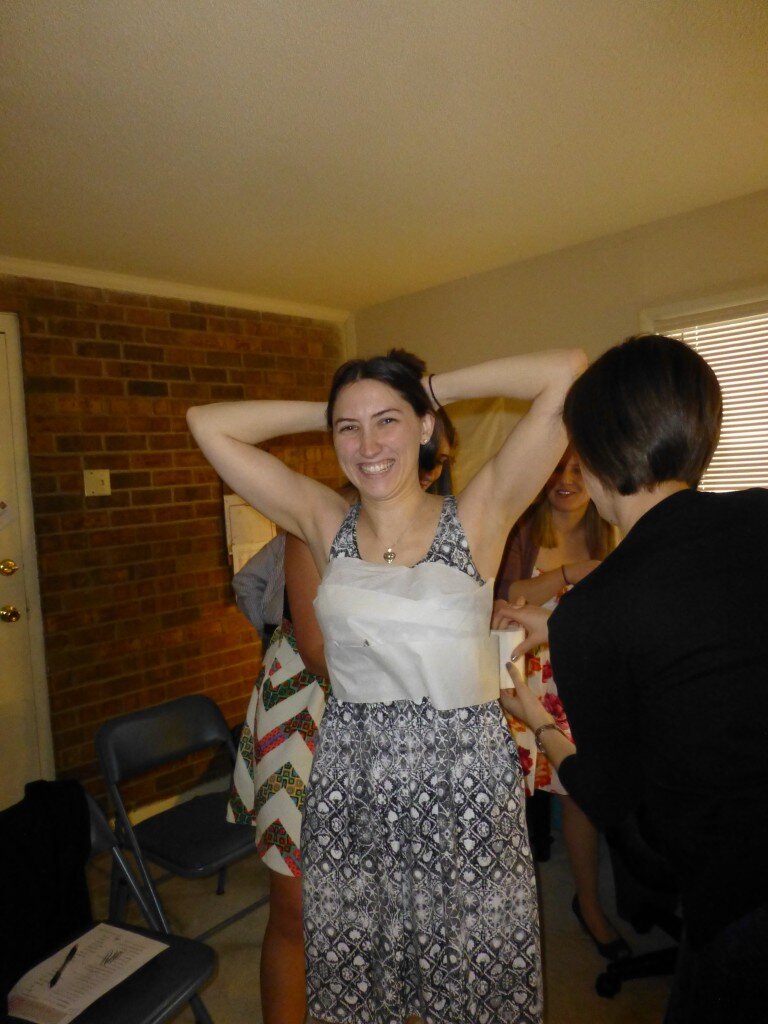
Erin and her seamstresses designing her dress.
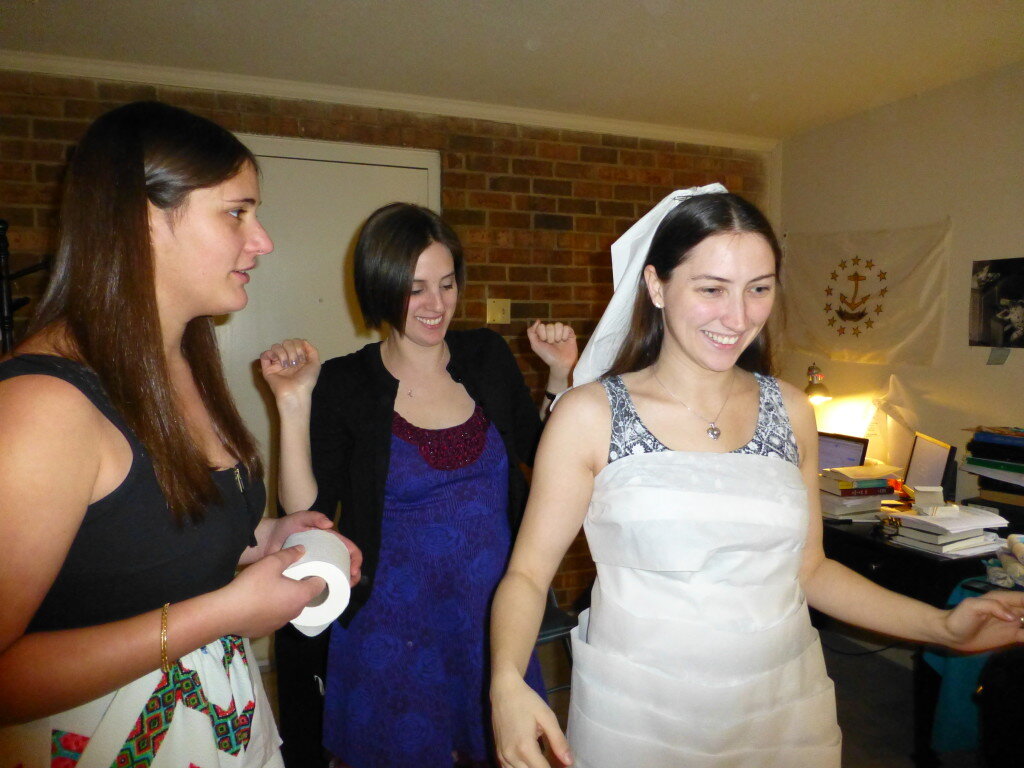
Deciding on finishing touches for Erin’s “dress”
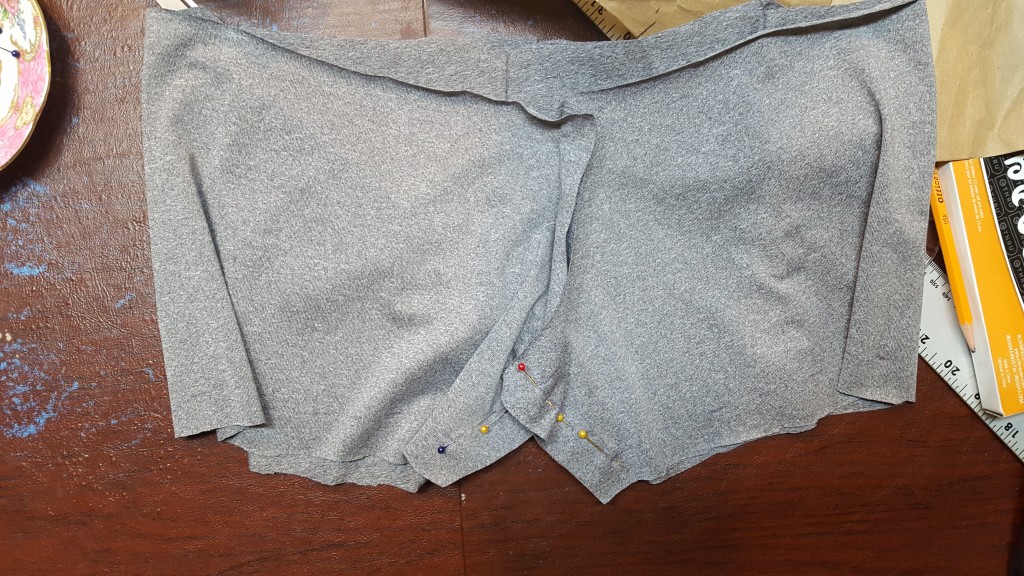
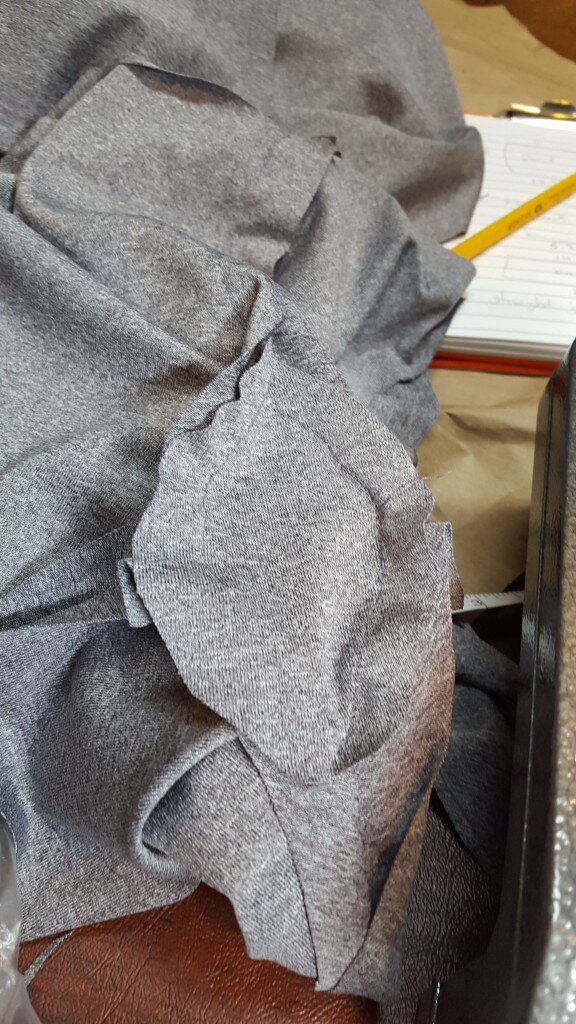
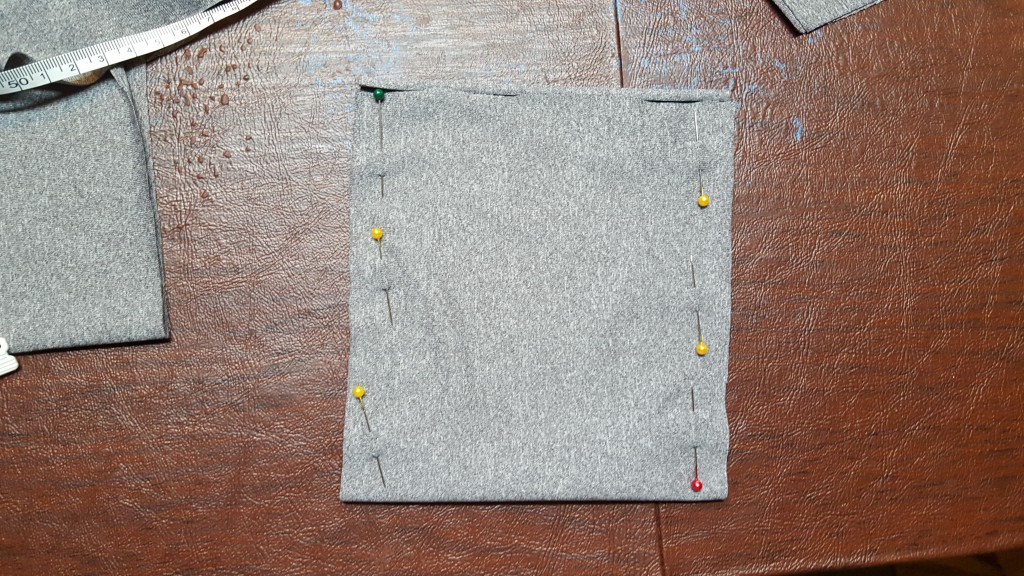
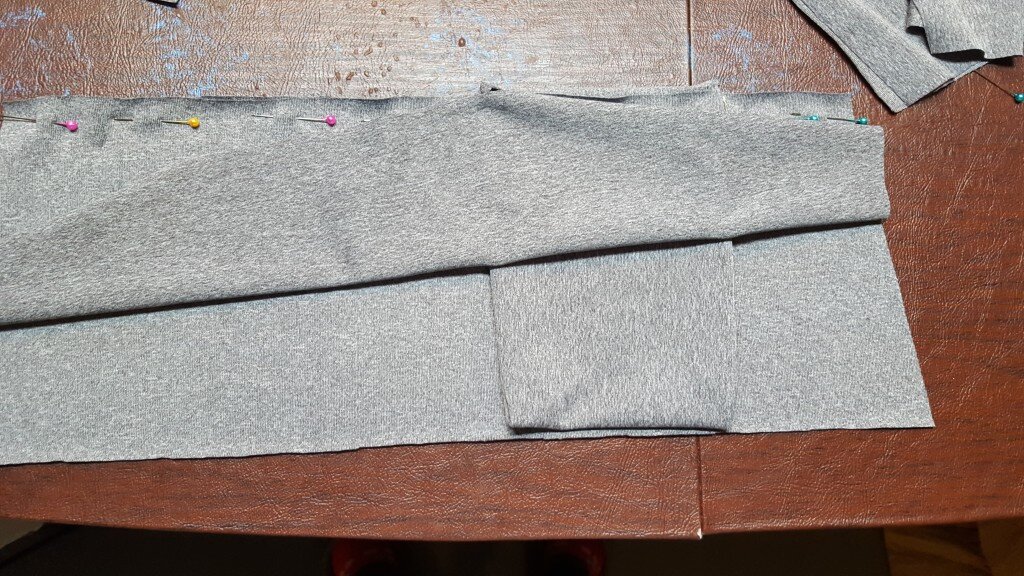
All the prizes were tea themed. I bought mini tea samplers from Harney & Sons (my absolute favorite tea producer and mix and matched them with honey and a honey dipper; scone mix, jam and a wooden spoon; or a silly tea fortune telling book. For thank you gifts I handmade tea towels with different heart designs in blue.
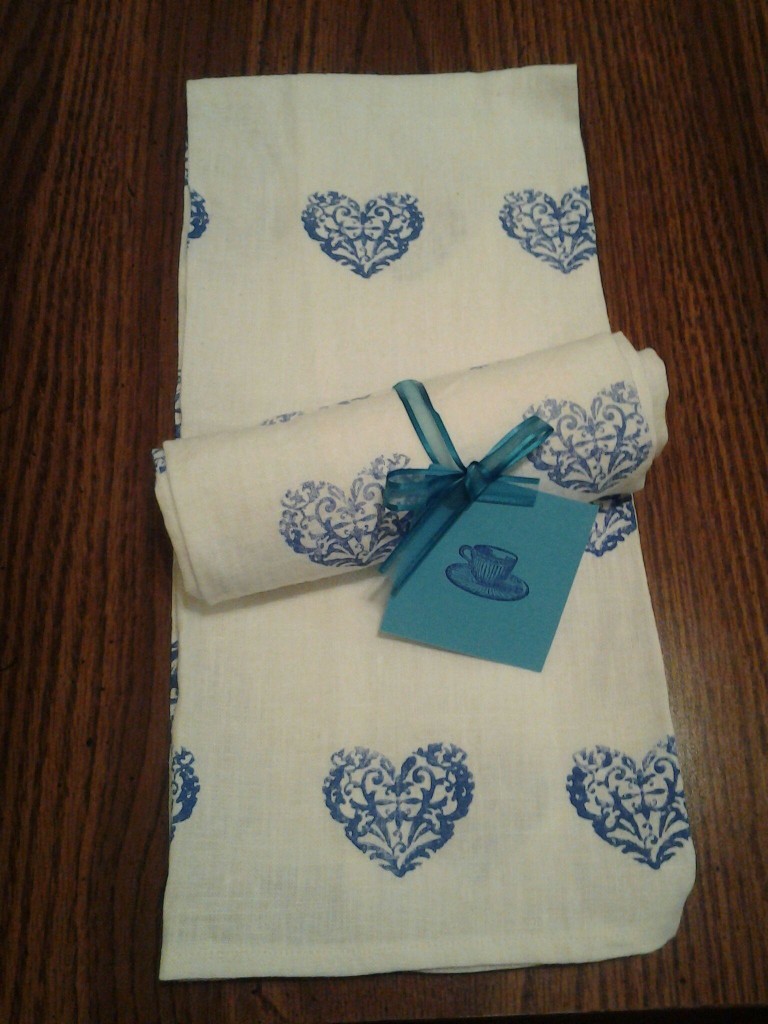
Tea Towel favors
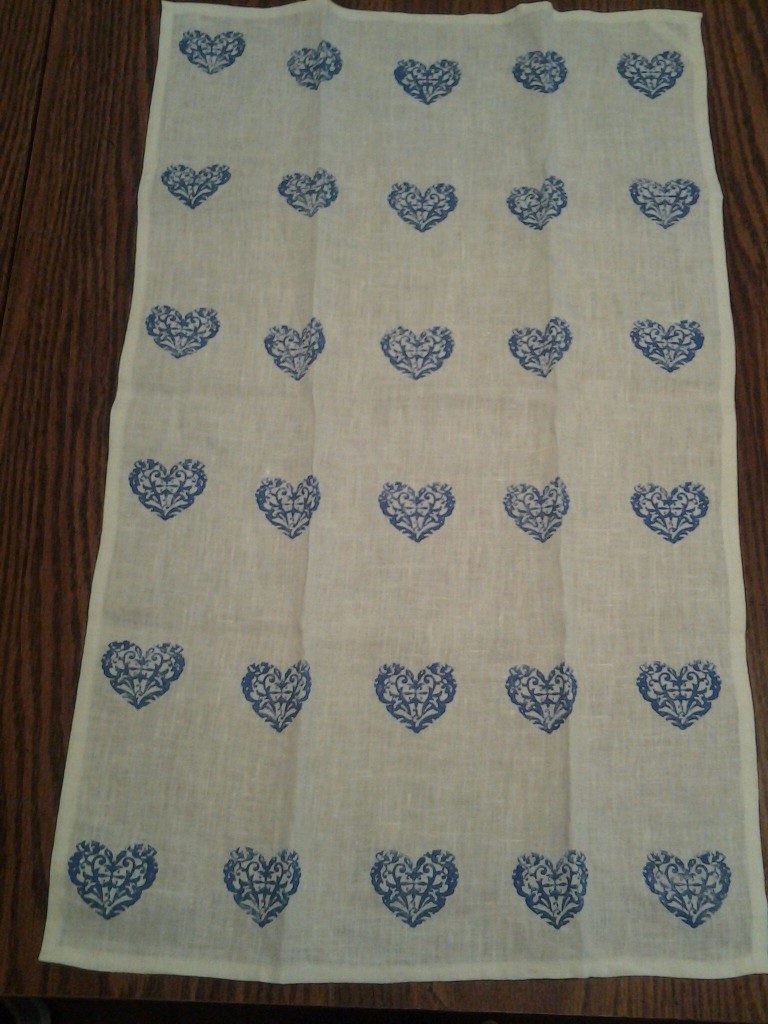
Full view of the tea towel
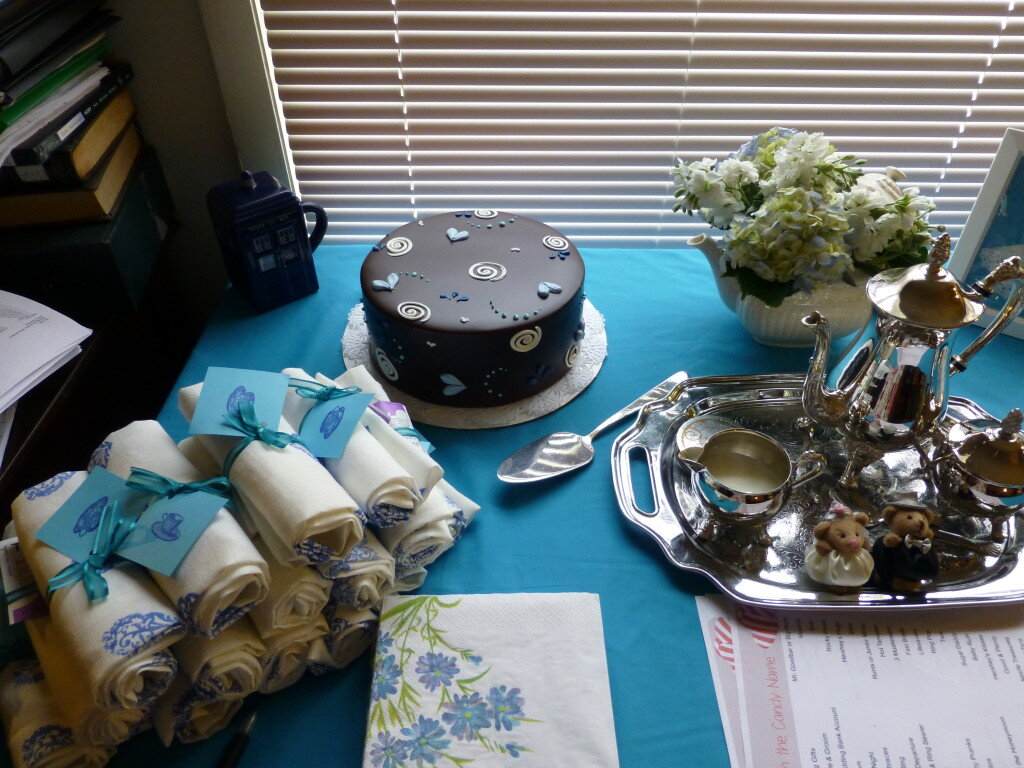
Note the favors on the left
Ultimately the party was a success and despite our elaborate scheme to get her out of the house she still claimed to be surprised. She was most surprised to see her Maid of Honor, who we discretely hid in our hotel room until the shower! What a good sport!
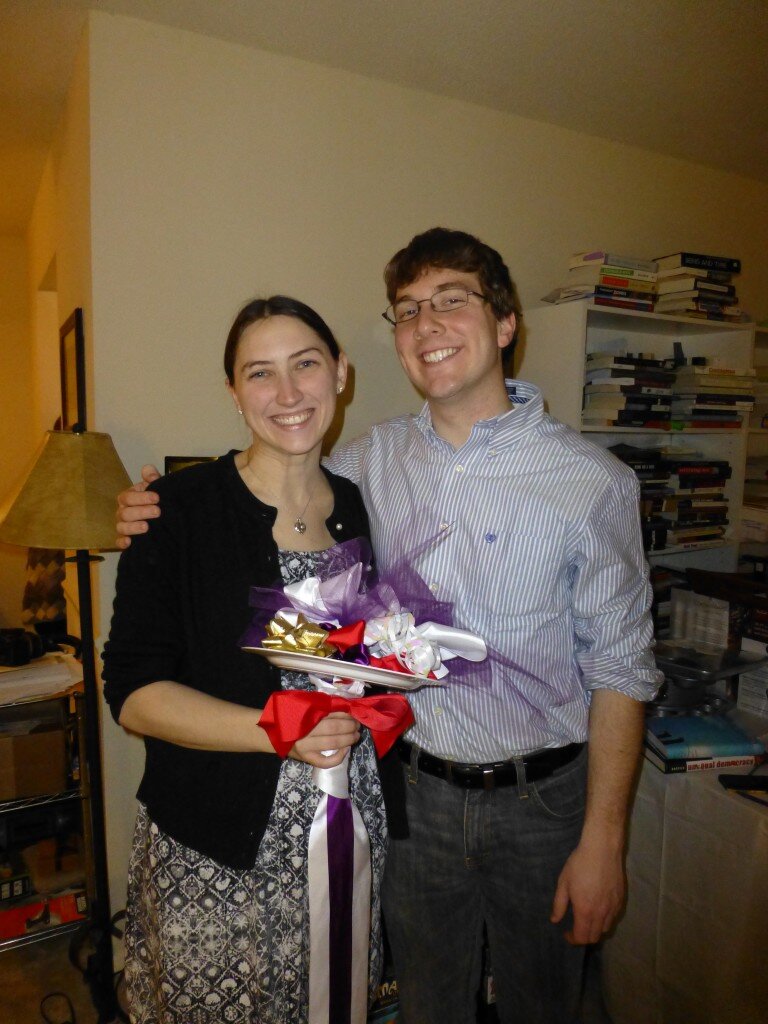
Mark and Erin holding a bouquet of ribbons.