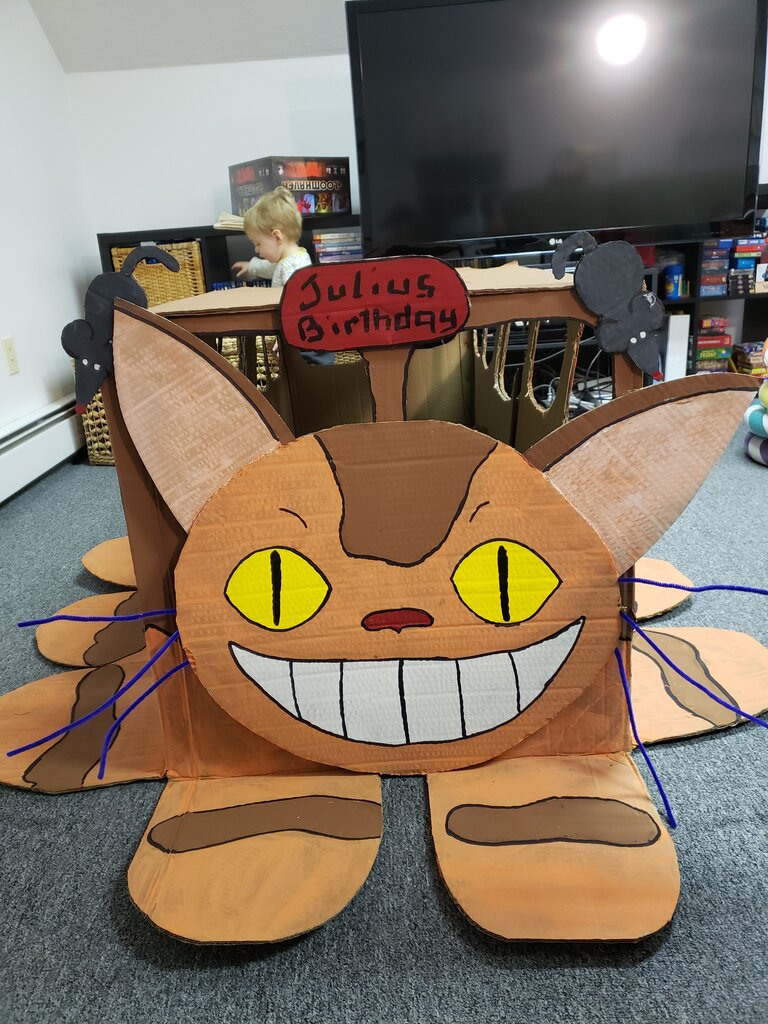
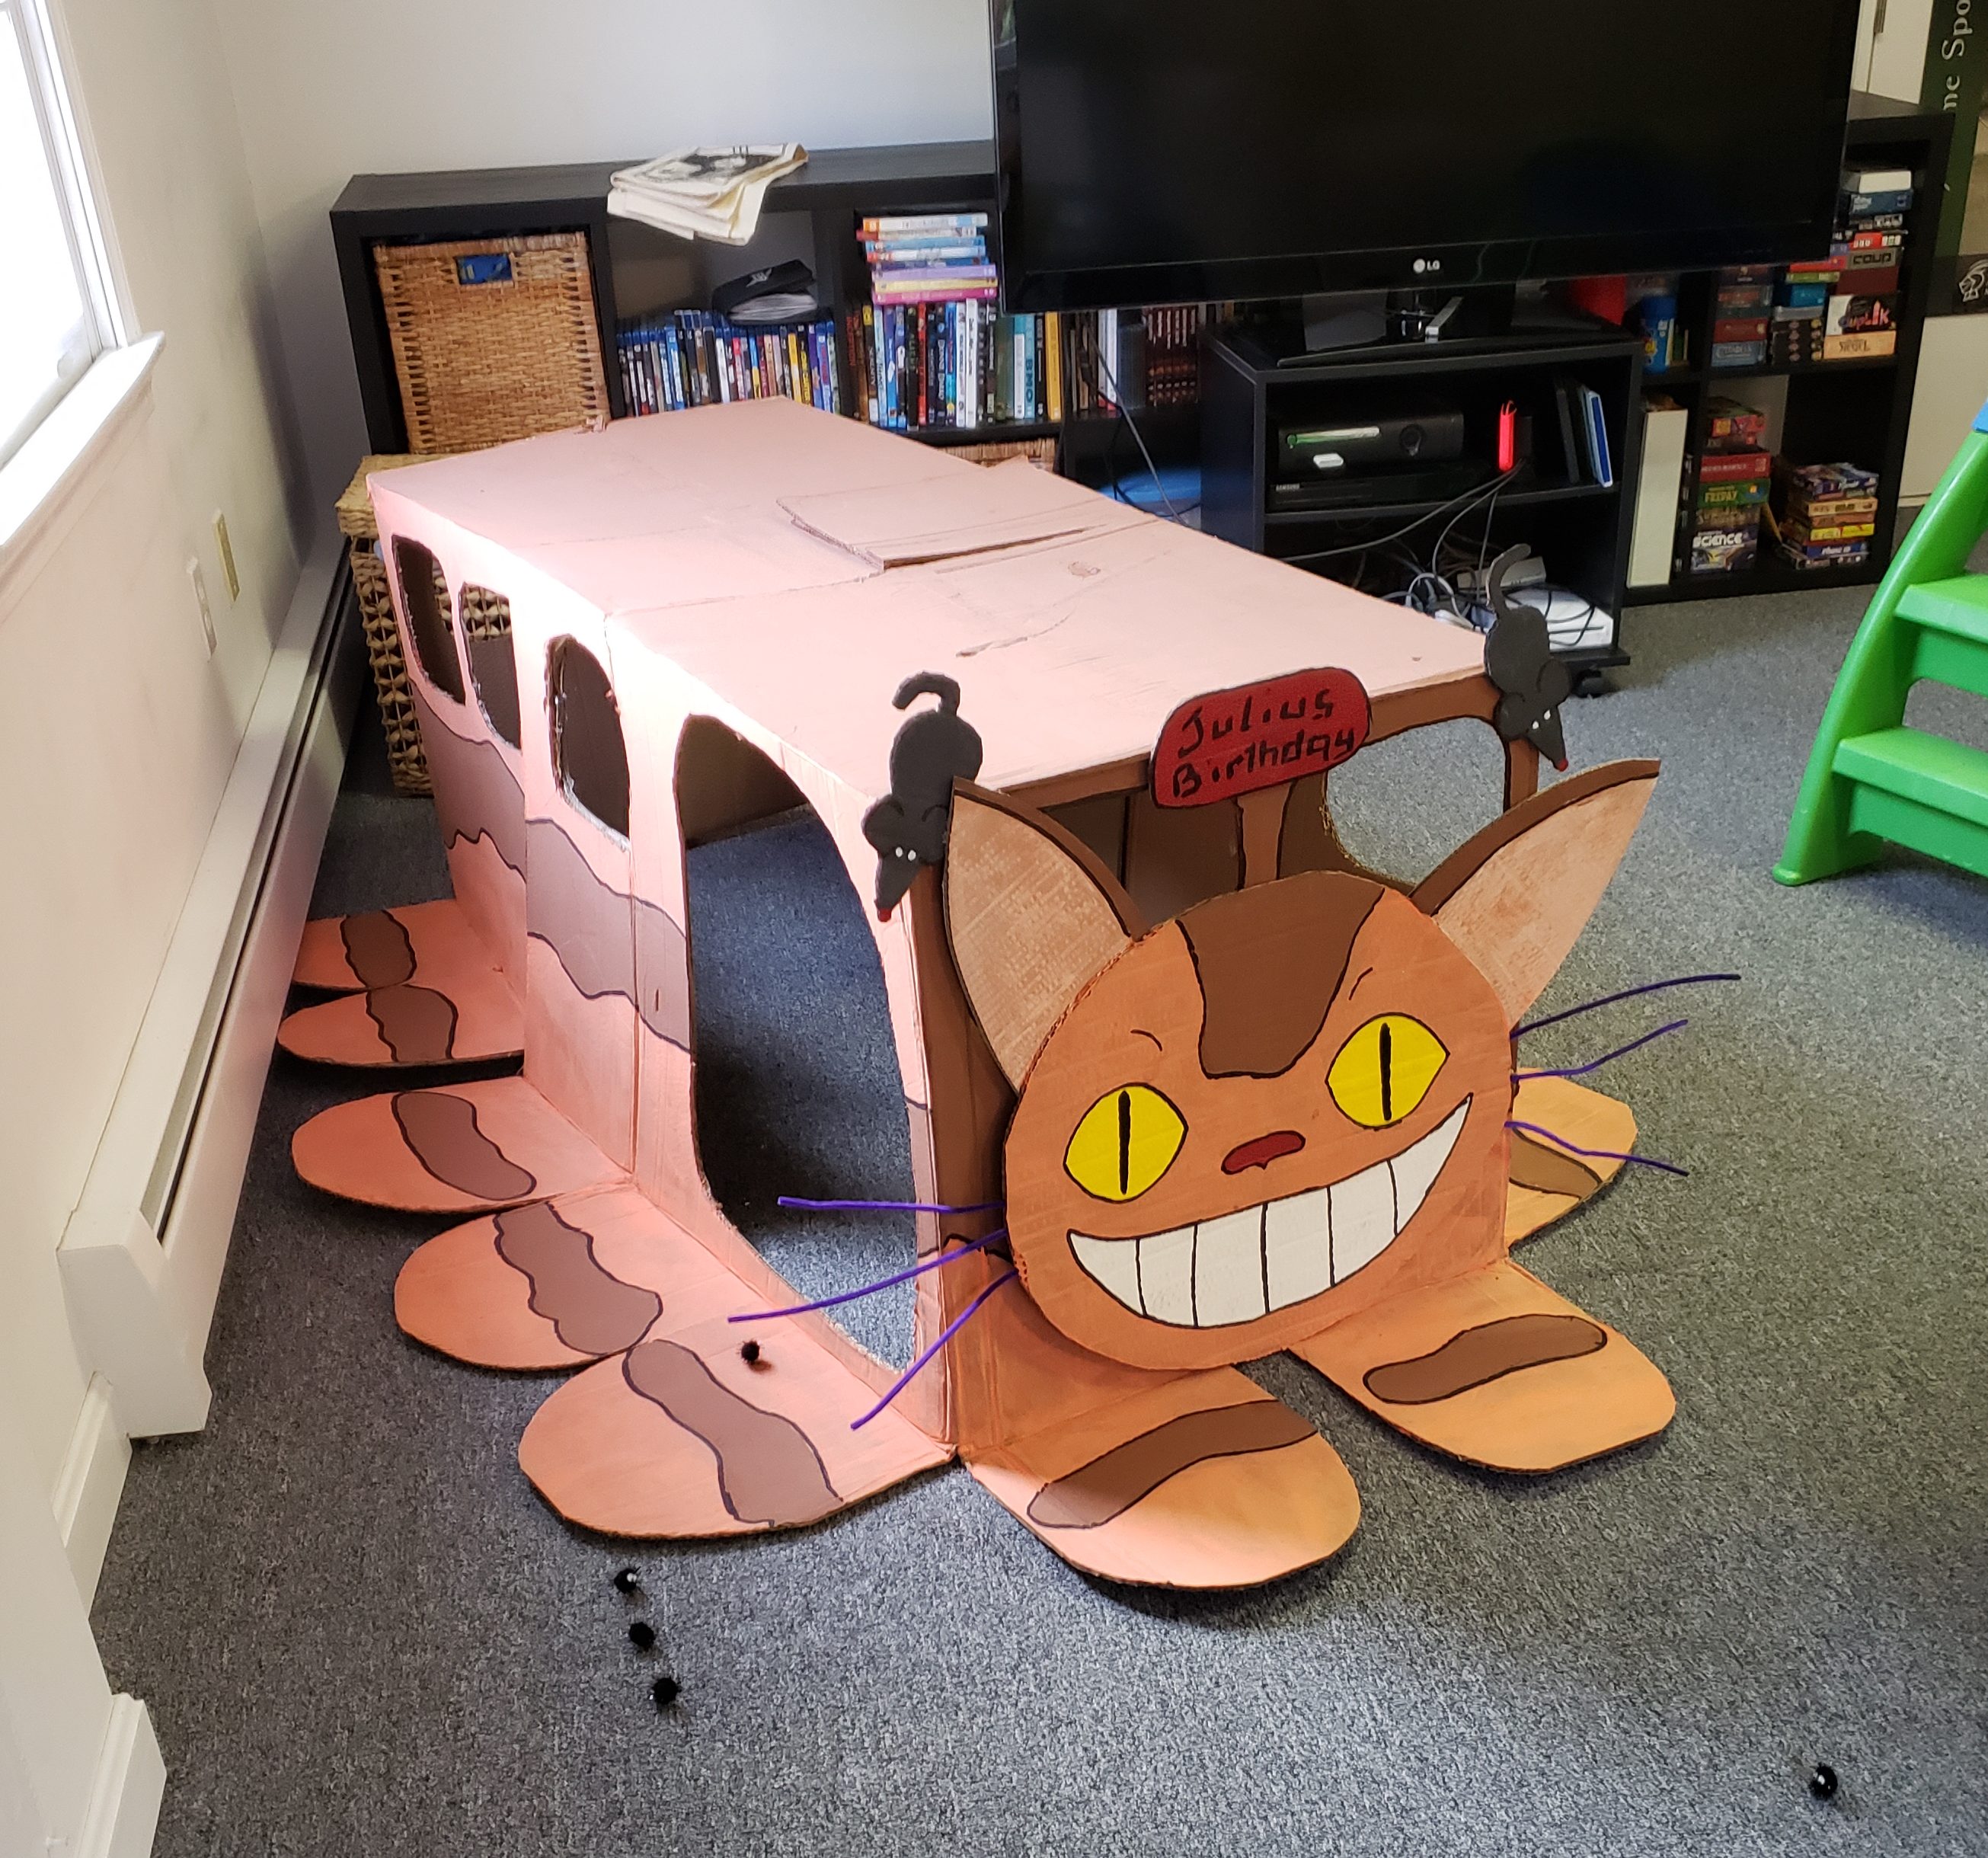
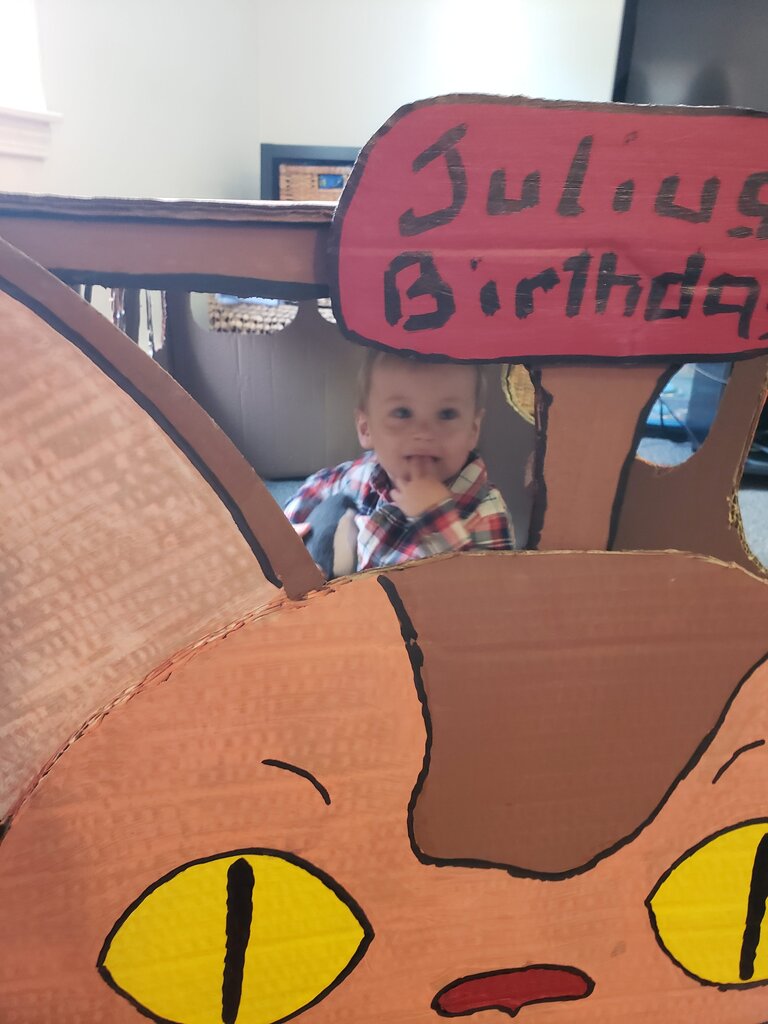
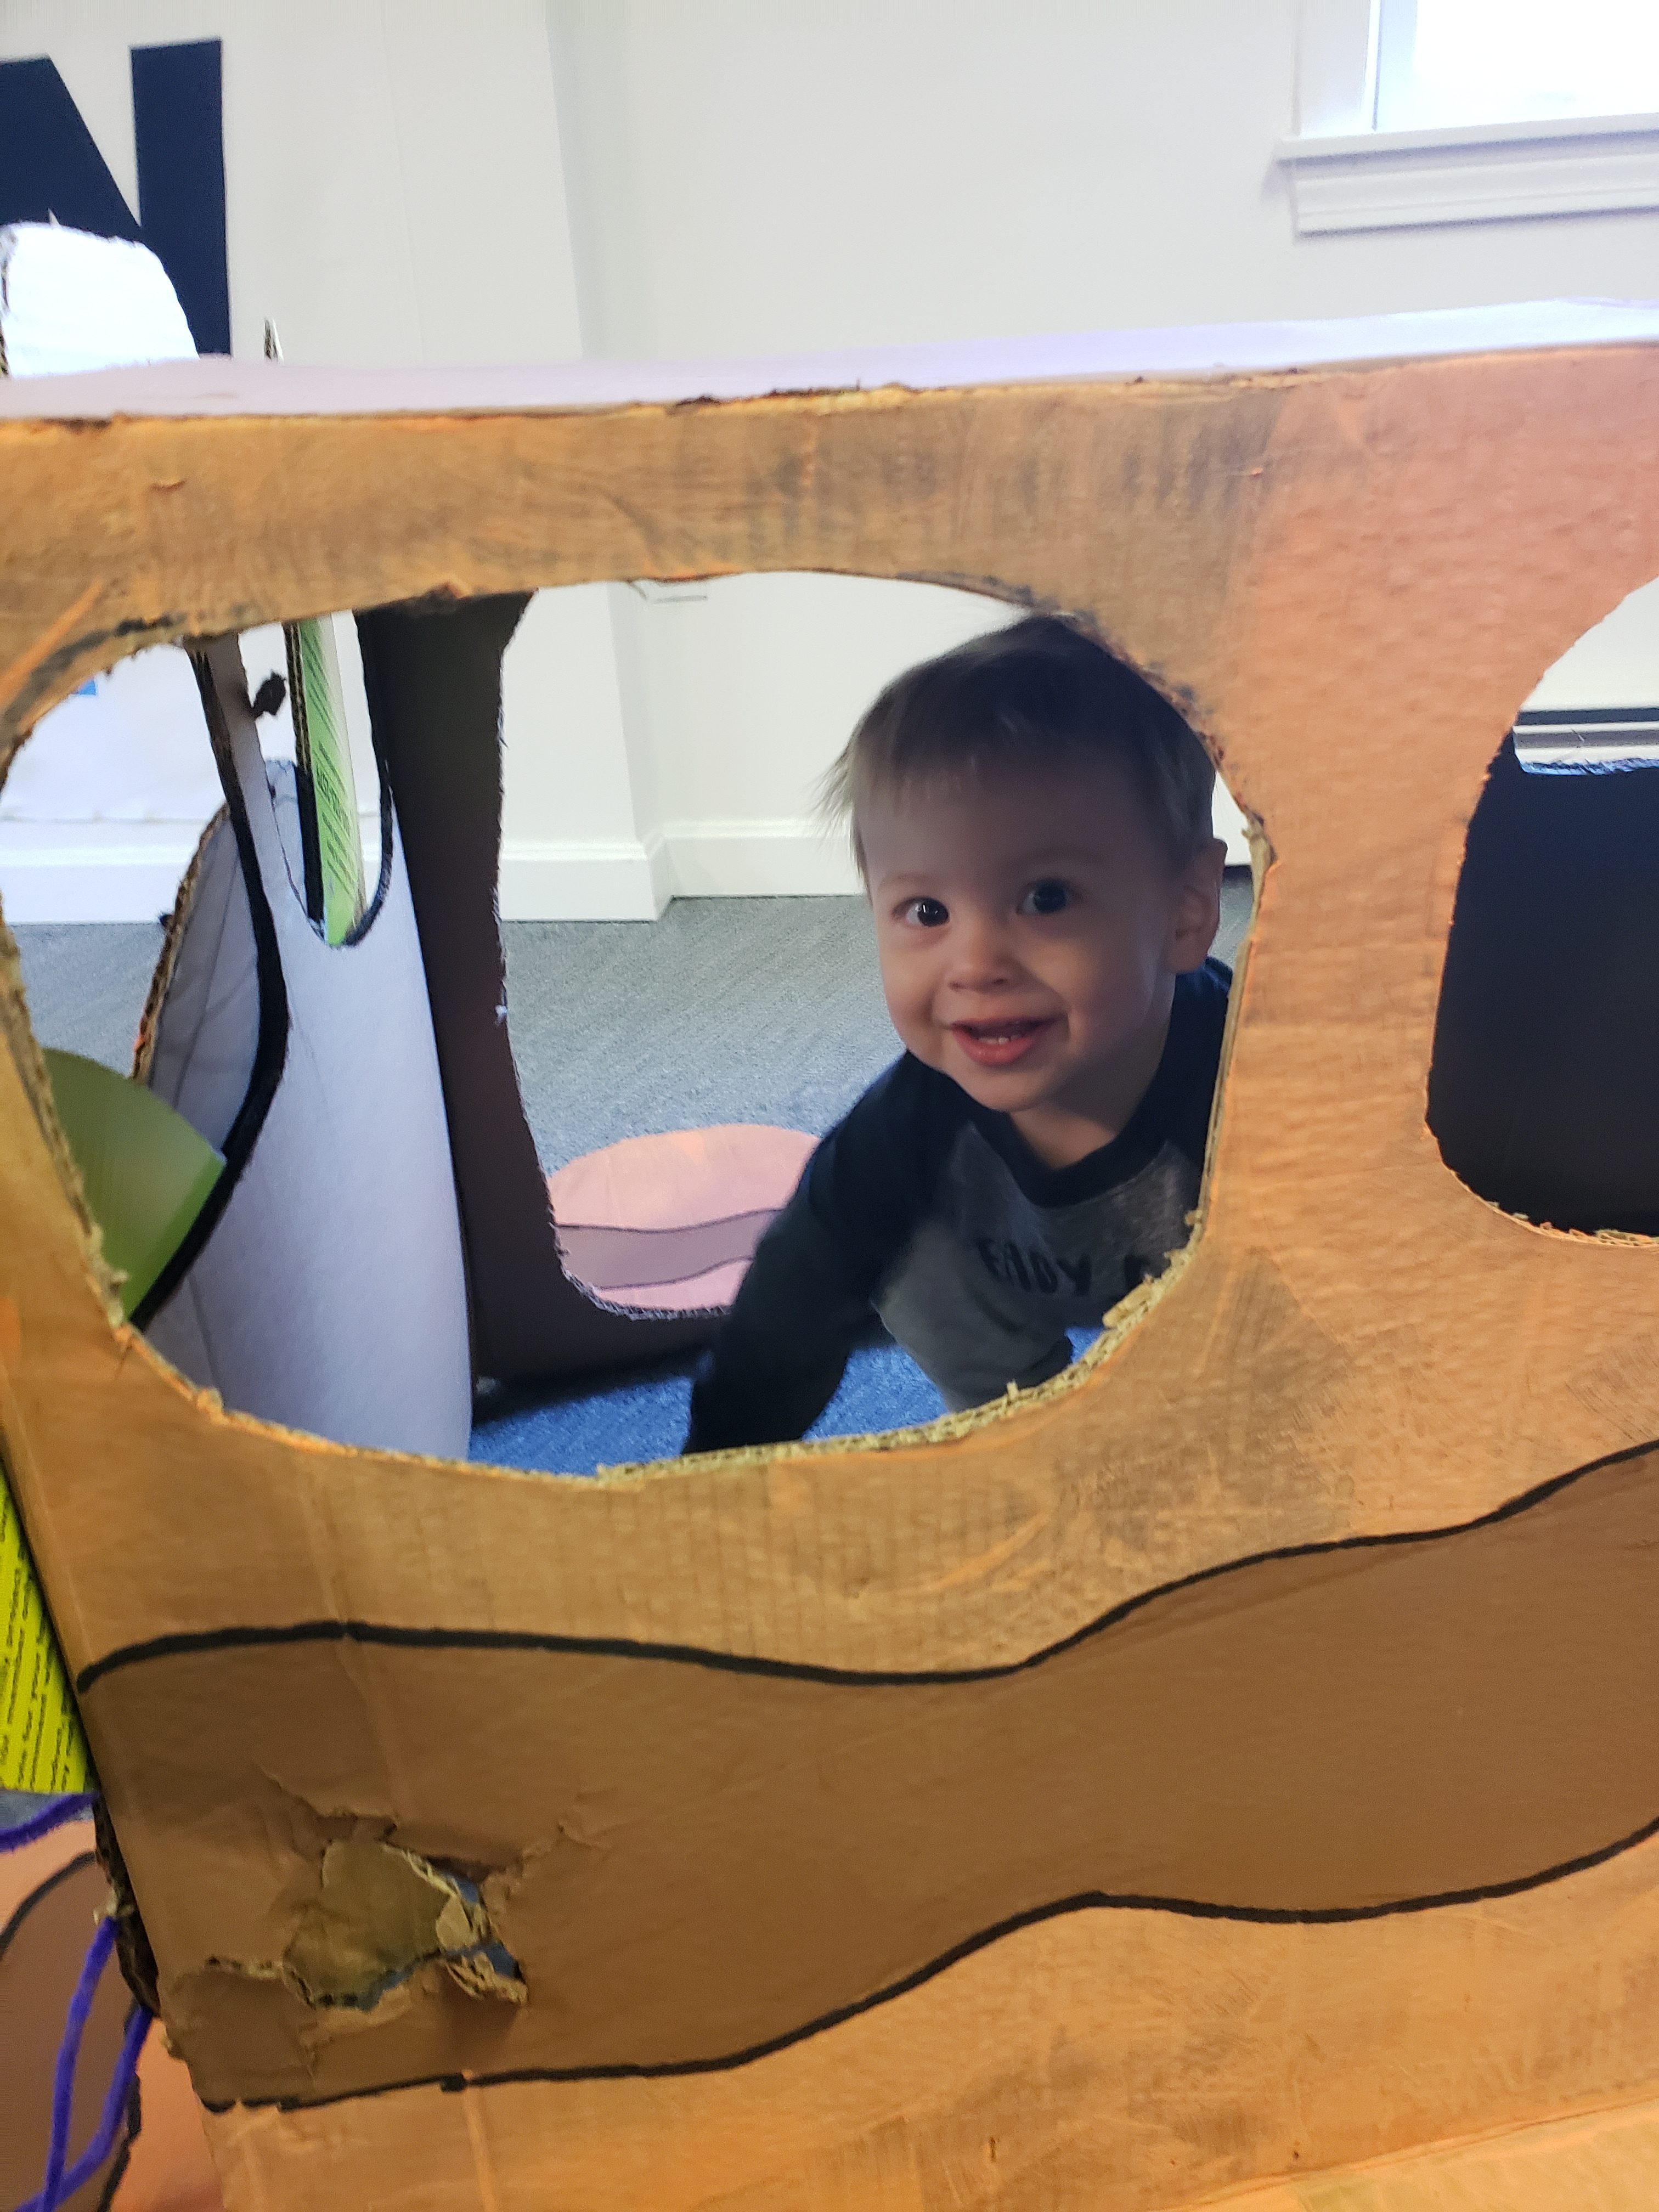
As you may have seen from my last post, this catbus was a hit at Julius’ party! The toddlers had fun climbing into and out of the bus, looking out the windows and pushing it around. It was made completely of cardboard, so it was both sturdy and toddler-friendly for when they felt the need to destroy it. It has held up well though, even with 7 kids playing on it and Julius dragging it around the house over the last 10 weeks. The best part? It cost me $6 to make because paint was my only cost; the boxes were upcycled from the sink I had delivered and I already had everything else! Note the entire project did take me some time. It took me about a week of nights after work to complete, though at the time I (apparently) had pneumonia, so it might take less time if you can do more than an hour of fever riddled work per session.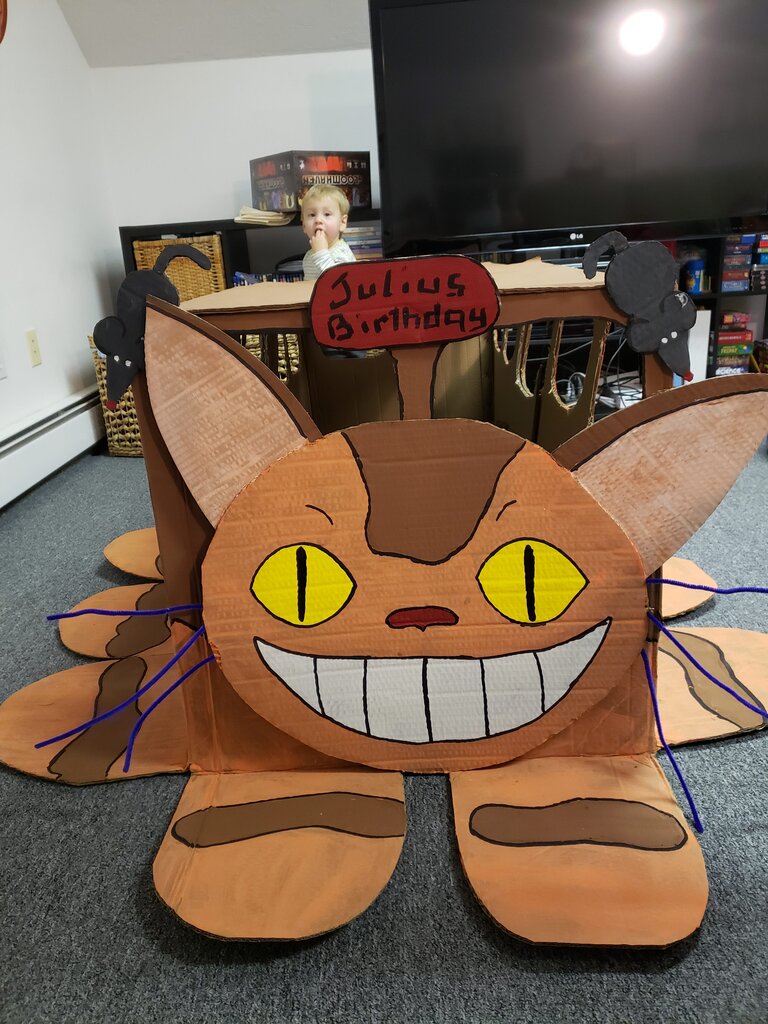
Giant Toddler Sized Catbus Playset
What You’ll Need
- 3 – 3’x3’x3′ boxes
- Wood glue
- Xacto knife or razor blade
- Scissors
- Foam brushes
- 16 oz – Orange Washable Tempera Paint or Acrylic Paint
- 16oz – Brown Washable Tempera Paint or Acrylic Paint
- 16oz – White Washable Tempera Paint or Acrylic Paint
- 20z – Yellow Washable Tempera Paint or Acrylic Paint
- 20z – Red Washable Tempera Paint or Acrylic Paint
- 20z – Black Washable Tempera Paint or Acrylic Paint
- Magnum sharpie
- 6 pipe cleaners (black preferred, I only had purple)
- Place cardboard box open end up and use the Xacto knife or razor blade to slice down middle of one side of the box. Ideally it is best to do this with one of the sides of the box whose flaps are not taped together on the bottom of the box. Start at the top flap, and continue cutting down the side of the box, through the bottom flap of the box. Open out. Repeat with second box.
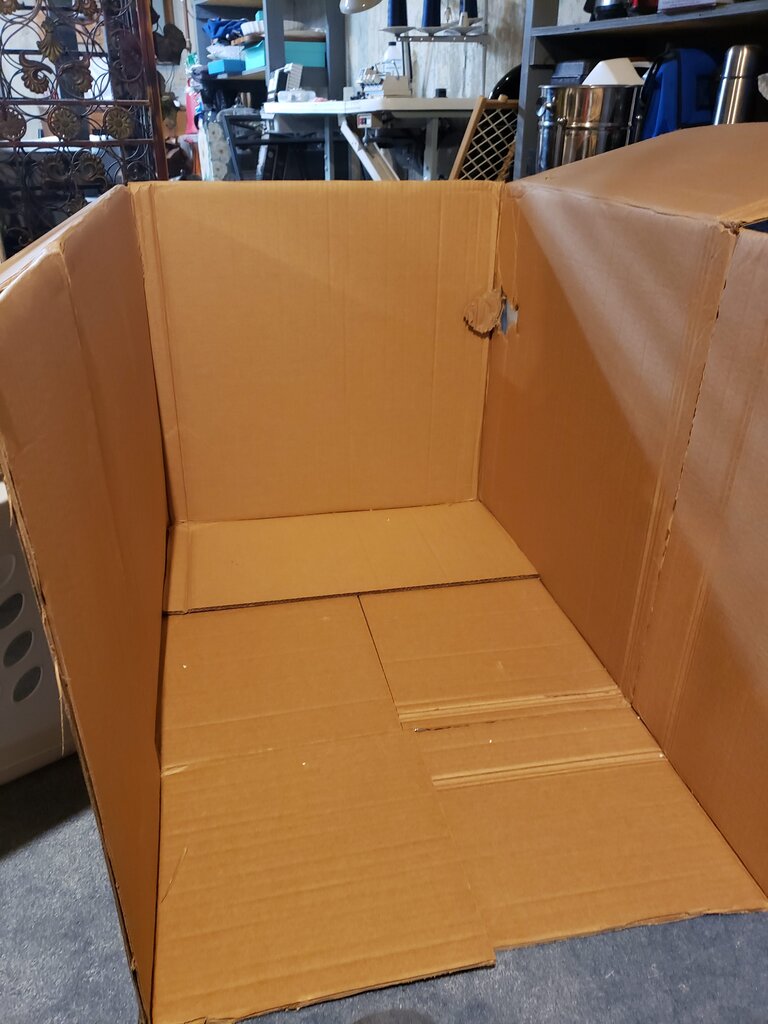
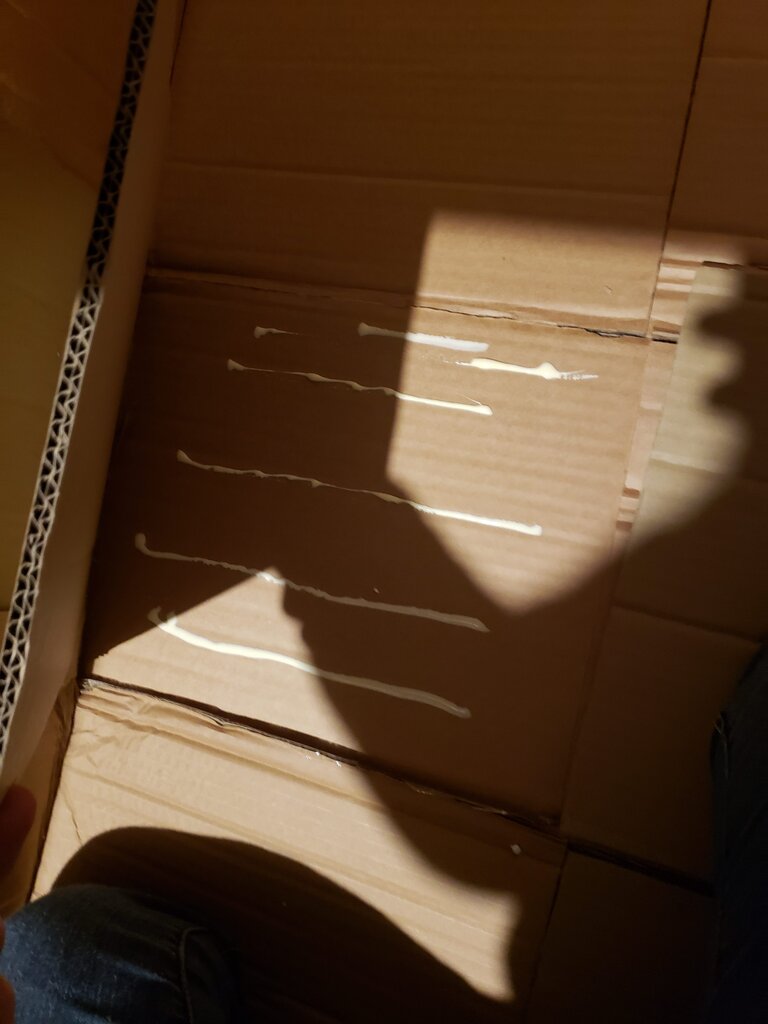
- Place boxes overlapping each other at the pieces you just opened out. Wood glue the flaps you created together, and clamp or place heavy books on top while glue dries.
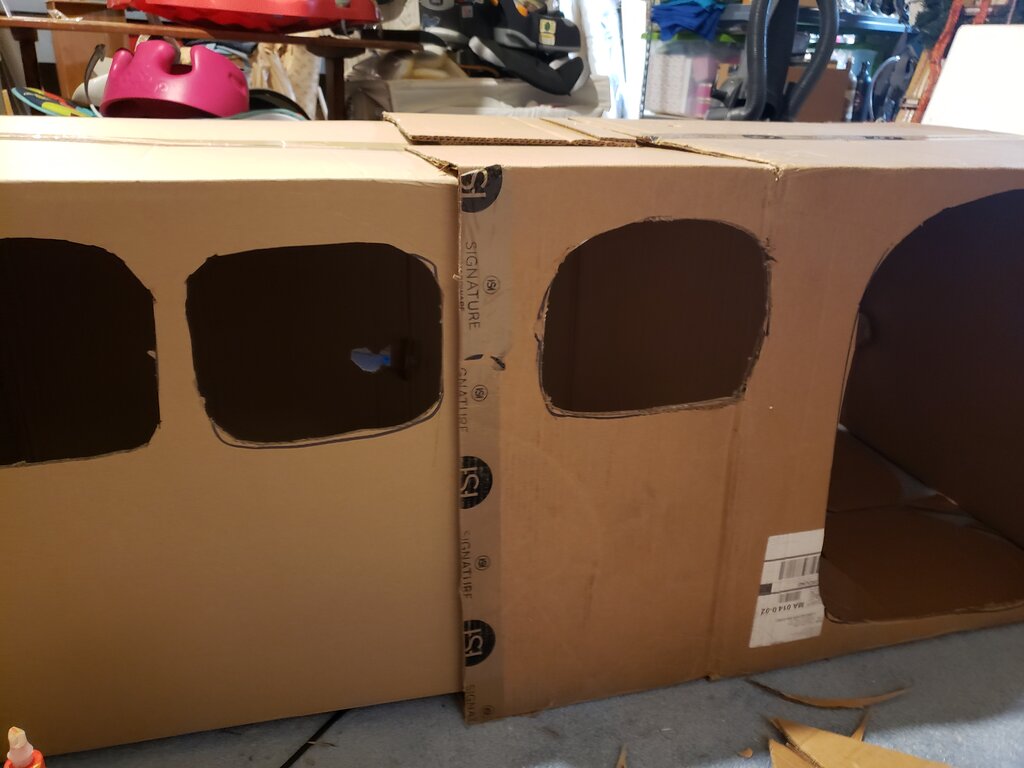
- Flip the entire structure over (it should now be 3’x3’x7.5′). Using a pencil, mark out the locations for a large door on one side of the bus (taking up much of a 3’x3′ face) then 3 1’x1′ windows on the top half of the side. On the other side cut 5 1’x1′ windows on the top half of the side. Cut 2 1’x1′ windows on the top half of the front and back of the bus.
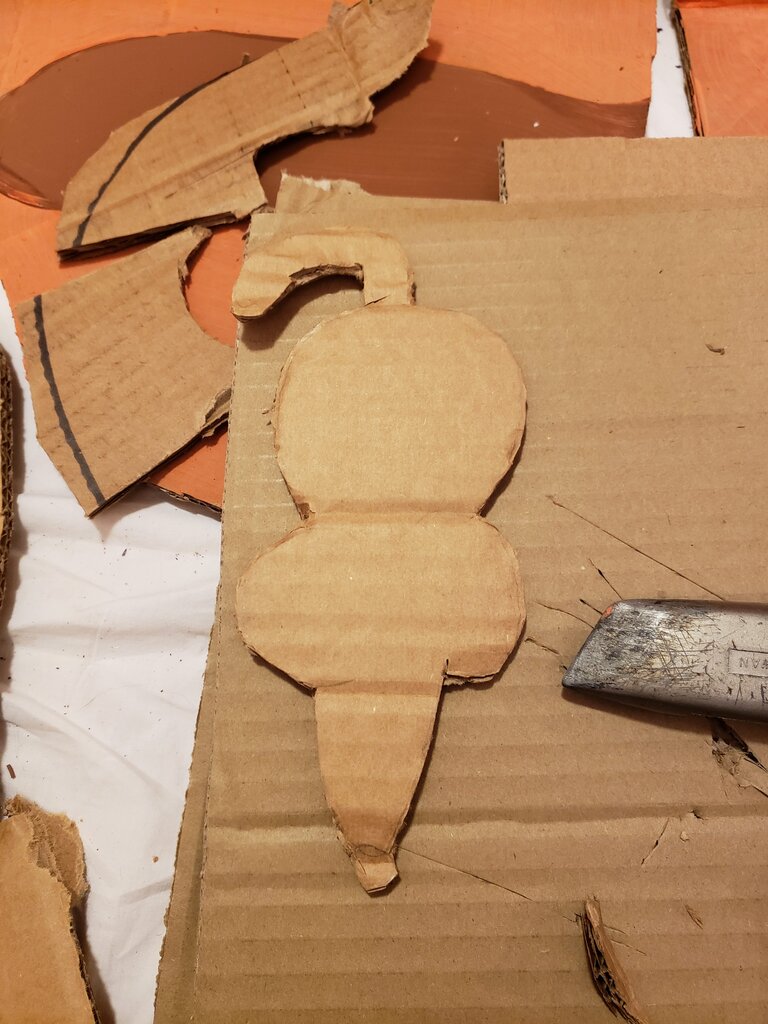
- From the third box cut an oval 2’x3′ for the catbus’ head. Cut two ears with a roughly triangular shape with two curved legs that is 1.5′ tall by 1′ wide at the base. Also cut a curved rectangular sign 6″x1′ and two mice.
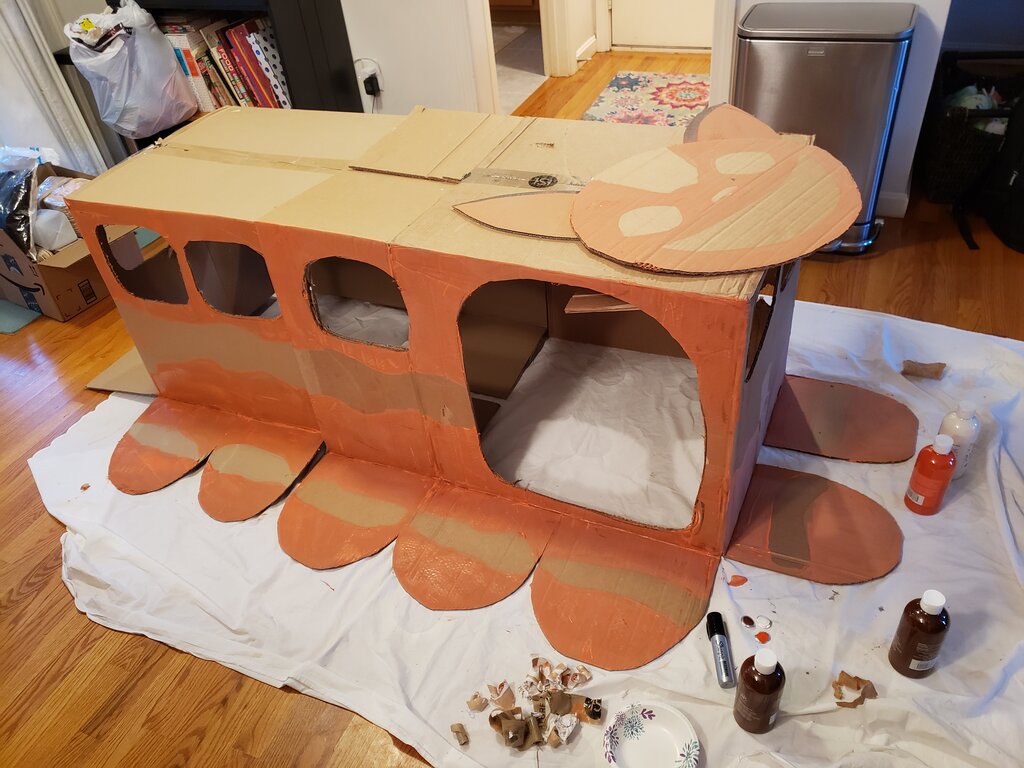
- Cut 3’x1.5′ flaps on left, right and front sides in half down the middle, then curve down from the tip to form paws. Cut tail into the center of the back of the bus.
- Using wood glue, attach ears to the oval head at the top left and right. Clamp or hold together with books.

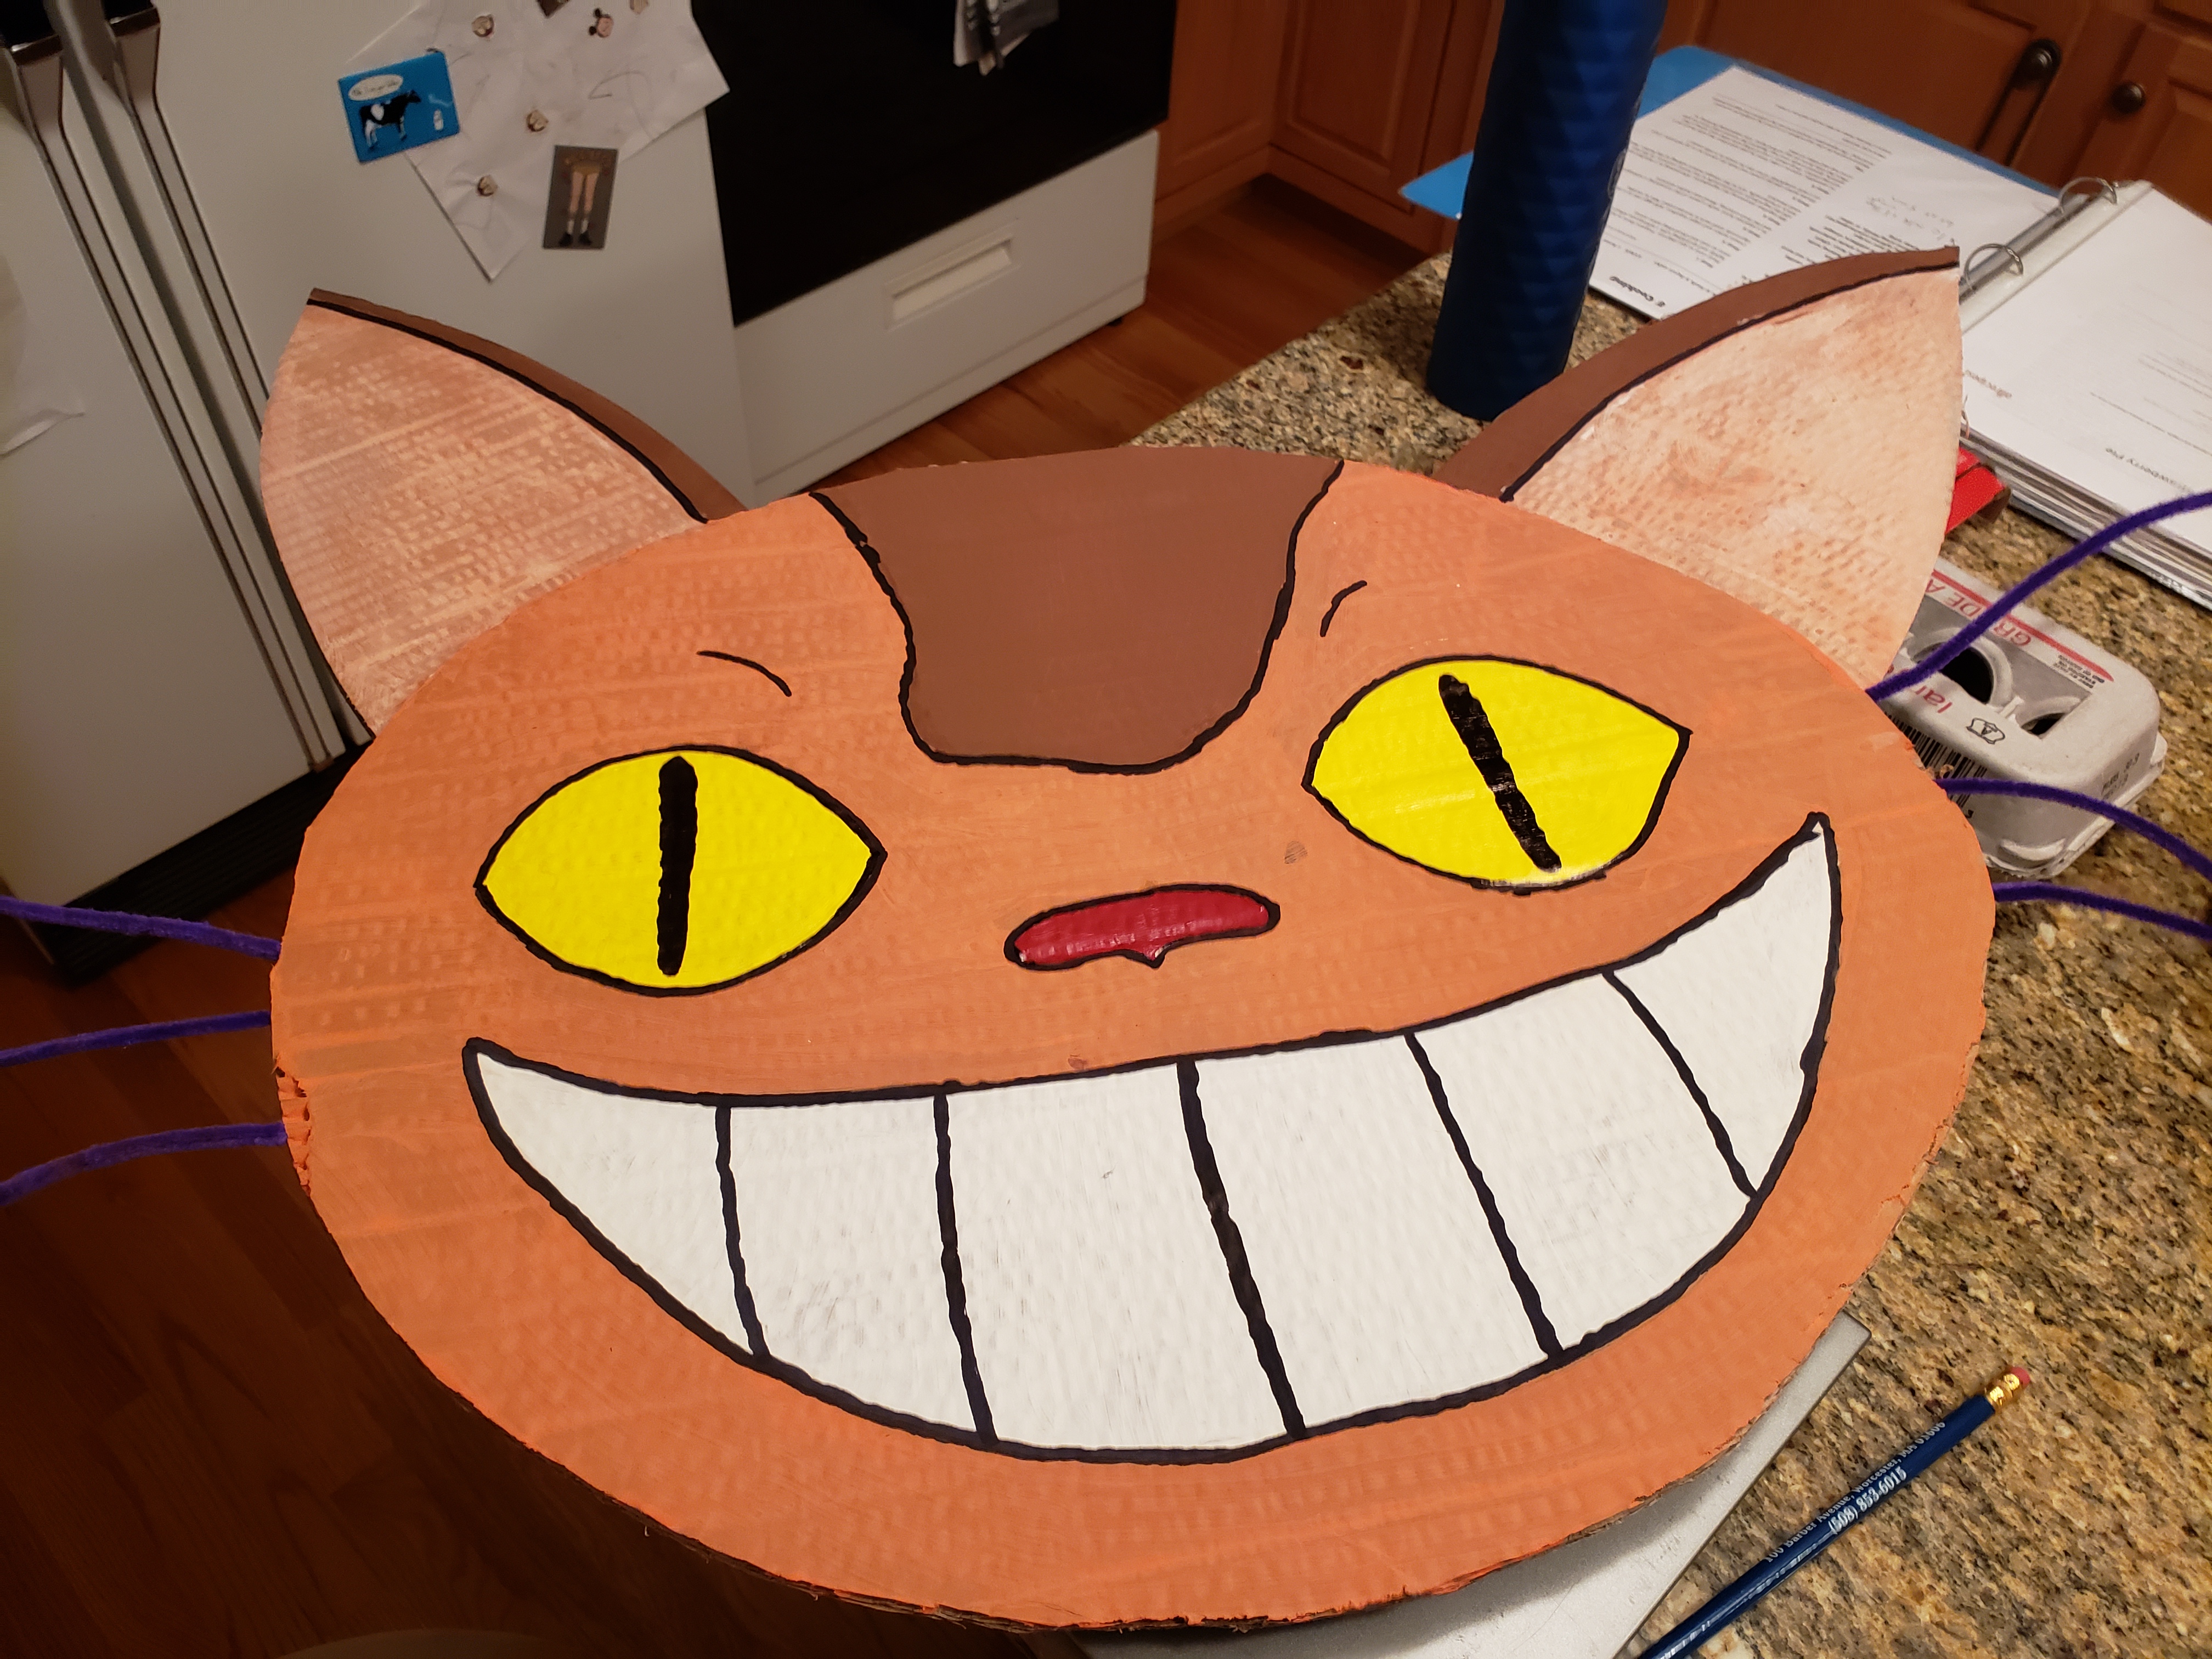
- Using a pencil, sketch a horizontal wavy center stripe down the center of the boxes on left and right and legs of catbus. Sketch out ears, stripe, eyes, nose and smile on catbus face.
- Using a foam brush paint the side of the bus orange above and below the middle line and on the front on the bottom. Paint paws orange above and below middle stripe. Paint tail above the tip of the tail orange. Paint the cat head orange in the part indicated. I needed a second coat to make the bus look more orange.
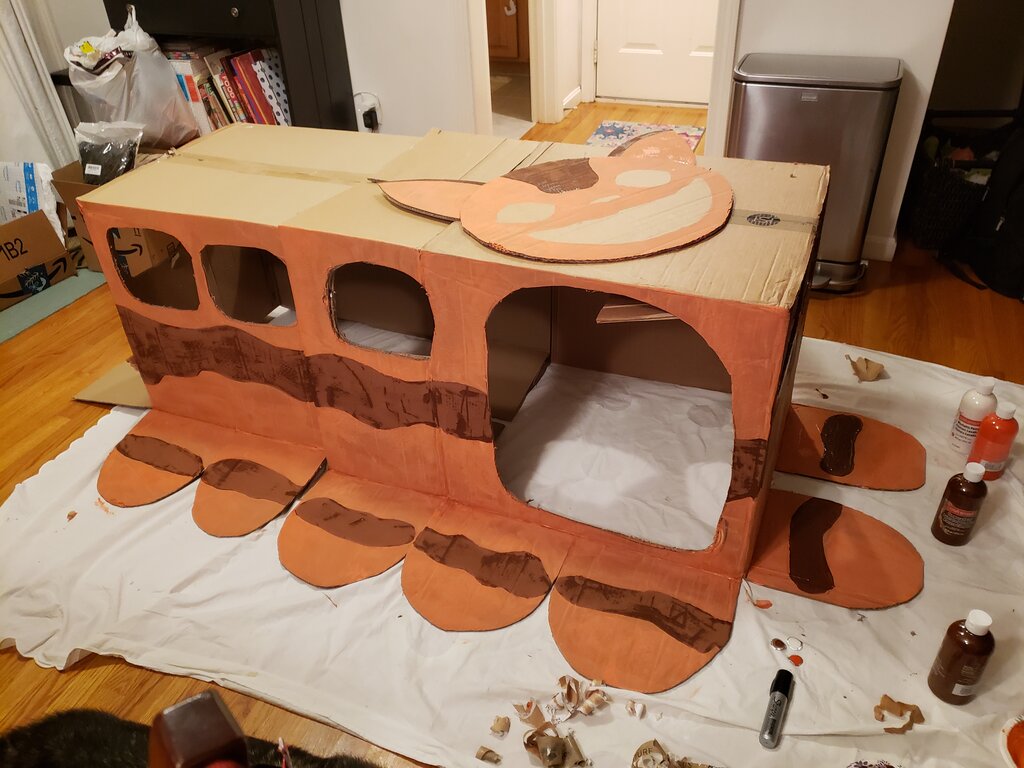
- Paint the middle stripe on the bus and paws brown along with the top of the bus, and the front and back of bus where not already painted. Paint tip of the tail brown. Paint the stripe on catbus’ head brown as well as it’s outer ears.
- Finish off the catbus head by painting the nose red, eyes yellow, teeth white and ears a mix of orange and white. (See photo.)
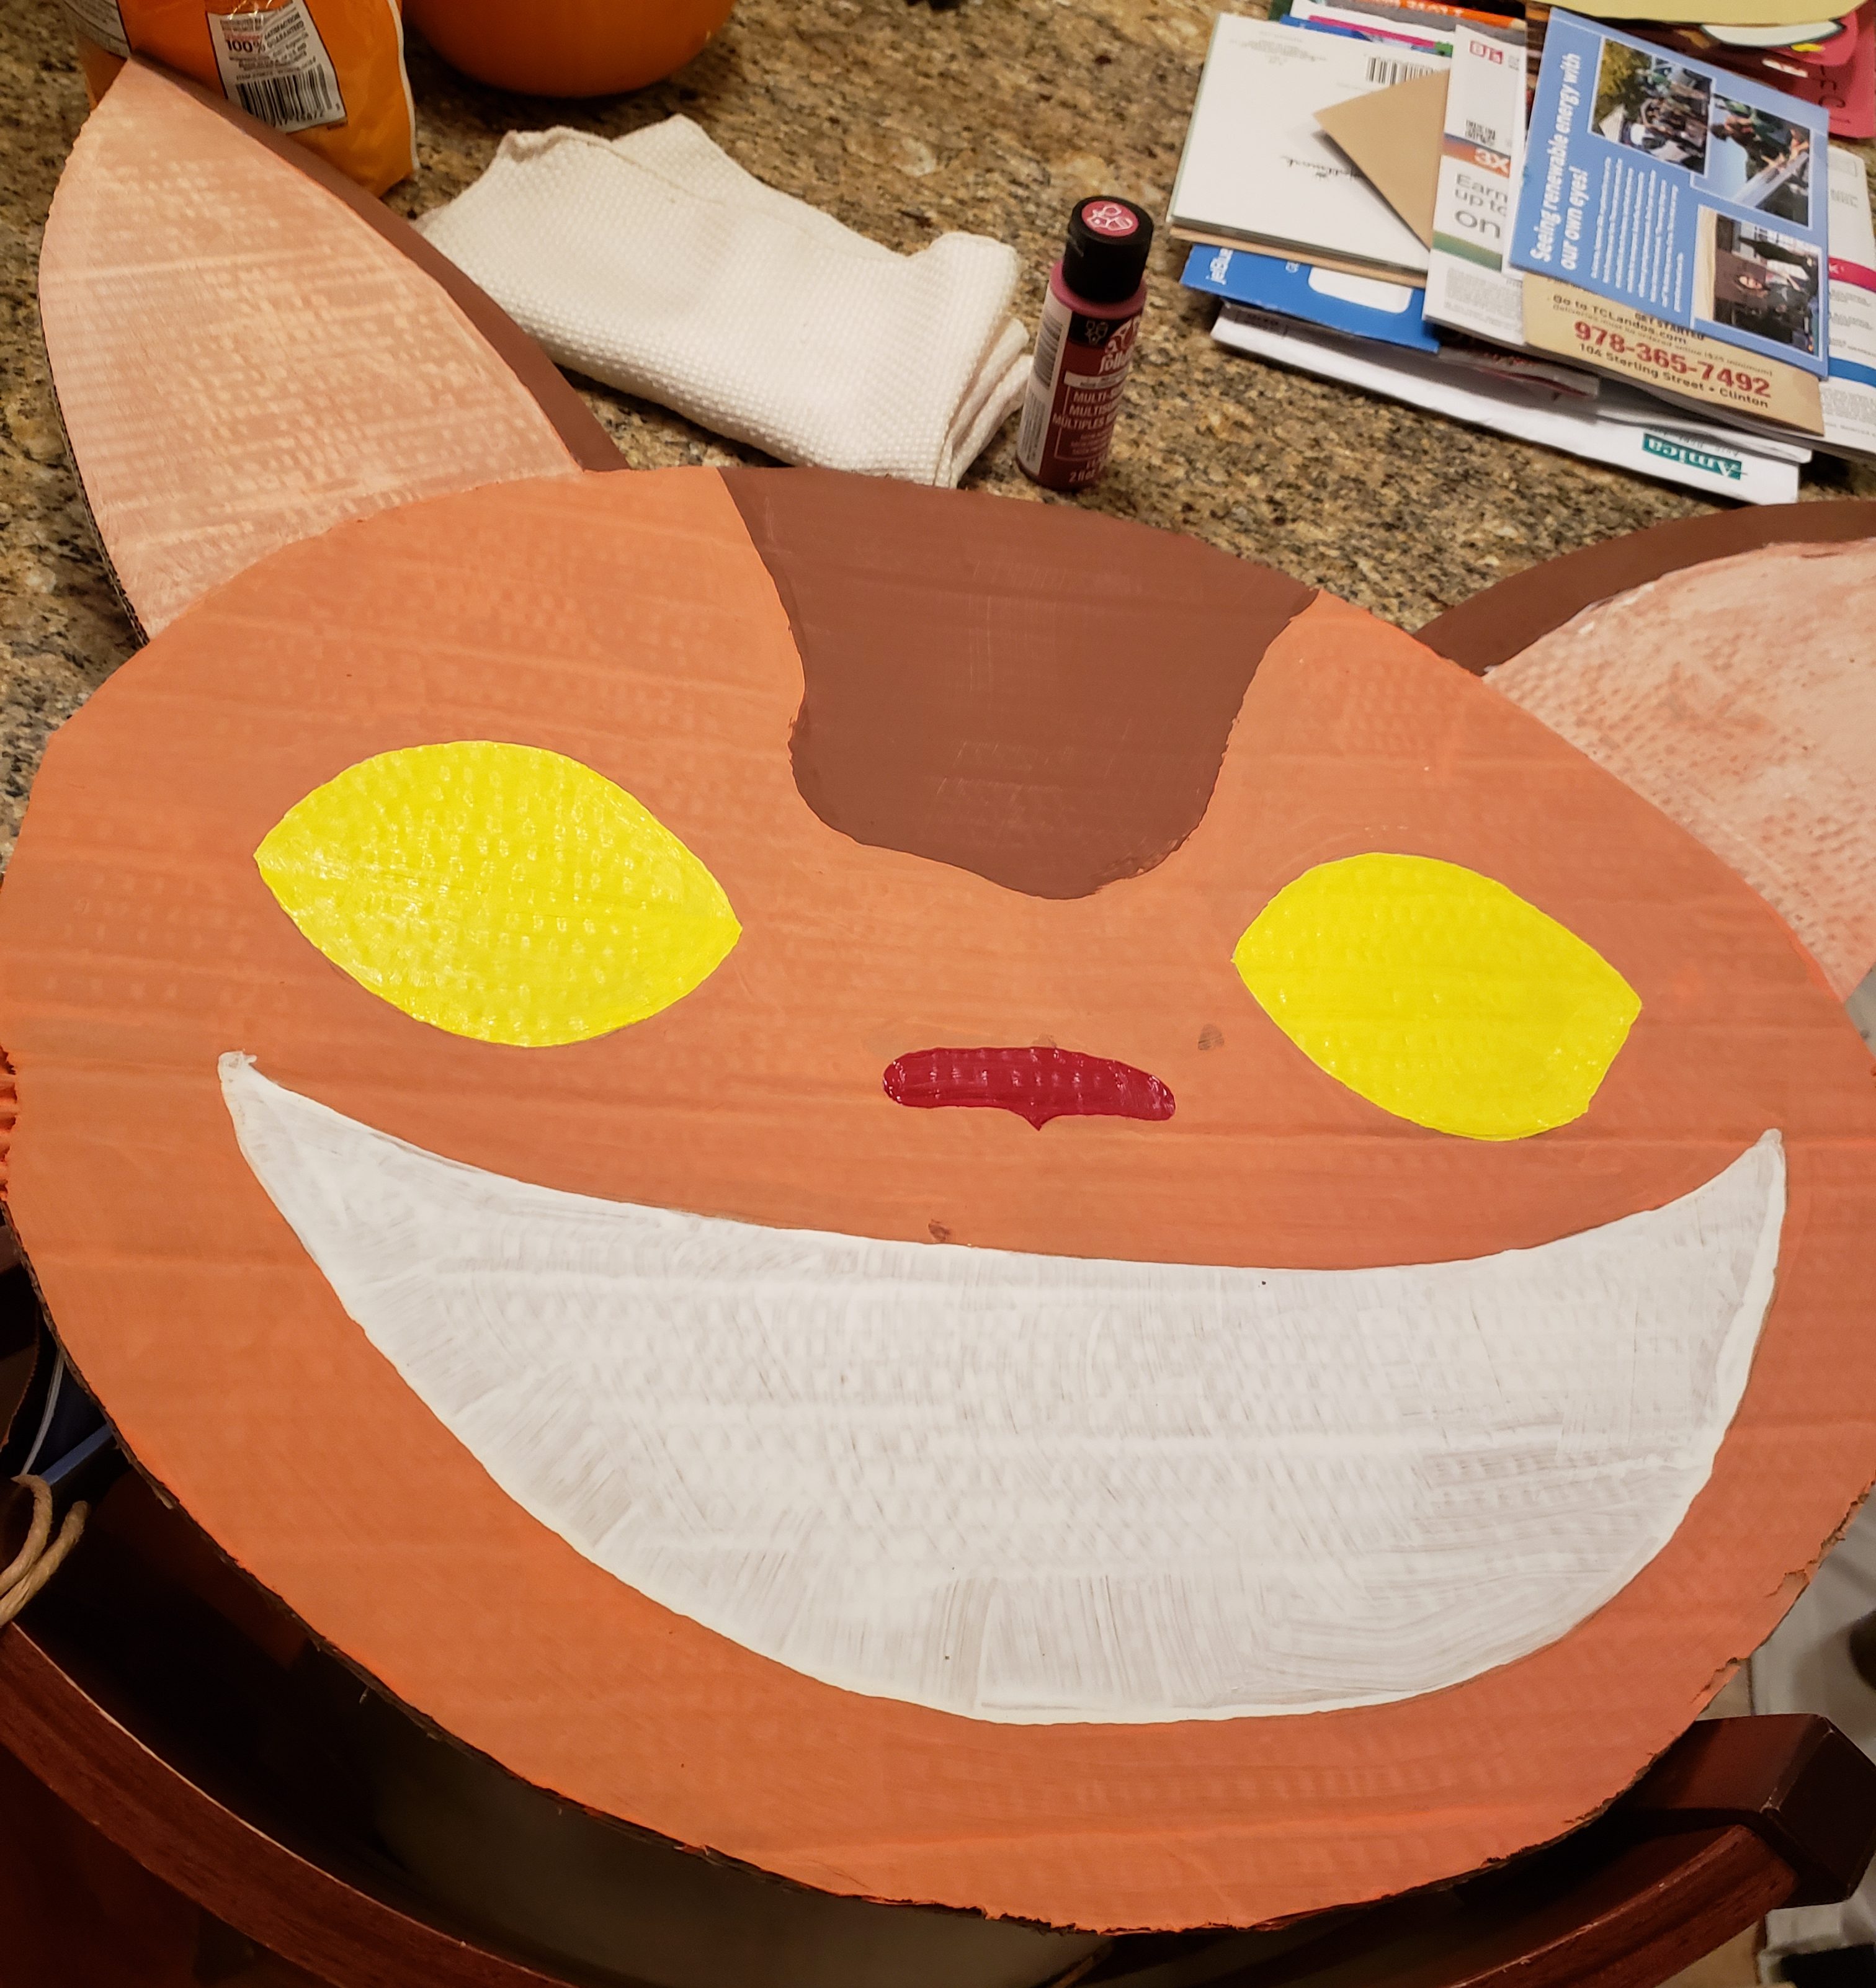
- Outline the cat’s face, and stripes with the black permanent marker.
- Paint the sign with red paint then outline with black permanent marker and the location of your choice.
- Paint both mice grey, then add white eyes and a red nose.
- Use wood glue to attach the cat face to the front of the catbus so you can still partially see out the front windows.
- Glue mice on top front of bus on right and left side. Glue sign on center of the bus.
- Insert pipe cleaners into the face of the catbus through the corrugation, 3 per side to look like whiskers. (You shouldn’t need to poke holes or anything).