I hope you all had a Happy Easter/ are having a Happy Passover/Ramadan! We had a fun time yesterday celebrating spring, despite the snow flurries and hail. This is the first year since Julius was born that I’ve made absolutely nothing for Julius’ basket. I did thrift most of the stuff in the baskets (except for some stuffed animals that I caved and bought immediately so I couldn’t have another last minute hairy stuffed beast tragedy). Honestly it was a bit disappointing not making anything for the basket so I’ll have to figure out how to remedy that next year. Julius got a lot of crafts though, which he loved. And Patricia got a ball, which she was very excited about. (She pulled it out of the basket, shouting “ball”, which was completely expected).
My favorite new Patricia word lately has been her word for Julius, which is “Juju”. Today she was shouting “Juju, Juju, Juju” in the bathroom over and over again, because Julius helps her wash her hands. (Have I mentioned how good a big brother he is?) Speaking of Julius, before I left to go to the thrift store (allegedly to buy Patricia more pants, which was a half truth) I had this conversation with Juju:
Me: I have to go to…
Julius: (interrupting) the bathroom?
Julius: the renaissance faire?
Julius: the clown shop?
I nearly died laughing. I guess that pretty much sums me up (except the clown shop part, what exactly is he trying to say there)?
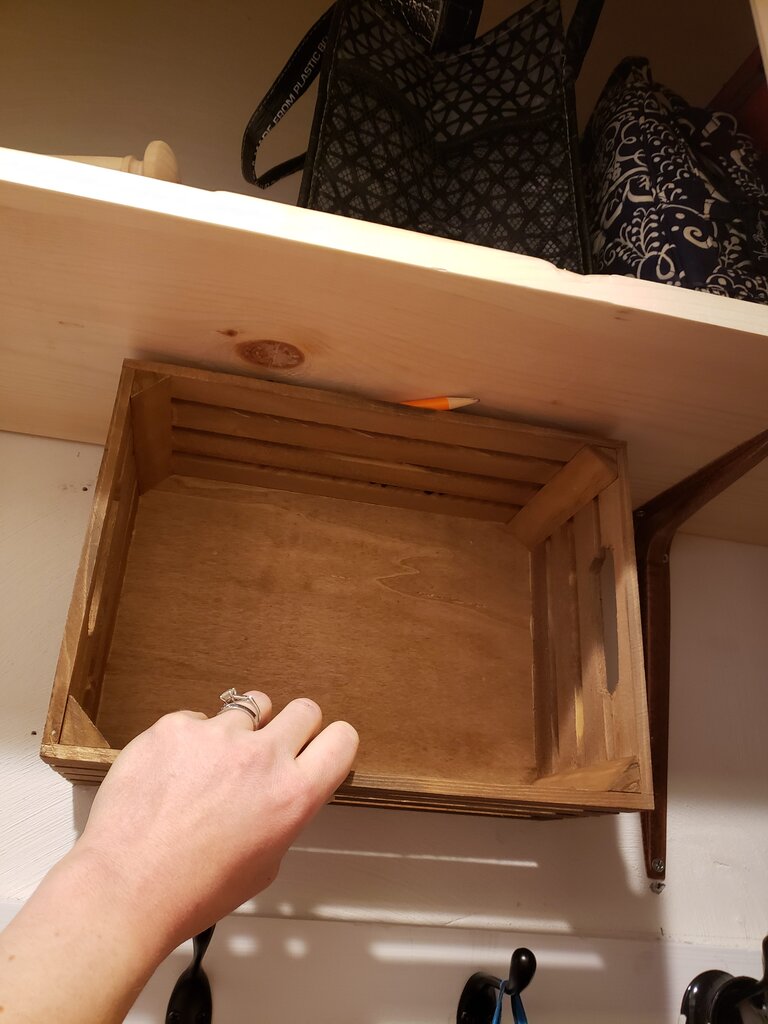
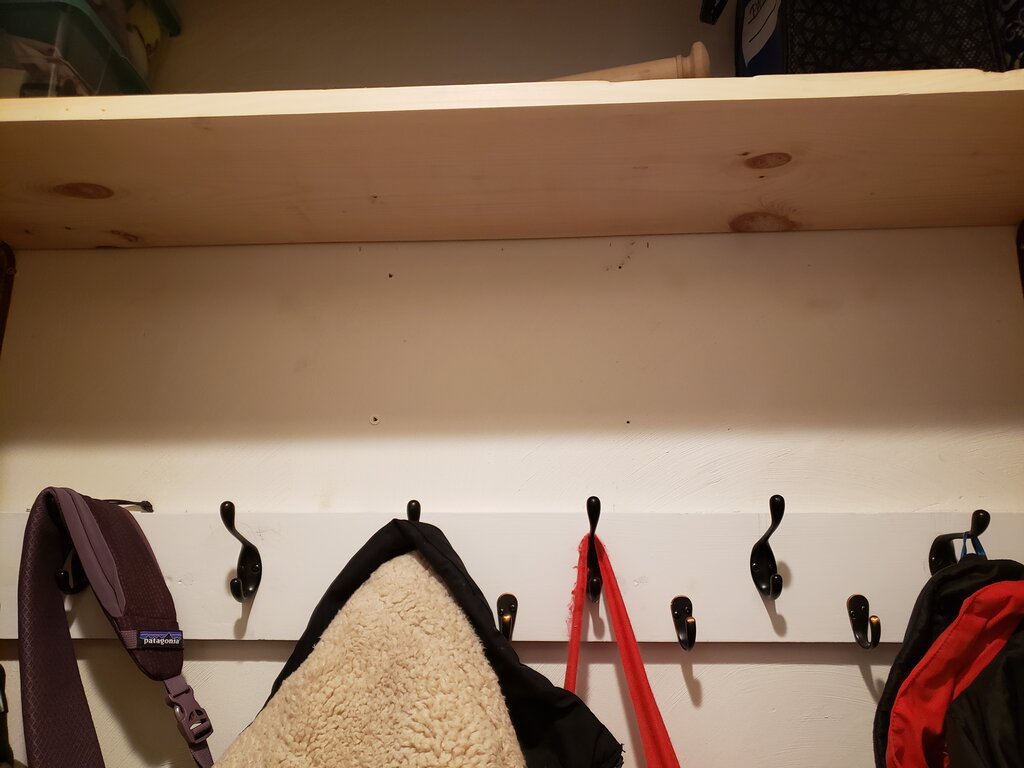
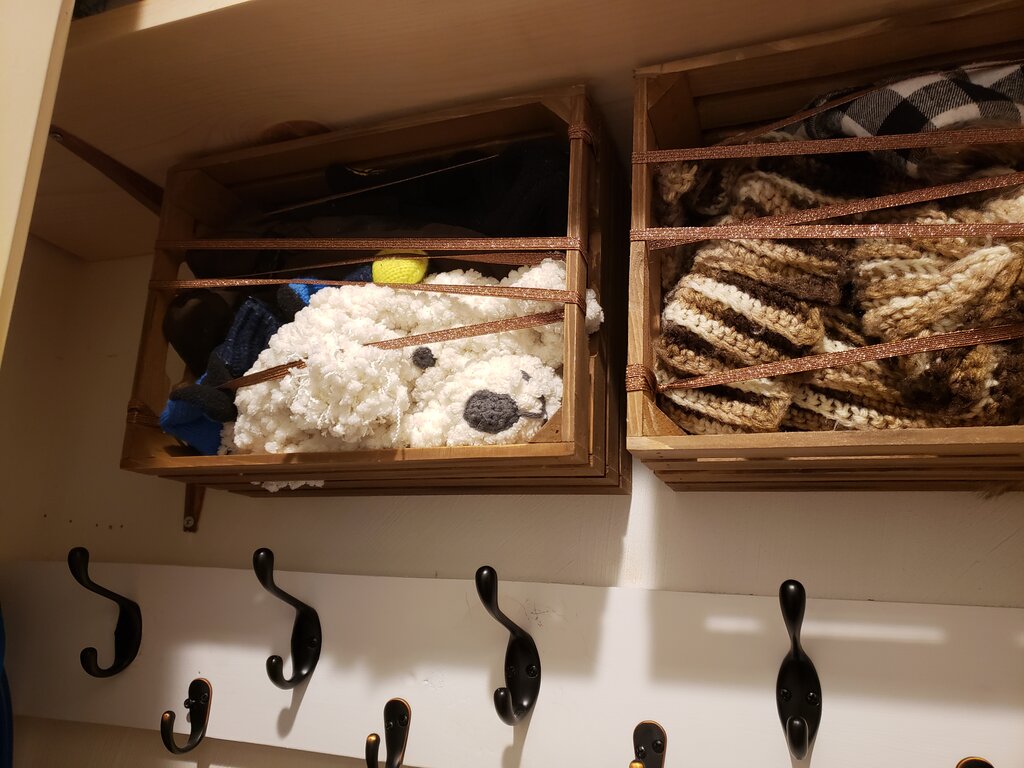
So I’ll finally show you the last part of the closet redo (I won’t show you the shelf install because that was just a piece of sanded wood with purchased brackets that I spray painted copper). For this part I was originally going to make baskets or hanging bins that were tilted slightly so you could reach inside them. But the baskets couldn’t be very large, and after making some baskets that were more floppy than structural I decided to go with purchased baskets. The problem is most cheap baskets these days are made of some form of plastic. I went to Michaels to look around for some baskets they had online only to find they were entirely made of plastic (despite what they looked like on the website). I lucked out though because I also ran into these little wooden crates. They were only 11″x8″x5″ so I could fit 3 perfectly in the closet. I’m glad I found them because they fit tons of gear and they work so much better than the shoebox we had filled with hats. Speaking of new places to store gear don’t forget to check out my contest from last week. I’m giving away a Stasher bag in honor of Earth day! You have until May 2nd 2022 to enter!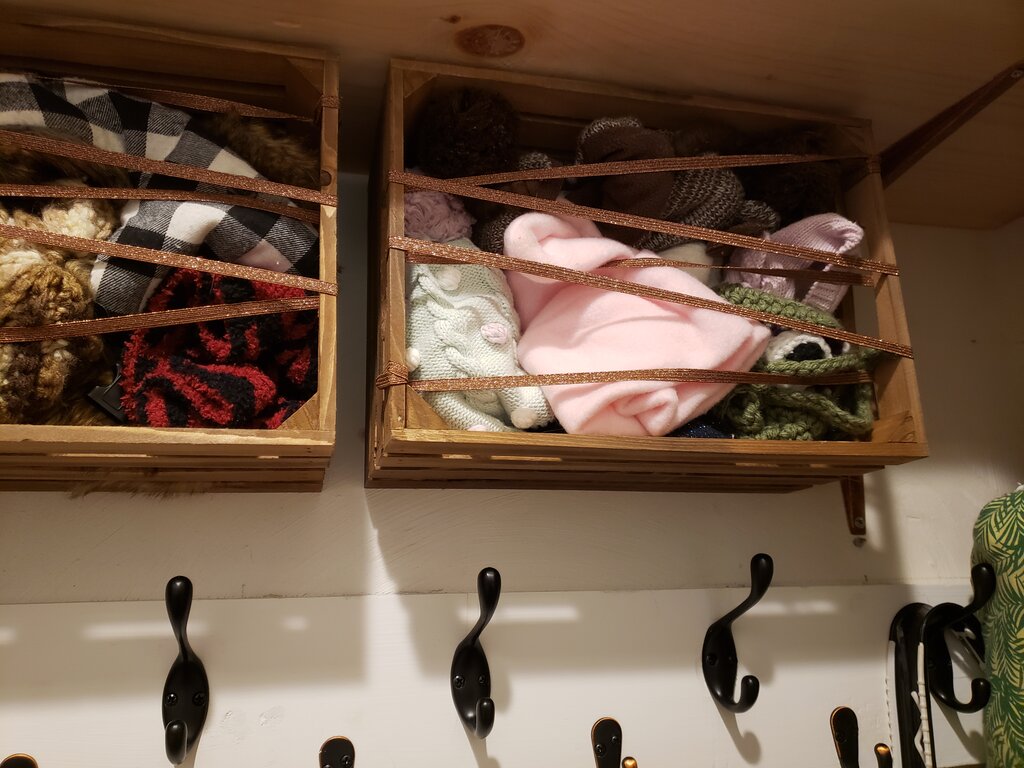
Hanging Hat Crates
What you’ll need:
- Small Wooden Crates
- Screws and drywall anchors
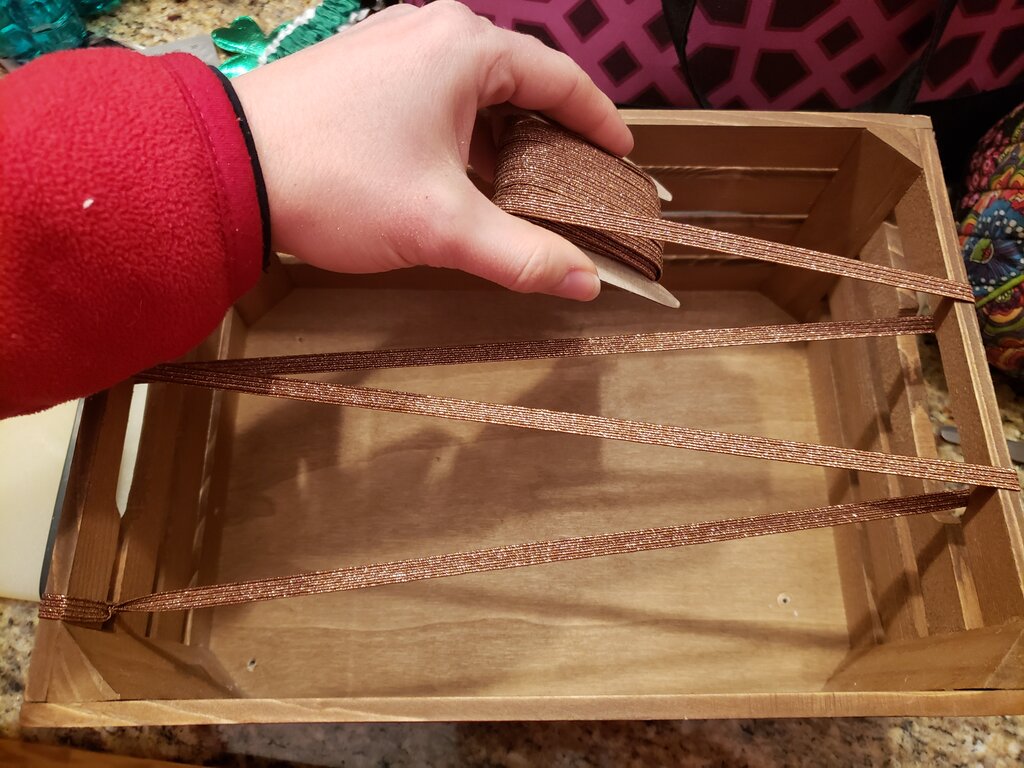
- 2 yards of 3/8″ elastic per crate (mine was in rose gold)
- Locate the position of your crates and mark within your closet/space. For me, the crate was 2.25″ inches above the coat hangers. I used a pencil to align my crates with my shelf, just a pencil depth below the shelf.

- With your crate in position drill through the crate and into the wall with a bit that is slightly smaller than your screw width.
- Remove the crate and enlarge the holes in the drywall to the size specified for your drywall anchors. Insert drywall anchors.

Insert drywall anchors
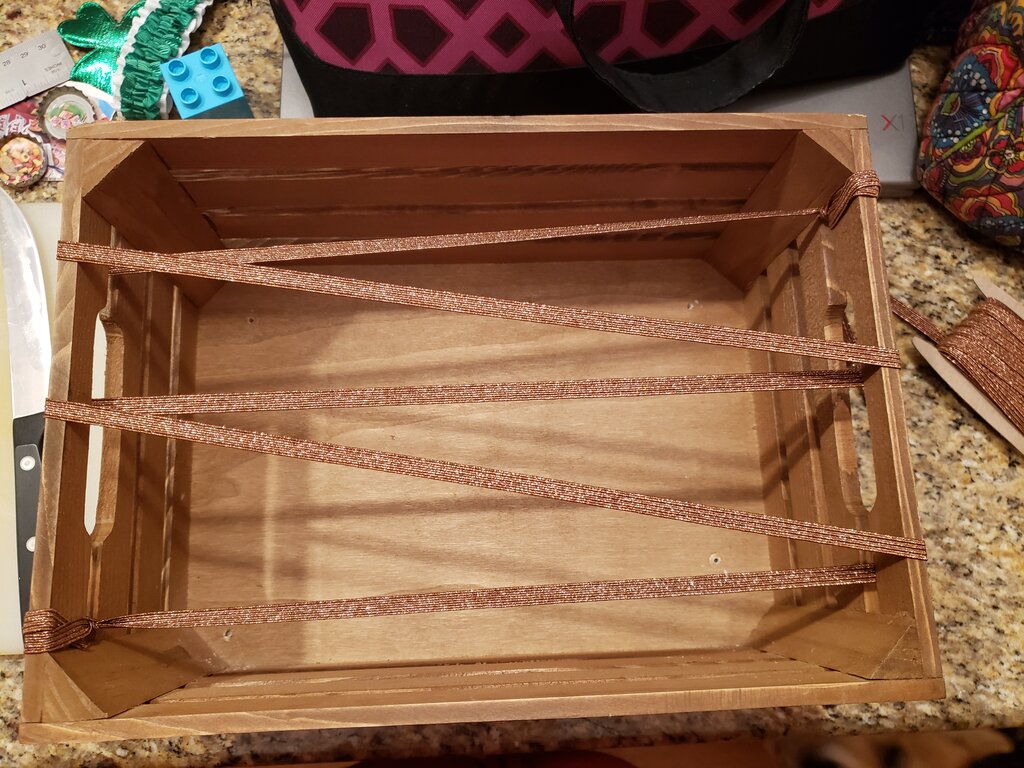
- Knot the elastic on the bottom left side of your crate front (what would normally be the top of the crate). Weave it under and over the other side of the crate, making sure to keep the elastic flat and not twisted.

- Continue twisting from side to side until you reach the top right of the crate front. Gently pull the elastic you have woven taunt, so it still stretches but isn’t loose. Secure the elastic by tying it to the crate again.

- Mount the crate to the wall by screwing through the crate into the drywall anchor through the pilot holes drilled in the crate.
- Fill each box with hats and gloves by gently pushing between elastic.