I’ve been teaching Julius about all sorts of important things like why we eat our vegetables, why we are nice to everyone and how to be a dinosaur. He is a rather good dinosaur, especially when presented with the task of eating his broccoli. He’ll roar with slight reservation when taking bites of “dinosaur trees” after hearing words of encouragement that he’ll only become a strong dinosaur from eating all of his broccoli.
He used the word “no” for the first time earlier this week. Of course he didn’t just say “no”, he squeezed his eyes down to slits and shook his finger at me, like some adorable grumpy librarian admonishing someone interrupting the peace (or I guess his best impression of me when I’m being stern). I laughed when he did it, which apparently was the reaction he was going for because he smiled one of his great big grins.
He’s also started mimicking how I react to questions. It’s totally bizarre. Yesterday I was playing a game with him and trying to teach him colors by taking a set of his bath toys (water bugs) that look identical except for their different colors. I’d hide two behind my back, then reveal them and ask him to find the blue one. The first time I did it (and everytime afterwards) he’d say “um” then stare intently at the bugs for a good two seconds as if pondering a particularly difficult question. Then very suddenly and matter of fact he would exclaim “that one” and point (90% of the time to the non-blue bug, but hey). We played the game about 40 times because I couldn’t get enough of his reaction.
Speaking of color sorting, Will and I played games with someone at The Gathering who had neat foldable bit bowls. They were color coordinated to hold lots of tiny blocks or meeples and were collapsible to take up less space. I thought these were pretty neat but decided to make them from some neat patterned scrap fabric instead of silicone. They are very quick to make and came out very cute. I made Will a set of four in the primary colors.
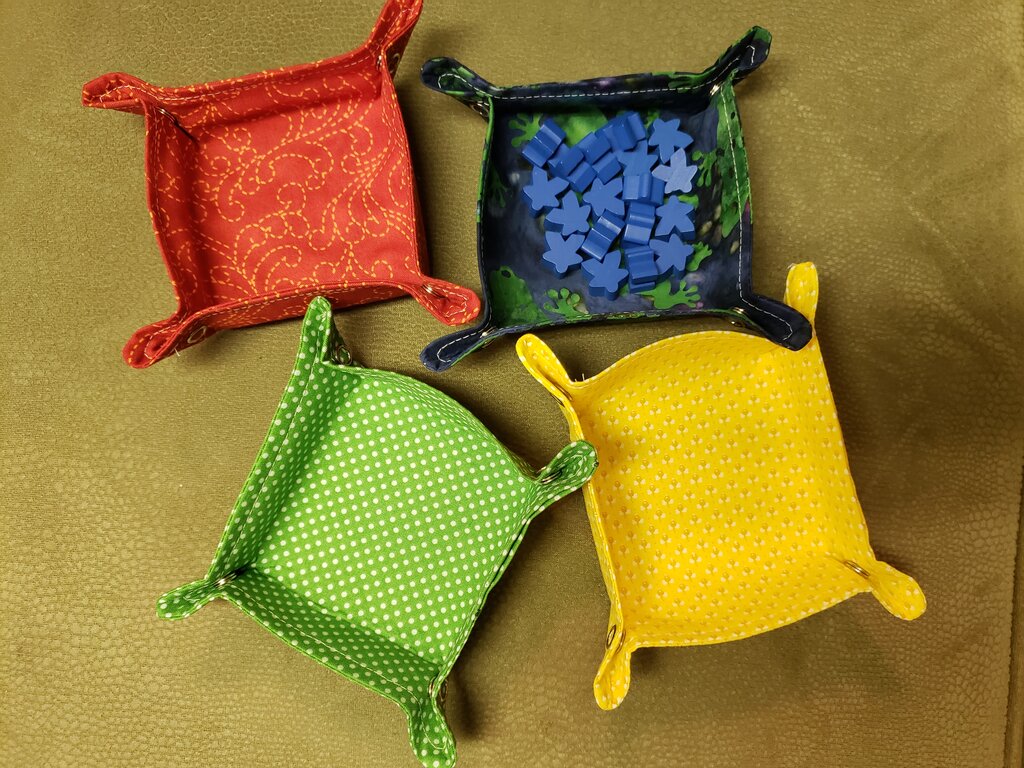
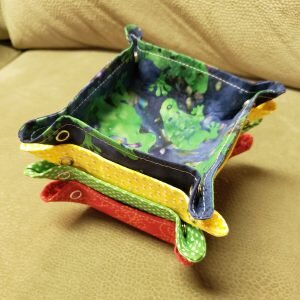
Bit bowls! 18 normal sized meeples in the top right bowl for size!
Bit Bowls
What you’ll need:
- 13”x7” piece of cotton
- 6”x6” piece of lightweight fusible interfacing
- 4 sets of size 15 snaps
- Template here
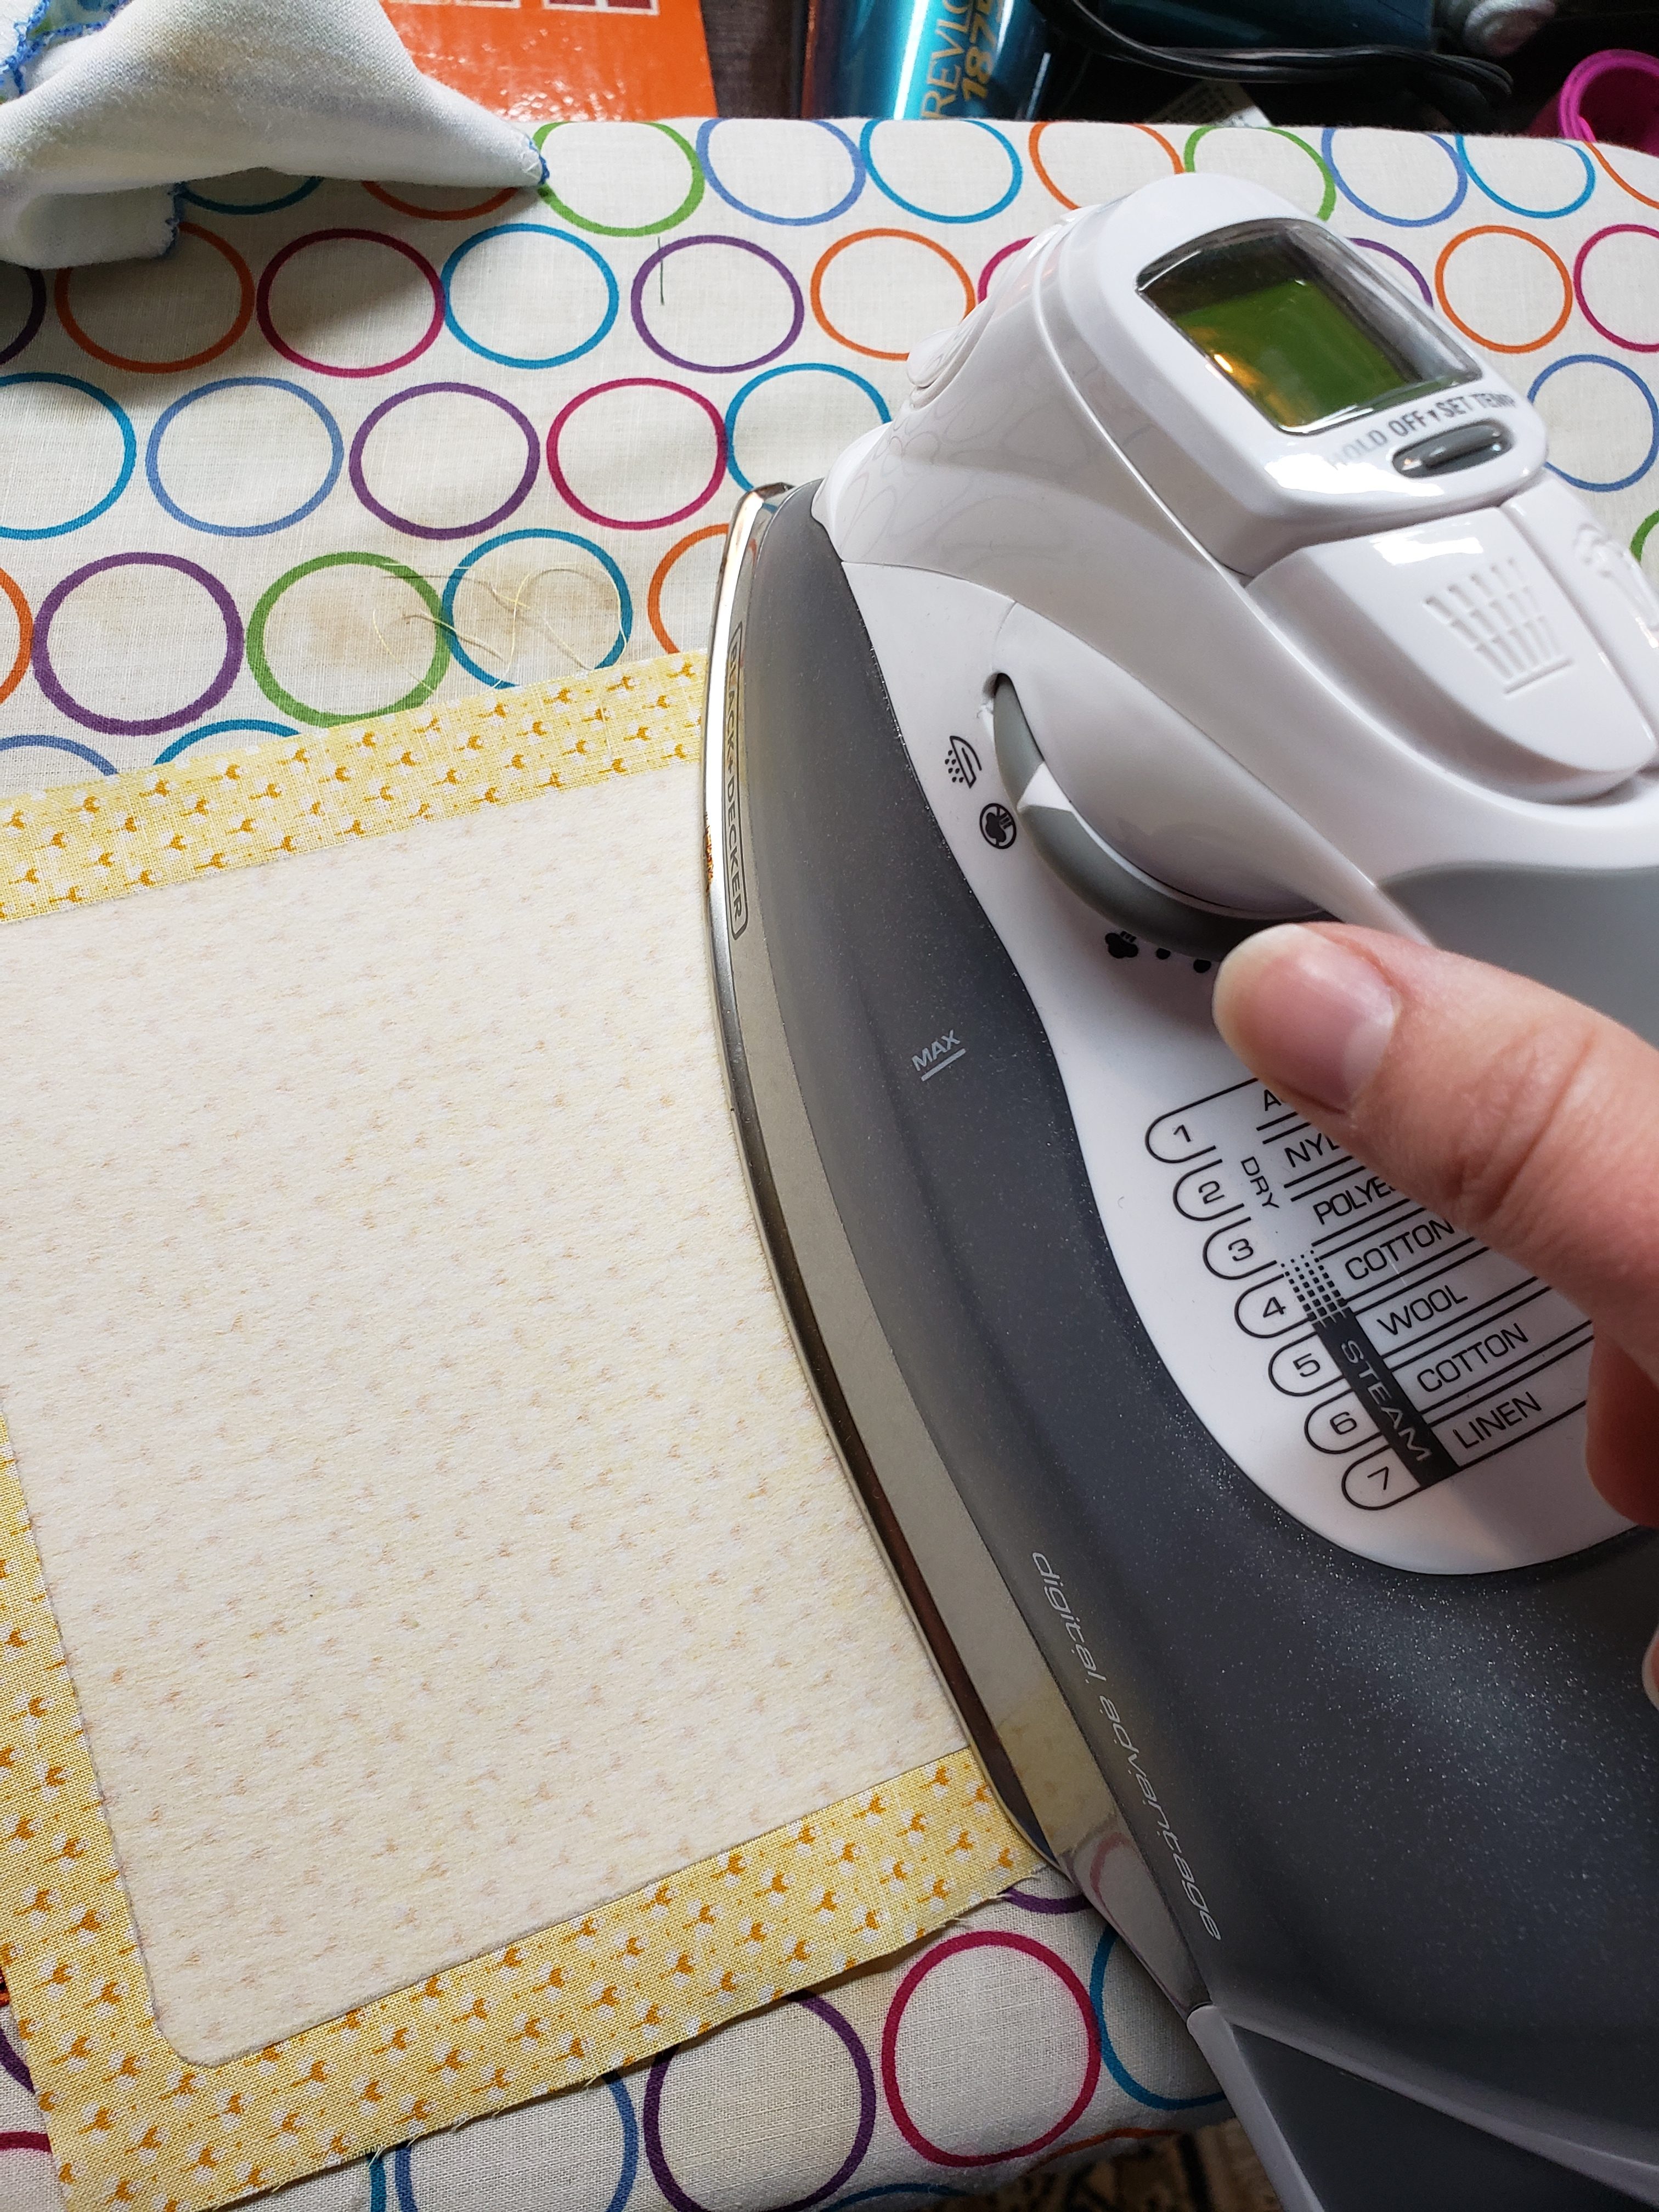
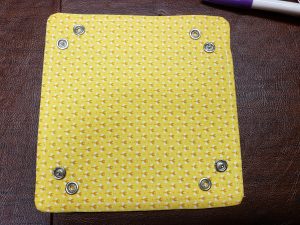
- Cut square of interfacing using the template above.
- Fuse interfacing to the wrong side of the 13”x7” strip, leaving a ½” border on 3 sides.

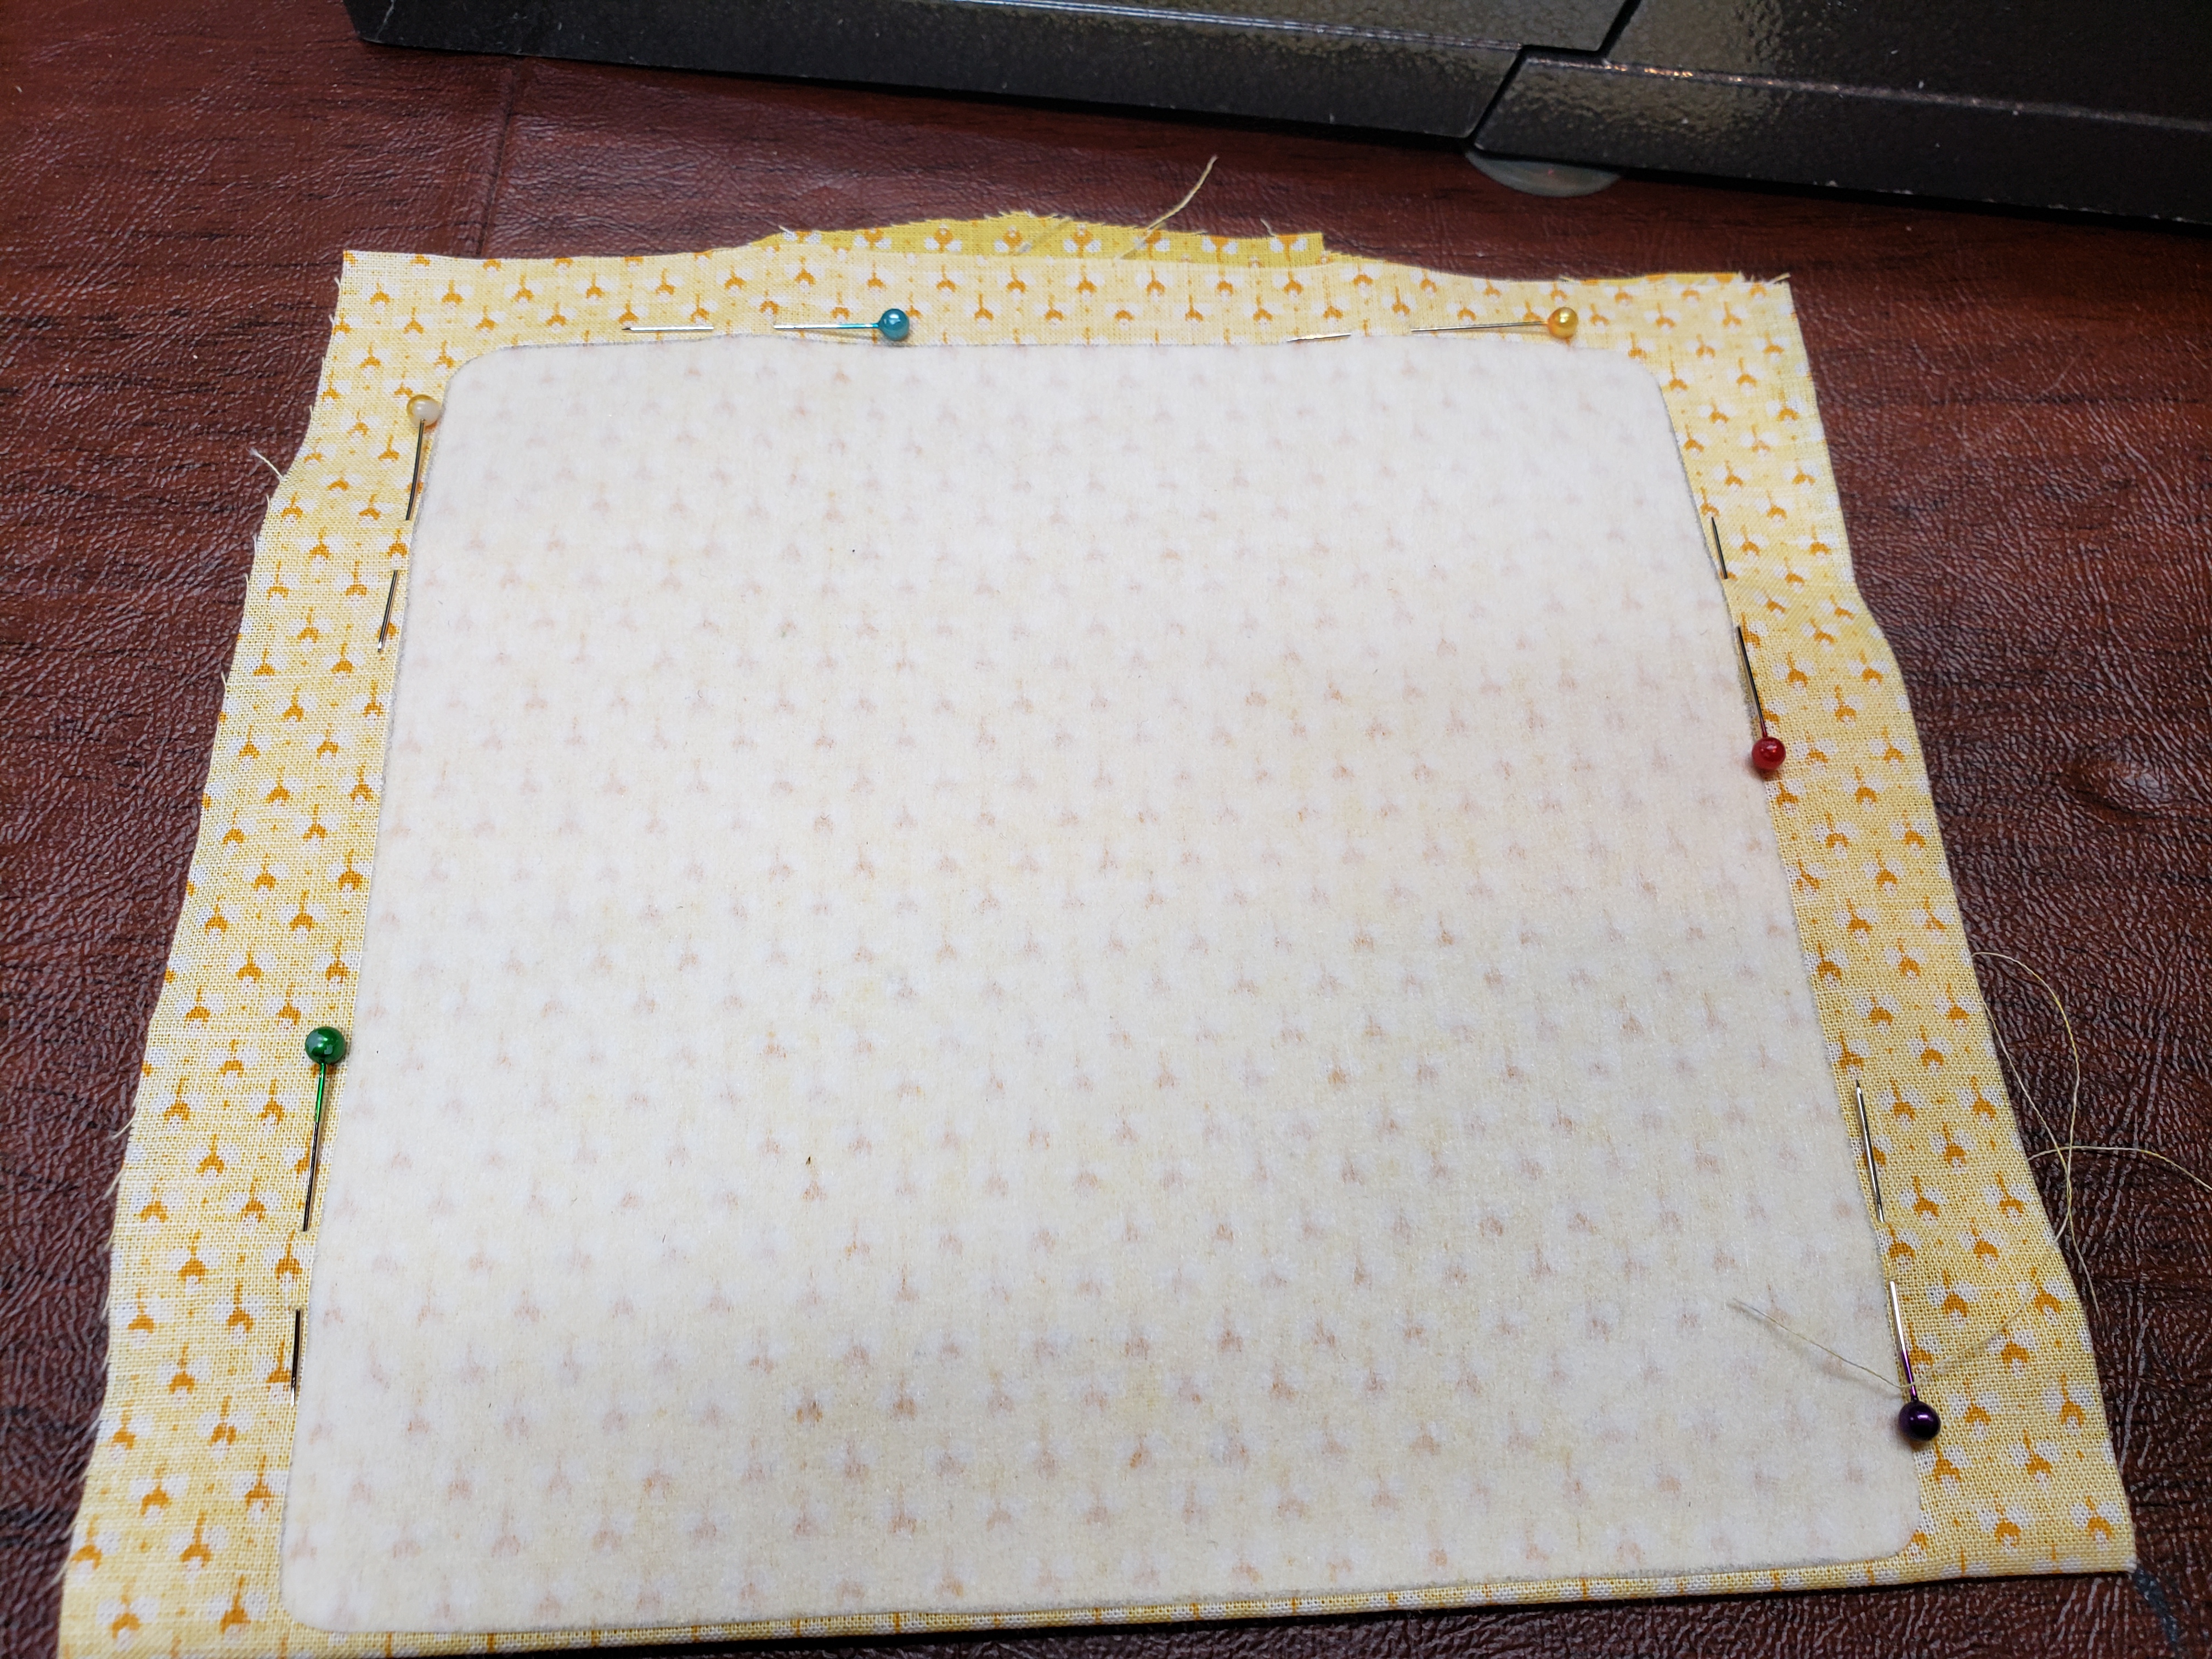
- Fold strip widthwise, right sides in, so edge of interfacing abuts the fold. Pin.

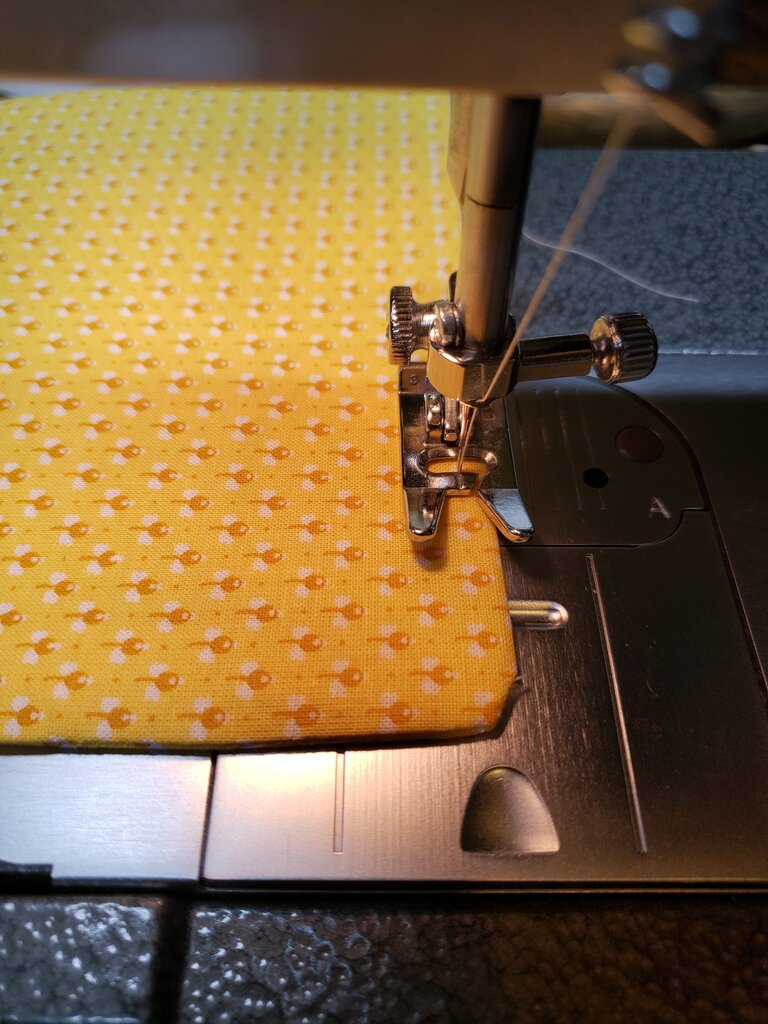
- Stitch around the edge of the interfacing, leaving a 3” gap on one side.
- Clip curves.

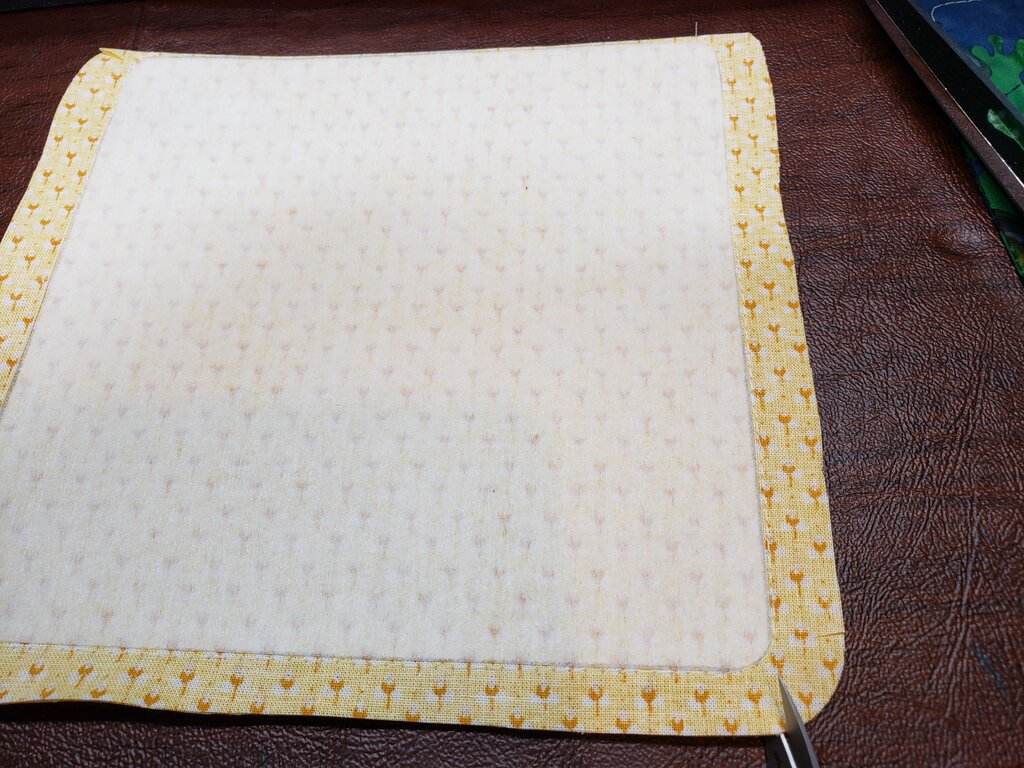
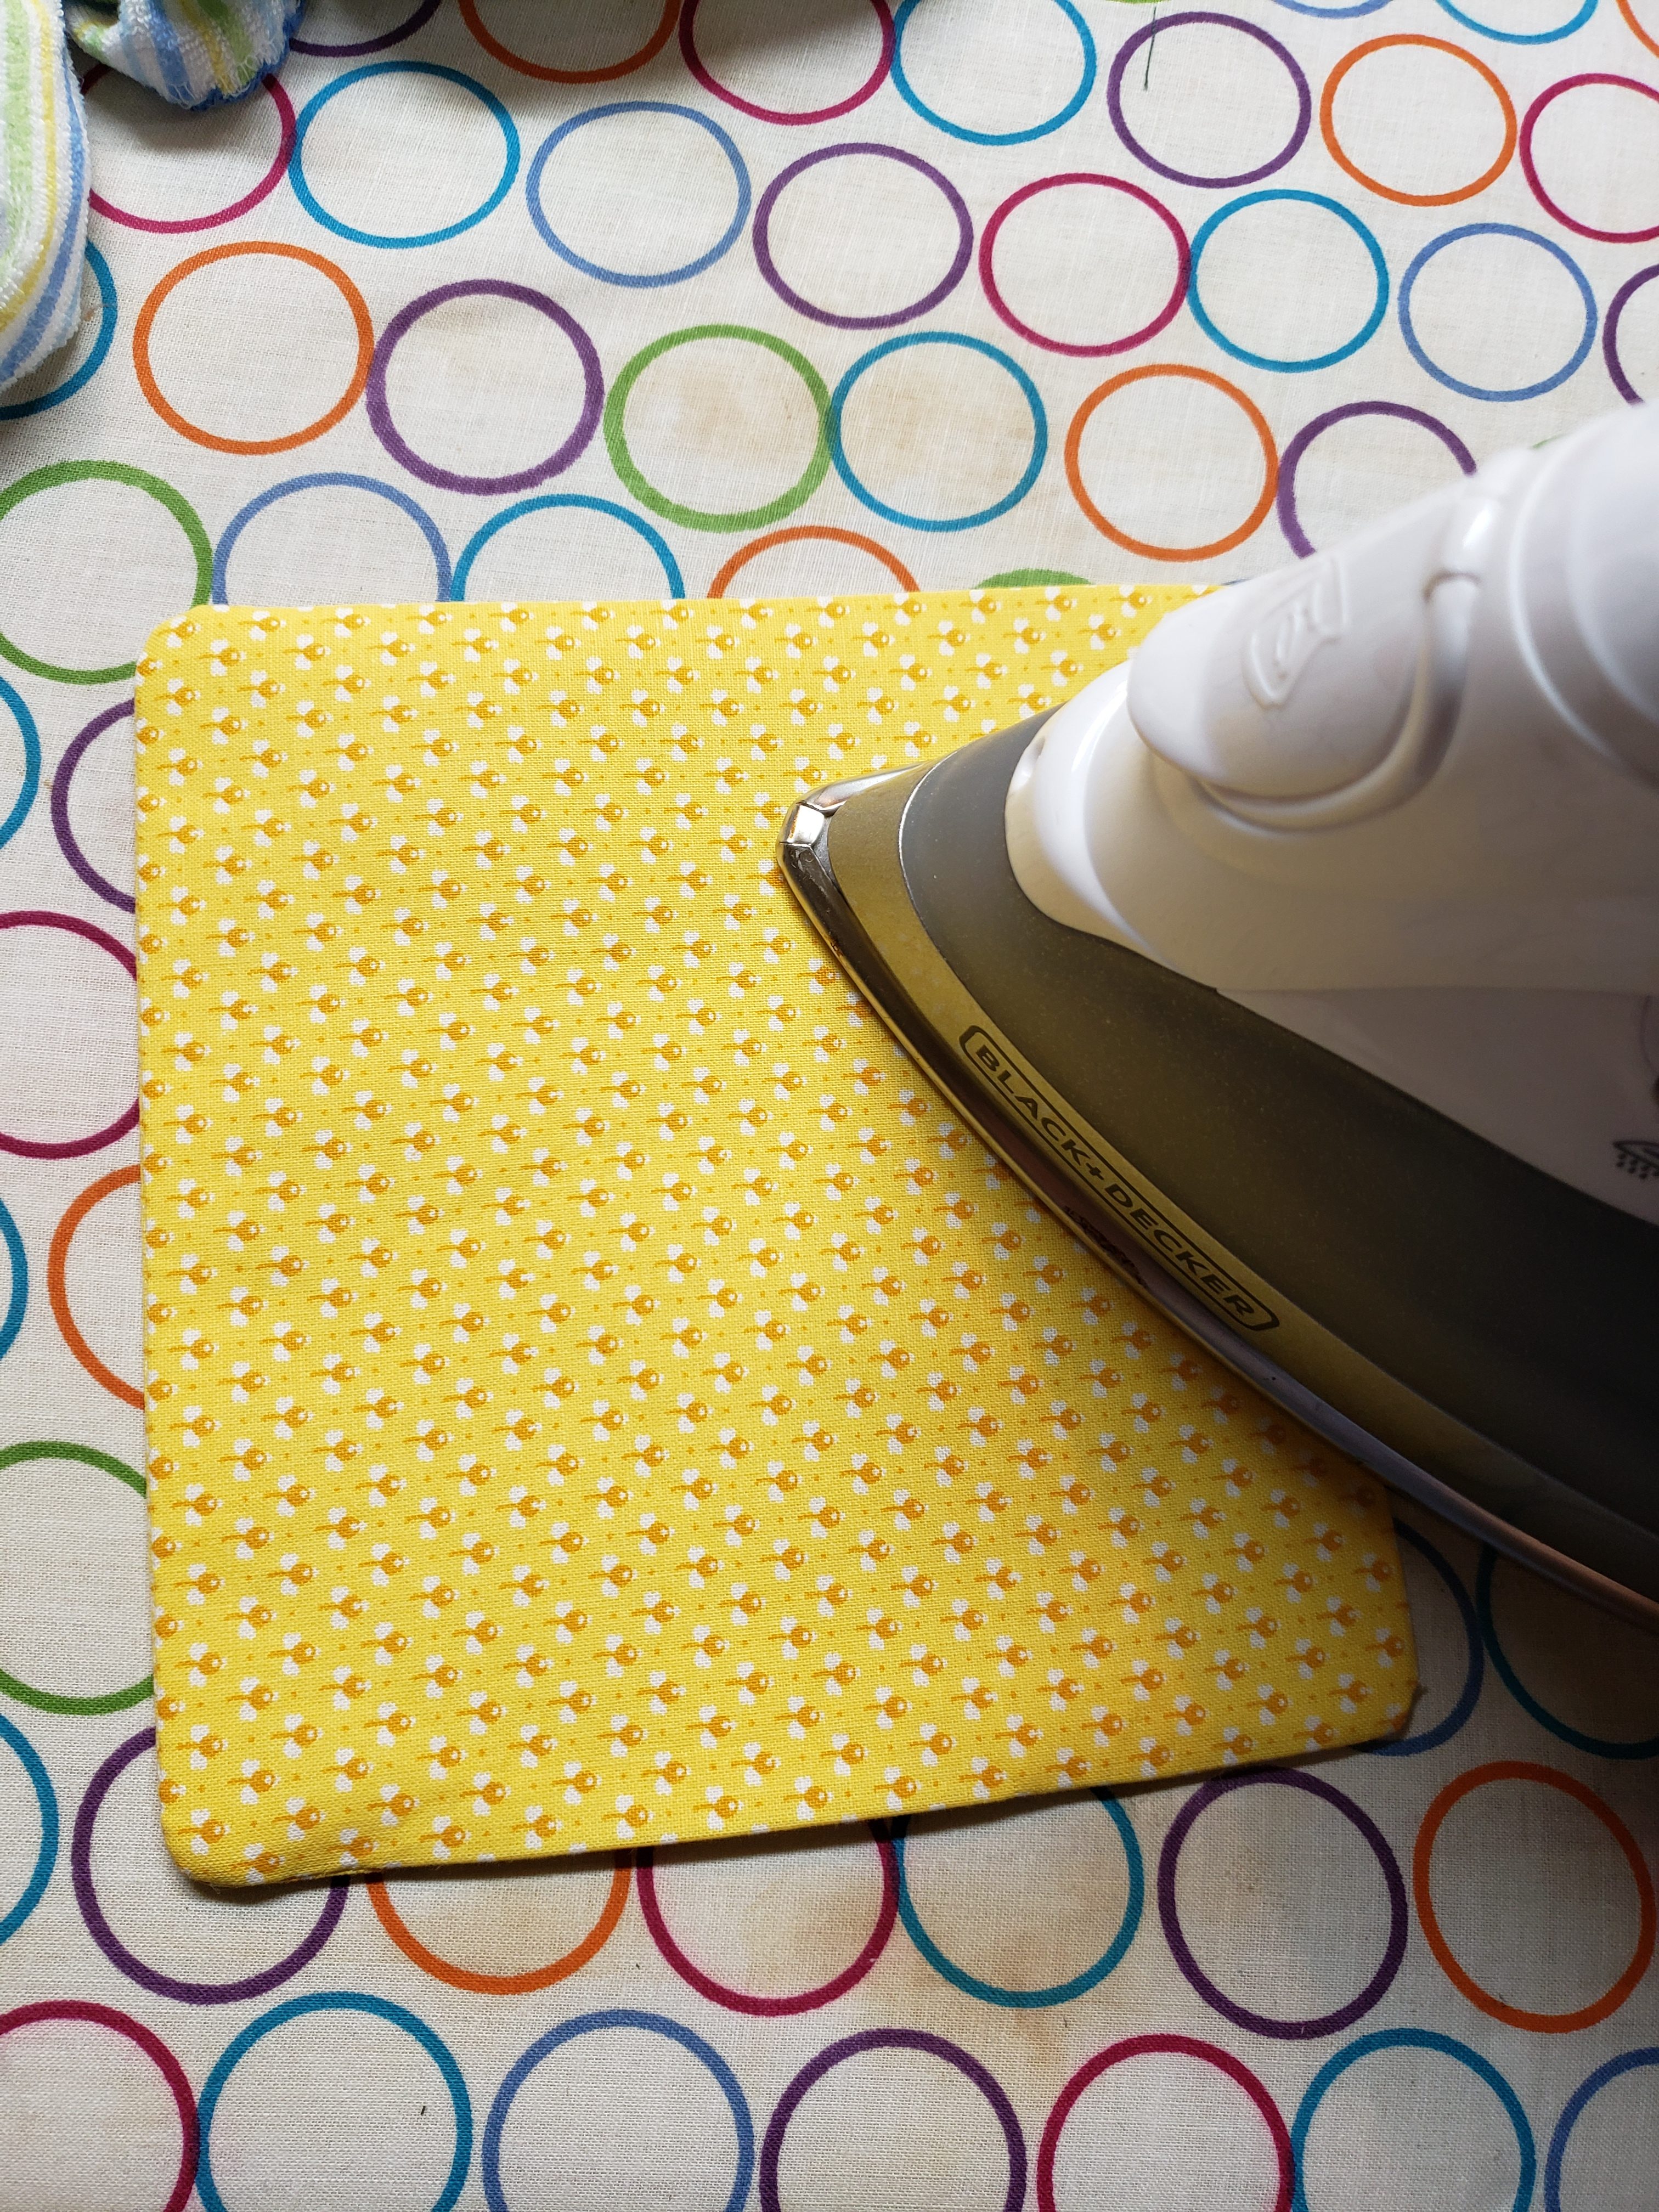
- Turn right side out, and press.

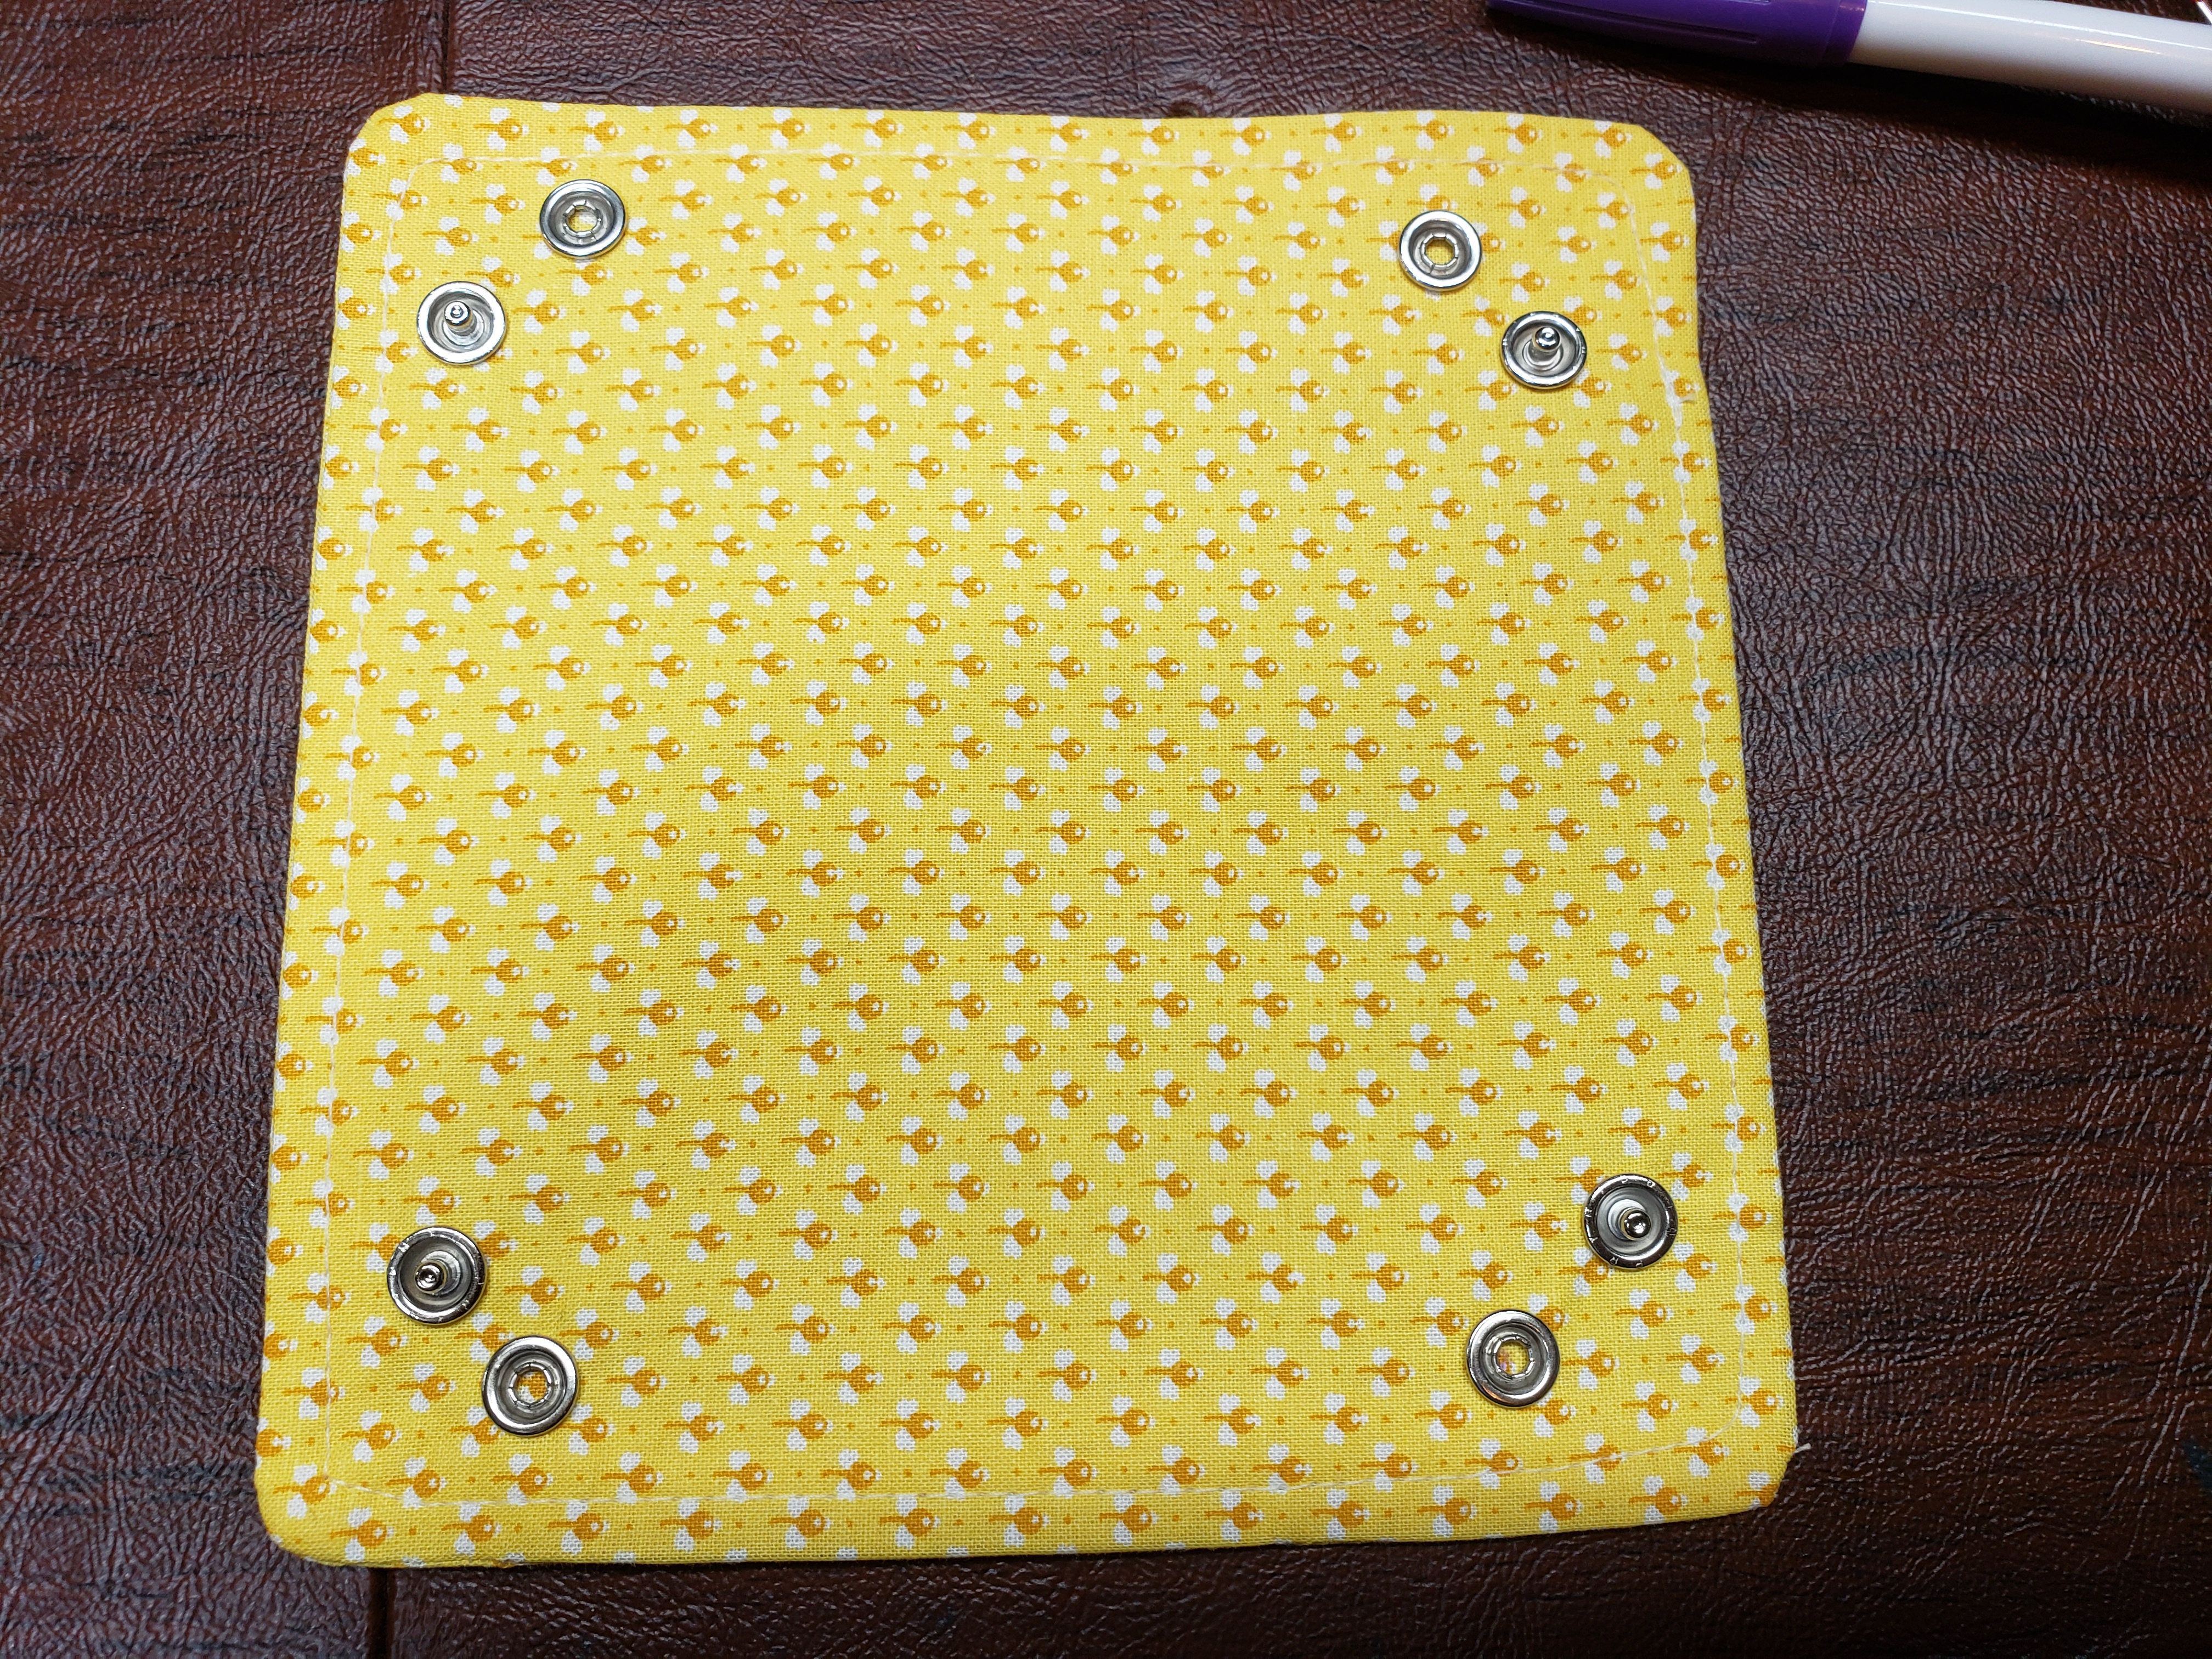
- Stitch around perimeter of the square, close to the edge.

- Mark position of snaps using the pattern provided. Following snap instructions place a male and female snap in each corner so the snap connector is on the portion of the material that has been fused with the interfacing. (This will just prevent the fabric inside from looking floppy when you fold it into a bowl.)
- To use, simply snap each corner together and fill with bits and meeples!
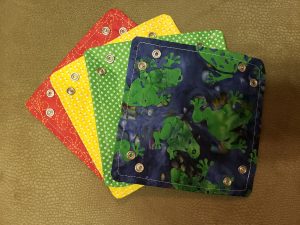
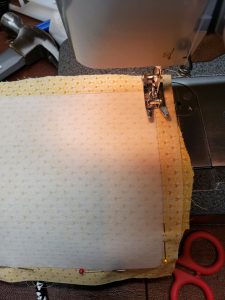
The bit bowls fold flat for easy storage!
A stack of bit bowls!