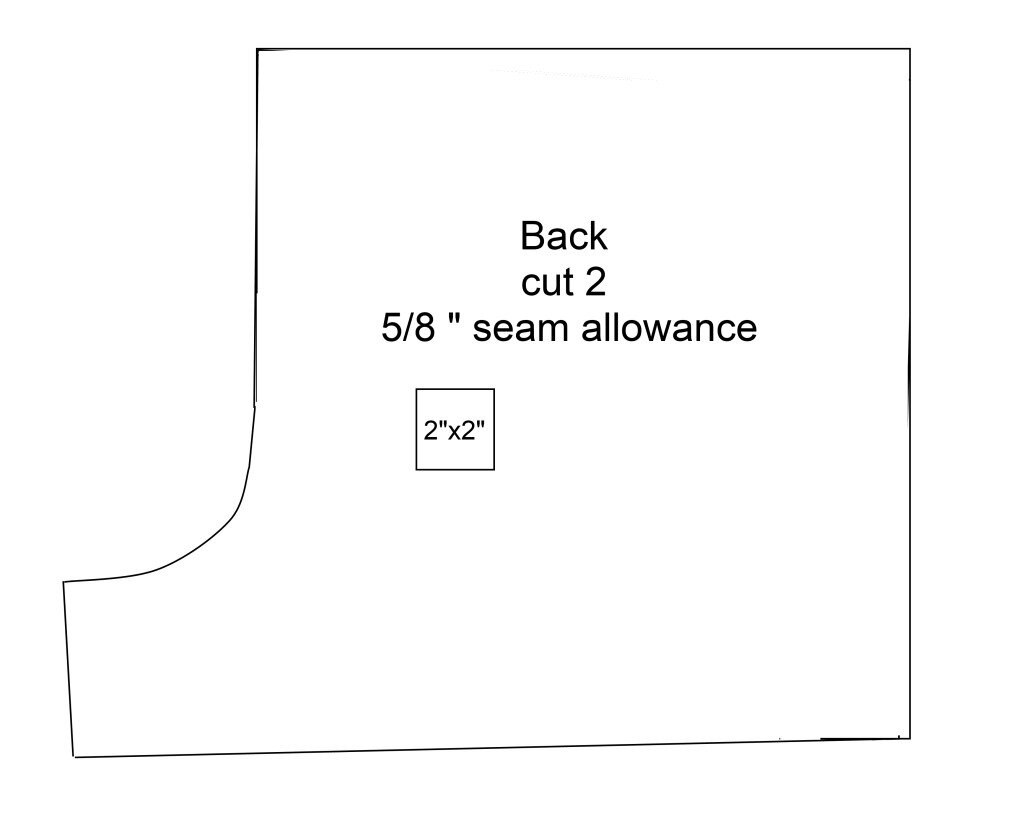
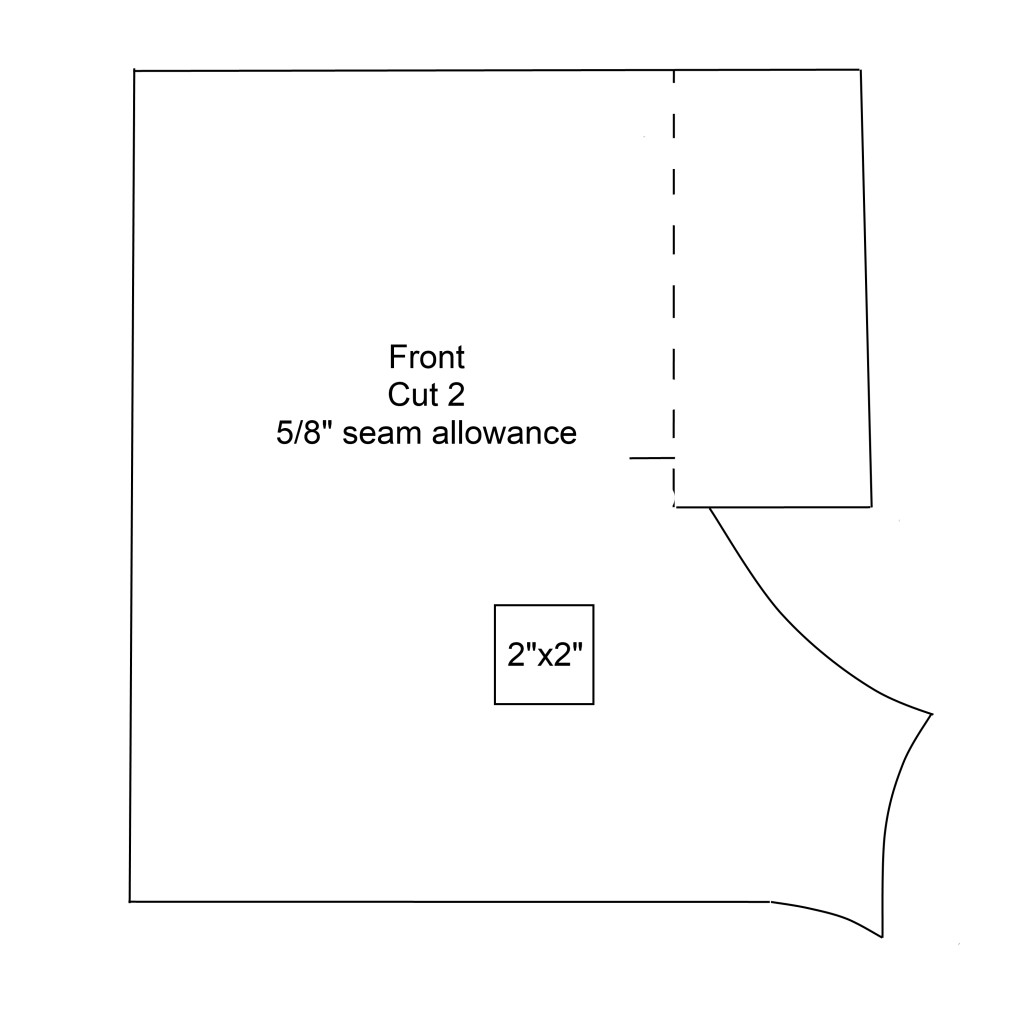
Note these boxers fit my husband (size 34 waist with what he thinks is a big bum) – if you need a different size, you can scale up or down an inch or two. I used one yard of 43″ wide fabric – but after washing my pattern barely fit so I’d recommend 1 1/3 yards. Wash and dry your cotton print so you already have the shrinkage taken into account. You’ll also need waistband elastic the width of the wearer’s waist minus an inch. See the bottom of the post for the pattern and make sure you scale it to match the 2″x2″ square when you print.
1. Layout your pattern pieces onto your fabric and trace/cut. Tomorrow I’ll post the pattern, I can’t figure out the best upload format at the moment. My pattern includes seam allowance.
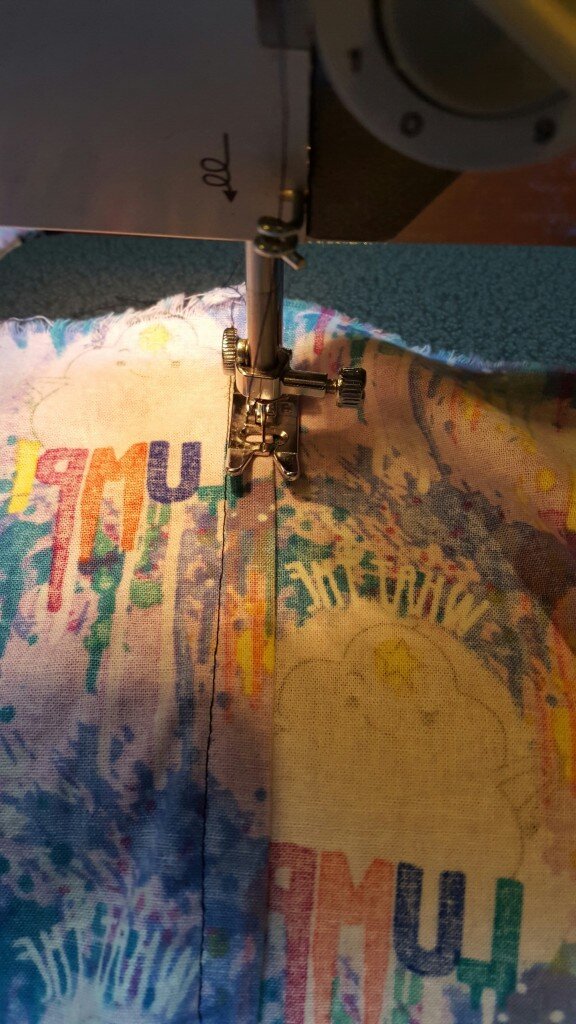
2. First I need to show you how I did the seams which look identical on the inside and outside of the boxers.
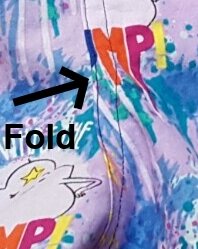
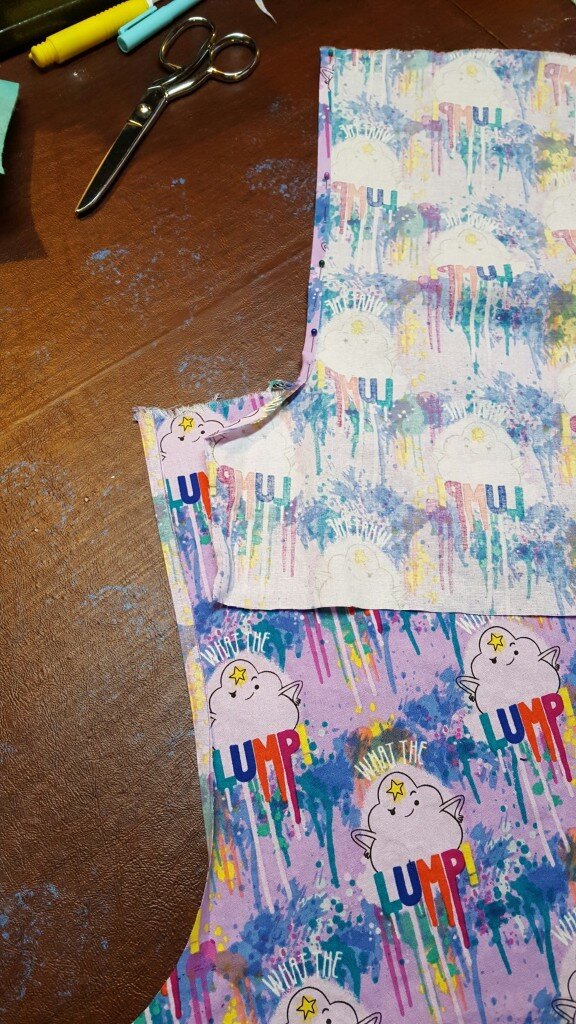
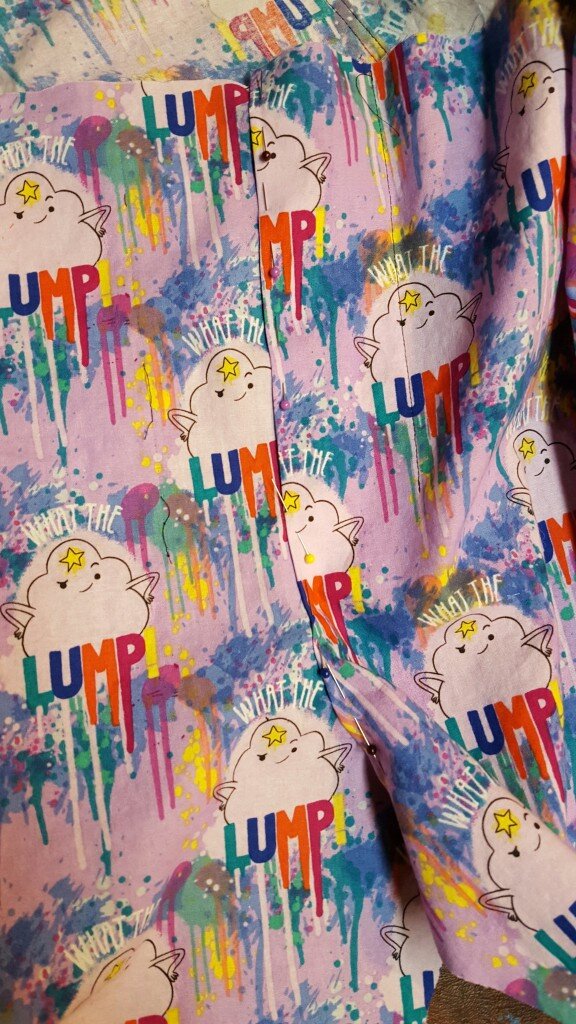
I’m not sure if this is a real technique – if it is I don’t know what it is called. If someone can tell me, that would be helpful. Since you don’t want an itchy piece of fabric tickling you in your boxers all day I used this seam technique everywhere except the waist and legs where I did a rolled hem. What you do is your take the two edges you want to attach and press one edge right side out about 1/4 inch. On the second piece, press the edge wrong side out.
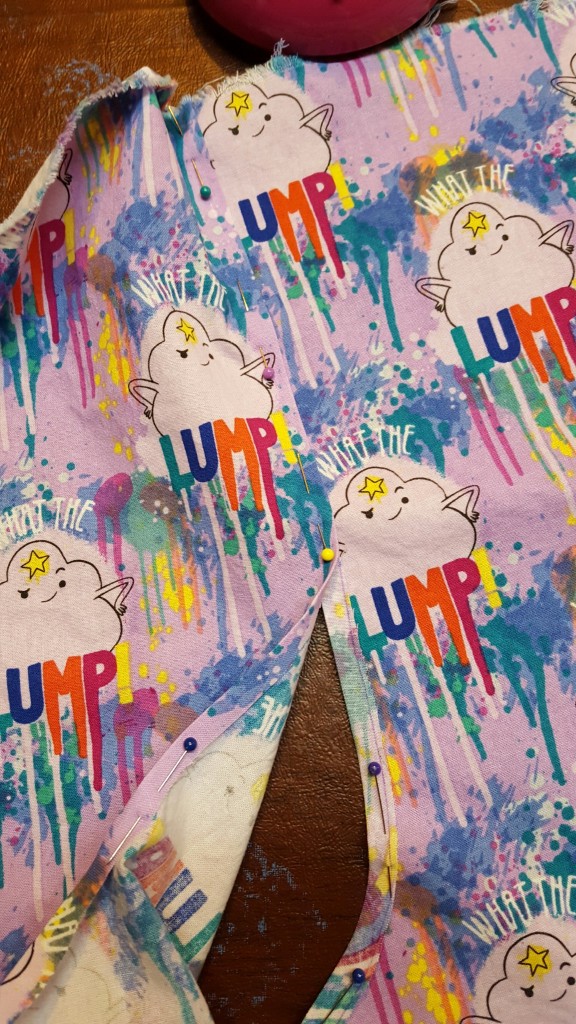
a. You then lay the two pieces of fabric on top of each other so the unfinished edge that you pressed is sandwiched in the middle.
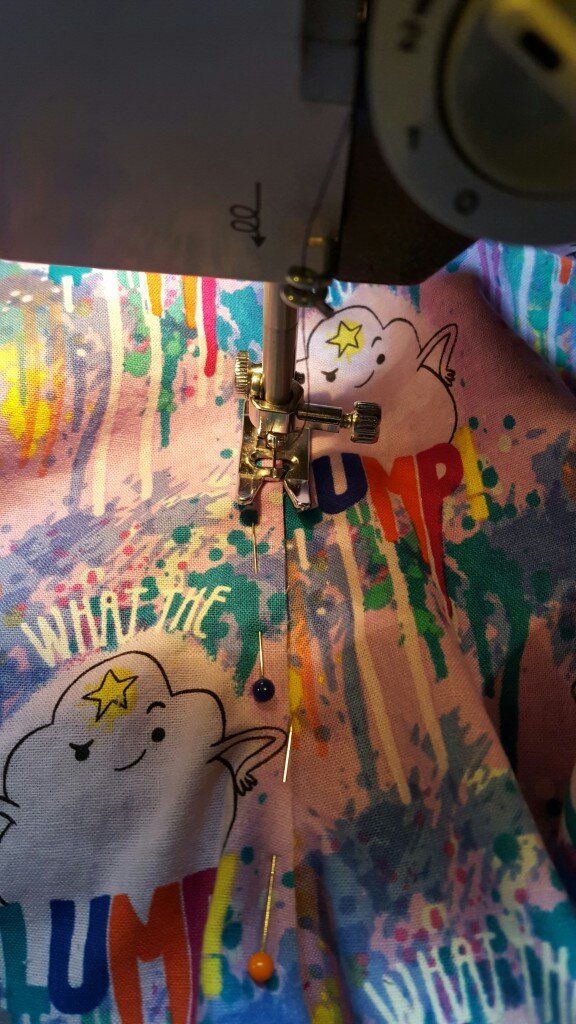
b. Pin and stitch very close to the folded edge on the right side of the fabric.
c. Then flip over and stitch very close to the folded edge on the wrong side of the fabric.
3. Use this technique to stitch the two side front seams, and the center back seam.
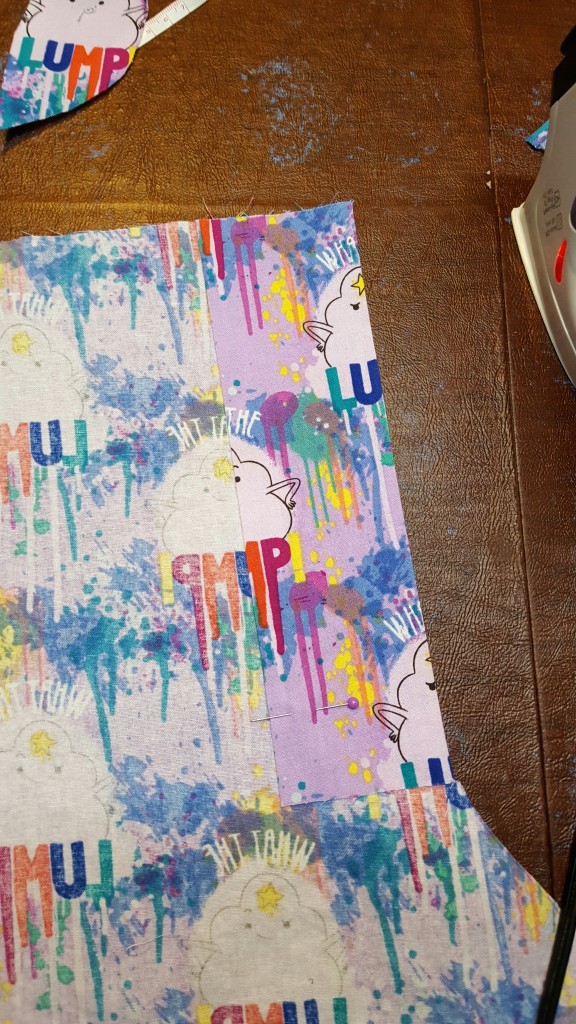
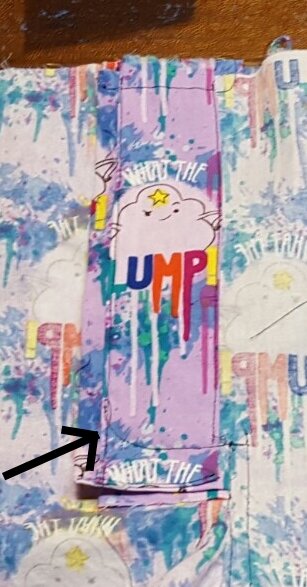
4. Before I did the center front seam I added the flap for the fly. I first pressed the rectangle of fabric on the boxer’s left front down, forming a center front line.
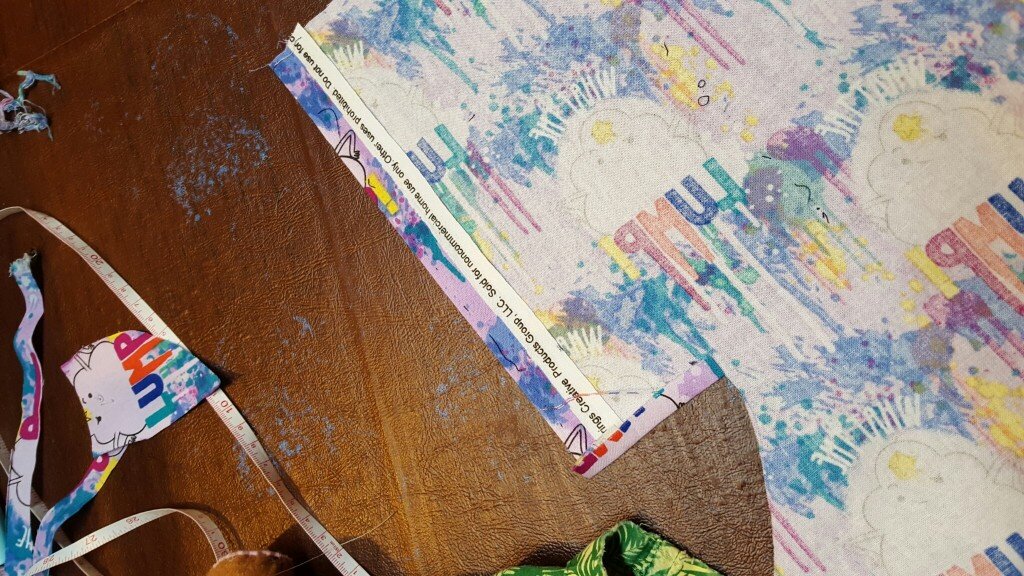
5. Next I stitched down the cut edge, leaving an inch at the bottom opened.
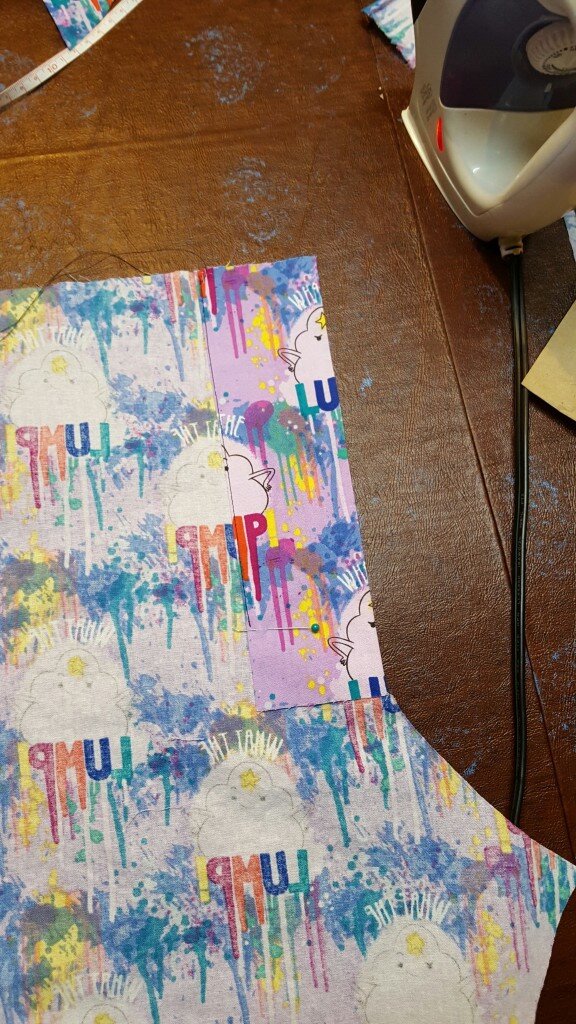
6. On the boxer’s right side I pressed the edges of the flap.
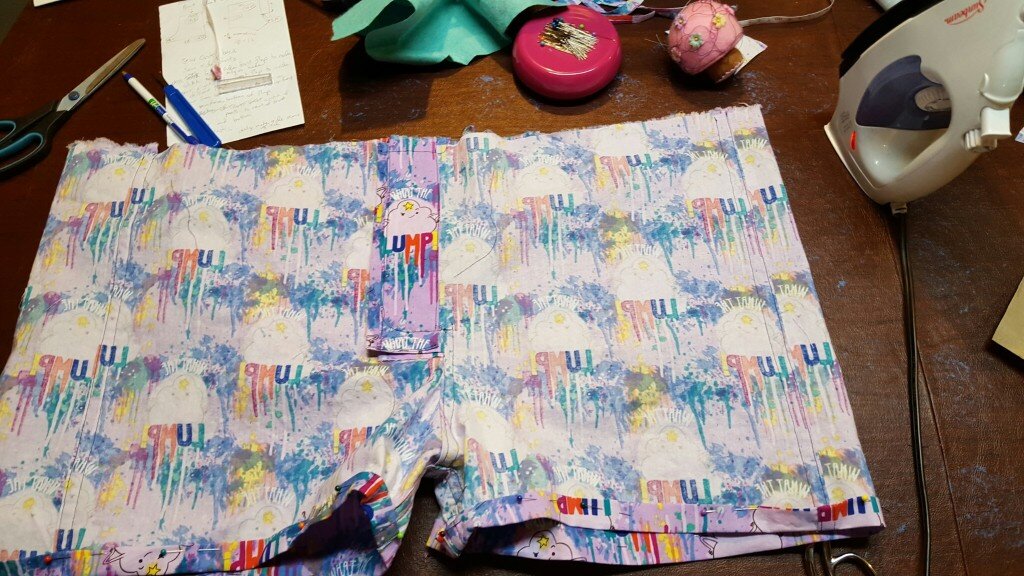
7. I then pressed a piece of scrap fabric into a rectangle to fit over the edges I pressed. I sewed this in place on all sides. This was to reinforce the flap. Somehow I don’t have a picture of this, but you can see it in this picture.
8. I pressed the seam below the flap on both sides following the procedure mentioned in step 2 above. Then I pinned the boxer front all along the center front seam. I then sewed the center front below the flap following step 2.
9. I basted the top of the flap at the waist. Then I stitched from where I had stopped in step 5 to the end of the flap in a slight arc.
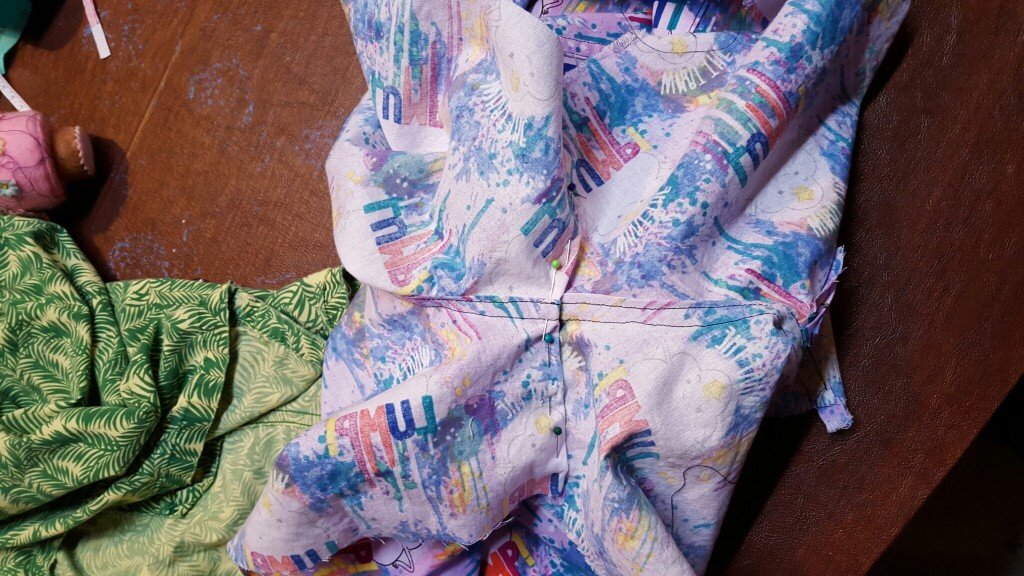
10. Sew the crotch together using the procedure in step 2.
11. Hem the bottoms of the boxers.
12. Press under the waist of the boxers.
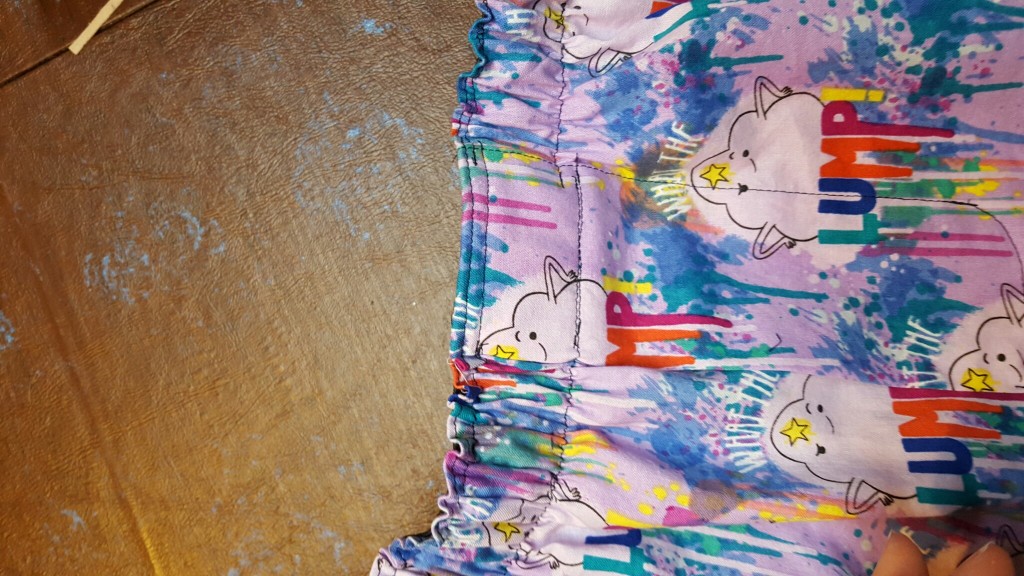
13. Add the elastic waistband. At the flap you want to sew the elastic to the boxers unstretched. For the rest of the elastic I followed an example I can’t find anymore. I’ll post the link if I find it again. Basically I sewed the elastic to the front of the boxers at the halfway point unstretched. Then I folded the boxers in half and stitched the elastic ends at this point. I pinned two more times between the two areas I stitched. Next I stretched out the elastic so it was taunt with the fabric and then stitched.
Pattern Pieces

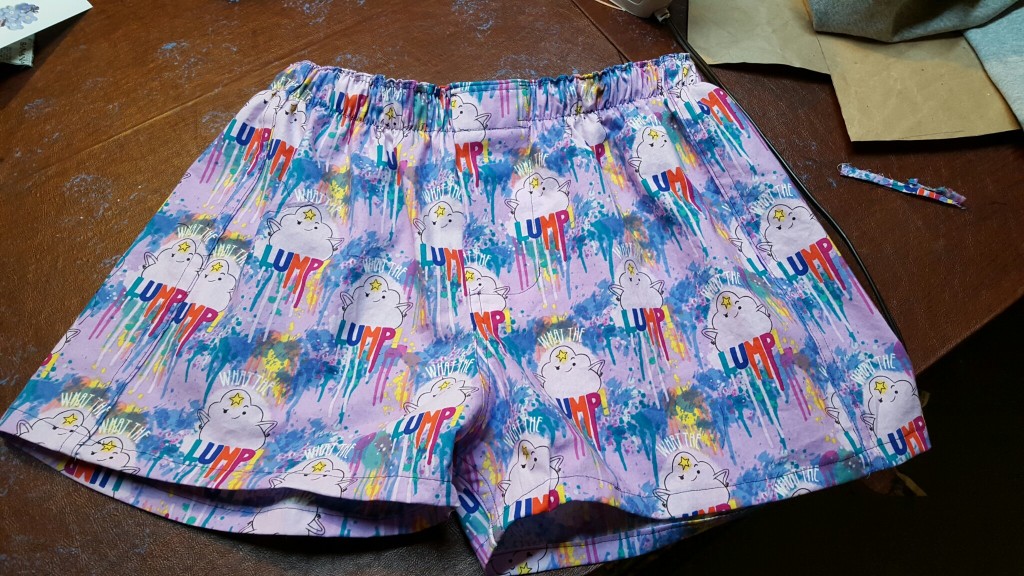

not getting a good sense of how they fit on the owner, or how the owner would look wearing just them while sitting at a computer.
please advise.
hahahahaha. I will have to update with that…or not…