
Last week I was honored to be the “Member Project of the Week” on BurdaStyle! I am not going to lie, I couldn’t wait for work to end to check all the nice comments people had left! What a great community! Anyway, as promised here is how I made the butterfly hair pin for my updo!
One day while I was scouring pinterest I came across this link to a beautiful origami butterfly. It looked like a cute accessory to the french twist updo I had been practicing for my Bal d’Hiver ensemble. It was extremely quick and simple to make so I am trying to decide what I can use a ton of them on. For those who cannot follow the pictures on Pinterest I figured some English instructions may be helpful.

Here’s how I made a 5 minute butterfly hair pin
Since this technique is basically origami you want to create a thin solid rectangular piece of fabric that is as close to paper as possible. I used scraps of navy blue polyester lace, nude polyester stretch material and some medium weight fusible interfacing.
I first cut each of my scraps into roughly 2 inch by 3 inch rectangles.
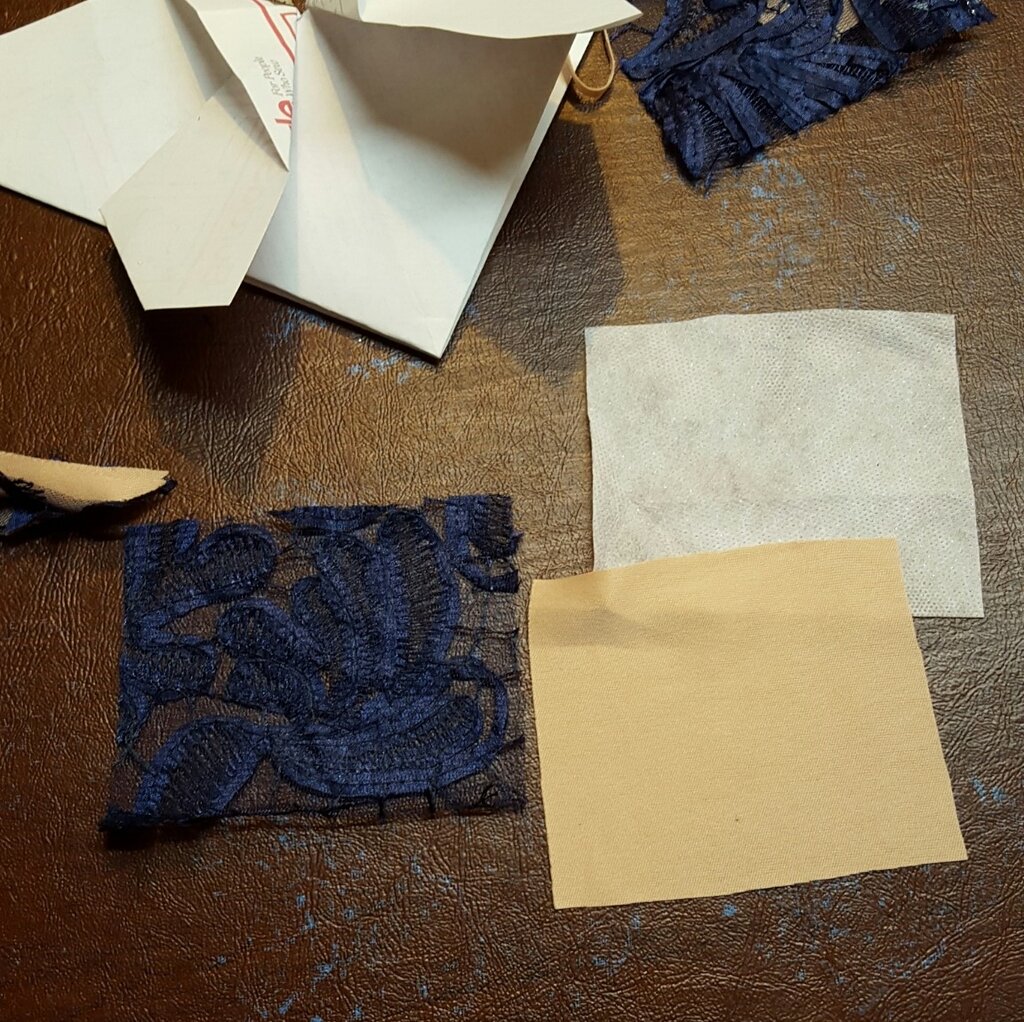
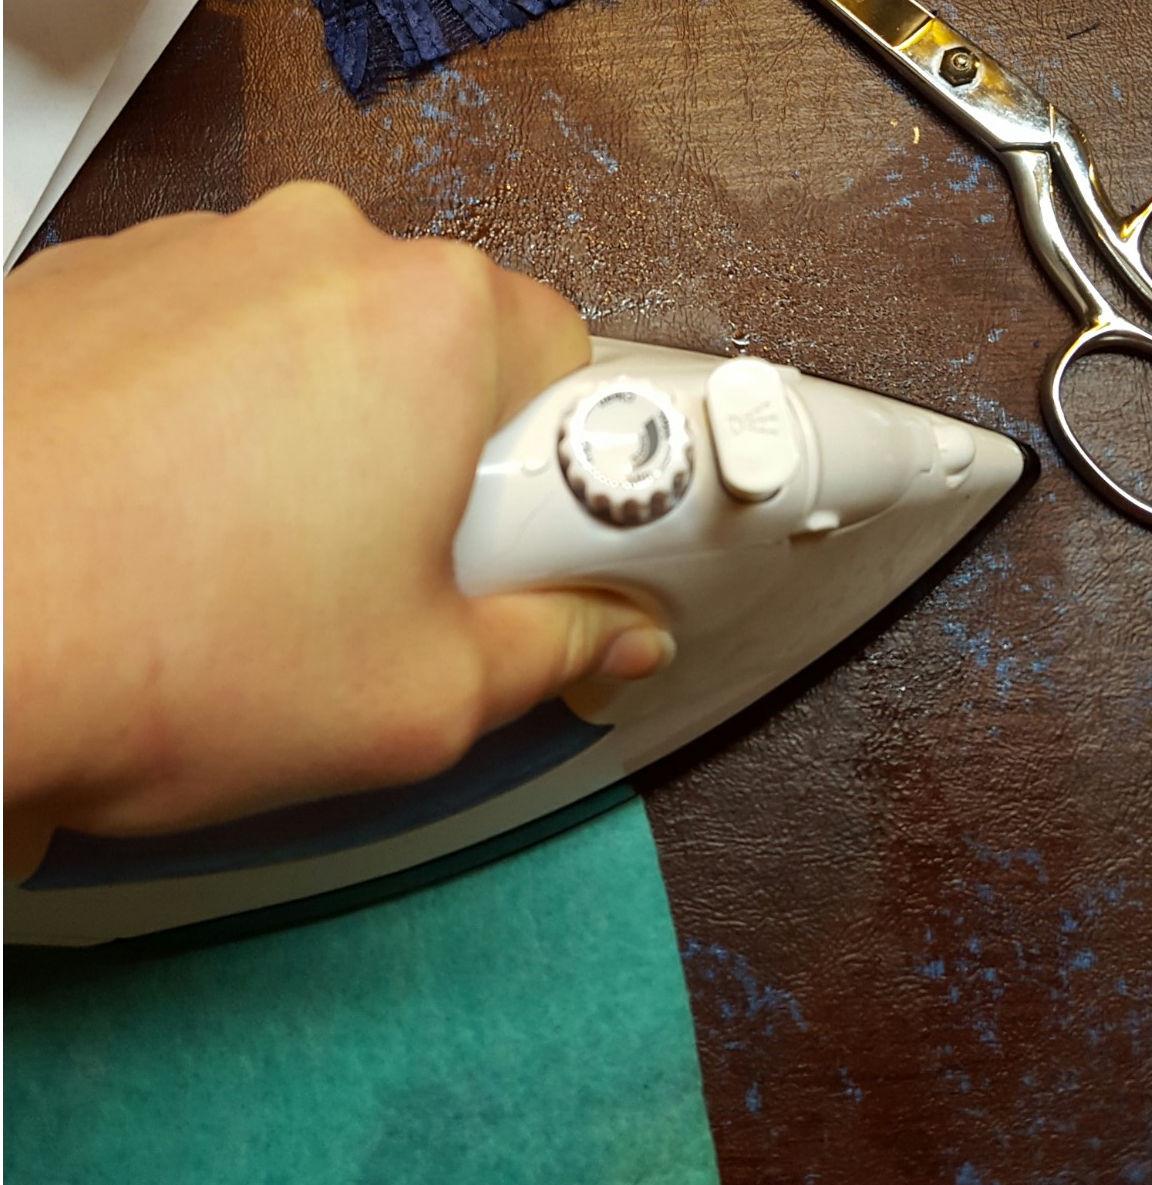
Next I ironed my fusible interfacing to my nude stretch polyester to produce a material with a paperlike stiffness.
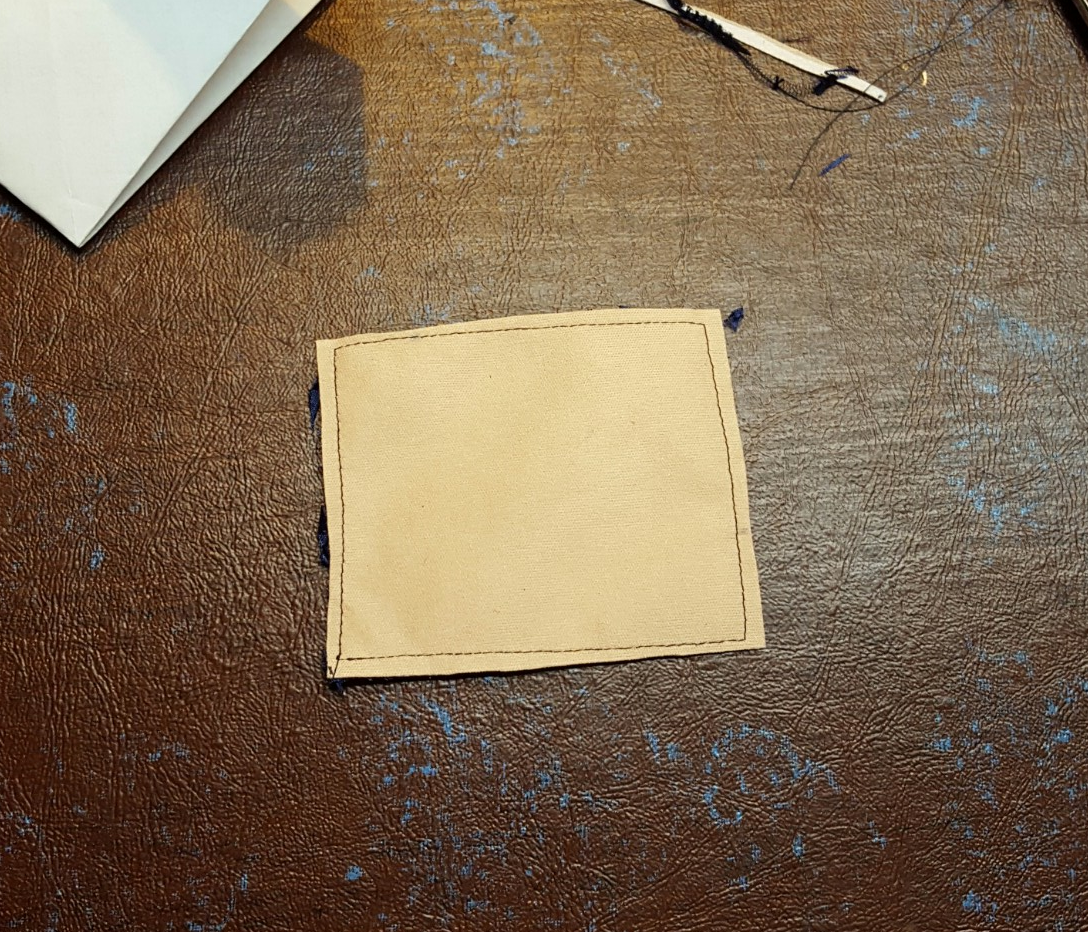
I sewed my lace to the other fabric. And trimmed it to make an even rectangle.

Front view of rectangle
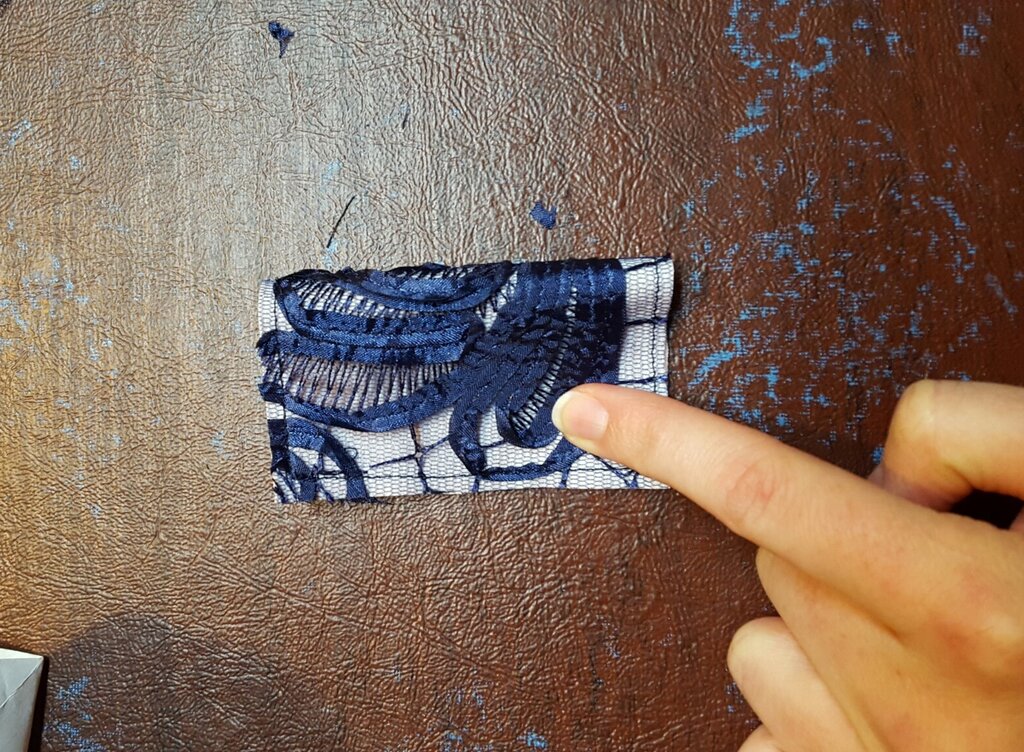
Back View of Rectangle
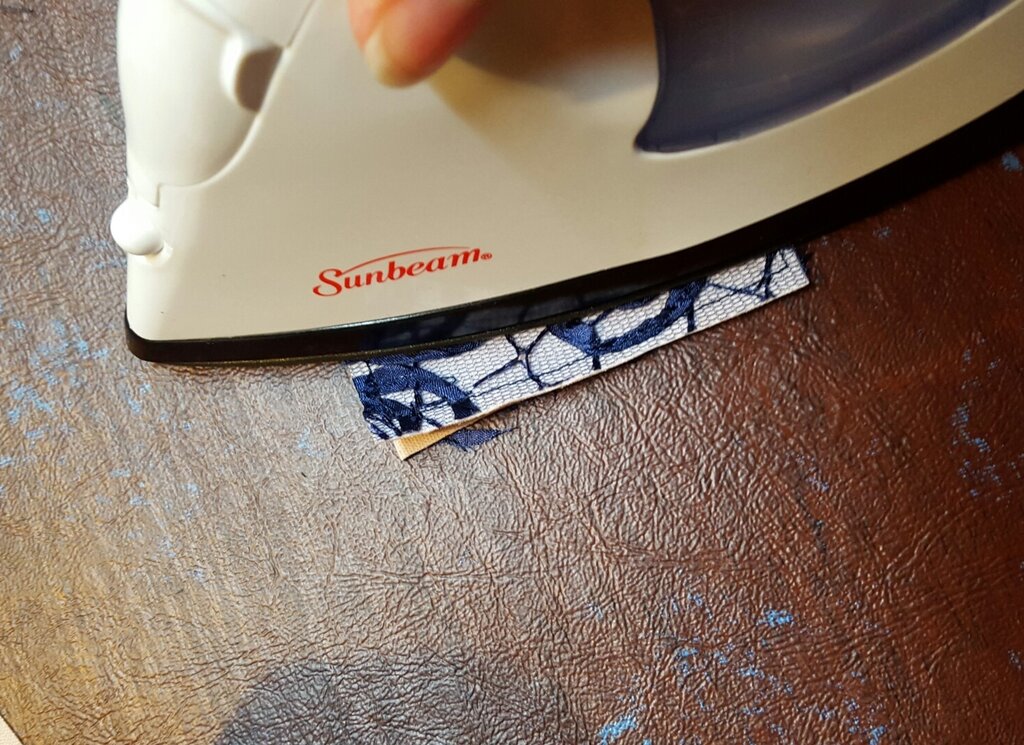
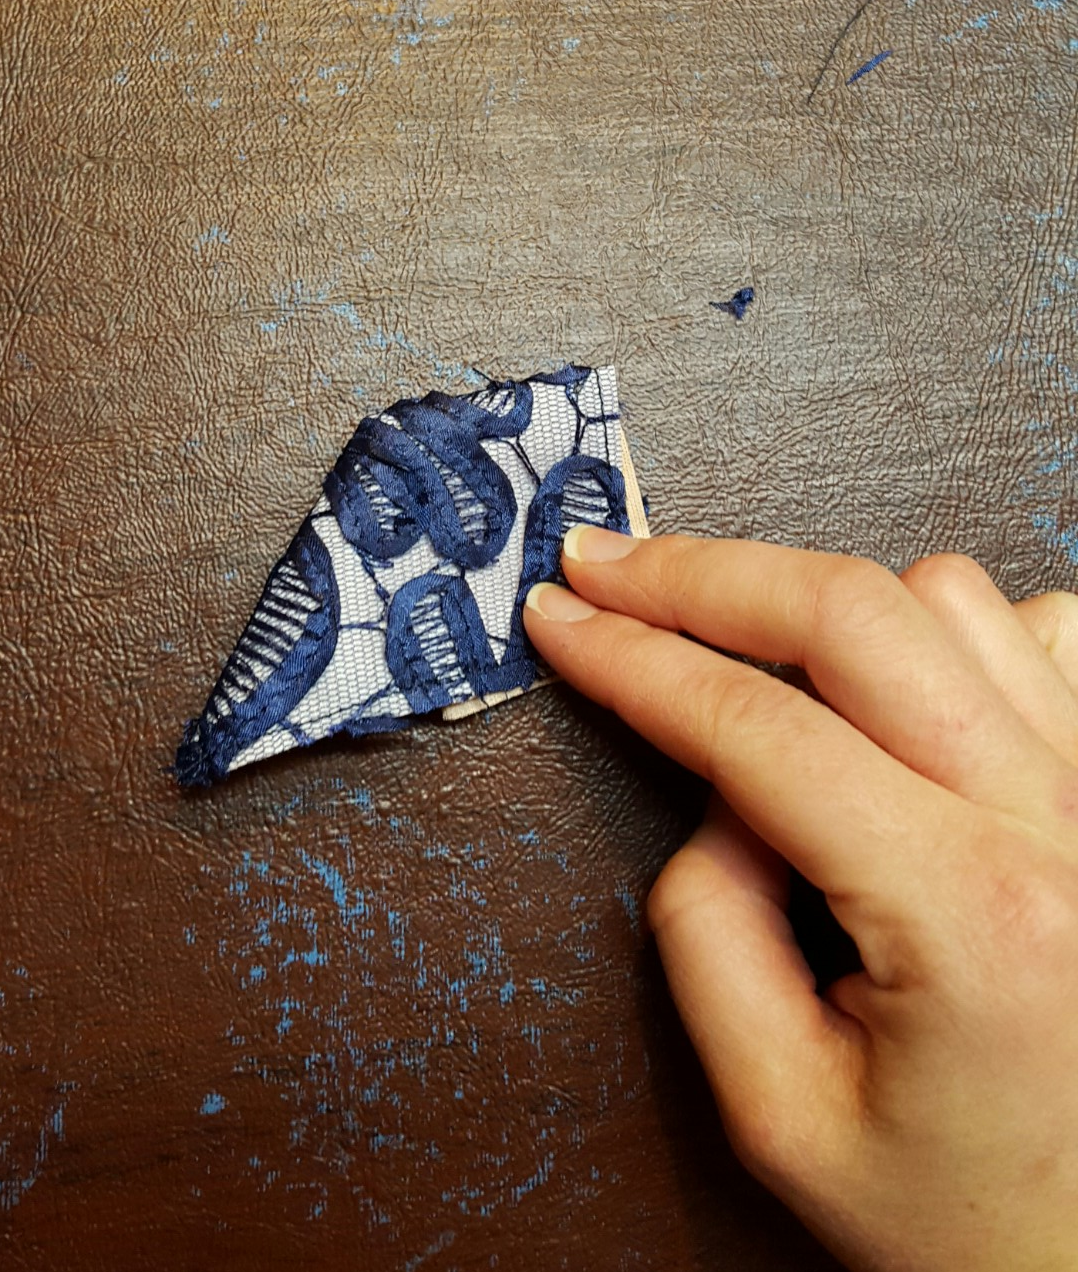
Next I folded the rectangle in half the long way with the right side facing out.
I ironed it flat.
I folded the rectangle in half again the long way.
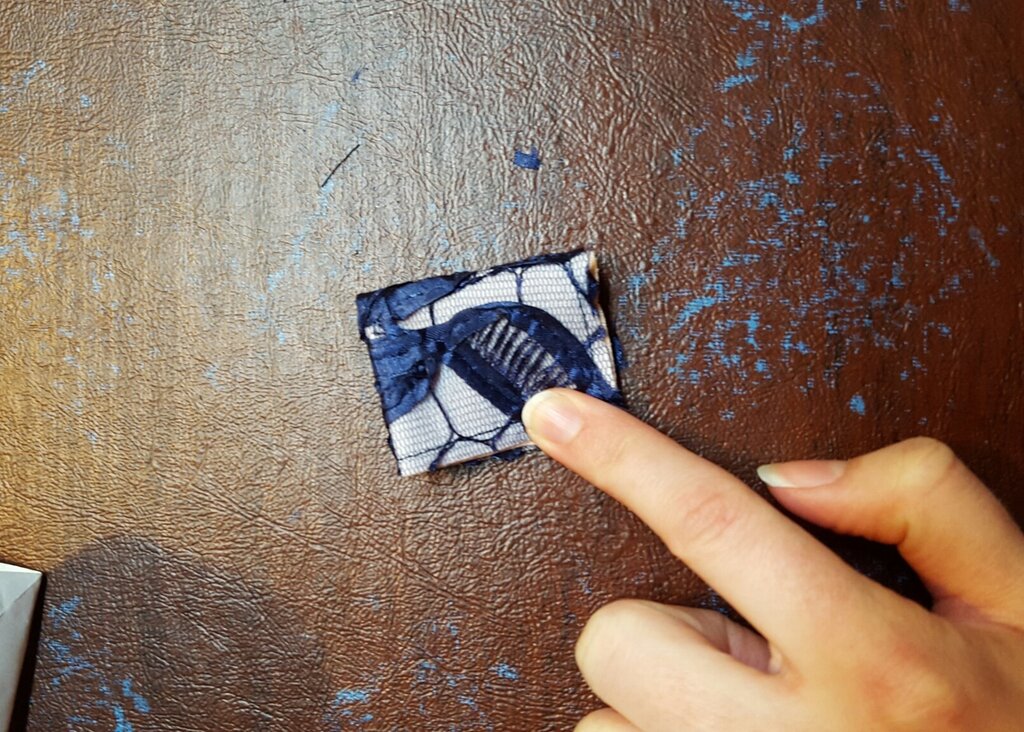
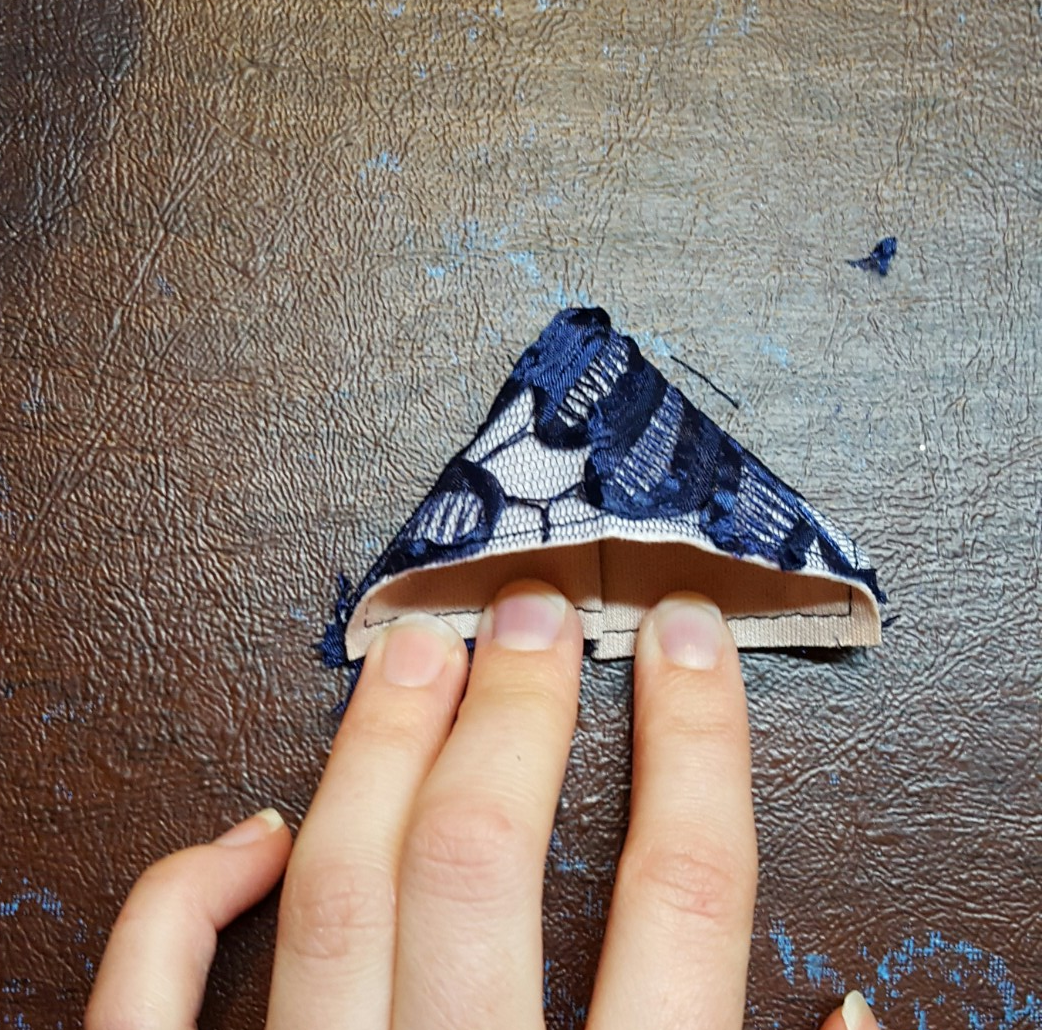
I slipped my finger under the top layer of fabric holding down the corner and pressed down to form a triangle with a bit of the wrong side fabric showing at the bottom.
I ironed this flat.
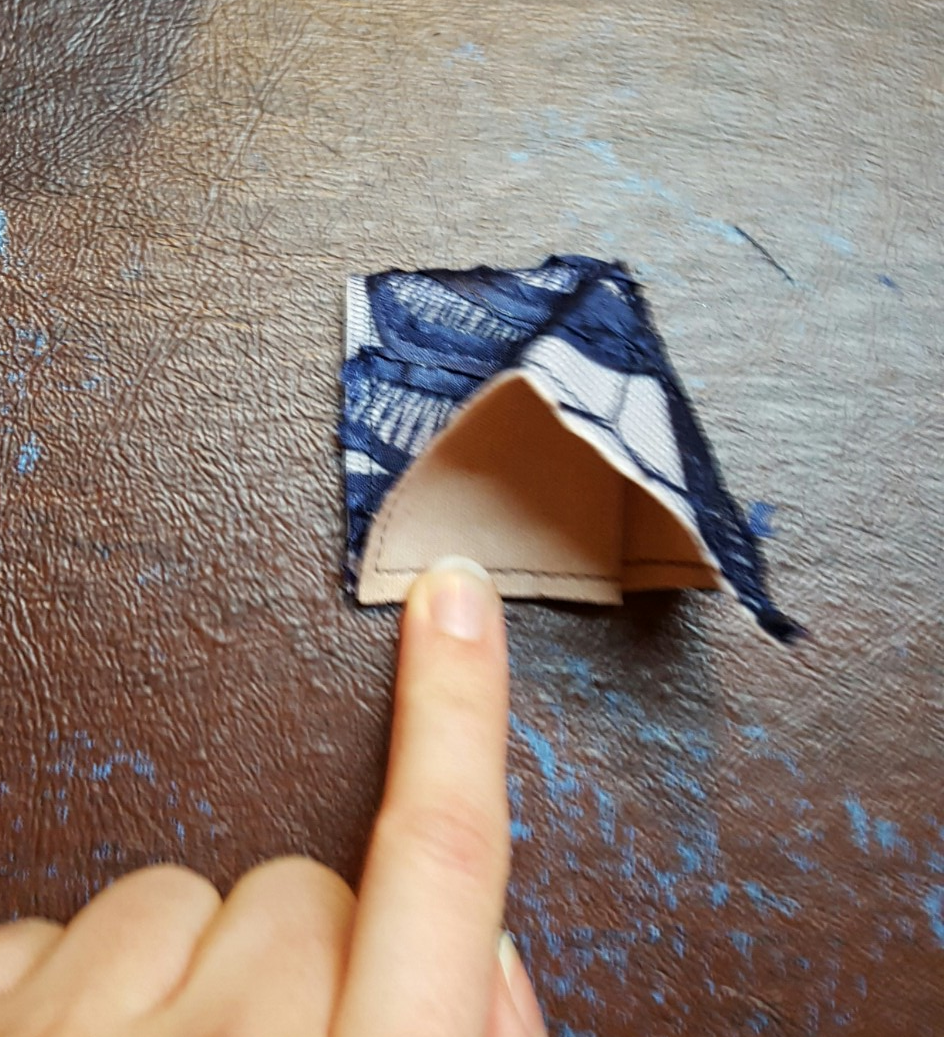
I flipped the piece over and did the same thing on the other side.
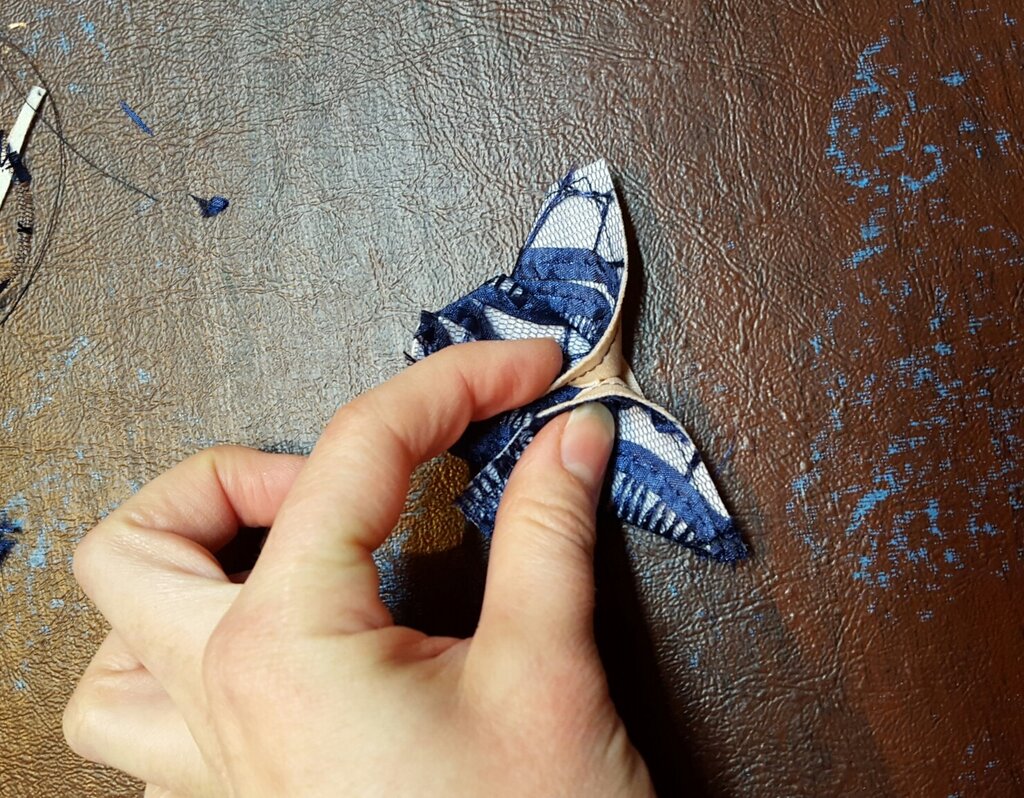
I then took the right corner flap of the triangle and lifted it up to the top middle of the right side of the triangle.
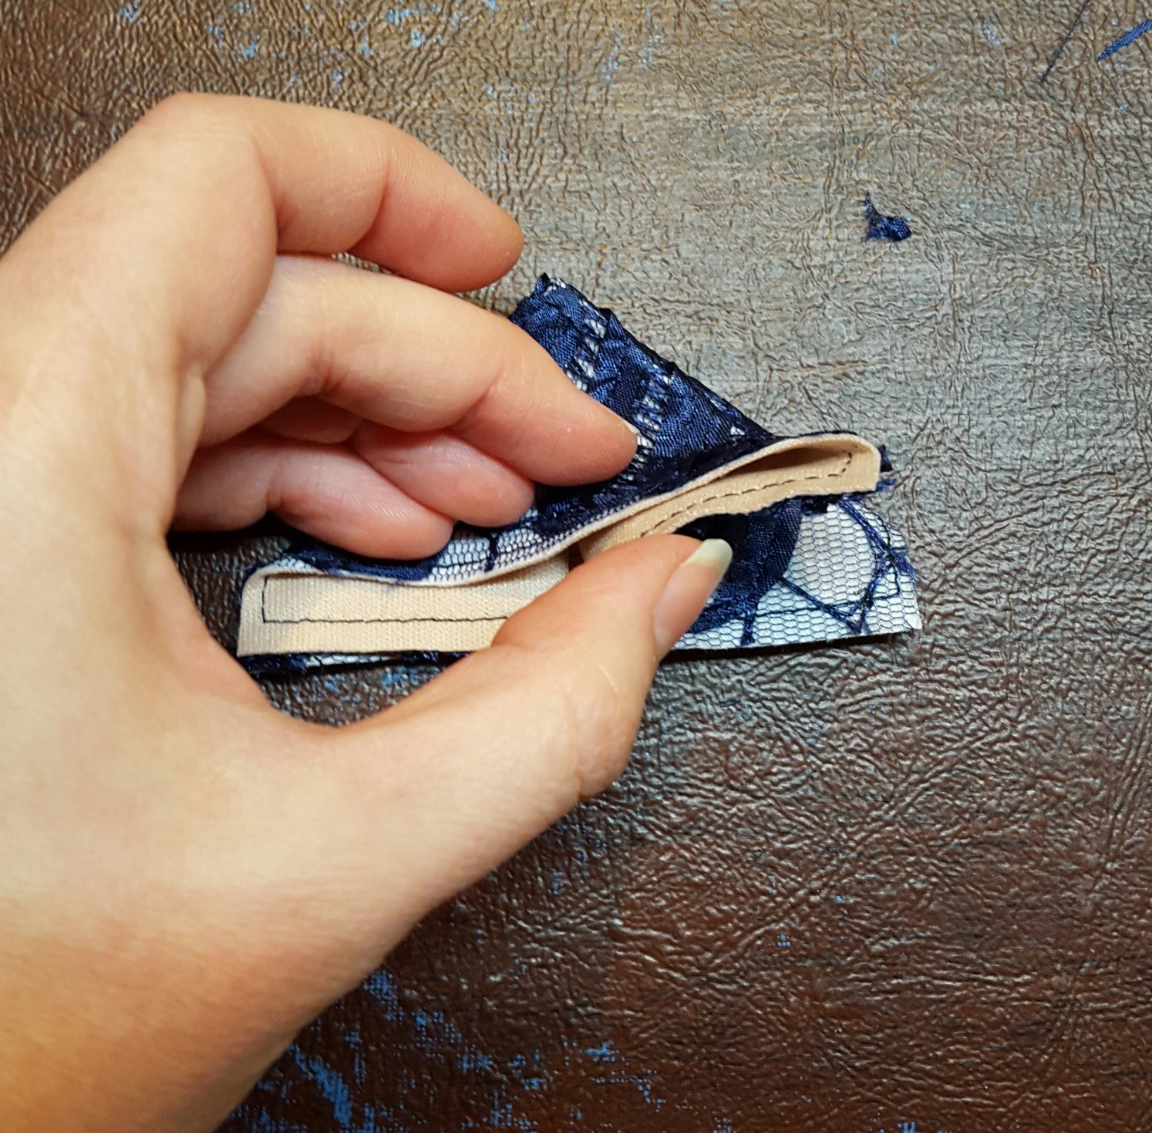
This will form a 3 dimensional c shape with the wrong side of the fabric showing.
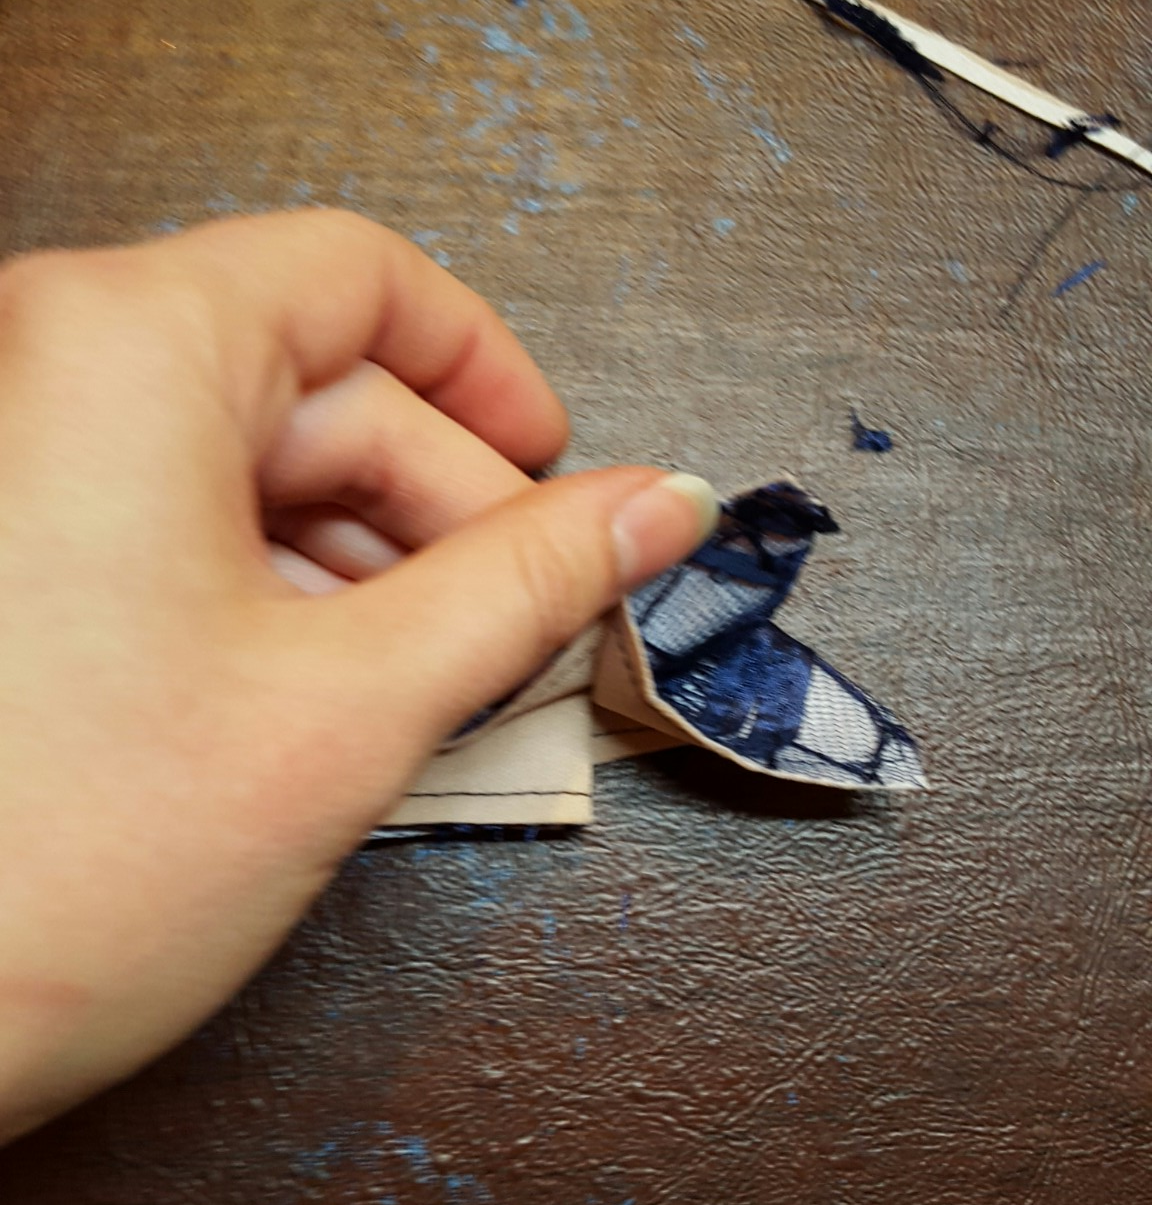
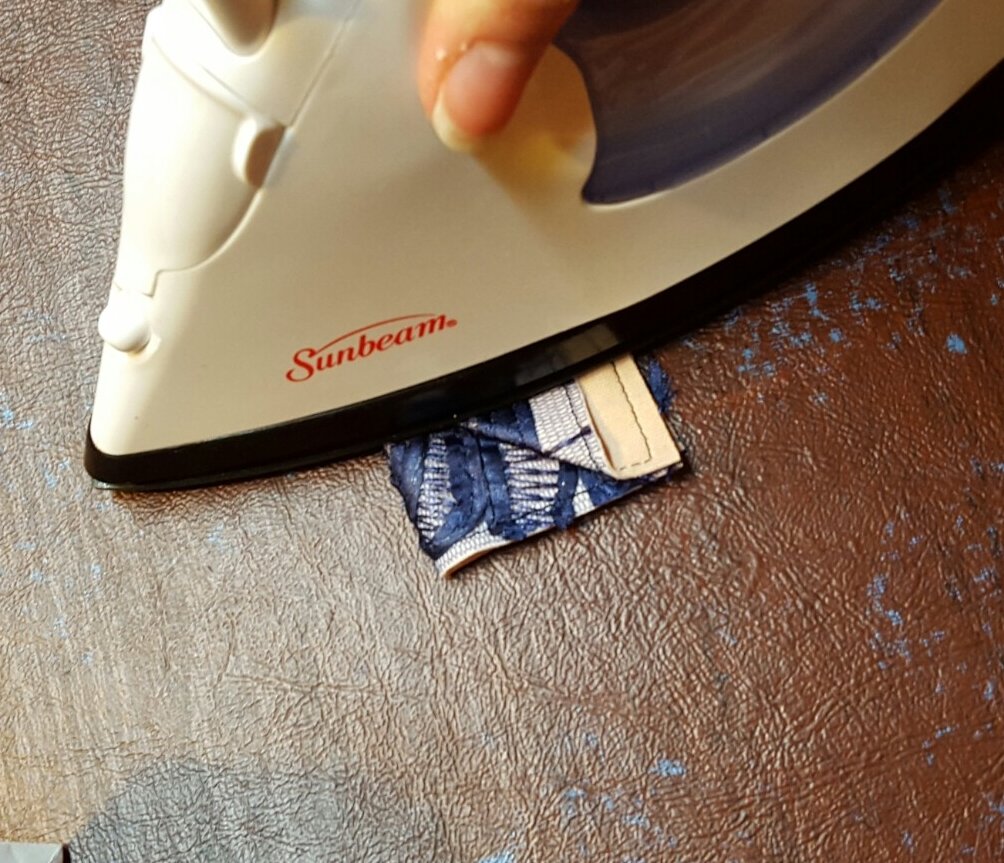
Follow the same procedure on the other side and stitch the center portion together with a couple quick stitches to hold it.
Finished butterfly
Attach the back of the butterfly to a bobby pin – or your project of choosing!
Join me next Monday for some holiday fun and a give away!
