
For our secret santa this year I suggested that on Christmas Eve we give our person a $5 gift that was somehow representative of the person giving the gift. Then we would open the gifts and everyone would guess who had who. I think everyone did a pretty good job at this – for instance my brother and Erin wanted Christmas ornaments for their tree so my mom gave my brother some ornaments she found at Savers (she left the tag on so Mark would know she found them while thrifting). My brother (a talented knitter) knitted Will a handsome scarf. Will gave my mom cat toys with googly eyes. (Frankly I have no idea how this represents Will but he had said to everyone at some point that whoever he got was getting something with googly eyes. Weirdly everyone forgot he said this except my mom who actually guessed it was from Will.)
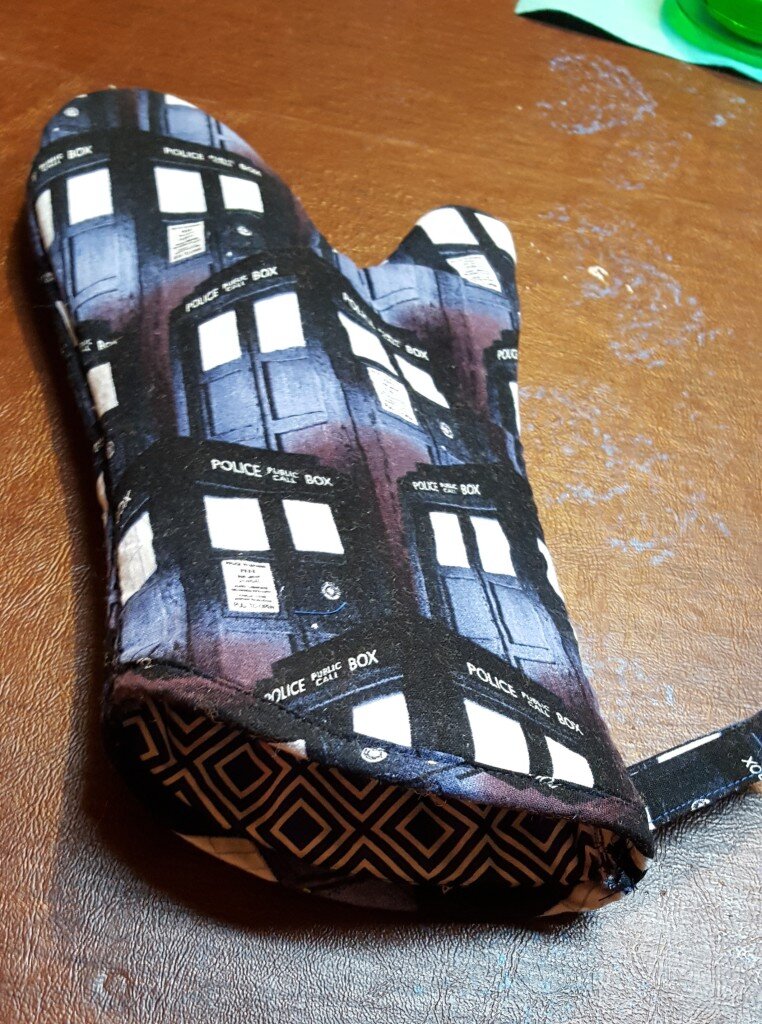
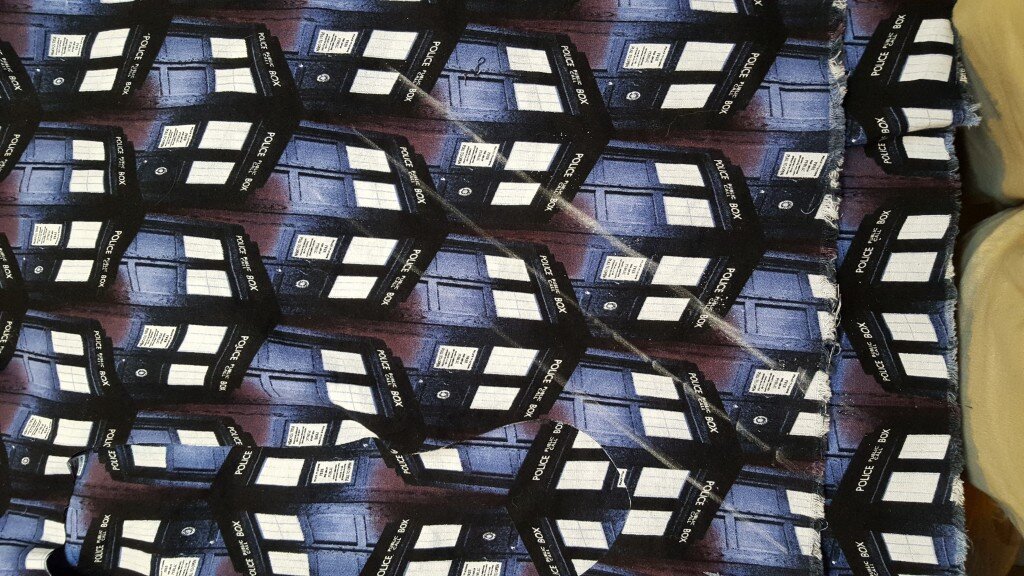
I had Erin and some TARDIS material from JoAnn Fabrics so I made her a Whovian oven mitt. (Though this backfired a bit because no one realized I made it! I will consider it a compliment…) So here’s how to make a look-like-you-purchased-it oven mitt! This is a nice easy pattern for those new to sewing!
You will need:
- 100% cotton thread*
- 100% cotton fabric* for the lining and exterior (I used two different patterns)
- INSUL-BRIGHT insulated lining
- Natural Cotton* Batting
*Note: It is important that you use natural fibers for the mitts, as you don’t want polyester melting all over your hands and pans.
Instructions:
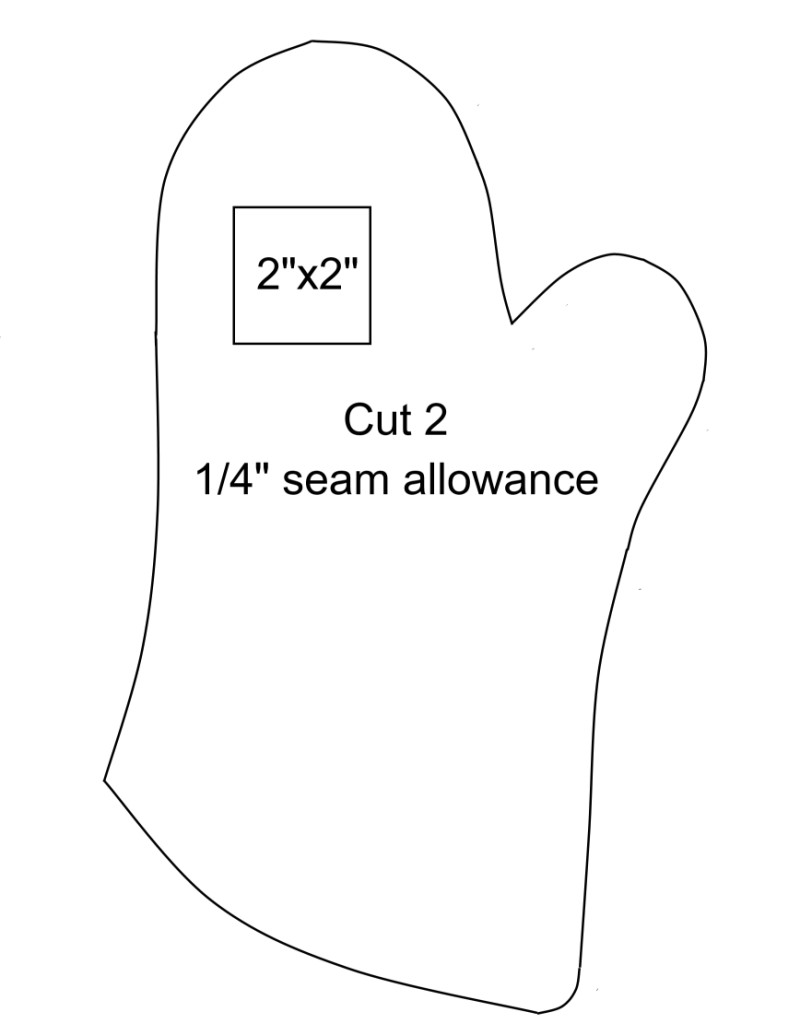
Print out my oven mitt pattern below. You may want to add an additional 1/4 inch of seam allowance if you are new to sewing (I only account for 1/4 inch of allowance).
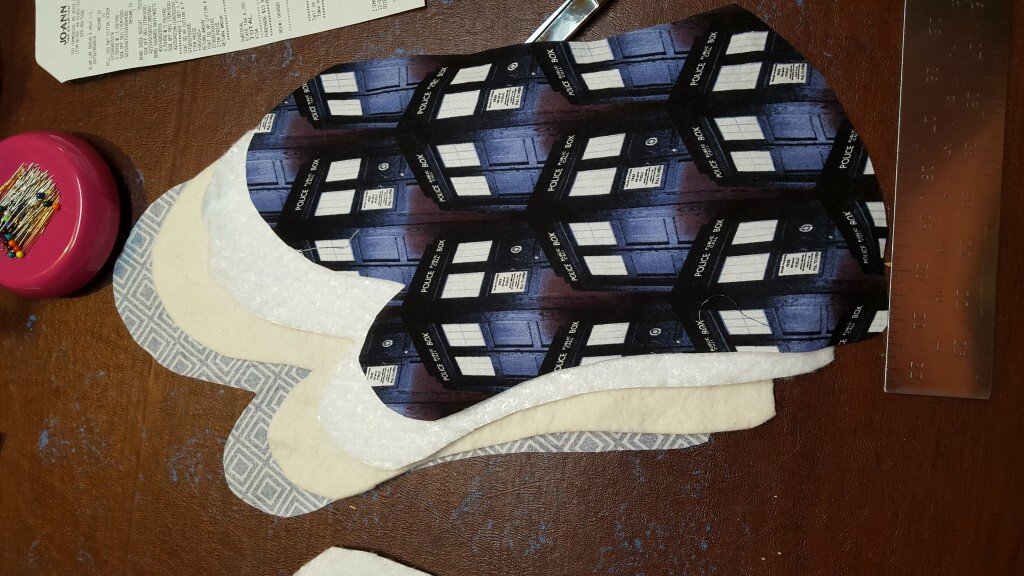
Cut 2 (one wrong side and one right side) each of the lining fabric, exterior fabric, batting, and insul-bright.
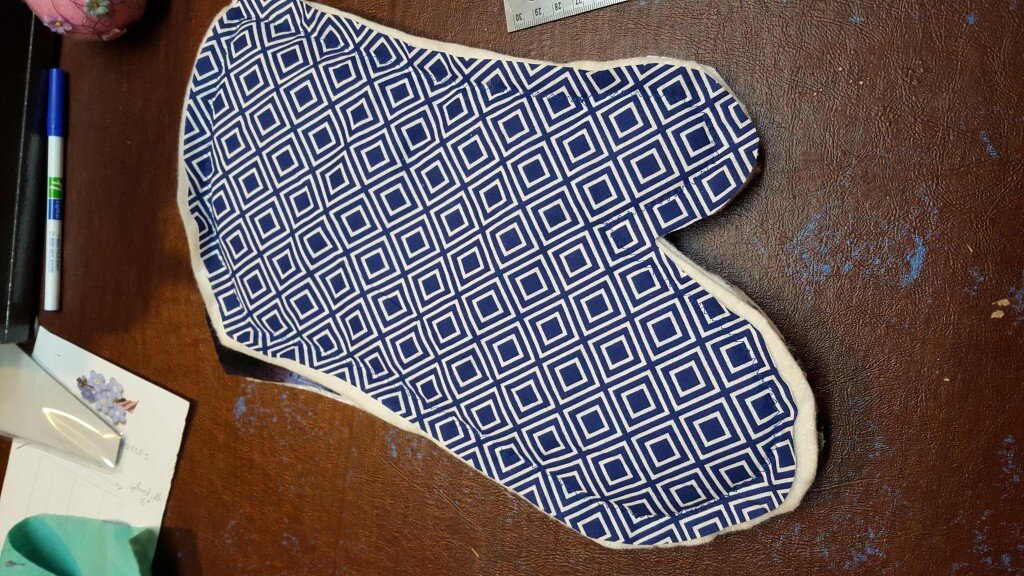
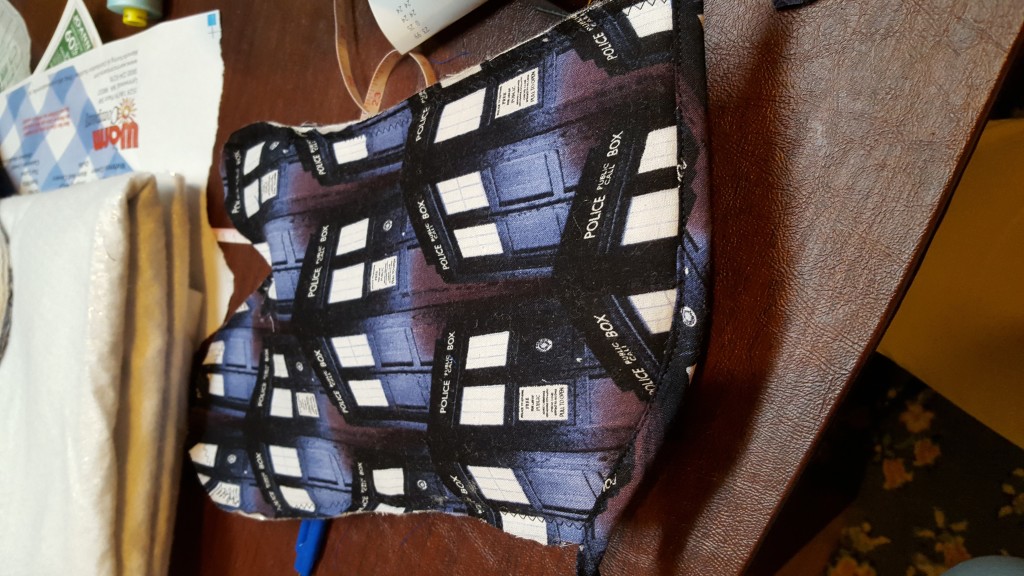
Form two halves of the gloves by lining up lining, batting, insul-bright and exterior fabric in that order.
Pin and baste each glove half.
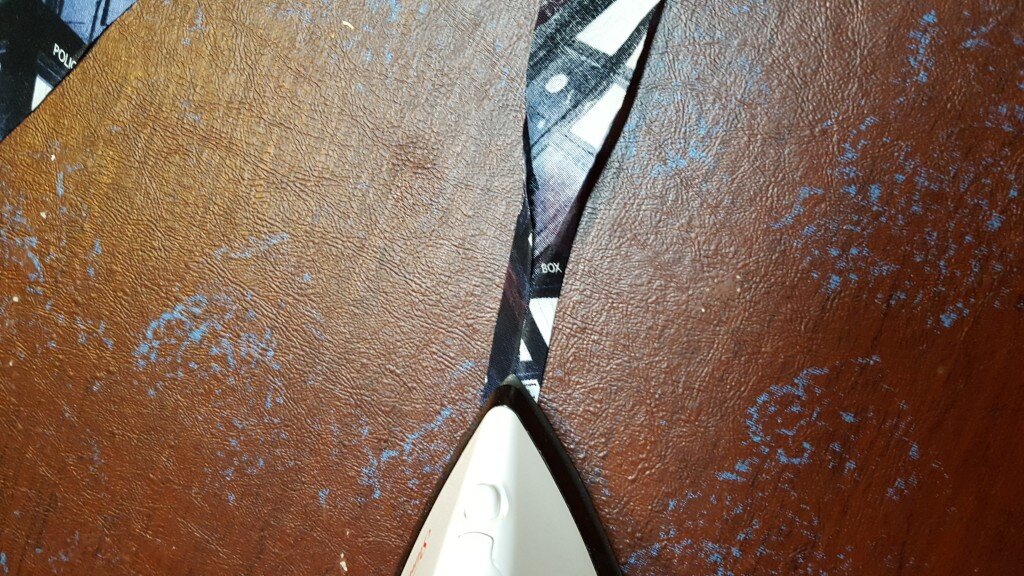
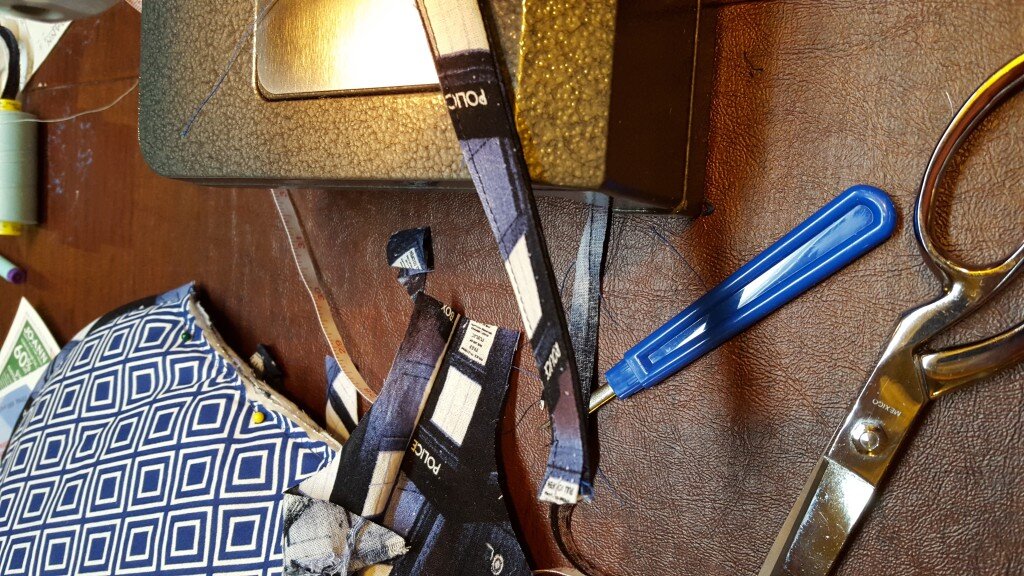
Next create two 1 foot strips of bias tape by cutting 1.5 inch strips of fabric on the bias ( at a 45 degree diagonal from the grain). This creates a stretchy, malleable strip you can use as to finish seams.
Take each strip and press the two edges towards the center as shown below. Congratulations – you have created bias tape!
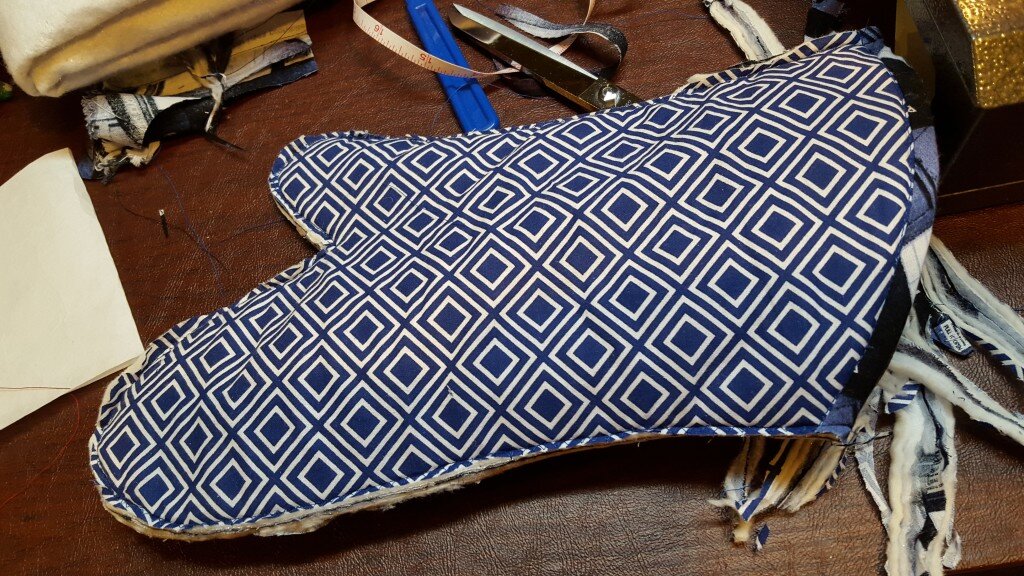
To finish the cuff of the oven mitt fold out one side of the bias tape and pin it right side to right side, matching unfinished edges, on the inside of the oven mitt.
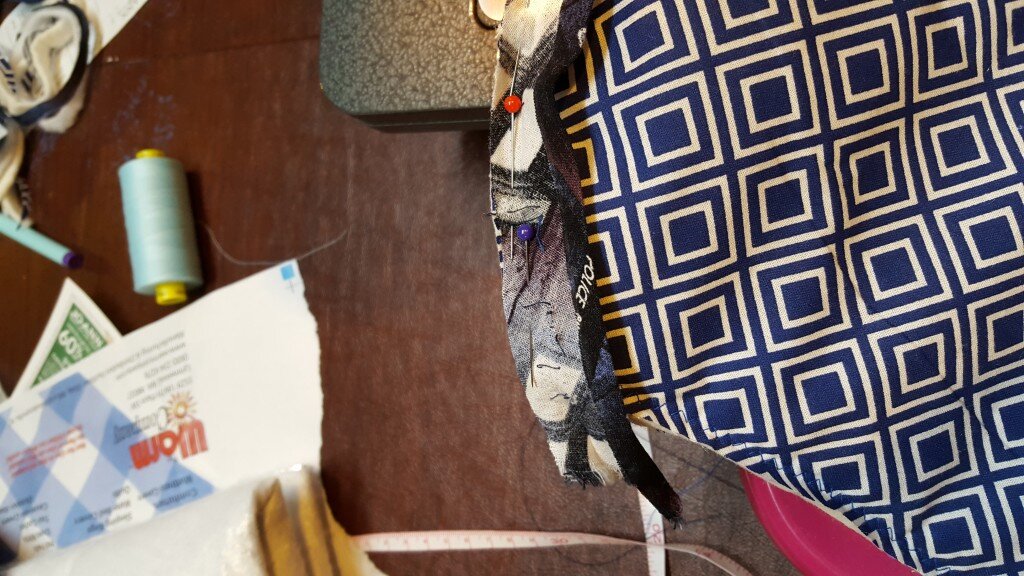
Stitch close to the fold you opened out.
Fold the bias tape to the front of the mitt half, keeping the unfinished edge folded under. Pin.
Stitch close to the fold and trim excess bias tape.
To create a loop for your oven mitt, cut an 8 inch by 2 inch strip of fabric. Iron the two edges towards the center and then press in half the long way (right sides out). Stitch down the edge and fold in half.
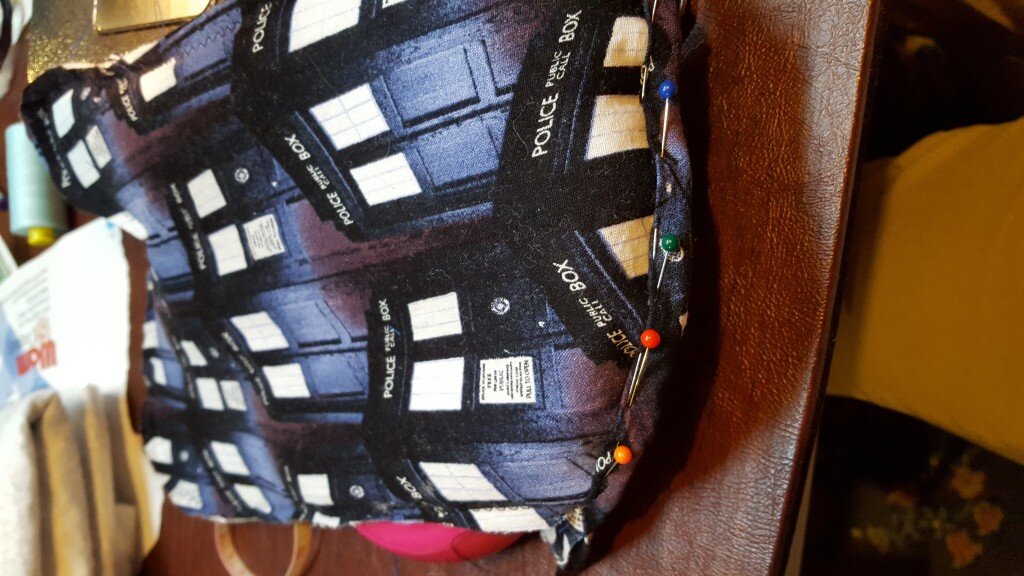
Next pin the two halves of the oven mitt together with right sides facing in. Make sure to include the loop for the oven mitt. The unfinished edges of the loop should hang outside the mitt, and the loop should be sandwiched on the inside.
Zigzag stitch the two pieces together, trim excess.
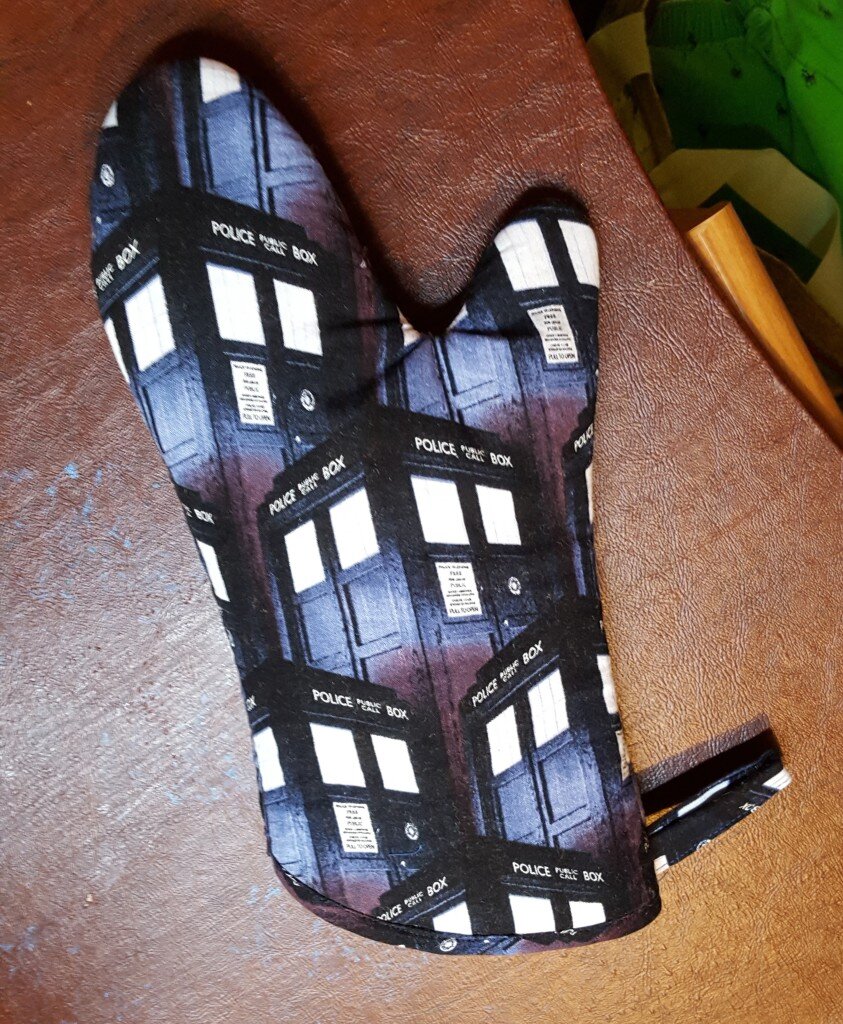
Flip to the right side – and there you have it! An oven mitt!
Since I got everything on sale or with a coupon at Joann Fabrics all the materials only cost me $10 total for 1/2 yard of each material! And I still have enough left over for another 2 oven mitts!

Loved this pattern. Just finishing the final details like the binding.
I’m so happy to hear that!!! I confess that I am so proud when I see the one I made hanging in my sister in law’s kitchen…