
So I finally started attending the group sits offered by the meditation club at my work. I’d never meditated with anyone other than Will, so meditating in a room with 8-10 people was a bit different for me. I quickly found that I really enjoy it, so I’ve been meditating once a week with the group. The other fun thing about the group is that some of the members decided that they would try to make their own zafus! (They are even using the same pattern I used!) I brought my finished zafus in to use at work and show off.
Unfortunately lugging that big cushion back and forth is a bit of a pain. It doesn’t have a handle so I have to carry it in a big bag, and it is rather large. So I decided to make another improved pillow to use at work that is smaller, has a handle and an inner liner. (I’ll show you the finished pillow next week and the exact specifications I used.) Well of course I couldn’t just use fabric I had lying around – instead I decided to produce some shibori fabric from the bleached white linen that I got for Christmas!
Since I’ve already tried binding and folding in the past, I decided to try stitching this time. I found an awesome shibori book, and decided to try out the Hanawa Squares Shibori which uses both stitching and binding. If you want to try it yourself, follow the steps below! If you want to learn more about dyeing – I recommend reading Fabric Painting and Dyeing for the Theatre! Remember to always follow the safety recommendations of all chemicals and dyes.
Shibori Hanawa Squares
You’ll need:
- 1/2 yard of linen fabric
- Synthrapol fabric detergent
- Water erasable fabric marker
- Heavy cotton thread
- Needle
- Fiber reactive dye (~1 tsp)
- Soda Ash (~2Tbsp)
- Salt (~1 cup)
- A vessel for dying, gloves, and a stirring implement (to be used ONLY for dyeing)
- a seam ripper
Step I – Shibori
- Wash your fabric in Synthrapol to remove any chemicals or oils. This readies the cloth for dyeing.
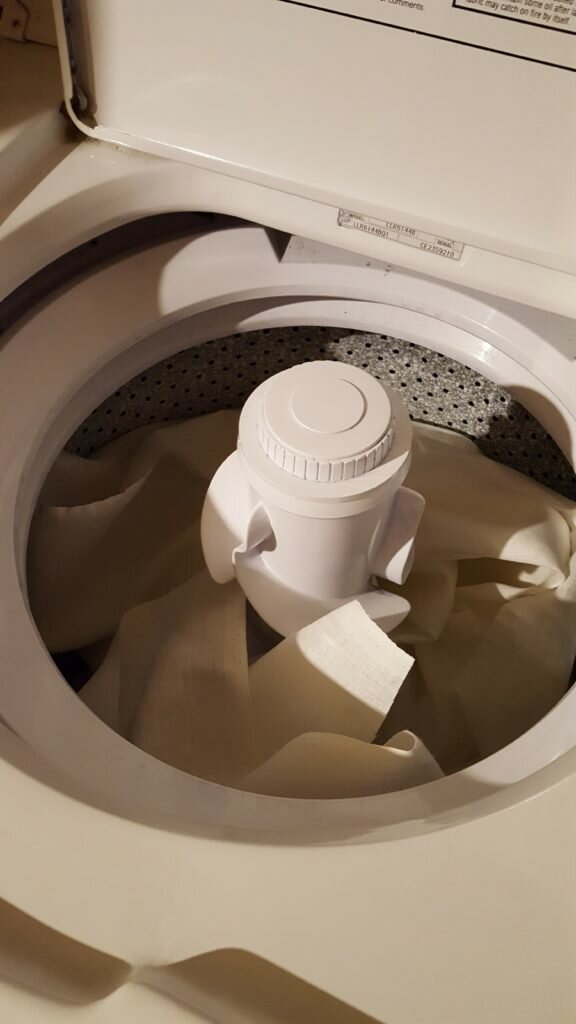
Wash fabric using Synthapol
- I like to tumble dry in the dryer to pre-shrink my linen before I sew it. Linen shrinks 10-15% so if you forget to do this and pop your newly made linen shirt in the dryer you will be extremely disappointed.
- After the linen is dry I iron it completely flat by using the highest steam setting or spraying with water as I iron.
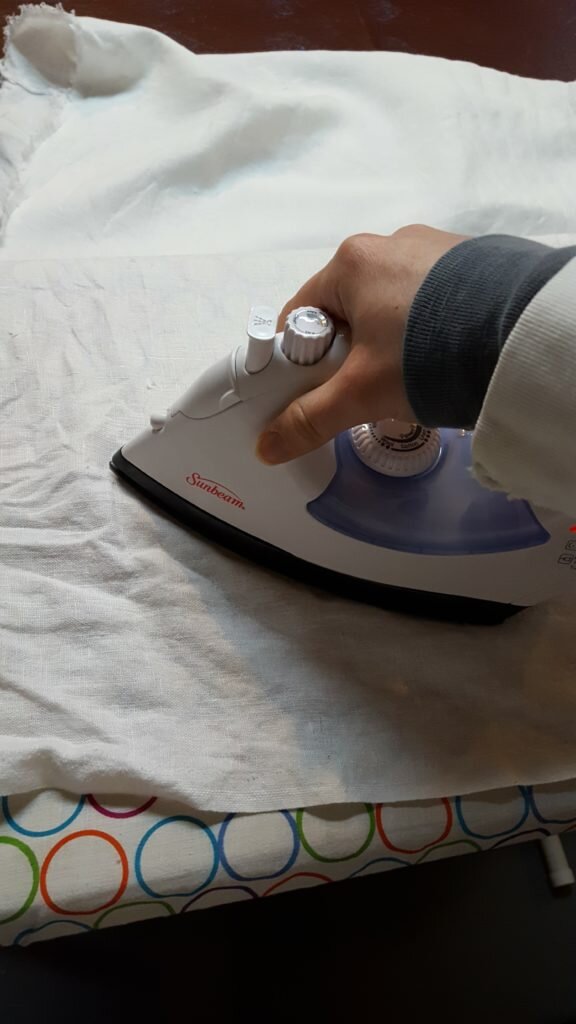
Iron fabric flat.
- For the Hanawa Squares I needed to split my fabric into divisions. I divided my fabric lengthwise into 4 equal segments. I ironed on the fold to make the distinction crisp.
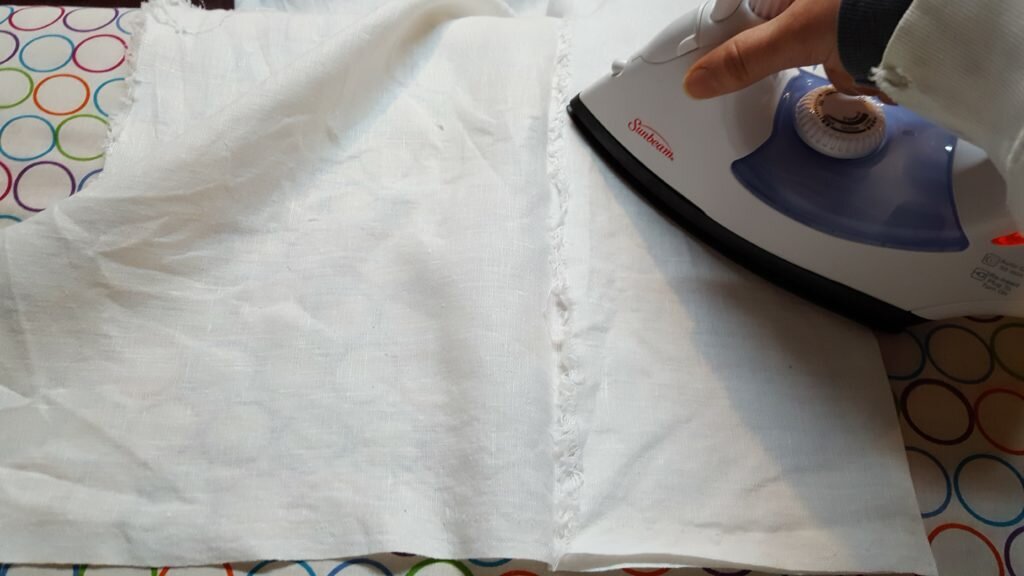
Divide fabric into folds, depending on your width.
- Starting at the center fold I traced out a pattern of triangles equal size and equal distance apart using a water soluble fabric marker.
- On the next fold I traced out another pattern of triangles interspersed between the triangles on the center fold.
- I repeated this until all of my folds had triangular patterns along them, and the two lengthwise edges also had this pattern. This meant I had 5 rows of triangles drawn out on the fabric.
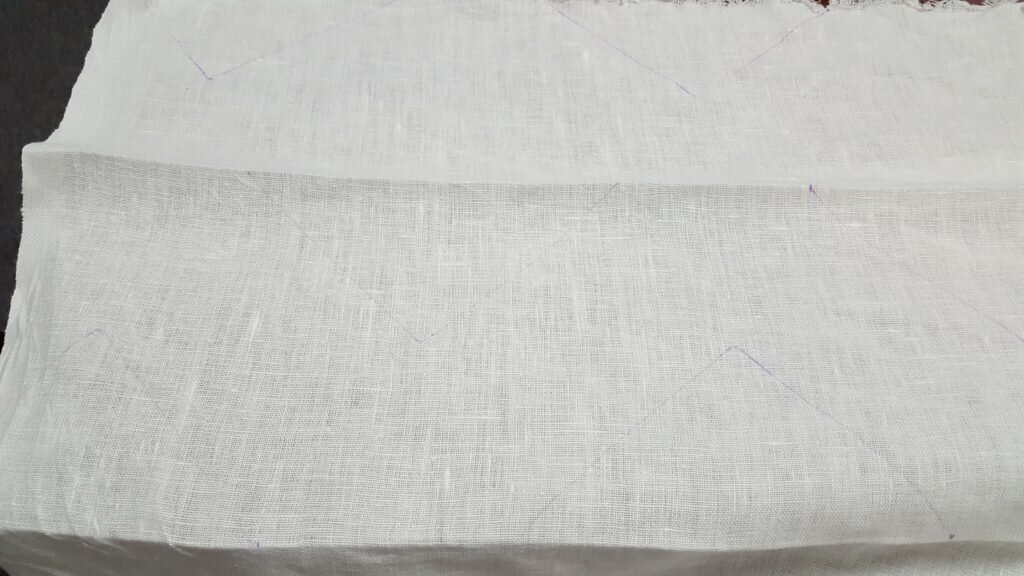
Mark triangles at folds.
- Next I had to stitch every triangle by hand. I used two pieces of thread doubled over to make it extra strong.
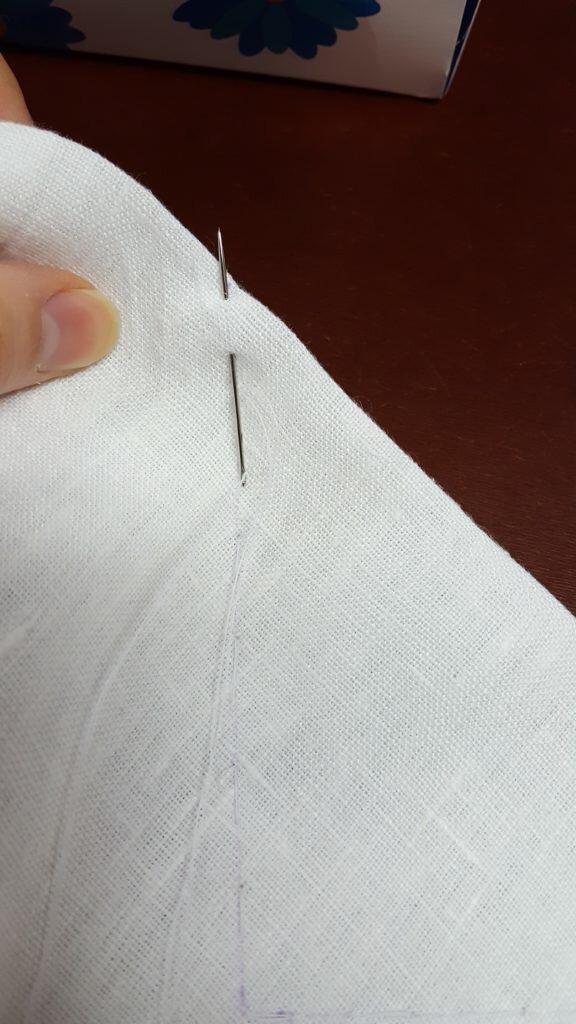
Running stitching along lines you drew.
- I stitched along the folds (stitching through 2 pieces of fabric) with the exception of the lengthwise ends where I only stitched through the single piece of fabric.
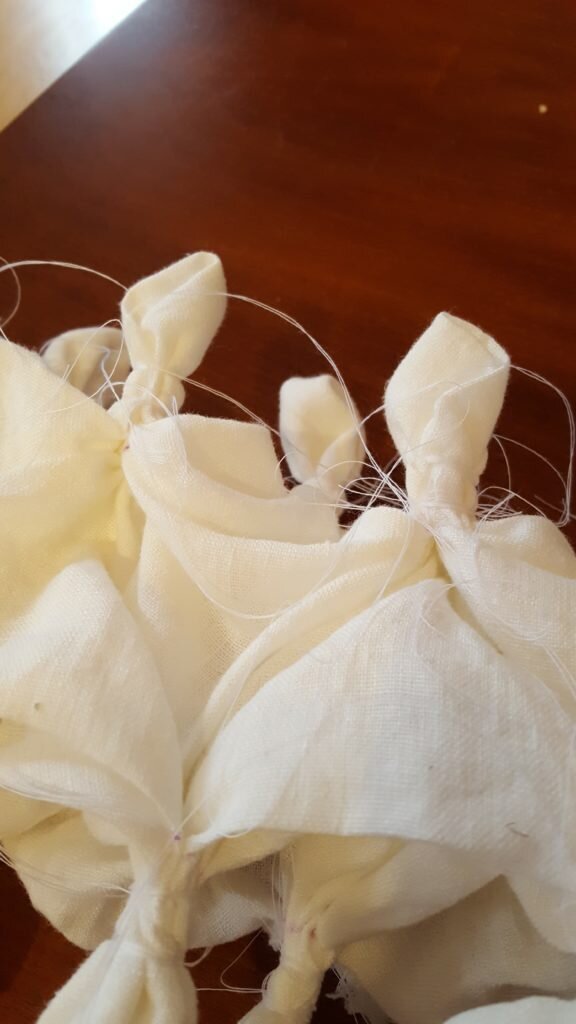
- After stitching each triangle, I gathered the fabric with the 4 pieces of thread and tied and knotted the thread.
- I repeated this for all the triangles I had traced.
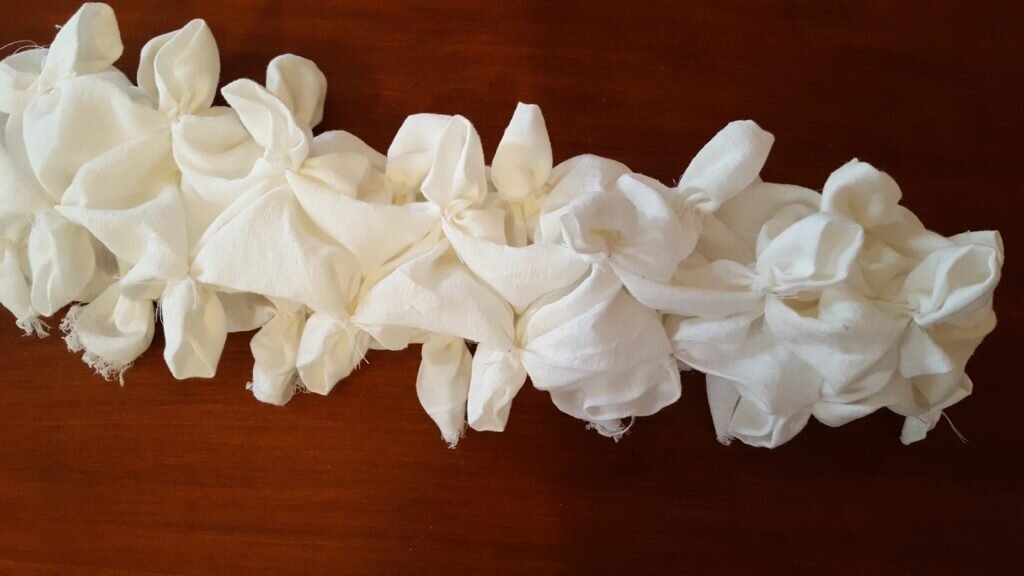
Picture after all the triangles have been gathered. It looks like a stalk of brussel sprouts!!
- Next step was to bind each of the gathered triangles. Using a doubled piece of thread I wrapped on the outside of the gathered fabric very close to the gathered stitches. I tied and knotted to secure the binding.
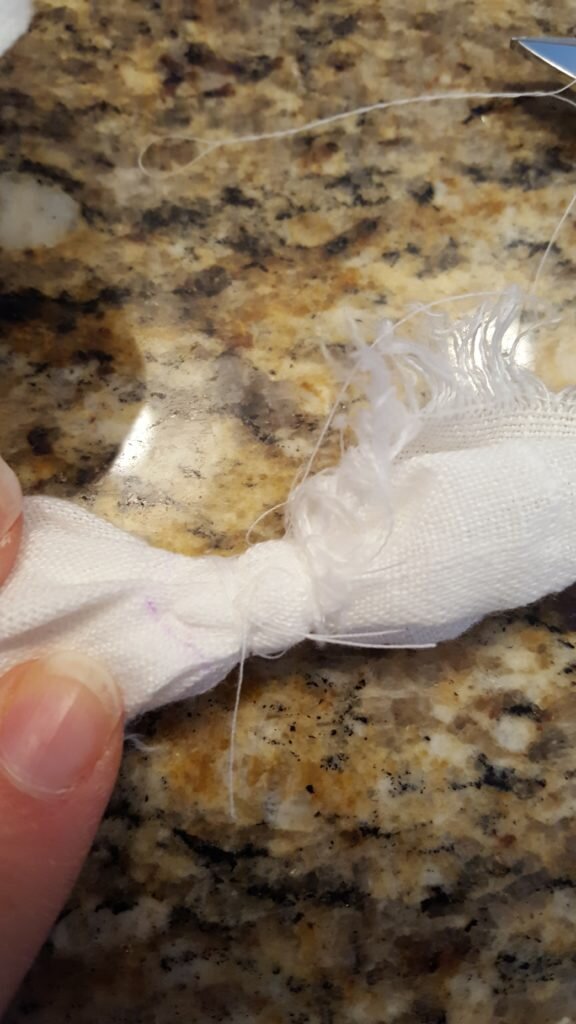
Tie just above the place with you gathered, and then again, slightly above that.
- I repeated the same procedure slightly above the first binding.
- I repeated steps 12 and 13 for all the gathered triangles.
Close up of double wrapped fabric.
- Next it was time to dye. As with my shibori tunic I used a fiber reactive dye with the linen fabric. I chose PRO MX Fiber Reactive Dye from Pro Chemical in Raspberry.
Step II – Dyeing
For the meditation cushion I need 1/2 yard of 58″ linen. After stitching it I weighed the fabric. It weighed in at 6 oz. If you have heavier fabric you’ll want to adjust the amount of dye and soda ash and salt. If you can’t fit the dye in a 10 cup bucket you’ll want to increase the water.
- Weigh your fabric (in oz). Mine weighed in at 6 oz. See note above if you have more/less fabric.
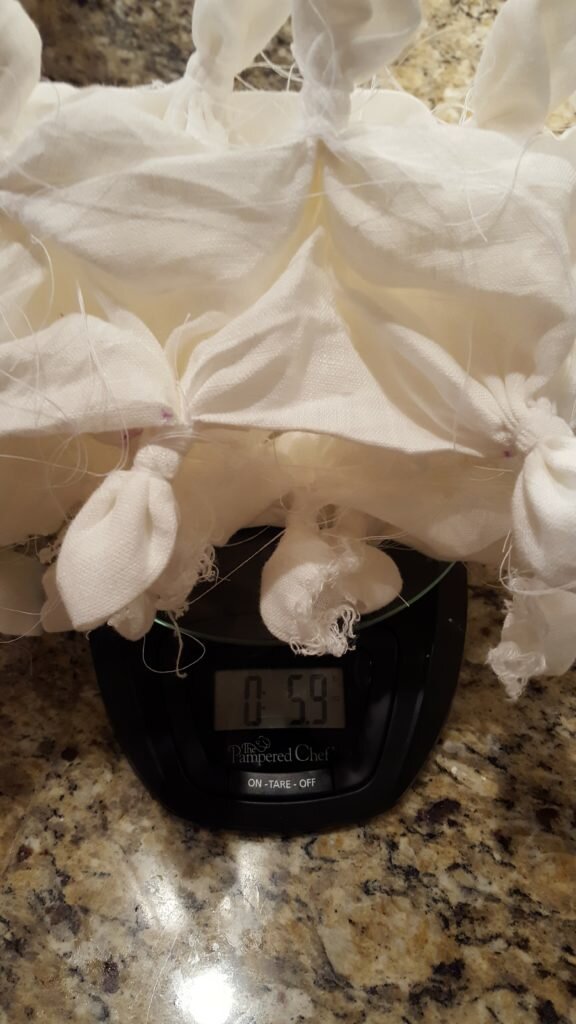
Weight fabric when dry.
- Fill a bucket with 10 cups of hot water.
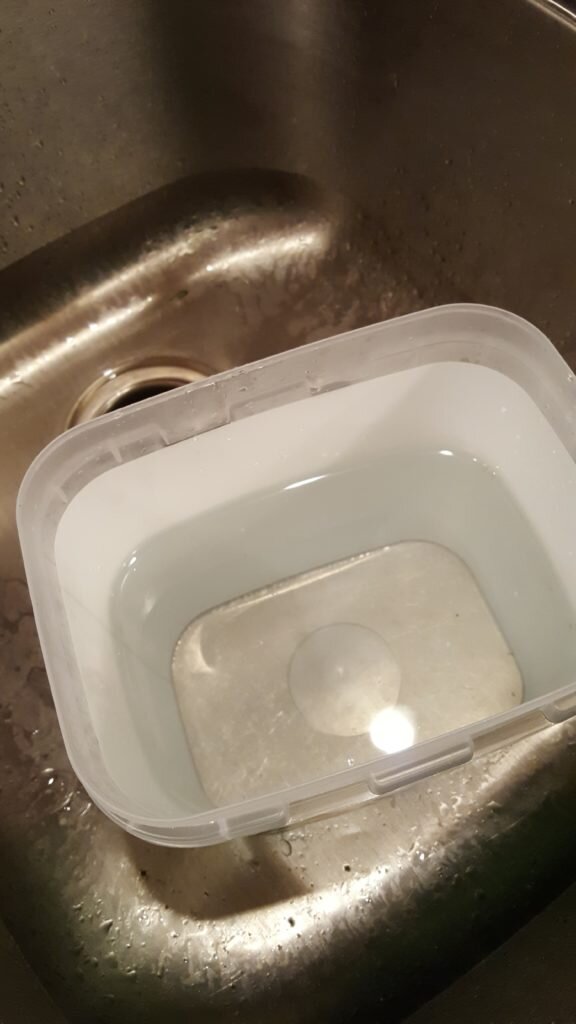
Add 10 cups hot water to vessel.
- Calculate your dye required. I used 1 tsp of dye for 6oz (170g) of fabric. This is approximately 1.5% OWG (on weight of goods). For more or less fabric, the calculation is to do weight of fabric * .015. The resulting number is the weight of dye to use. For ease of use I generally assume a tsp is 2.5g. If you need to be more accurate you should weigh your dye.
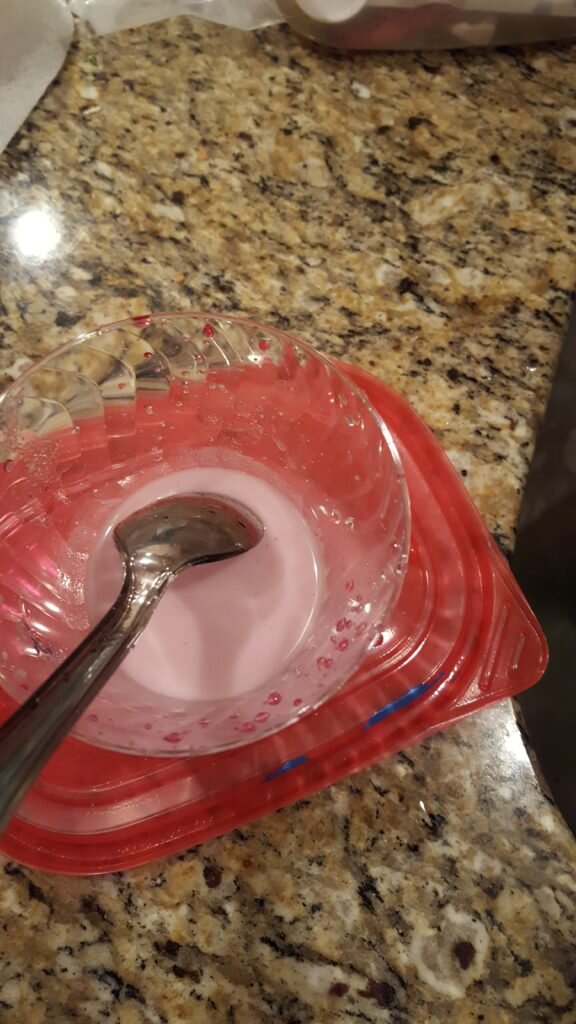
- Paste out dye in a small amount of warm water and add to the dye bath.
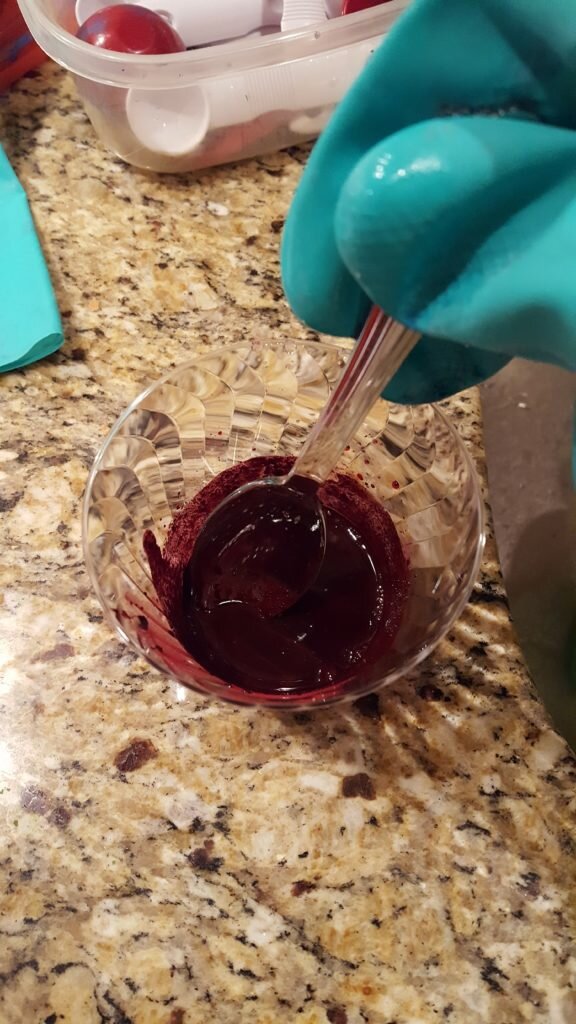
Paste out dye.
- Calculate the salt to use. For medium shades you should use 150% OWG or 1.5* weight of fabric. For me this was slightly more than 3/4 cup. (Salt weighs about 76g per 1/4 cup.)
- Paste out the salt in a small amount of warm water and add to the dye bath.
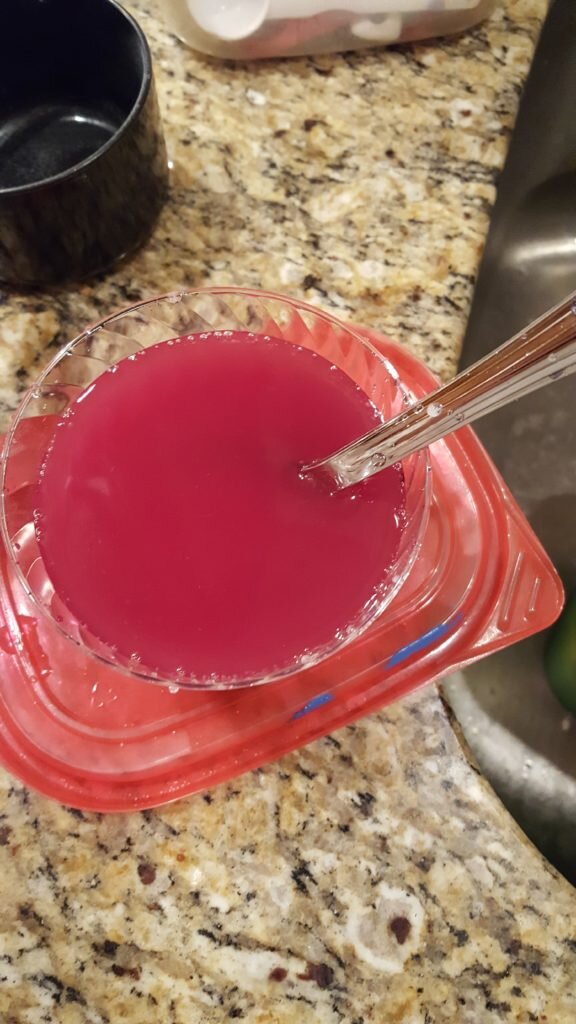
Paste out salt.
Add salt to bath and stir.
- Wet the fabric under the faucet then when completely soaked, add to the dye bath.
Wet out fabric.
- Stir for 10 minutes.
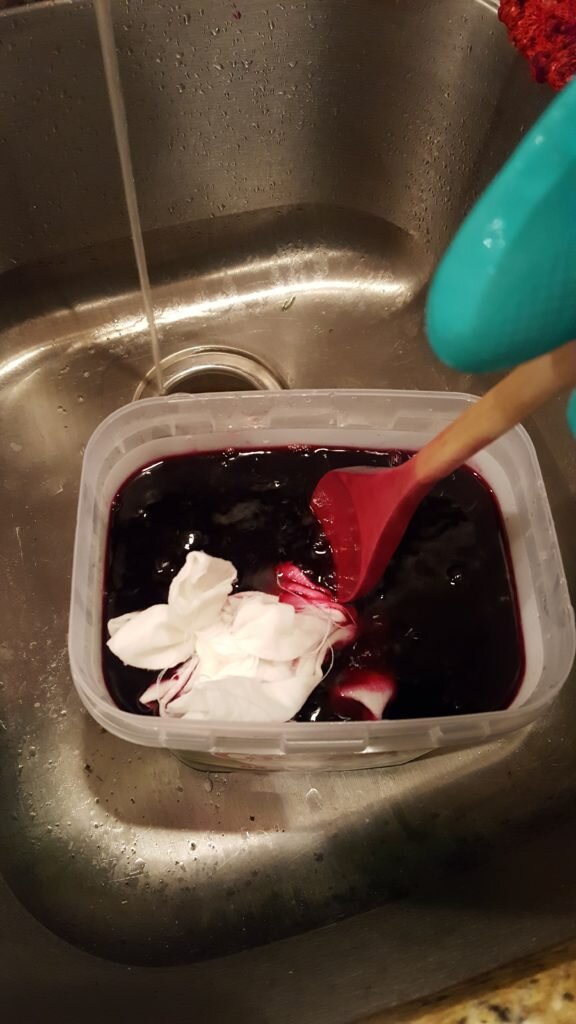
Add damp fabric to dye bath. Stir for 10 minutes.
- Calculate the amount of soda ash to use. For medium shades use 10% OWG. (.1*weight of fabric). For me this was about 2 Tbsp.
- Paste out the soda ash in small amount of warm water, remove fabric from the dye bath and add soda ash paste to dye bath.
Paste out soda ash.
Remove fabric from dye bath.
- Return fabric to bath and stir periodically for 30 minutes.
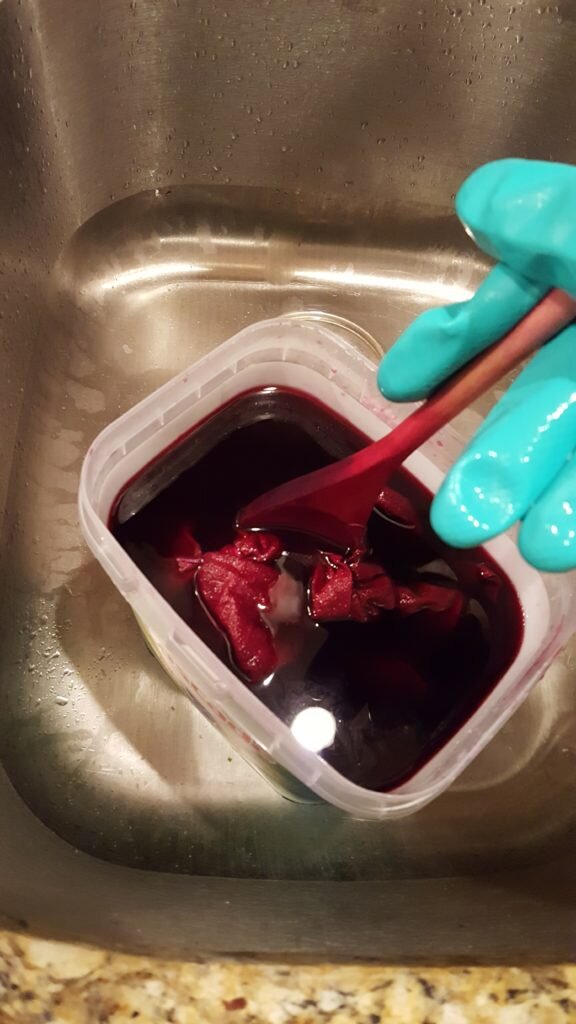
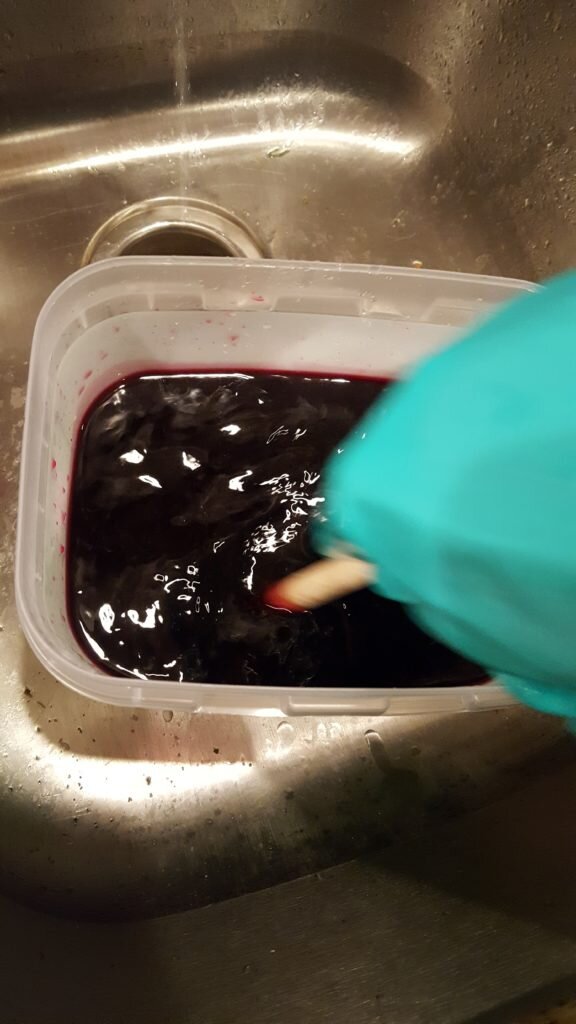
Add soda ash to dye bath then return fabric to bath. Dye for 30 minutes.
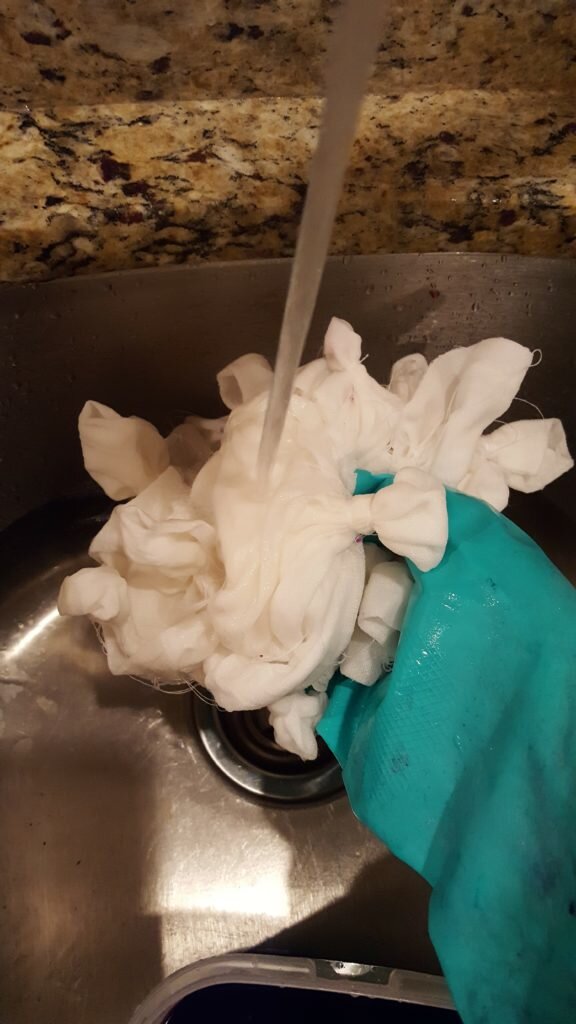
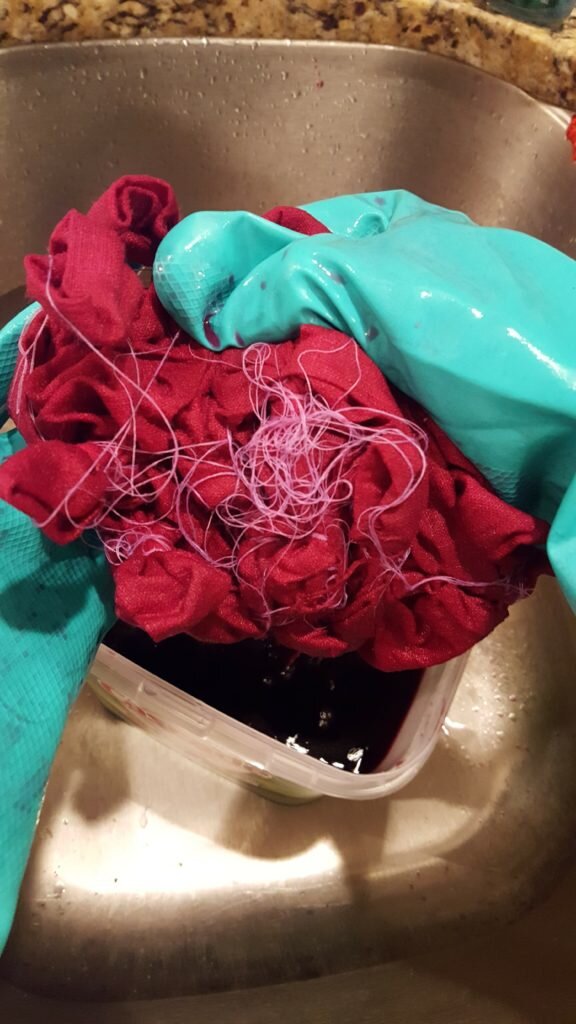
- After 30 minutes remove the fabric from the bath and rinse under cold water until water runs clear.

Remove fabric from bath rinse completely in cool water.
- Remove ties and stitching using a seam ripper.
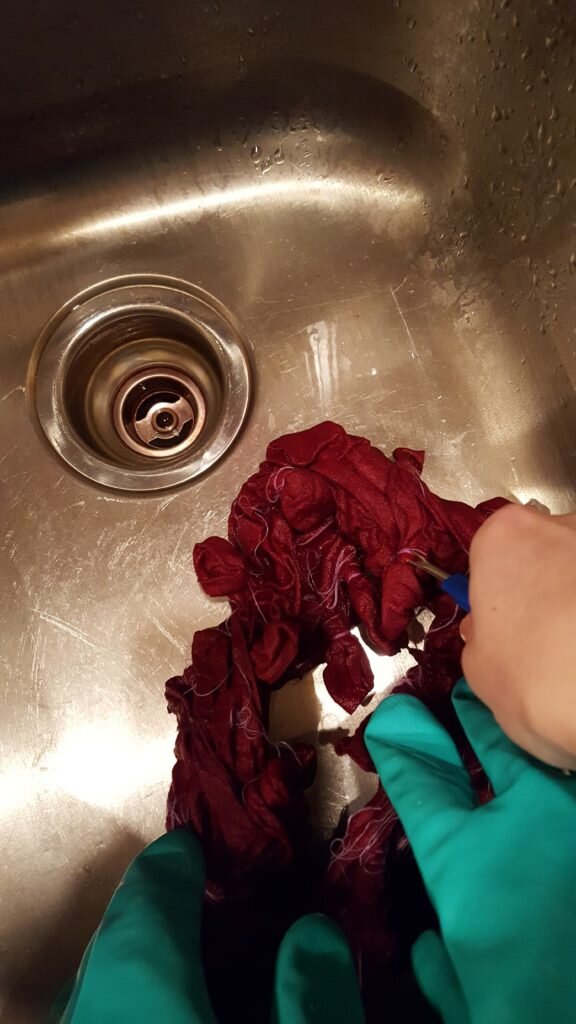
Remove stitching and ties with a seam ripper.
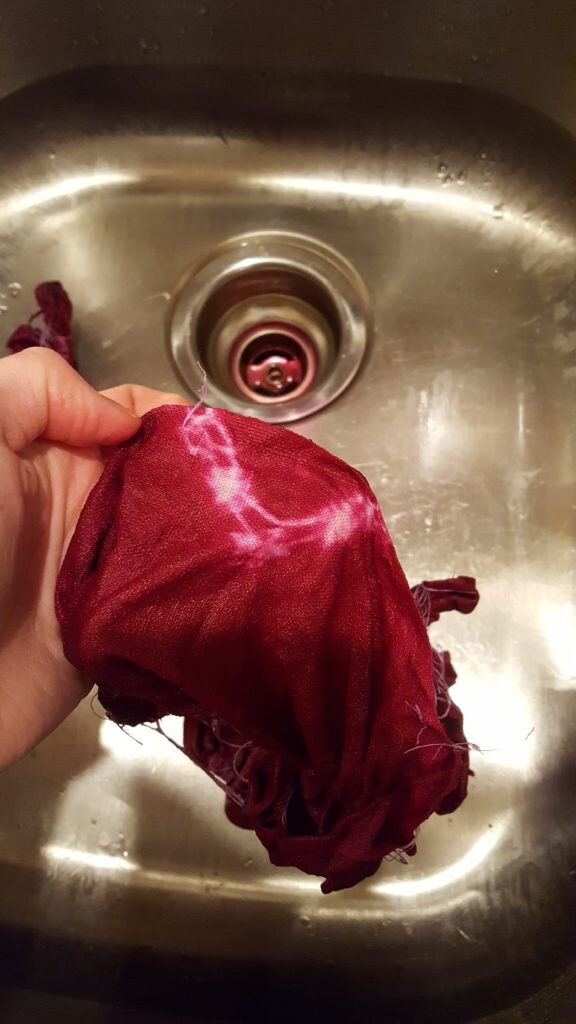
Look how cool this looks..
- Hang the fabric to dry.
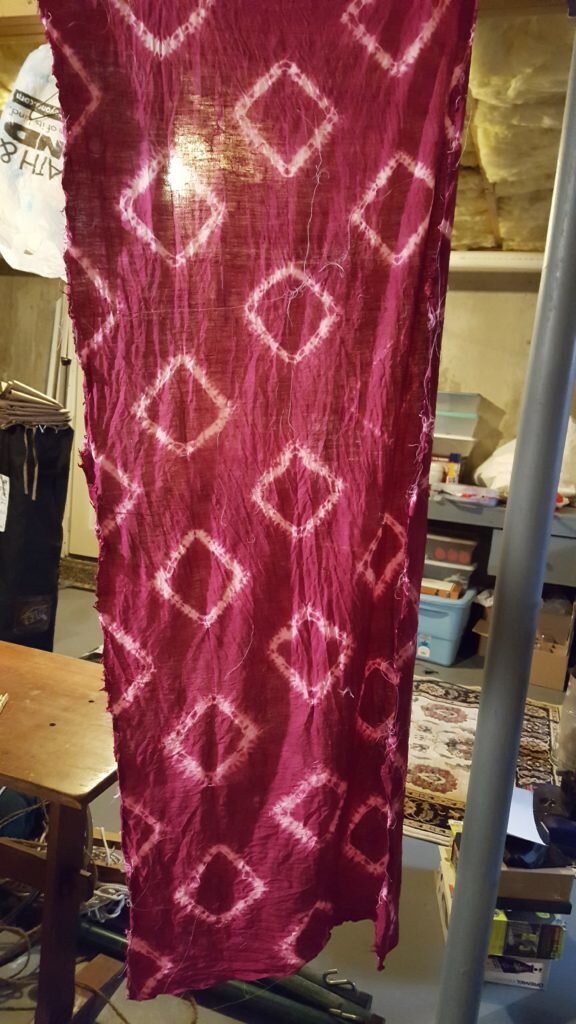
Hang to dry!
- Once completely dry, wash the fabric again in cold water, then warm. Then throw in the washing machine and wash with Synthrapol to remove any lingering dye.
Your fabric should now be colorfast! Use as desired!
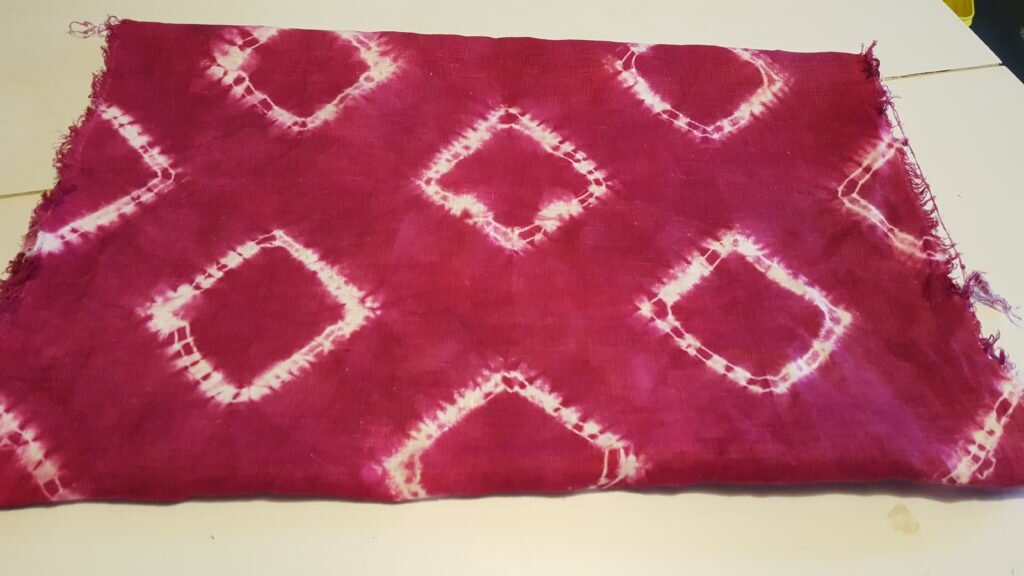
Look at this beautiful shibori fabric!
Tune in next week to see how I used this beautiful fabric!
