Well right now I’m sitting in the waiting room of the W&I lab and I’ll be here for another three hours… failed my one hour glucose screen again (this time with baby number two)… You better believe I’m wearing my ridiculous painting mask. Julius gets to hang out with Meemah for some summer house time while I’m here, which he was ecstatic about. I can’t believe the summer is coming to a close… time flies when you are doing nothing.
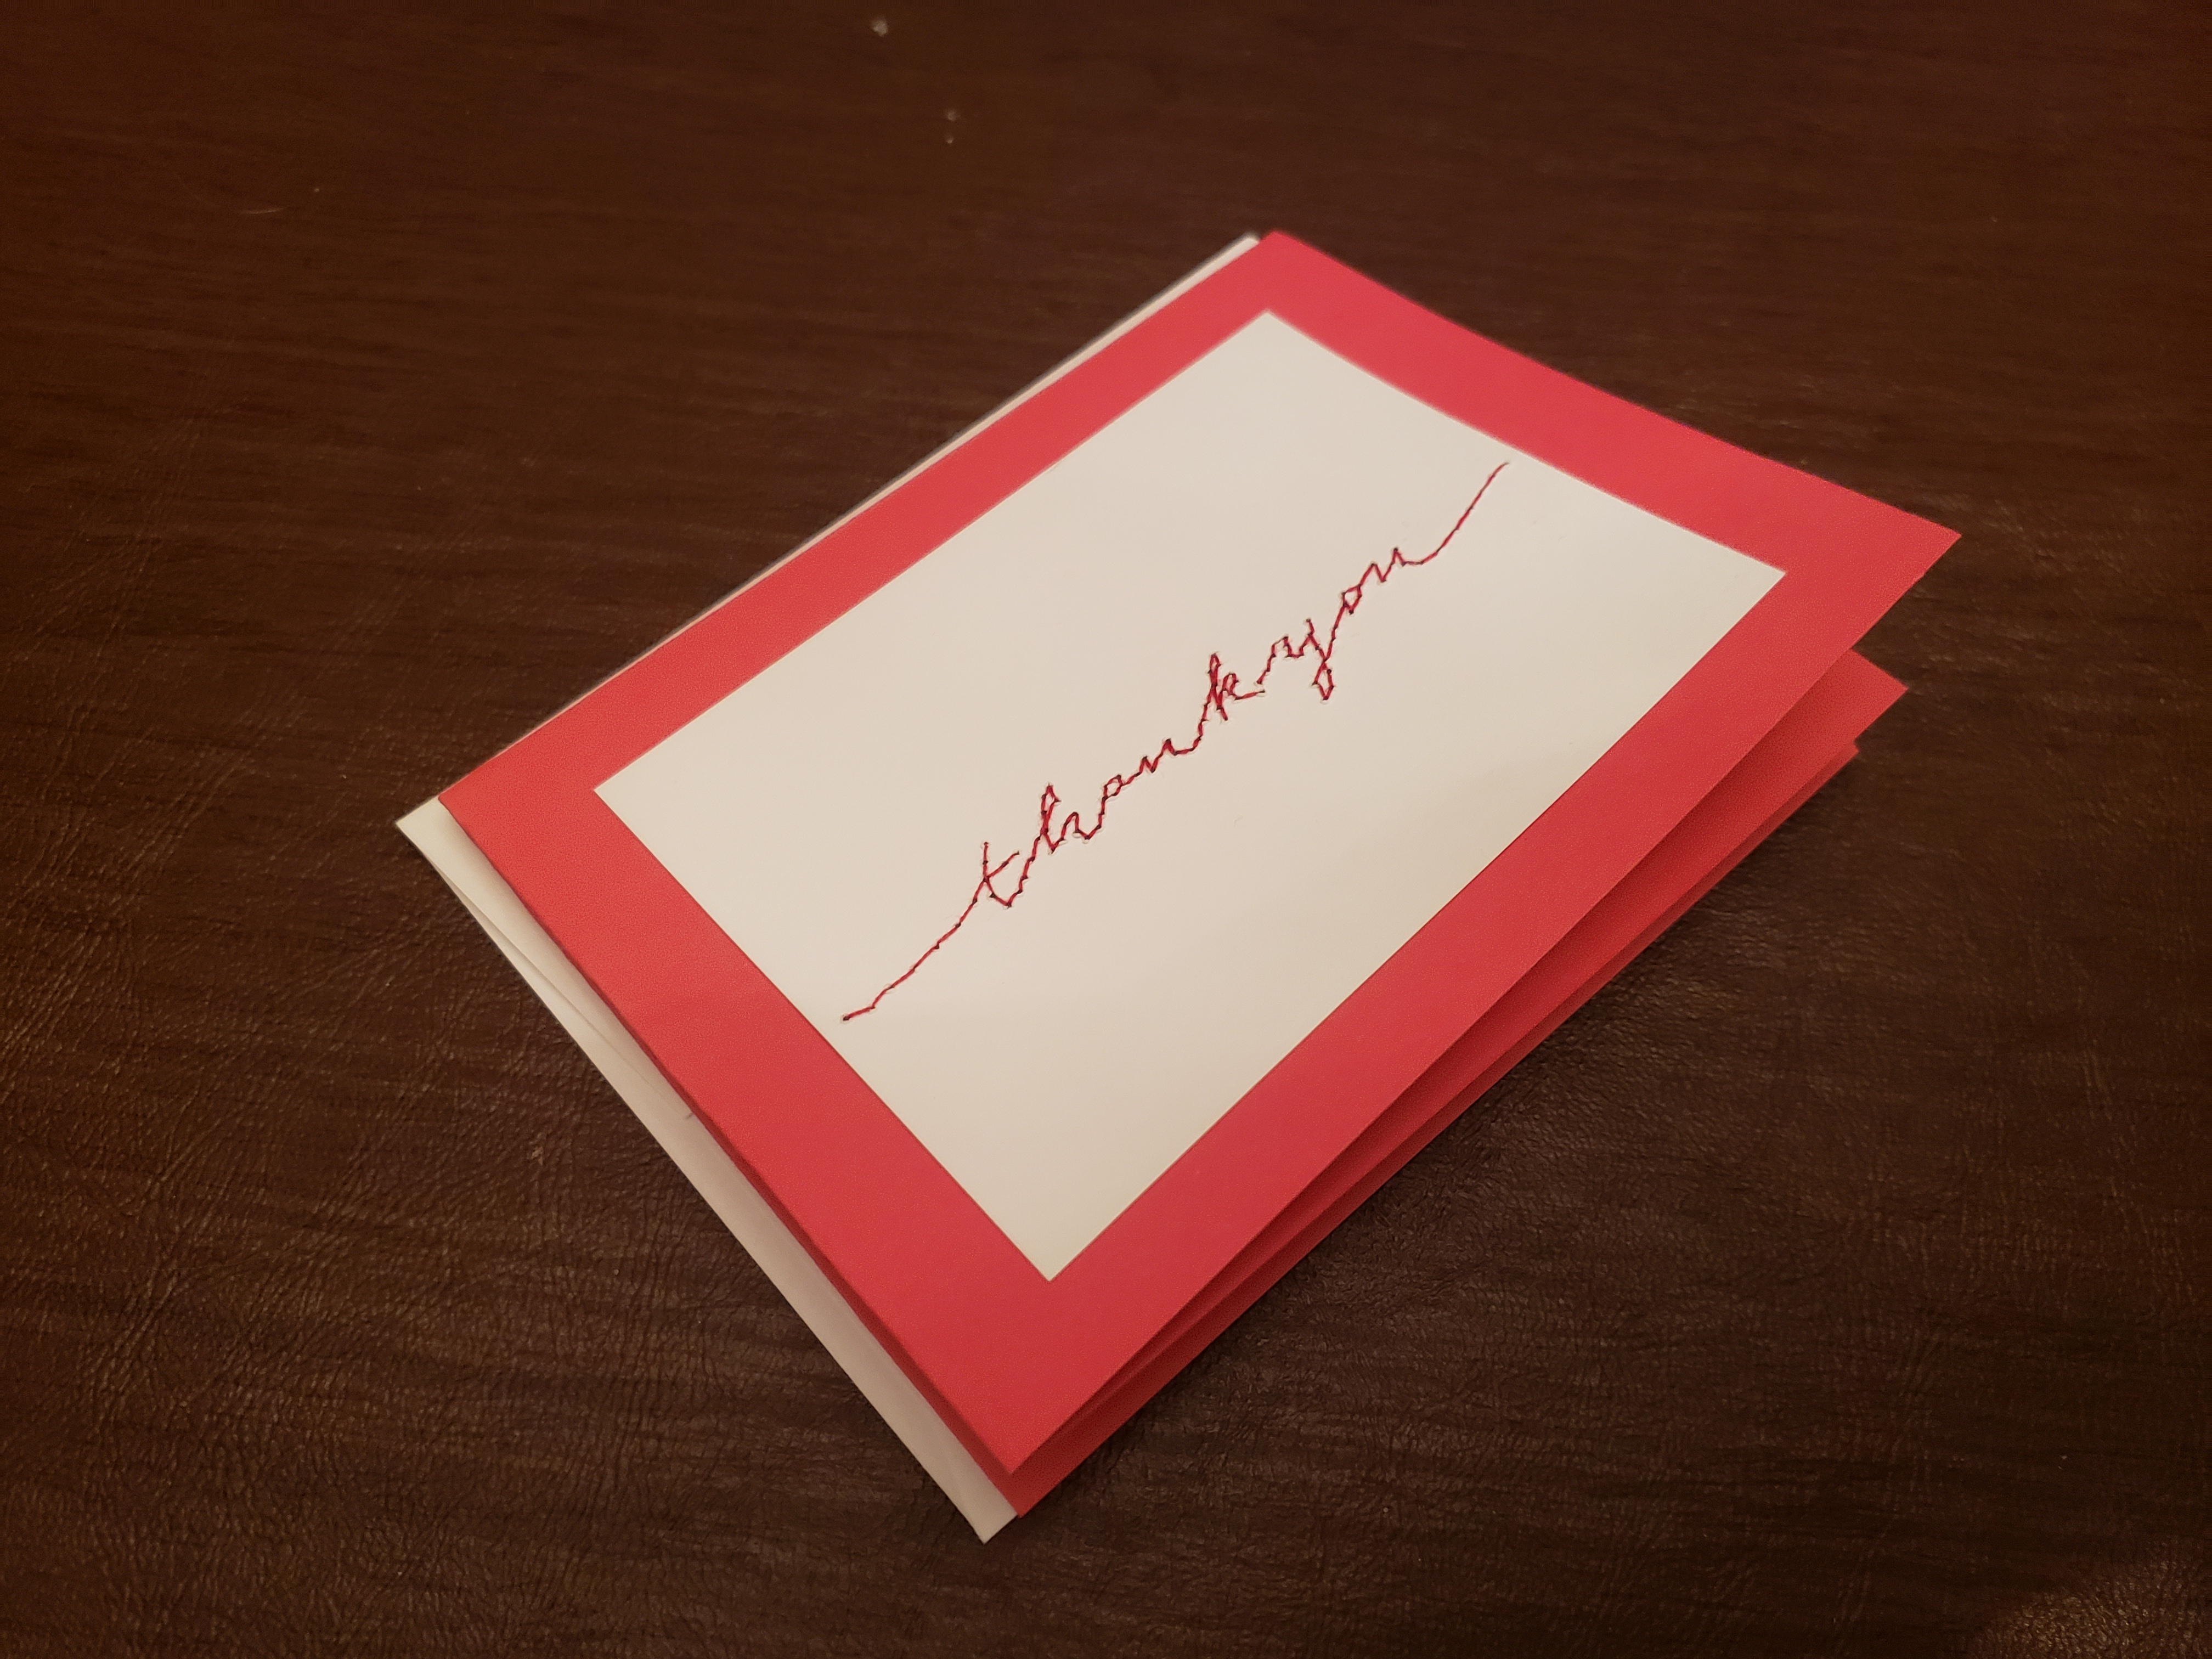
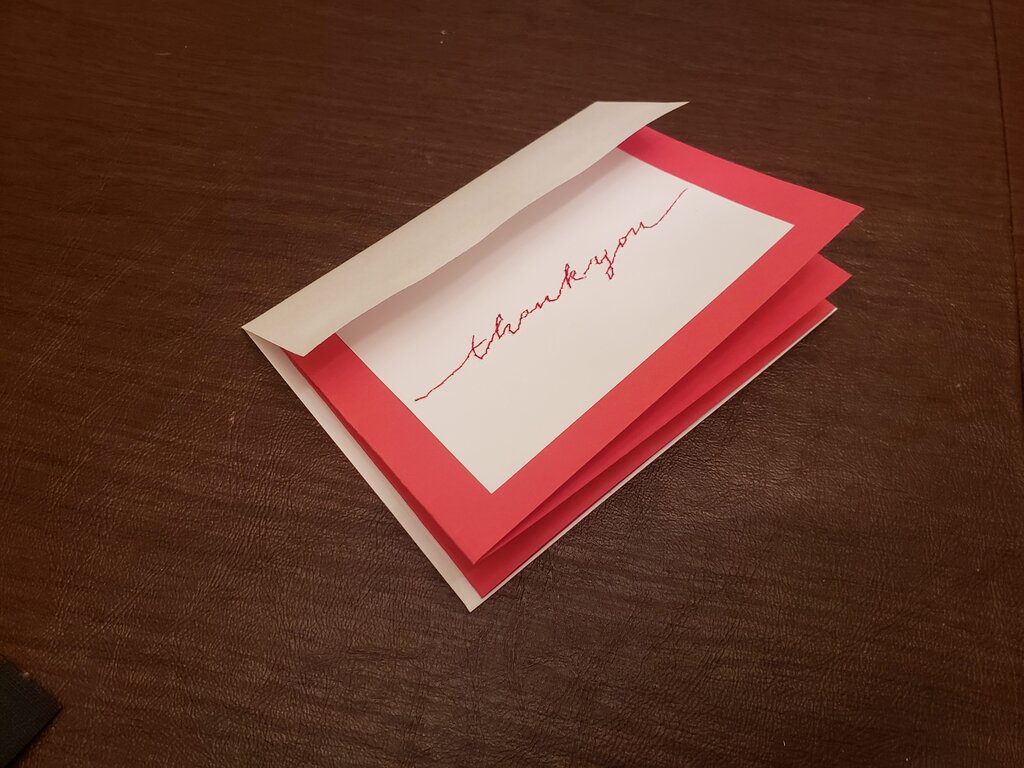
A couple weeks ago though I had something on the schedule! Right before Mandy and Bailey came to visit, I held another Ladies’ Night! People seemed to enjoy it, and it required far less instruction than the last one… which meant more time for talking. There were so many moms-to-be and recent moms there that it turned into a lot of discussions on birth… hopefully the candor didn’t scare anyone off. As for the craft, we made hand embroidered “thank you” cards which I think came out really nice!
Mailings
For mailings this time I skipped the invitations and instead invited everyone virtually. The mailers just included what was needed for the craft. Because I was mailing each person the materials to make a greeting card, I had to use slightly larger envelopes (size A6) to mail the craft. 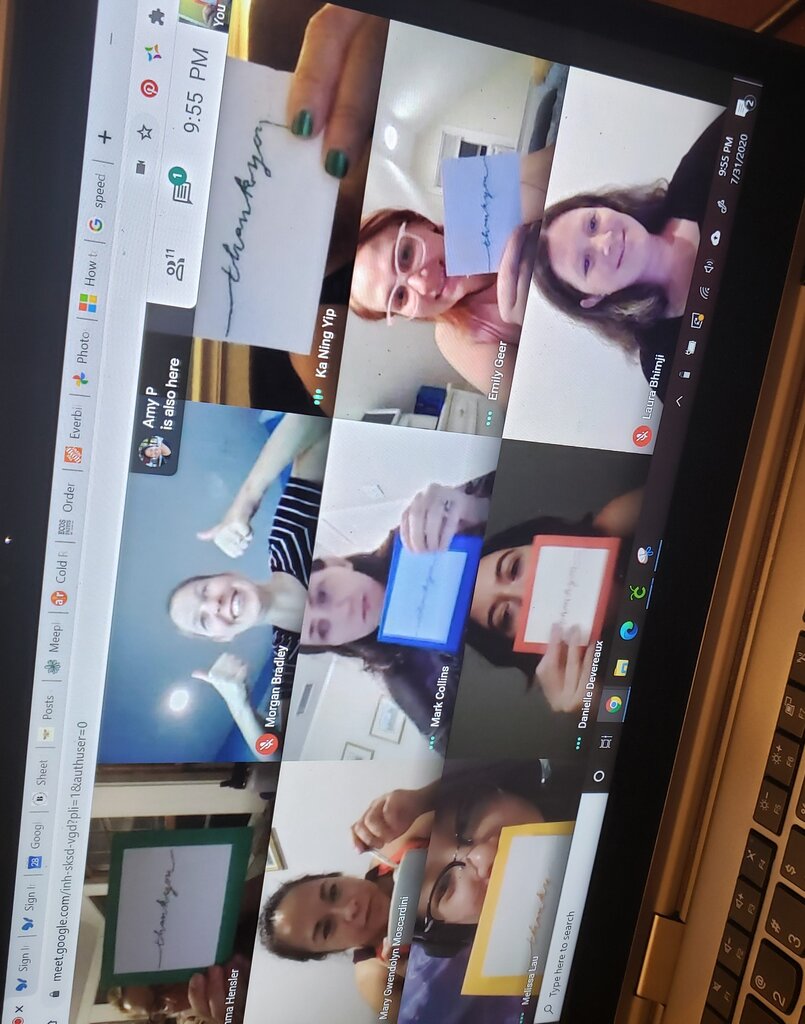
Mailers
Each mailer contained:
- White A2 Envelope
- 80 lb colored cardstock sheet folded in quarters
- white card, with stylized “Thank you” printed in reverse.
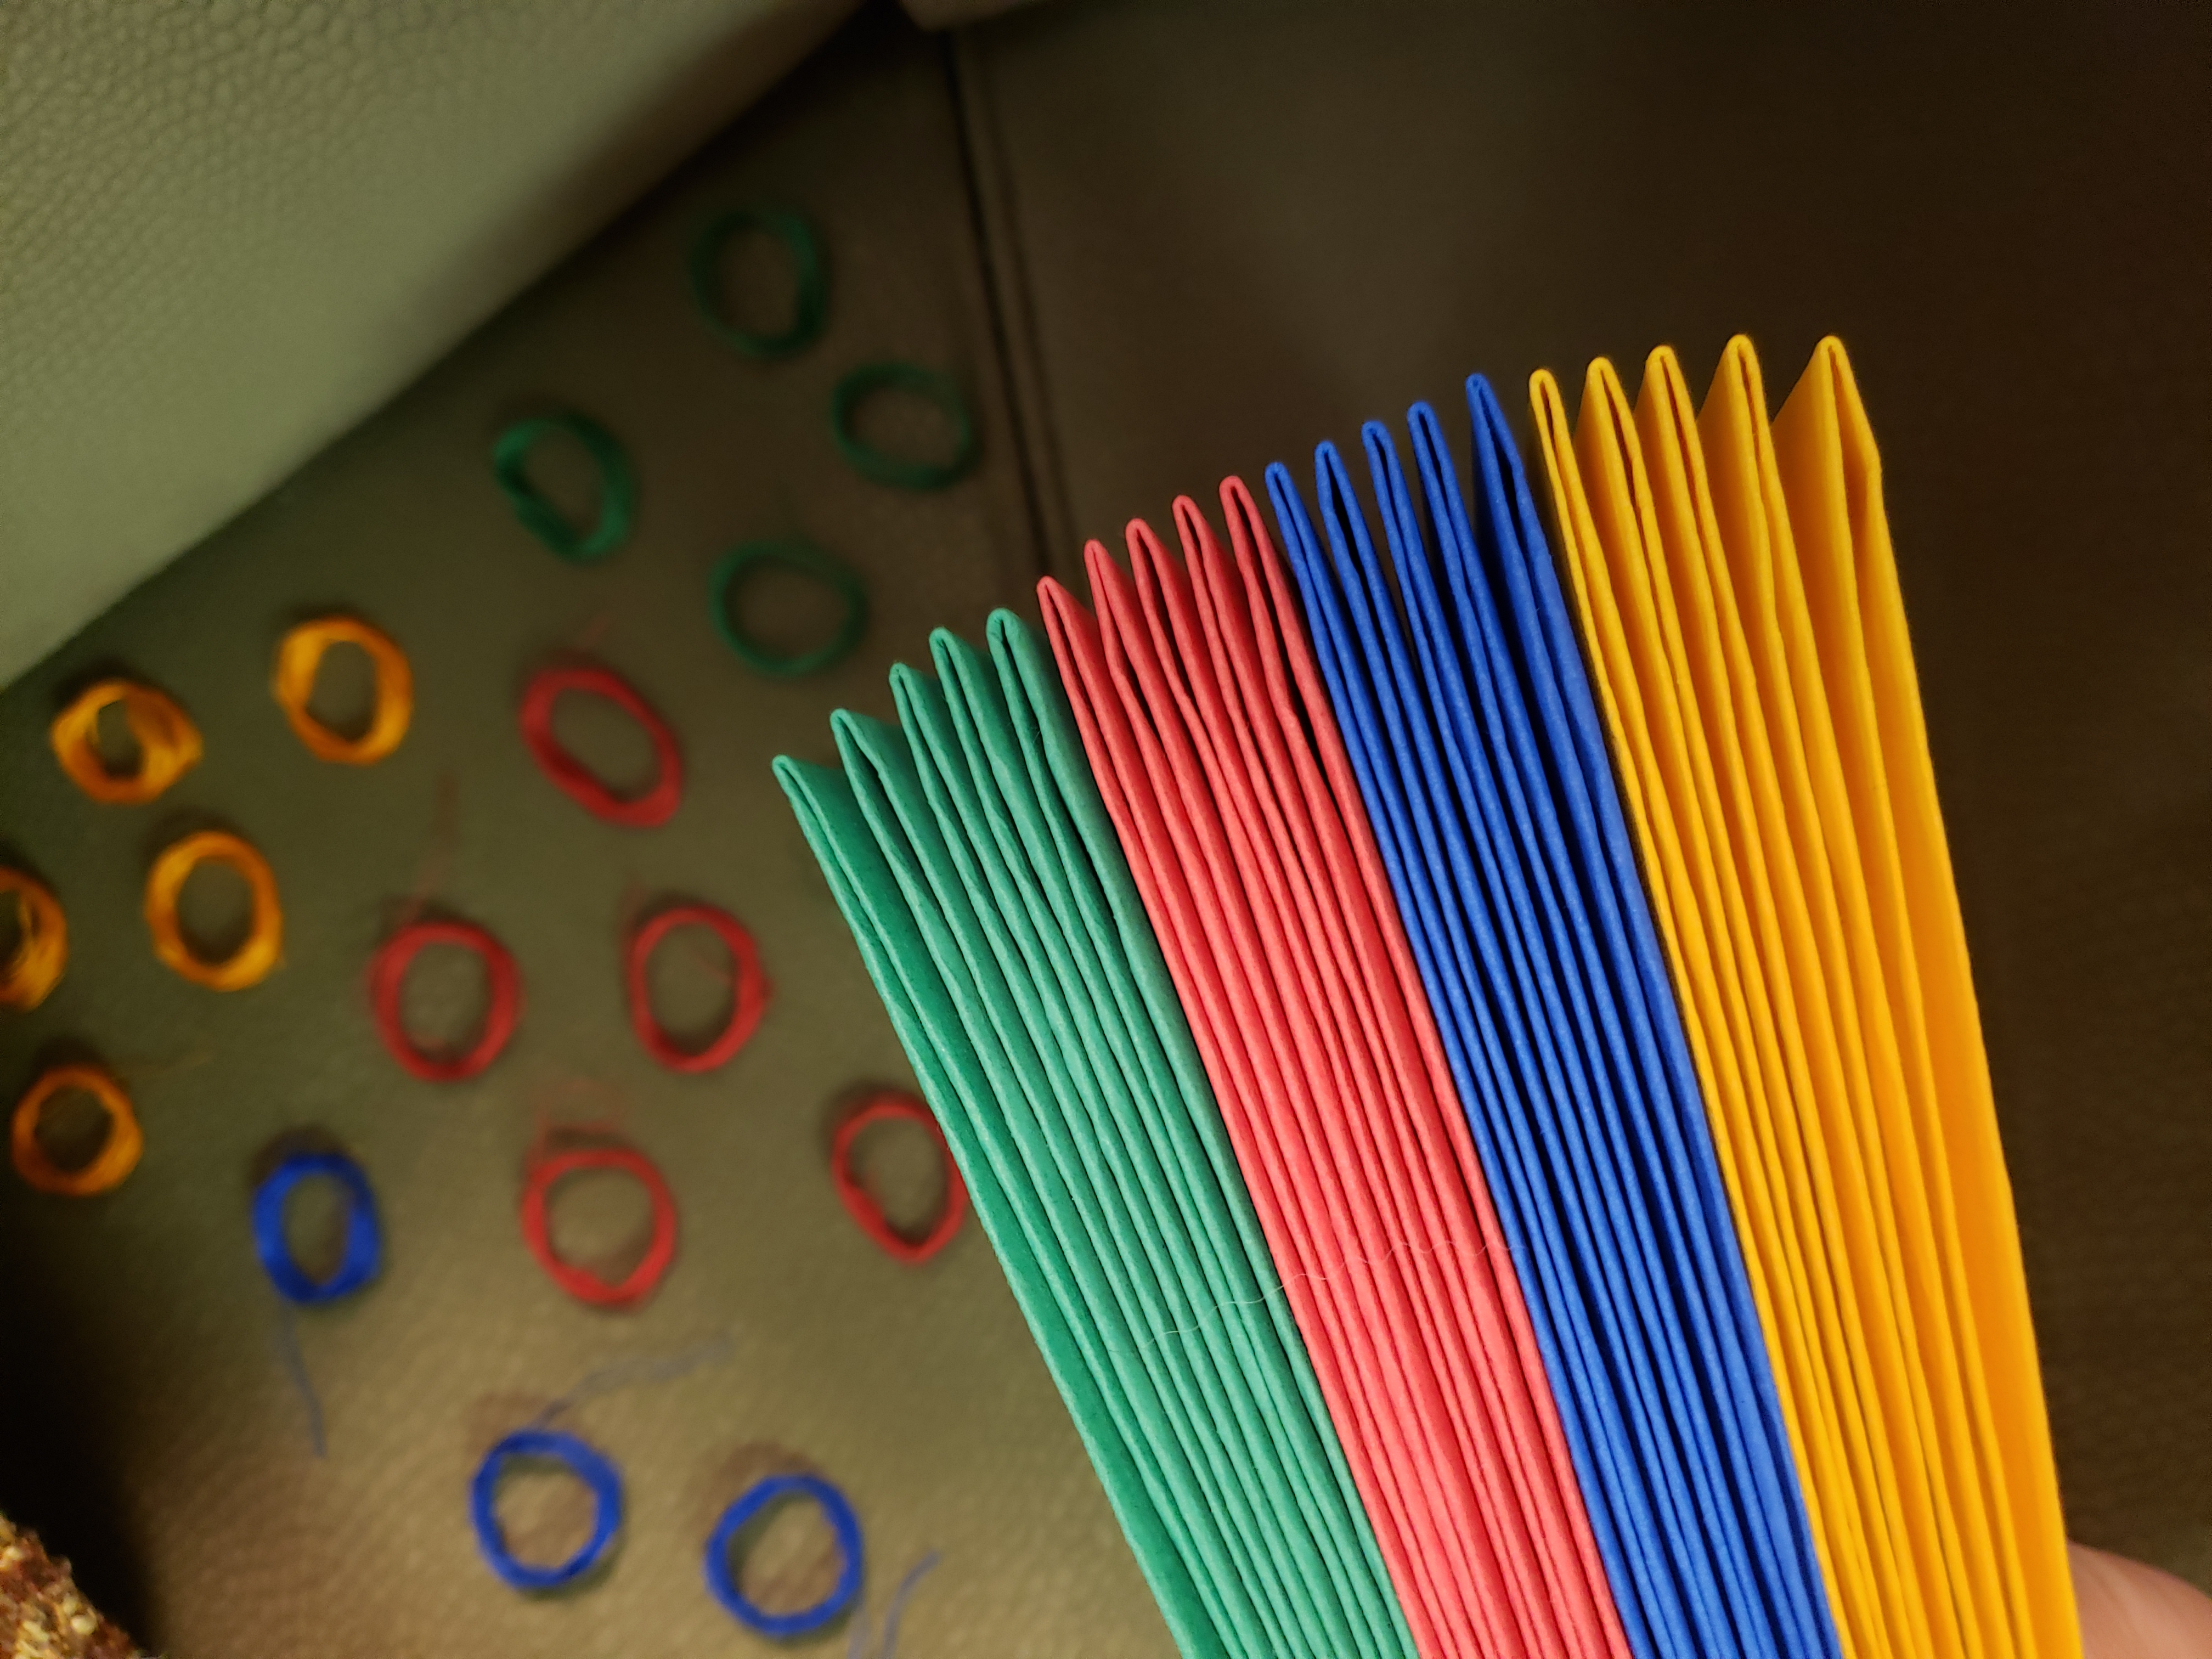
- size 8 embroidery needle, enclosed in a tiny paper case
- Single strand embroidery thread
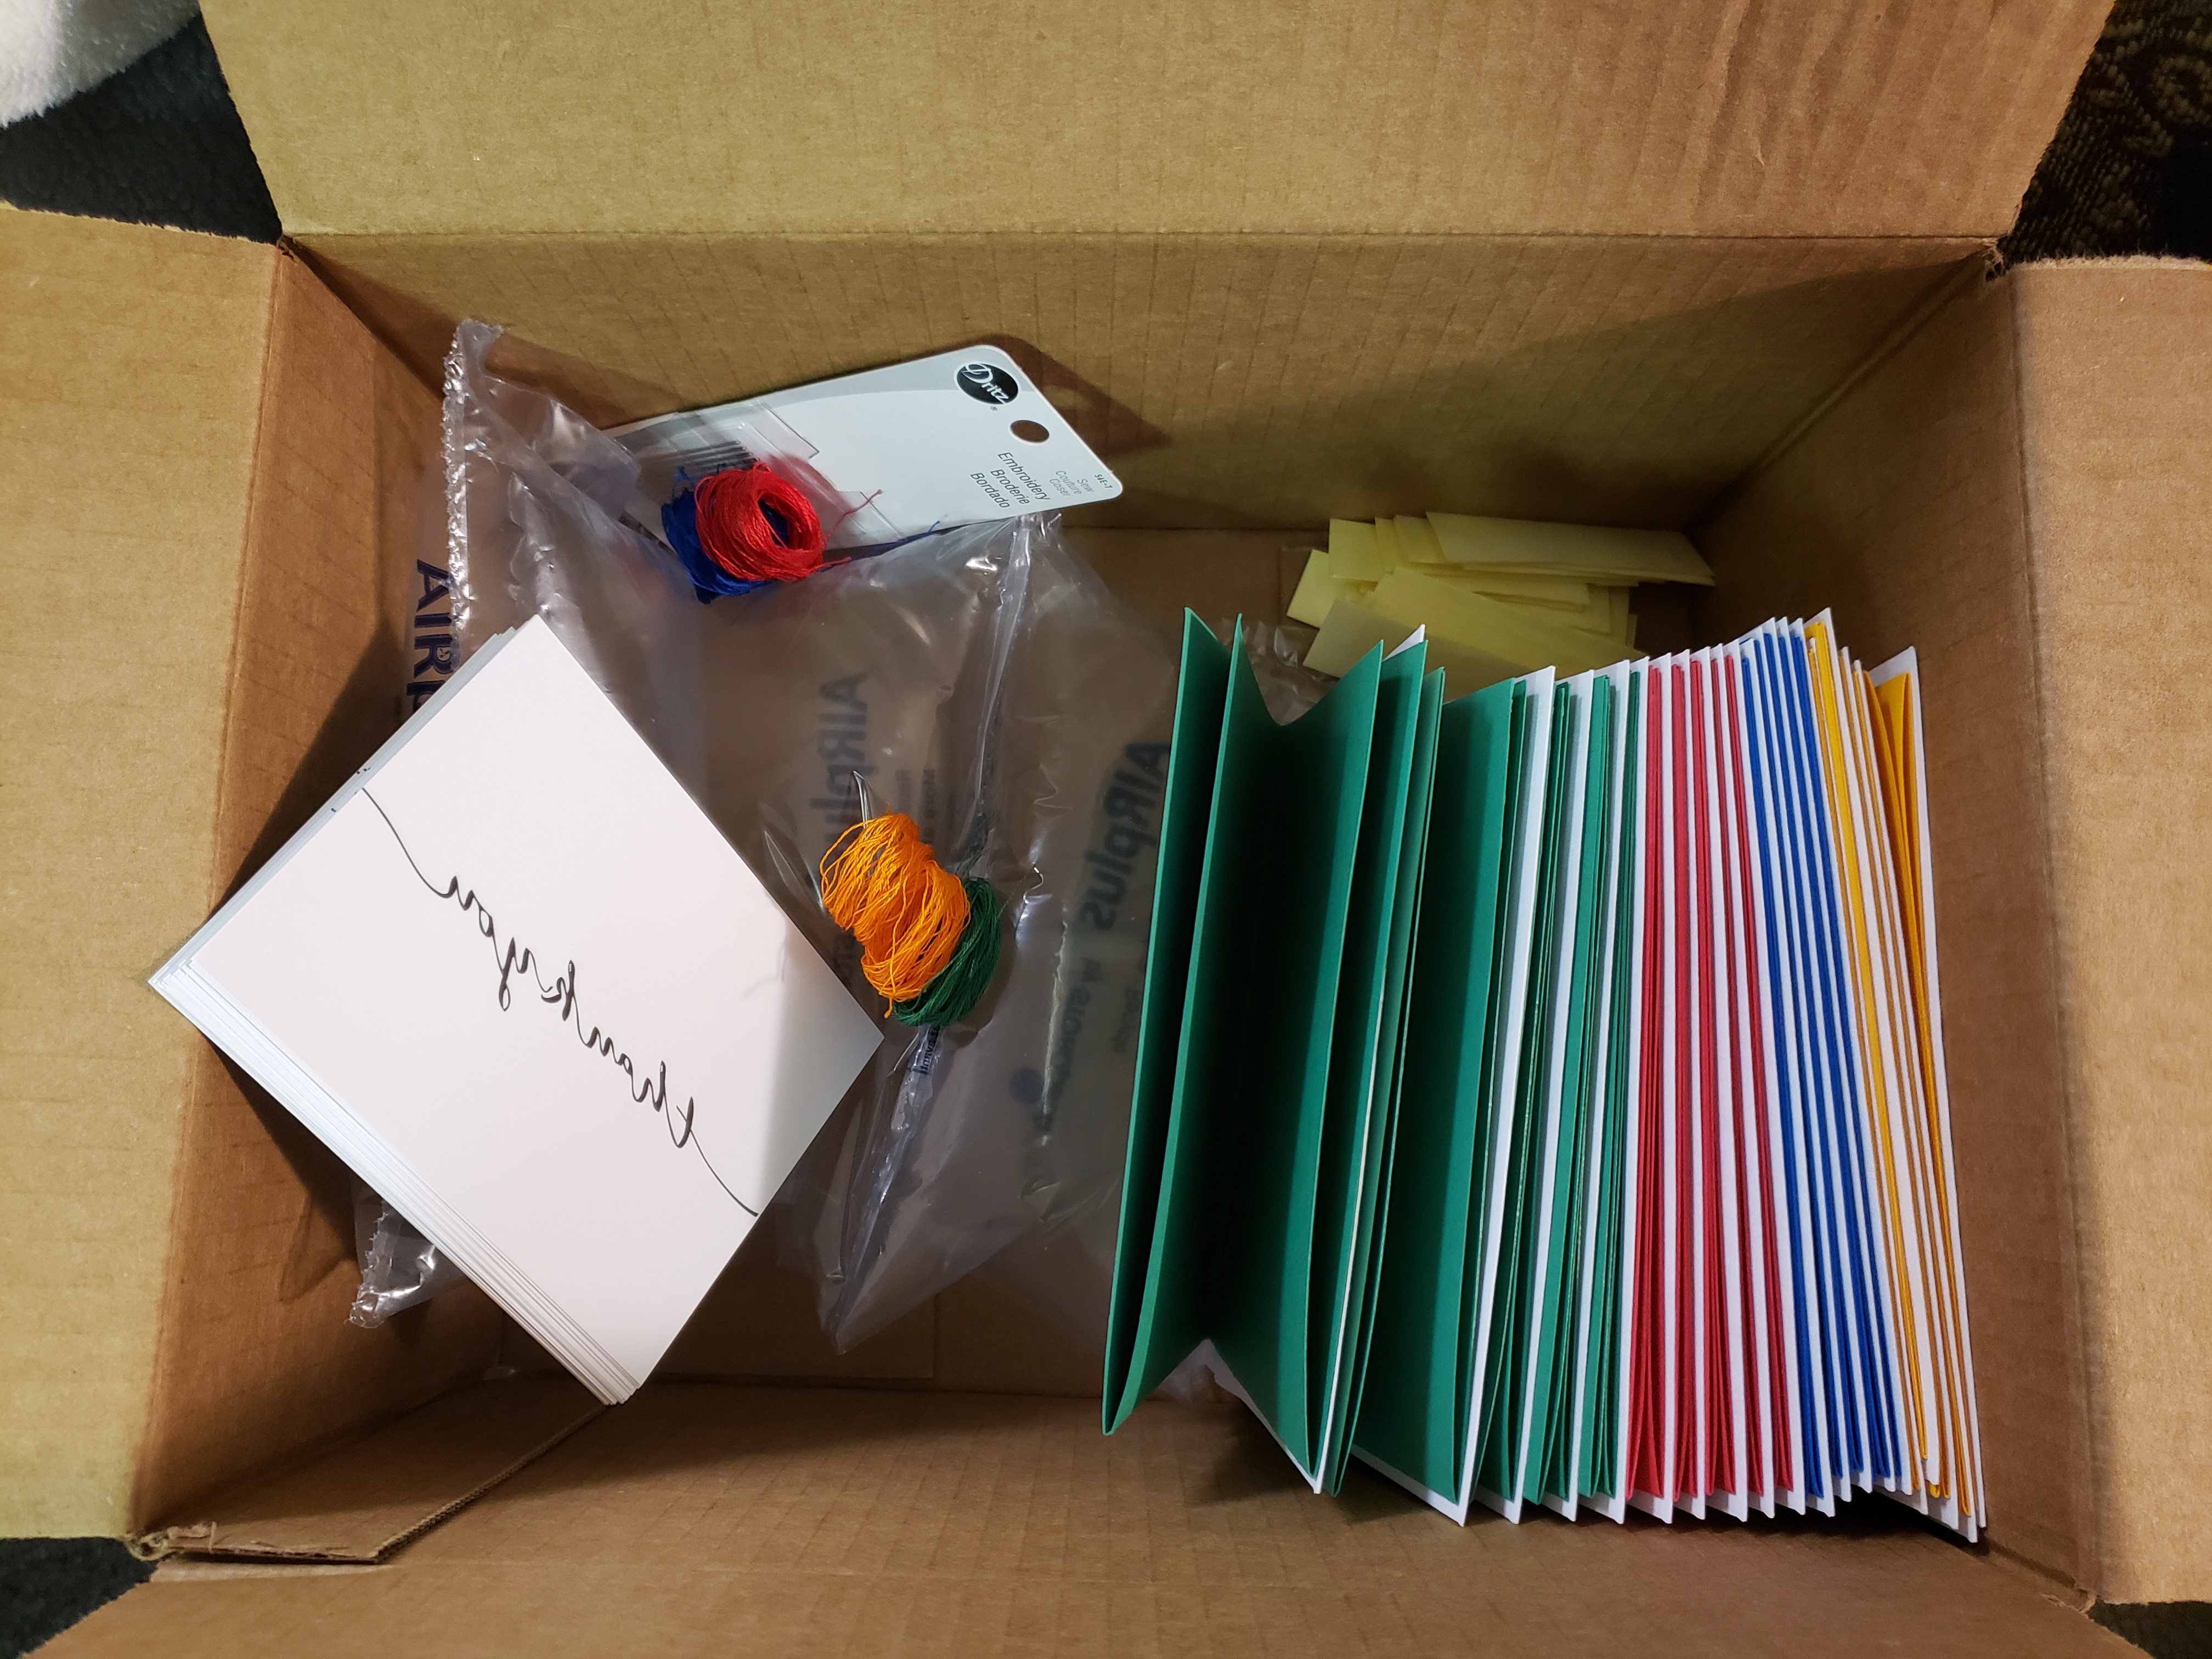
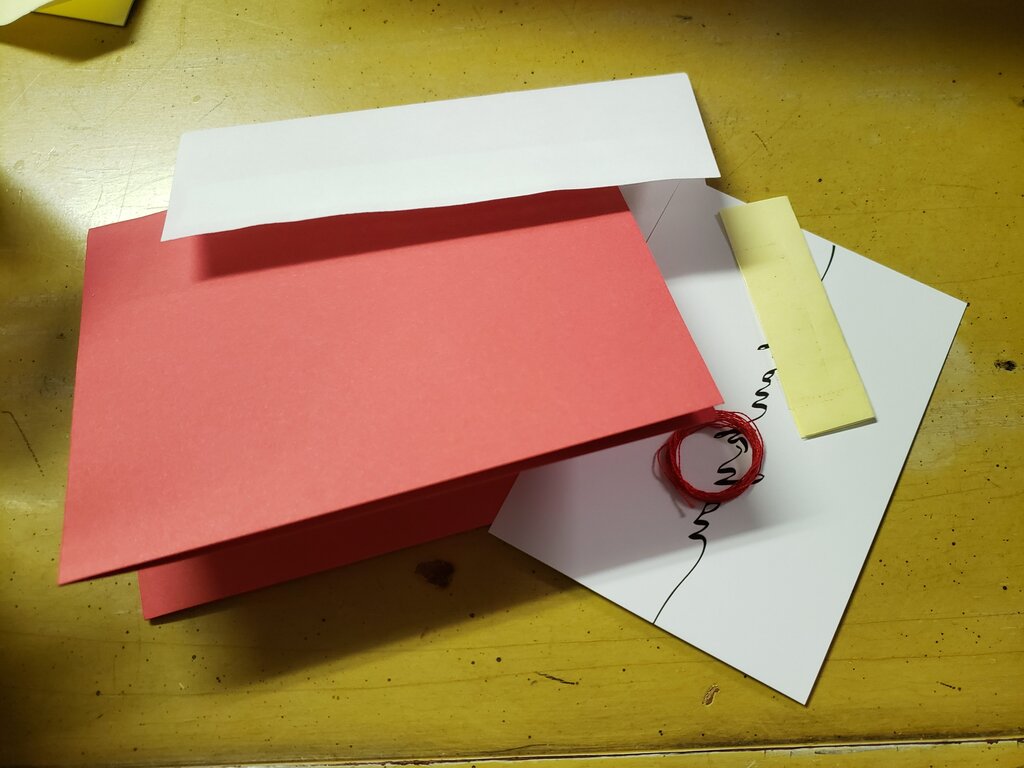
Each mailer contained thread, needle (in yellow packet, envelope, folded cardstock, and cardstock template
Craft
- Hand Embroidered Thank You Card
- White A2 Envelope
- 80 lb colored cardstock
- 110 lb white sheet of cardstock
- size 8 embroidery needle
- Single strand embroidery thread to match colored cardstock
- Glue Stick
- Template here
- Fold colored cardstock in half width-wise to form a 5.5”x8.5” rectangle. Fold in half again to form a 5.5”x4.25” card.
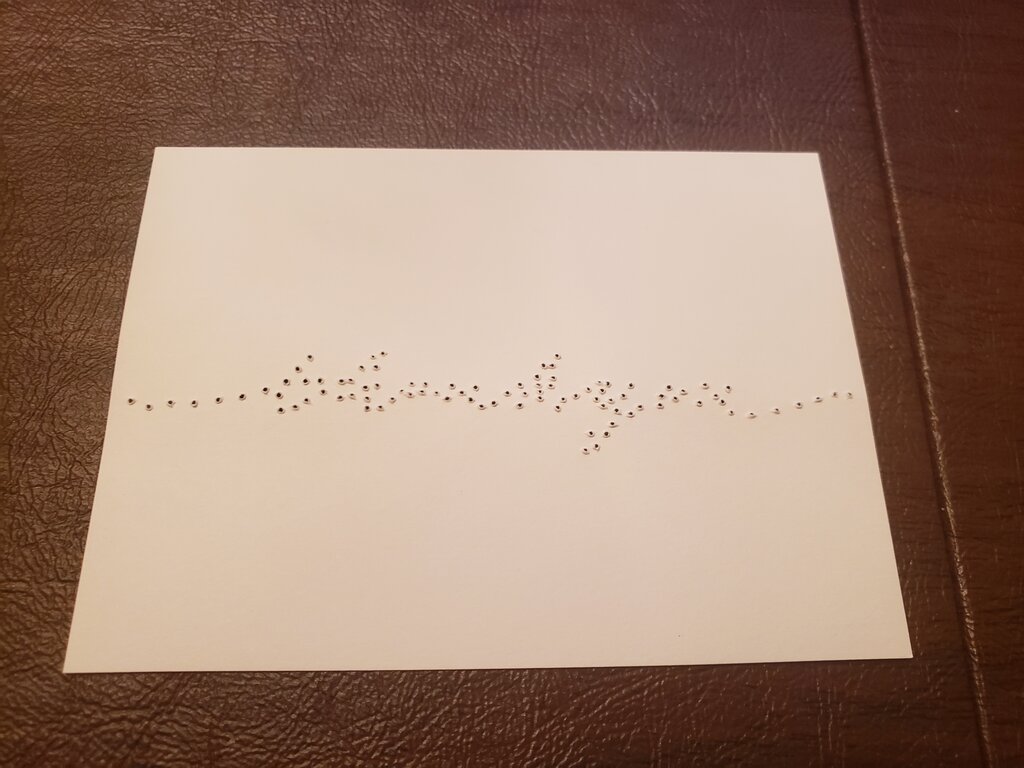
- Use the template above to print out thank you embroidery template.
- Cut out embroidery template in a 4.5”x 3.25” rectangle with wording centered.
- Using the embroidery needle poke holes all along the cursive reversed “thank you” words, 1-2mm apart. (The side with the words will be the back, and will not be seen when card is constructed.)
- Thread your needle. Starting on the right hand side of the white “Thank you” wording, insert needle through the second hole from the right. Pull thread through the hole, leaving a 1” tail, then insert back through the first hole around the front. Pull tight, leaving the 1” tail. Push needle through third hole, and back through the second hole, pulling tight. Continue in this method, skipping a hole on the back and going back to previous hole on the right.
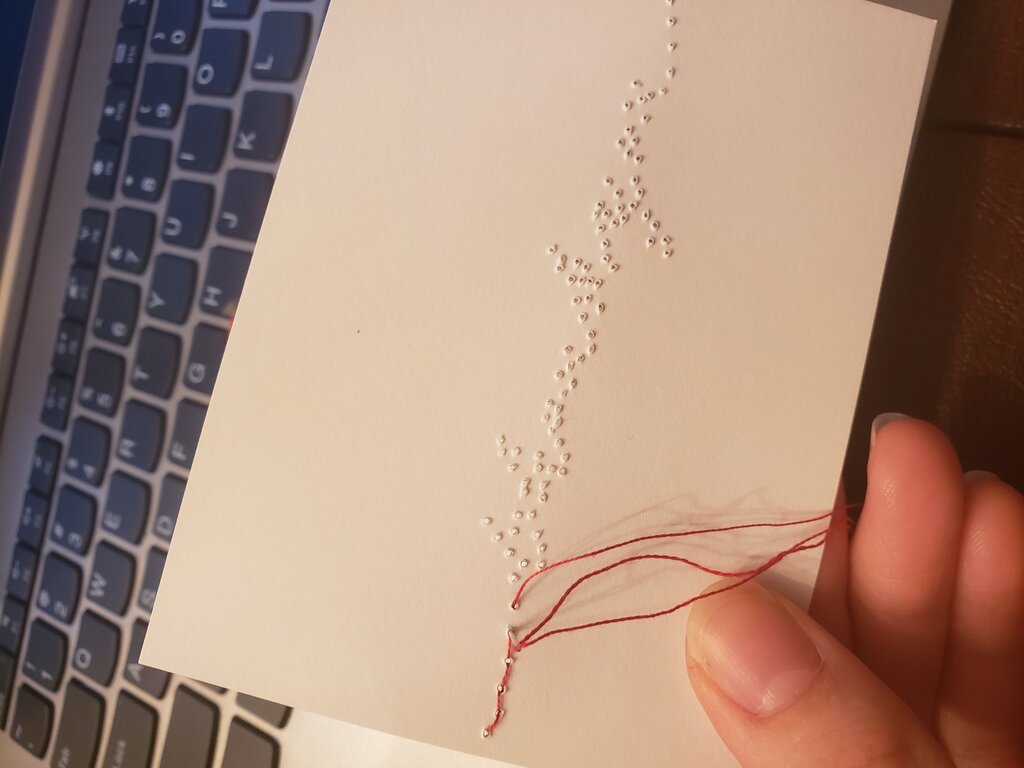
- Continue until you reach the end of the lettering, making sure to end on the back of the paper. Trim the tail.
- Using a glue stick, cover the back of the embroidered template in glue, be sure to encompass the tails.
- Center white embroidered template on your cardstock and press firmly.