
Thank you to everyone who entered February’s contest! I will announce a new contest next week! By random number generator the winner of the last contest is Ann! I’ll contact you to see what you want on your new custom shirt! For those who were wondering, the official title (from Julius) of Julius’ picture is “A band”. When pressed for details he said “because they all have microphones” and when I asked about the things on the ceiling that look like disco balls he said “oh those are decorations”. So there you have it! “A band” by Julius Colton.
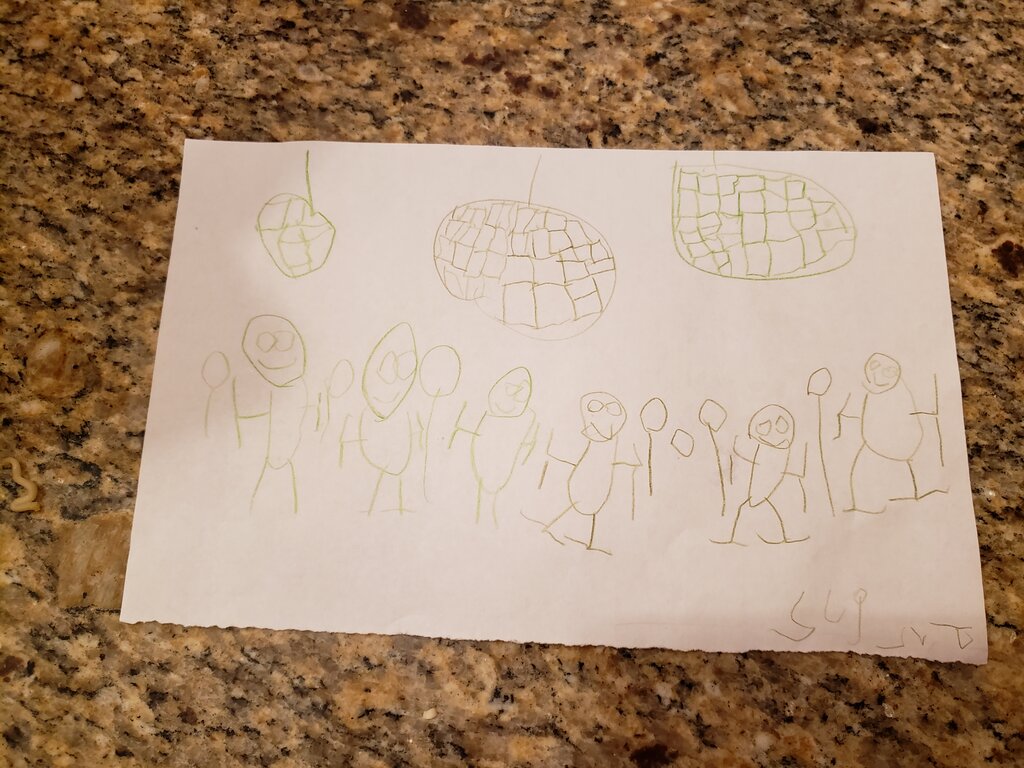
A band. By Julius Colton
Well this silly project isn’t quite done yet so I guess I must leave that for another day again! Instead I’ll show you just a little thing I did the other day that I should have done years ago! You may recall that I made Julius a play kitchen for his second birthday. This is one of the best ROI projects I’ve done! He loves it and now Patricia loves it just as much. I always thought I would move it to his room after his birthday, but it’s become a permanent fixture in our living room. Because of where we have it, you can see the back of the kitchen/old dresser which is really, really ugly. I should have painted it, but I never expected it to be seen! And now in order to paint it I’d have to remove everything and take it outside to paint… then bring it back in… that prospect for some reason has deterred me for over 2 years.
So I finally came up with a solution that didn’t involve paint (though I think maybe I will touch it up). I am totally in love with the fabric – it’s like a work of art!!
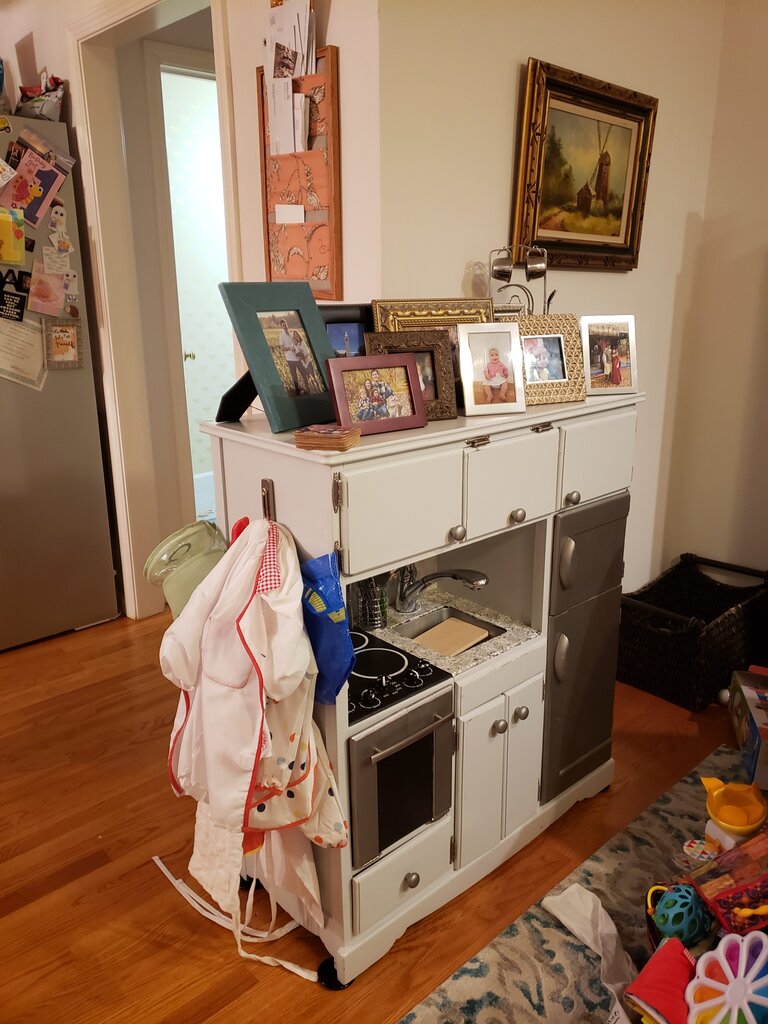
Remember this?
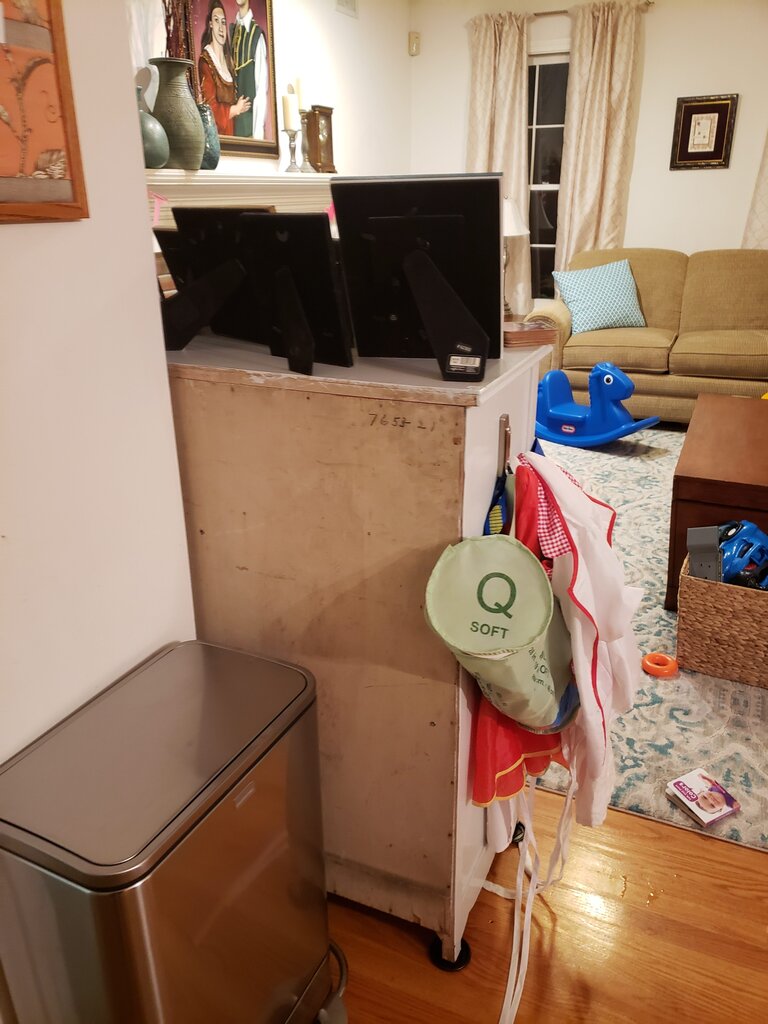
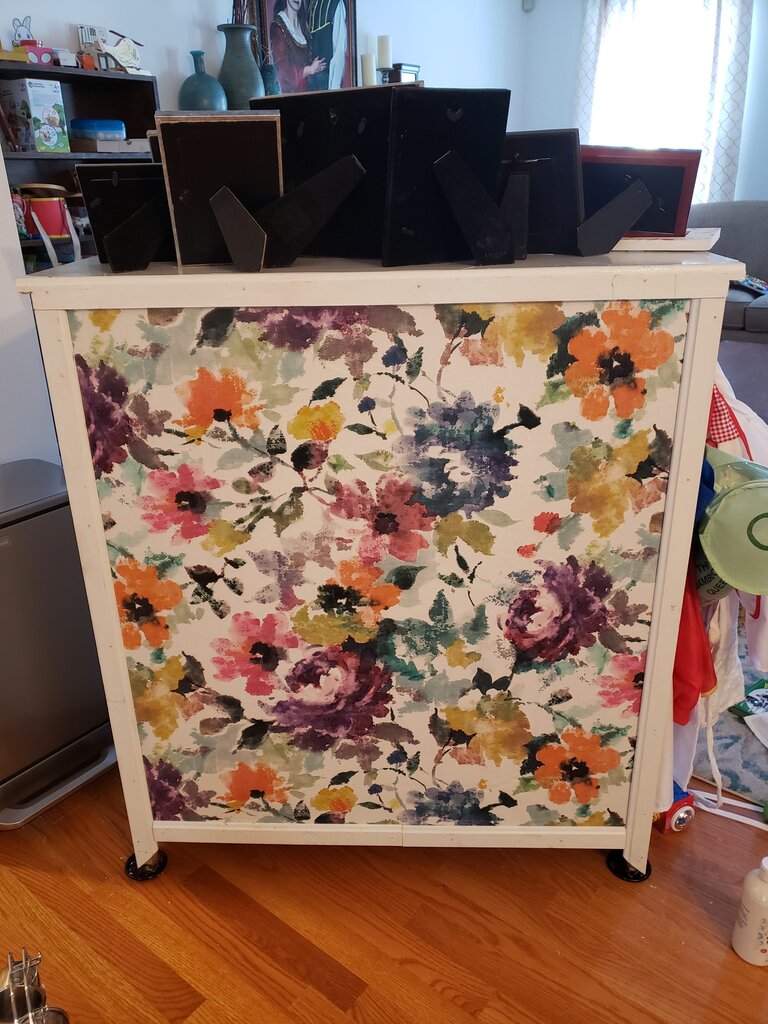
This is the back view that I’ve been staring at for 2.5 years!
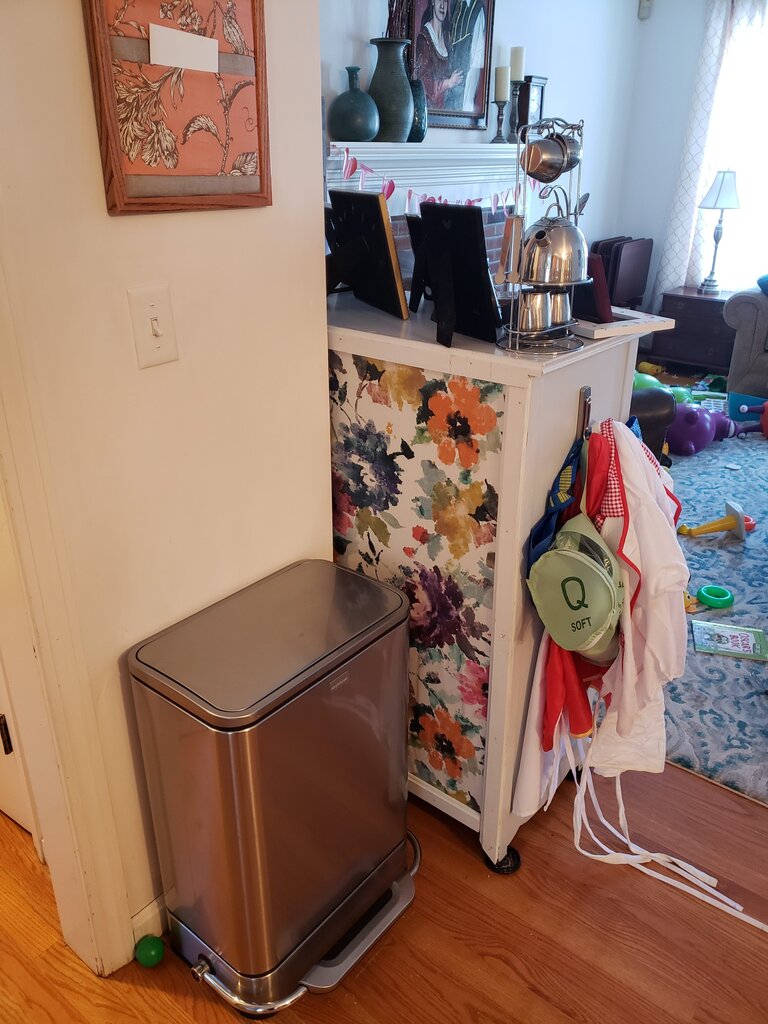
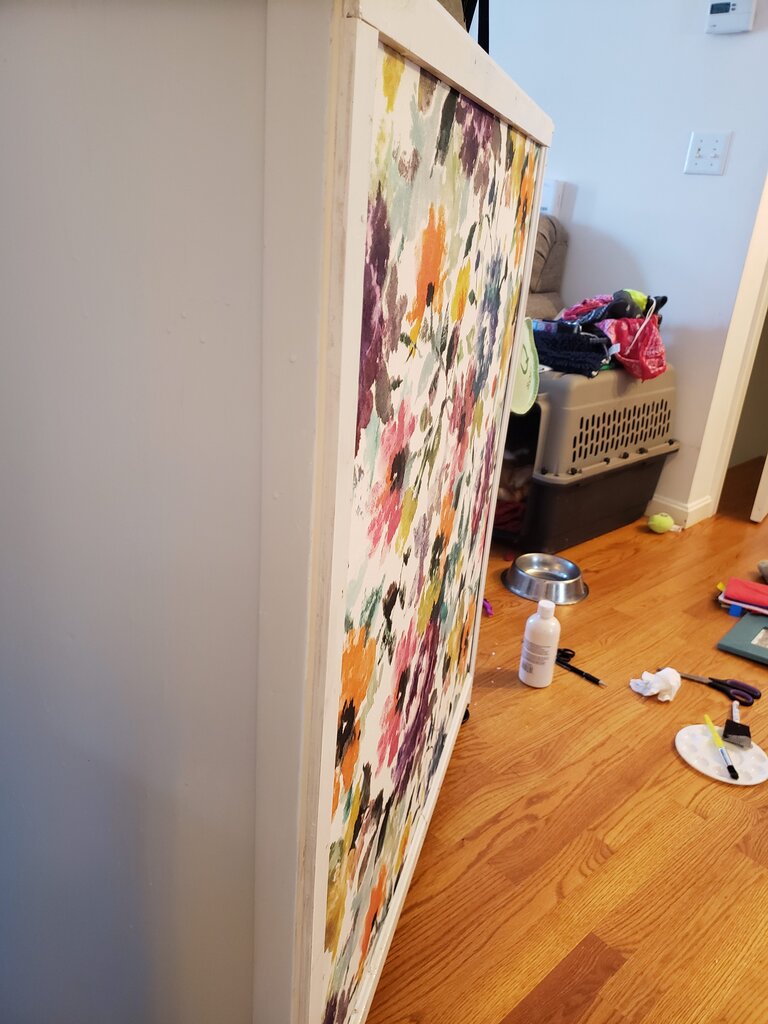
My new view! So much better!
Alternative way to finish the back of a furniture piece
What you’ll need:
- 2″ wide trim
- small finishing nails
- staples and staple gun
- fabric of your choice
- white caulk
First I stapled my fabric directly onto the back of the dresser.
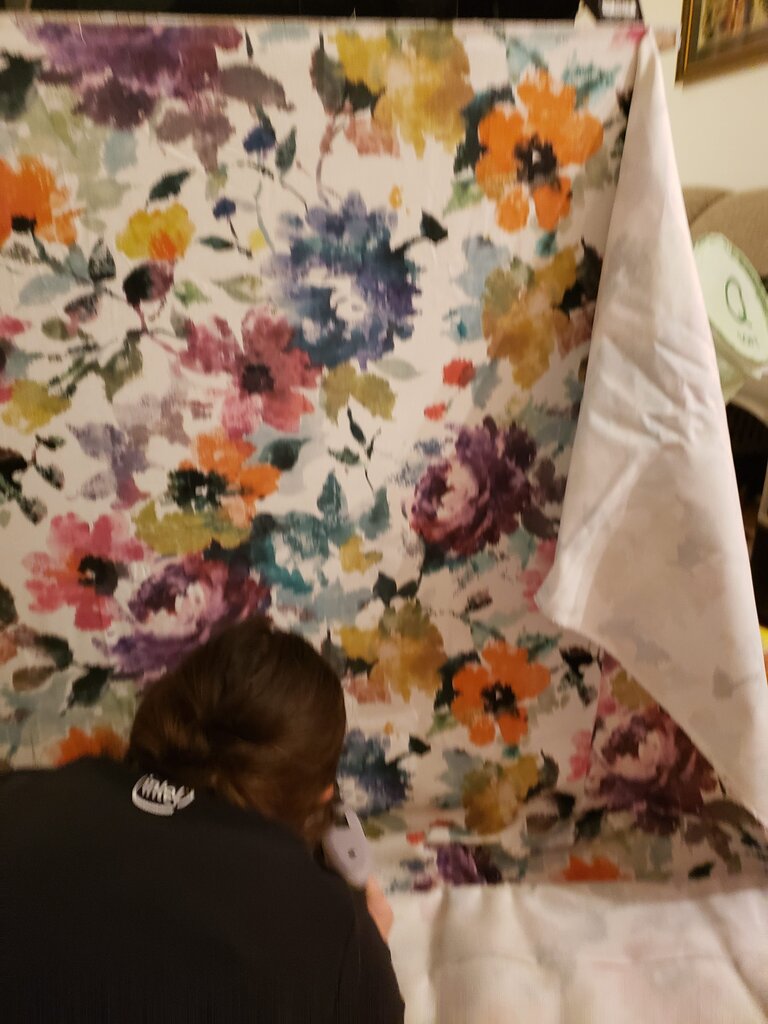
Staple the fabric onto the dresser (Julius took this one).
We (Julius helped) trimmed the fabric so it was just inside the borders of the furniture.
Next, I measured out the trim for the top, cutting out notches for the smaller pieces of wood.
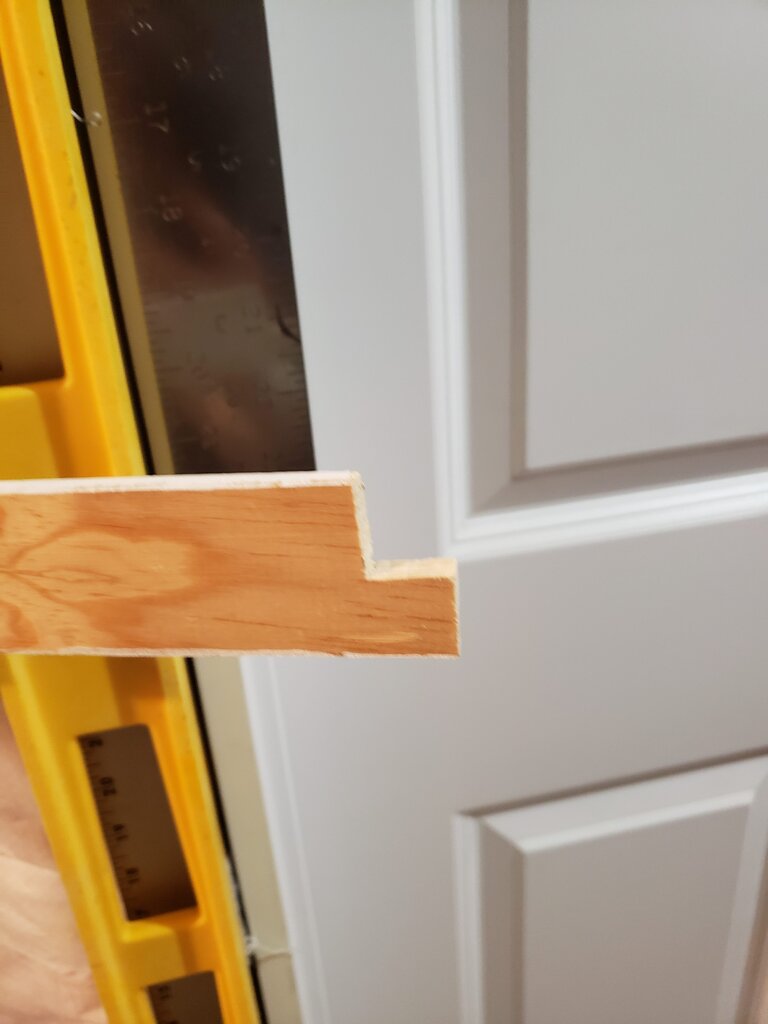
Cutting the trim to fit the top
I measured wood for the sides from just below the top trim to just above the floor, and cut them on a 45 degree angle for funsies.
Then I measured and cut one final strip for the bottom, between both sides.
I nailed each piece onto the back using trim nails.
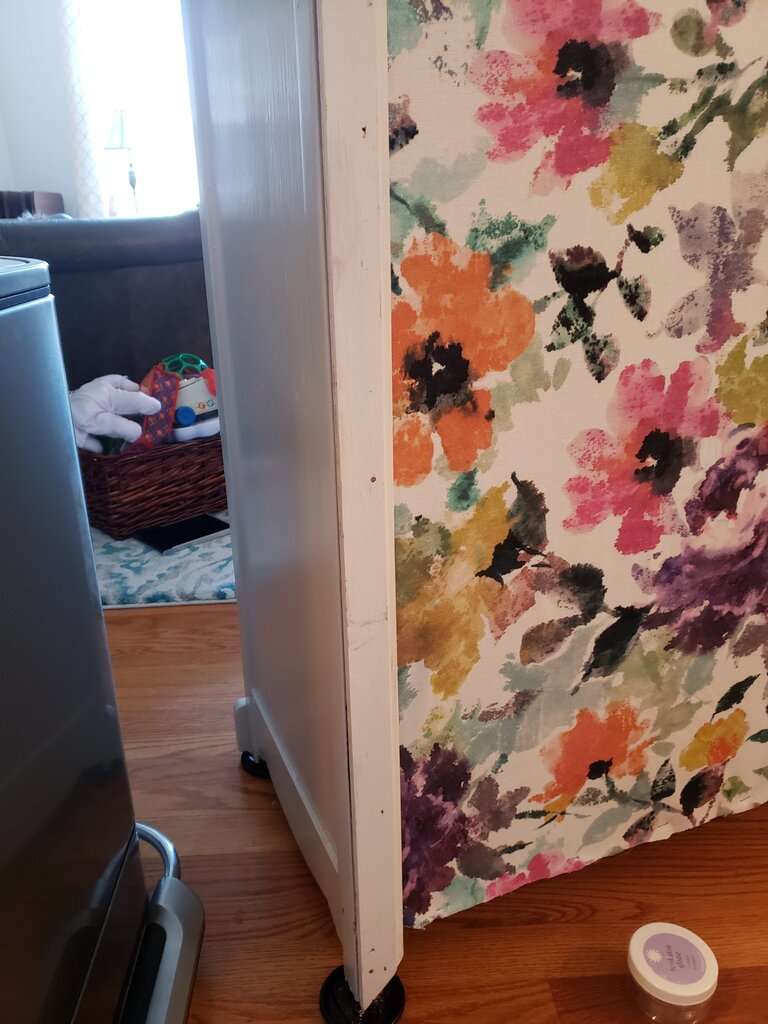
Nailing trim down the sides
Finally I caulked the unfinished edges on the left and right.
Adding caulking in the gap between trim and kitchen.
I absolutely love how it came out!
It’s like a framed work of art!

That’s a great idea – it looks so good!
Thanks Amy!!! I’m so happy with it. Makes me happy when I look at it!