I’ve been busy recently with some other ventures (to be discussed in an upcoming post) and thus haven’t had much time for other crafts. My list is growing though so I’m going to have some fun things to show you in the coming weeks. Today I decided to whip up a solution to something that has been on my list for a long time.
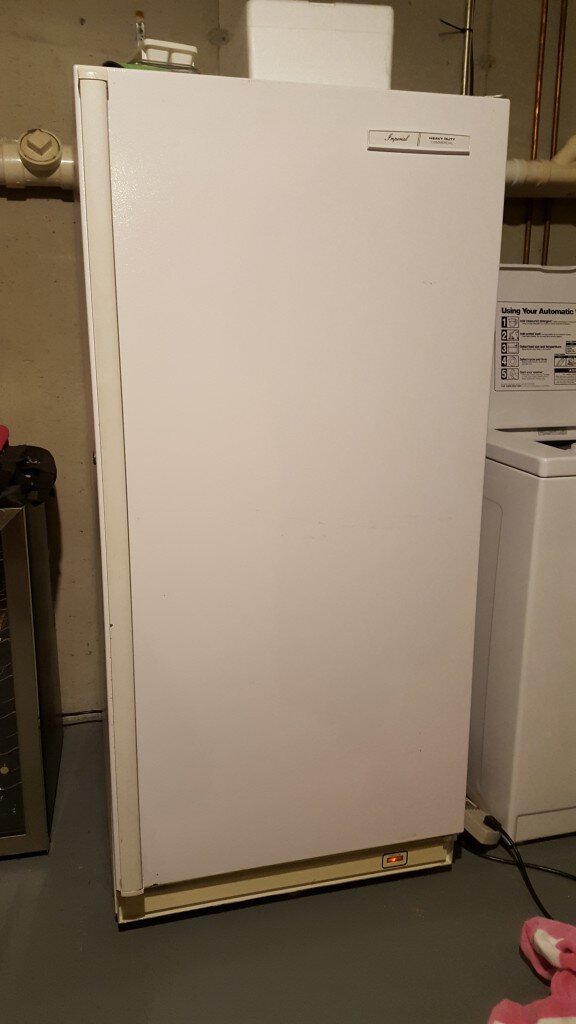
The freezer.
As you know, I am a frugal spender in pretty much every department. Why buy something for more, when you can pay less? (I think that might be TJ Maxx’s motto.) The same goes for food. Every week the grocery store will feature different meats on sale. So its either – eat what is on sale that week, spend more money on what is not on sale, or freeze a bunch of what is on sale to make at my leisure. Thanks to our big freezer we usually do the latter. I also stock premade meals that I’ve made when I have spare time like soups and stocks, sauces, ravioli and chicken pot pie.
All this is well and good, but when I ask Will to get something out of the freezer he gets all concerned. He doesn’t understand my logic. He also can’t tell the difference between pork and chicken or ground turkey and ground beef. I can’t blame him. My labeling scheme is half-assed at best. I do put every meat type together in one area to make it easier to find, the problem is Will just can’t identify frozen meats. So here’s what i have been planning for a while – some sort of labeling system on the freezer door so we don’t have to open the freezer and poke around in there. I thought about using little pictures of things, but let’s be fair – how do I draw a chicken thigh?
Instead I settled on creating little chalkboards that I could move around and erase. For example I currently have no beef in my freezer and the portion of the freezer usually devoted to beef is full of homemade pies and things. Some times of the year I have fish. Sometimes I am overwhelmed with fresh veggies that I have frozen. This mini-project cost me literally nothing because I had the chalkboard paint leftover from the little chalkboard in my kitchen and the magnets came from a few of the extra 50 save the dates we have leftover and magnets we got in the mail.
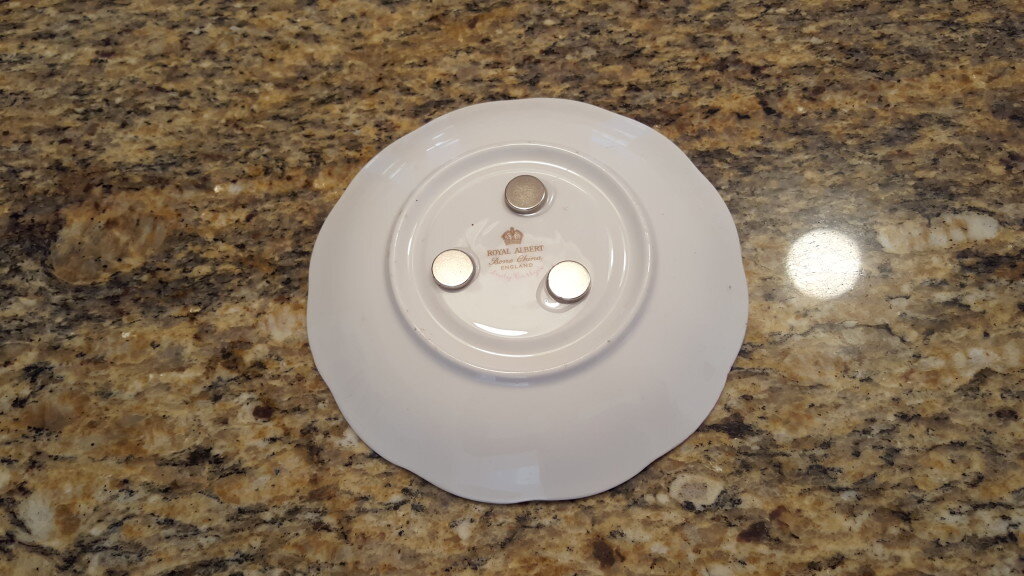
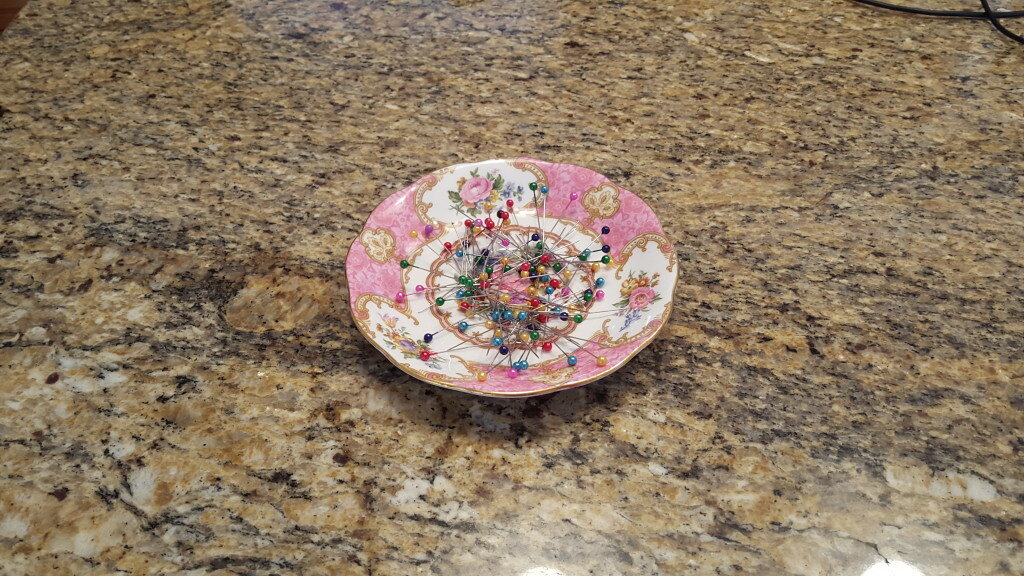
Since I was dealing with magnets I also decided to make a couple of magnet souvenirs and a magnetic pin cushion since I’ve acquired way too many pins for my other magnetic pincushion.
Here’s how I made the magnetic chalkboards:
Refrigerator Magnet Chalkboards
- foam roller brush
- flat refrigerator magnets
- chalkboard paint
- chalk
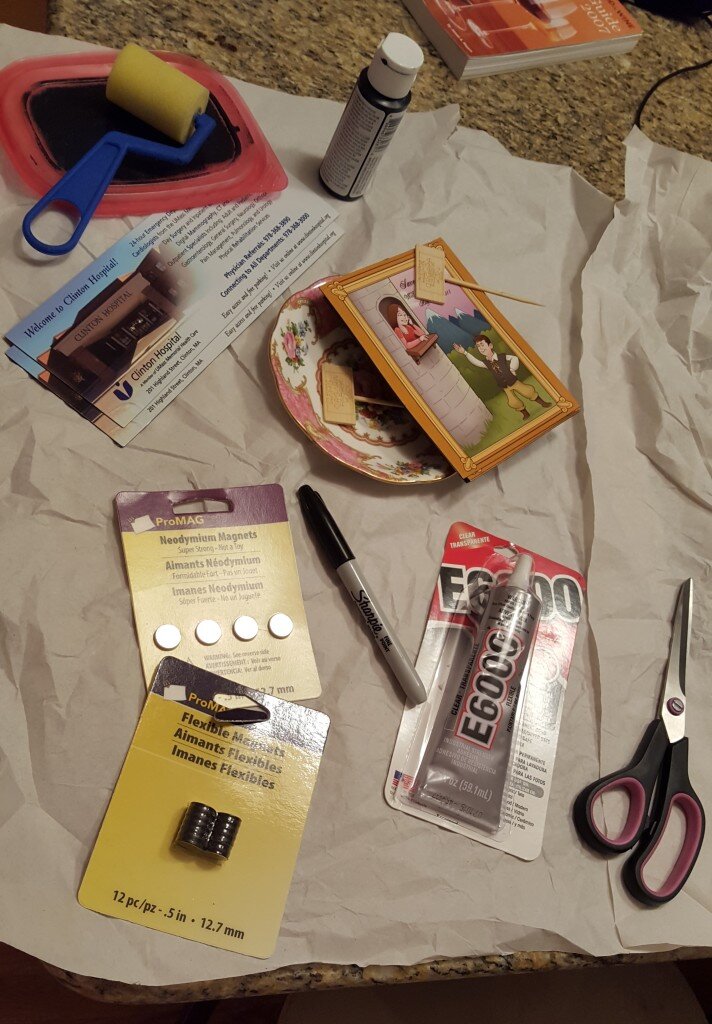
For my other projects you’ll notice I gathered E600 glue, a saucer and some other wooden things I wanted to turn into magnets (taken from the íslenska hamborgarafabrikkan from our trip to Iceland a couple years ago). And as another side note, aren’t our save the dates cute? Our friend Caldwell (a professional comic artist and illustrator) made them for us!
Cut magnets into desired shapes.
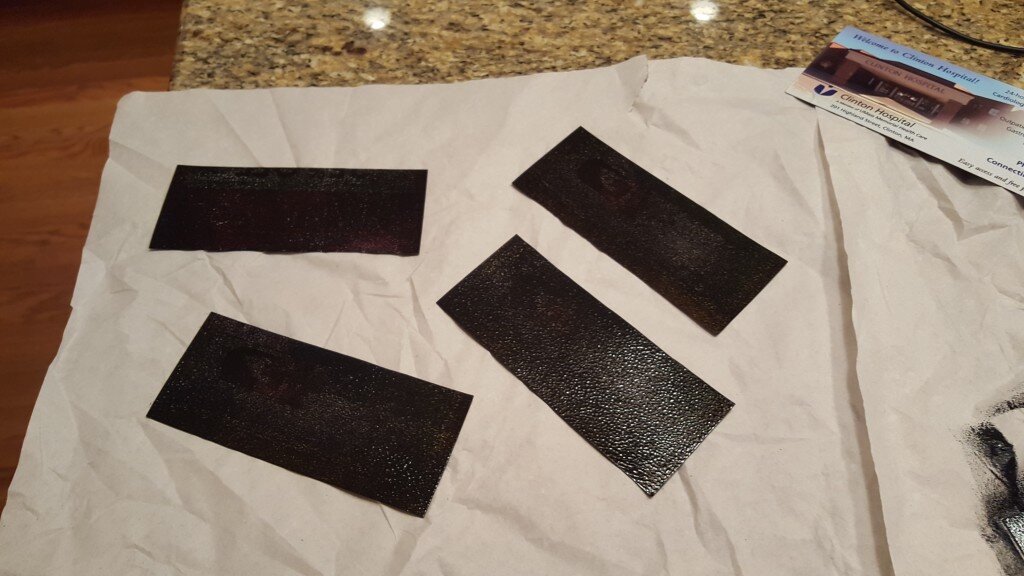
Roll chalkboard paint onto magnets using several coats. Wait 30 minutes between each coat. Let dry overnight.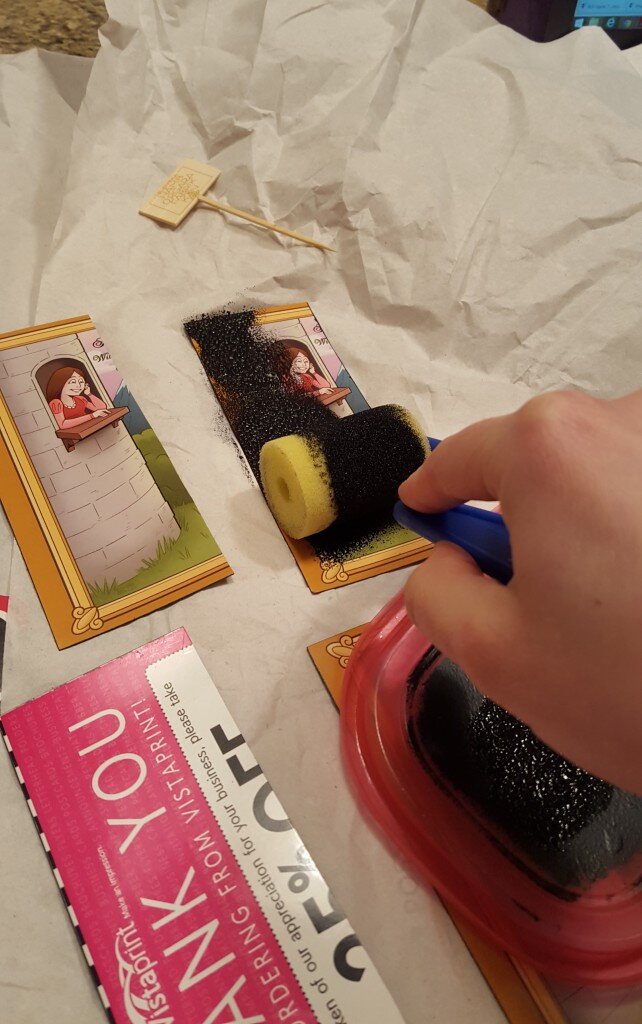
Season the chalkboard with chalk by rubbing the side of a stick of chalk across the face of it then wiping it off with a dry paper towel.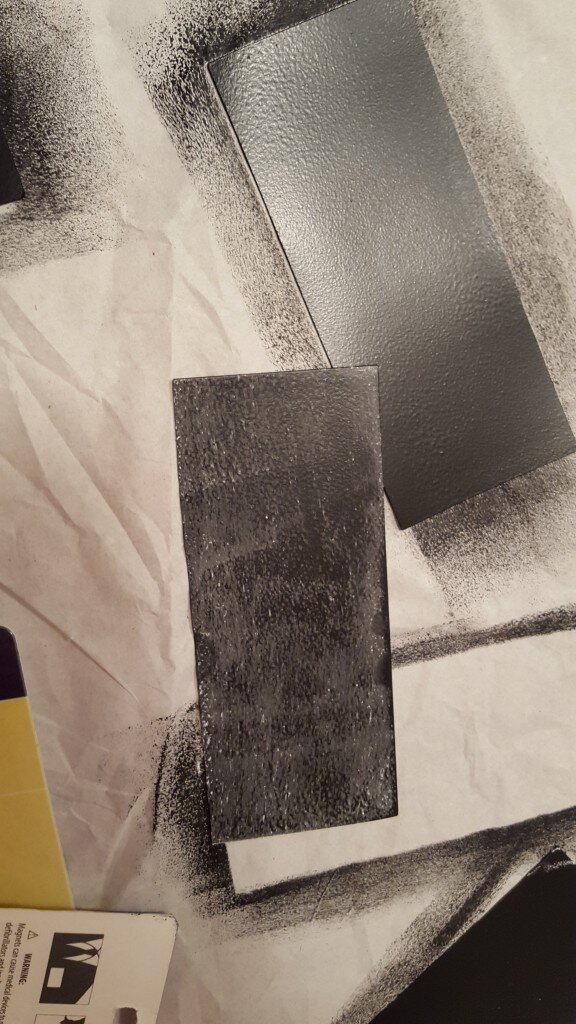
Write whatever you want!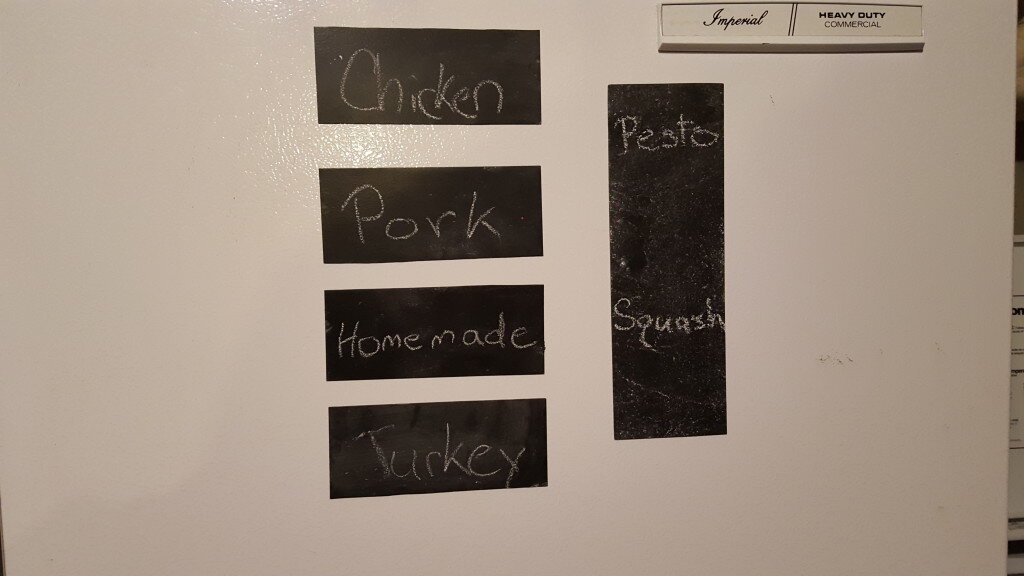
Oh and here is my super cute pin “cushion”