Well this weekend was a snowy one! We had 3 different snowstorms pass through! And today was so snowy that Julius’ daycare was closed, and Patricia’s closed early. I was just telling my friend last week (after all the rain we’ve been having) that “I’d rather have snow then rain.” I guess I got my wish…
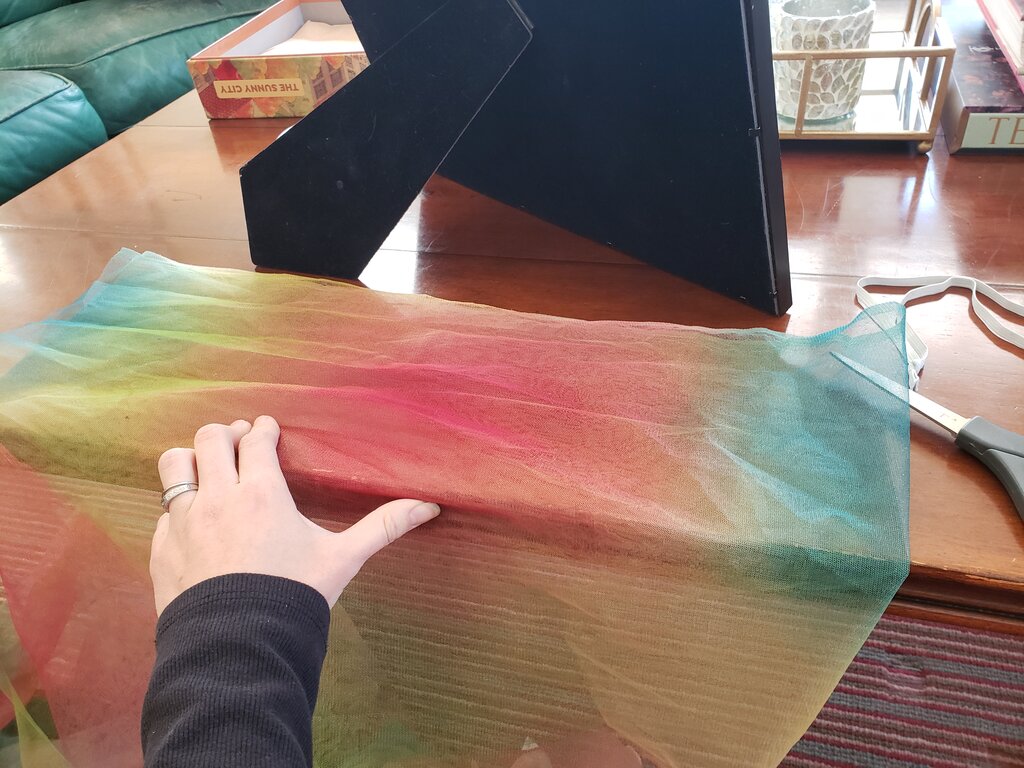
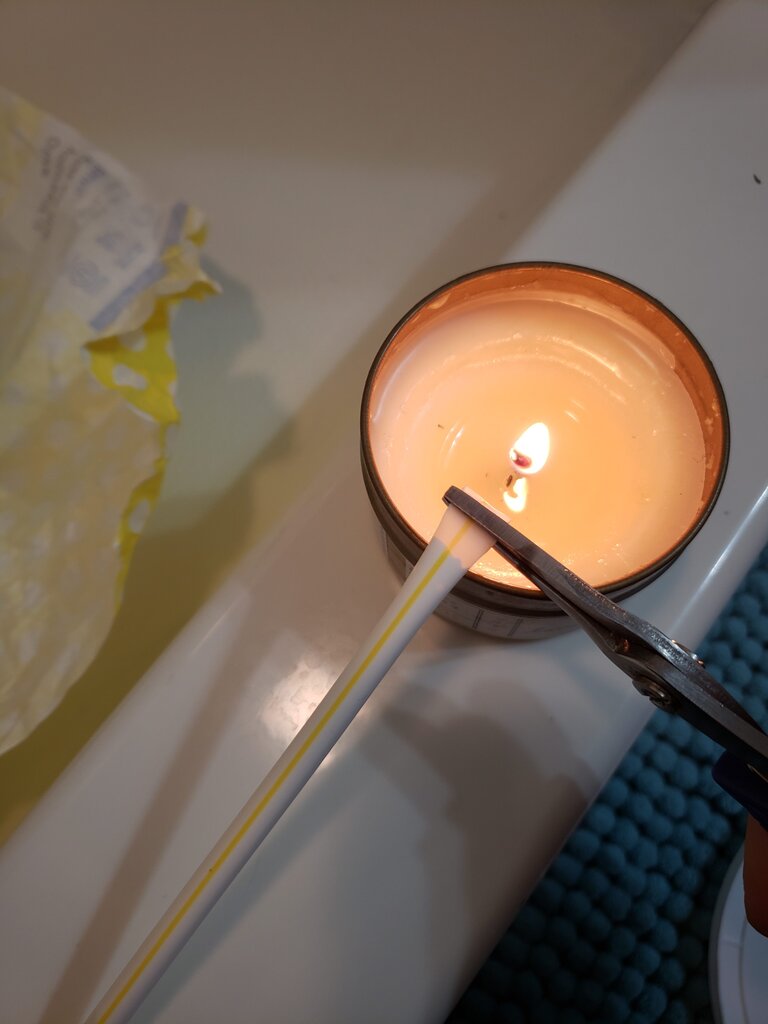
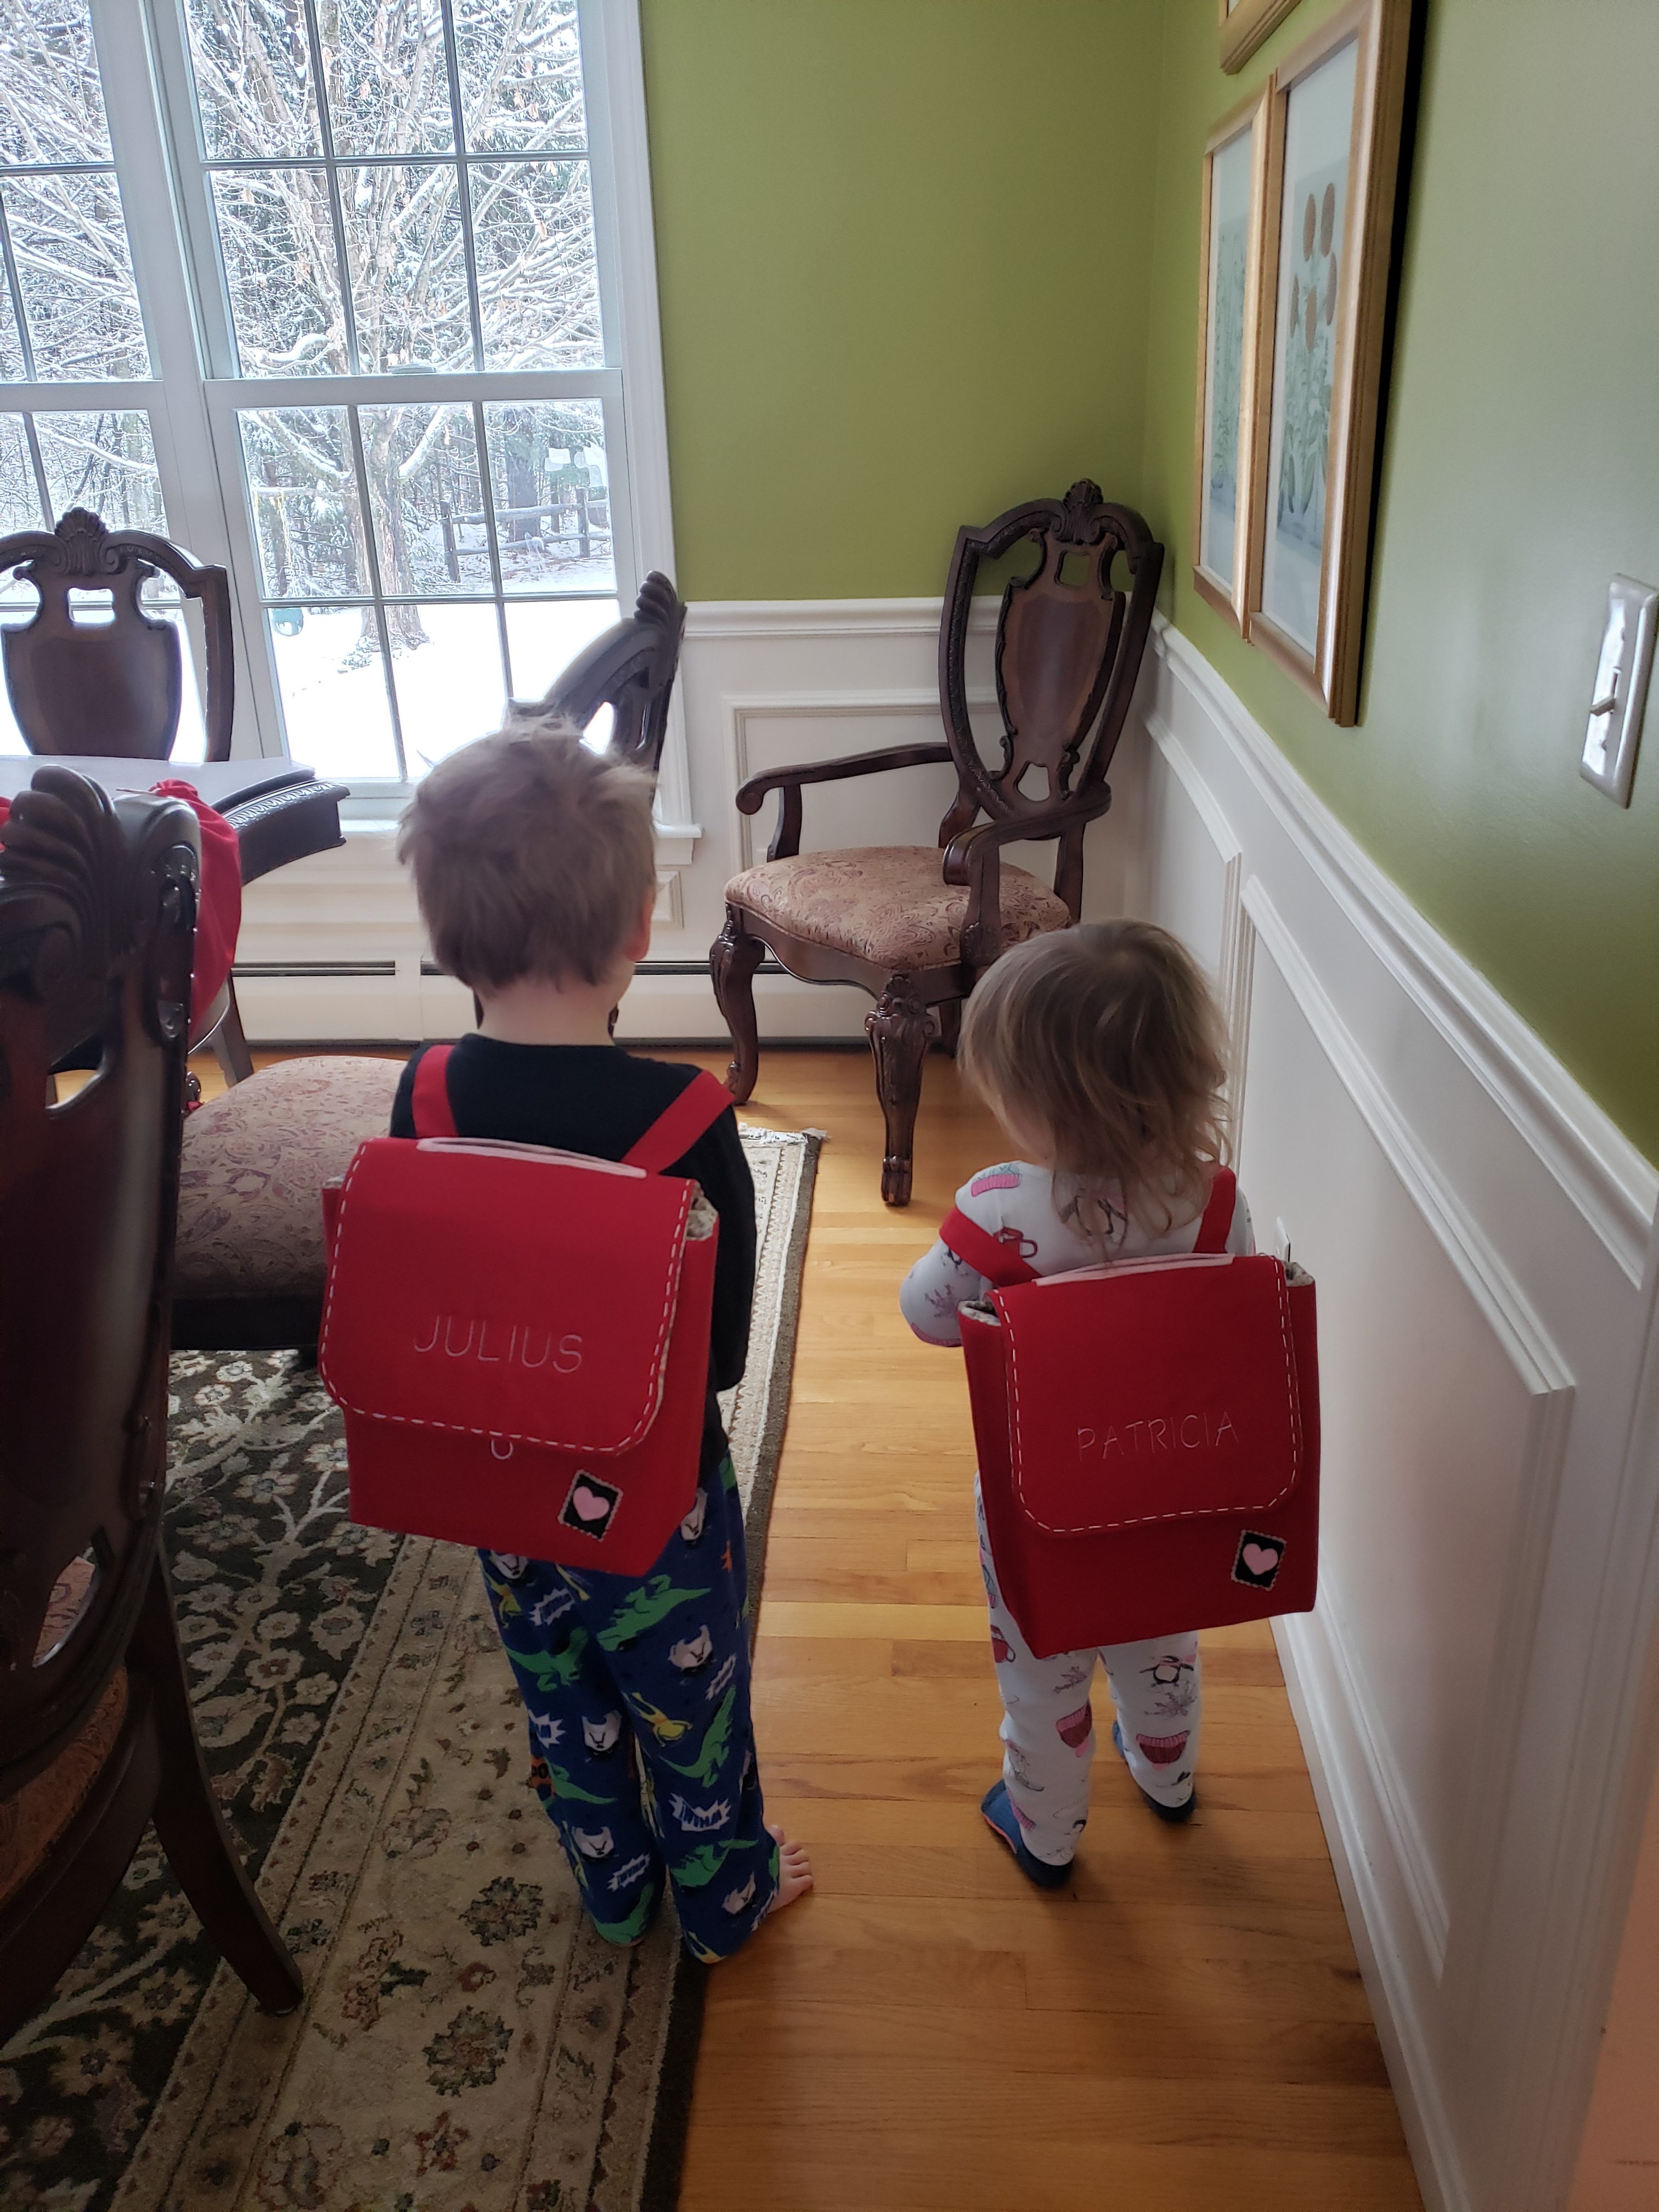
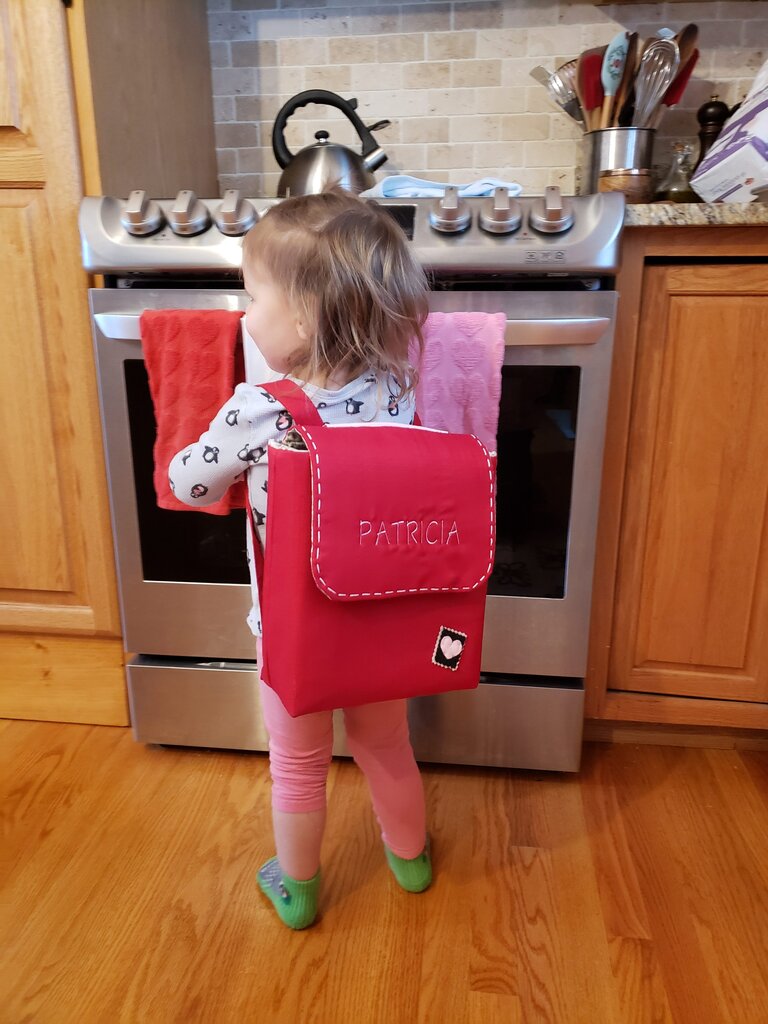
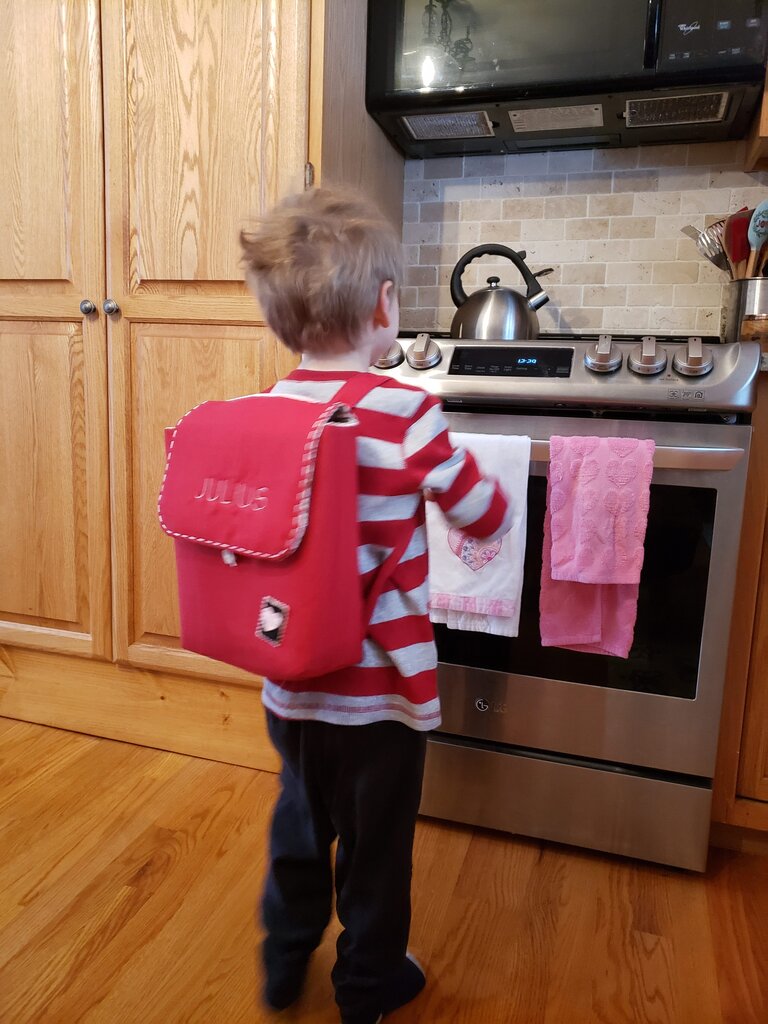
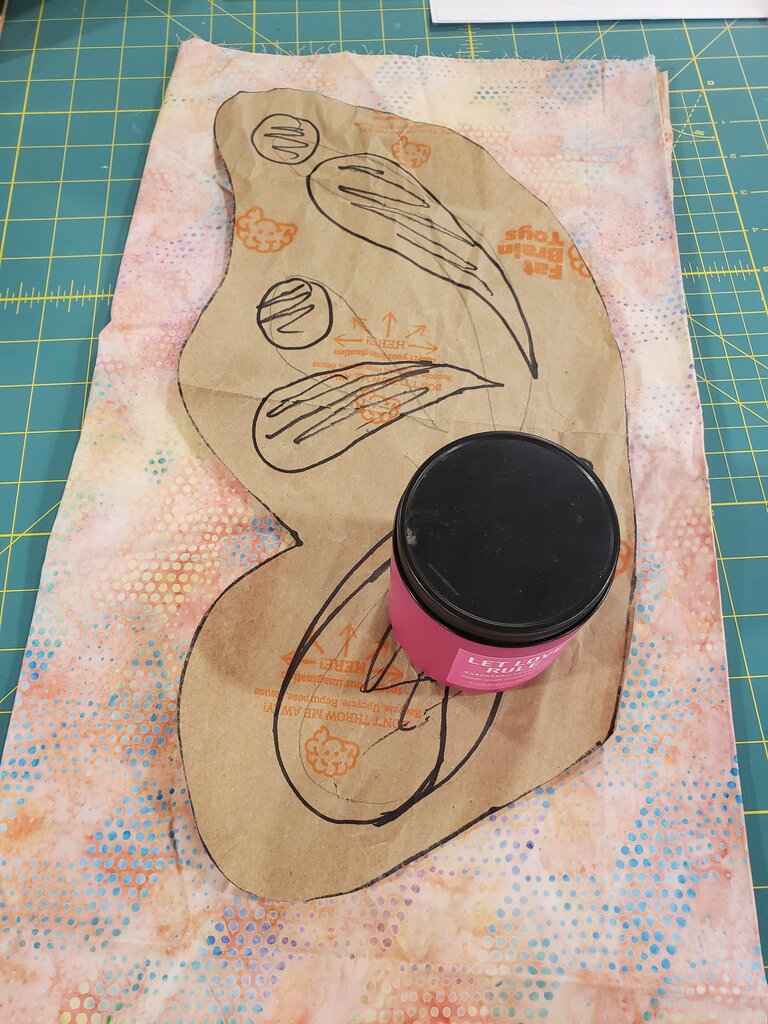
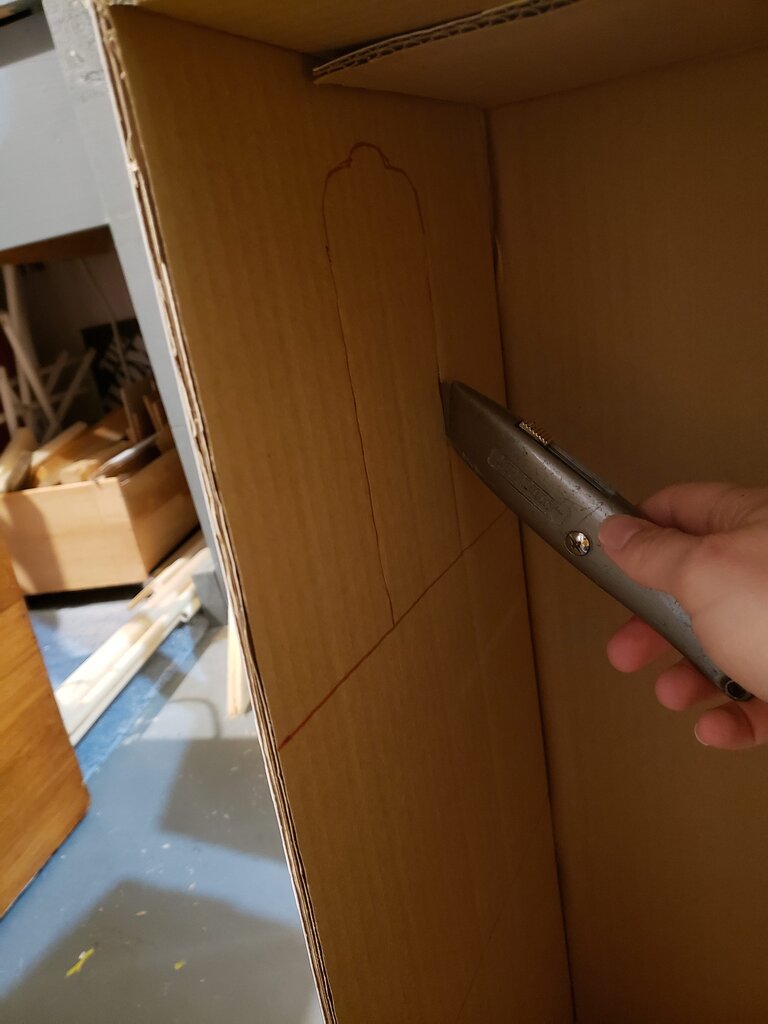
Patricia and Julius play so nicely together. Today Patricia handed Julius a rumpled up napkin with something inside it (hopefully this is because I’m trying to move to reusable wrapping paper – more on this later), while Julius was busy building something out of magnatiles. I was worried she’d knock over his creation, as she does at least once a day, so I tried to get her to move away from Julius. Instead she stalwartly stood in front of him and said “no it’s for Julius”. So Julius opened it up to reveal a little green bowl from the kitchen playset with a pretend cookie inside. He said in a completely sincere voice, “oh wow Patricia, thank you so much!” Just the best.
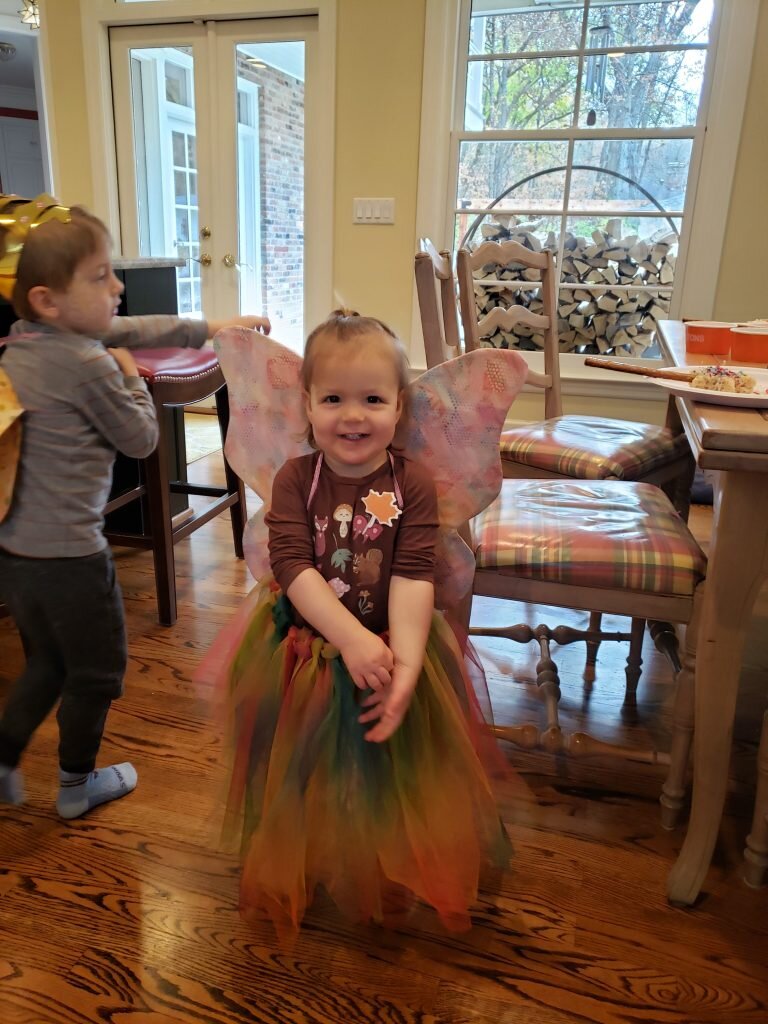
Patricia is such a spit fire. I was telling Will last night how we are so lucky we were able to have two because while they started off the same, they are so very different. Julius is sweet thoughtful and extremely emo, and Patricia is wild and rambunctious also but kind and helpful. I just love watching the two of them play though. I have so many Patricia quotes from the past month that are totally incohesive that I might just have to post them in no particular order so I can’t forget them.
“I have fluff!” (Fluff is referring to armhair while she desperately stars at her bare arms.)
(Sung): “Happy Birthday to doggies and any more!” (Everytime she sees her sticker of a dog with a hat on.)
(Drops something by accident.) EEK! (in a pretend high pitched shriek.) Chika chika boom BOOM!
Another one I don’t know how to fit into a blog post… Patricia calls Donald Duck, “McDonald’s duck”. I’m not sure if it’s because of the fast food chain or “old McDonald had a farm”. Hopefully the latter.
On Saint Nicholas Day Patricia climbs out of her booster seat and says “I’m going to get another orange and heads to the front hall.” I ask, “where are you going to get an orange?” Her response, “ummmm… Dada’s shoe.”
Patricia, closely watching Julius work on play-doh creations looks up at me and says “I watch Julius make poke-dots?” (Just to make sure I wasn’t going to tell her to leave Julius alone perhaps…)
“I want Patty cakes for dinner!” I eventually figured out that patty cakes are Morningstar Chik’n Patties.
Patricia, leaving a room, any room, “Bye-byes, see you later!”
Likewise, Patricia, flushing the toilet, “Bye-bye poopies, see you later!” (Patricia thinks the word poopies is hilarious, but I’m not sure I want to see them later.)
Oh and one Julius one…
I hear this from the other room while on hold with National Grid…
Will – “Where’s mama?”
Julius – “On the phone with the government.”
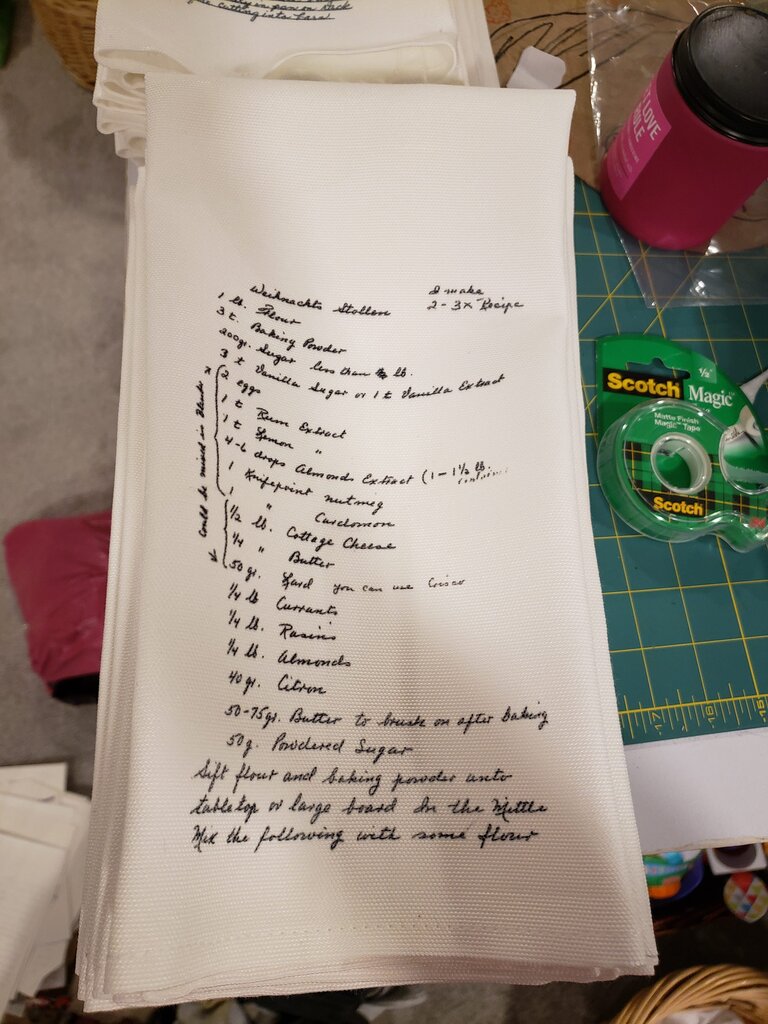
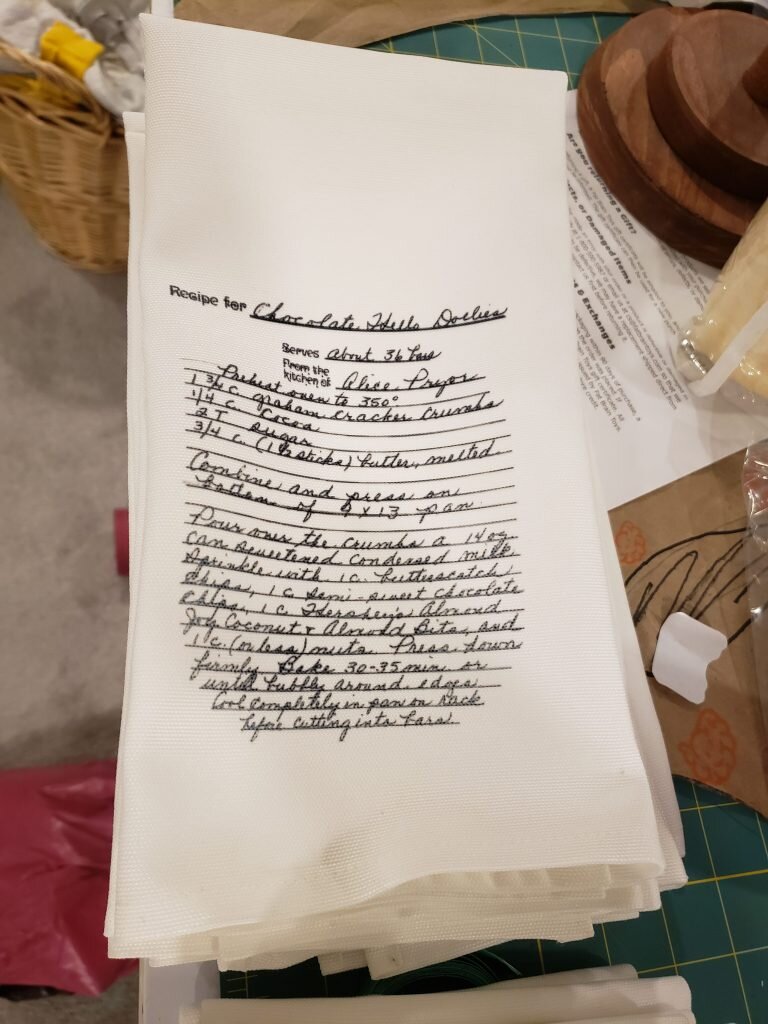
So for Christmas this year I made tea towels of some recipes from my grandmother and Will’s grandmother. I’ve been thinking of doing this with my grandma’s stollen** recipe for a couple years, but with two kiddos I just didn’t get around to it. Will’s grandmother was a fabulous baker and since she passed away this fall, I thought it would be a nice tribute to do something similar for her as well. So I made like 20 of these towels for my family and Will’s family. I’m so happy with how they came out, but in all honesty it took me a very long time. I ruined about 10 towels before I got the process right. They key was first and foremost to make sure the towels had absolutely no moisture in them whatsoever. The second critical step was to press them on a flat surface with very little give. I switched my cricut heat press pad out for a heat resistant table pad. The good news is now that I’ve worked out the kinks it should take you no time at all!
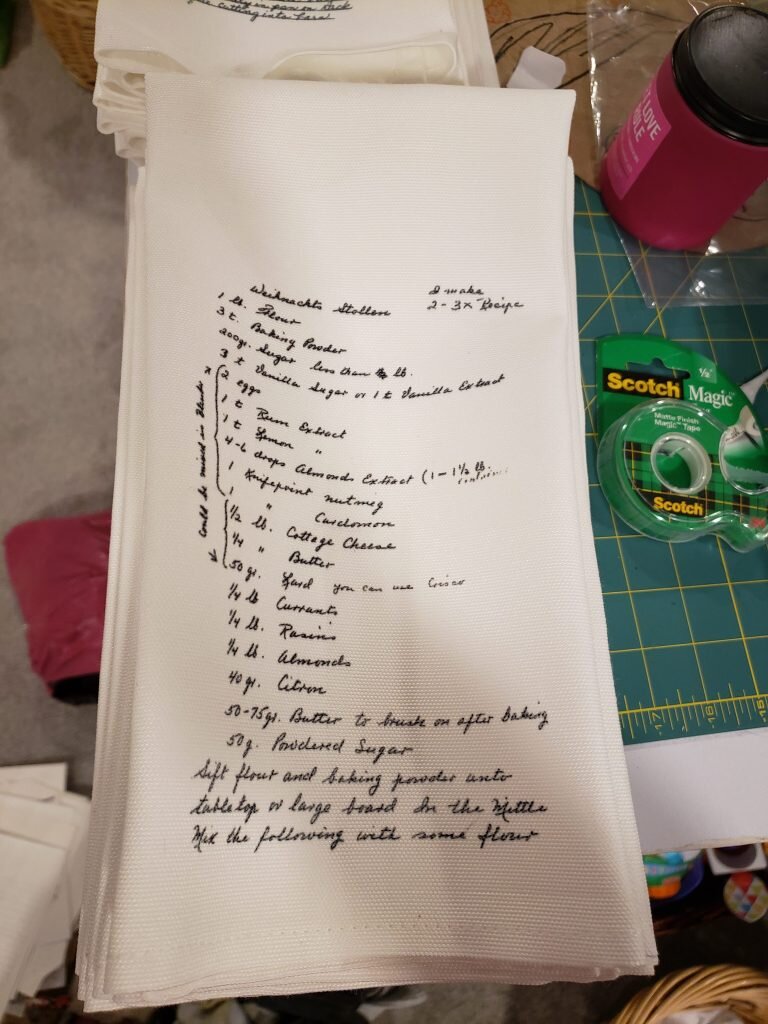
Grandma’s stollen recipe on a towel. I always loved my grandma’s handwriting.
Keepsake Recipe Tea Towel
What you’ll need:
- handwritten recipe from your loved one
- sublimation printer/dye/etc
- 100% polyester towel sublimation blanks (I used these great ones) – and yes you could just buy 100% polyester material and make your own towels.
- heat resistant tape
- heat press
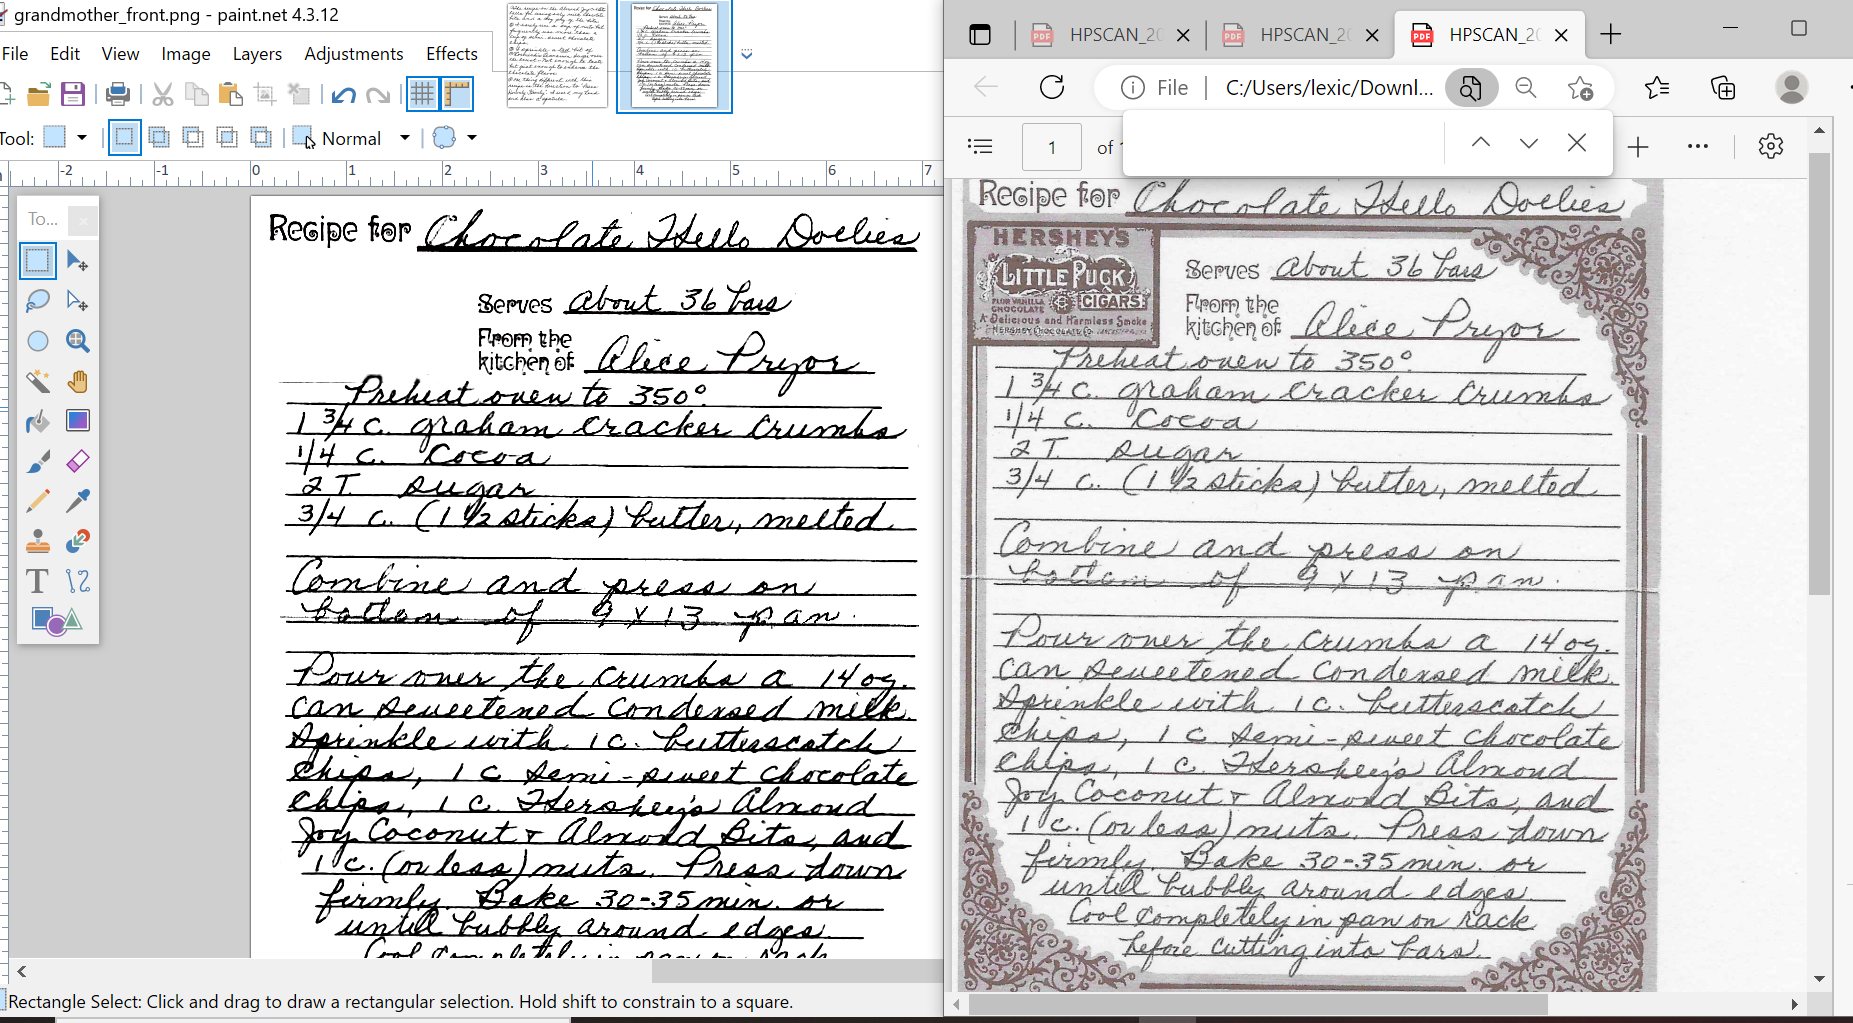
- Scan your recipe as a jpg and open it in paint.net
- Using the eraser tool or the select tool remove any borders or trim (unless you want these on the towel) and leave just the handwriting portion.
- Crank the contrast up and the brightness down to turn from a color image to black and white.
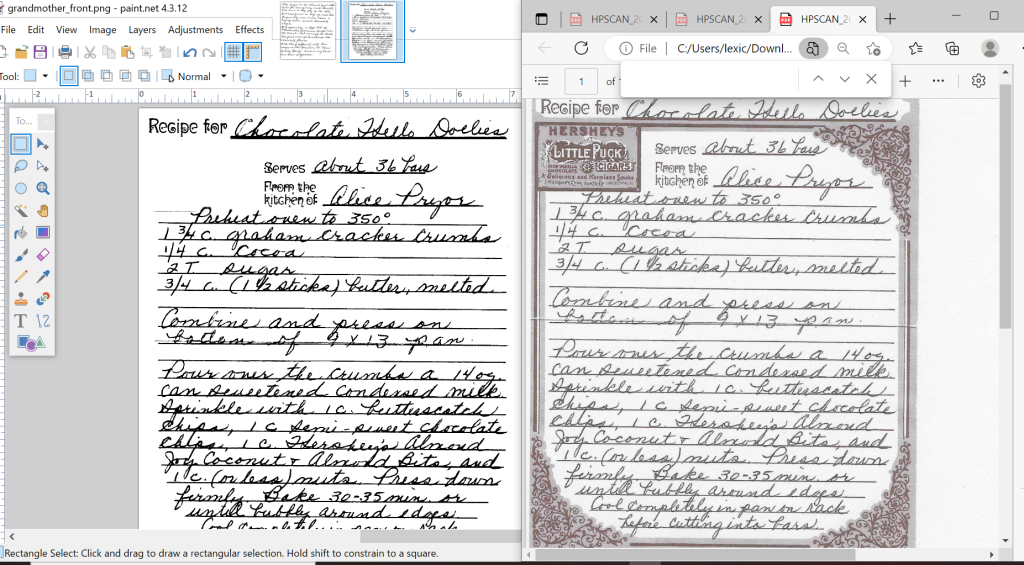
Right side is before, left side is after.
- Repeat this with other side of recipe (if required).
- Save as a jpeg and resize with your sublimation printer tool to a size of 5×8. (So you can print two per page.)
- Follow your printer instructions to print design in reverse on sublimation paper.
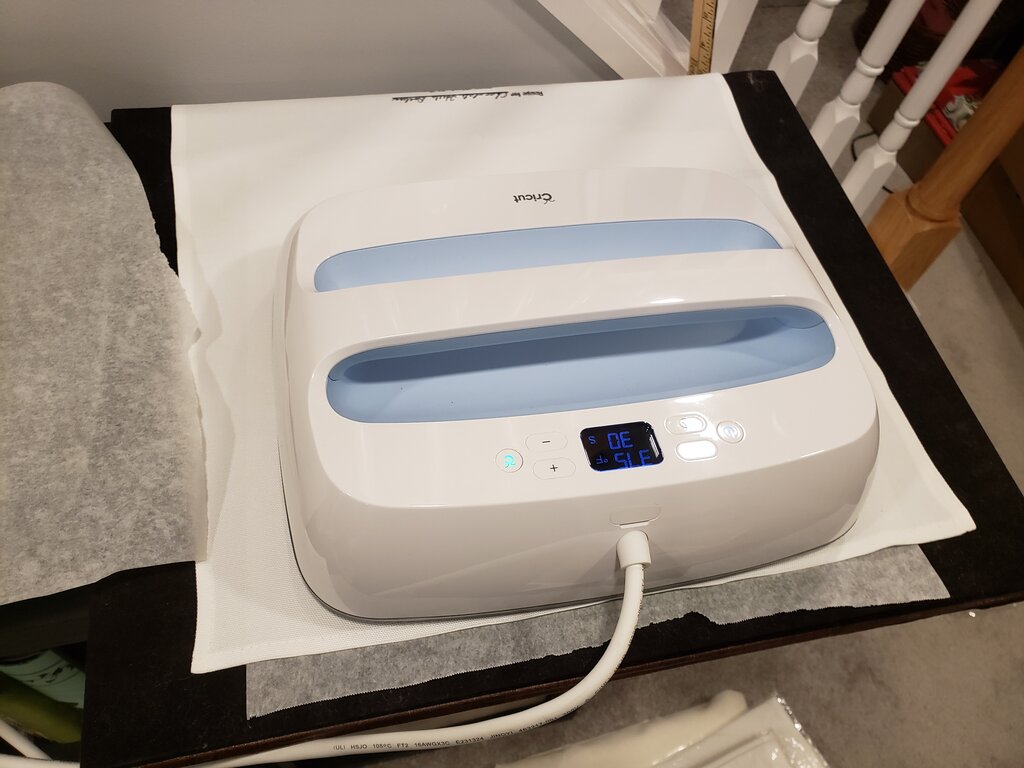
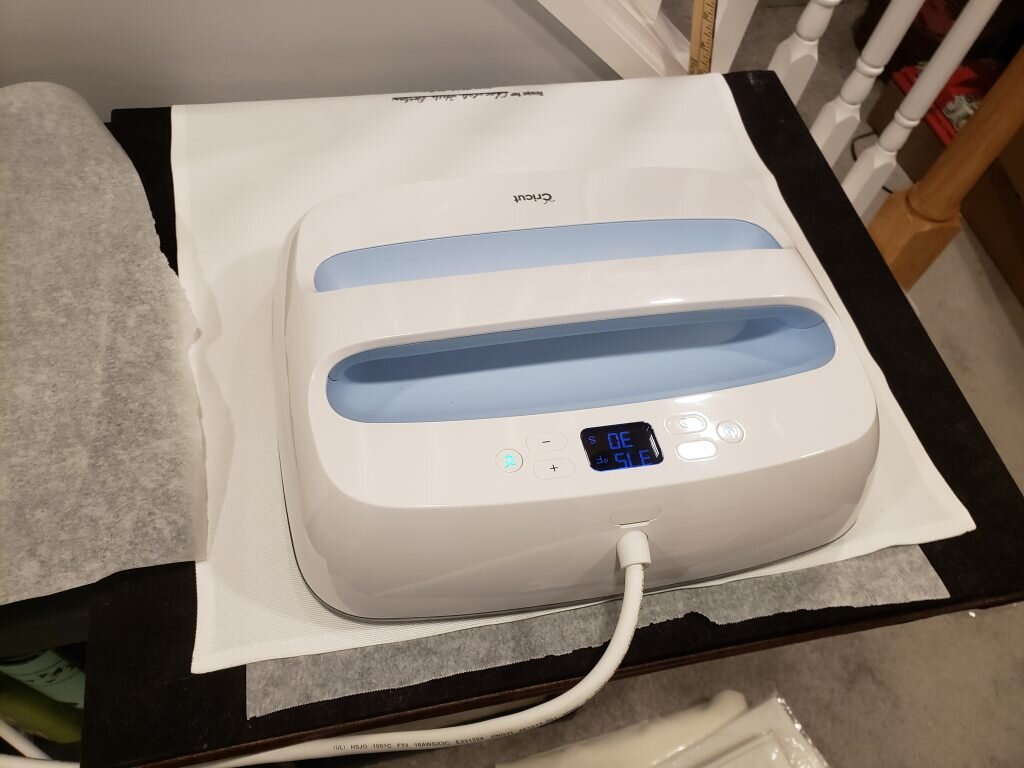
- Preheat your heat press to 375F.
- Steam out the entire towel for 30 seconds, one heat press area at a time.
- Steam the area where you intend to press for another 30 sec.
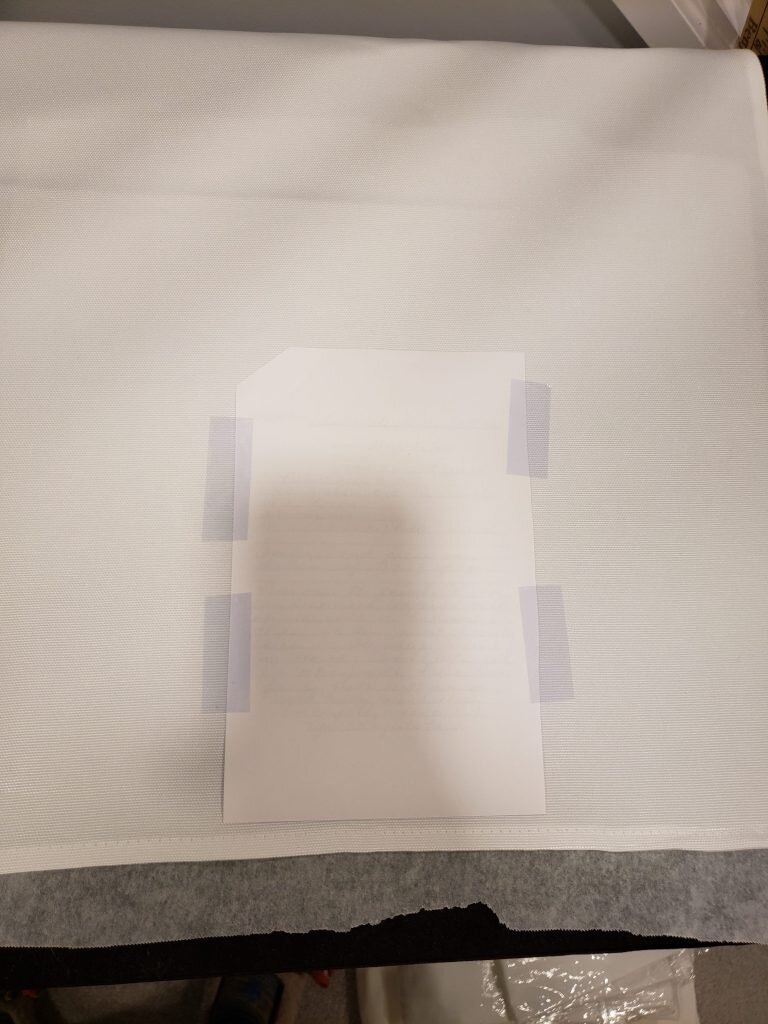
- Lay down transfer dye side down, tape to the towel.
- Lay parchment paper on top, lay heat press gently on top. Let sit for 60 min, then swiftly remove heat press by tipping the heatpress back. Then remove the parchment paper and quickly and gingerly remove the transfer like pulling off a band-aid.
- Repeat for other side of towel.
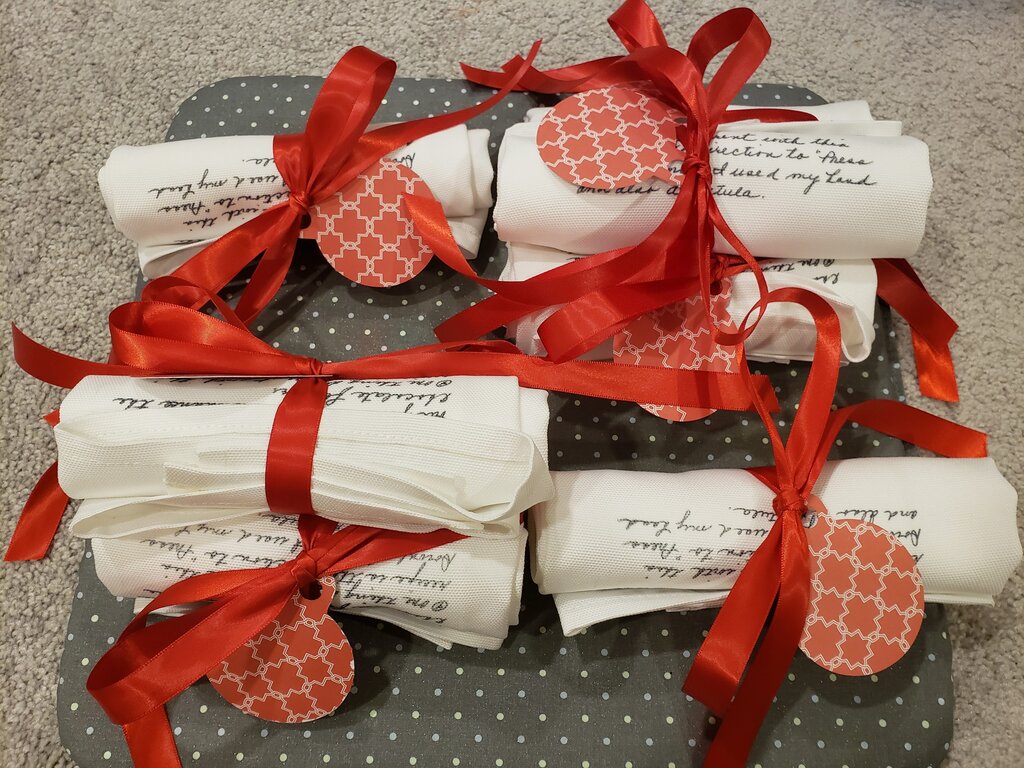
Finished towel
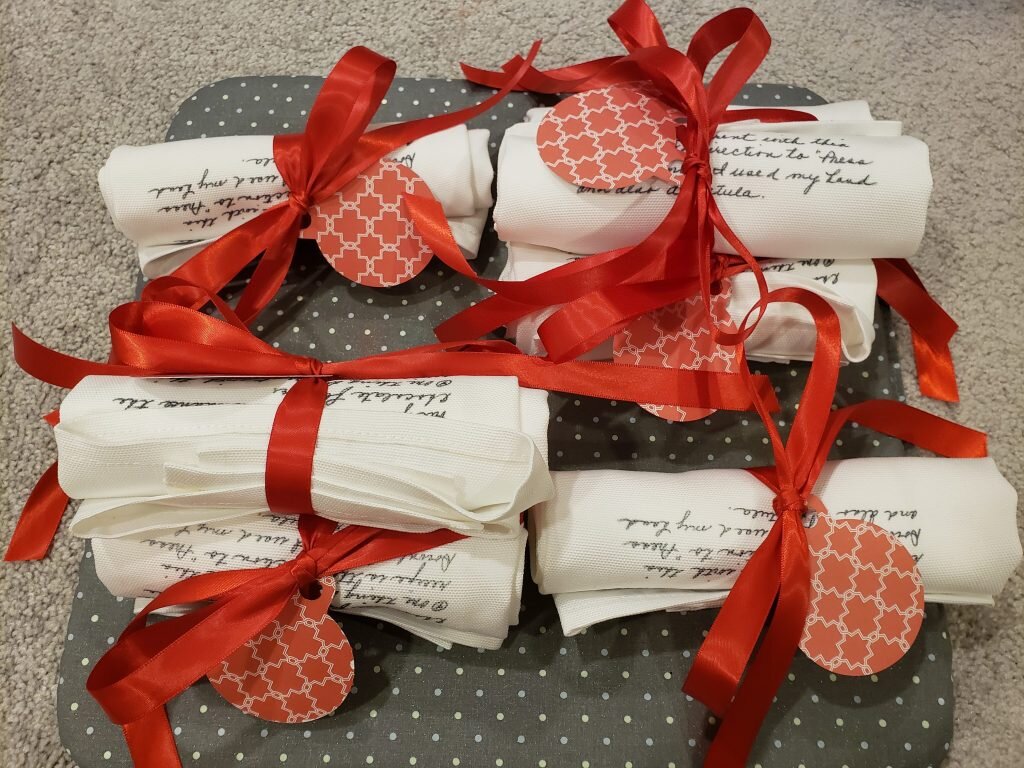
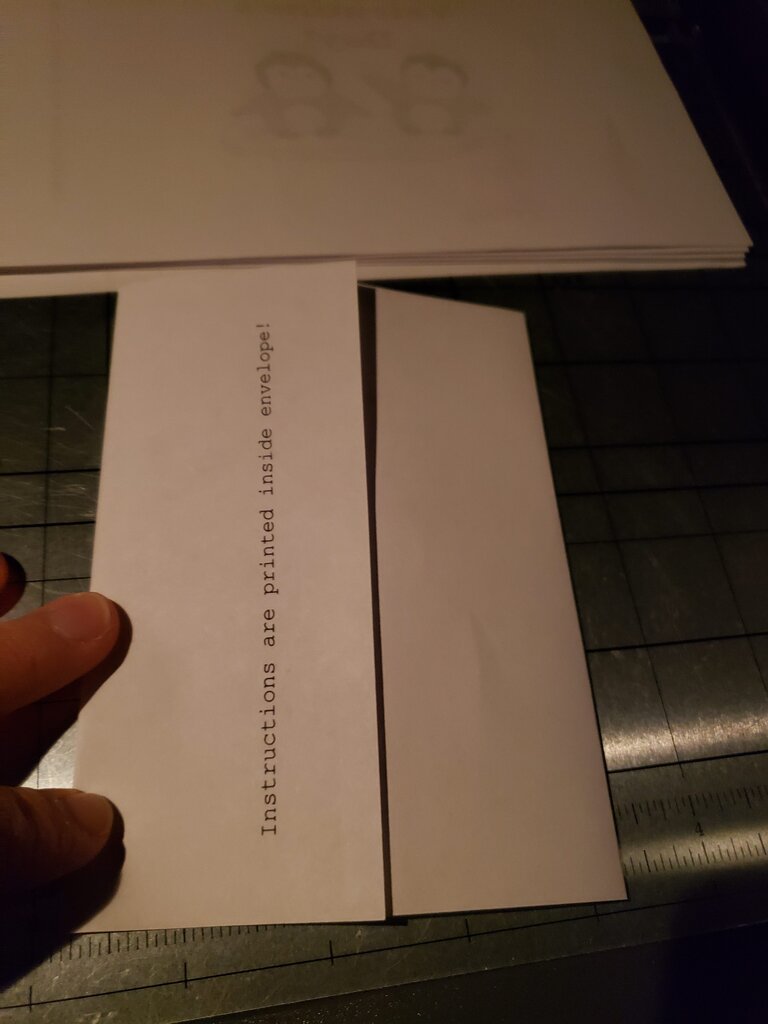
All wrapped up and ready to go!
**A bit about Grandma’s stollen recipe
This recipe was handed down from her mother (and probably beyond). When she was a girl (probably before World War II, because she lived in Germany and they had very little then) her mother and sisters would make up dozens of these stollens before Christmas and carry them in a wagon to the baker’s to be baked. The baker would bake them in their giant oven after hours. Crazy. As a kid I didn’t really like the stollen. It was honestly, the one thing my Grandma made that I wasn’t crazy about (except maybe her cheesecake). (She was one of the best cooks of all time – I know everyone says this about their Grandma but I swear it’s true for mine.) Nevertheless my Grandma made a dozen of these loaves before Christmas for family and friends. Sometimes my cousins would help, and towards the end of her life my mom and I helped her do it. Every year when we’d make the stollen she’d provide “executive guidance” offering “oh maybe a bit more of that” or “cut them a bit smaller” or “that looks pretty good”. And always complimented my kneading of the dough, providing ample motivation, which is seriously tough when you are kneading 12 loaves of dough worth! I don’t know how actual bakers do it. Anyway, sometime between the last half dozen years of making stollen with Grandma, and my Grandma passing I decided I like her stollen. It reminds me of Grandma and Christmas, and you can’t get better than that.


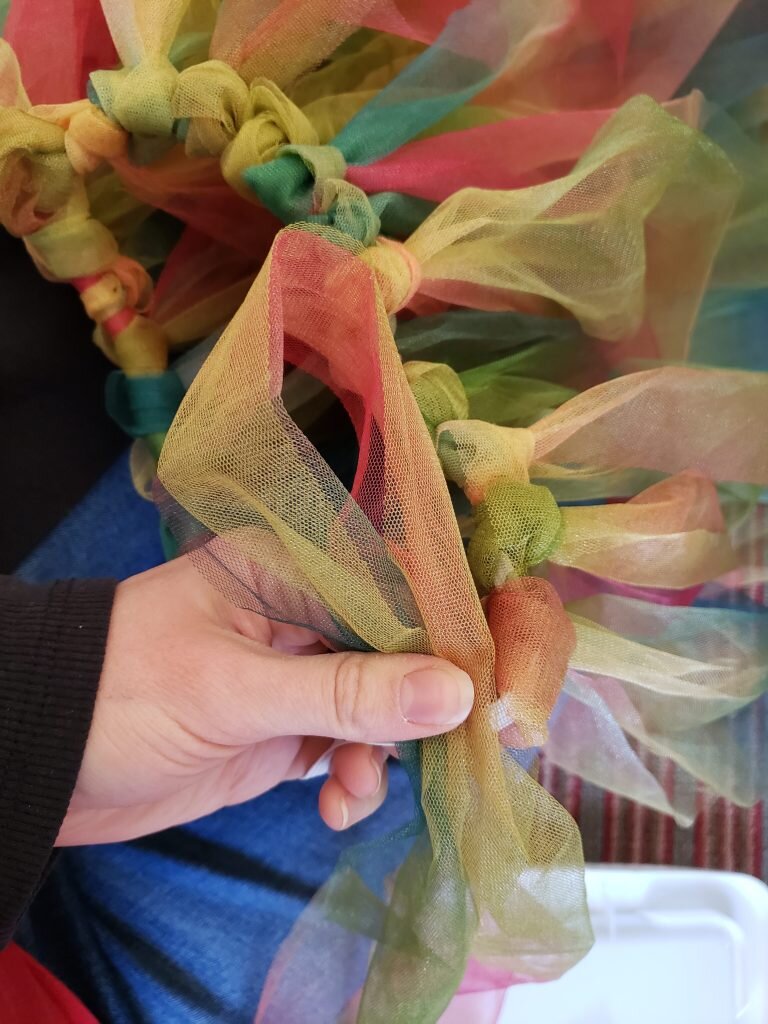
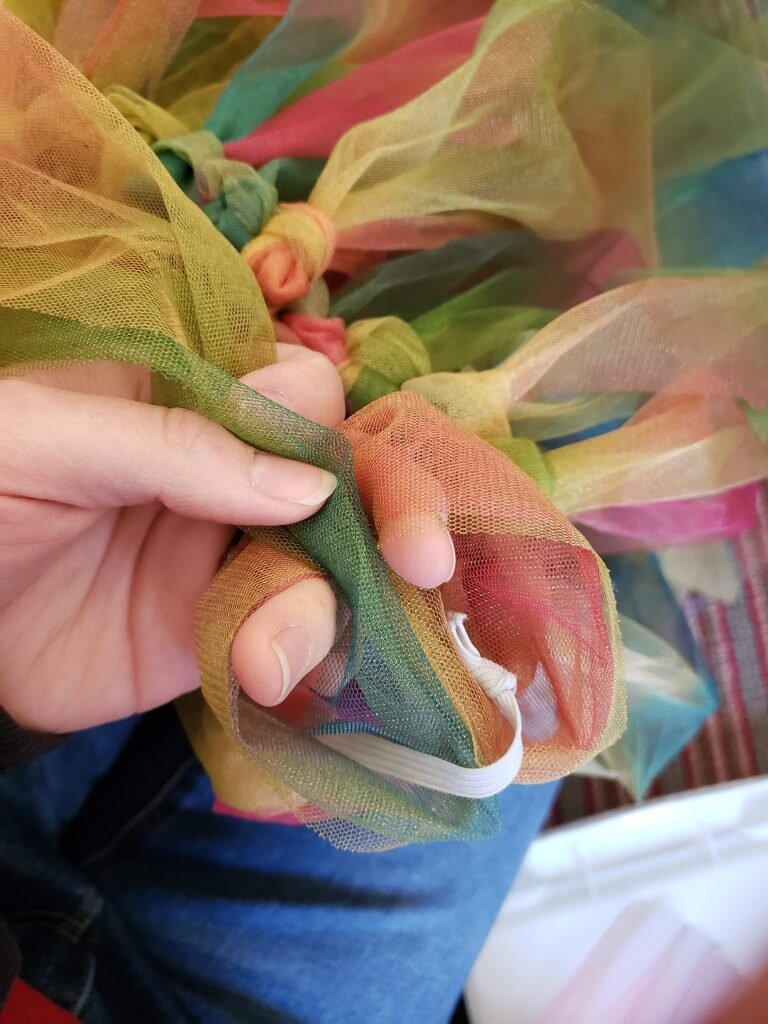
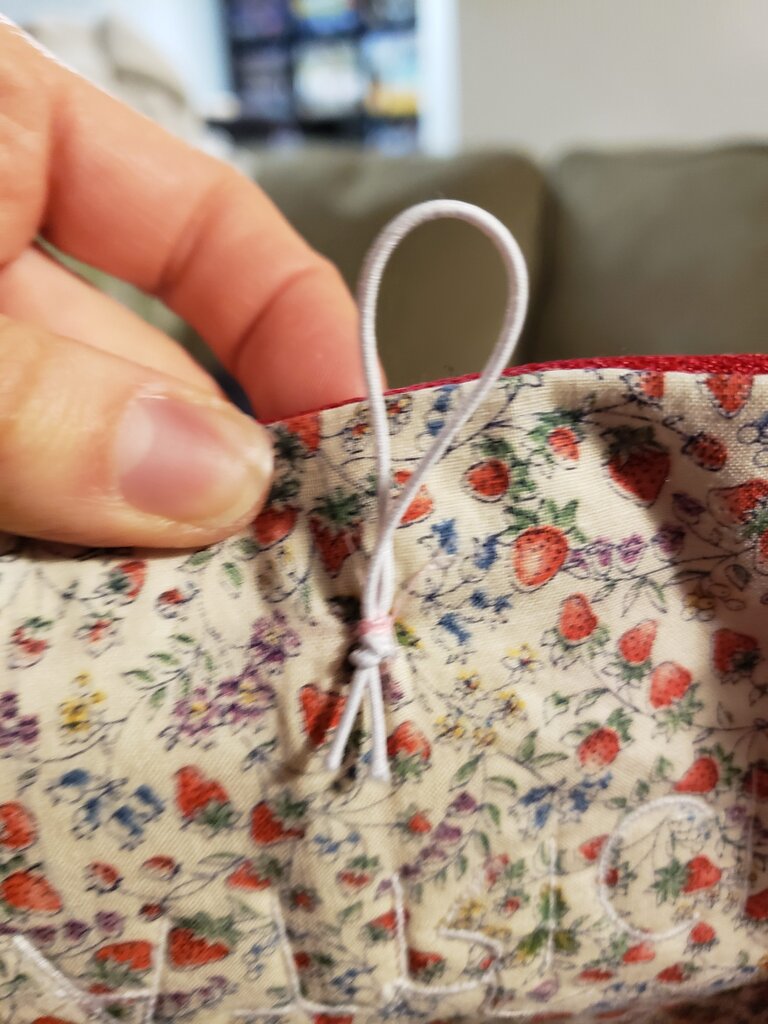
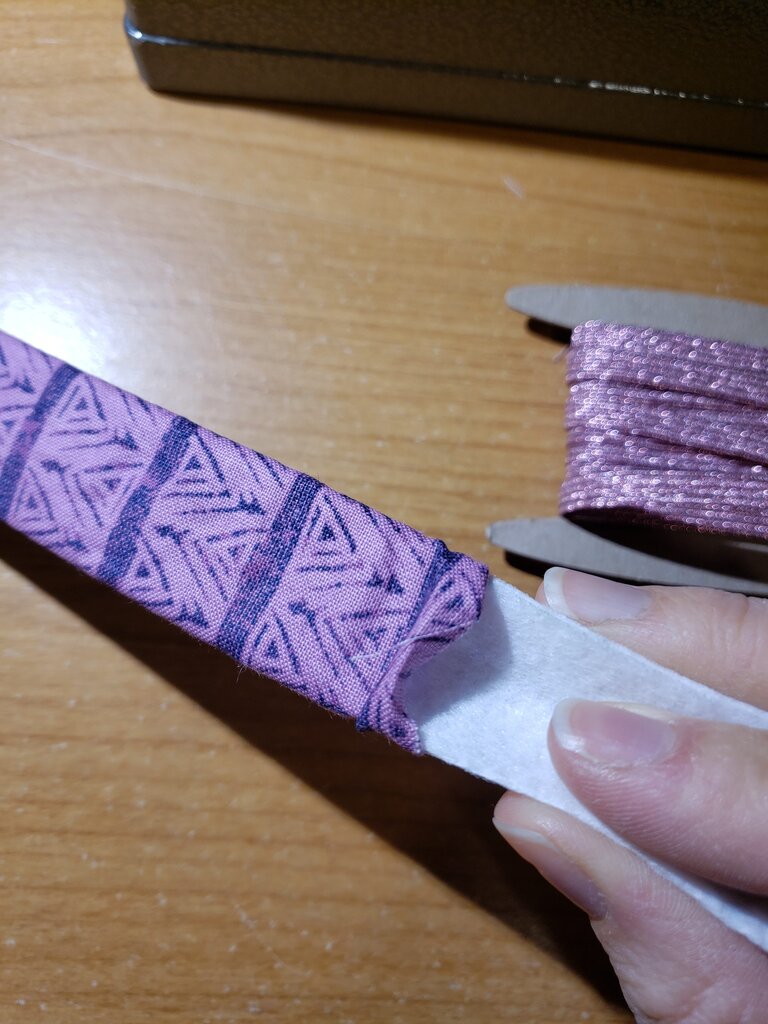
 Note: When you come to the knot in the elastic, cover up with one of the knots.