Well we had a fun weekend doing lots of outdoorsy things like Davis Farmland and blueberry picking. Patricia, who adores blueberries, was picking them and directly consuming them. It was impossible to prevent despite our best efforts. Julius on the other hand picked an entire quart himself! He was a champion picker! He, seeing Patricia eat the blueberries and us chide her, chose to eat only a single blueberry during blueberry picking. It helps that he doesn’t really like blueberries. We were obliged to make something from all the blueberries, so in addition to some blueberry pancakes, we decided to make blueberry muffins and give them to our new next door neighbors who we have not yet met.
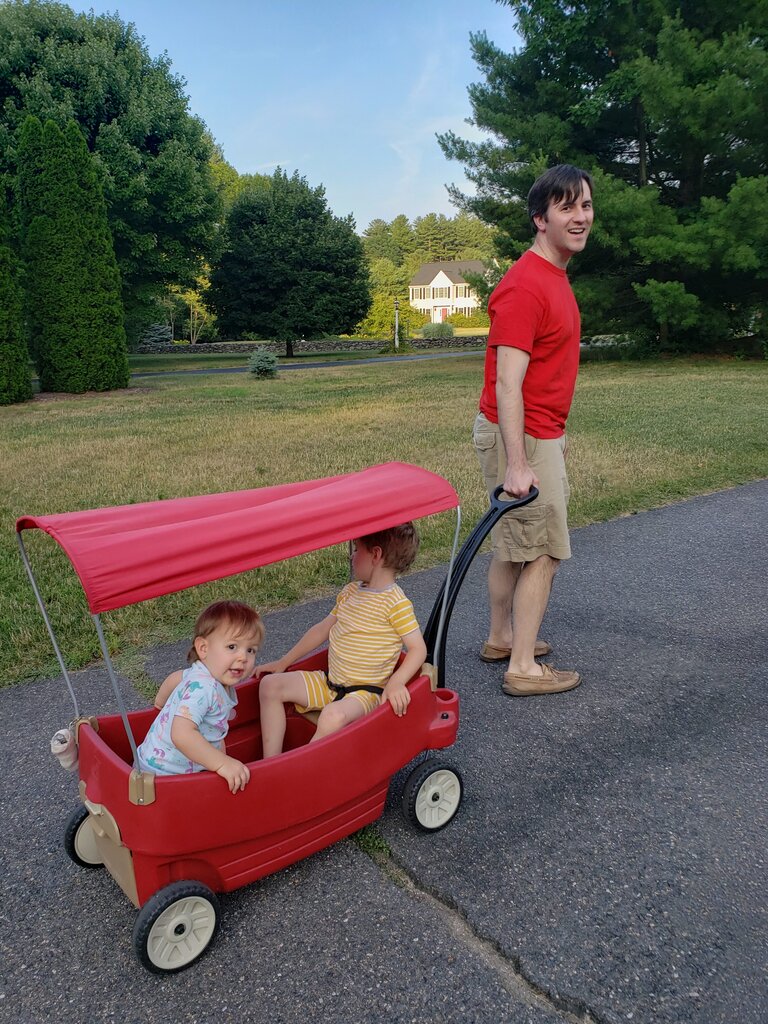
Welcome wagon!
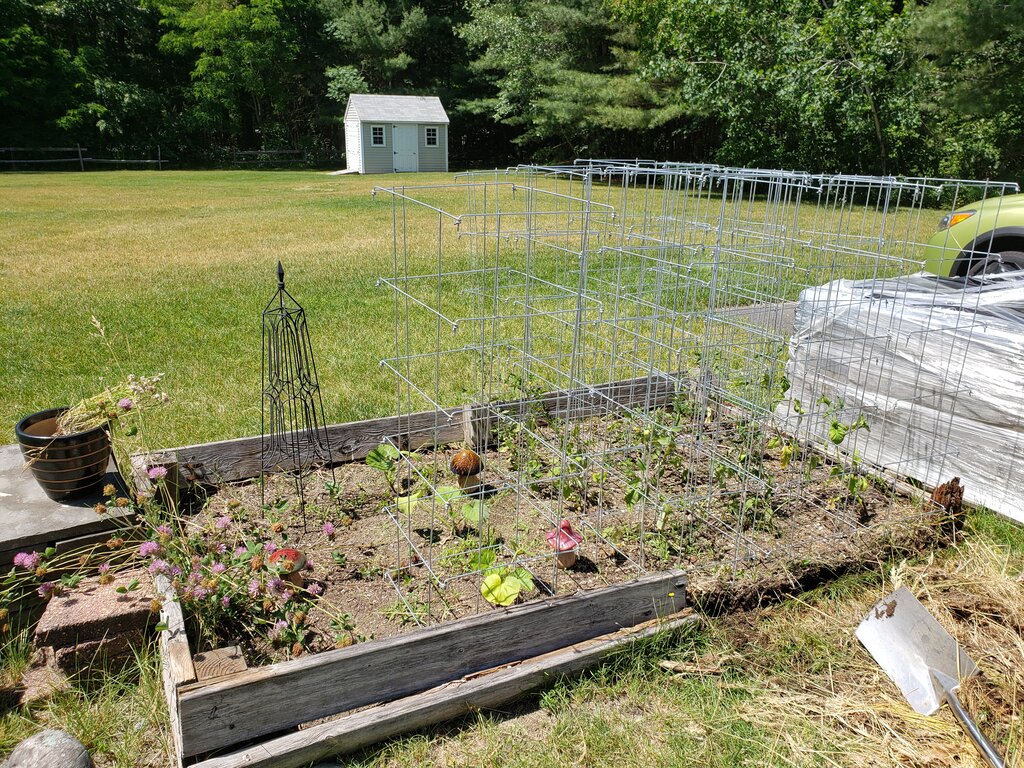
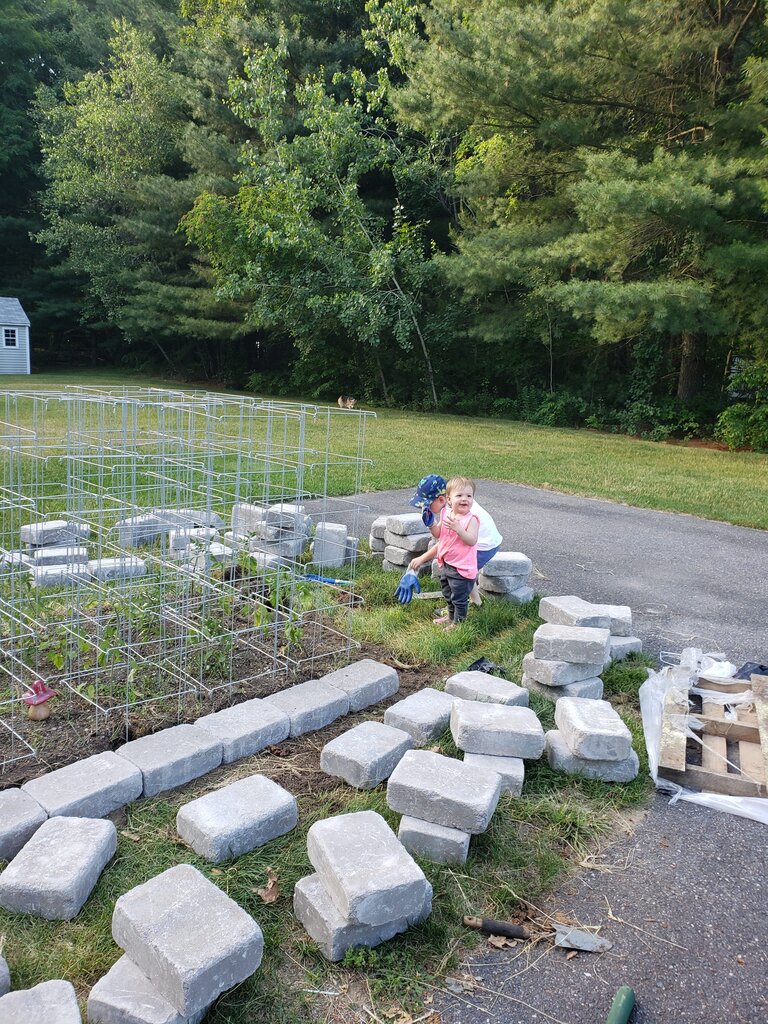
We took the muffins over to the neighbors with the kids in the little red wagon (the welcome wagon). After we returned home I popped the extra batter in a few more muffin tins and into the oven. Then Julius and I went outside promptly to finish my latest project. My latest project is a stone wall surrounding my raised bed. Many years ago I made a raised bed out of untreated wood, and in the last couple years that has completely crumbled from rot. This year I finally decided to do something about it. So Julius and I worked on the last layer, carefully sweeping off the bricks and laying them in place. Then Julius went to bed and I continued working on the wall. I needed to grab paper towels inside after opening a tube of construction adhesive… and that’s when I realized I had left the muffins in the oven for about an hour. They were extremely toasty. Burnt would be a better word. I ate one of them though and decided it was edible. Will then fed them to the kids for breakfast… I realized this and apologized to Julius for the awful burnt muffins. His respsonse? “They were the awesome-est!” He earns all the points for best boy.
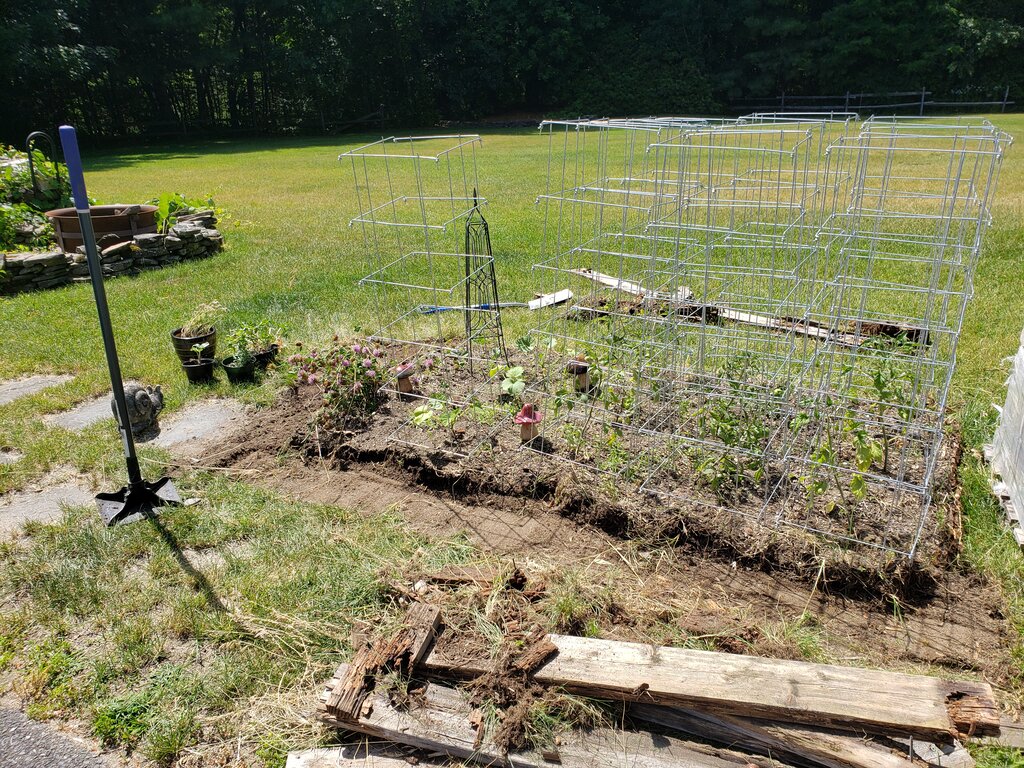
Here’s the before shot of my collapsing raised bed
Stone Garden Raised Bed
What you’ll need:
- 84 12″x4″x8″ concrete retaining wall blocks
- 2 28 fl oz containers of landscape block construction adhesive & caulk gun to fit
- Tamper
- Lay out where you want your garden to go. My wall was 9 blocks long by 5 wide and looks like the picture below. Remove the grass from the area you plan to put the stones. I removed one side’s worth of grass at a time before continuing on to step 3
- Level out the area you cleared by adding/removing dirt as necessary and tamping it down.

- Once the area is level, begin placing your stones in the cleared space, placing the next block right about against the previous.

- Continue until you reach a corner and then repeat steps 2 and 3.

- Once you have completed all 4 sides, start laying out stones on top of the bottom row, slightly offset from the first ones you placed.
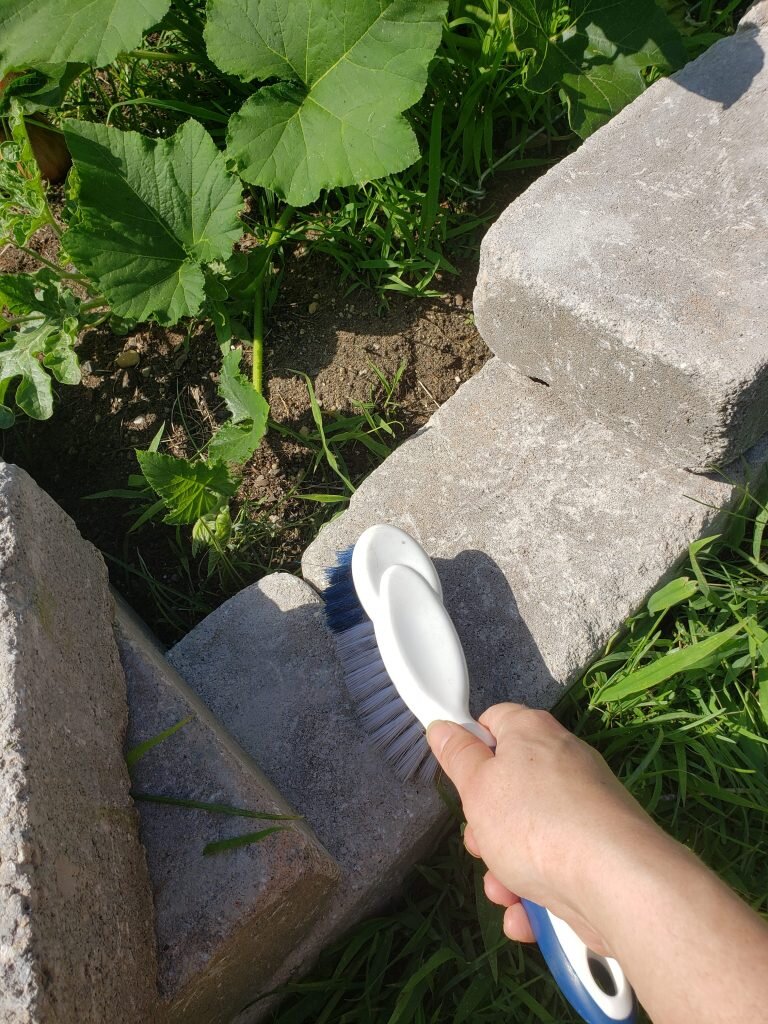
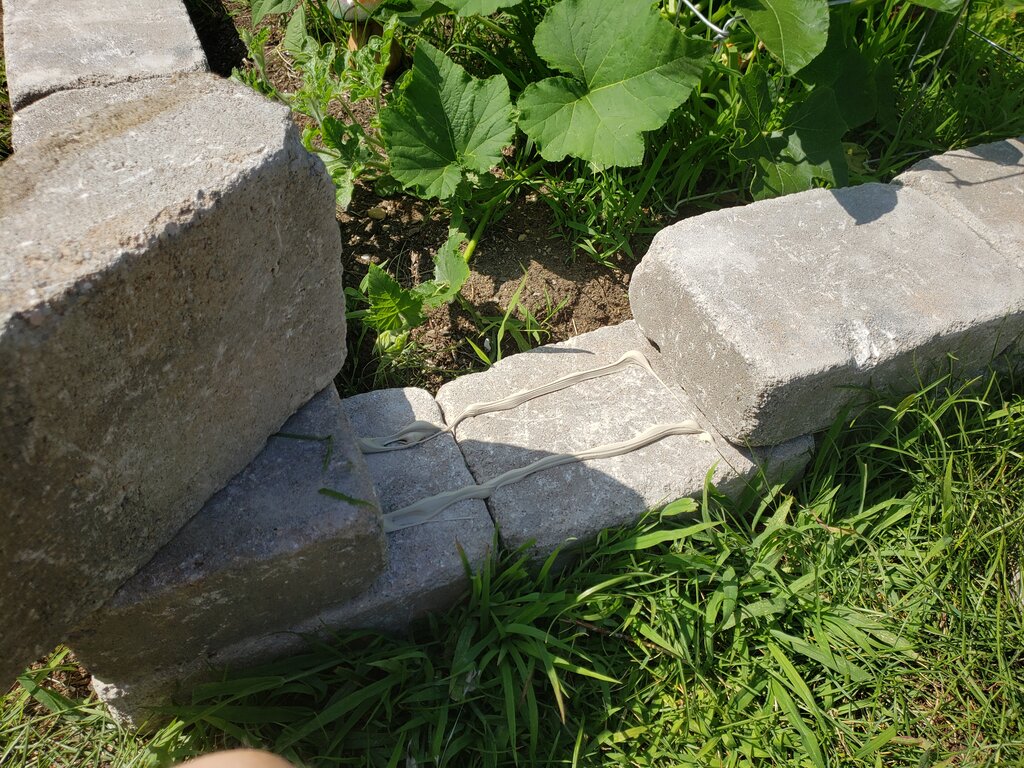
- Once you have placed the stones to your satisfaction, remove one stone from the row, sweep off the bottom of the stone and the face of the one it’s on top of.
- Apply adhesive compound on the bottom stone, in a strip 2″ from each edge. Place removed stone on top of the adhesive

- Repeat steps 6 and 7 for the rest of the stones in this layer.
- Repeat steps 5-8 for the final layer of stone.
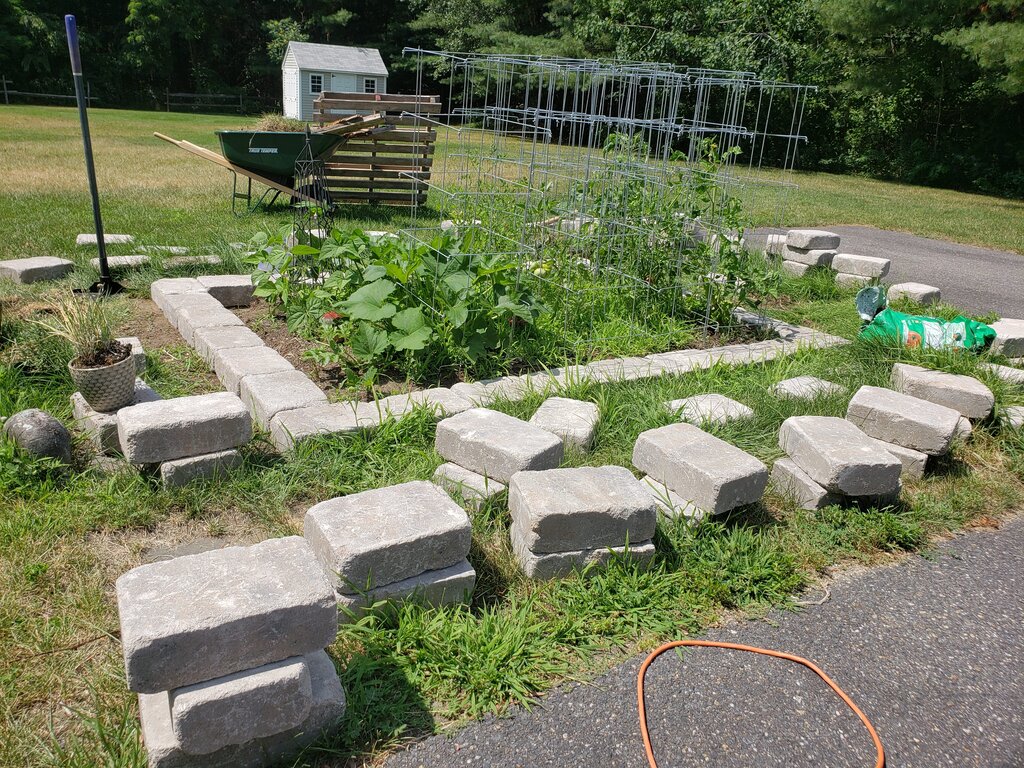


Note I intend to add more soil to the raised bed next year to bring the level higher.
I spent about $270 on the wall, I’m still not sure if this was a good price or not…