I did it! I finished the pantry project I’ve been working on for an eternity!!! “Pantry project?!” you ask. “Why, yes, let me fill in some holes.” You may remember back in July how I described our pandemic fridge saga? Well this is the thrilling conclusion! Previously on ladybeekeeper we waited for an entire year for the only model of fridge to fit in our built in cabinet to come in stock. That fridge arrived broken and the company was not manufacturing any more fridges. For that year we had been living with a tiny 7 cu ft fridge for our family of 3 (and then 4). Now that you’re caught up…
We had no options left so called two cabinet companies to come in and give us quotes to shorten the cabinets above the fridge to a reasonable size. Both told us they couldn’t touch a set of connecting cabinets without removing the rest… this meant basically re-doing our entire kitchen. After a summer of basement renovations, door replacements, solar install (and we didn’t know it at the time but emergency window install) we were not keen on having another vast renovation project ongoing.
So… we decided we were not going to be able to have a fridge fit in that spot so we went buckwild, thinking we’d put it on the new wallspace opened up from the sliding door removal. Will and I didn’t measure anything and bought a huge, fancy fridge on Labor Day from our favorite appliance store. They penned us in for rush delivery since this was the 3rd fridge we’d attempted to get from them. The big fridge arrived, fit fine, looked beautiful… and tripped the breaker. Nope, not joking! We ran an extension cord to the original fridge outlet in the (now empty) cabinet and the fridge powered on fine. Sigh. At least it wasn’t the fridge this time? The appliance delivery guys gave us the name of the electrician they use and we called him to figure out what to do. (Bonus: we ended up with the name of a great electrician who has done several projects for us since then!!)
In another two weeks he was able to come and fix the problem (bad GFCI outlet) and we now had a real working family-size fridge! (And a giant open cabinet where the old fridge was, but… we’ll get to that.) That was September… and it is now February 2022 and since I finished the pantry I can finally close out this saga!
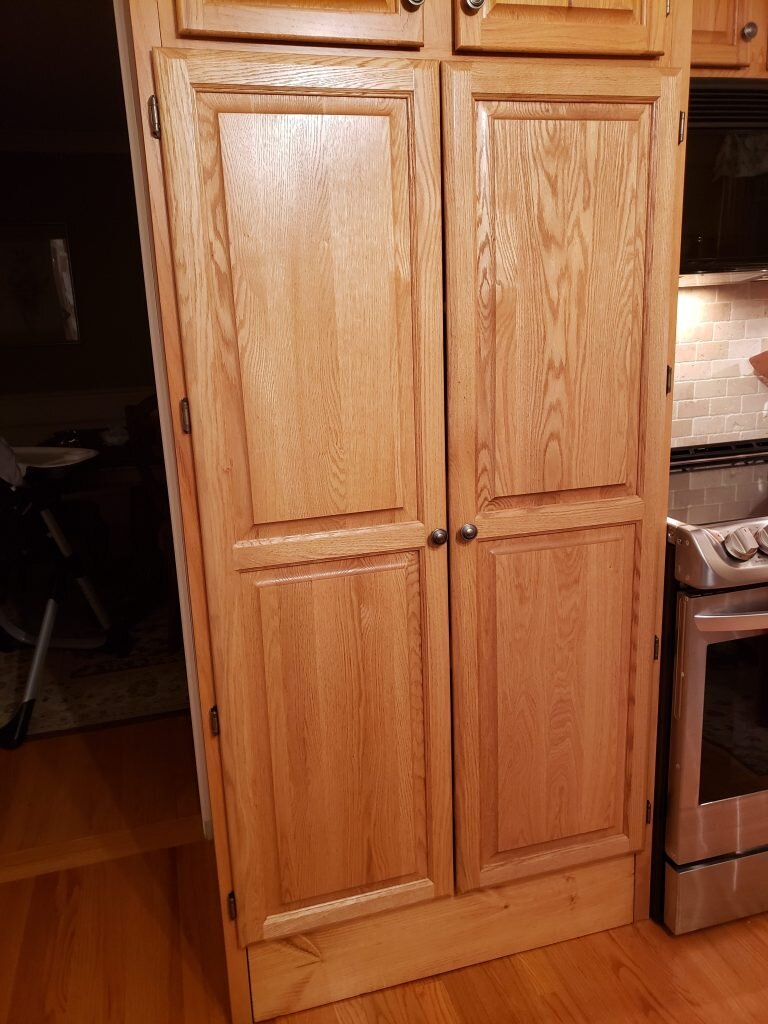
Before….
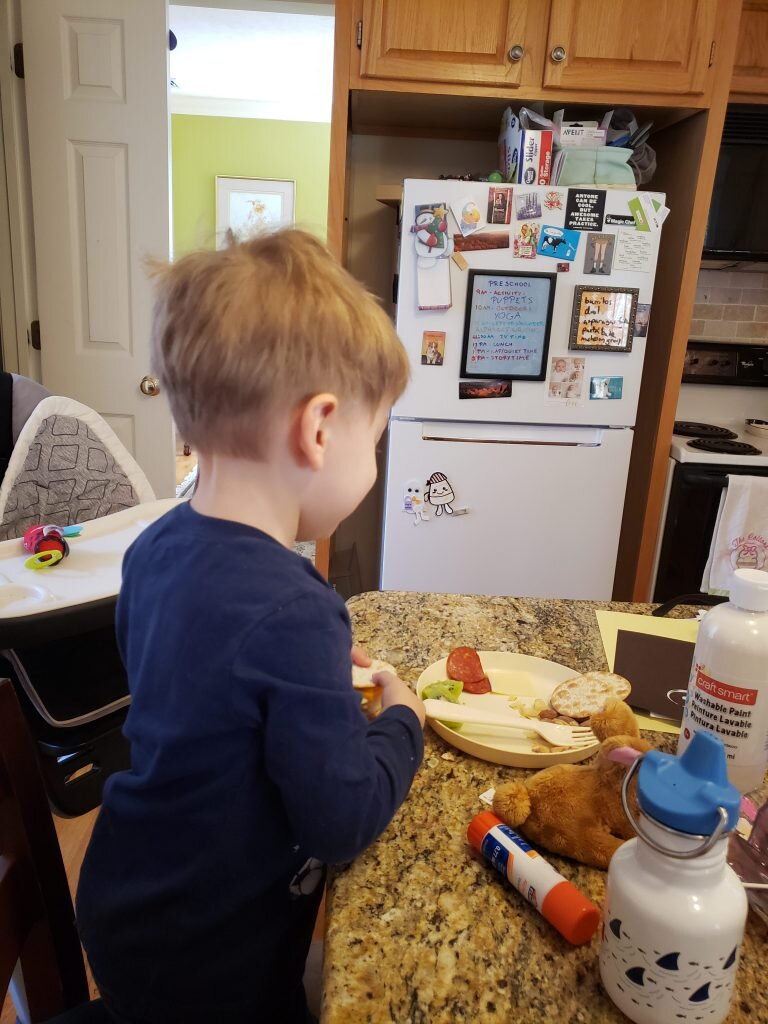
See the tiny fridge in our fridge cabinet that is too small to accommodate any modern fridges? That is the fridge we lived with for a solid year during the pandemic. And the surround is what I turned into a pantry. (I have no idea where my better “before” picture went).
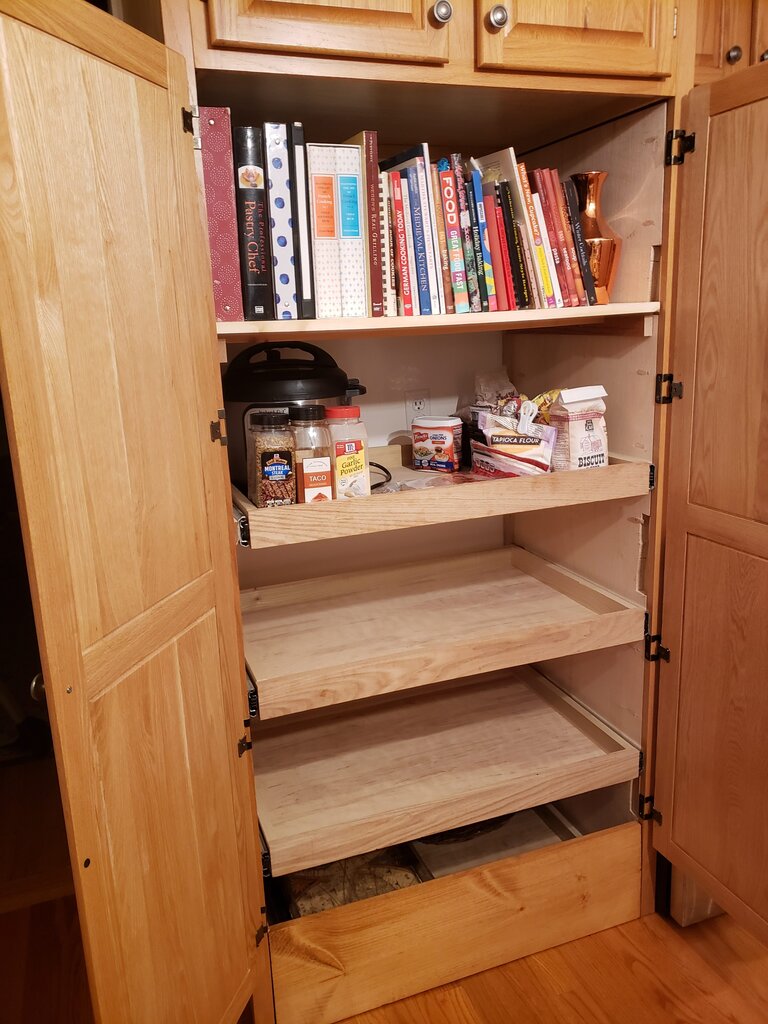
My completed pantry!
Pantry from a Fridge Cabinet
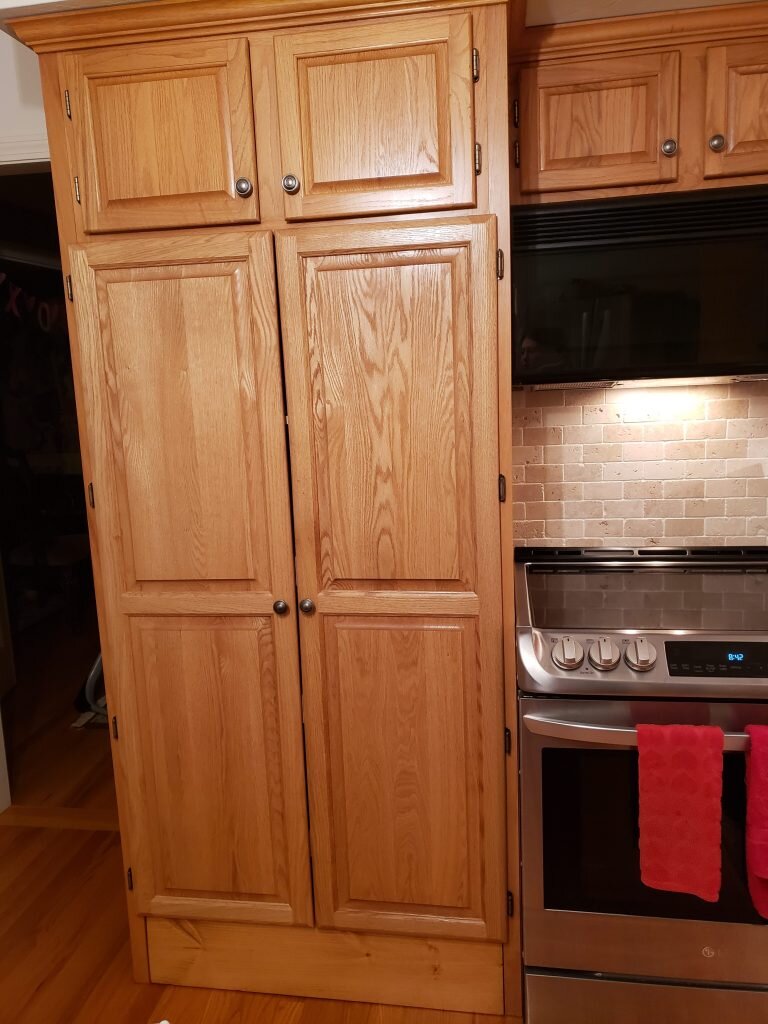
My plan for the pantry was to add in pull out shelves and doors to the front of the cabinet. I didn’t think I could handle making the cabinet doors, so I bought 2 custom made doors from cabinetdoors.com. The problem is I didn’t like the look of the doors with 3 panels (I have no idea why, I just didn’t) so I had to max the size out on the length with 2 panels and I figured I’d fill in the gap afterwards with a toe kick drawer. As you’ll see that sort of worked, but it made a lot more work for me. When the cabinet doors came in I stained them to match and applied polyurethane. I then managed to find closely matching hinges at Rockler in Cambridge (these hinges were called semi-wrap overlay hinges – thanks to someone at Home Depot who knew). The two knobs I stole from the downstairs bathroom. I luckily had replaced the bathroom knobs with extra matching ones when I replaced the ones in the kitchen when we moved in. This made the cabinets far less ugly so after I completed this in mid September I didn’t bother with the final parts of the project until this January…
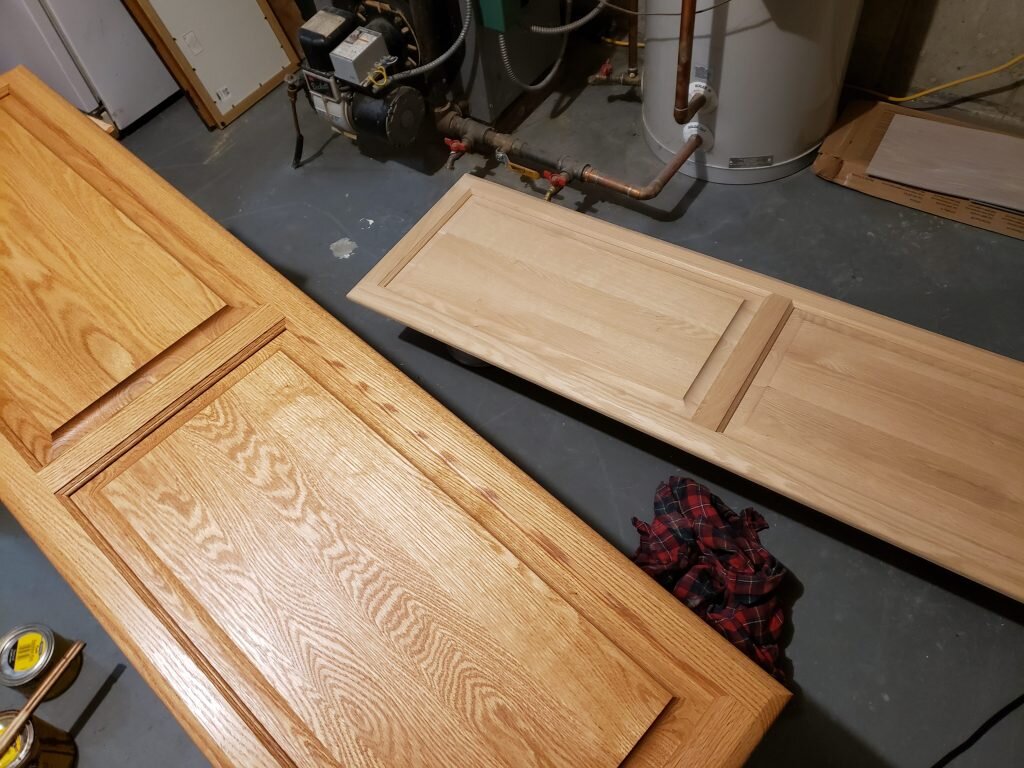
Finishing the doors I custom ordered
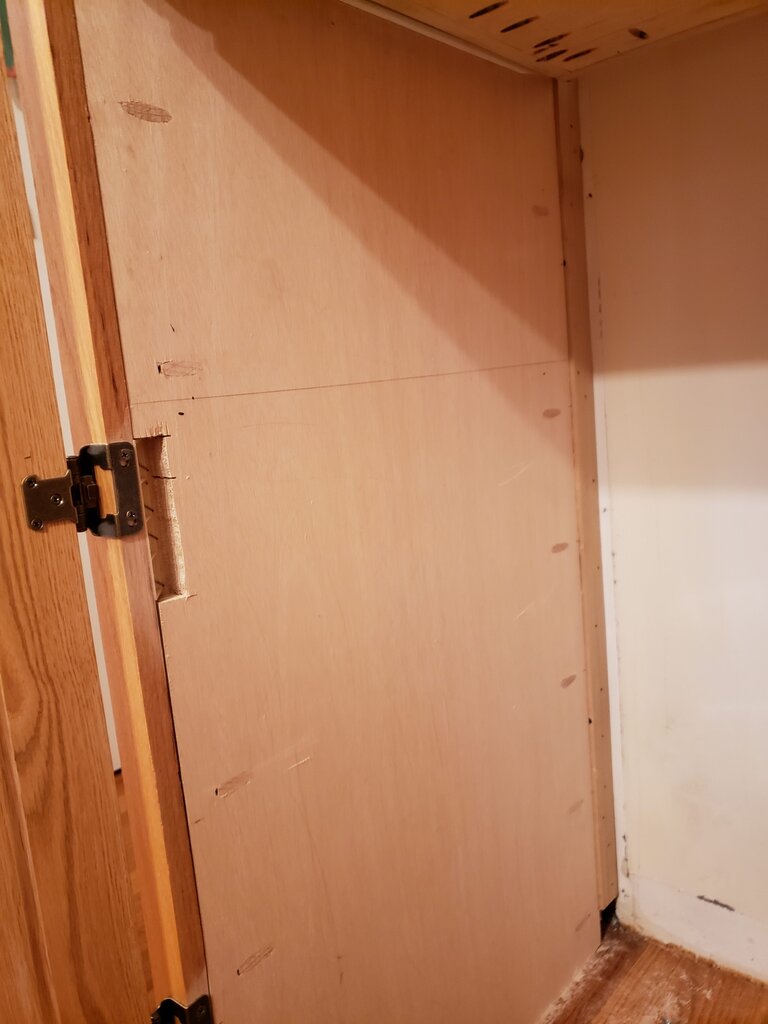
The first step was reinforcing the walls of the pantry cabinet so I could screw actual shelves into them. The walls of the cabinet were 1/4″ of what looked like hardboard. I instead bought 3/4″ high grade plywood, cut it to size, cut out divots with a coping saw to avoid the plastic pieces holding the hardboard to the face of the cabinet, then installed it with pocket hole screws to the face frame and back of the cabinet using pocket holes and screws. Later I filled the pocket hole screws in by putting glue on the tip of a 3/8″ dowel, shoving it in the pocket hole and using a pull saw to flush cut the dowel off. I didn’t even need to sand most of them the flush cut saw worked so well. (Somehow I don’t have pictures of any of this).

Picture of finished reinforced cabinet side. Note the cut outs to accommodate the cabinet side holders and the nicely filled pocket holes.
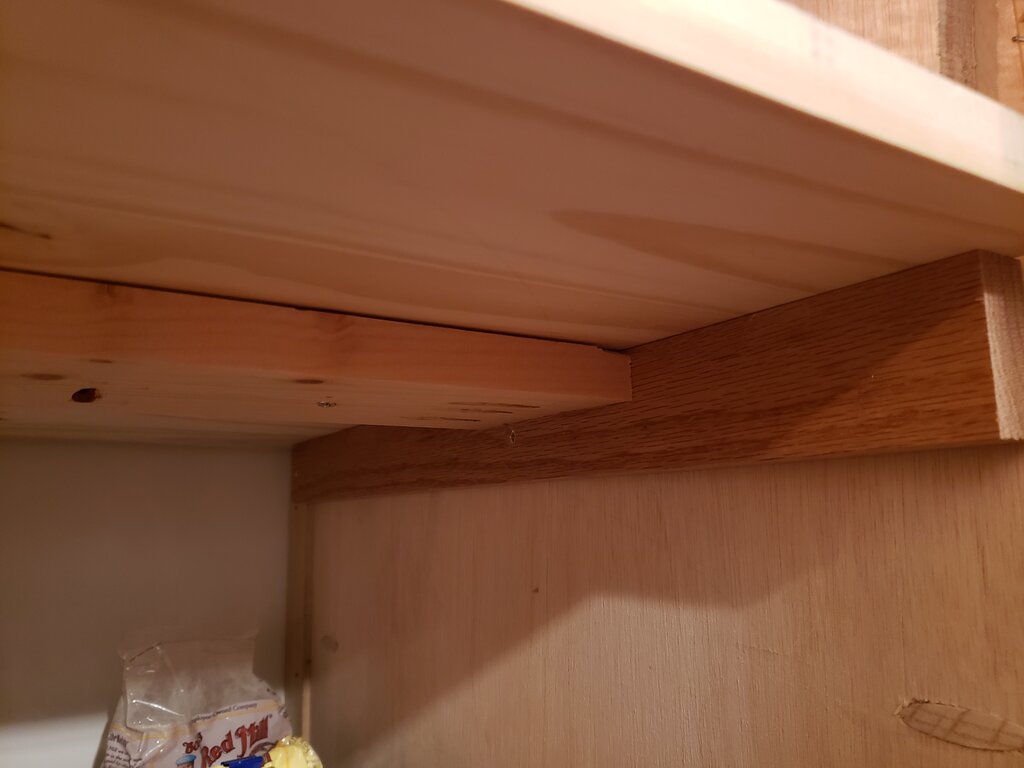
After I was happy with the sturdiness of the walls, I installed a single stationary shelf on the top, tall enough to fit all my cookbooks. The stationary shelf I originally built with plywood, but it was ugly and looked like it was bending a bit, so I instead bought a nicer piece of 3/4″ pine and cut it to fit. I used some old 3/4″x2″ slats I had from a project the previous owners left, and for good measure added a 1×4 center bar for support (I attached this with pocket screws.

Support for the cookbook shelf.
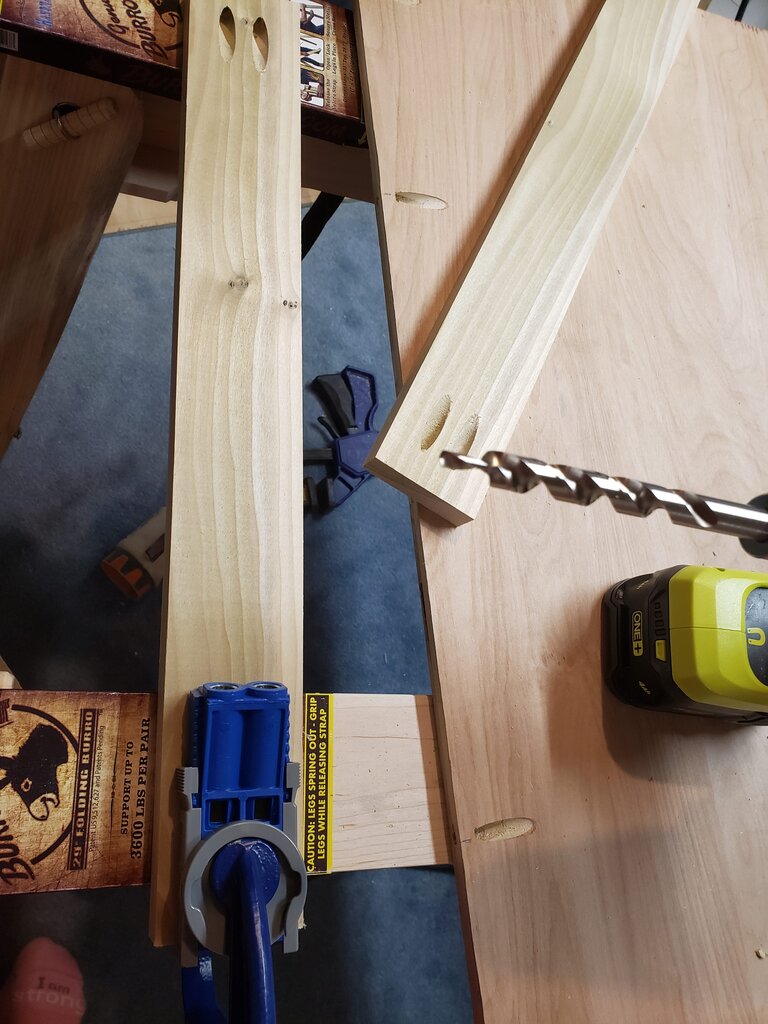
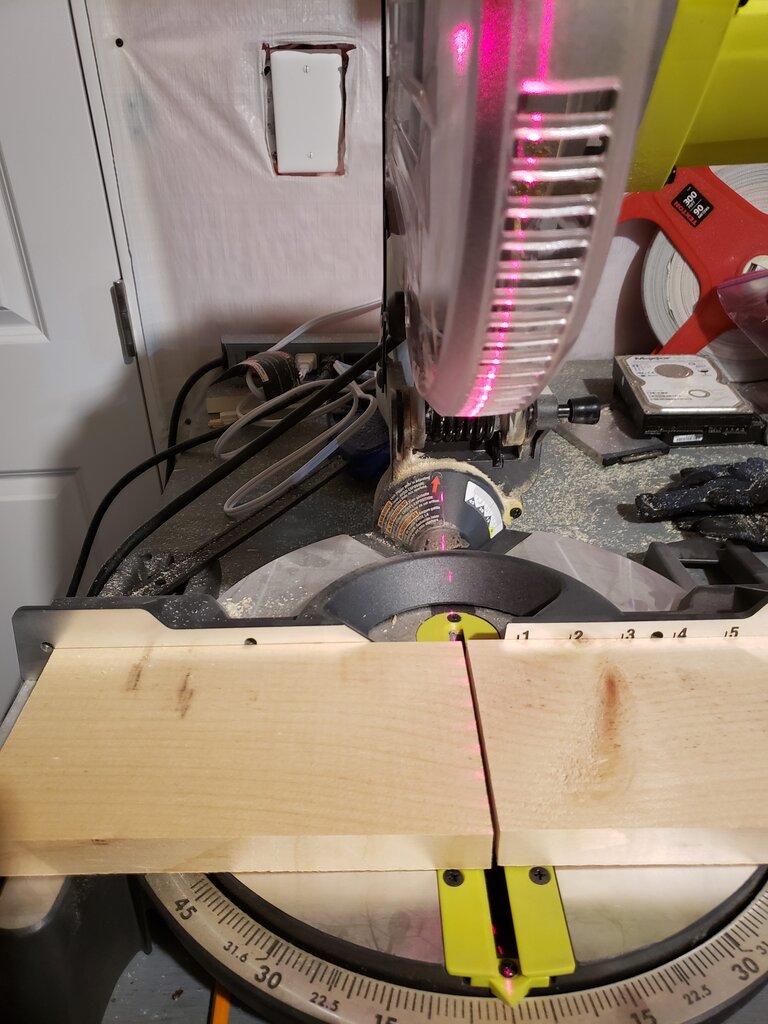
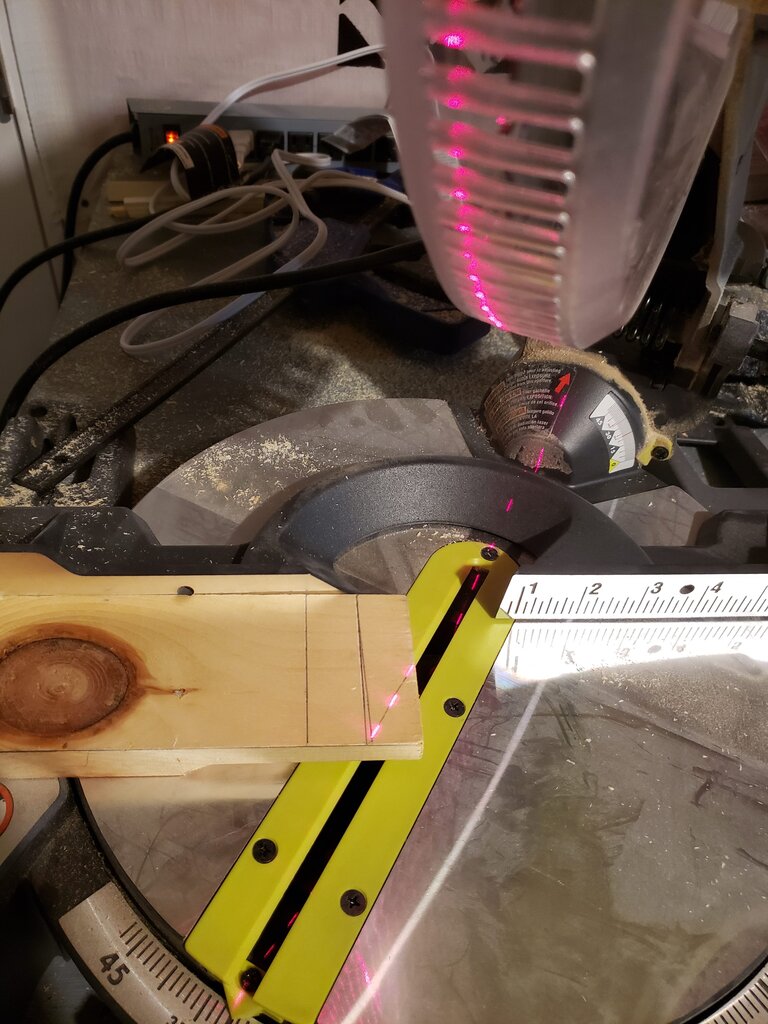
Next I made 4 custom drawer boxes using 1/2″ plywood for the base and 1″x3″ boards. I don’t have a table saw so I didn’t bother trying to dovetail the drawers. Instead I cut the box bottom from 1/2″ plywood using my circular saw and bora saw guide. This was extremely challenging as I had to cut extremely accurately to get the drawer boxes to fit, and every cut had to be measured. Having a circular saw probably would have cut the project length to a quarter of what it ended up being. After cutting the box bottom, I cut the left and right sides from 1″x3″ pine using my chop saw (I love my chop saw), with the length of the sides matching the depth of the drawer. Finally I cut the drawer back from pine and the drawer front from a nicer oak (I just thought it looked better) to size. This was 1.5″ more than the width of my drawer (to account for the overlap of the two pieces of 1″x3″ pine on the sides of the box).
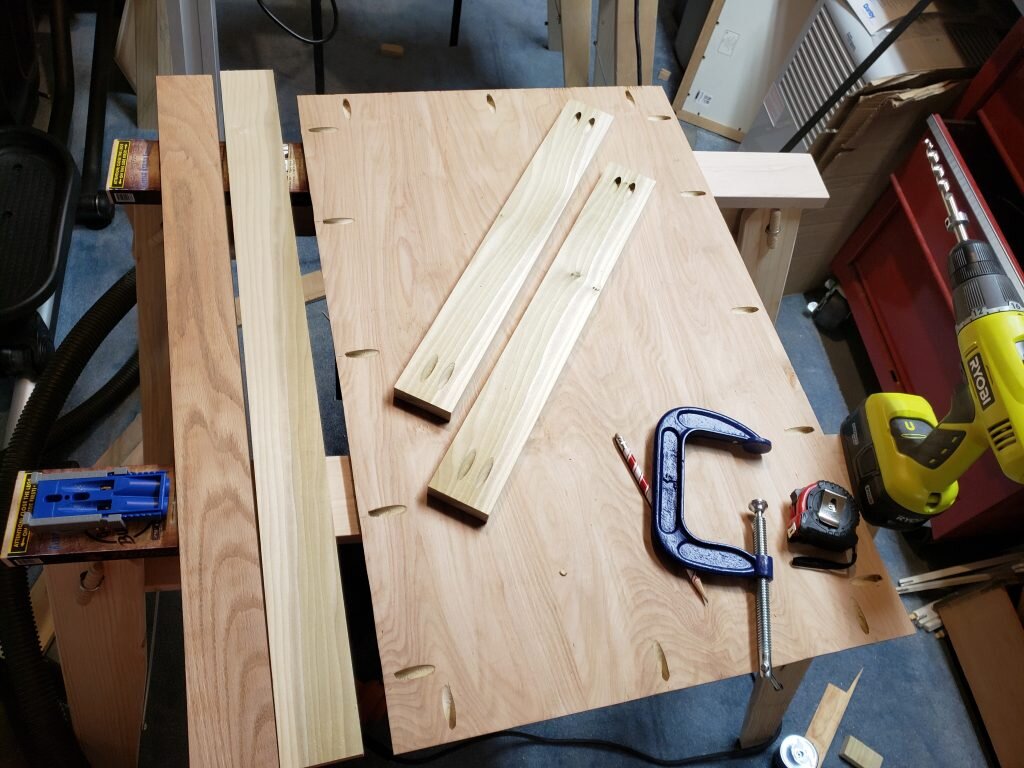
Finished pieces for drawer with pocket holes drilled.
With my pieces cut, I drilled pocket holes 2″ from the corners and 6″-8″ in between along the sides of the drawer bottom. I used the Kreg pocket hole guide set to 5/8″ to drill these holes, and used a 1 1/4″ screw to eventually attach it. For the sides of the drawer box, I drilled 2 pocket holes using the 3/4″ mark on the Kreg tool on each end of the outside face of the left and right drawer box sides.
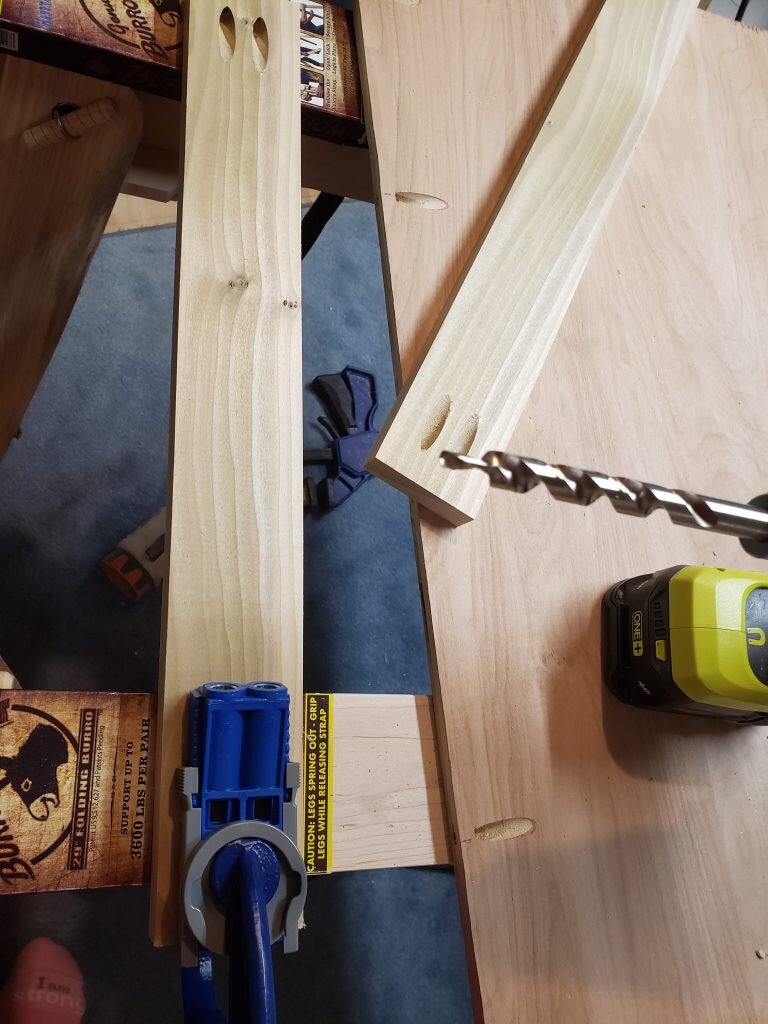
Drilling holes with my Kreg tool
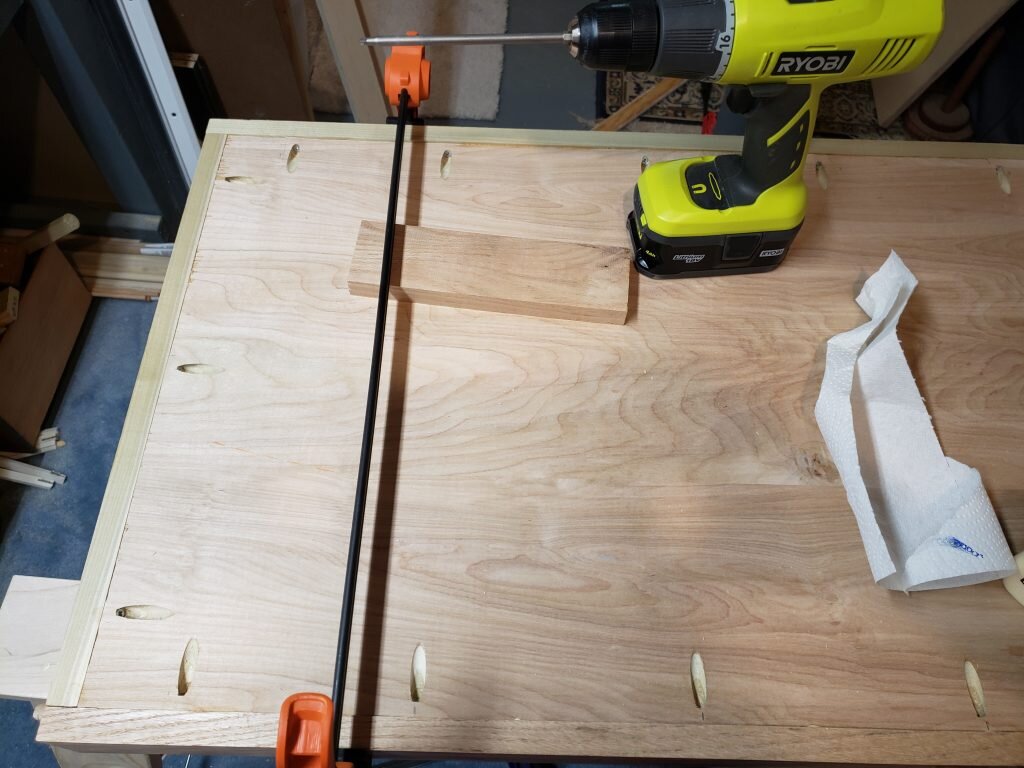
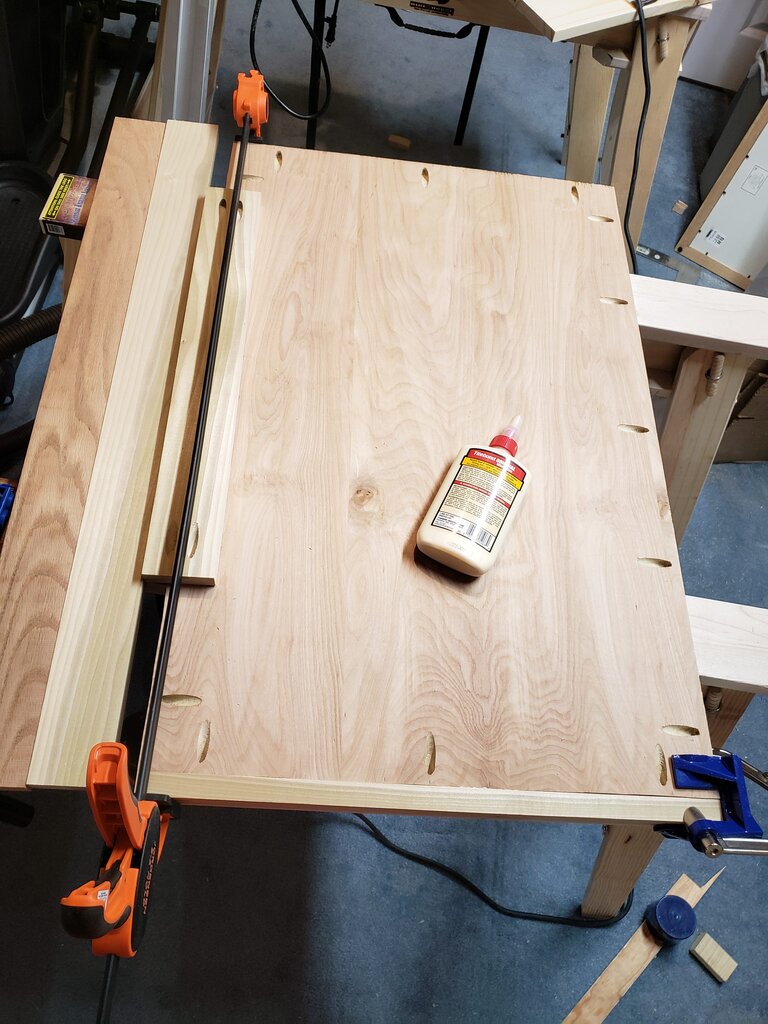
Next came assembly of the boxes. I added a thin line of glue along the edge of the box bottom. Then I used a single Kreg corner clamp to position a side of the drawer box (make sure all the pocket holes on your piece face out) at the corner I then used the bar clamp on the other end to hold the drawer bottom onto the drawer side. Using 1 1/4″ screw I attached the drawer bottom to the box side where the clamp was. I then remove the clamp, moved it to just over the next pocket hole and continued the process.

Right clamp is the Kreg corner clamp, left most clamp is a bar clamp
When the one side was complete I repeated the process for the opposite box side. Finally I repeated the process for the front and back faces, but this time I used the Kreg corner clamp to hold the box face to the box side (instead of to the box bottom). After all 4 faces of the box were in place I clamped the sides at the front and back faces and screwed in the remaining pocket holes.
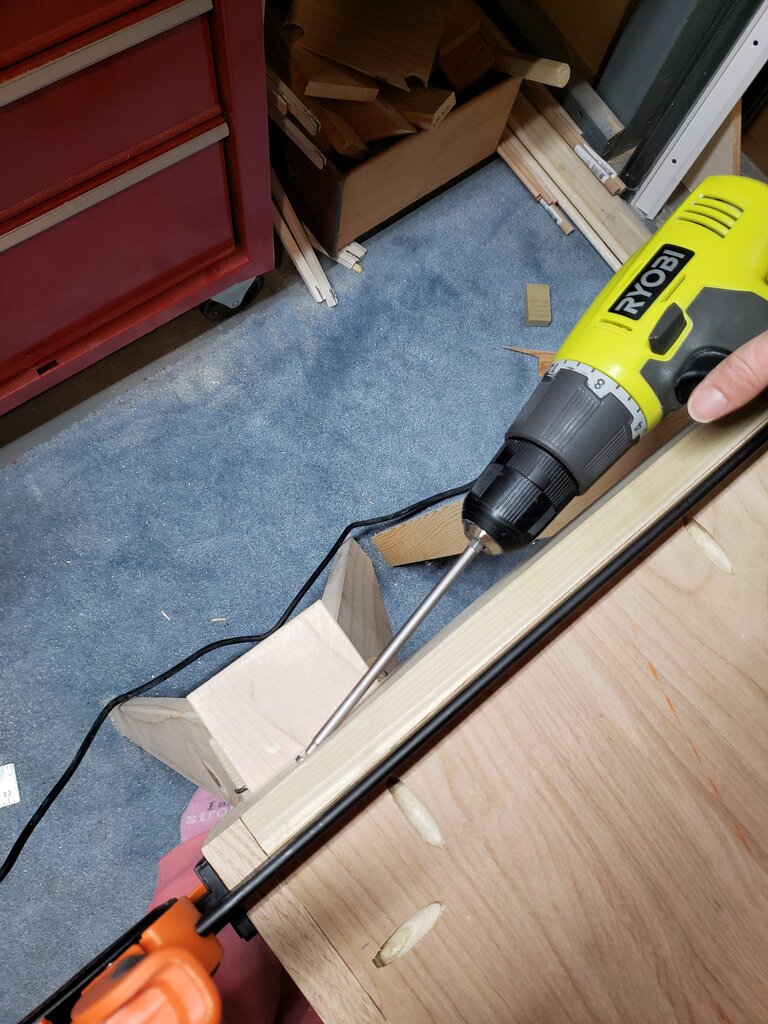
Screwing in the face of the box.

Screwing together the side panels.
When my box faces were complete, I installed the drawers following the instructions on my drawer slides. My drawer slides are Accuride 200lb over travel drawer slides. I wanted over travel slides so I could have complete extension of the cabinet and I wanted them to be beefy to accomodate all the cans and things I intend to load them down with. I chose to space the first drawer slightly lower than the others because the fridge outlet was behind it. If needed I could use that drawer as a work bench for my Kitchen Aid. (The beefy drawer slides mean this would be no problem).
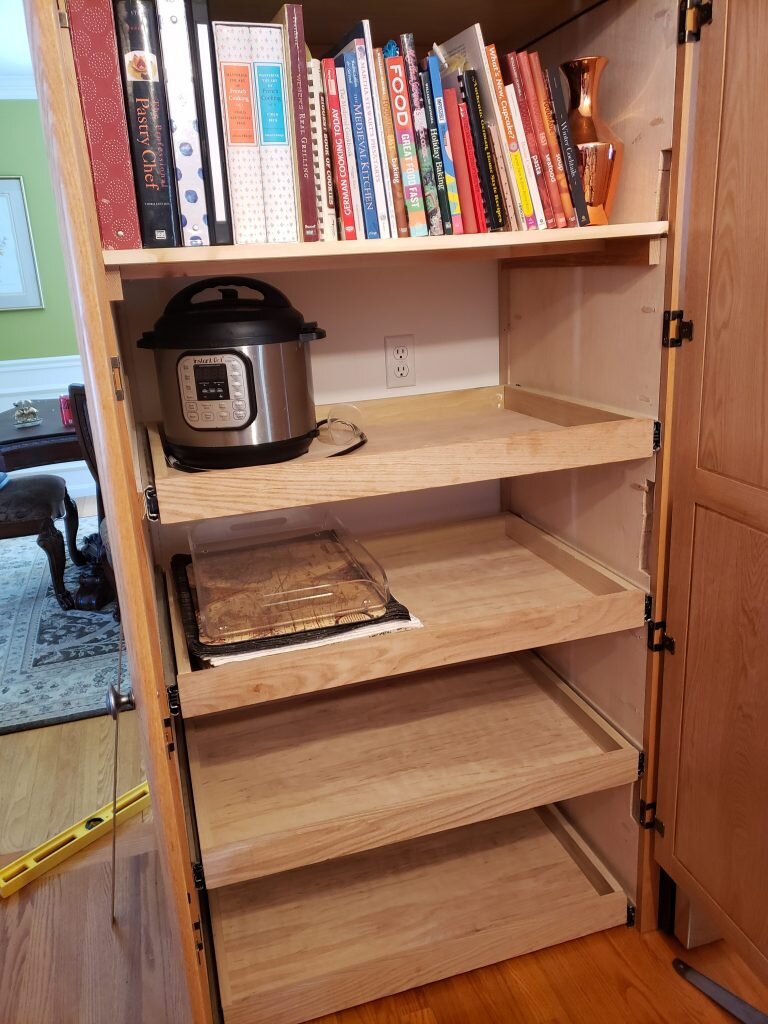
Drawers all installed, waiting for toe kick.
Once my drawers were all installed I used a piece of 1″x8″ pine to make a toe kick board that I attached to the bottommost drawer. This is the part I’m not happy with. I stained this board multiple times, but couldn’t get it as dark as the rest of the cabinets. I suspect it is because of the difference in wood type. Some day I may buy a piece of oak to replace it, but for now I’m just happy to be done!
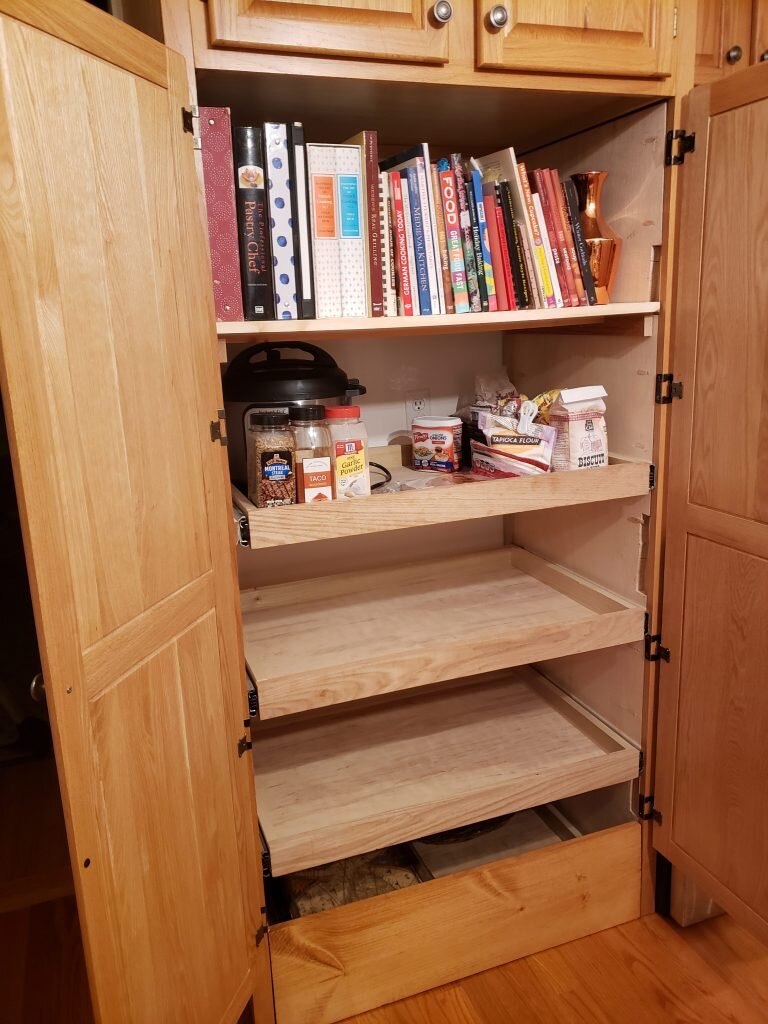
Drawers with completed toe kick
Finished Outside
Parts List
- Screws – $14
- 2 custom oak door cabinets – $297.70
- 4 sets of hinges – $34
- 1’x3″ poplar boards – $35
- 1’x3″ oak boards – $30
- 1″x8″ pine board – $15
- 4’x8′ 3/4″ plywood – $65
- 4’x8′ 1/2″ plywood – $57
- 3/4″x24″x48″ laminated pine – $33
- 3/8″ dowels -$4
- 4 pairs of 200lb over travel slides – $264 (I am kicking myself because I forgot to enter a 15% off coupon…)
Grand total – $814
Prices I was quoted to redo my kitchen just to fix this cabinet:
Quote #1 – $19,550.57 (full kitchen, no hardware included, cabinets only)
Quote #2 – $12,795.00 (full kitchen, no labor or hardware included, cabinets only)
Quote #3 – $3504 for new fridge area only (on the other side of the kitchen but this is closest to the price it would have been if I could have gotten someone to do this project for me.)
Overall, it was pretty pricey and a lot of work (especially with my limited tools), but I love how it turned out! Plus I was able to custom design the pantry (something neither of the above quotes allowed me to do since they were using stock cabinets) and to top it all off, we didn’t have to have another construction project going on!

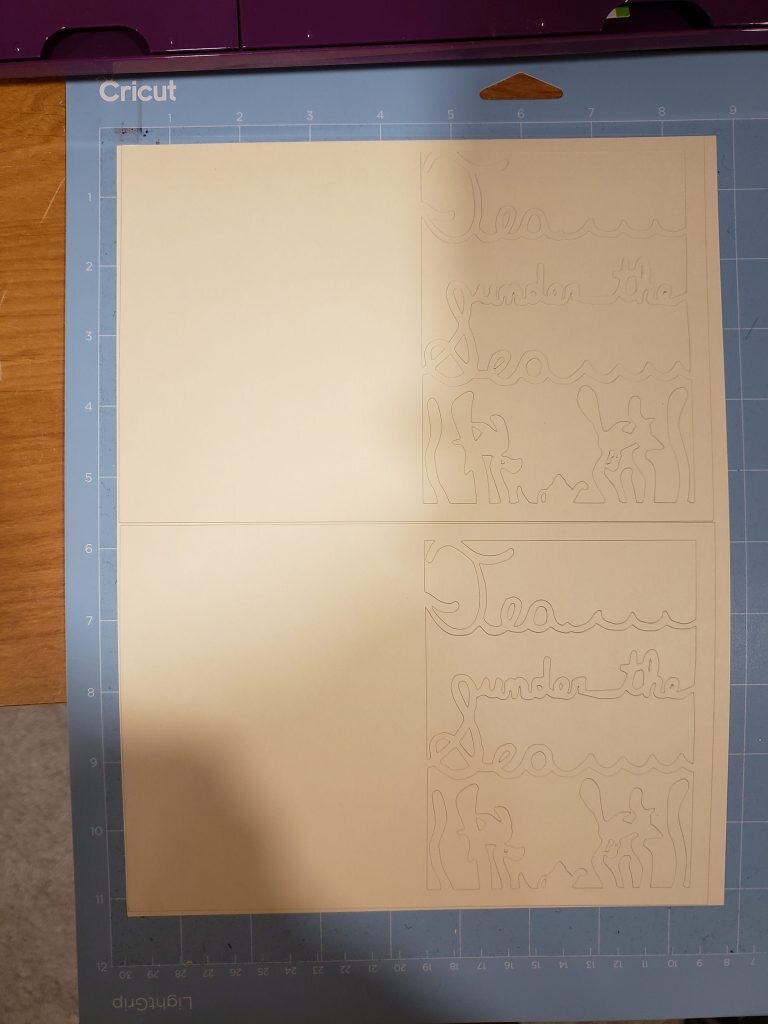
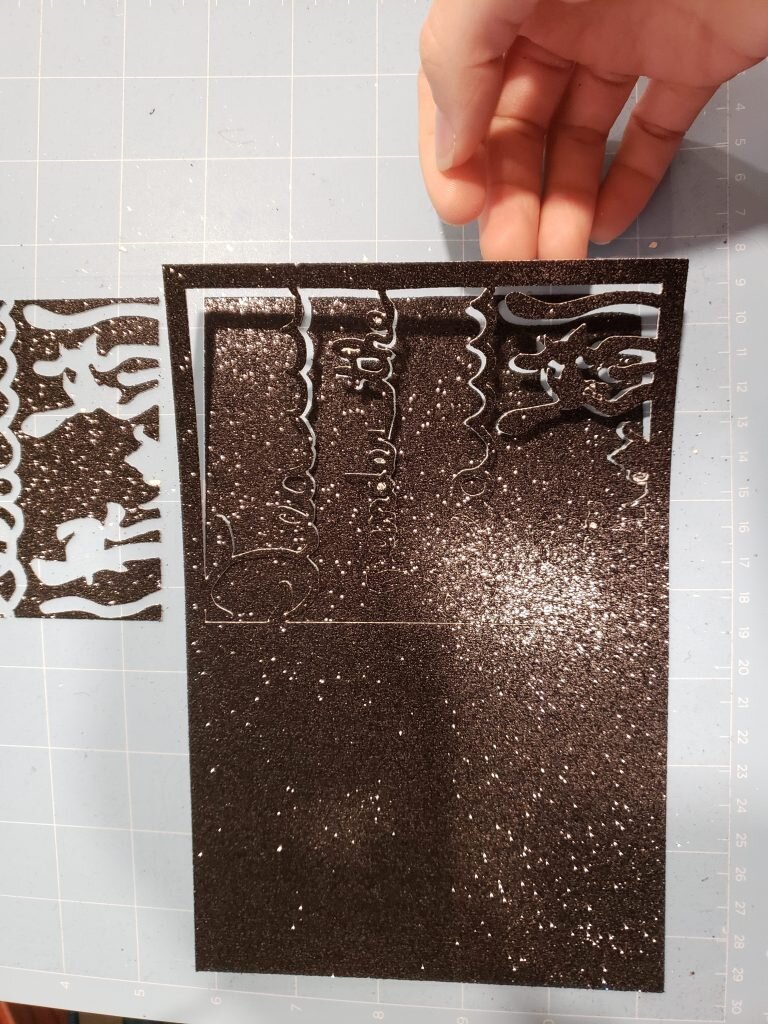
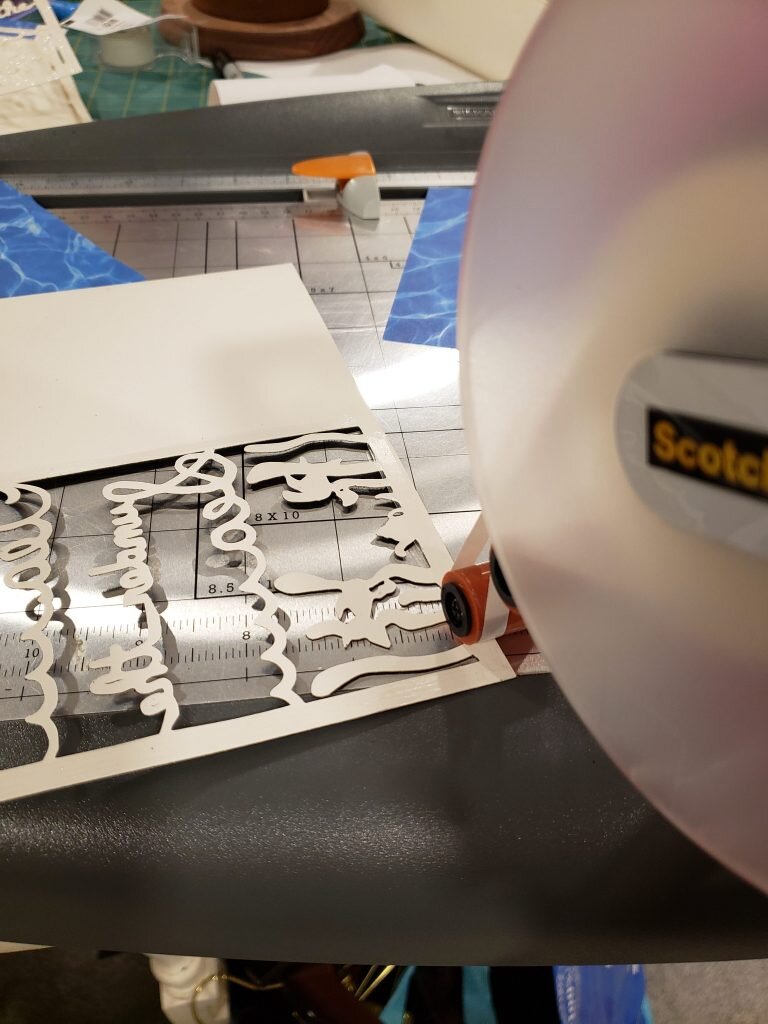
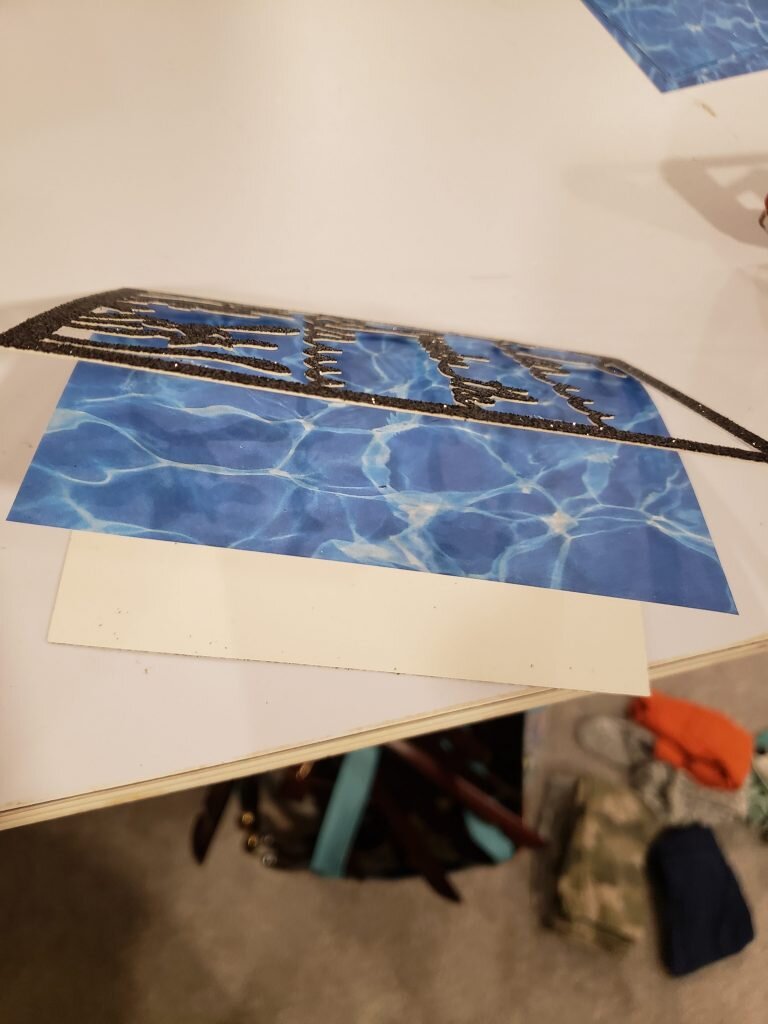
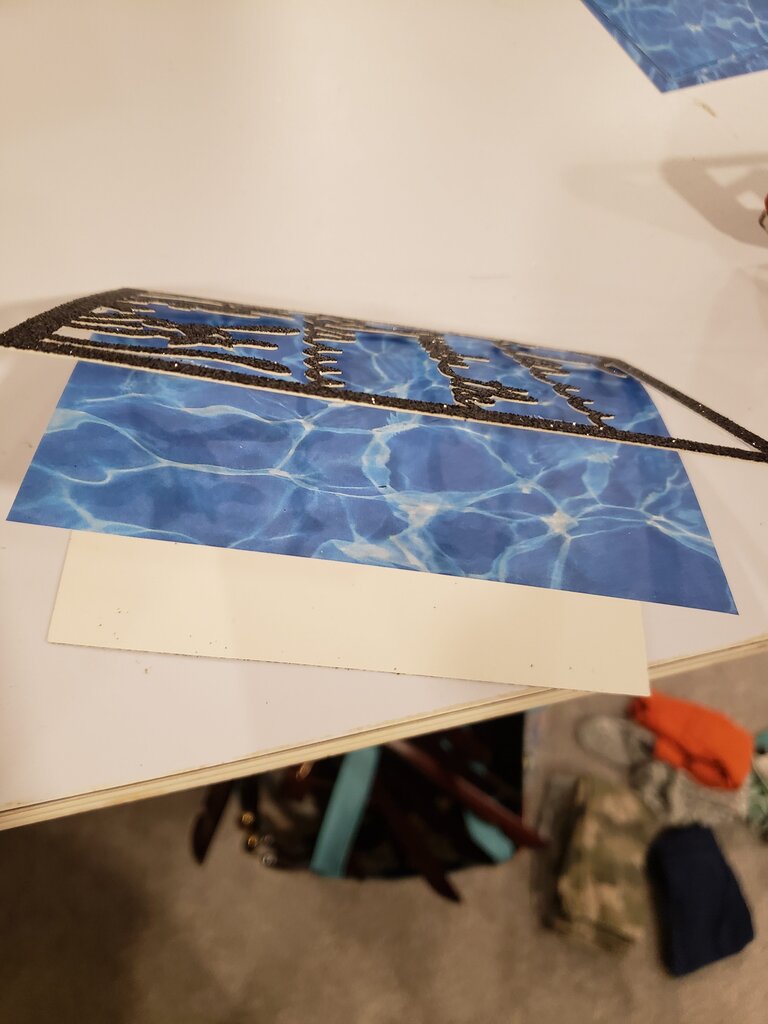
 Tea Under the Sea Invites


