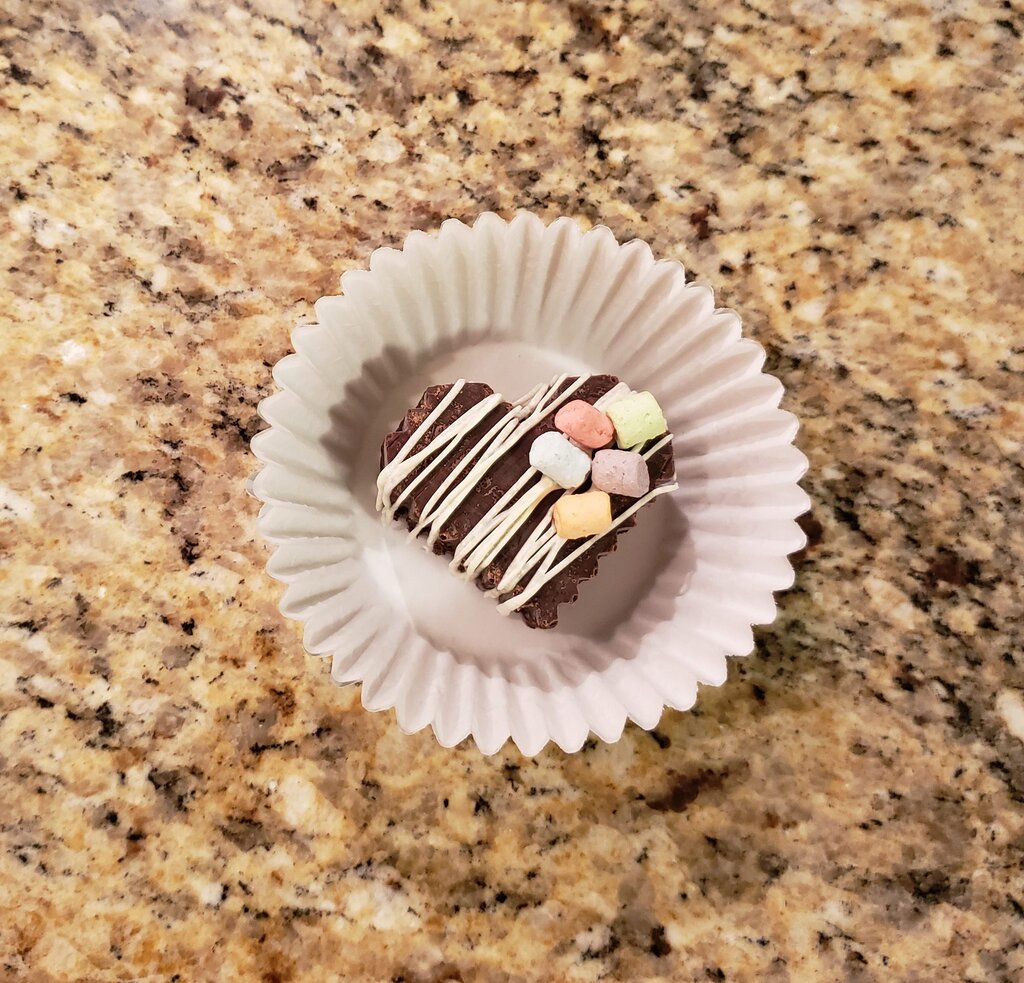
Well I’ve got one (6 day) week under my belt, though I felt less than useless for most of it. It turns out that 6 months is a long time and I think it will be a while before I feel confident in my job again. On the bright side I got to spend a nice mother’s day recuperating with my family on Sunday.
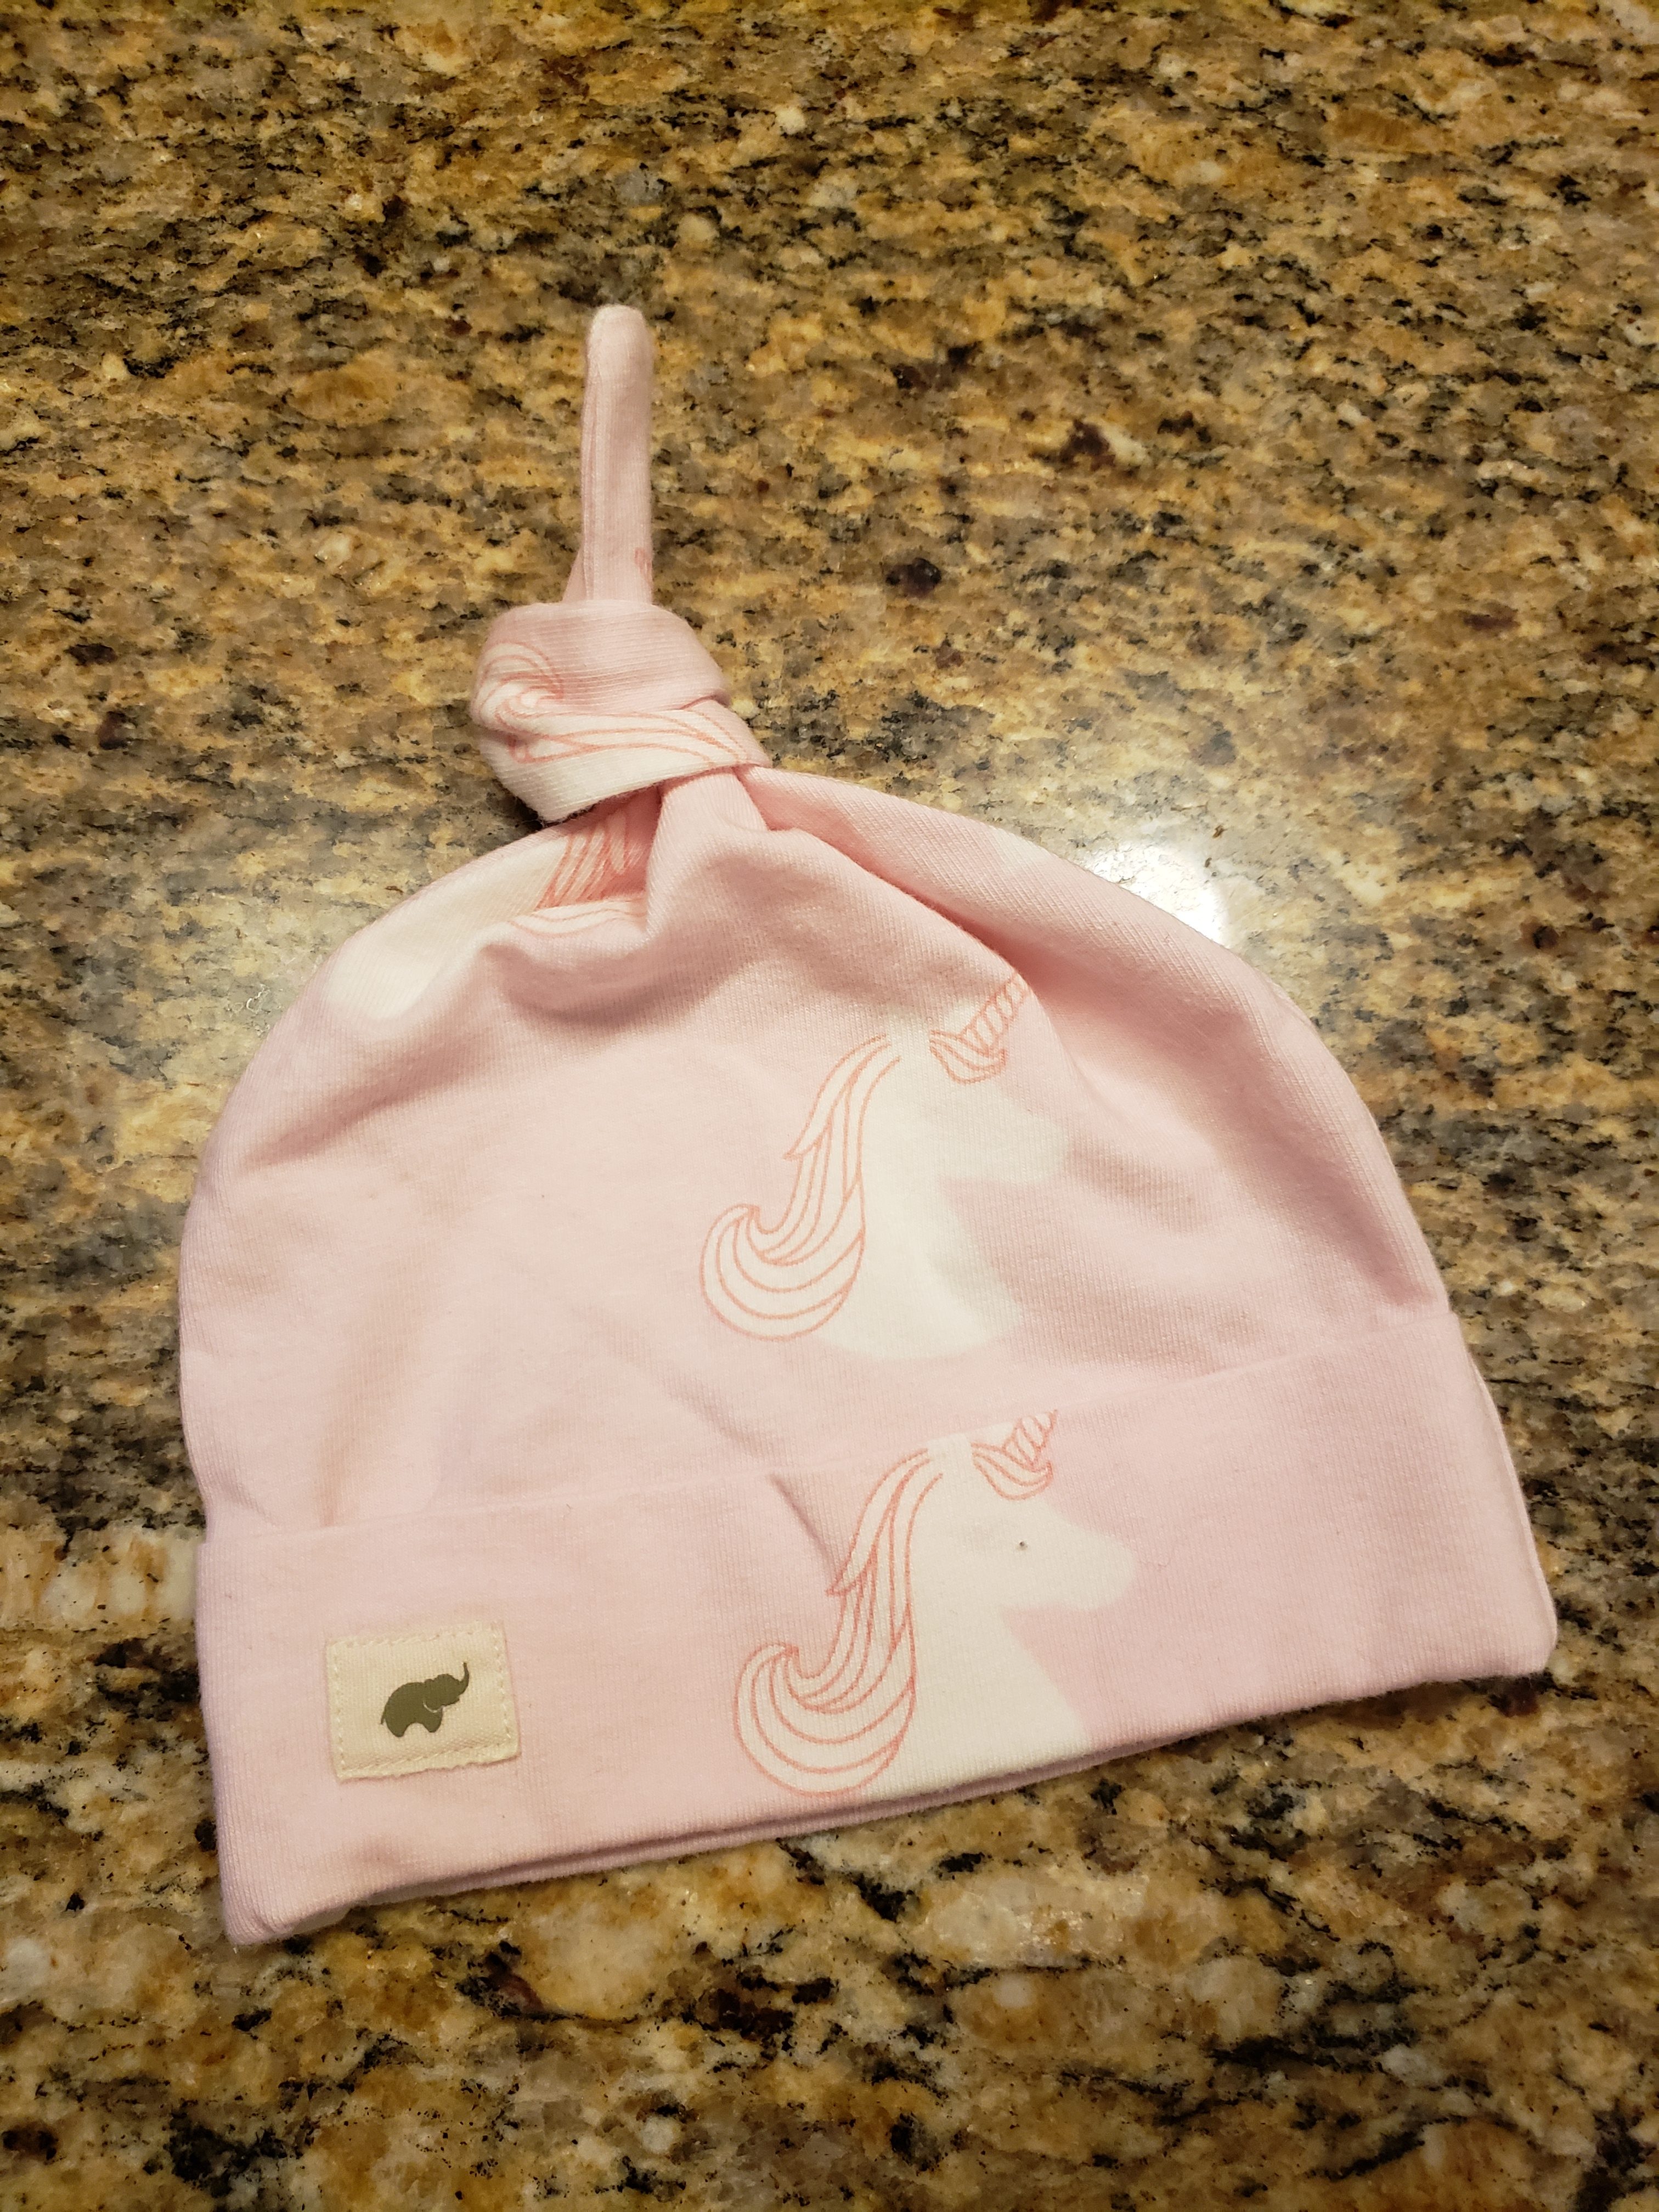
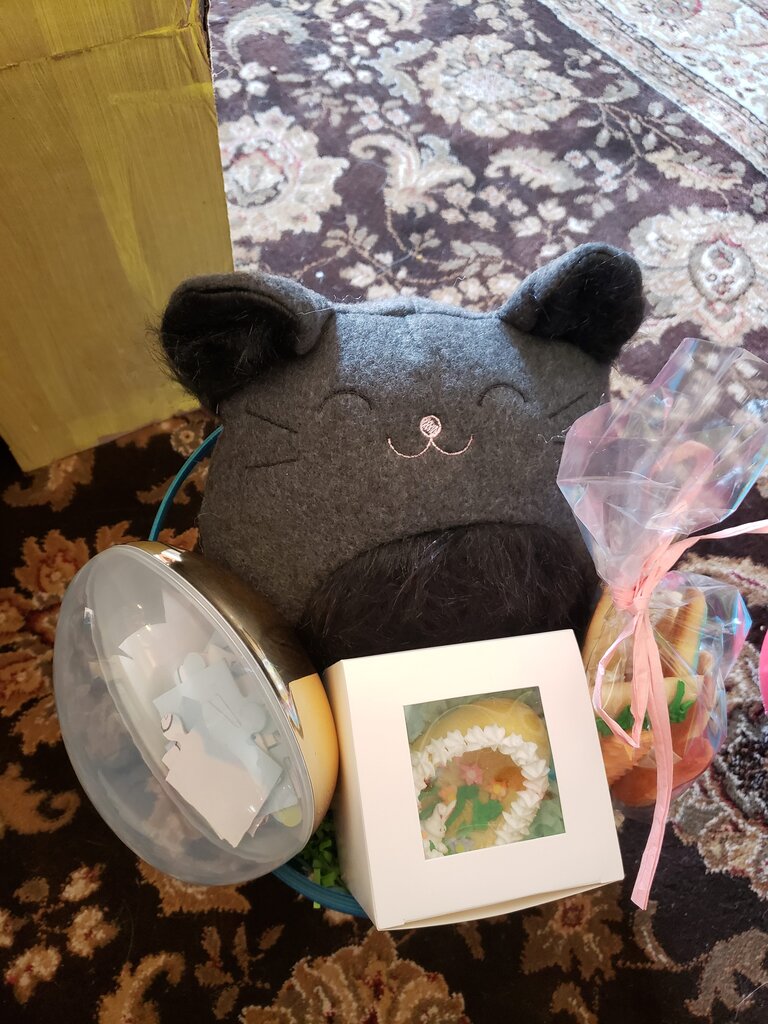
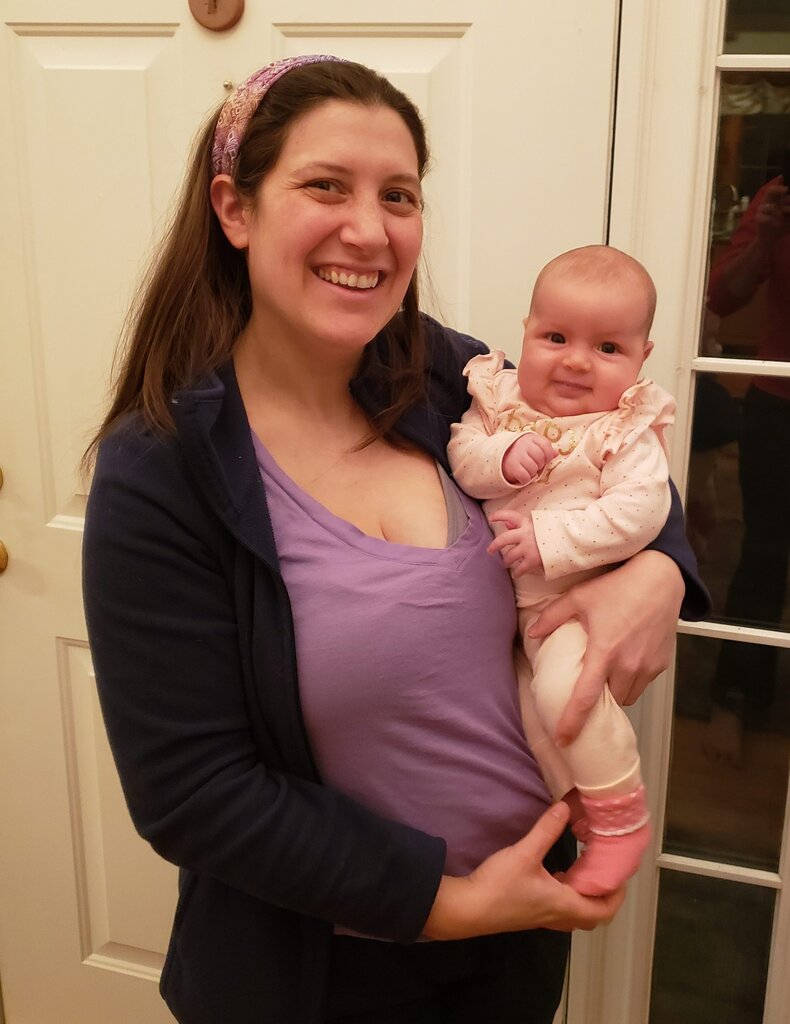
I guess I’ll get all cheesy for the next few paragraphs since yesterday was mother’s day and now I’m the lucky mama of two cuties. Will and I decided that two cuties is probably the number of cuties that we can handle so I started giving away our baby clothes and baby gear. I’m so happy for everything to go to new homes and get reused but I was getting a little nostalgic. When we found a taker for our bassinet I was simultaneously happy that someone else would be able to use it and sad at what it meant for us. No more babies. And on top of that I had a paranoid thought, what if we did decide we were going to have another baby? Will pointed out in that case we would just get a new bassinet, but then I irrationally started thinking about this theoretical baby and how it wouldn’t get to share the bassinet that Patricia and Julius had shared. I told my friend Amy this and she helpfully suggested that I try the Mari Kondo method of thanking the object I’m giving away for the joy it brought me. What a great idea. Unfortunately it lead to me sobbing in the basement while stroking the bassinet and murmuring, “thank you bassinet, you were a good bassinet. You were so helpful at holding our babies and keeping them safe”. I’m tearing up just thinking about it again.
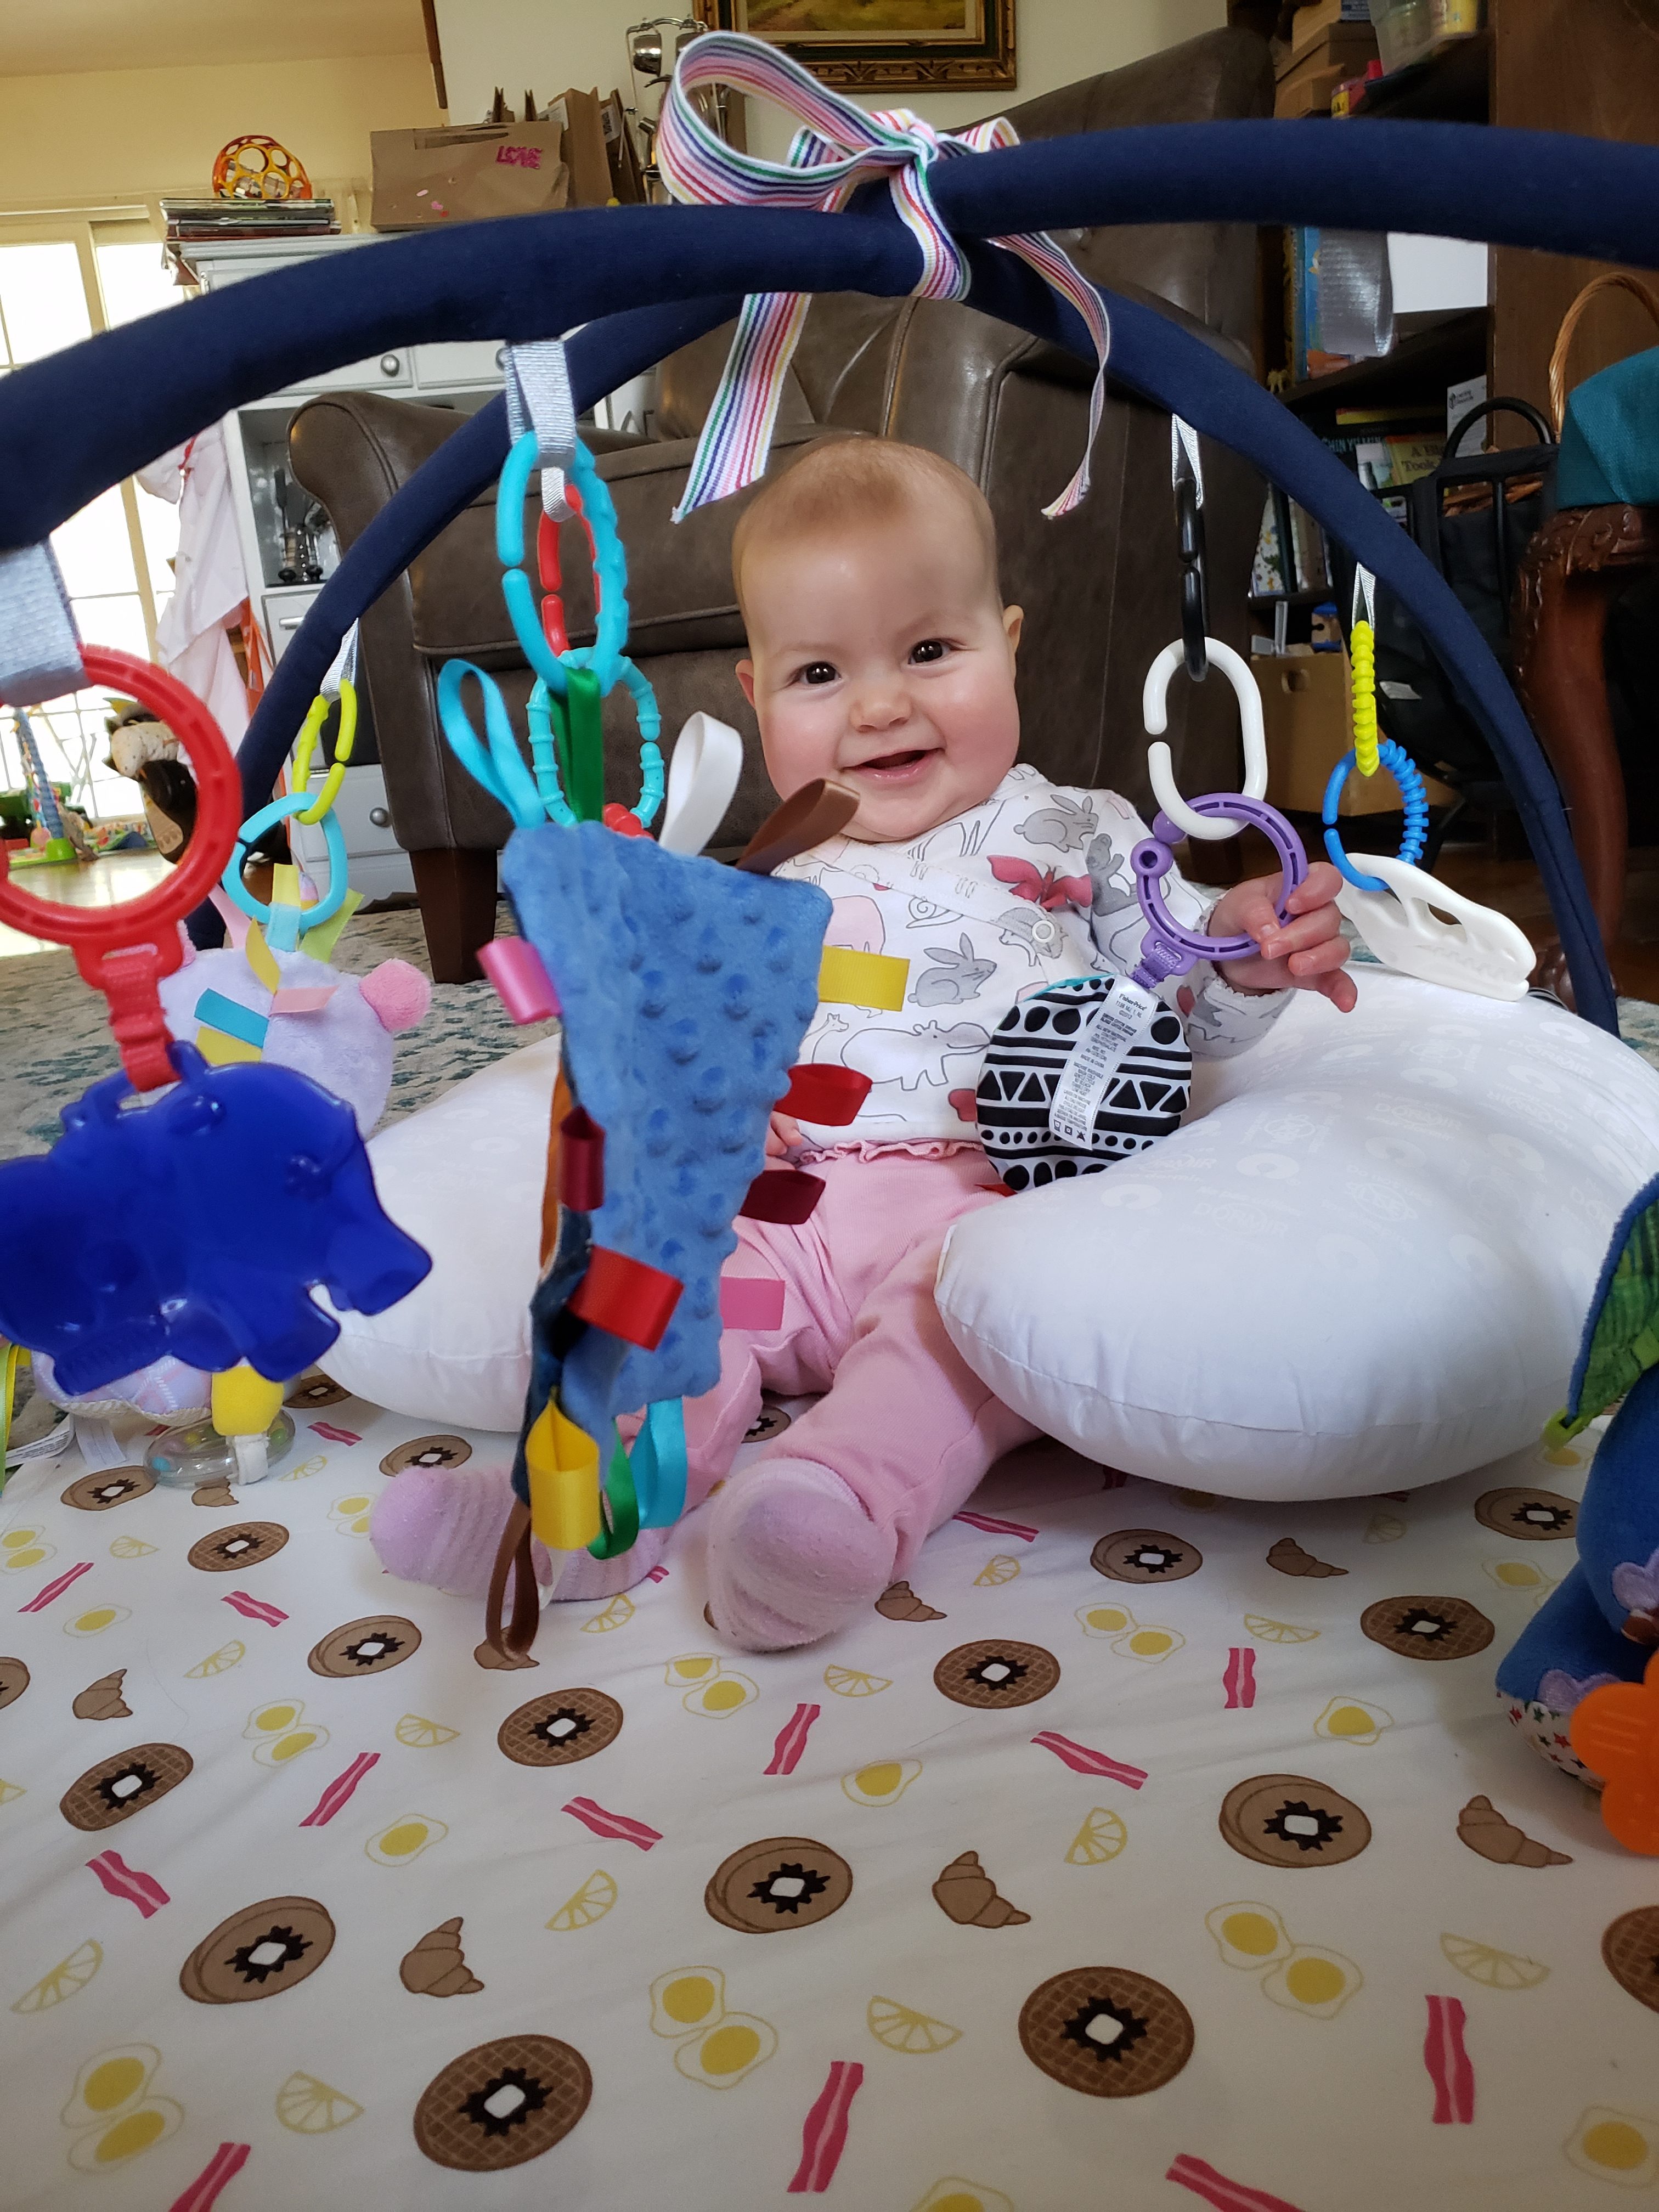
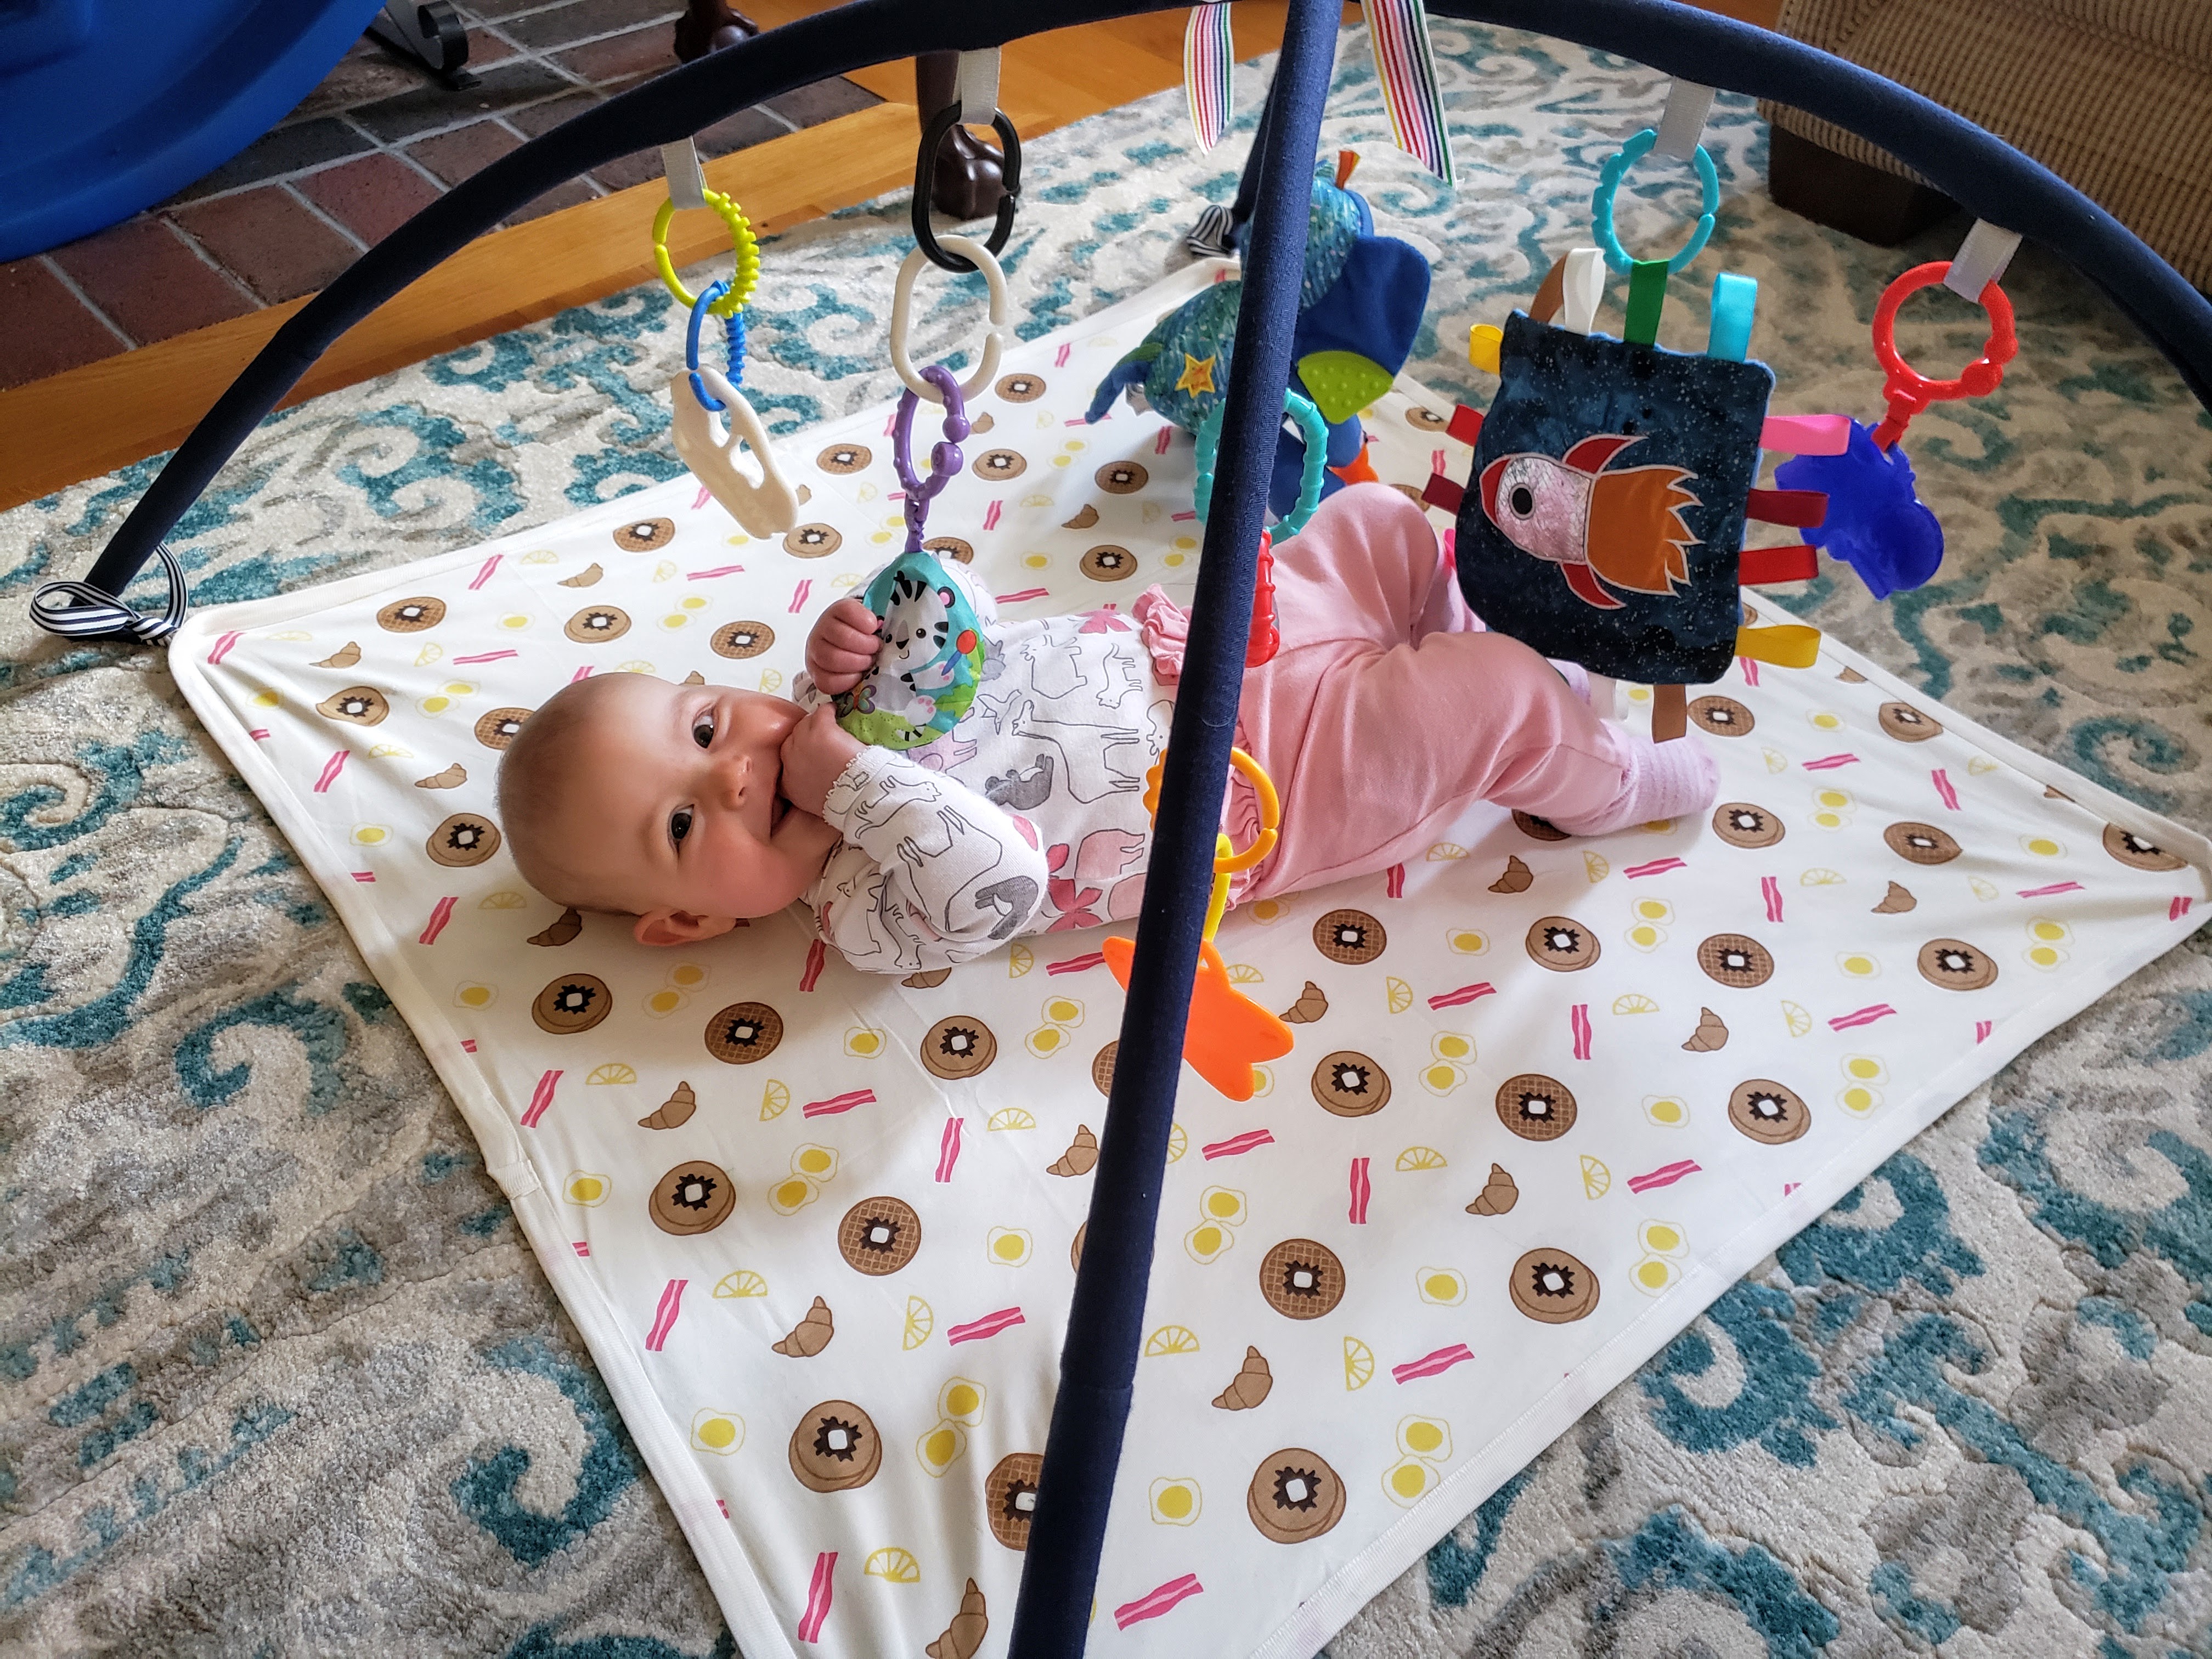
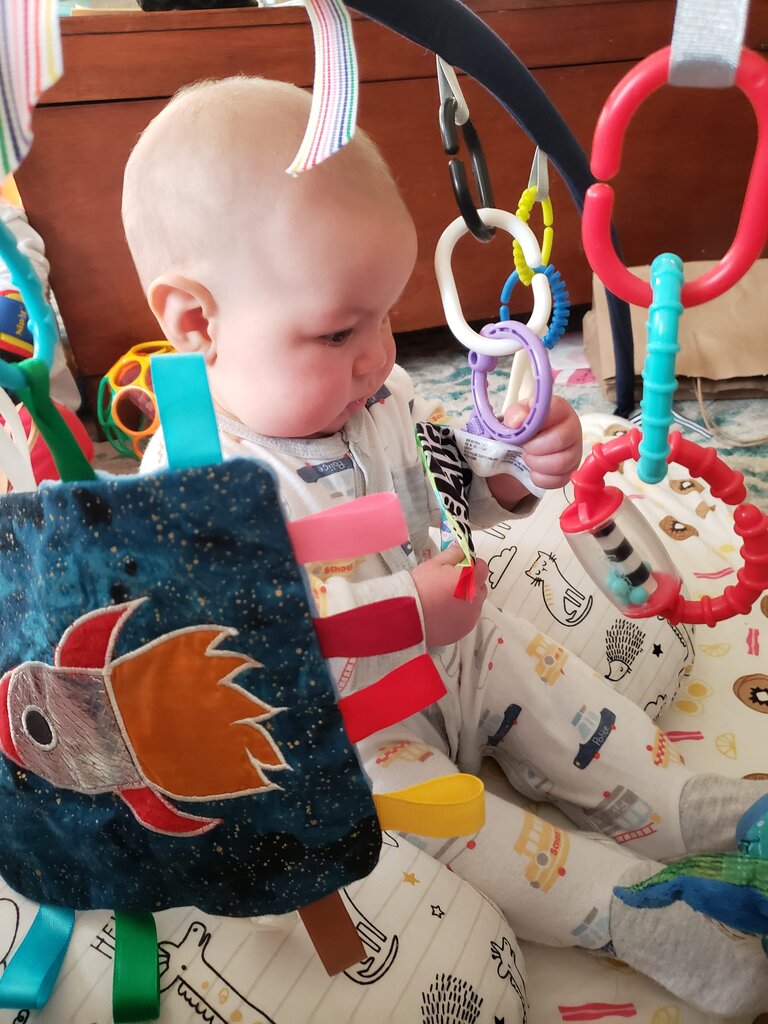
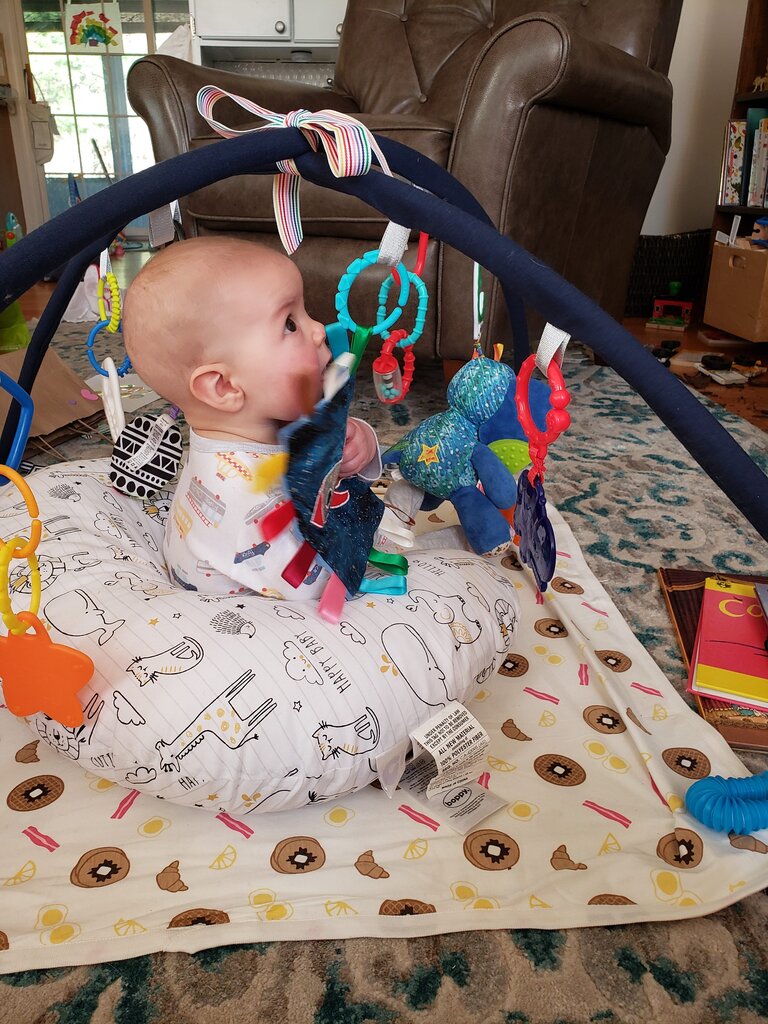
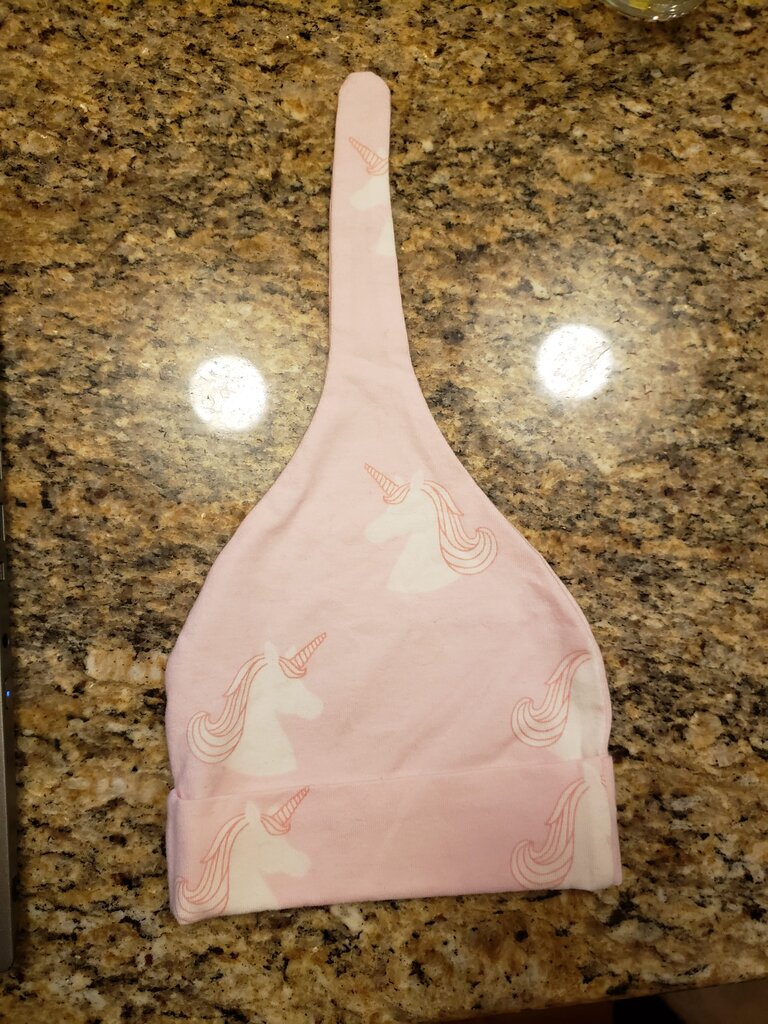
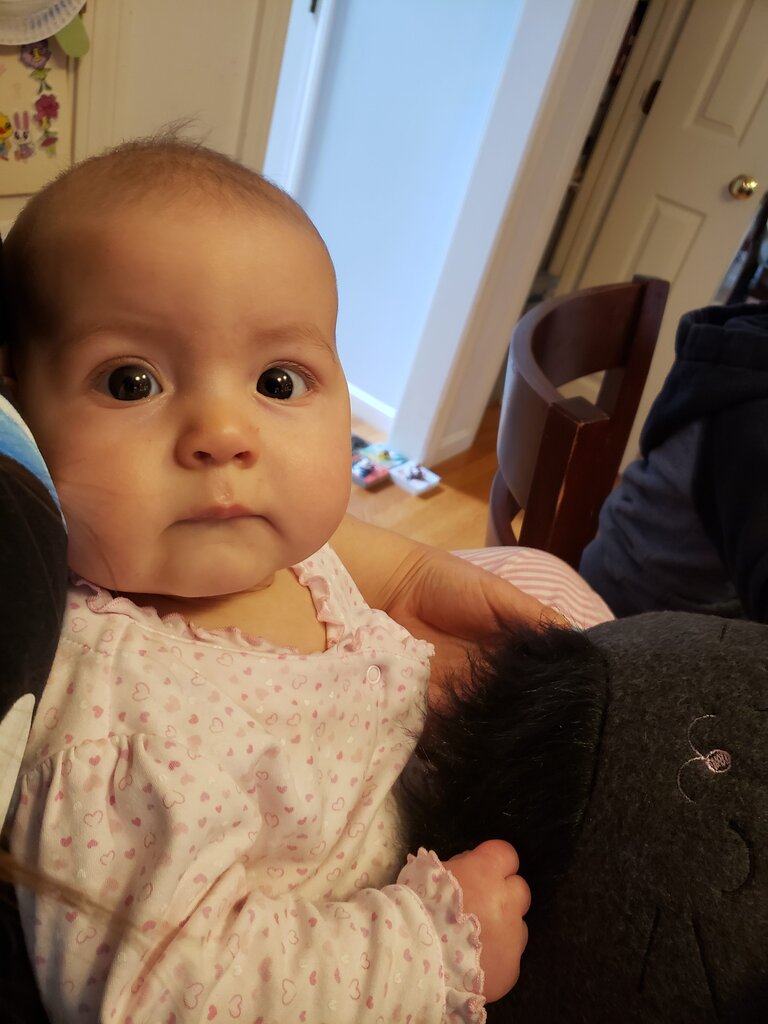
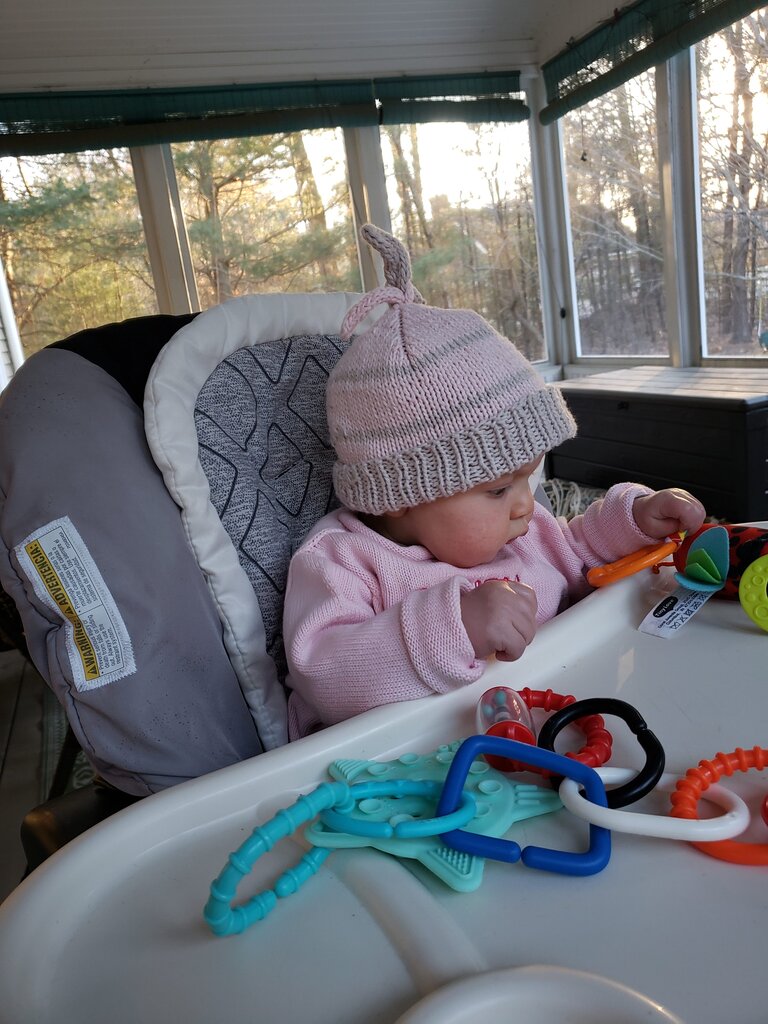
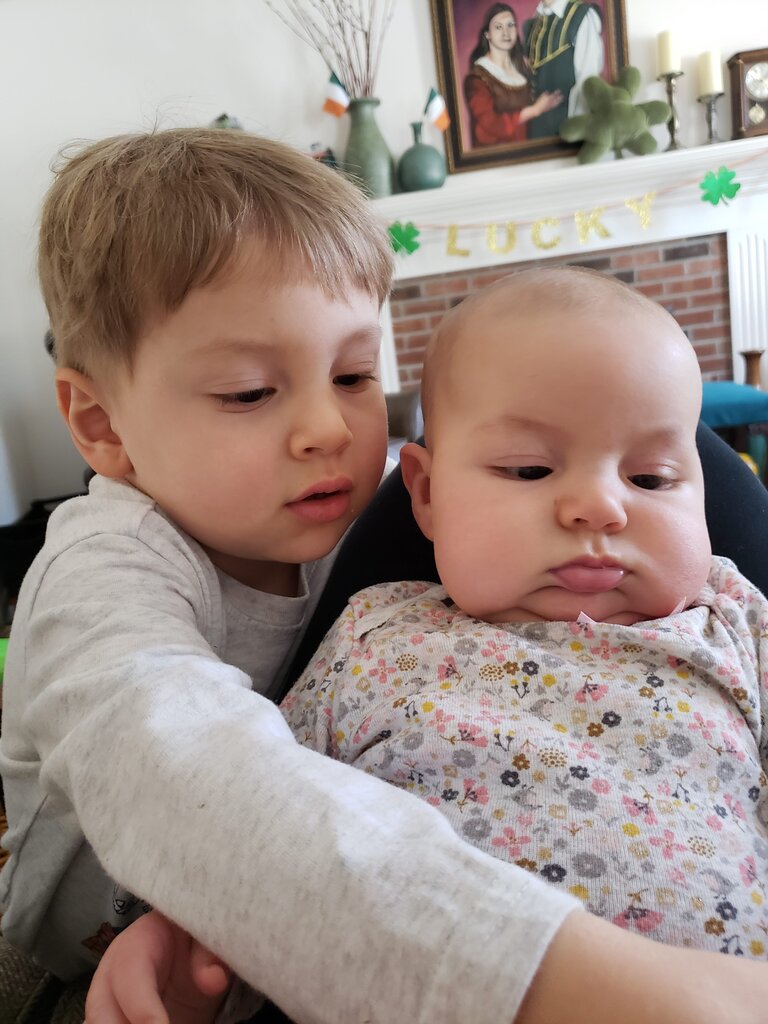
It’s crazy how fast Patricia is growing. Tomorrow she will be six months old. She never felt like a squishy little baby like Julius did. She has always been sturdy and independent. She is not completely mobile yet, but she is constantly squirming over to the detritus Julius has left behind to try and eat whatever random artwork or toys Julius has left on the floor. And she just adores Julius. While Will and I may have gotten Patricia to laugh first, Julius was the first person to make her really laugh spontaneously. Patricia and I were sitting on the floor watching Julius make a silly tower and he made some silly hand gesture and she burst out laughing. He progressed to sillier and sillier movements to the tune of more laughter and Julius’ greatest fan was born. Now Patricia watches his every move smiling, waiting for whatever hilarious thing he’s going to do next.
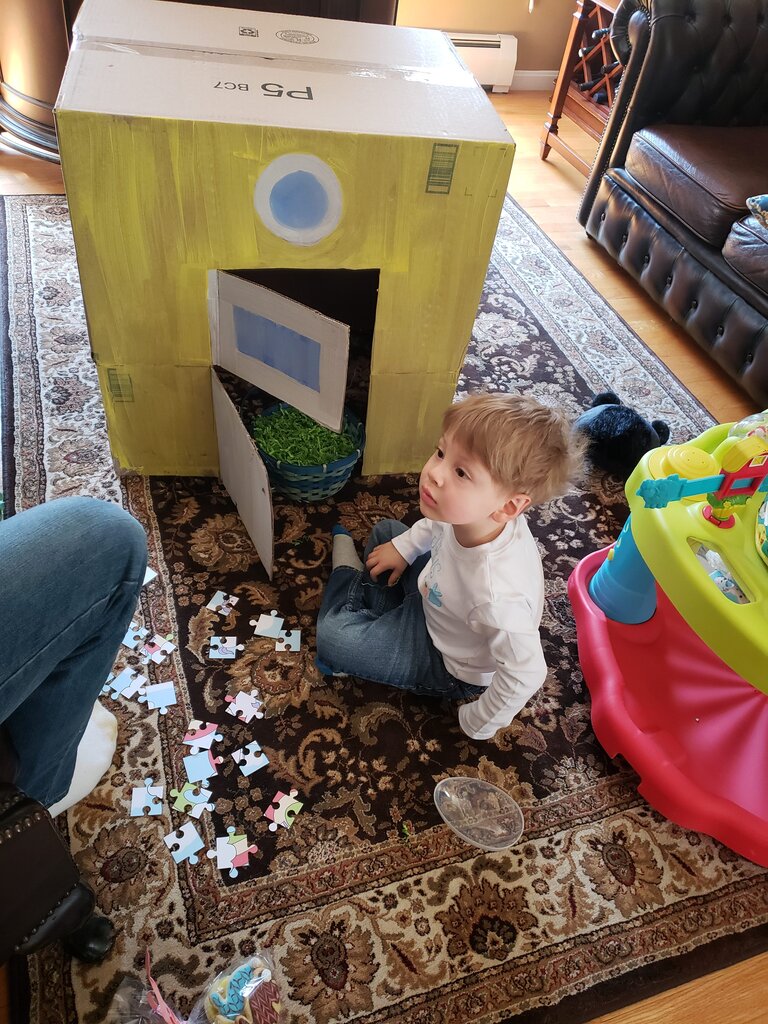
Julius has progressed from adorable baby (or tiny angel as Will referred to him the other day) to precious toddler to little man. He has an incredible vocabulary and listening to him create sentences of adult words in his little child voice is just the best thing ever. He has a great imagination and is incredibly silly. He invents all sorts of imaginary tales about imaginary friends doing ridiculous things. He is careful and gentle around Patricia, and is thoughtful and attentive to her needs. Many times Patricia will cry and Julius will bring her something to play with without any prompting on my behalf. No wonder Patricia adores him. And he is my big helper, constantly trying to help. He has decided that certain jobs in the kitchen like peeling garlic and spinning the salad spinner that are his duties. If you try to do his jobs without him in the interest of putting dinner on the table quickly he gets extremely upset that you’d even consider such a thing.
I’m just the luckiest mama in the world to have two sweet kiddos that are constantly making me smile.
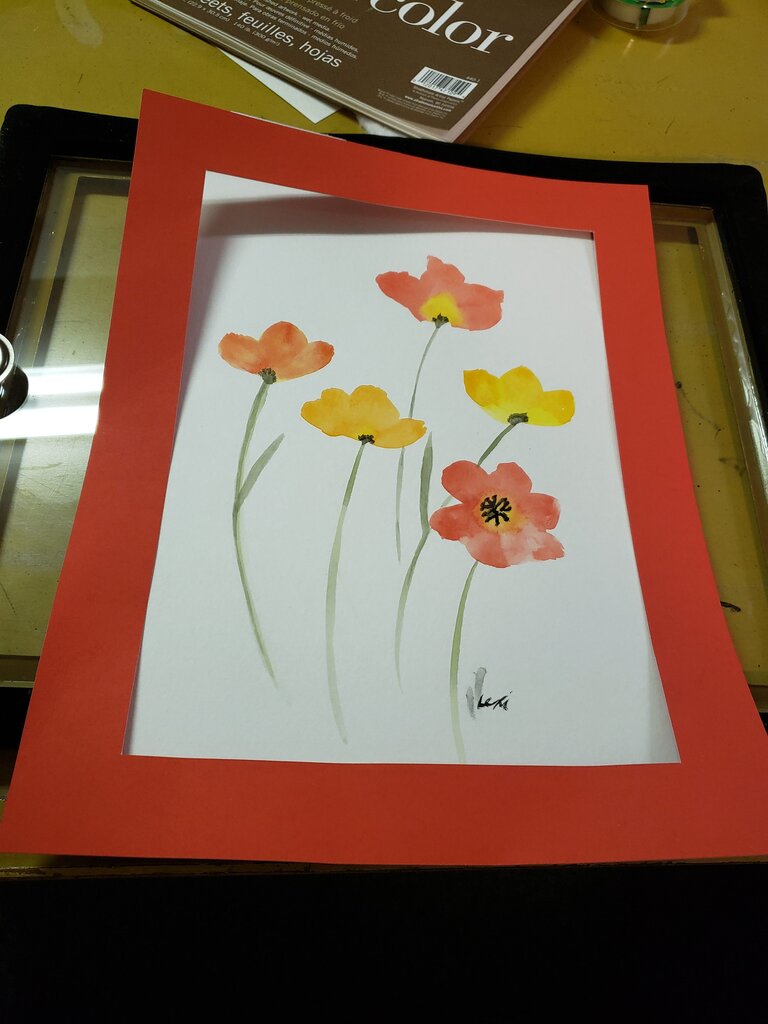
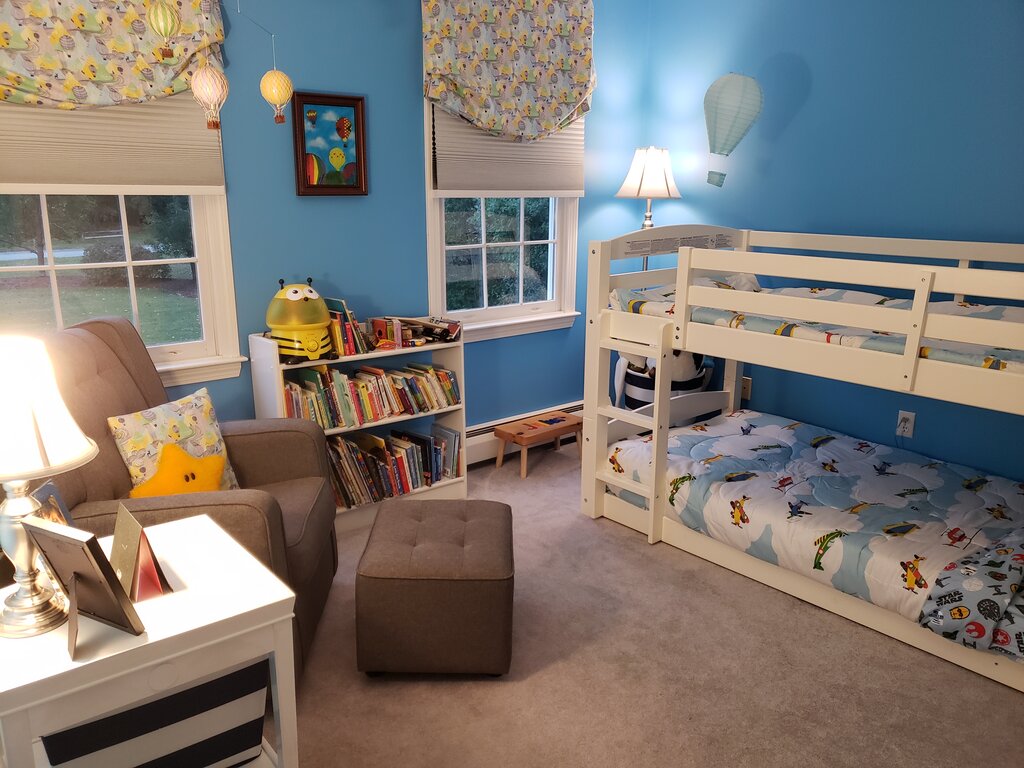
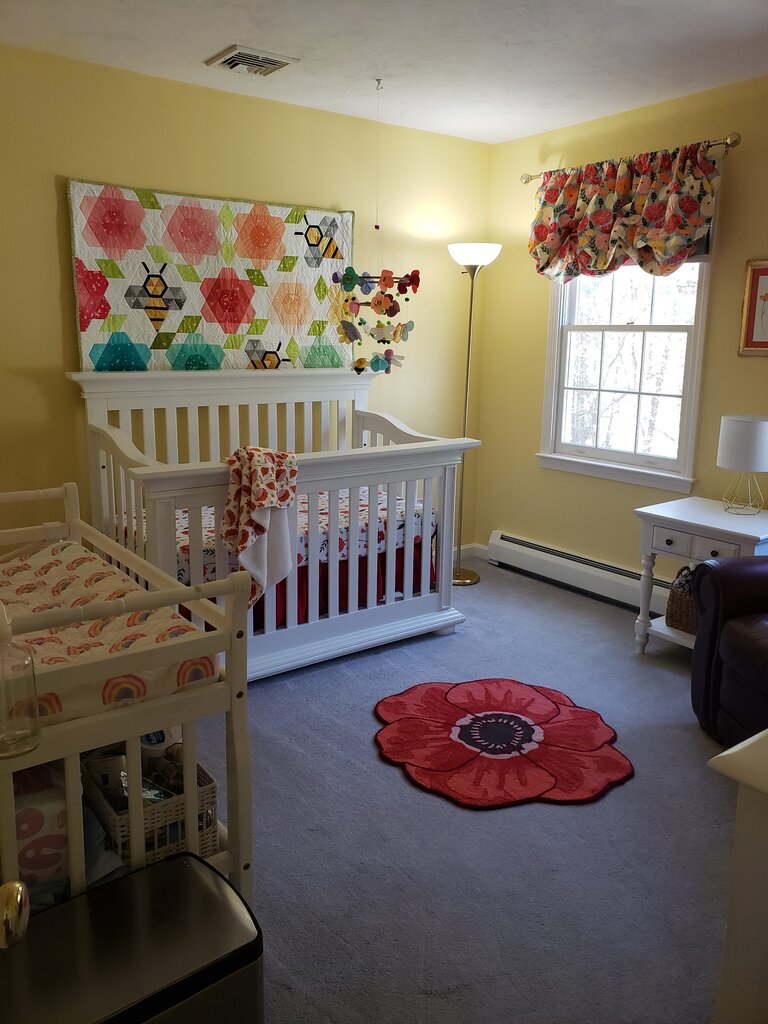
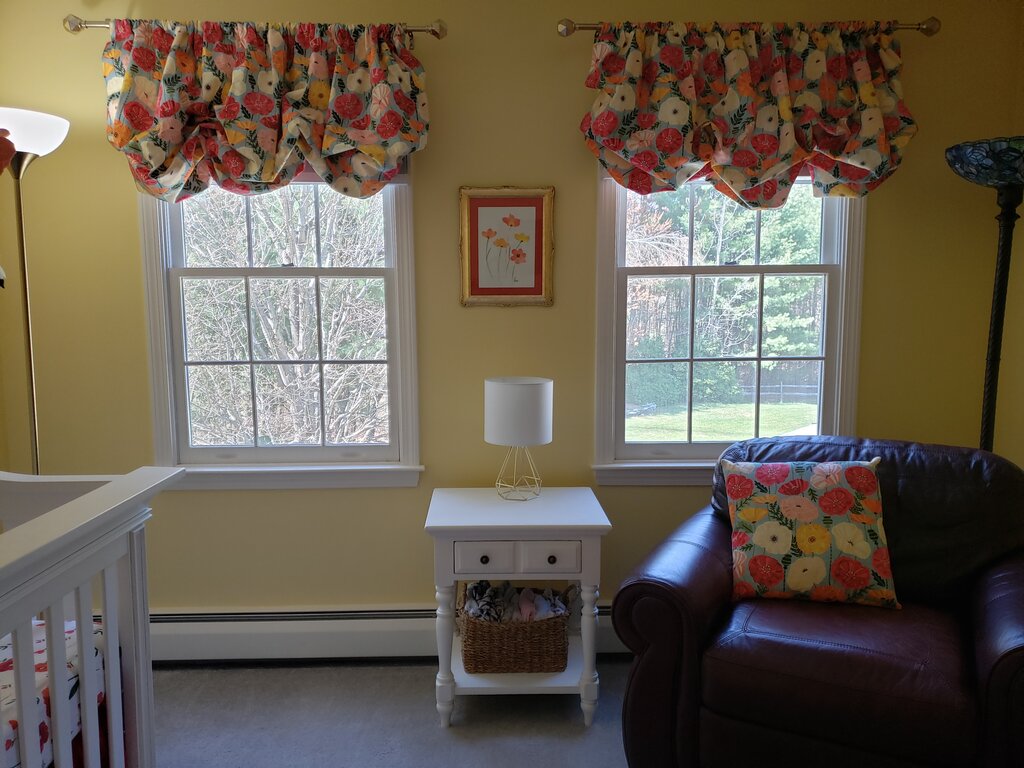
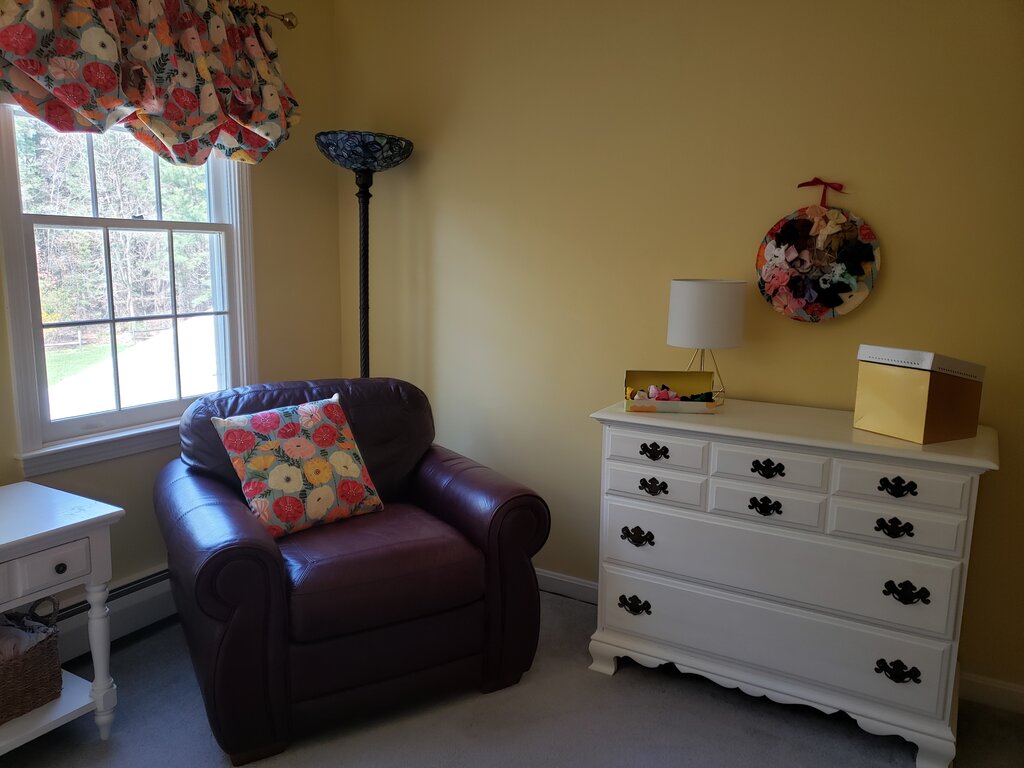
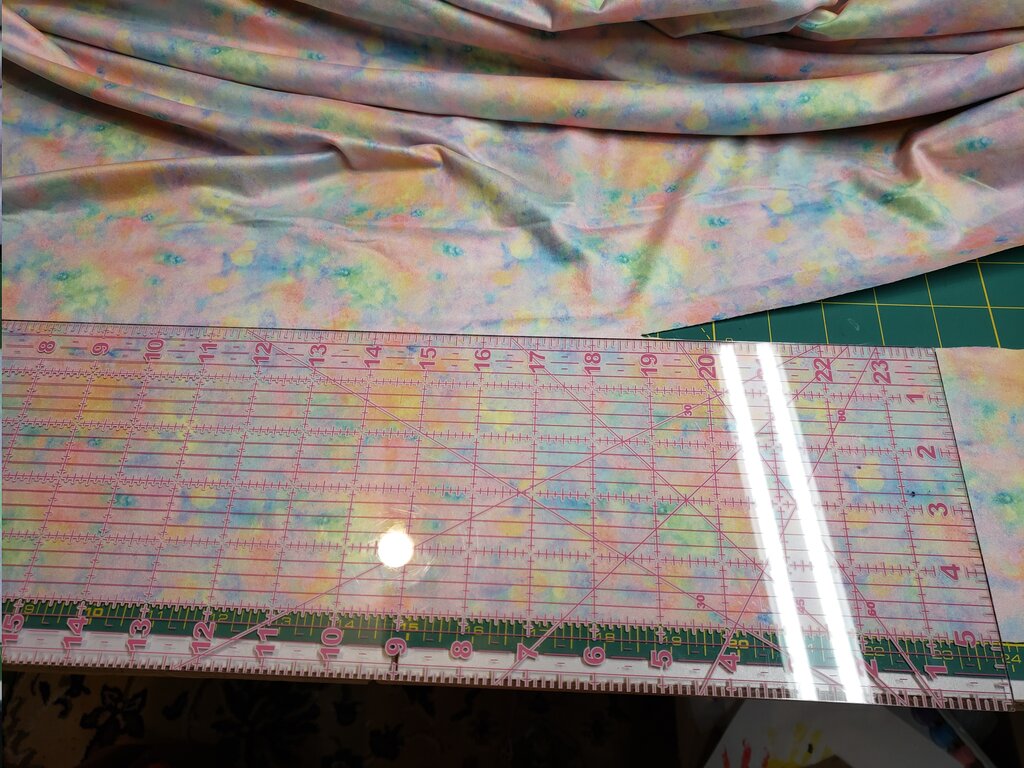
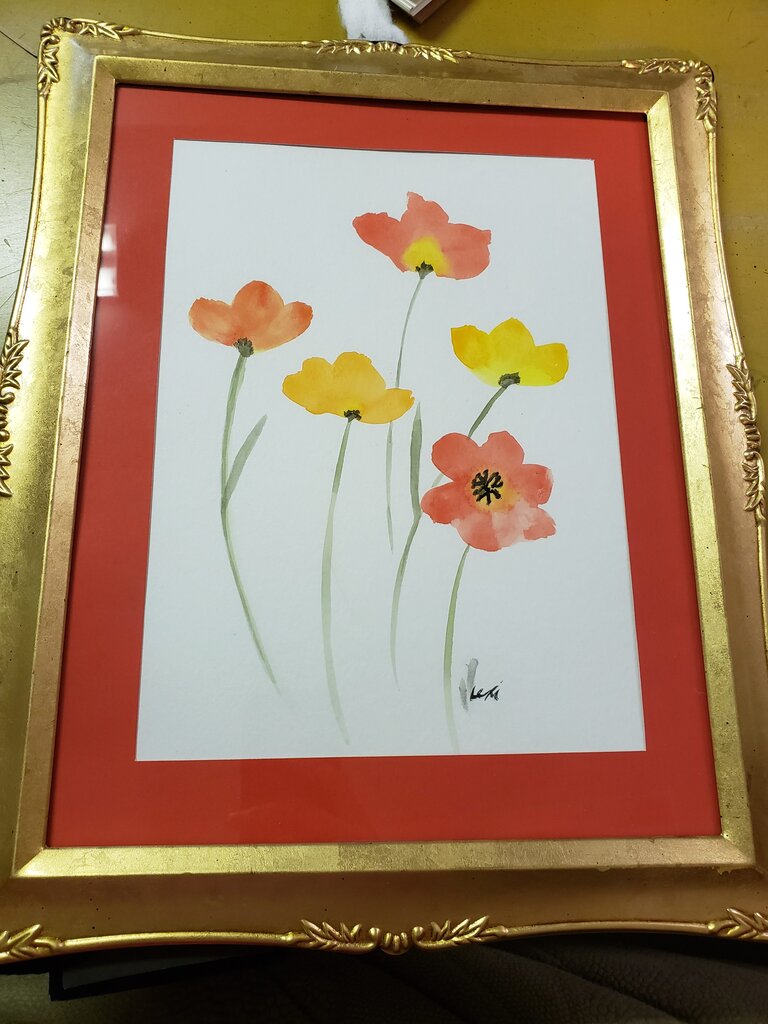
In addition to my homage to my kiddos I wanted to tell you today about some of the wall art for Patricia’s room. The theme of her room (if you couldn’t tell) is poppies. I personally think they are such happy, fluttery looking flowers, like stationary butterflies. The first thing I made for Patricia’s room was the watercolor poppy painting between her windows. I’ve always loved watercolor. I think it stems from my childhood when as a little girl I slept over my neighbor (my babysitter’s) house for one night of Hanukkah. Our neighbor Wendy gave me an Eric Carle-esque art book with ideas for drawing little creatures. She instructed me that the brush that came with the book was very nice and that I needed to be very careful with it and not push too hard to flatten it out. I took this responsibility very seriously and only colored in the book a handful of times, reverently, so not to damage my brush. Since then I’ve painted watercolors with Julius a number of times and watched Julius get better and better. I’m not sure I’ve gotten better, but it is always so satisfying to create something from a blank canvas.
Recently I realized that I could also cut my own mats for framing (as long as they are less than 11.5″ wide). This makes experimental painting more reasonable because I’m not obligated to pay more than the cost of some poster board, and a frame from the thrift store to frame my “artwork”. For Patricia’s room I made two mats, one for my watercolor, and another for a botanical sketch of a poppy. If the botanical art looks familiar it is because it is from the same book that I used to decorate my dining room.
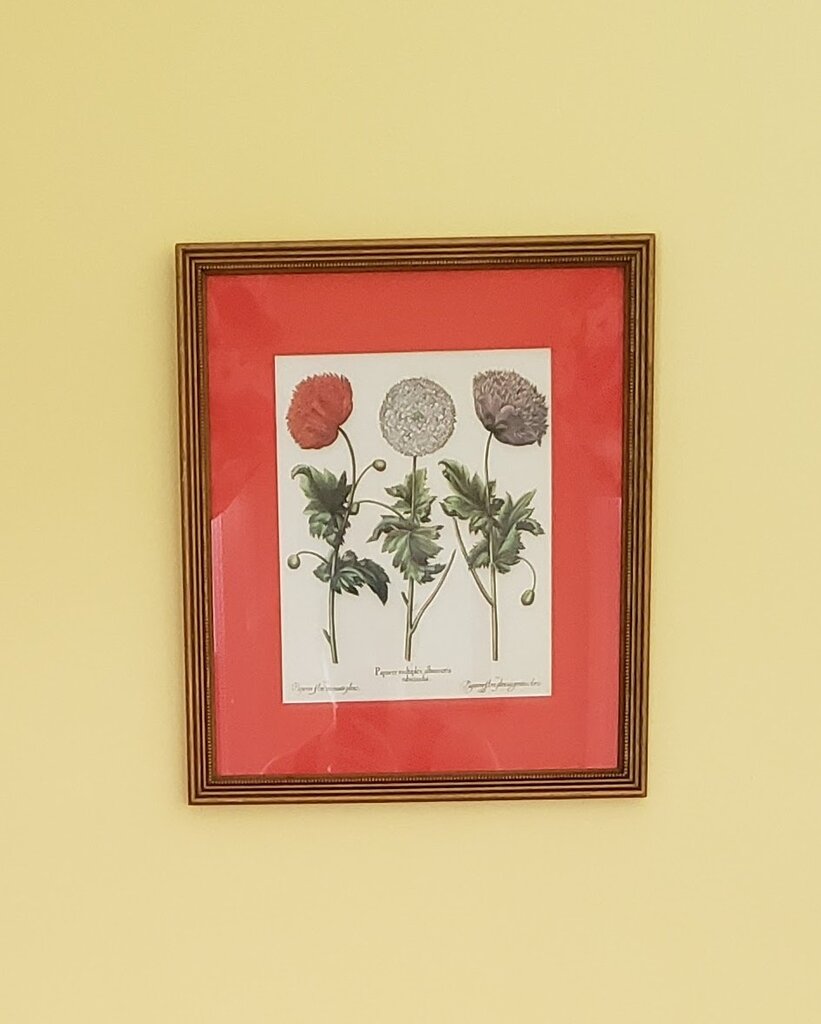
Poppy botanical print
Picture Frame Mats
- poster board in the color of your choice
- cricut with a deep cut blade
- cricut design space
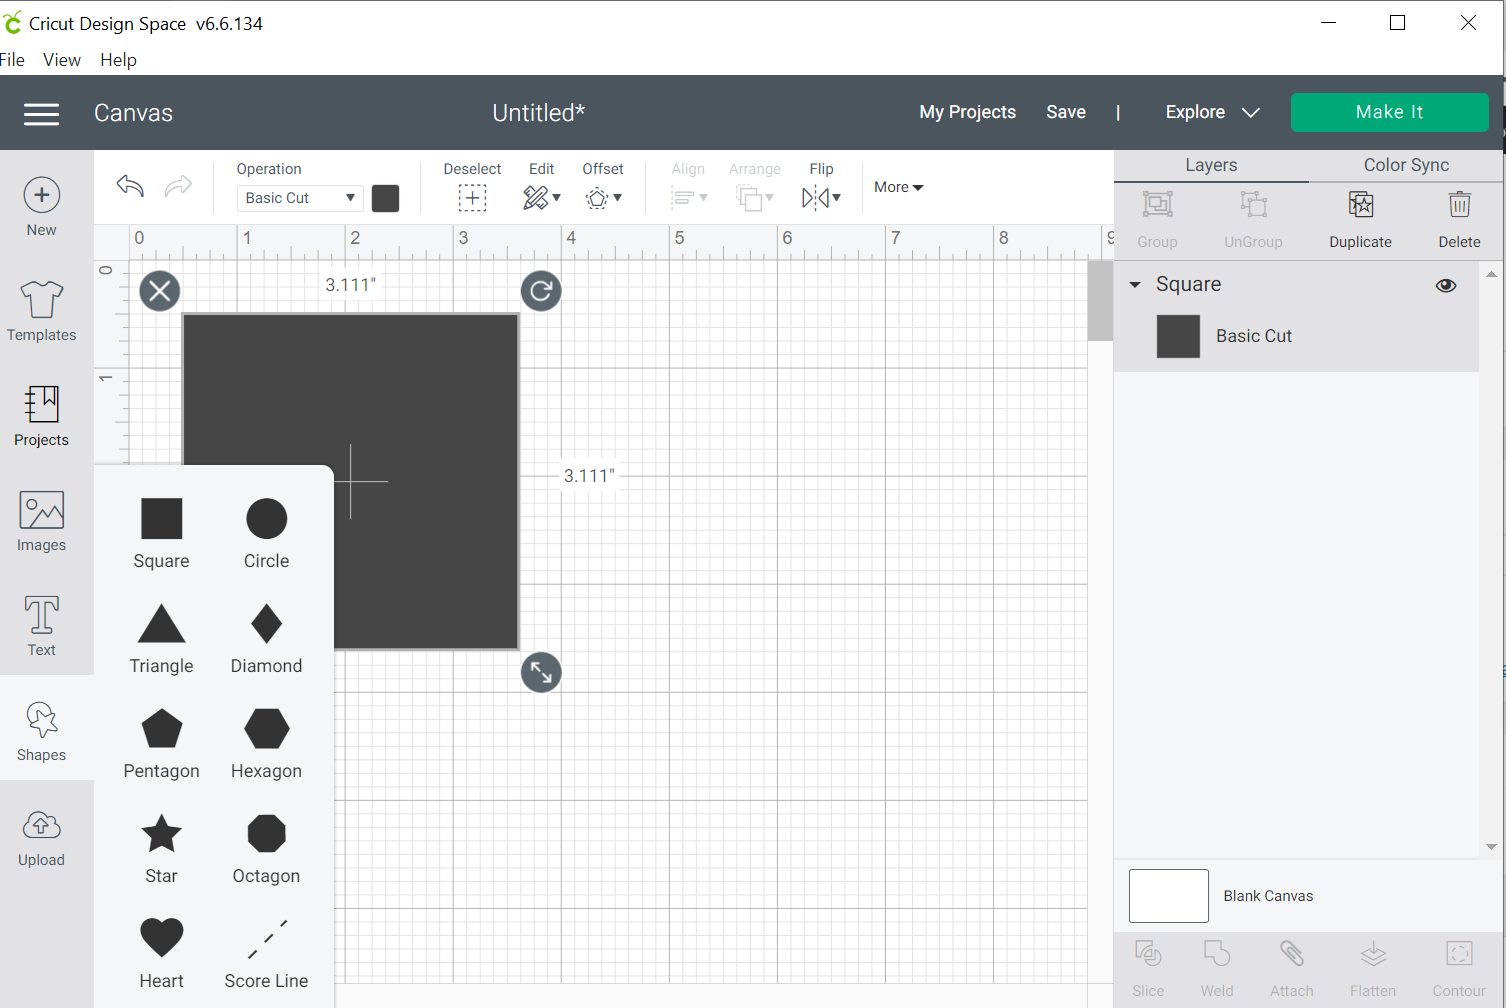
- Add a square to your canvas.

Add a square
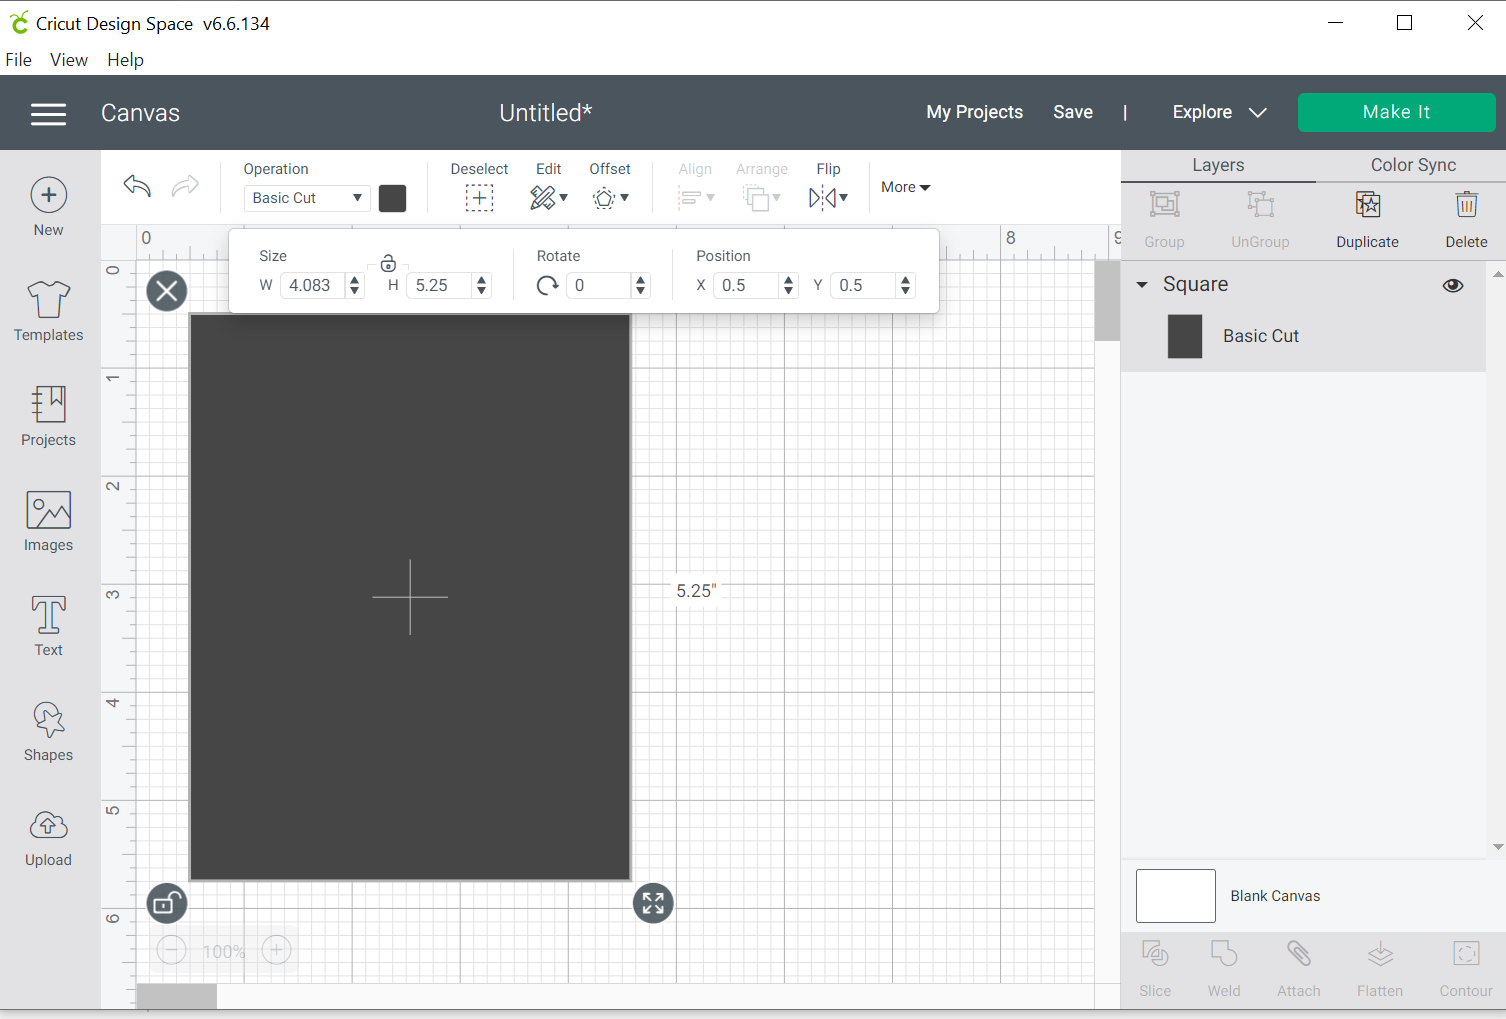
- Click the “more” button on the top center and then click the lock button on the next screen to unlock the square.
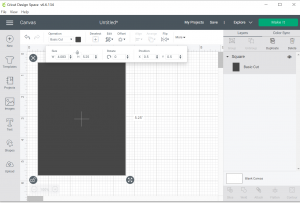
Unlock to turn it into a rectangle
- Adjust to a rectangle in the size you desire.
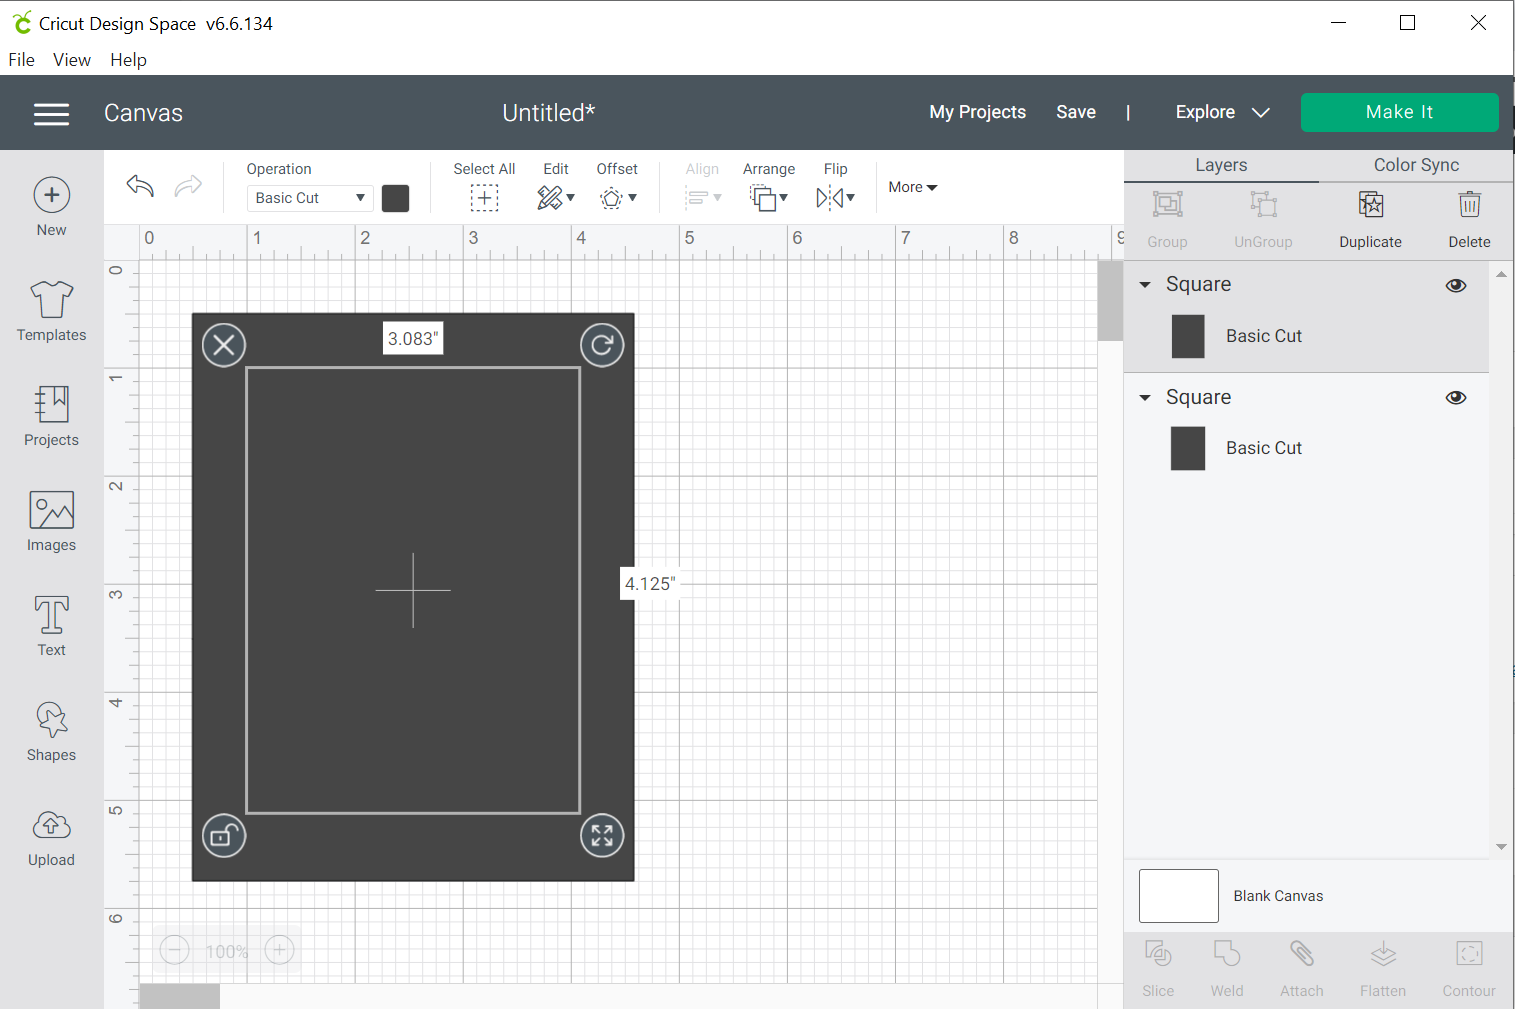
- Repeat steps 1-3 for the inner portion of the mat, positioning the smaller rectangle on top of the larger rectangle.

Add a second rectangle.
- Select both rectangles then click “Slice” in the bottom right of the layers menu.
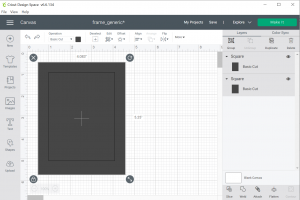
Select both rectangles
- Select the eyeball next to each full size rectangle to hide them and view your frame mat.
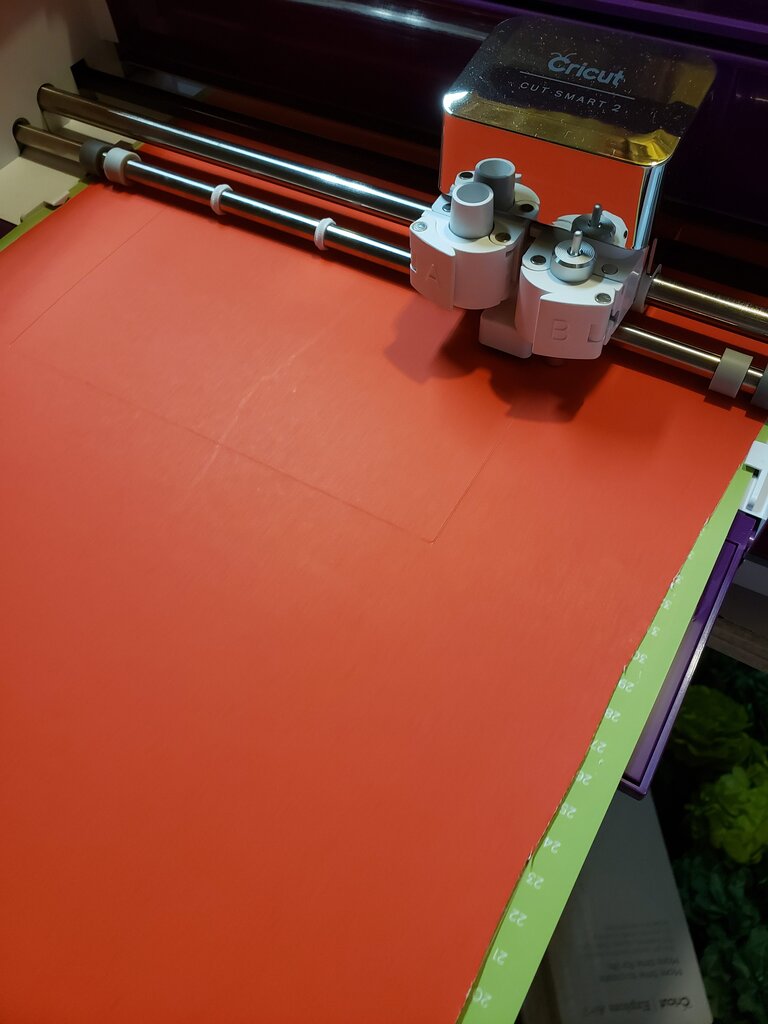
- Load your posterboard onto your mat.
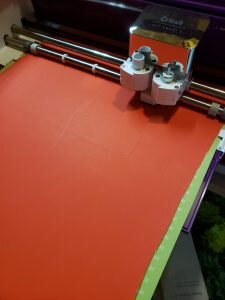
- Make the project using the posterboard setting.
- Carefully bend back the circuit mat to remove the frame mat.