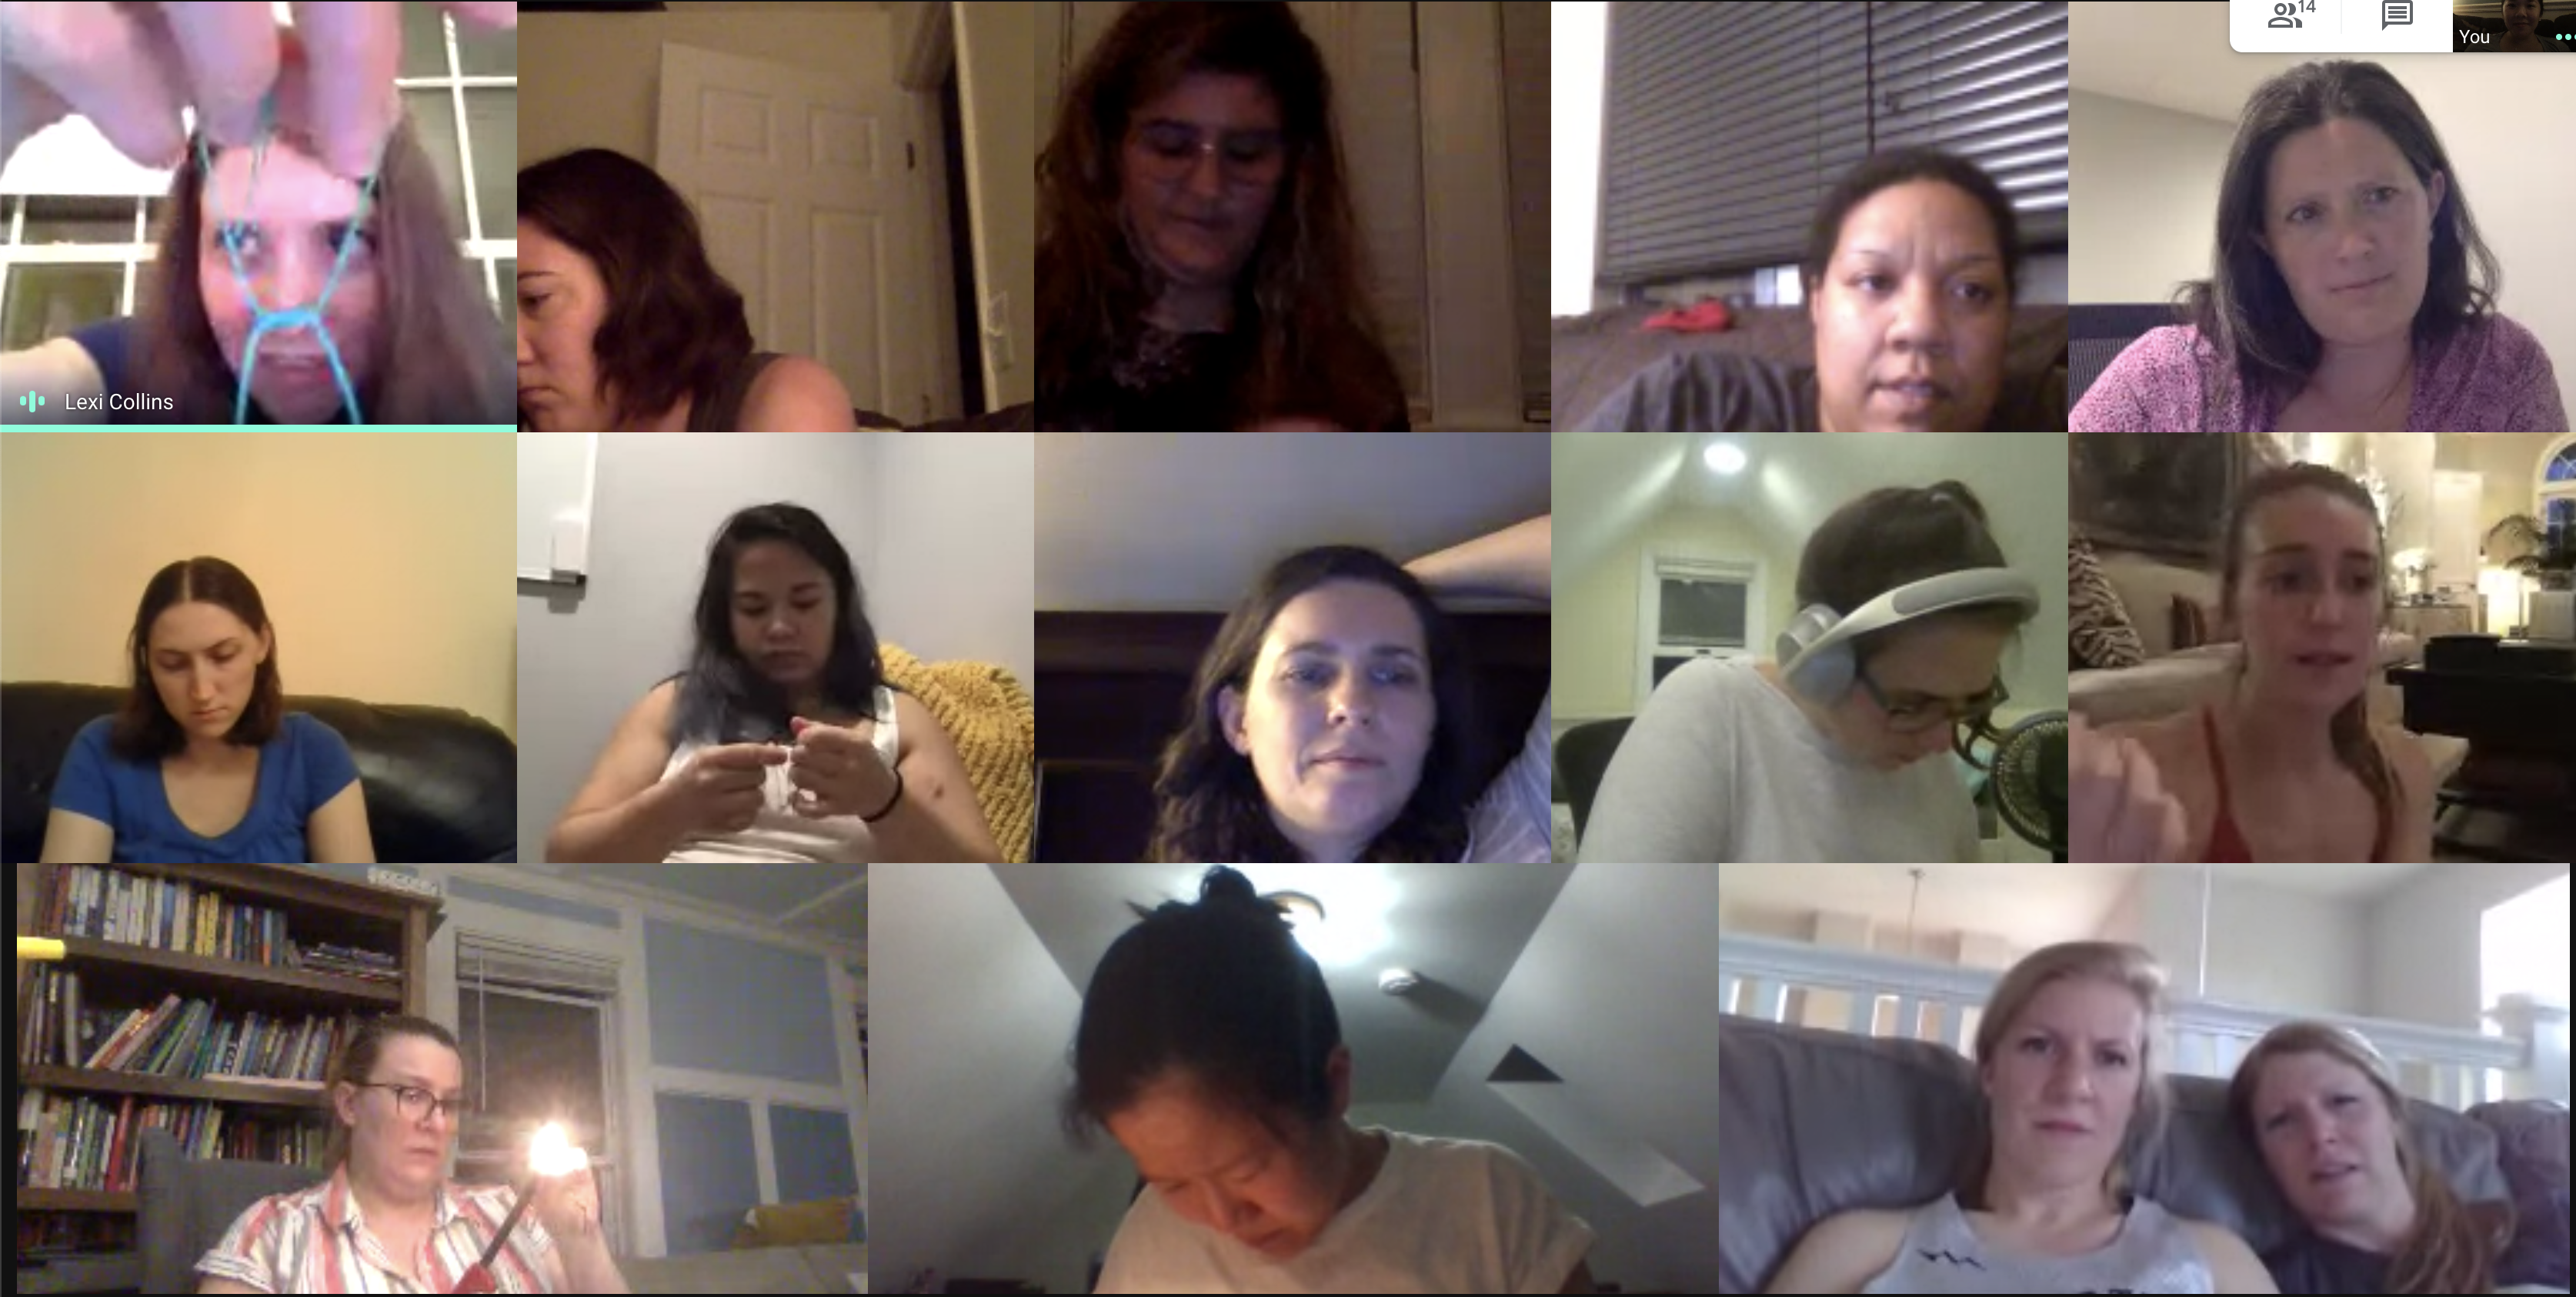
My mom retired this year! She’s been working as a nurse for 41 years at Women and Infants Hospital (where Julius was born, not a coincidence). She didn’t want a big send off because of all the hardships nurses and hospital employees have been putting up with for the last several months. Since we were all in separate states, we decided to throw her a virtual retirement party! Below is all the silly stuff we did for her retirement “party”.
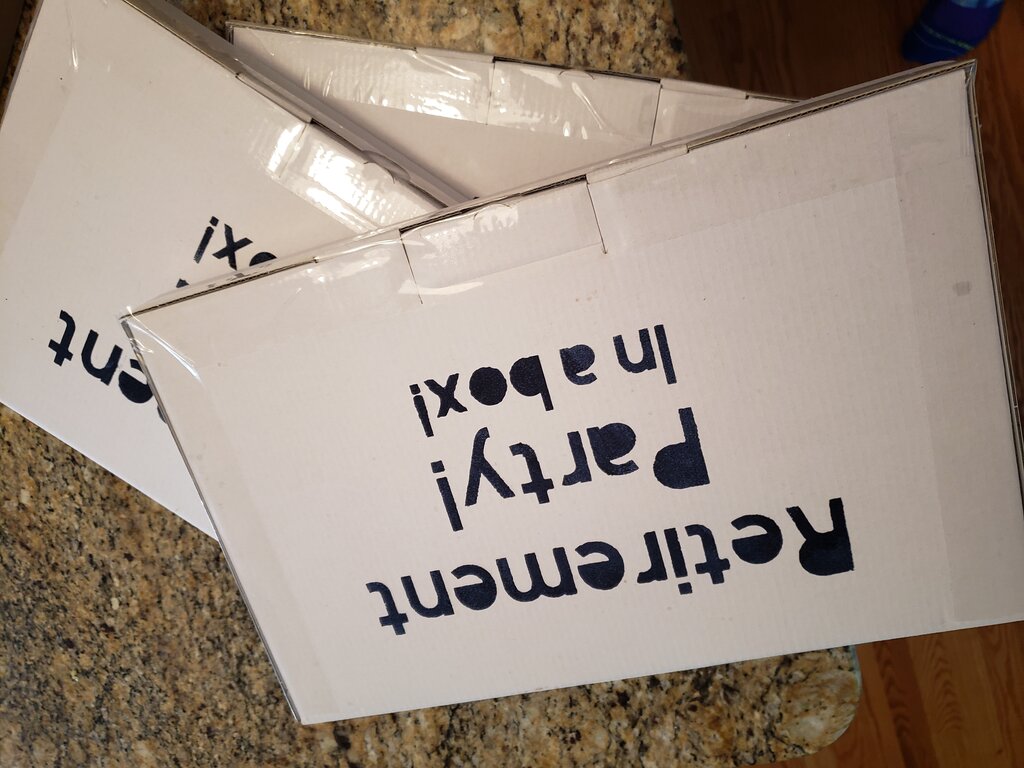
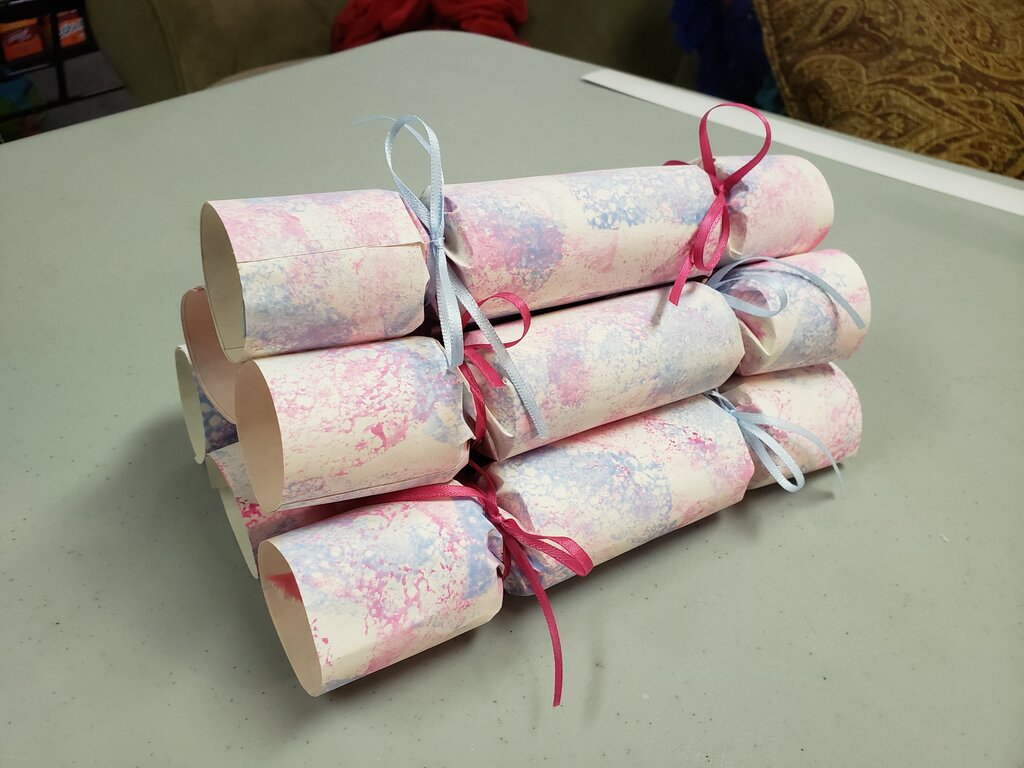
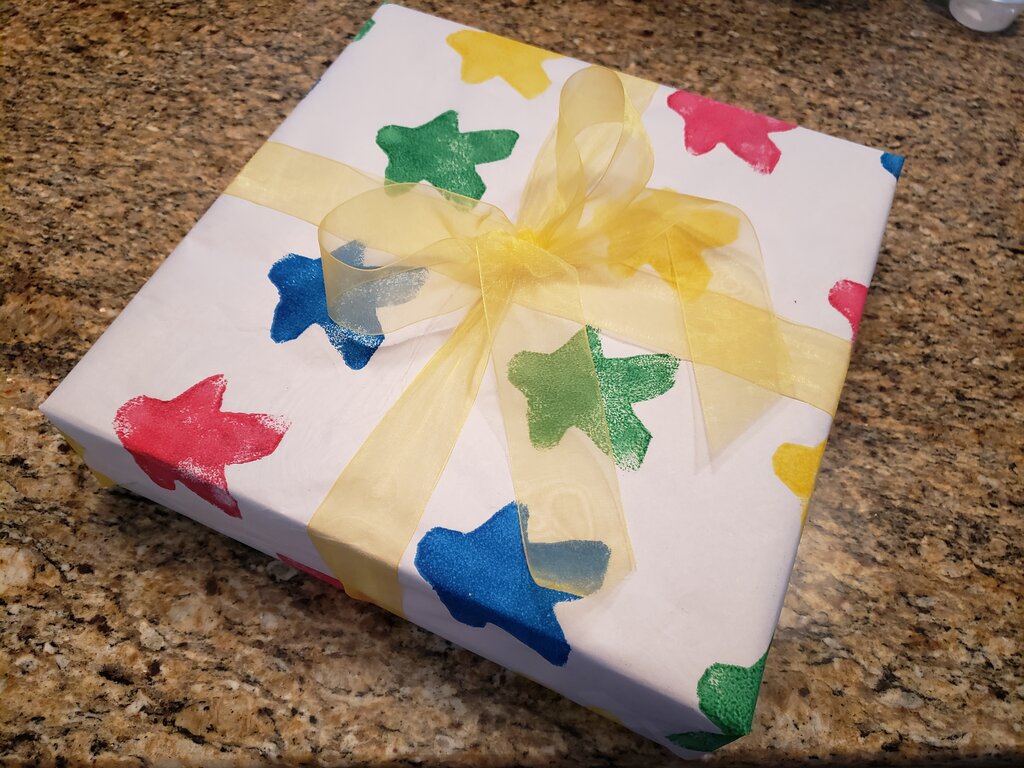
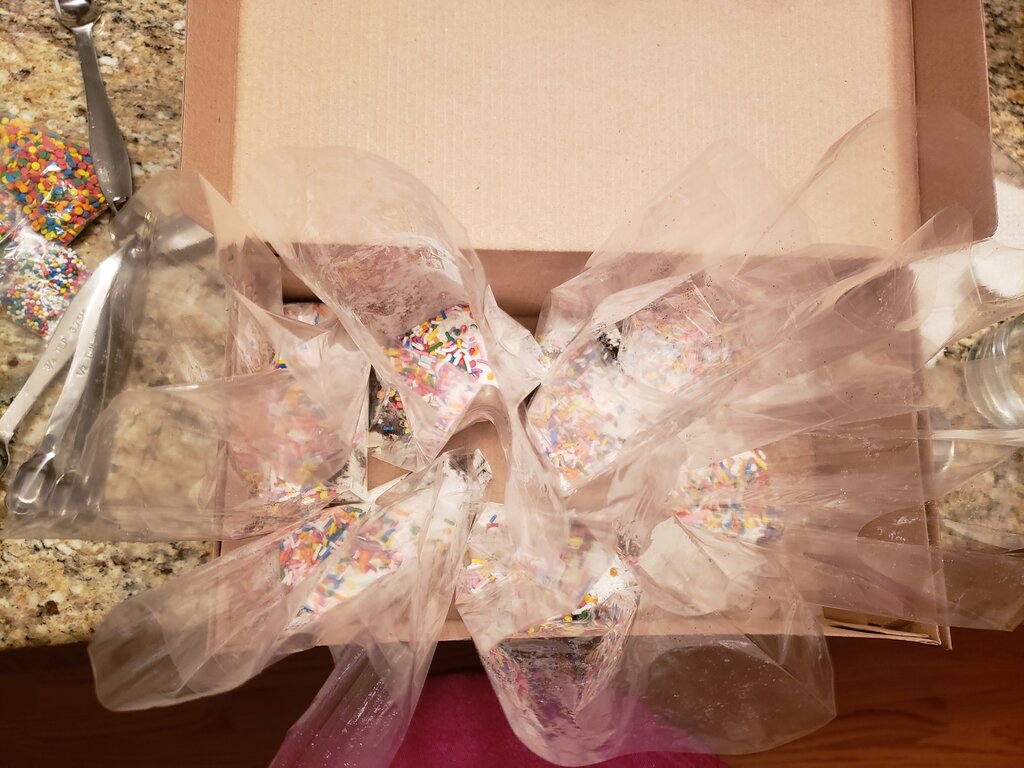
Here are the boxes I sent out!
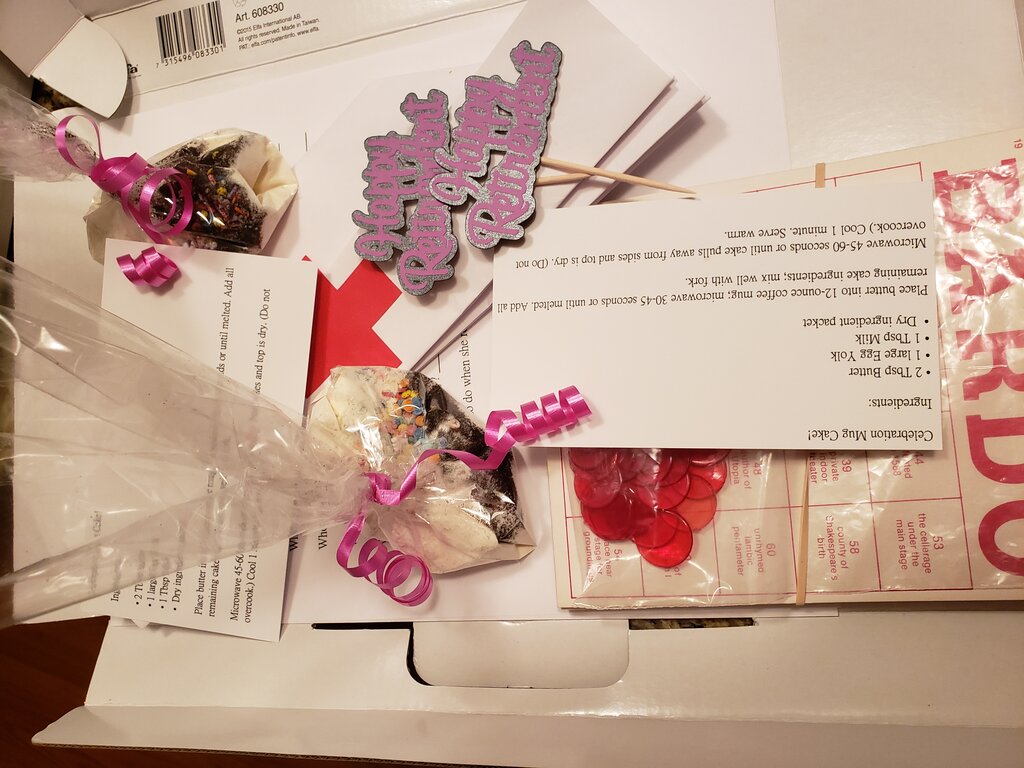
Here were the contents for each guest!
Food
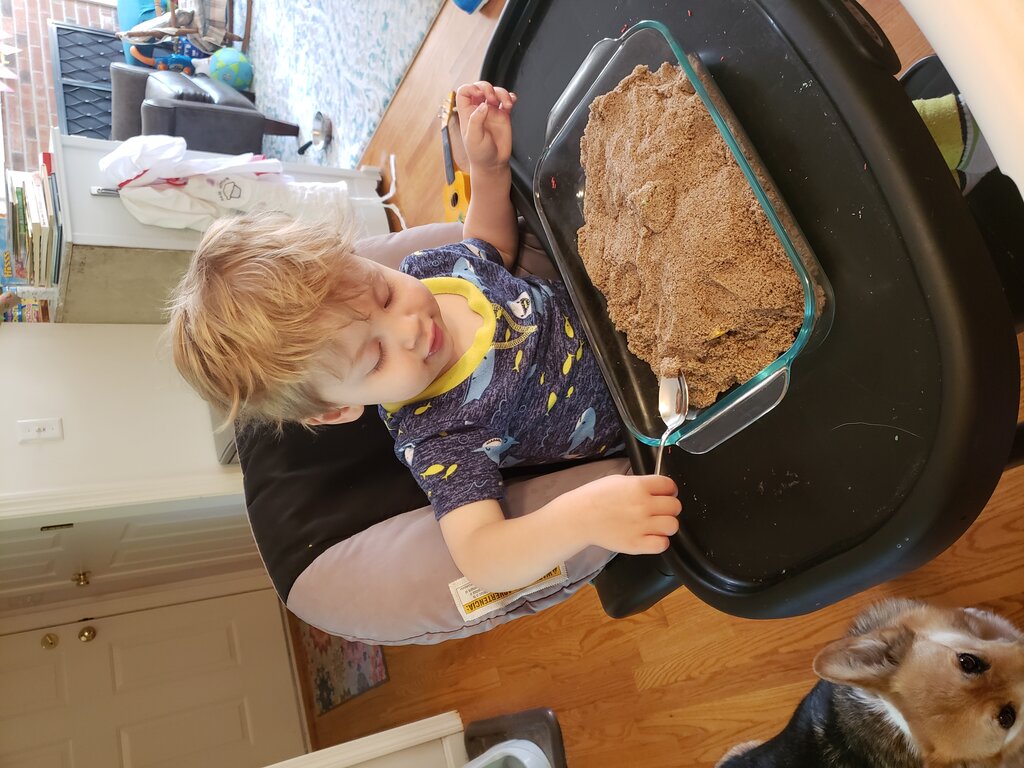
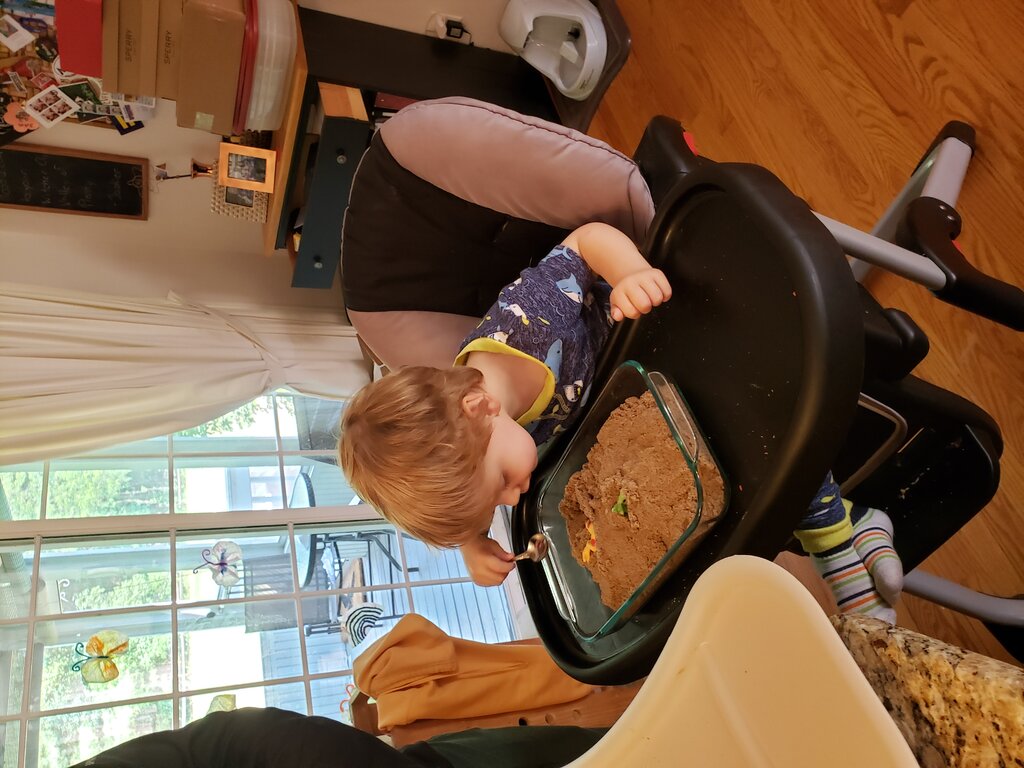
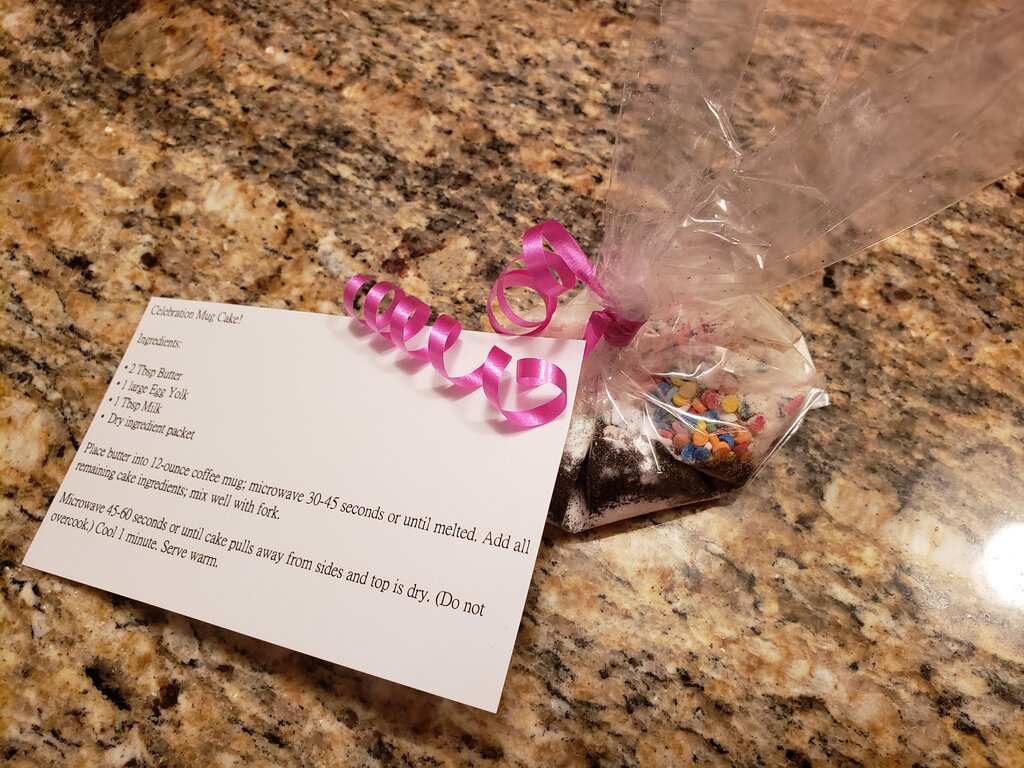
I really wanted to mail everyone cake in a jar, but I could not figure out how to get it there fresh! Instead Will and I tried many iterations of microwave mug cake – we decided on a very slightly modified version of this cake. I mailed the dry mix packets out, and warned everyone they needed eggs, milk and butter. Everyone liked the cake – even my nephew who had a version made with applesauce instead of eggs!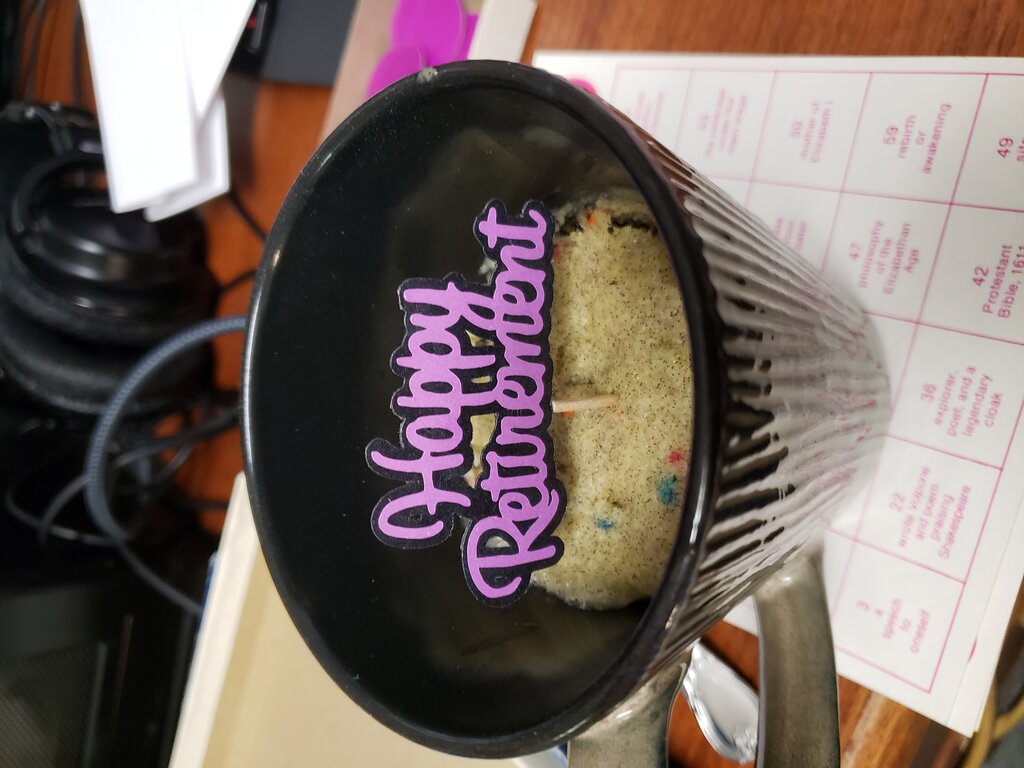
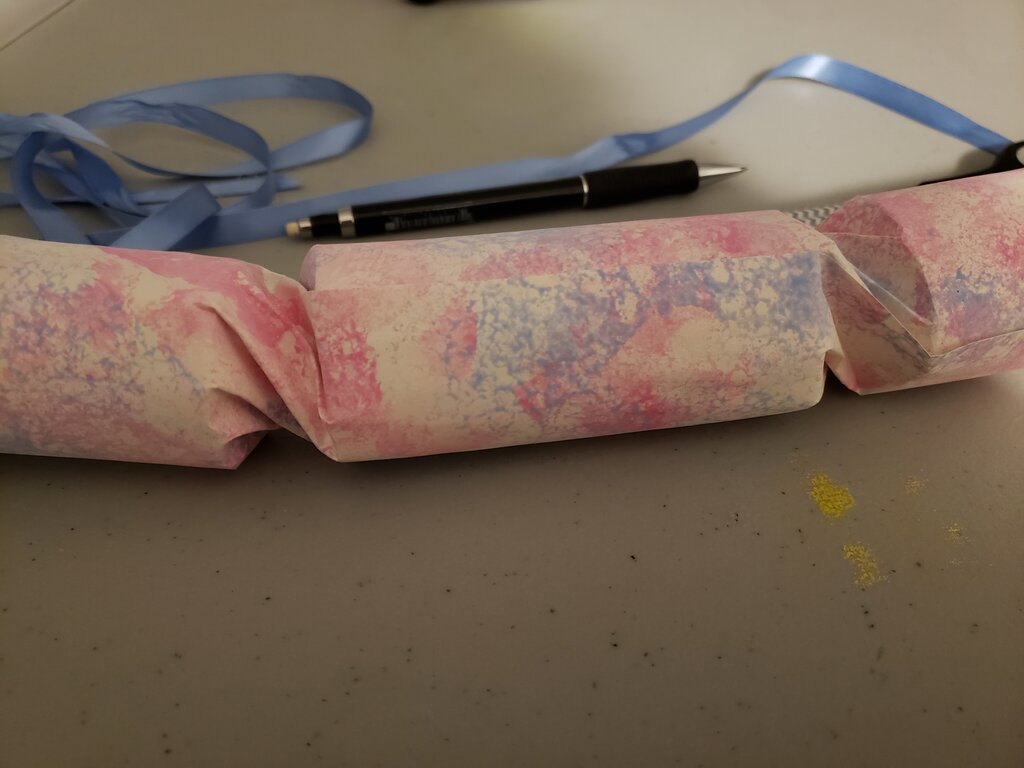
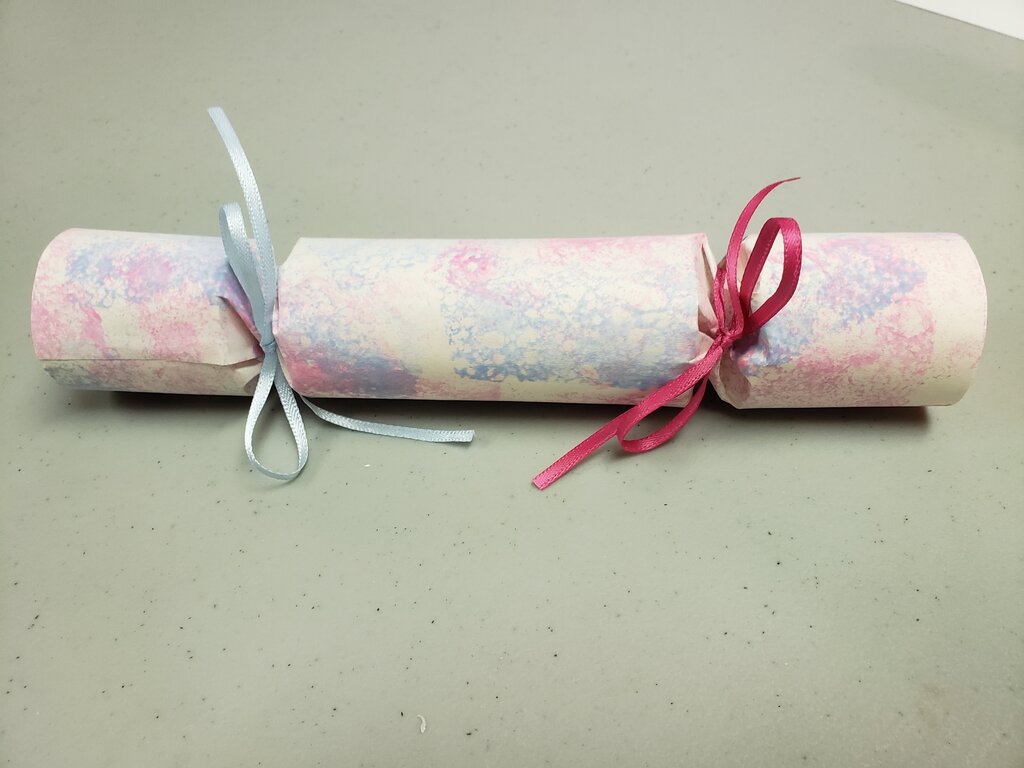
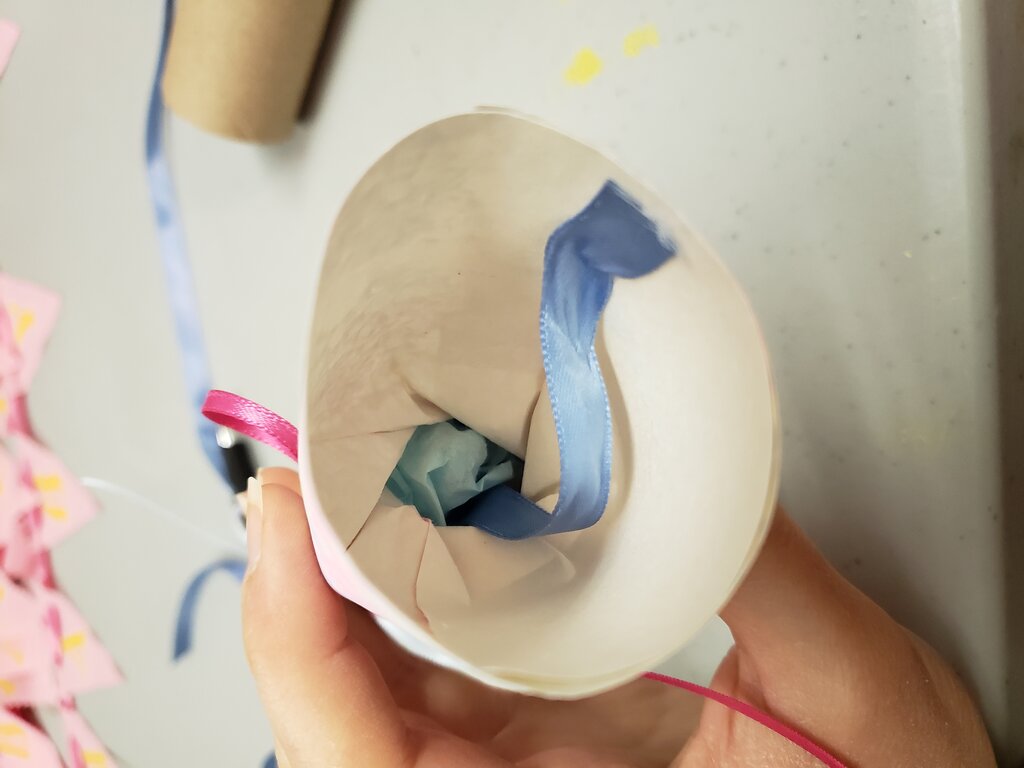
Celebration Cake Dry Mix Packets
Ingredients (for each cake)
- 14 cup all-purpose flour
- 2 tablespoons sugar
- 1/2 teaspoon ground vanilla
- 14 teaspoon baking powder
- 1 teaspoon decorator sprinkles
Mix ingredients together, place in individual candy bags, tied with a ribbon and the instructions below.
Cake Mix in progress
Cake Mix with Instructions!
Instructions
Use the instruction labels here, with the text below:
Celebration Mug Cake!
Ingredients:
- 2 Tbsp Butter
- 1 large Egg Yolk
- 1 Tbsp Milk
- Dry ingredient packet
Place butter into 12-ounce coffee mug; microwave 30-45 seconds or until melted. Add all remaining cake ingredients; mix well with fork.
Microwave 45-60 seconds or until cake pulls away from sides and top is dry. (Do not overcook.) Cool 1 minute. Top with vanilla ice cream or whipped cream, as desired. Serve warm.
Decor
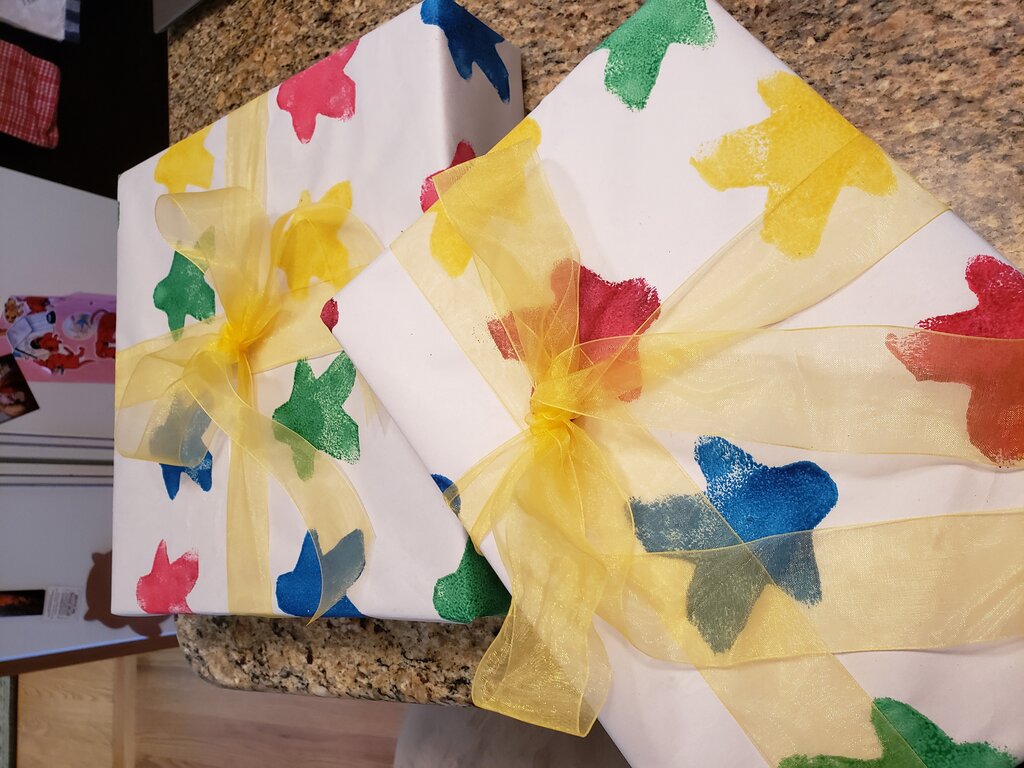
For decor – we gave party guests silly nurse caps, and little toothpick inserts for their mug cakes to make them more festive! For my mom we also added in a “Happy Retirement” banner!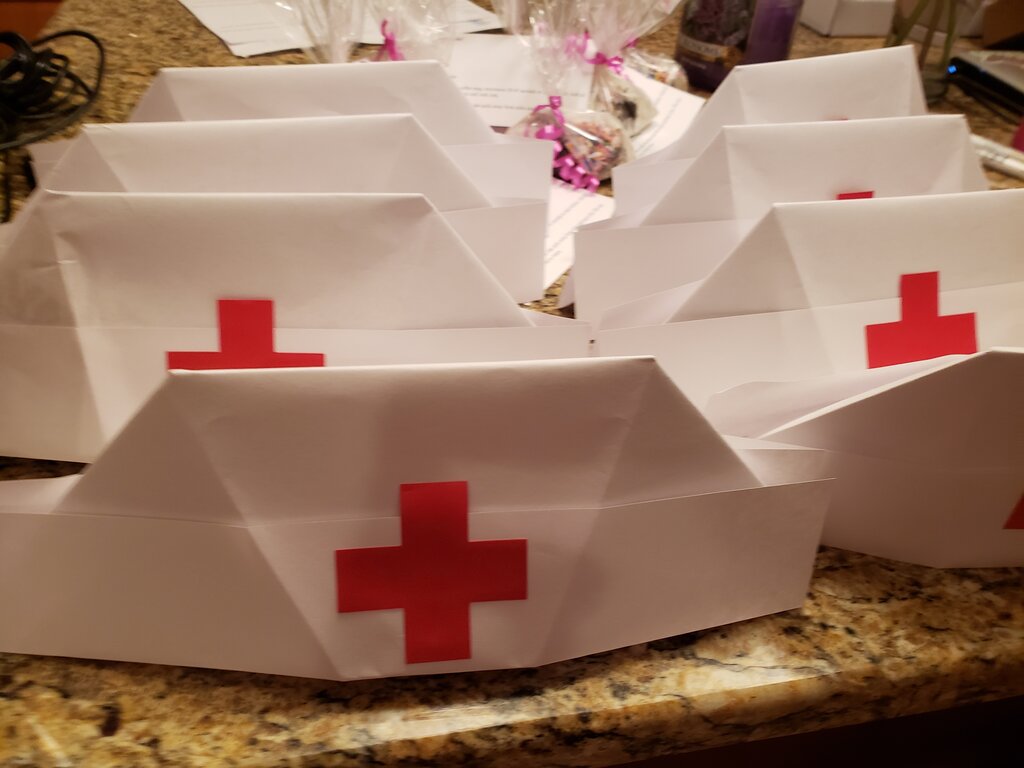
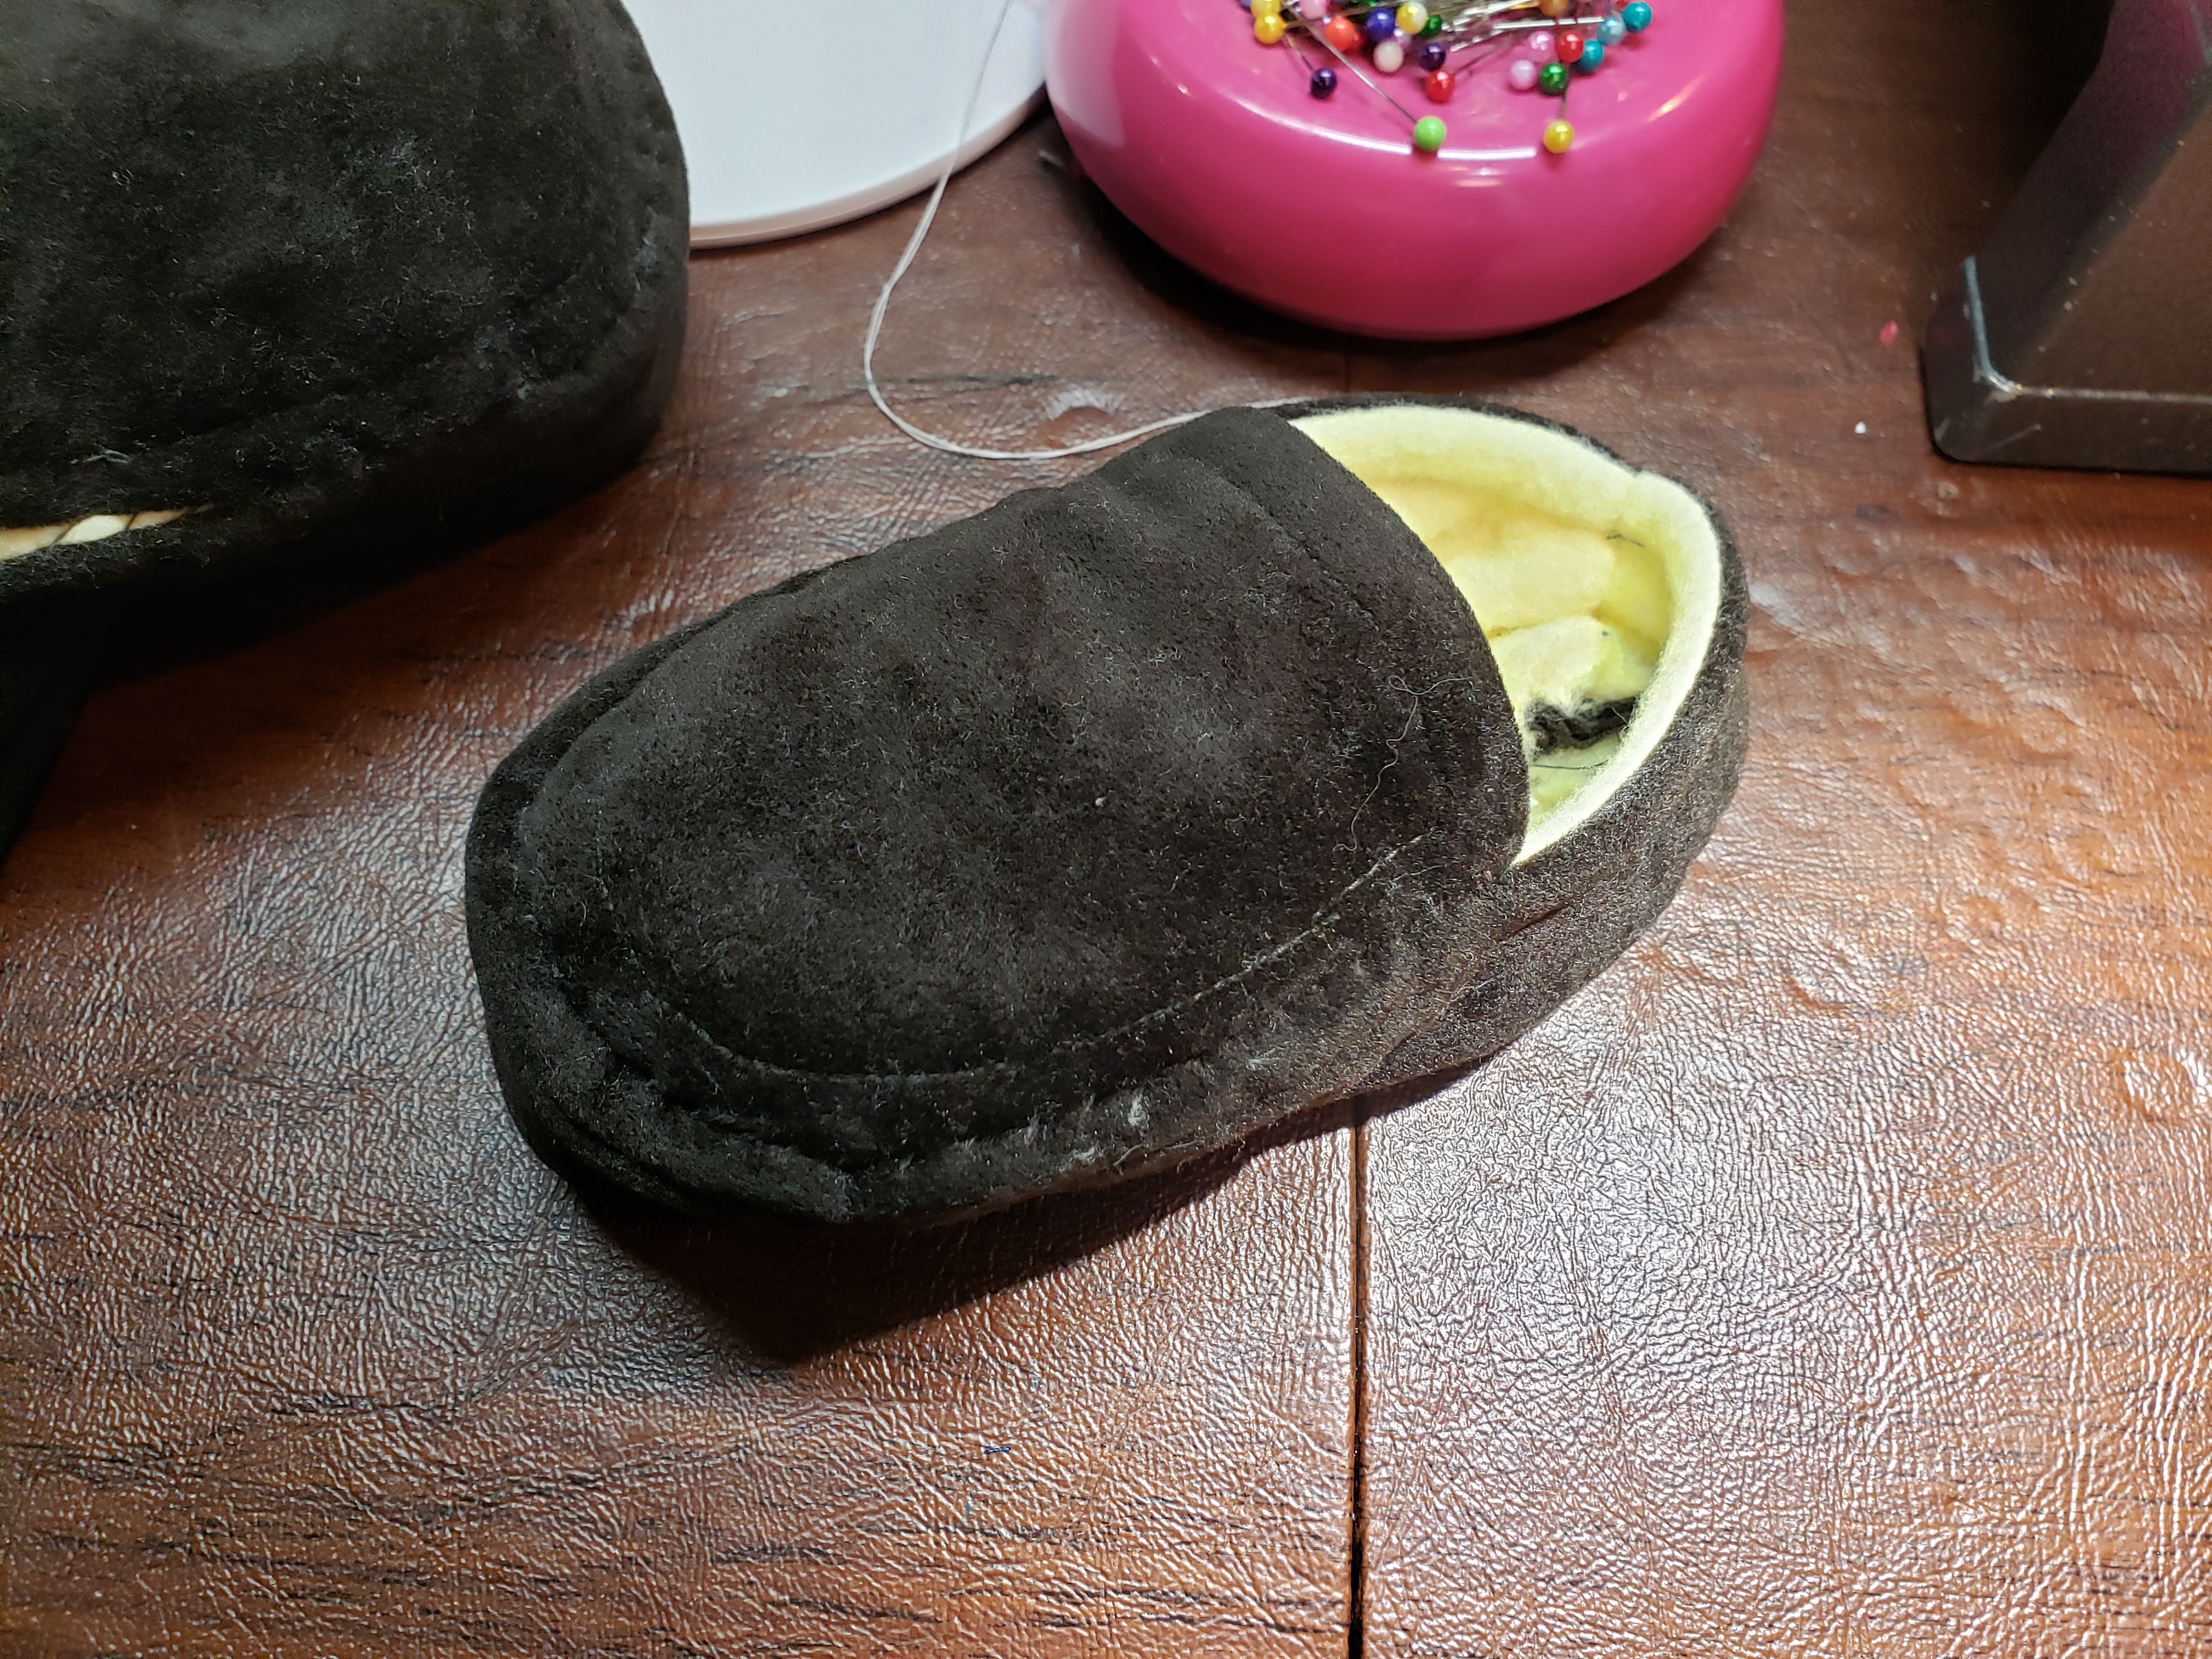
Silly Nurse Cap Party Hats
- 2 sheets of white paper
- tape
- glue stick
- red paper cut out into crosses using my pattern here
I used this tutorial to fold the hats, and it went very quickly!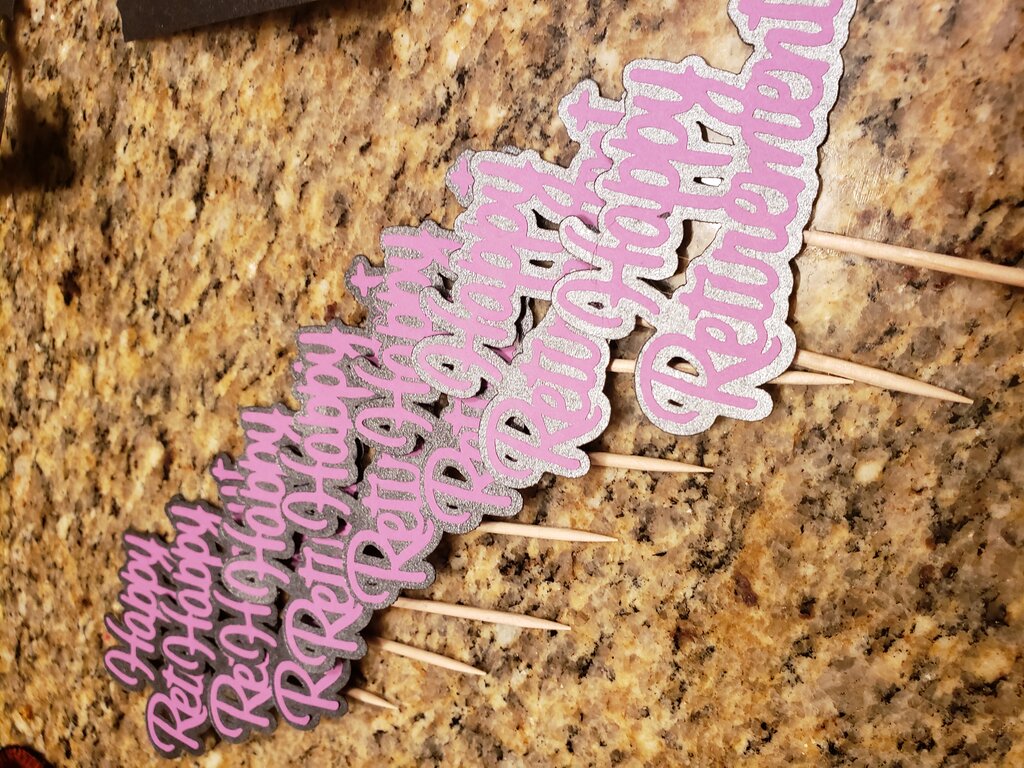
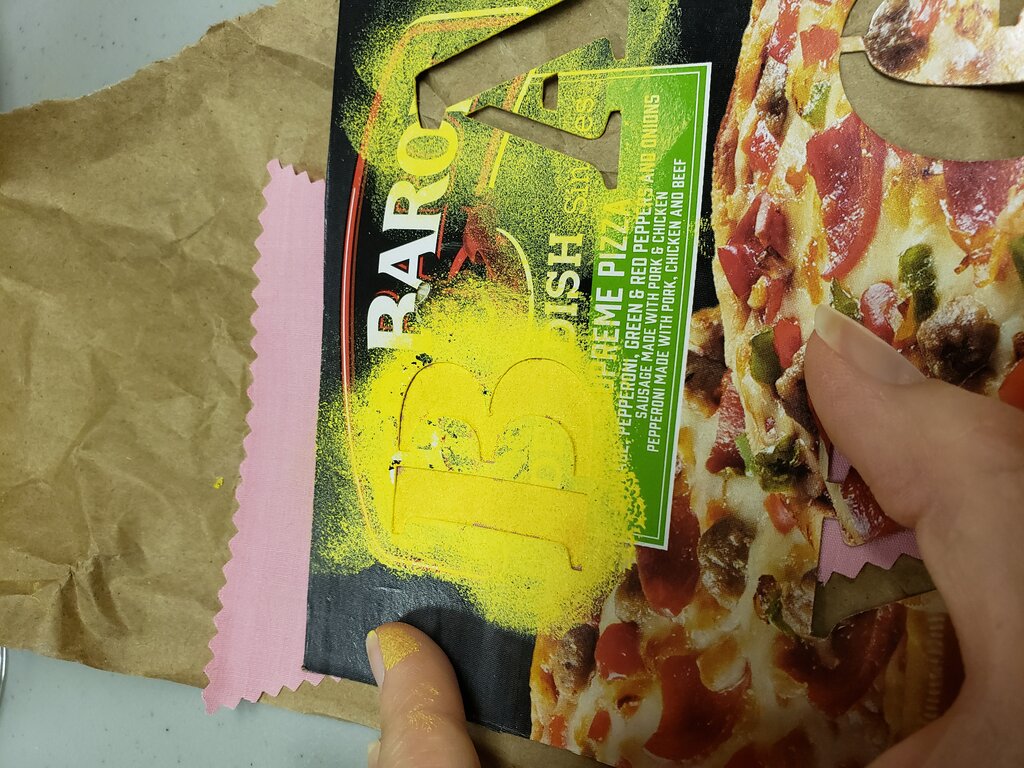
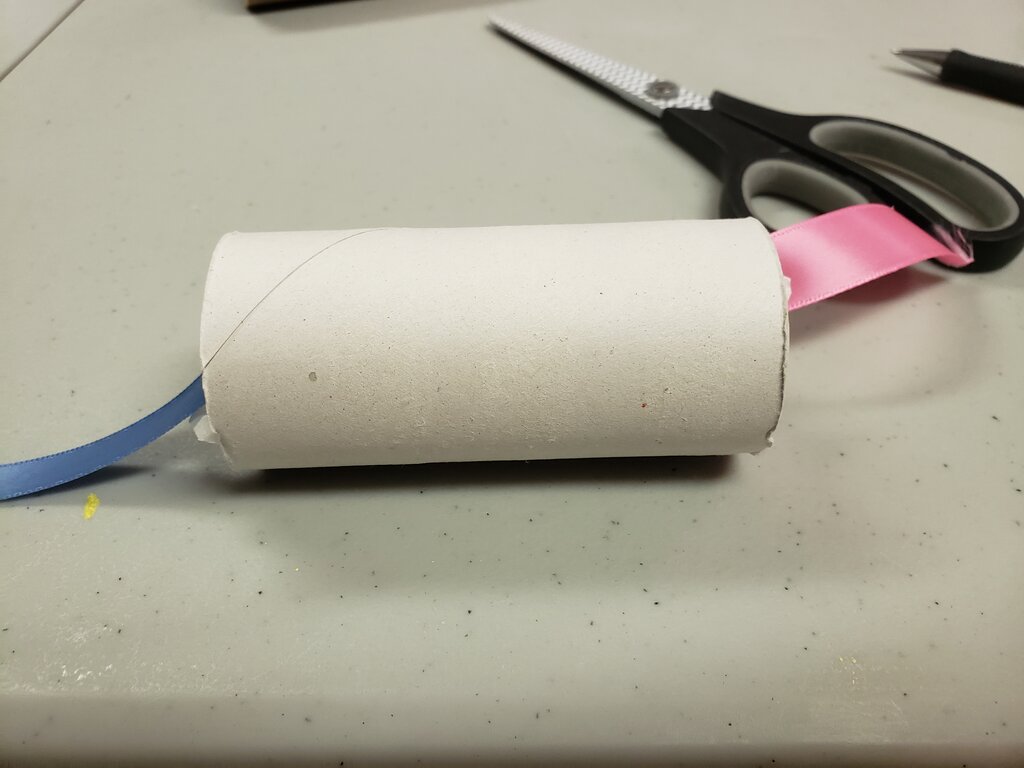
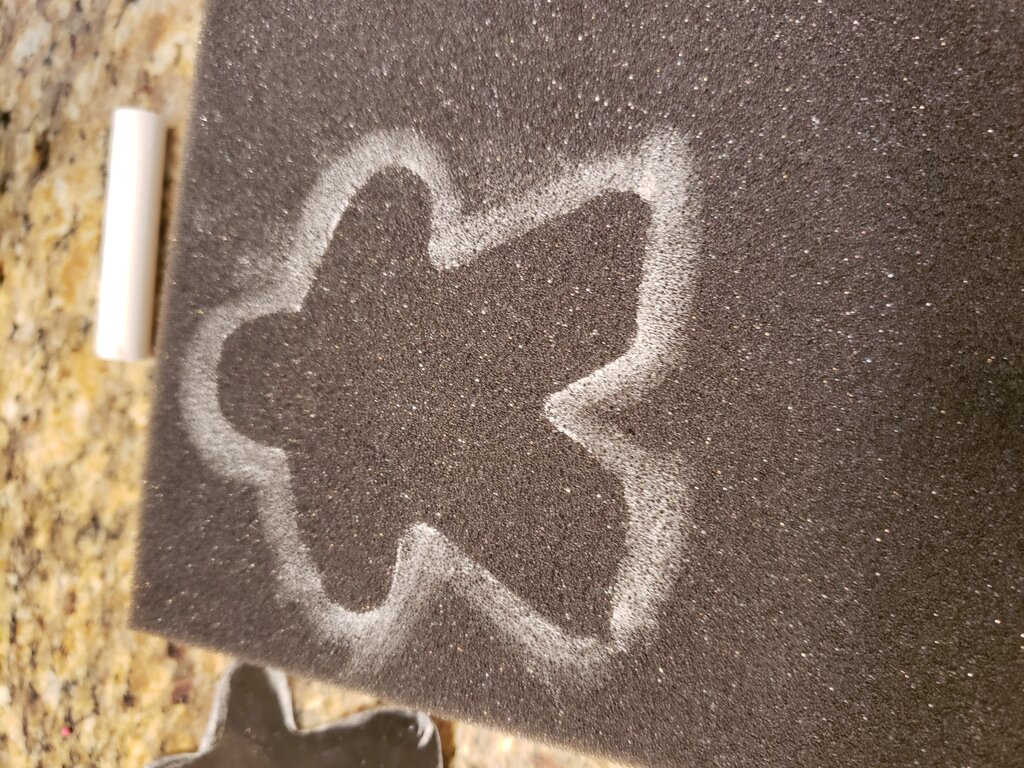
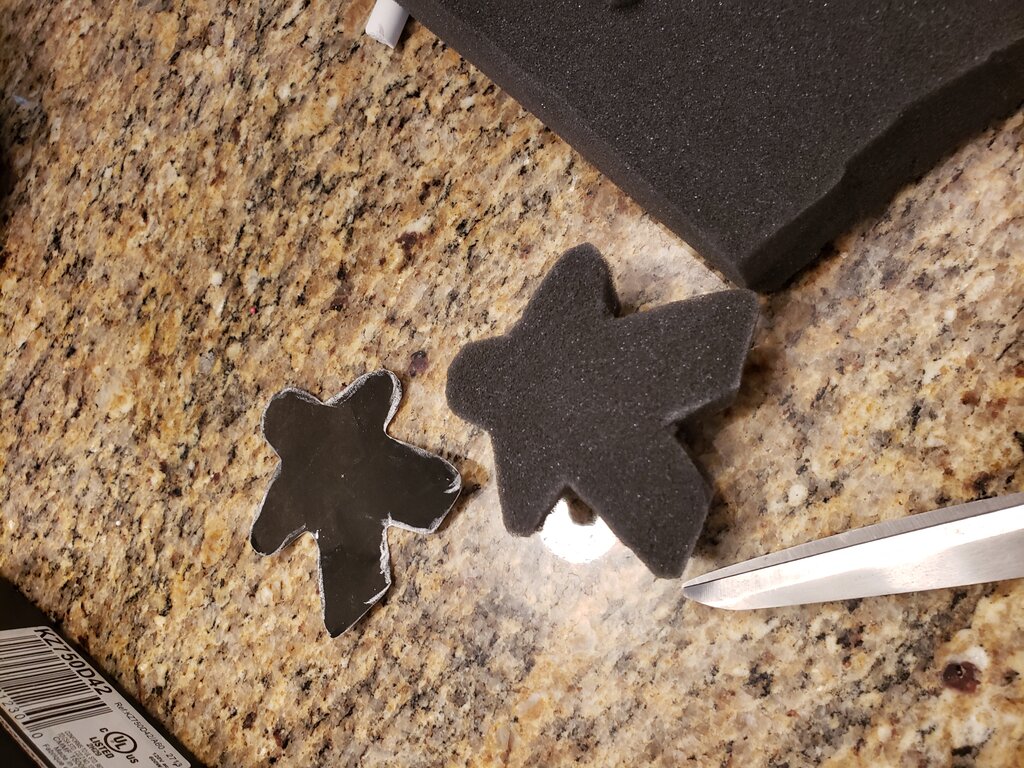
Retirement Toothpicks
- Cardstock (I used black)
- Colored paper (I used purple)
- Toothpicks
- Glue Stick
- Hot glue
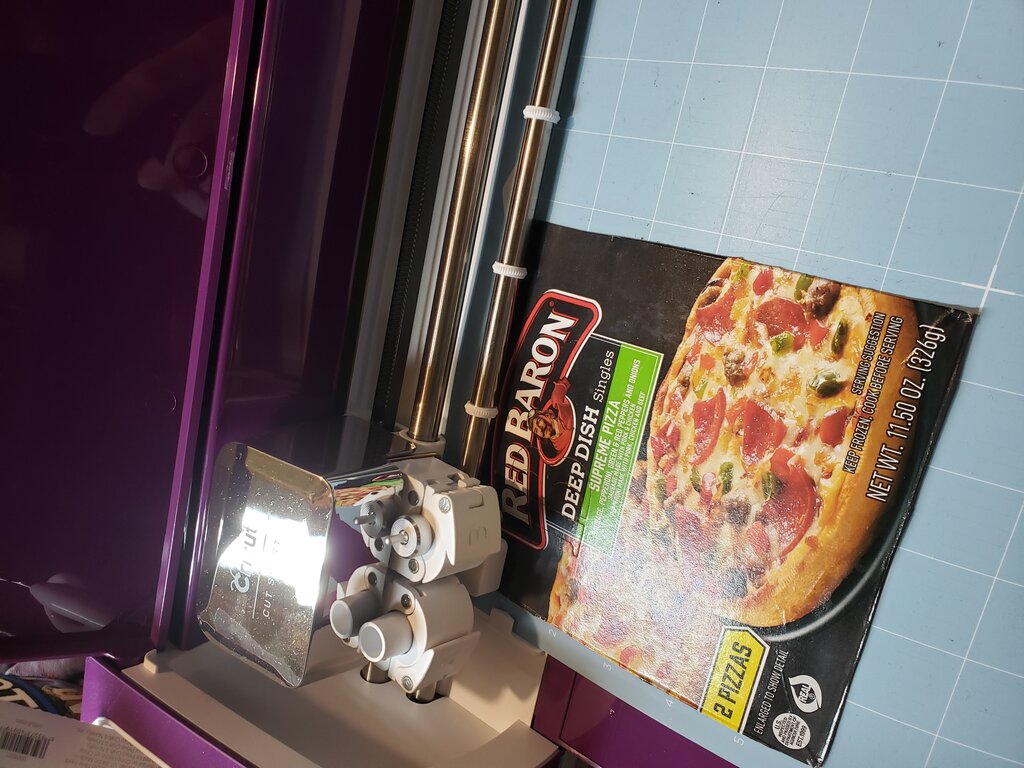
- Cricut Pattern
- Use cricut to cut out this pattern on cardstock.
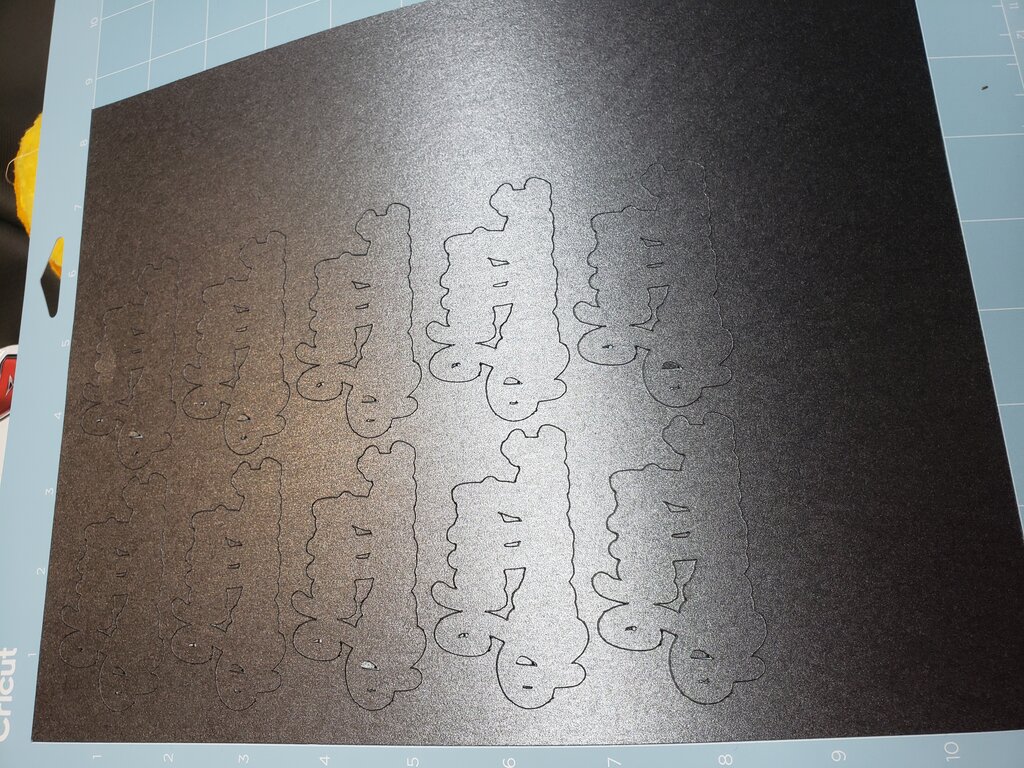
- Use cricut to cut out this pattern on paper.
- Remove paper and cardstock from excess paper then use glue stick to attach paper to cardstock.
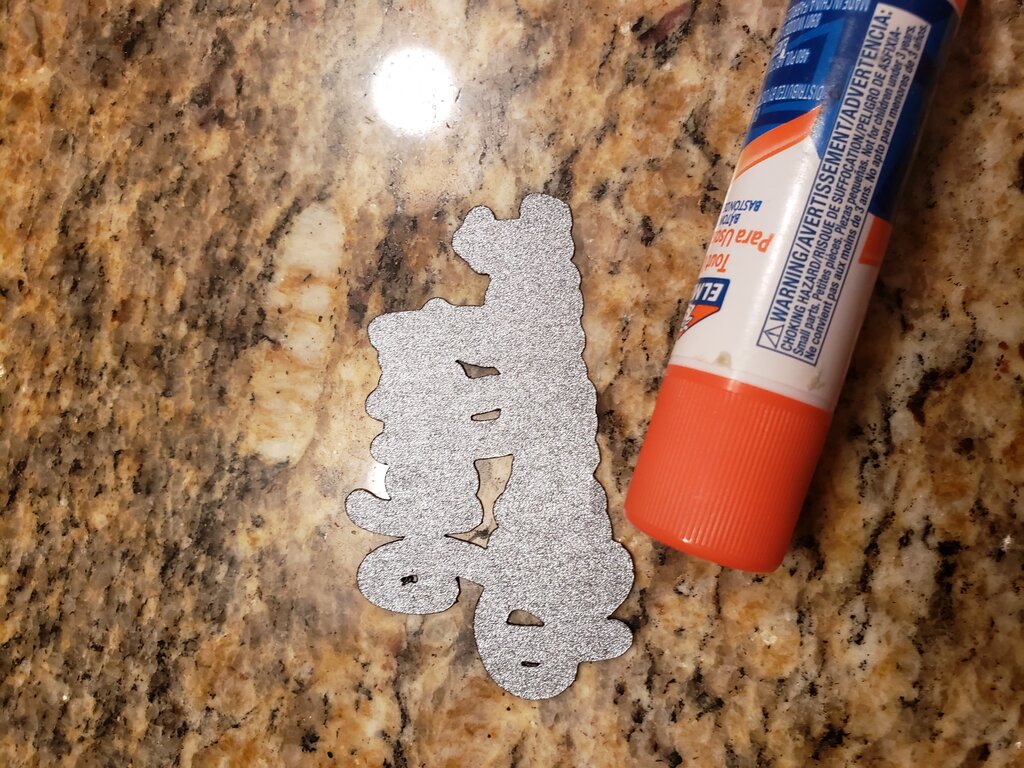
- Hot glue the toothpick onto the back of the “Happy Retirement” paper and while the glue is still hot, cover with a scrap piece of cardstock.

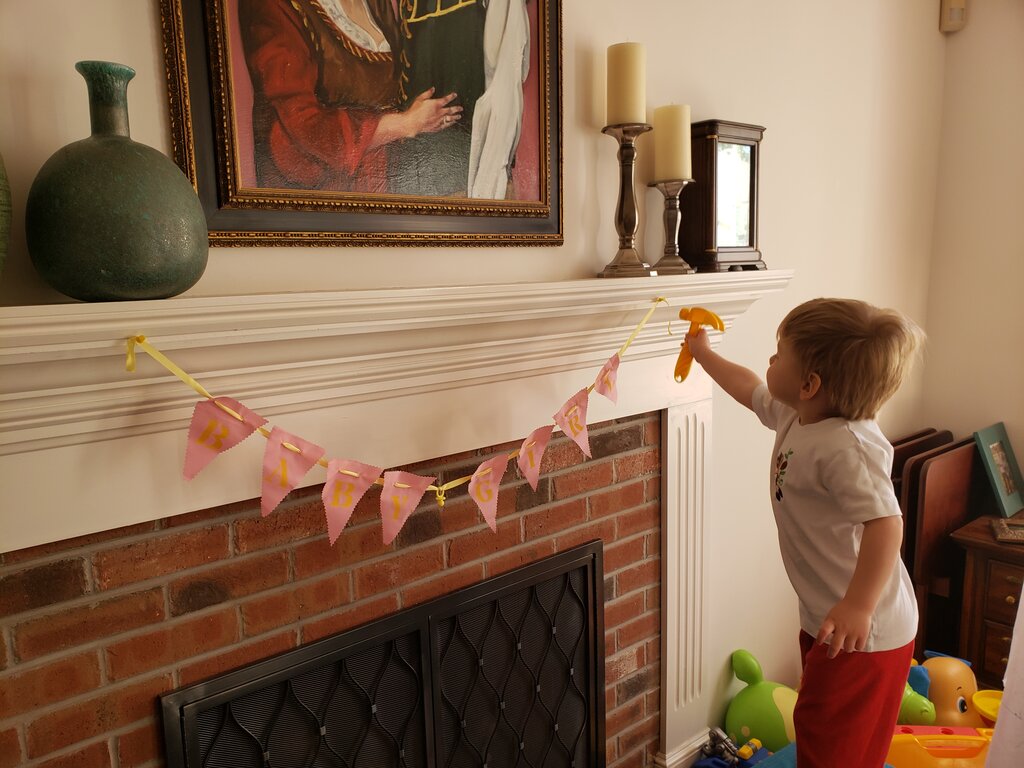
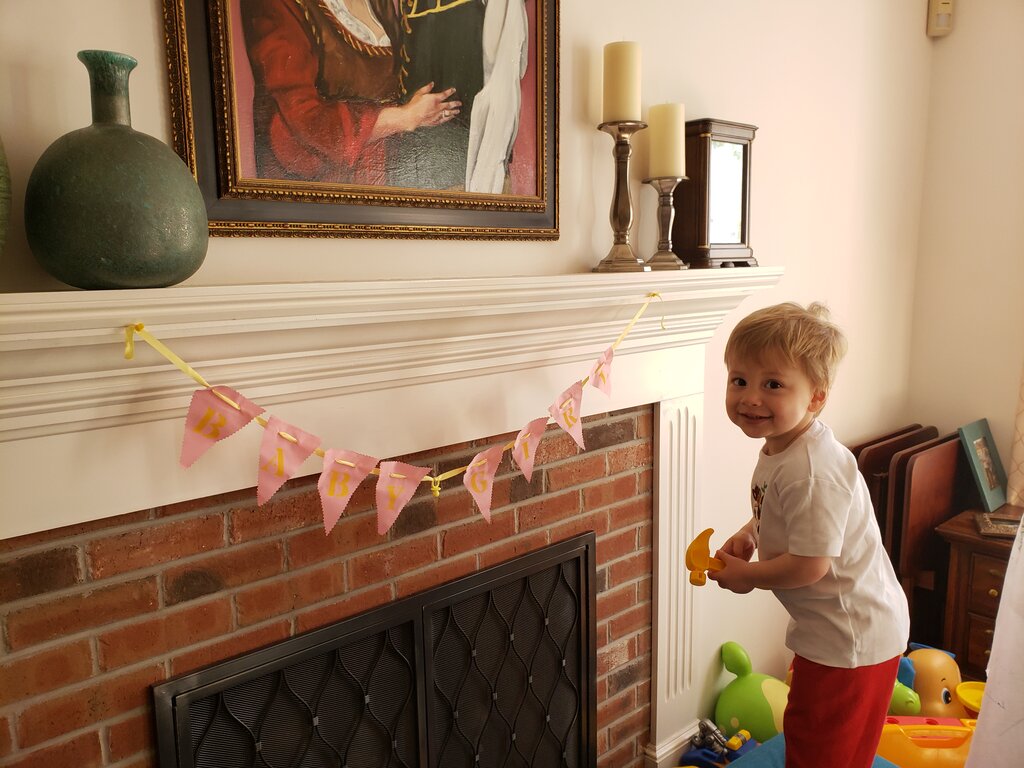
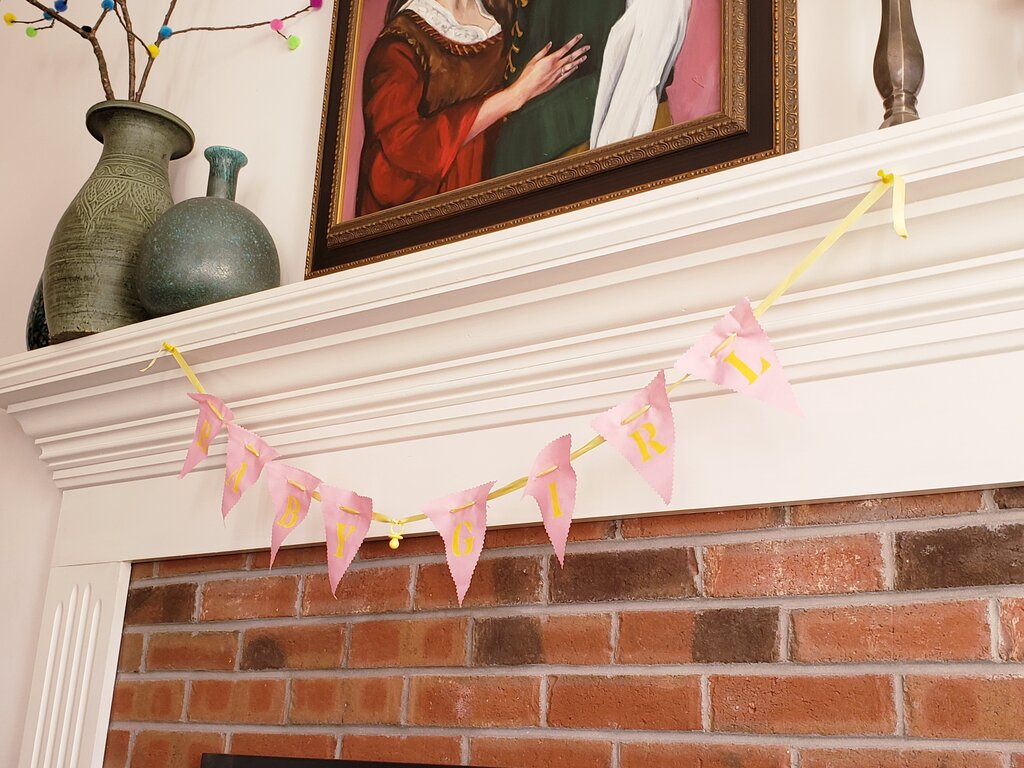
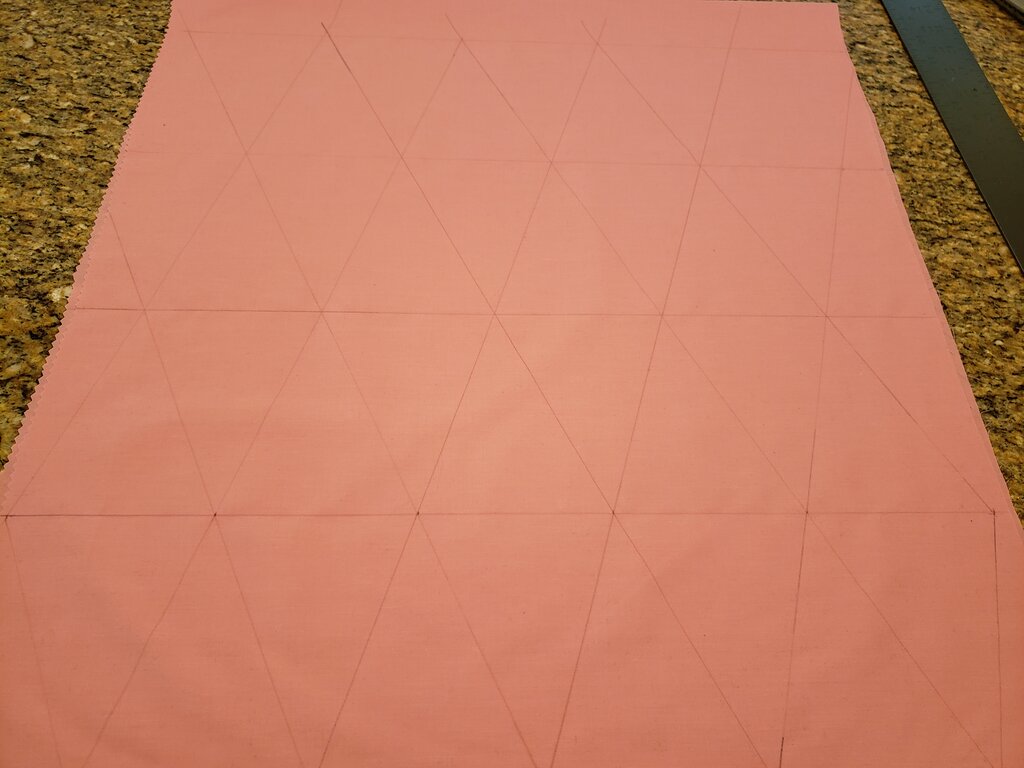
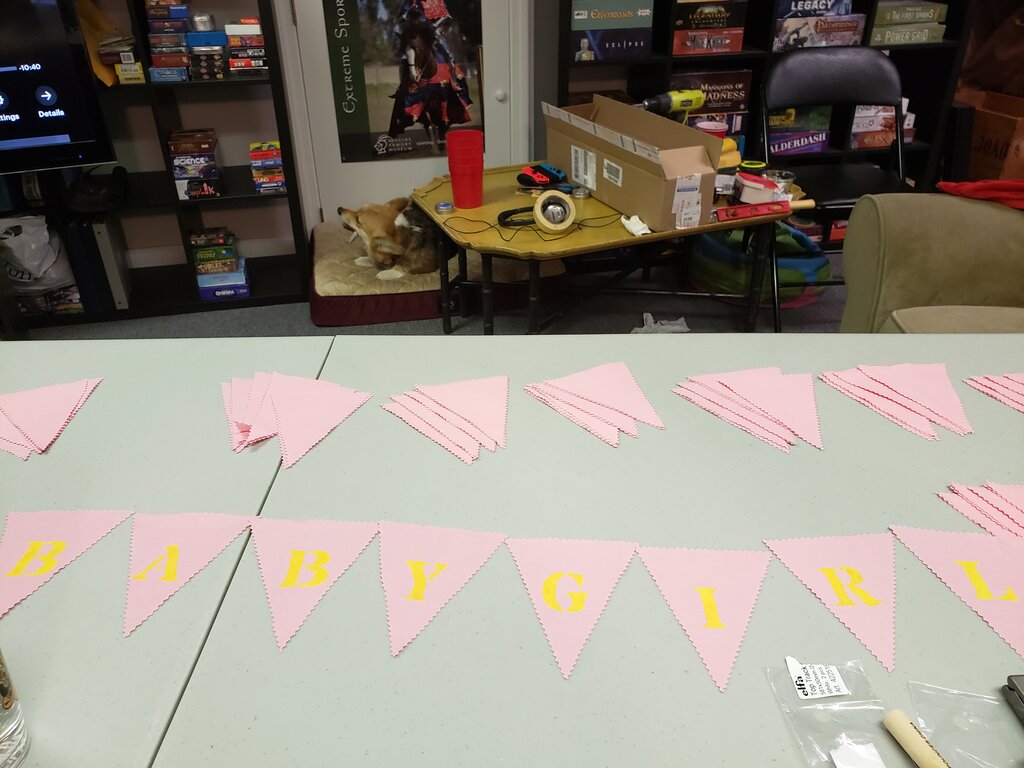
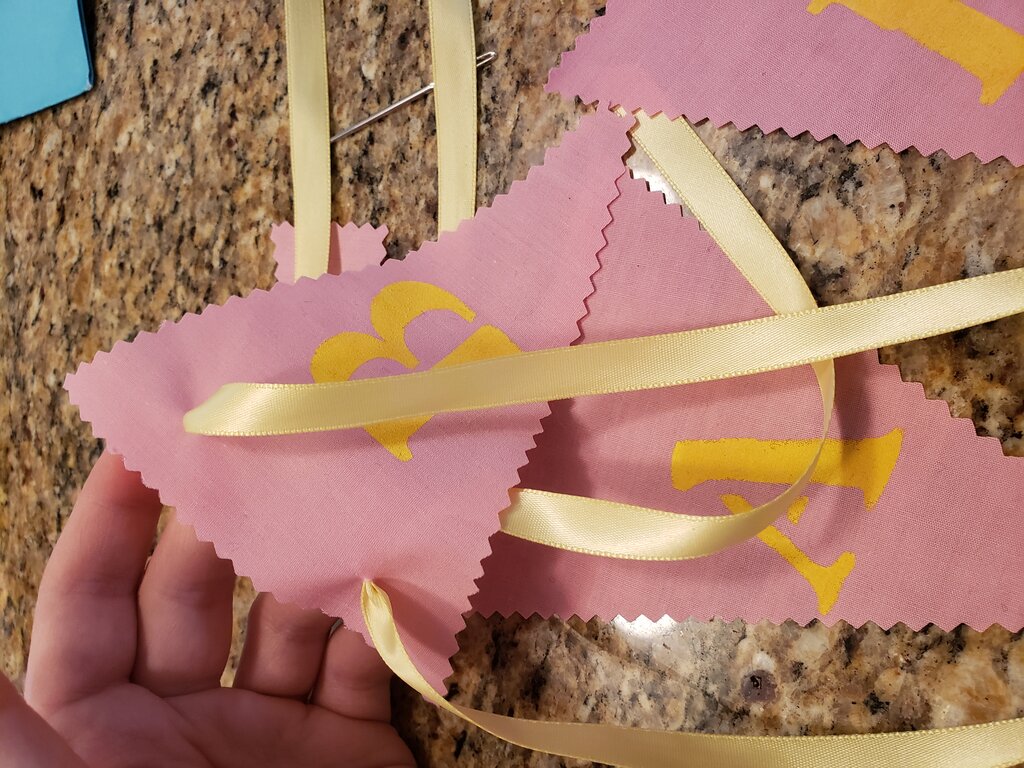
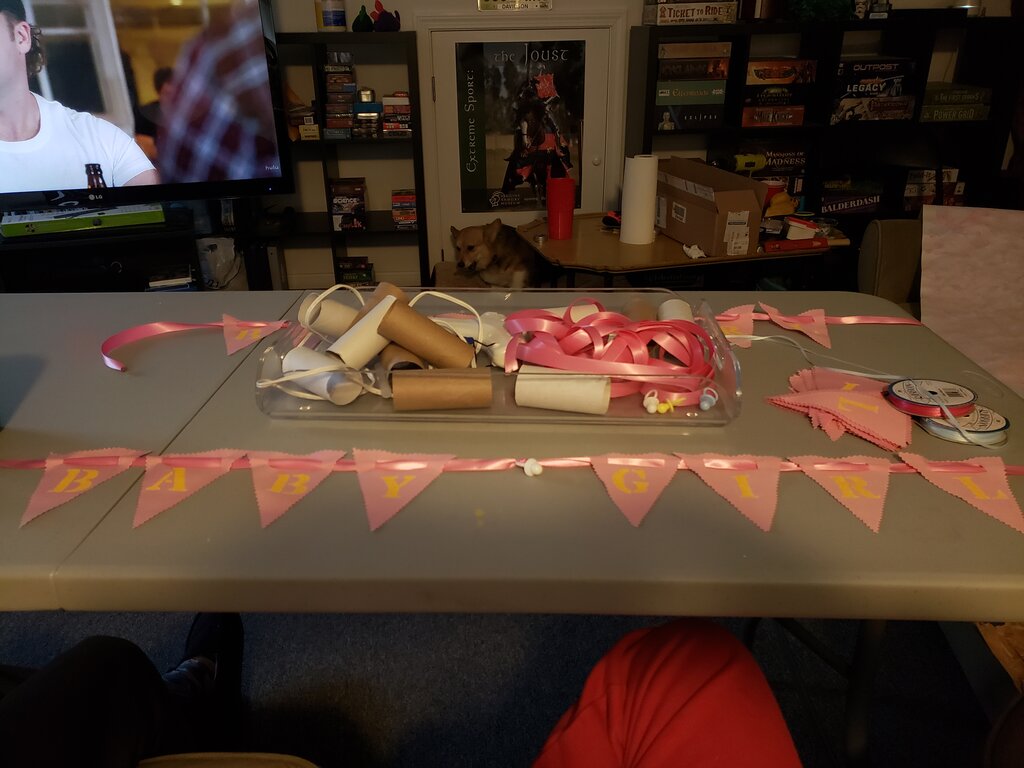
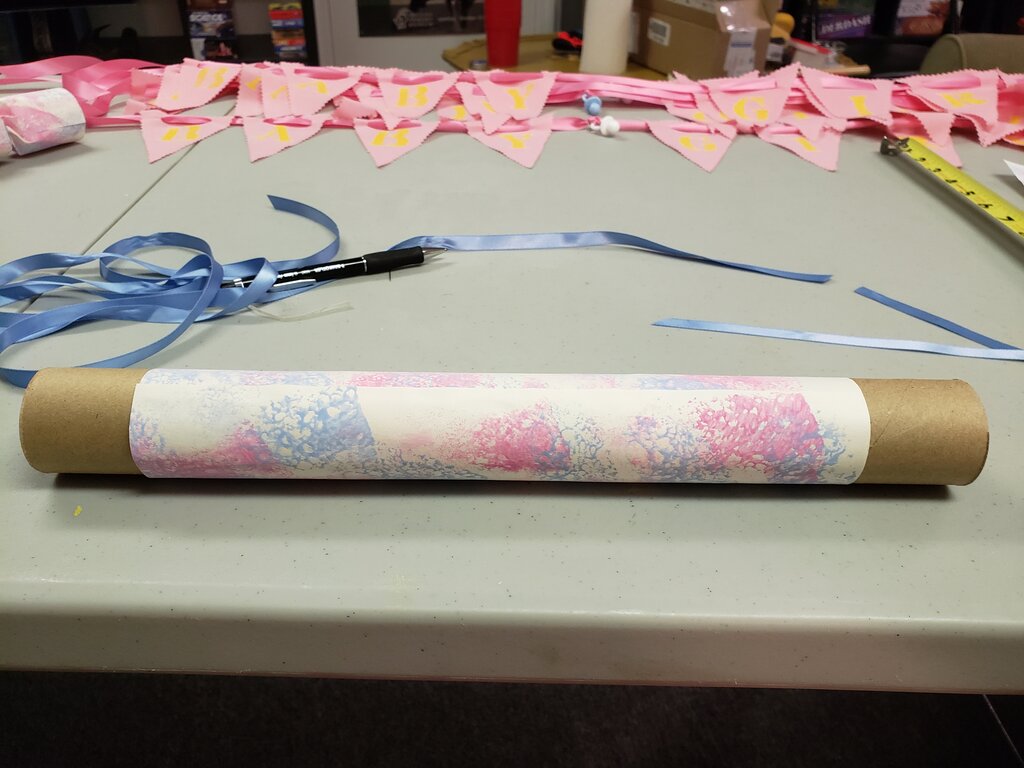
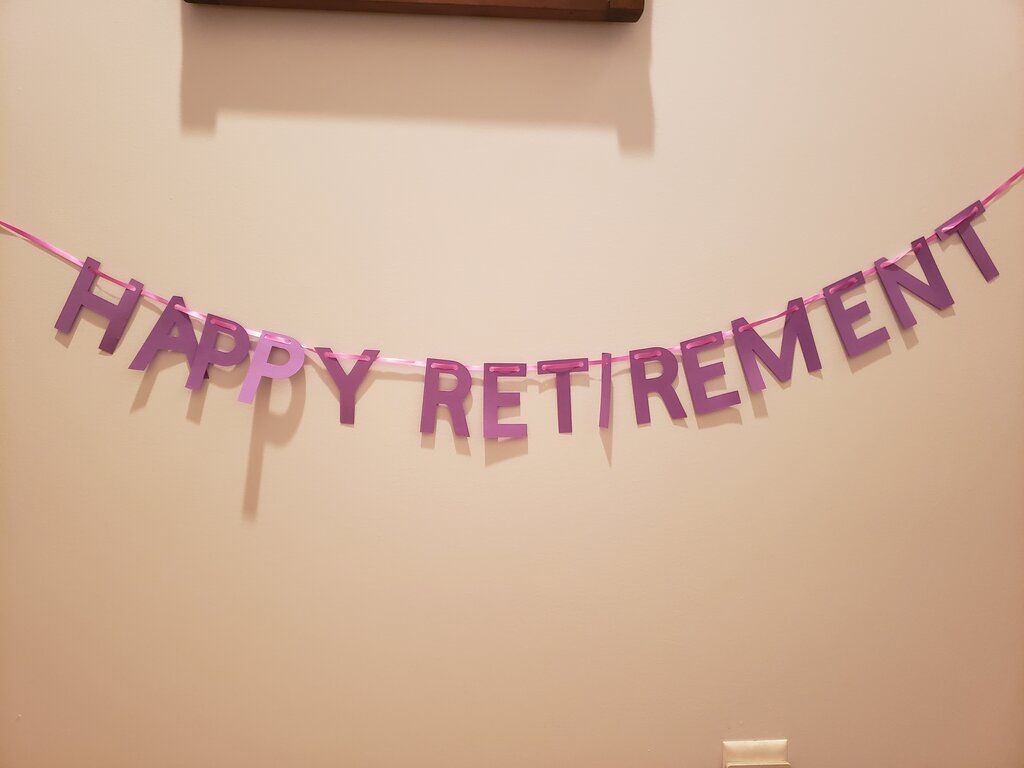 Happy Retirement Banner
- 2 sheets of colored paper
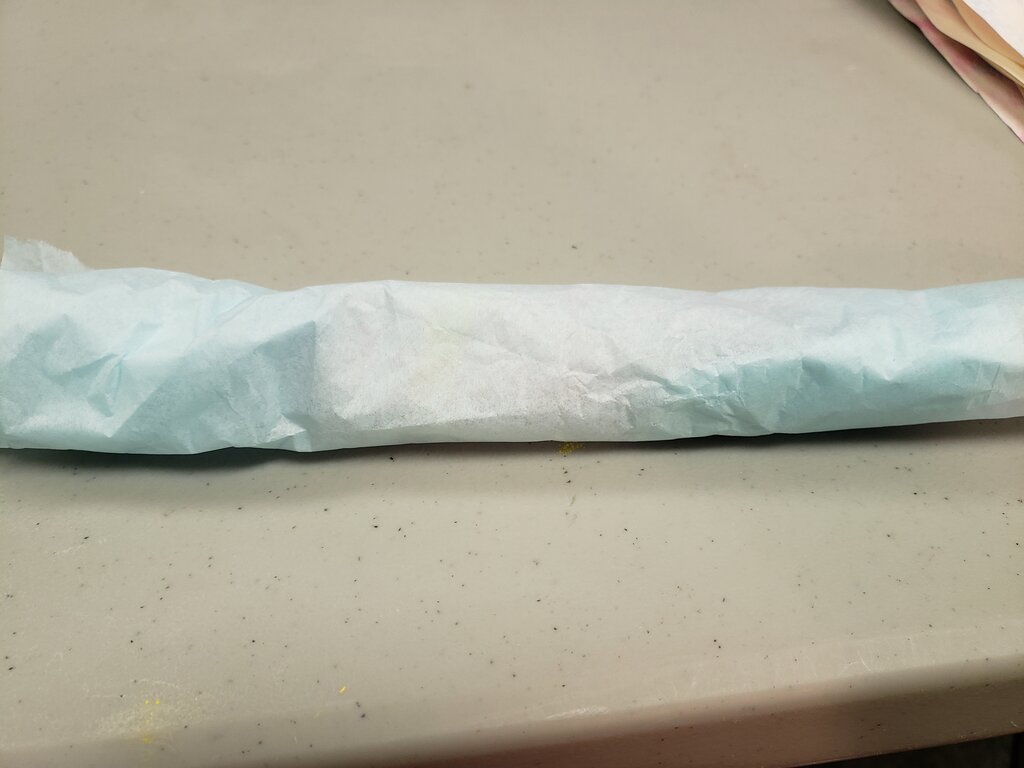
- 6 feet of ribbon
- Cricut pattern here
Cut letters out of colored paper using cricut. Thread ribbon through holes in letters. 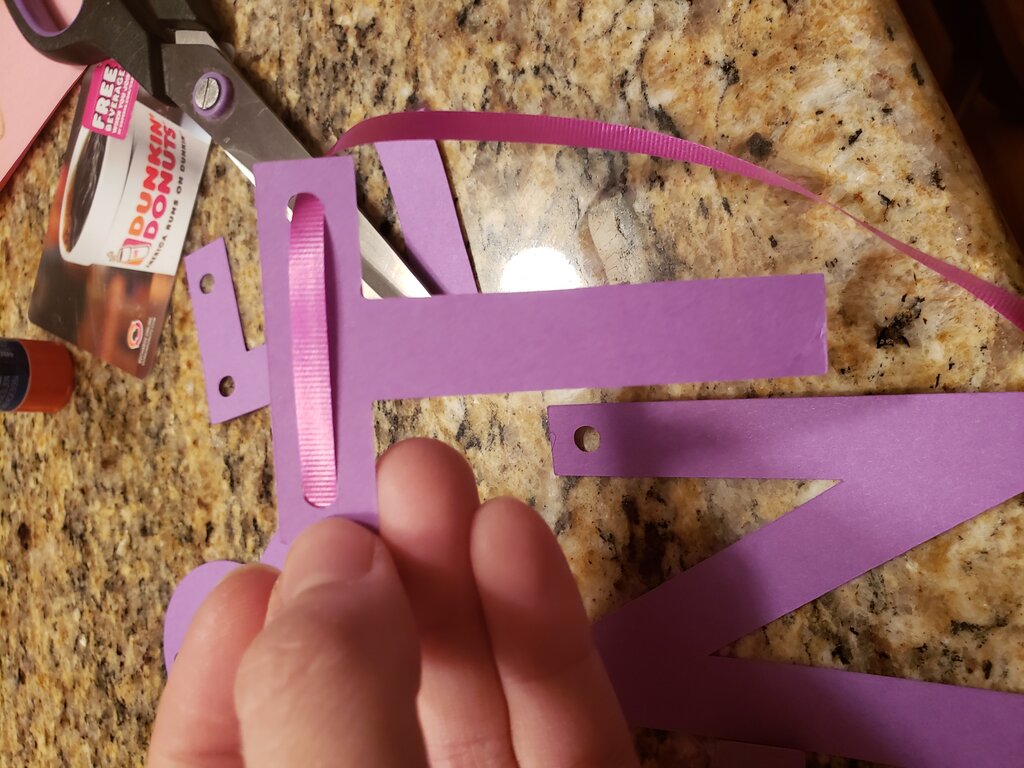
Games
A party isn’t complete without games! We did a silly “Who Knows the Retiree” game (see here if you’re interested) as well as a version of Bingo we got at a thrift store (it was actually called Bardo – and had Shakespeare trivia built in).
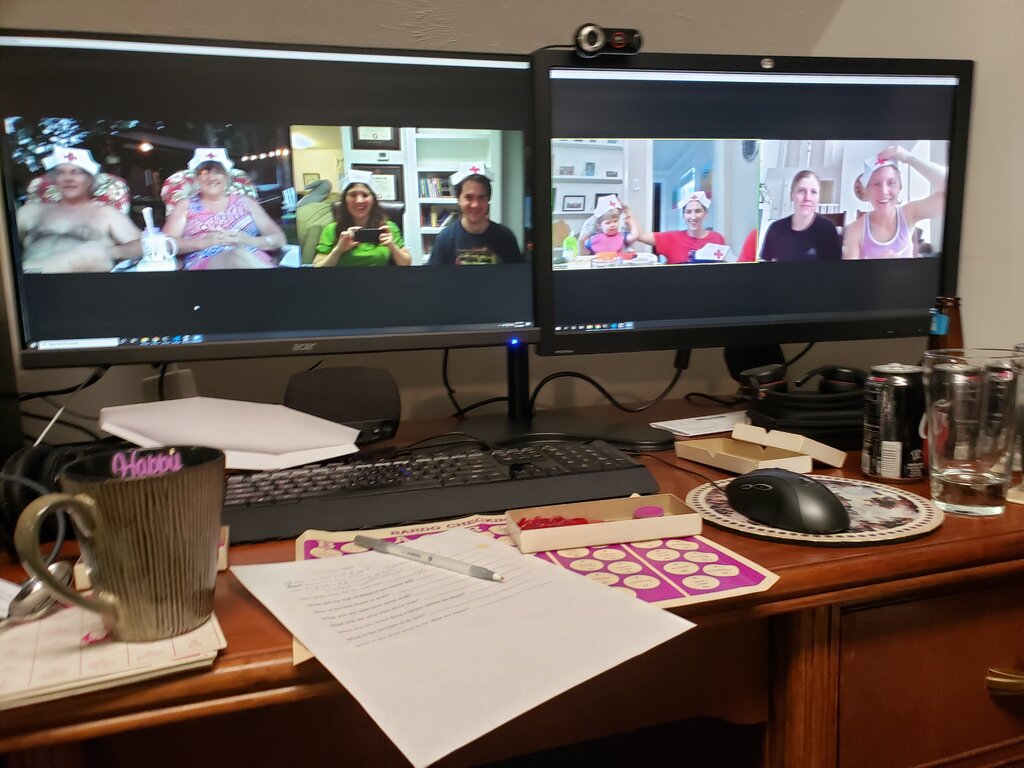
Retirement party in action! Note the great games (Bingo and Who knows the Retiree Best?)
Presents
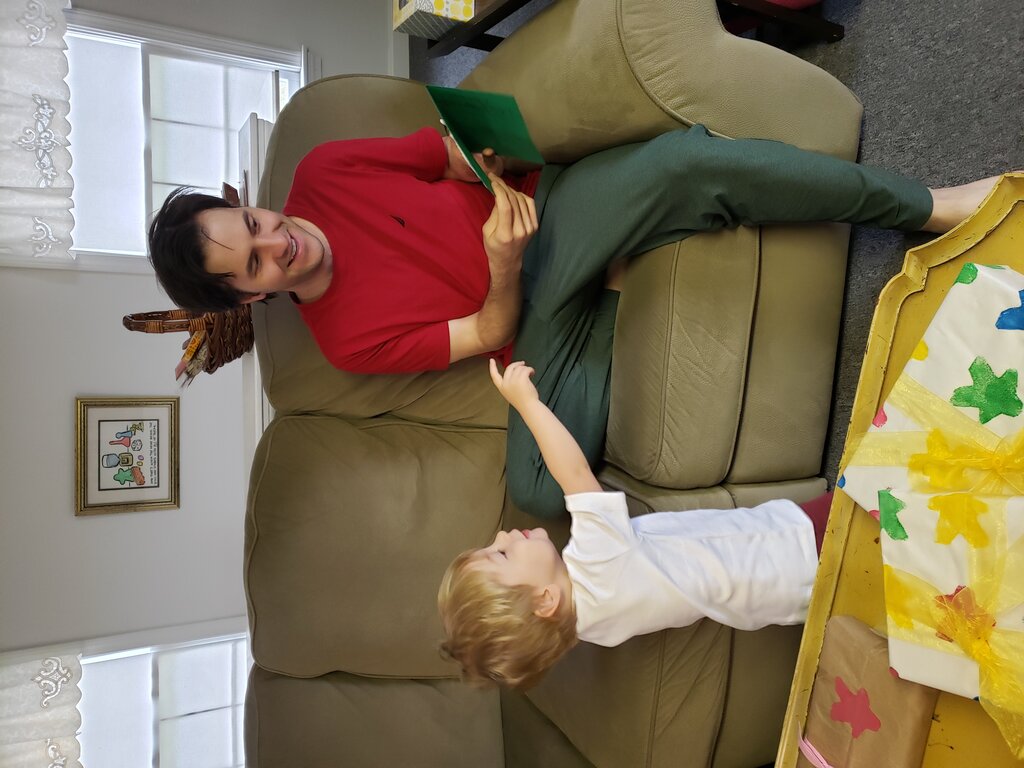
We decided to give my mom a subscription to Masterclass, so she could investigate some new fun hobbies that she might want to try. In addition we also compiled a list of ideas for what to do during her retirement. We did this by entering items in a google spreadsheet and I then printed them all and put them into a bag. She could then read them all at once or take them out anytime she needed a “retirement idea”.
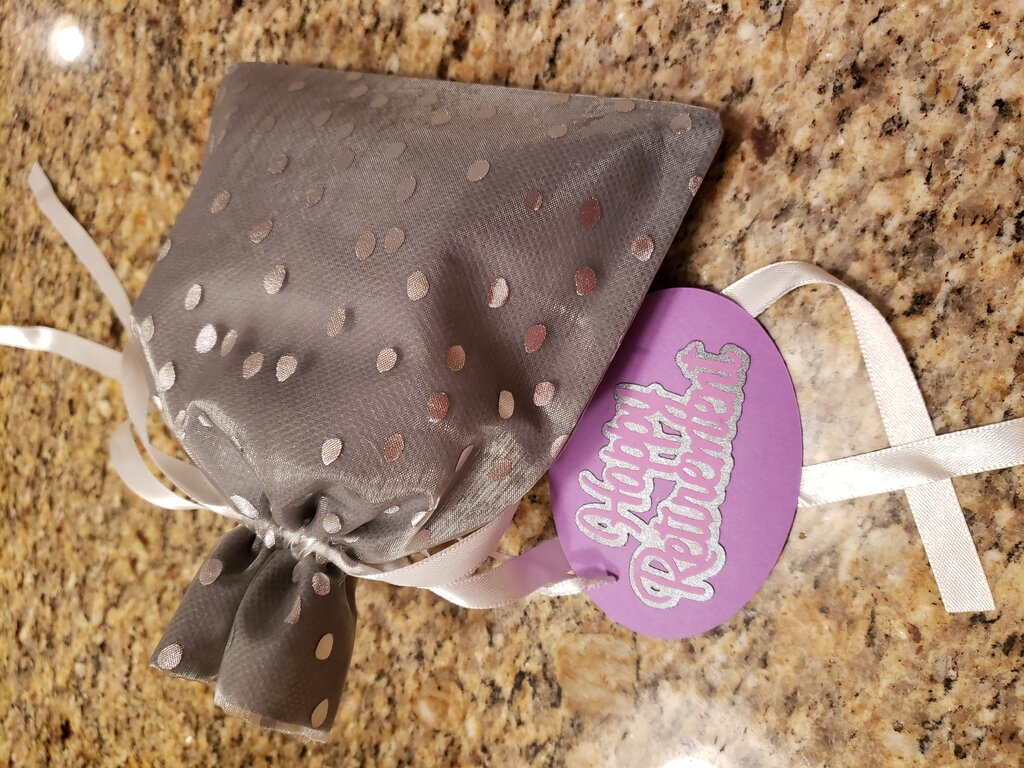
Retirement Ideas Bag
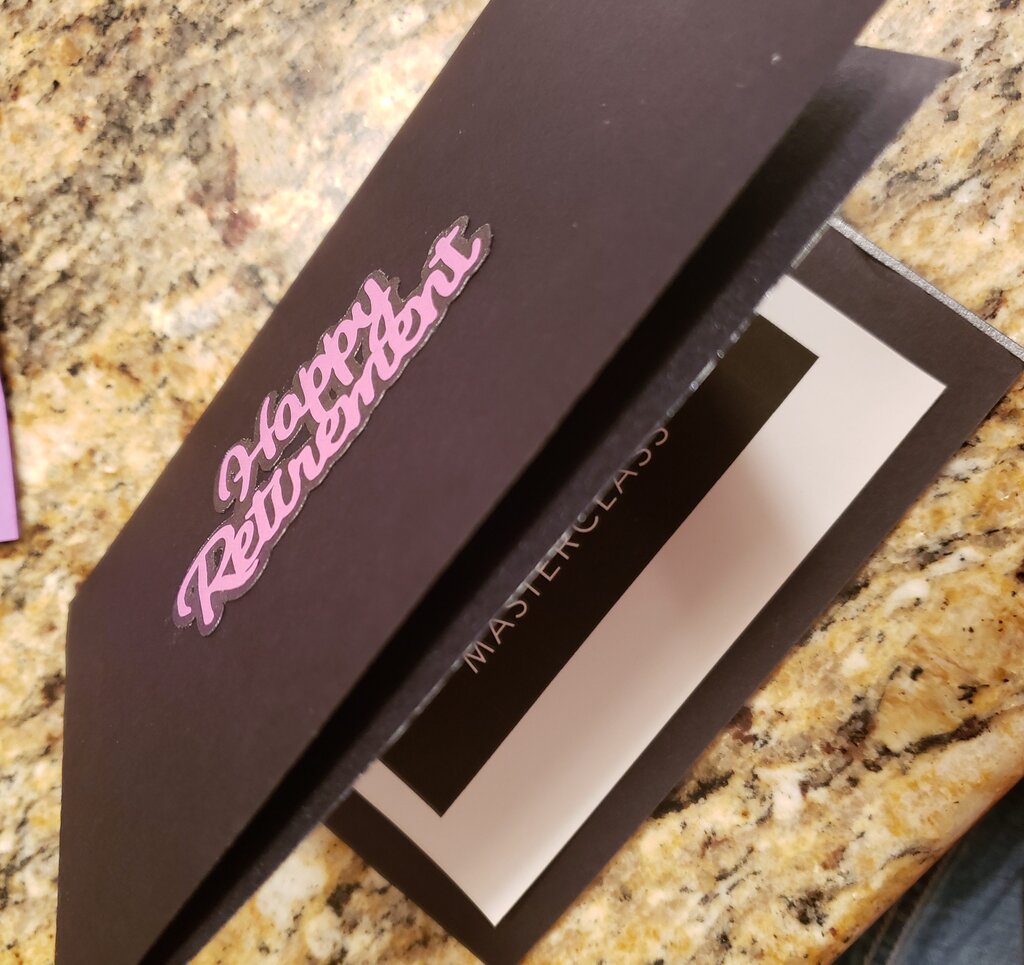
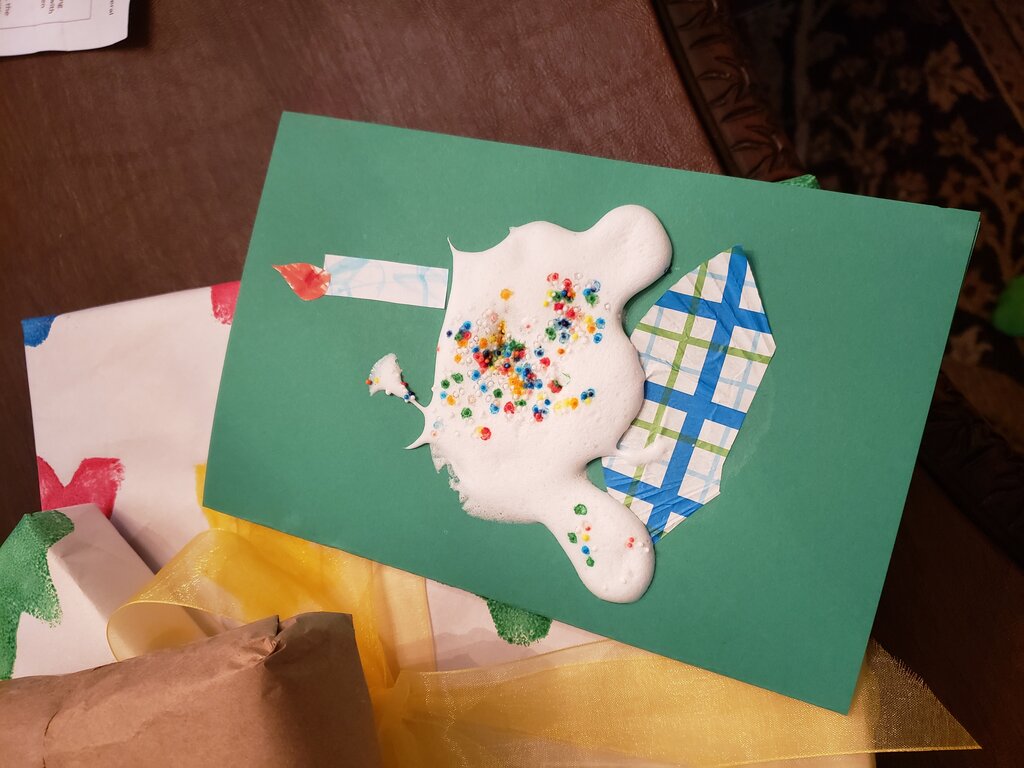
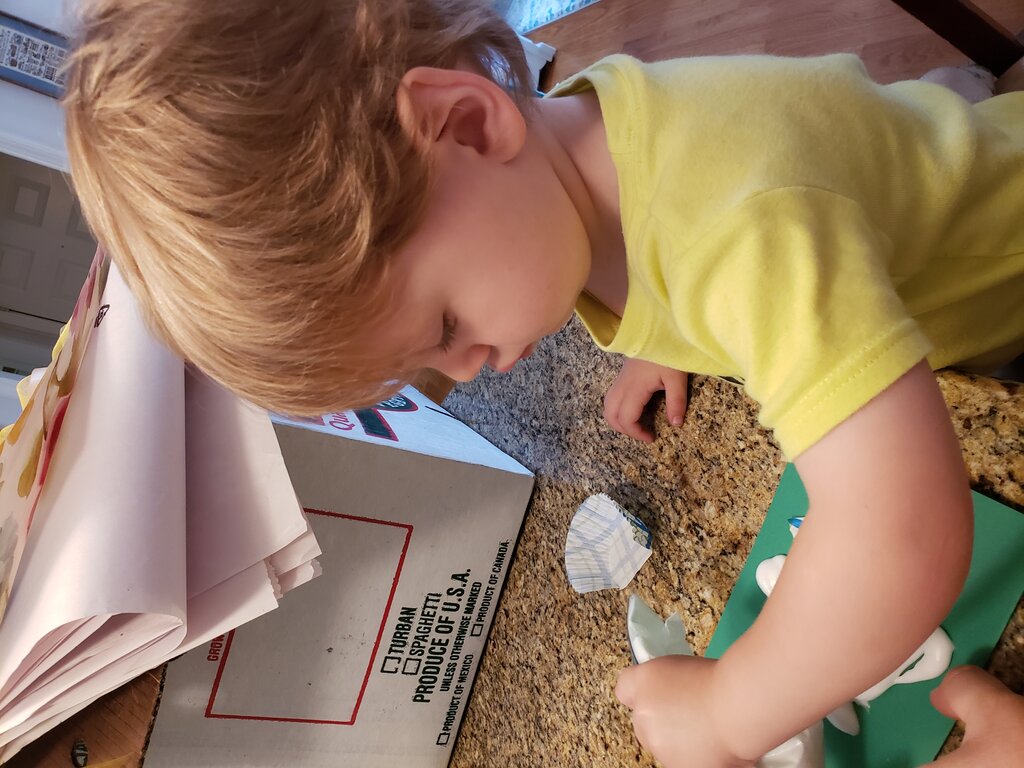
Masterclass Card
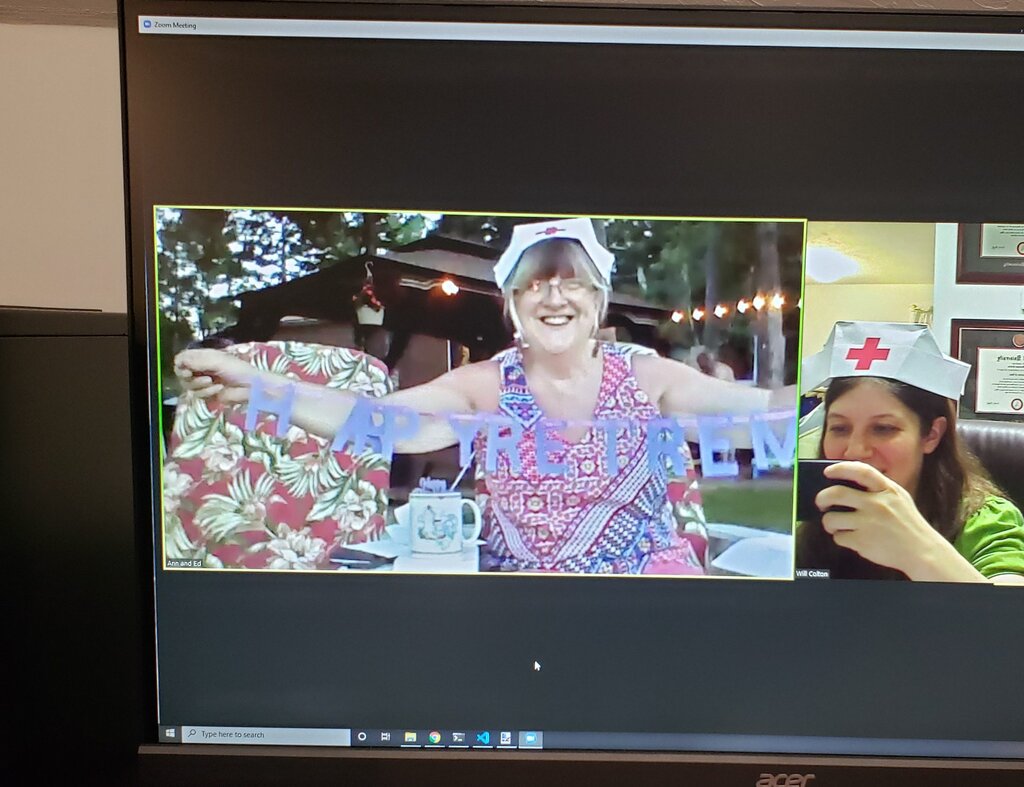
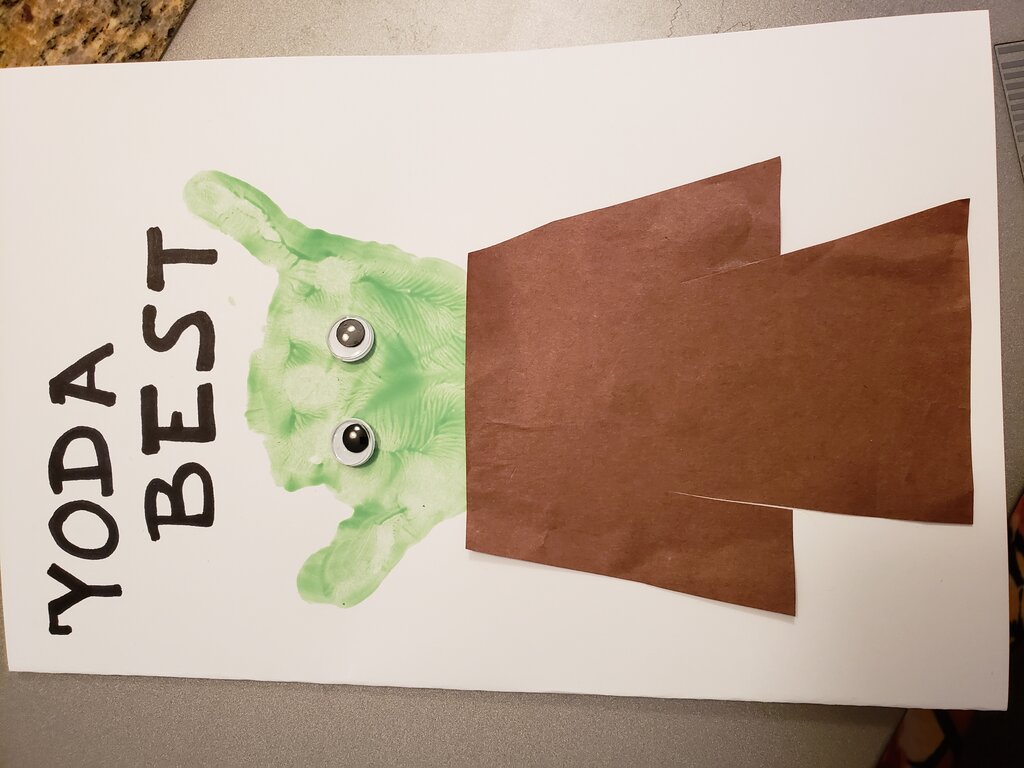
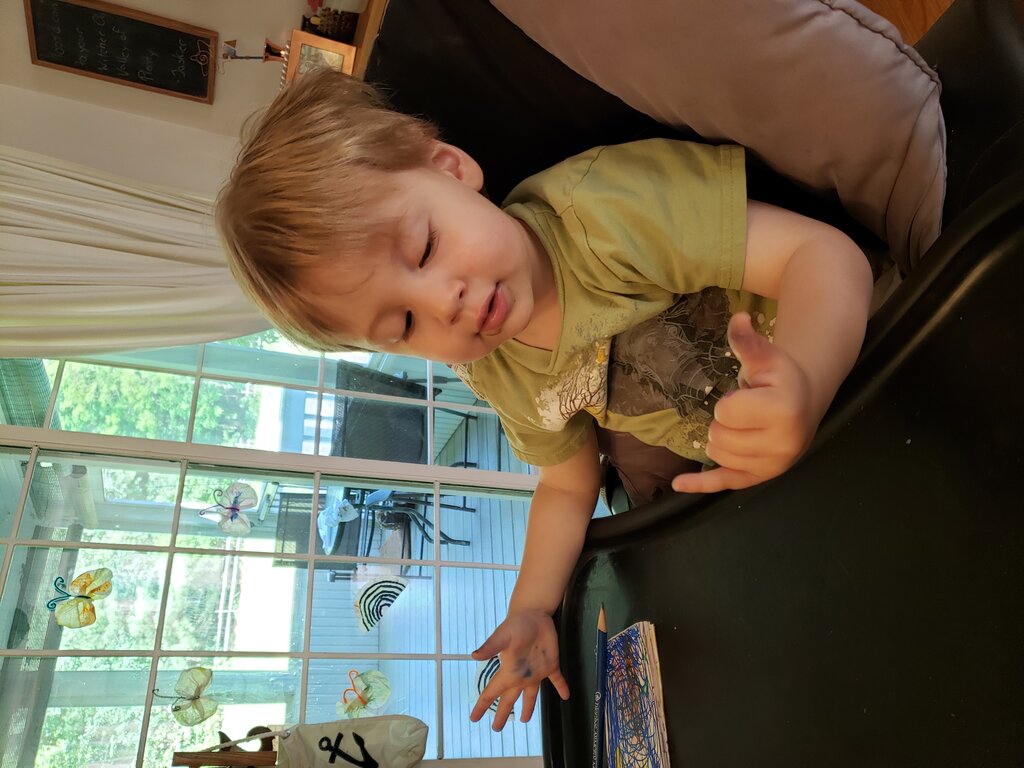
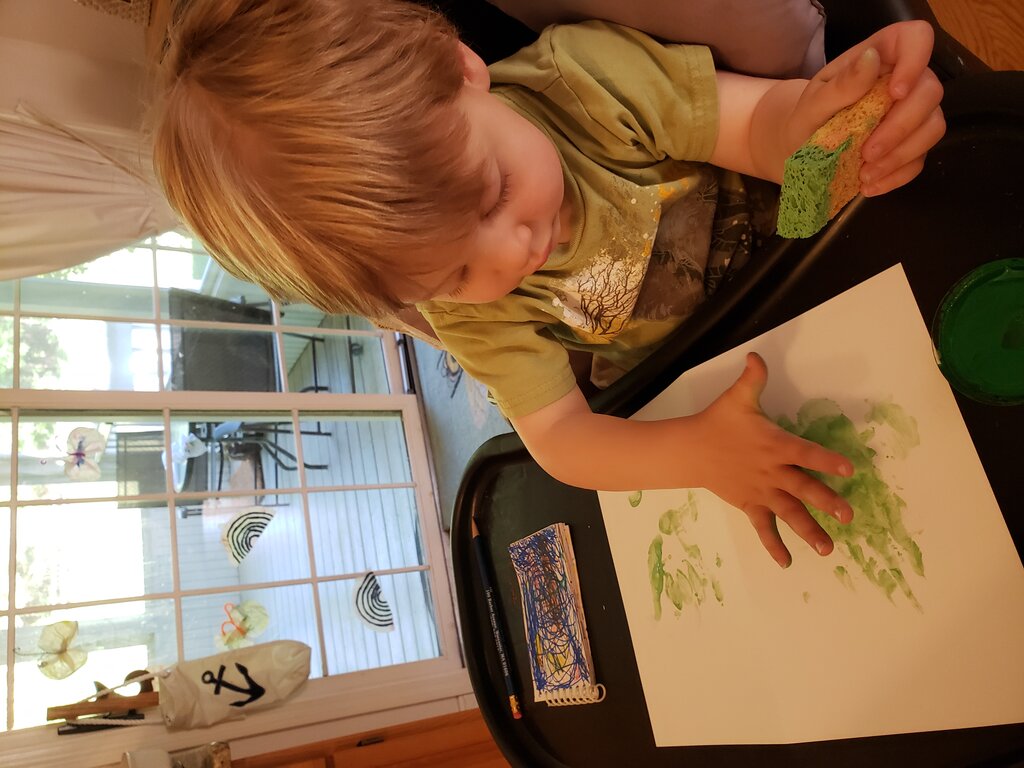
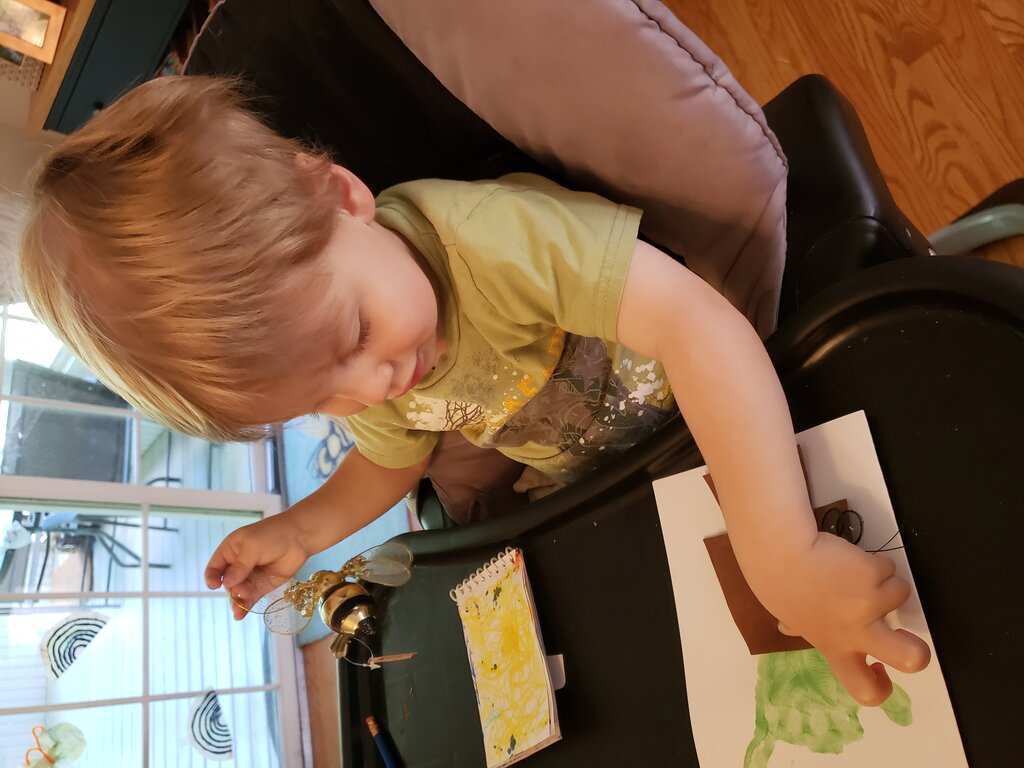
The retiree!