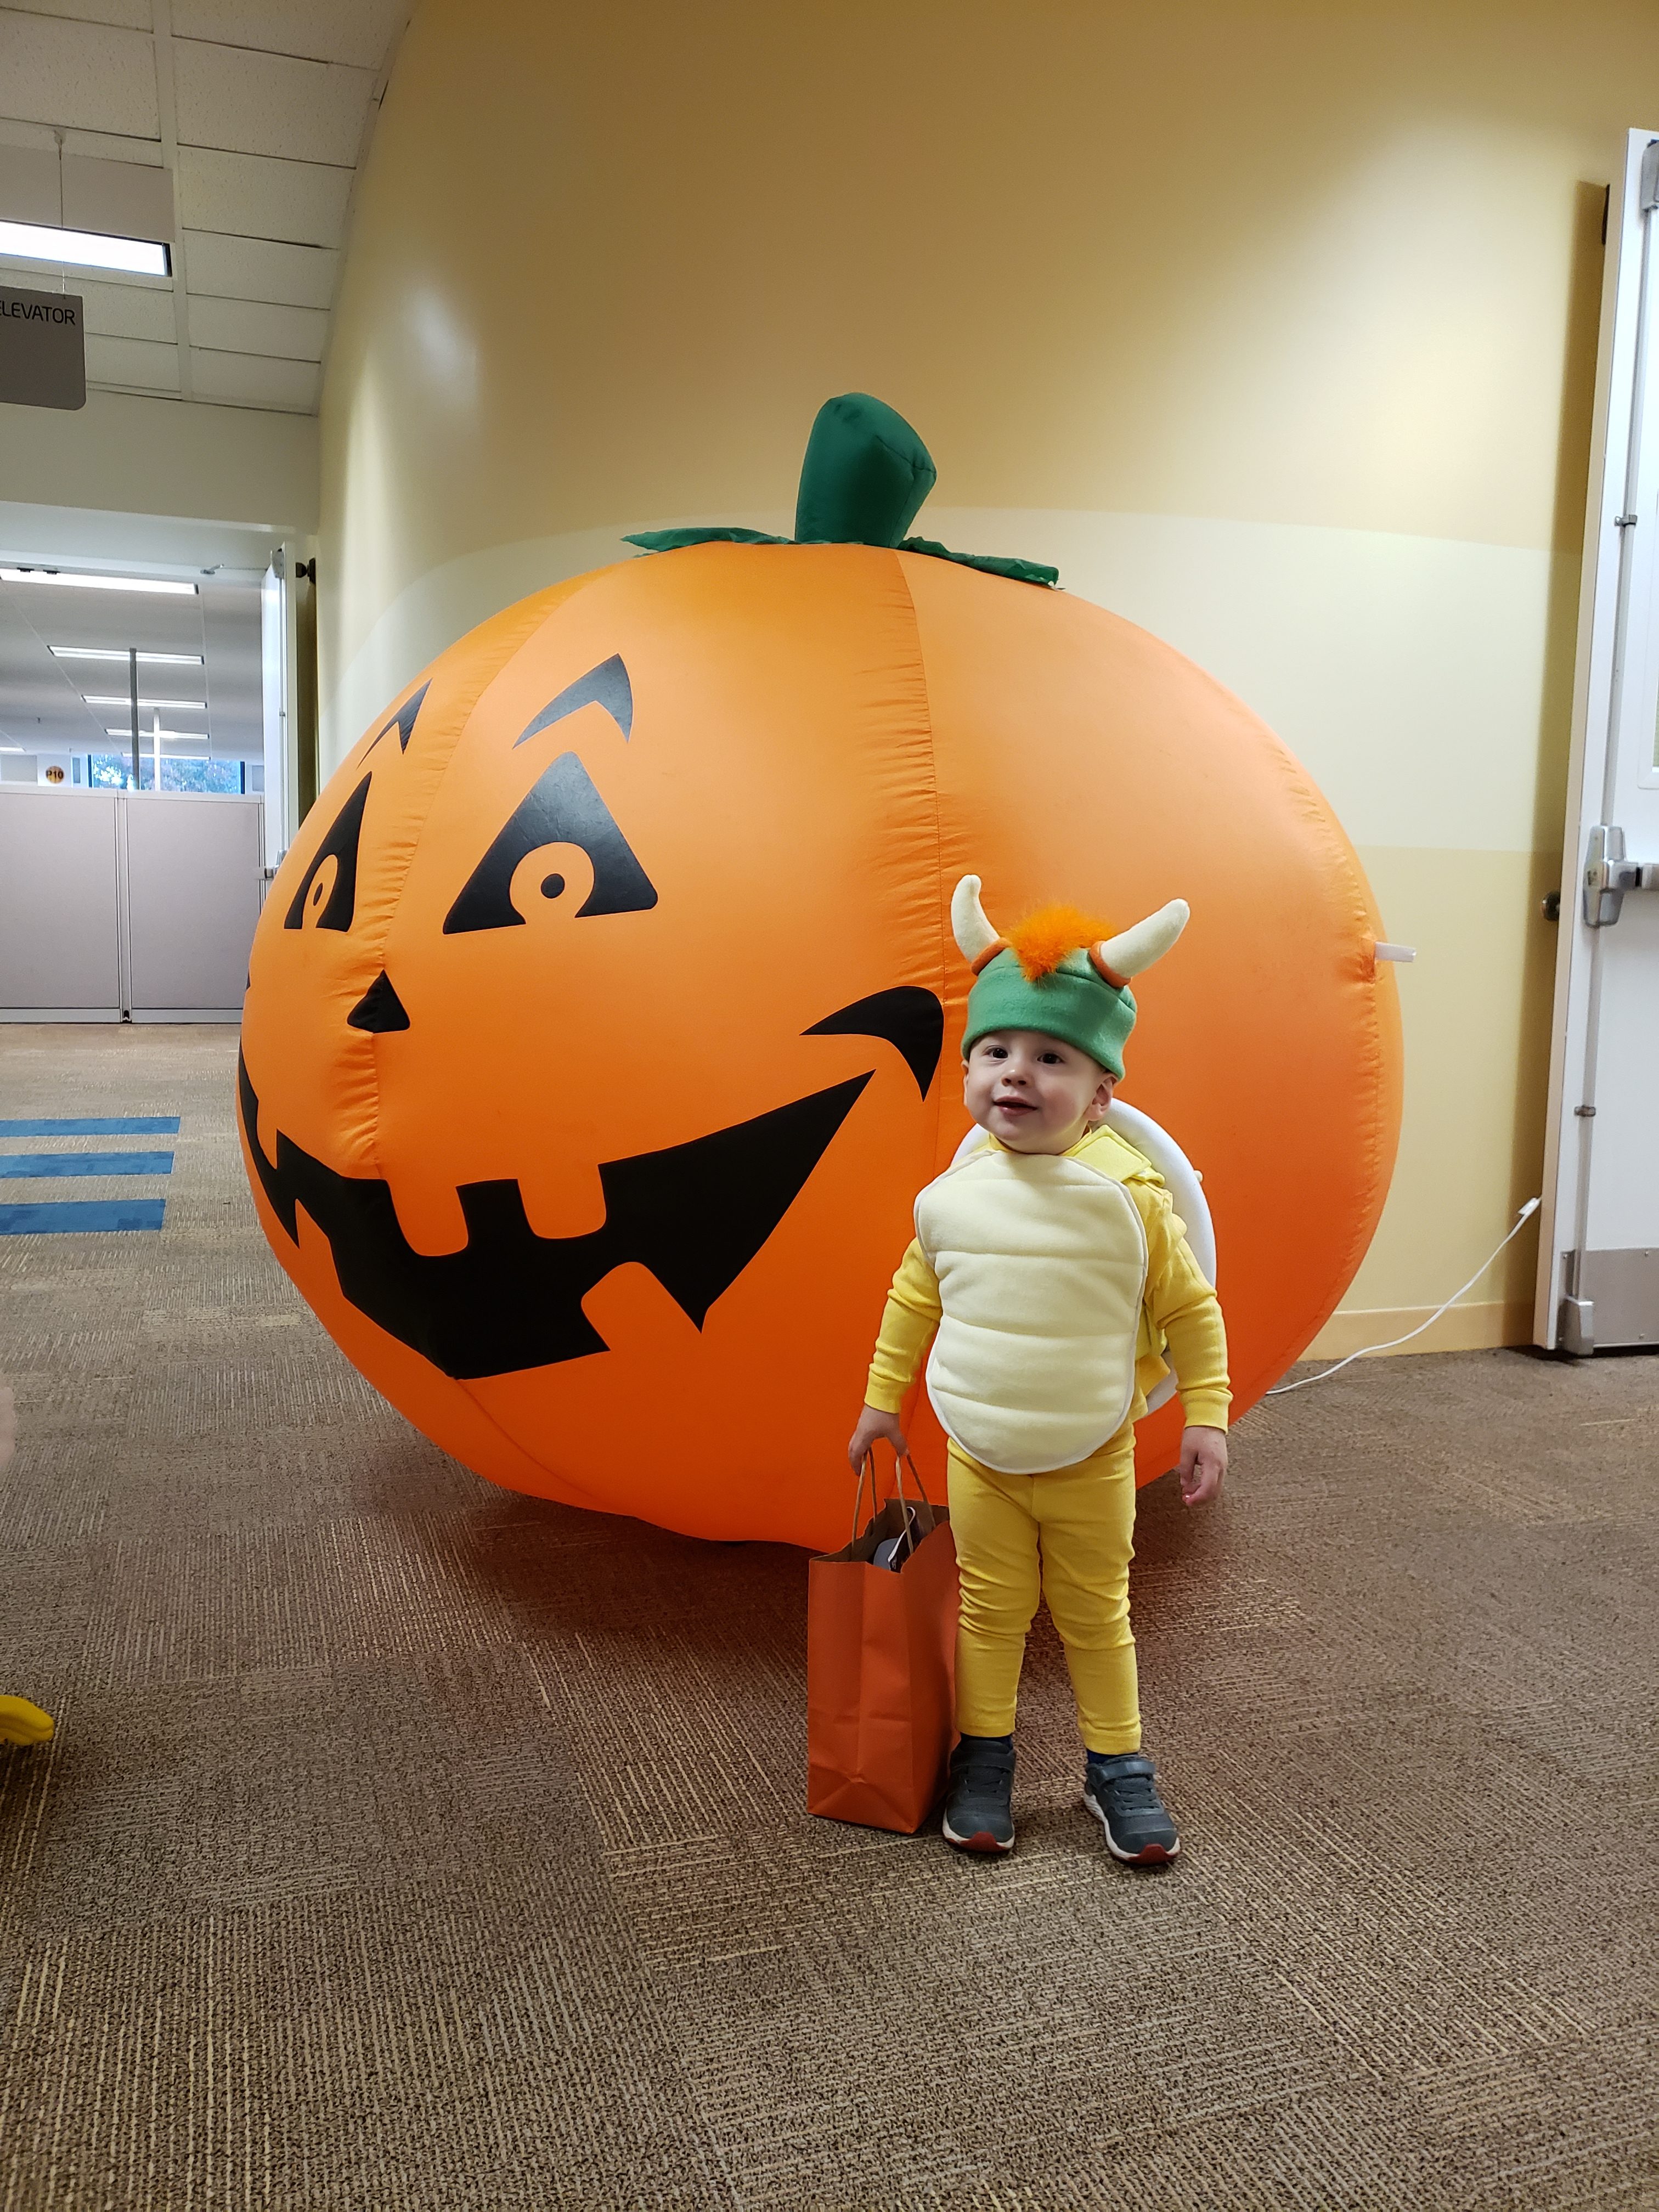
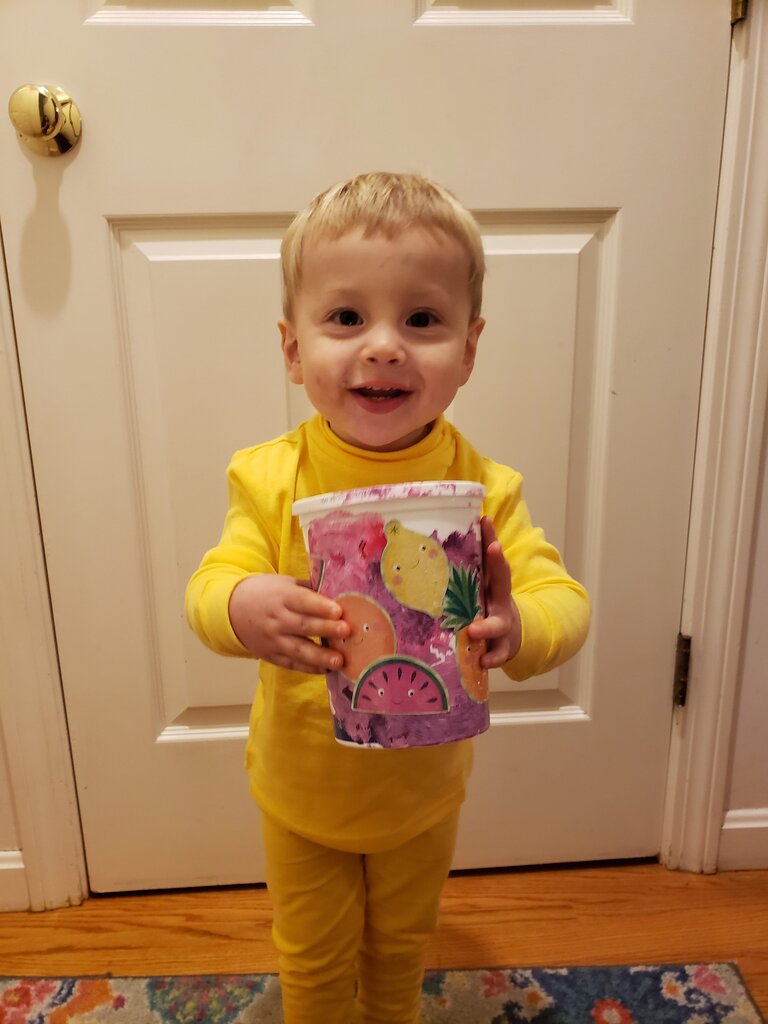
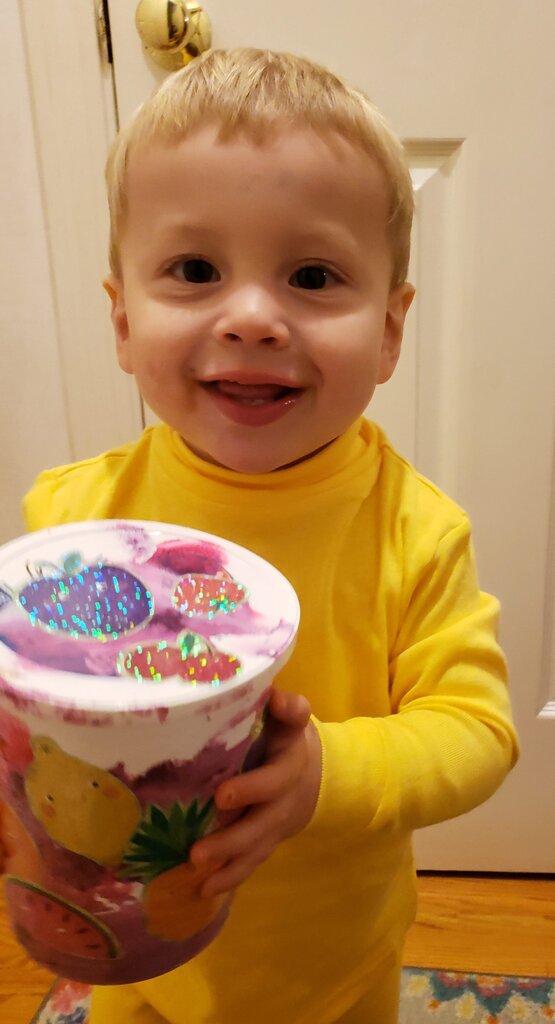
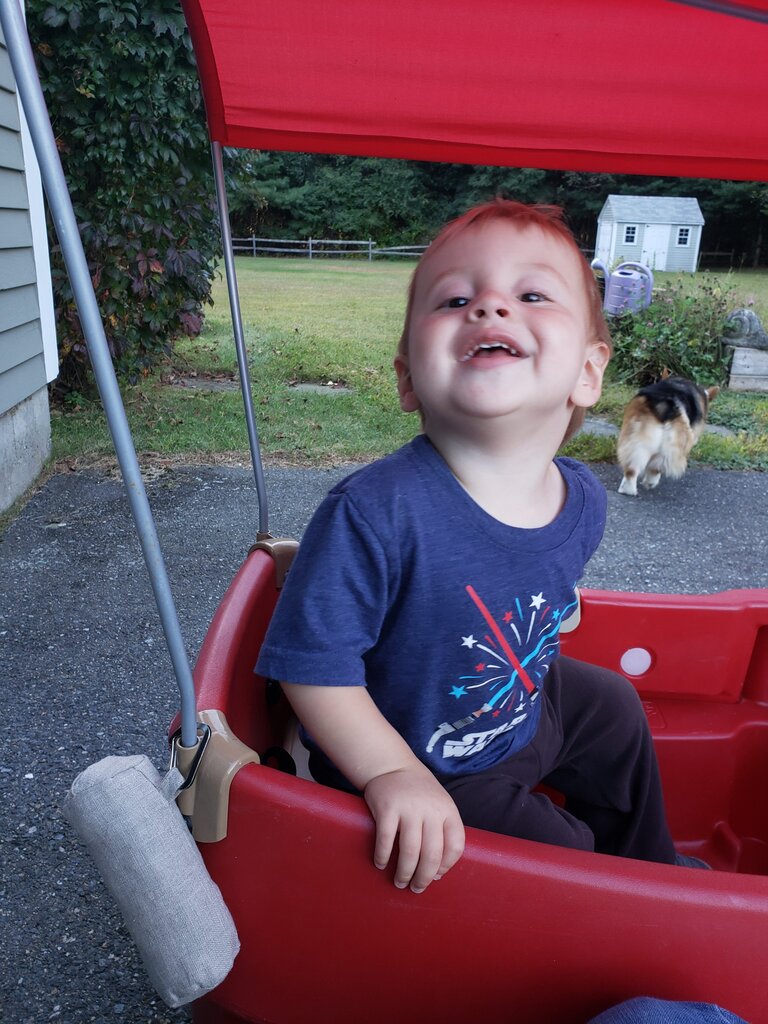
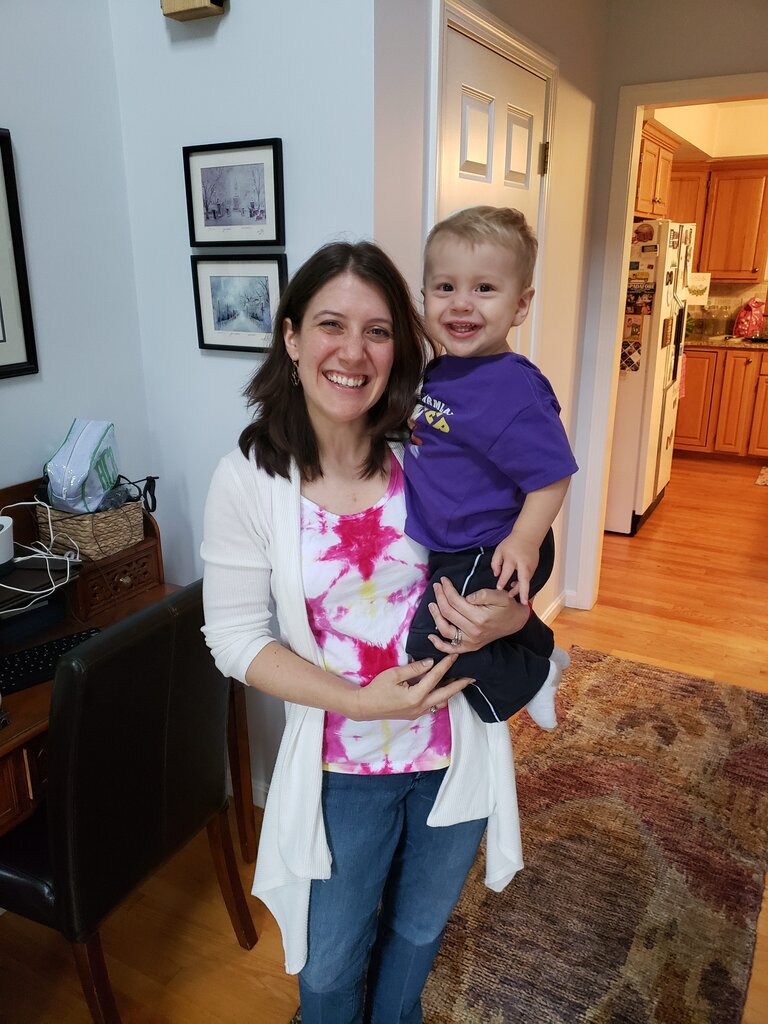
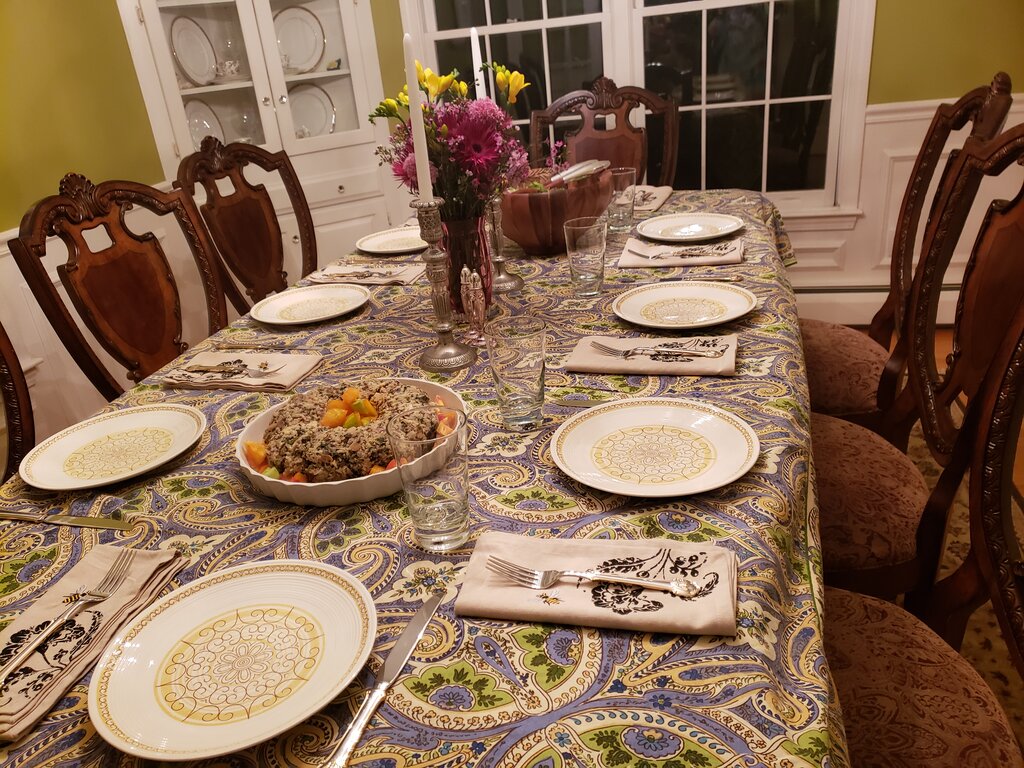
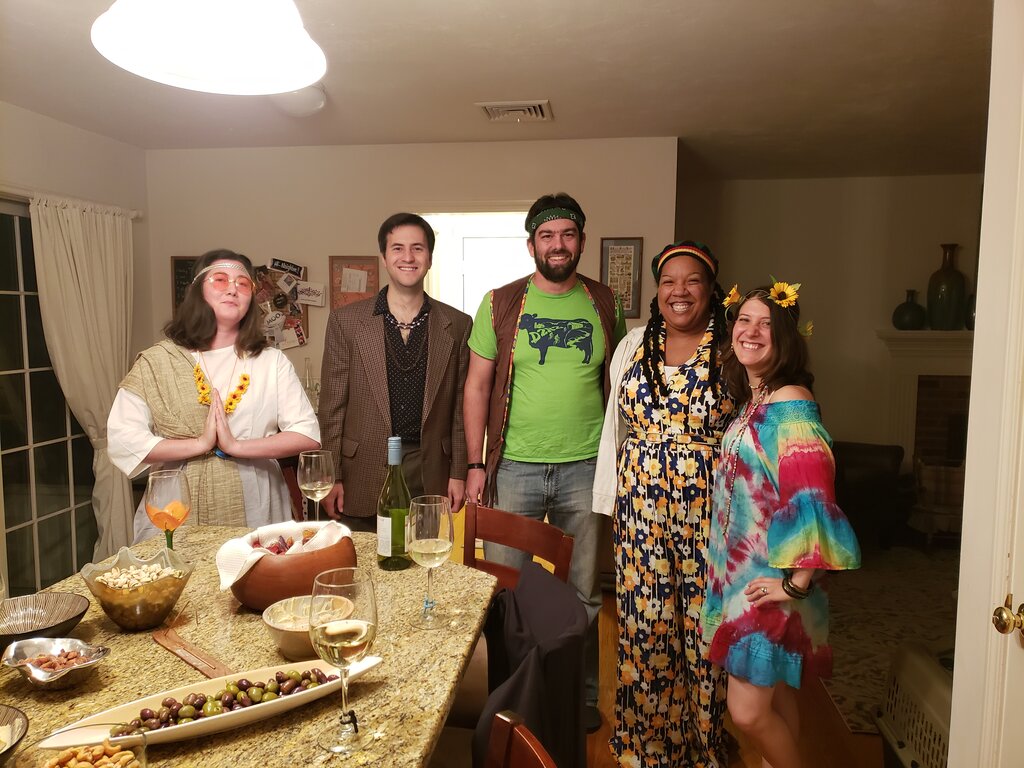
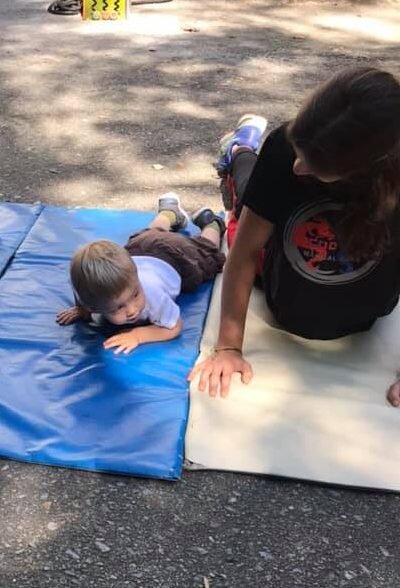
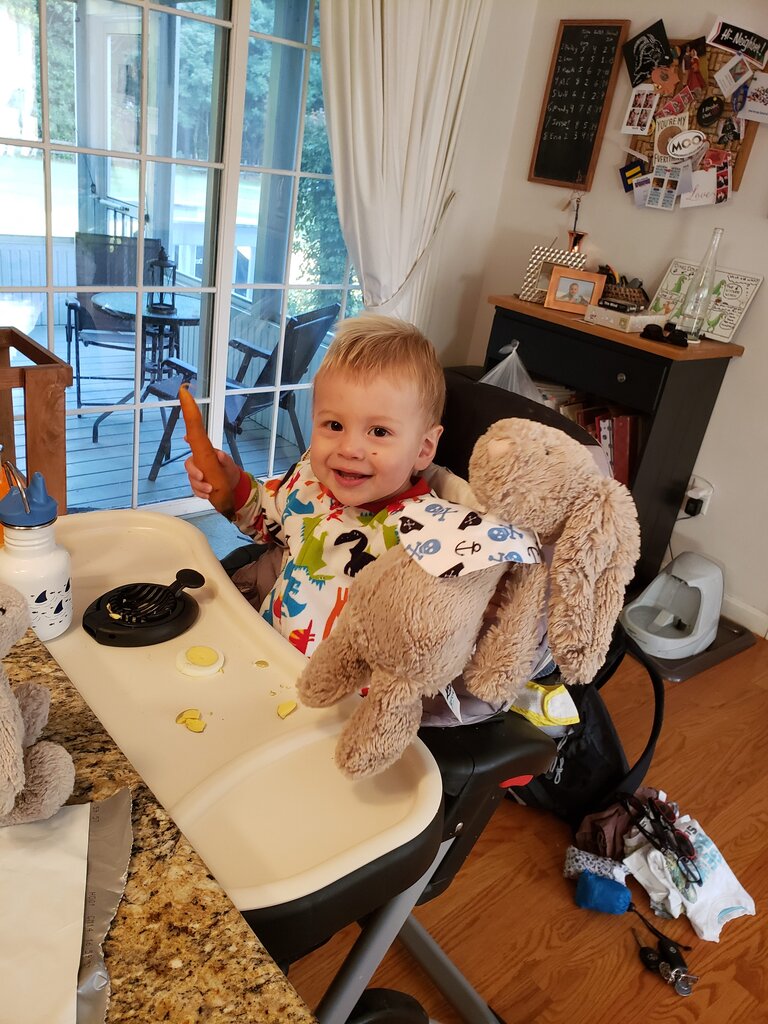
Julius went to TWO Halloween parties last week and had a grand old time! His daycare held a fun event with “trunk or treat”, the tumble bus and a spooky pumpkin patch! Julius had a great time. Then a couple days later we went to my work party where Julius got to trick or treat from cube to cube, do some pumpkin arts and crafts, get a balloon bunny, and watch a magician! He had lots of fun!
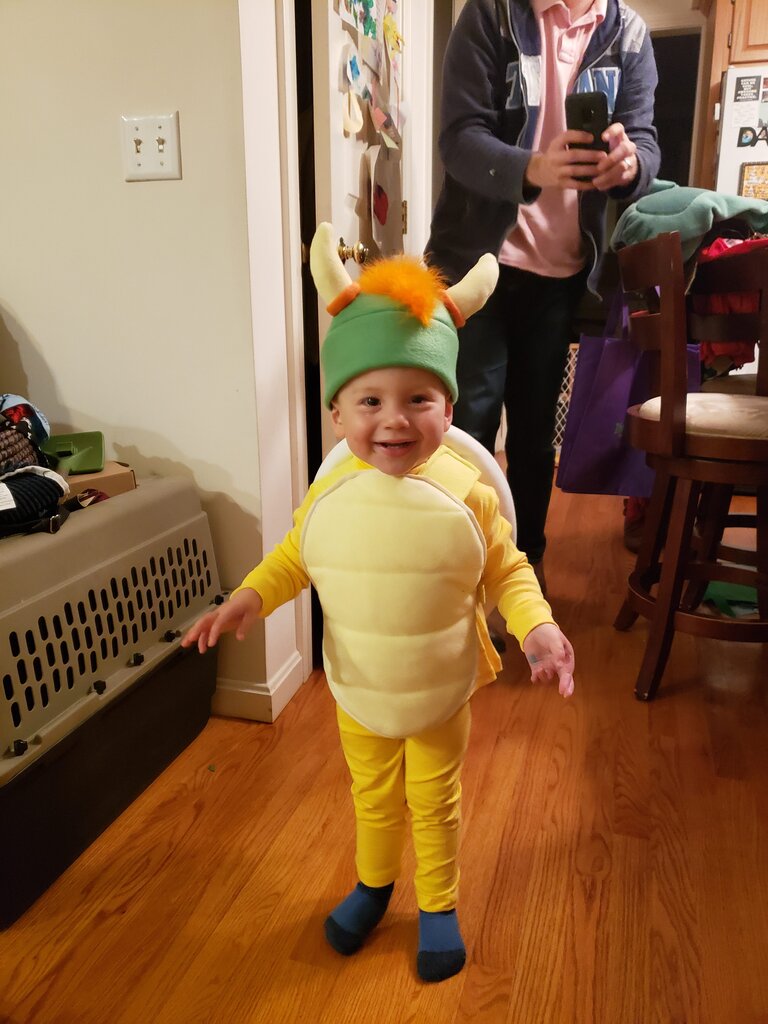
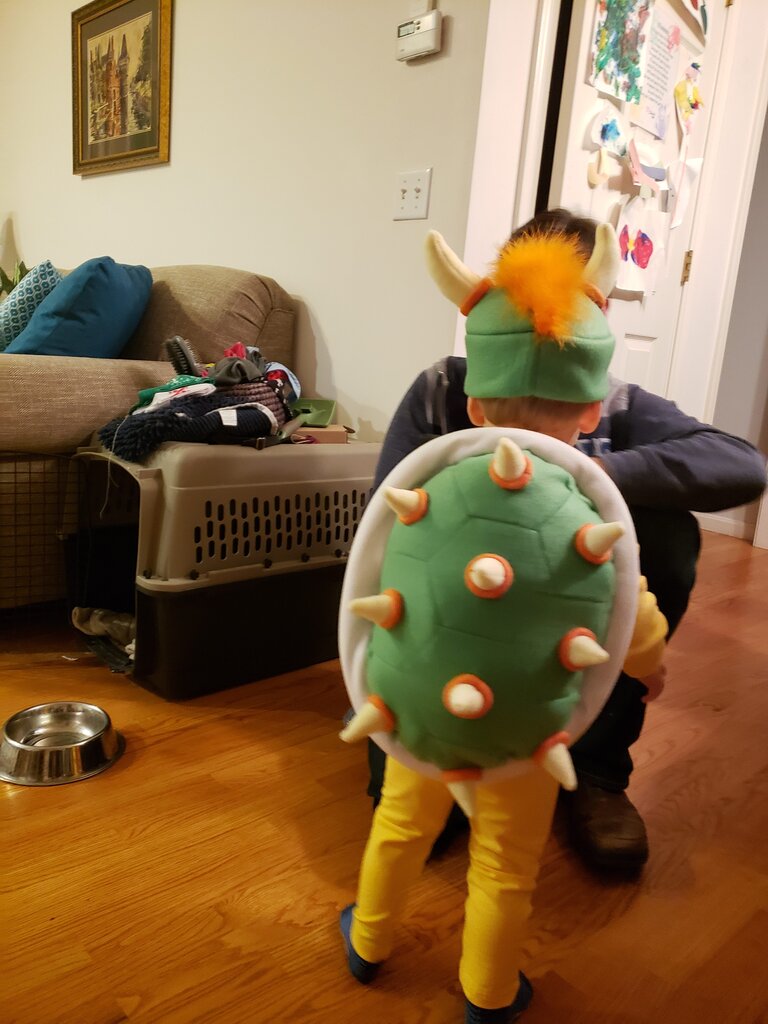
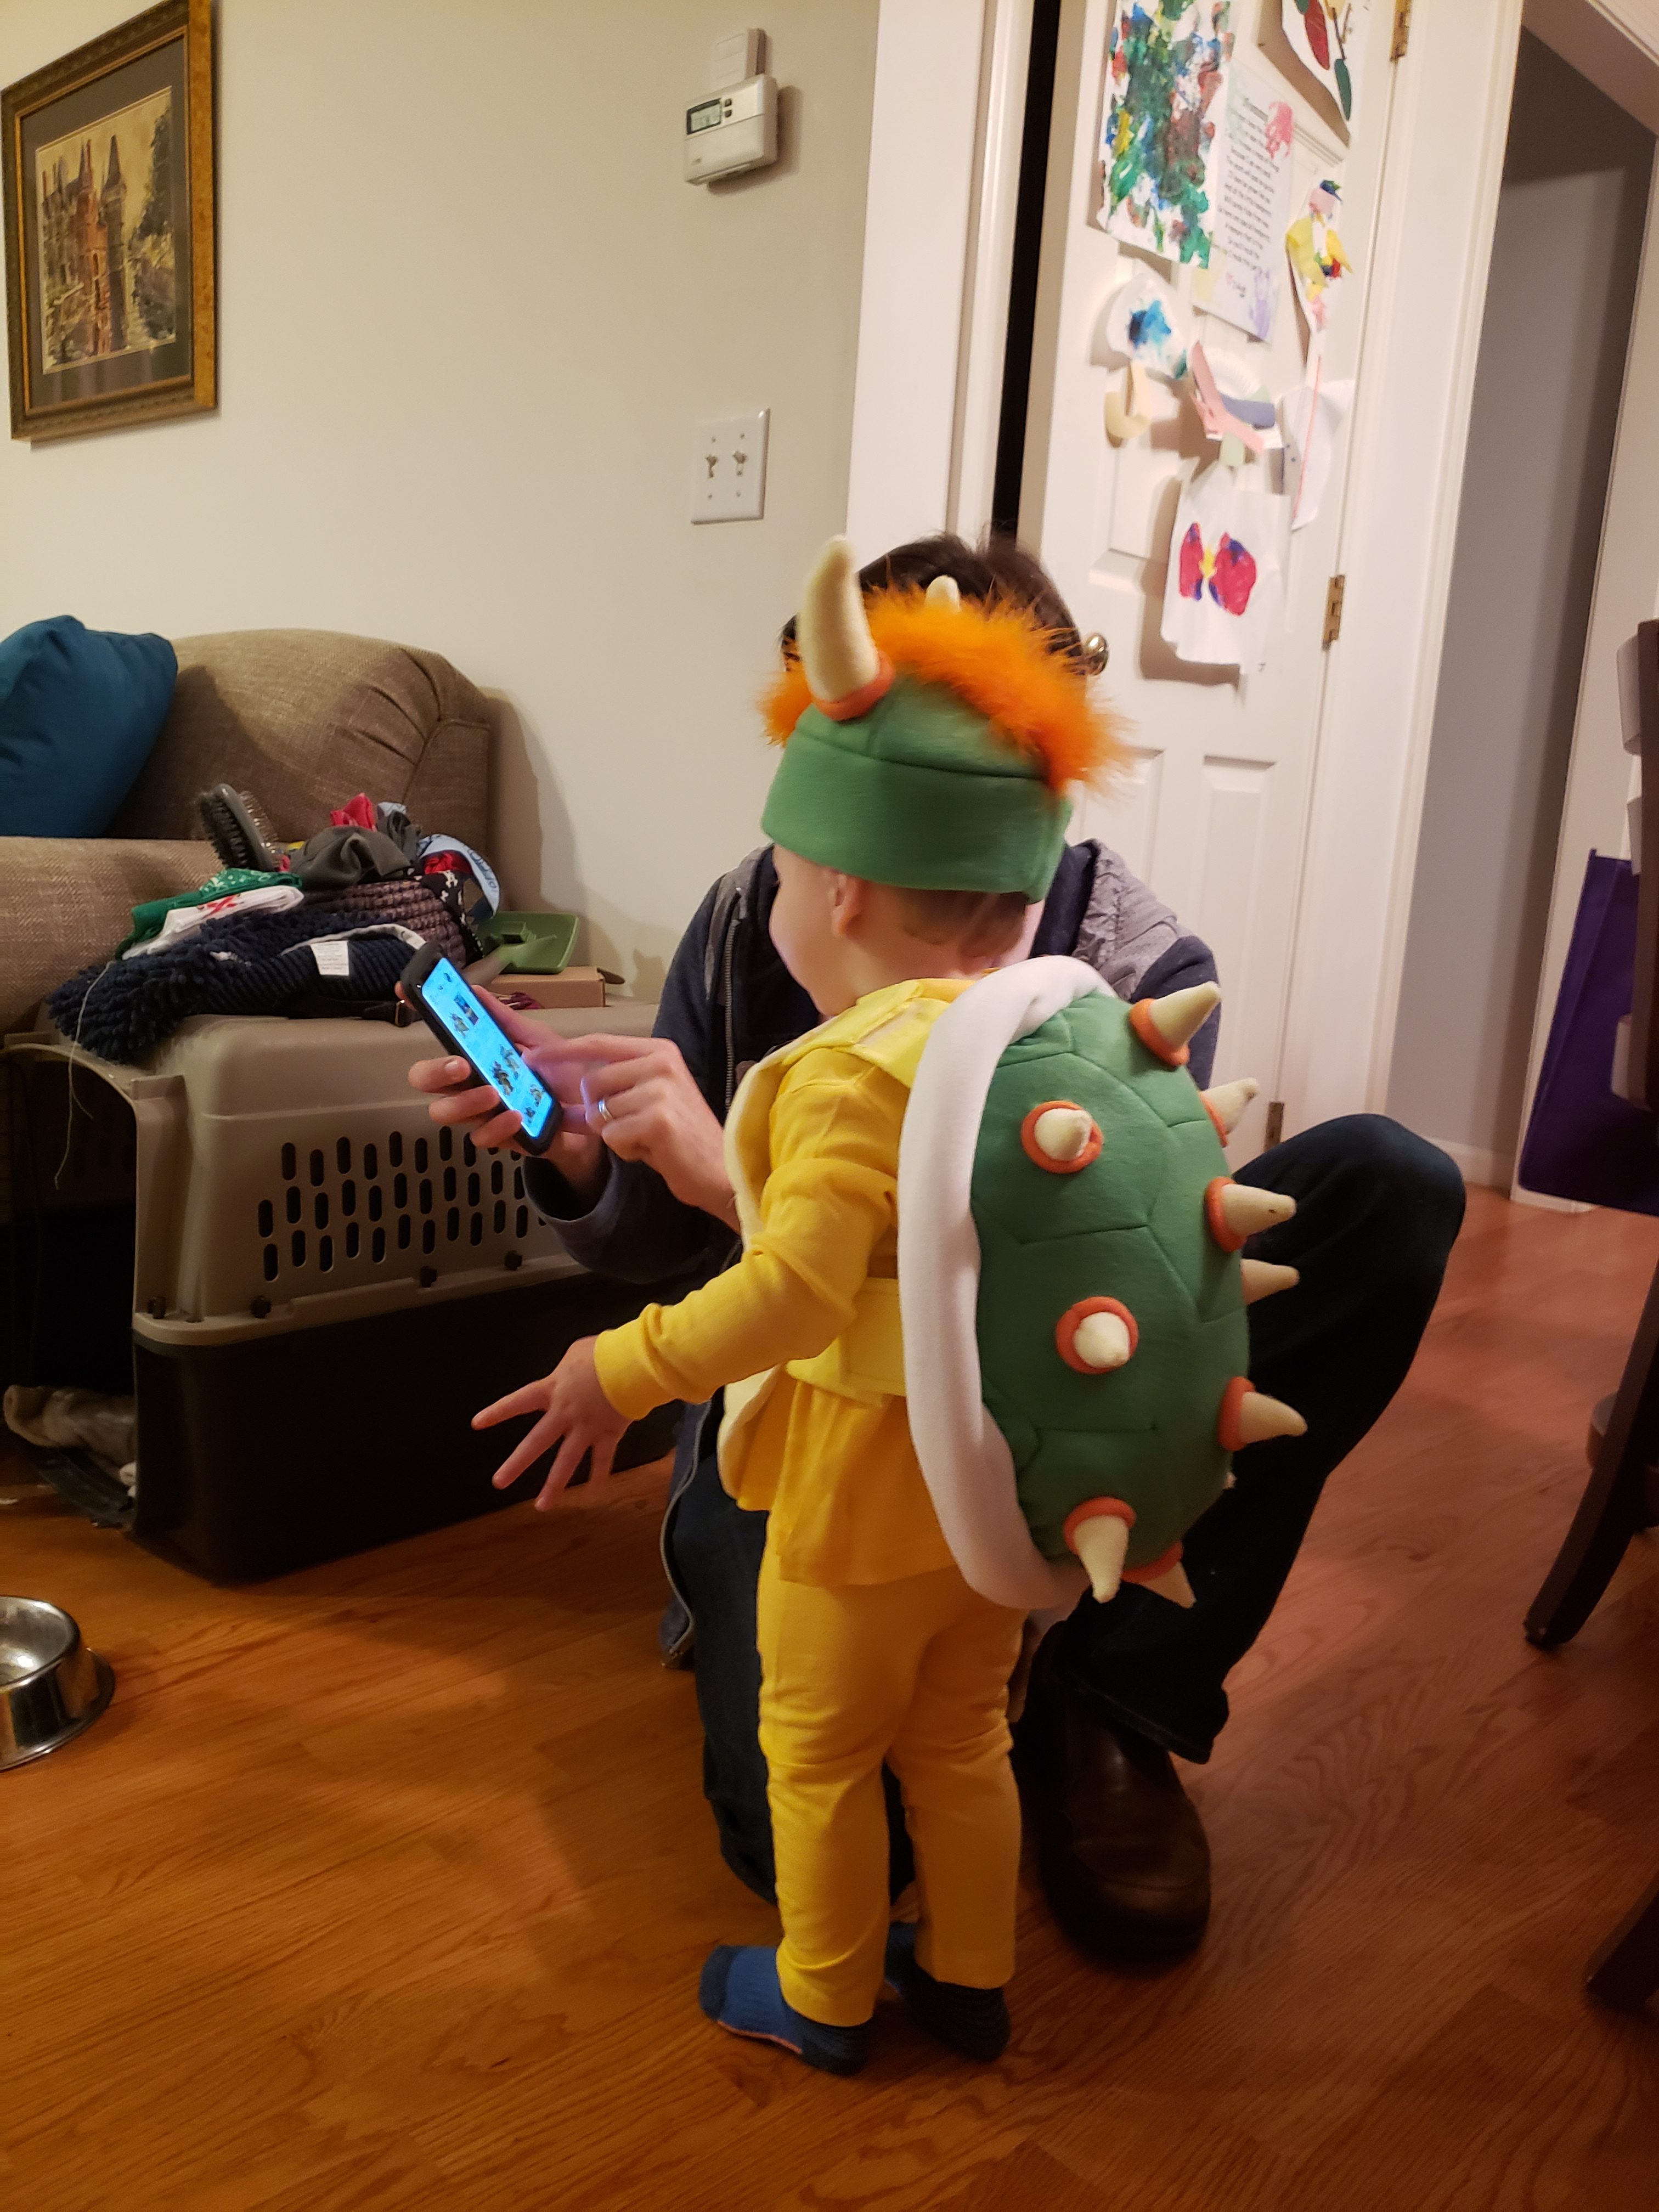
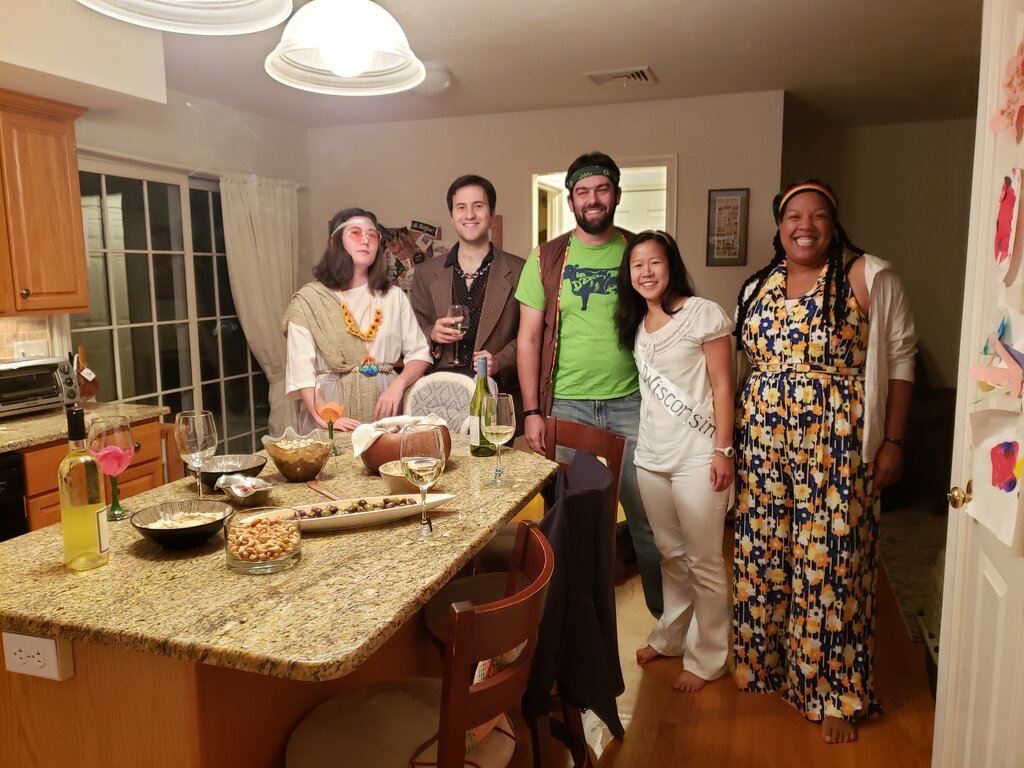
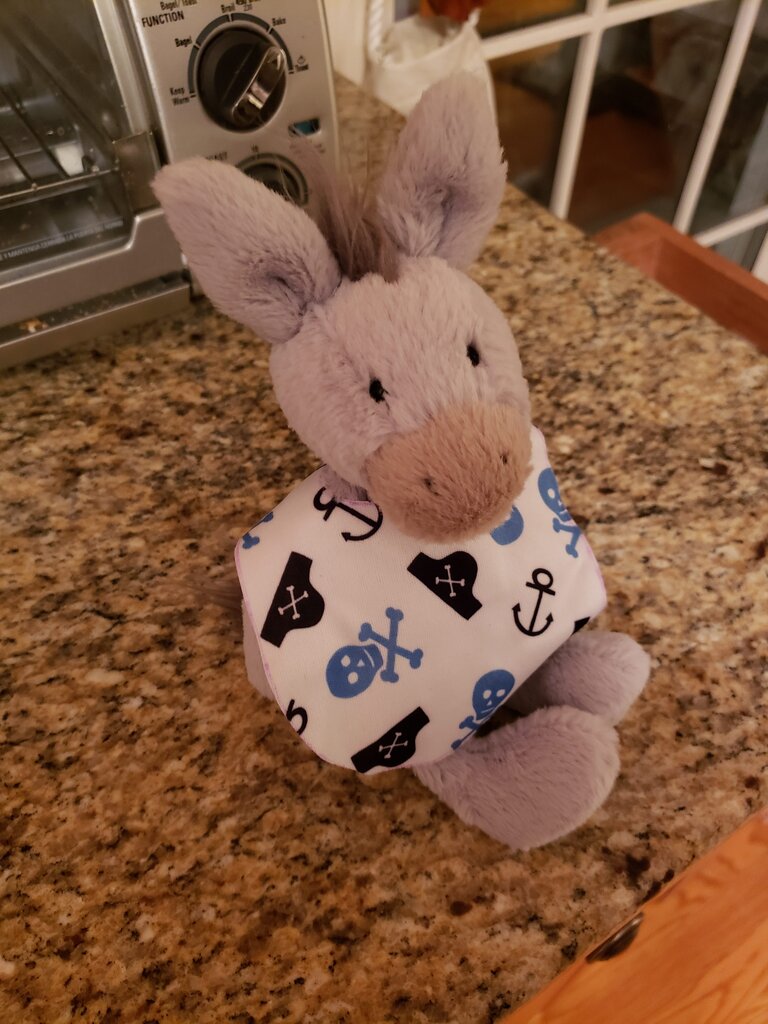
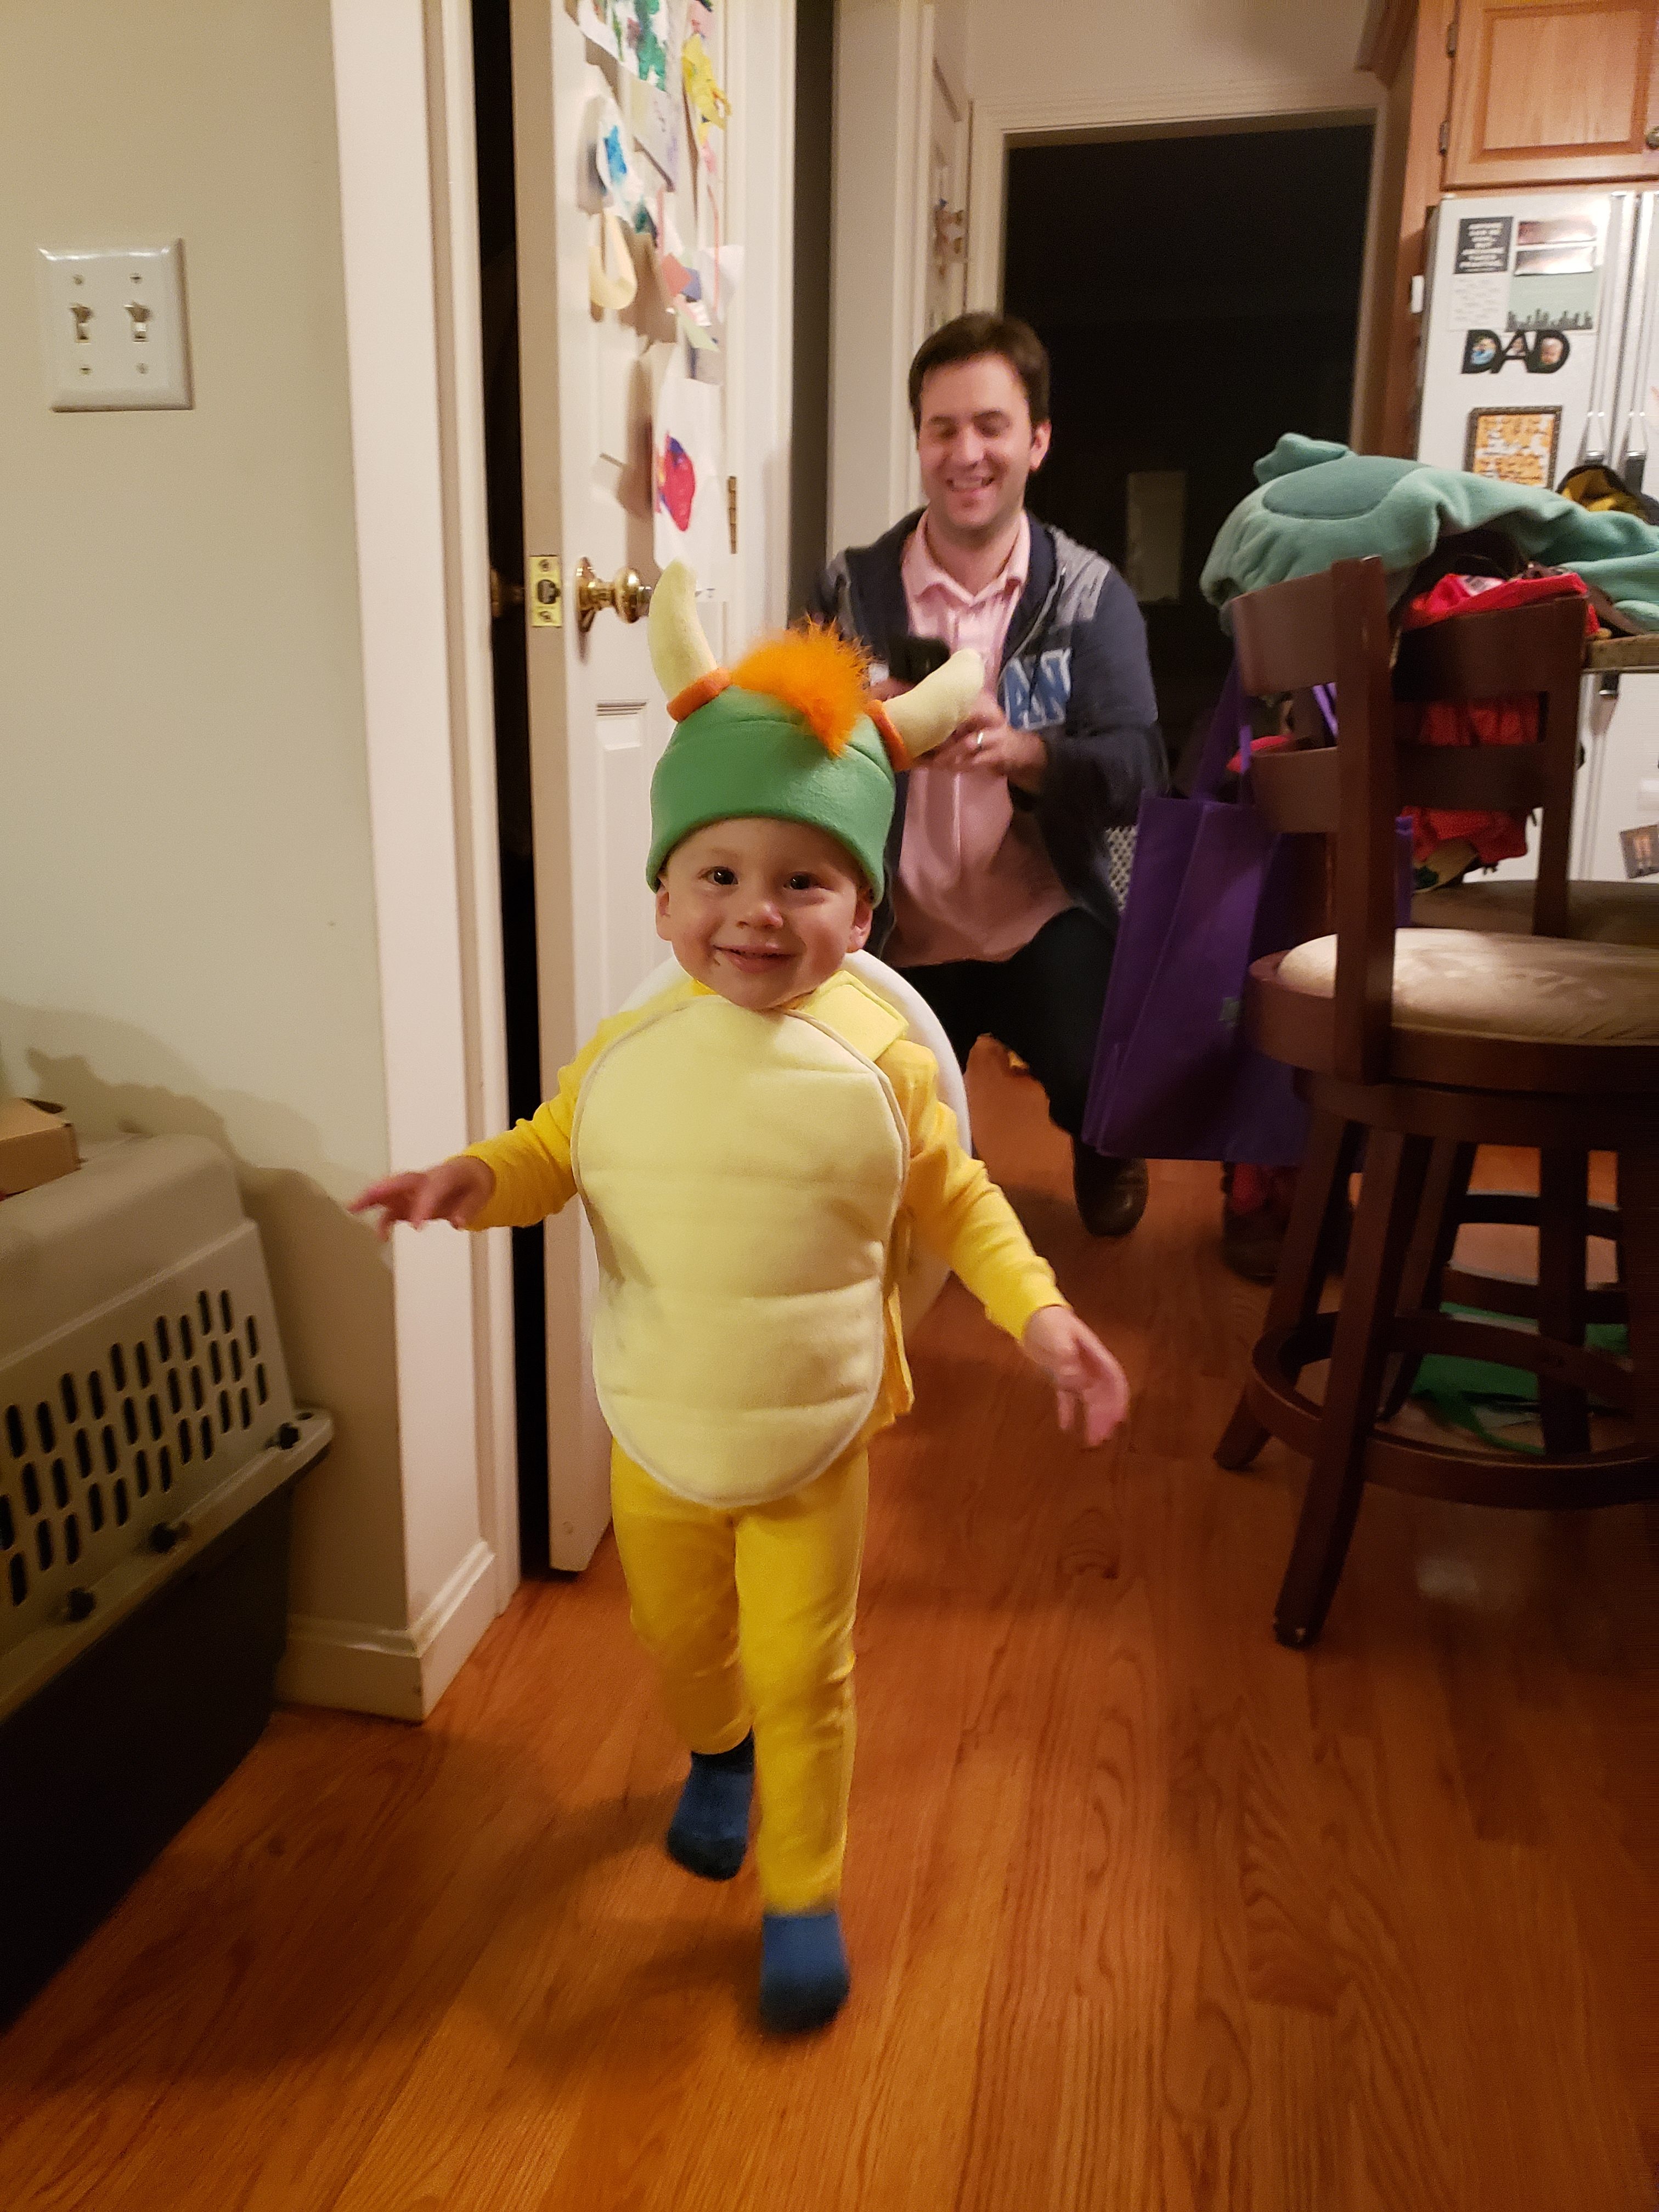
My little guy went as Bowser this year or as Julius calls him “King Koopa”. We thought it would be a cute costume to pose as Mario, Princess Peach and Bowser, though we pictured Julius as the tiny Mario. When we asked him which he wanted to be he chose King Koopa, which honestly made for an adorable costume. The costume came out great and it really didn’t take me that much time to put together. Plus it was ridiculously cheap! For all the fabric and accessories it only cost me about $20 after coupons from Joann Fabrics. And of course I bought way too much material, so I could have made two or maybe three at that price. Don’t be daunted by the large amount of steps! You can do it!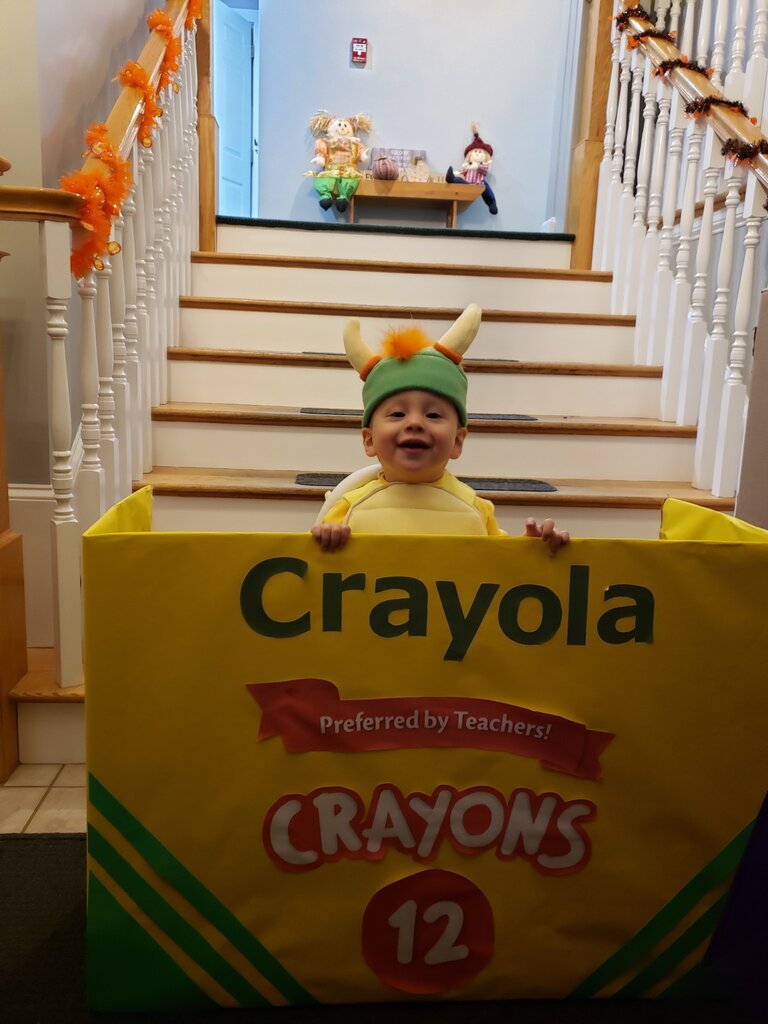
Toddler King Koopa/Bowser Costume
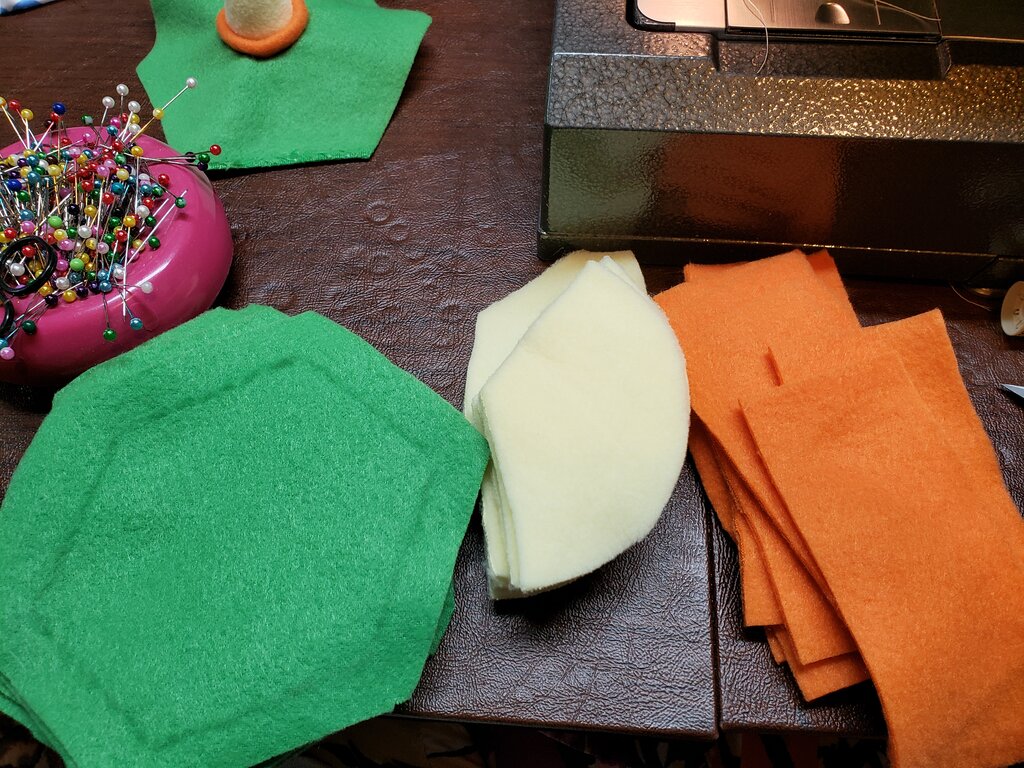
What you’ll need:
- 1/3 yd green fleece fabric
- 1/3 yd off-white fleece fabric
- 1/4 yd orange fleece fabric
- 1/3 yd white fleece or sweatshirt material
- 1/3 yd white quilted fabric
- 1 sq foot yellow flannel fabric
- 1 sq foot of peltex 70
- 1/2″ white bias tape
- 6 inches of 2″ velcro, cut into two 3″ strips
- 1 orange boa
- stuffing & quilt batting
- yellow shirt and pants
- pattern here
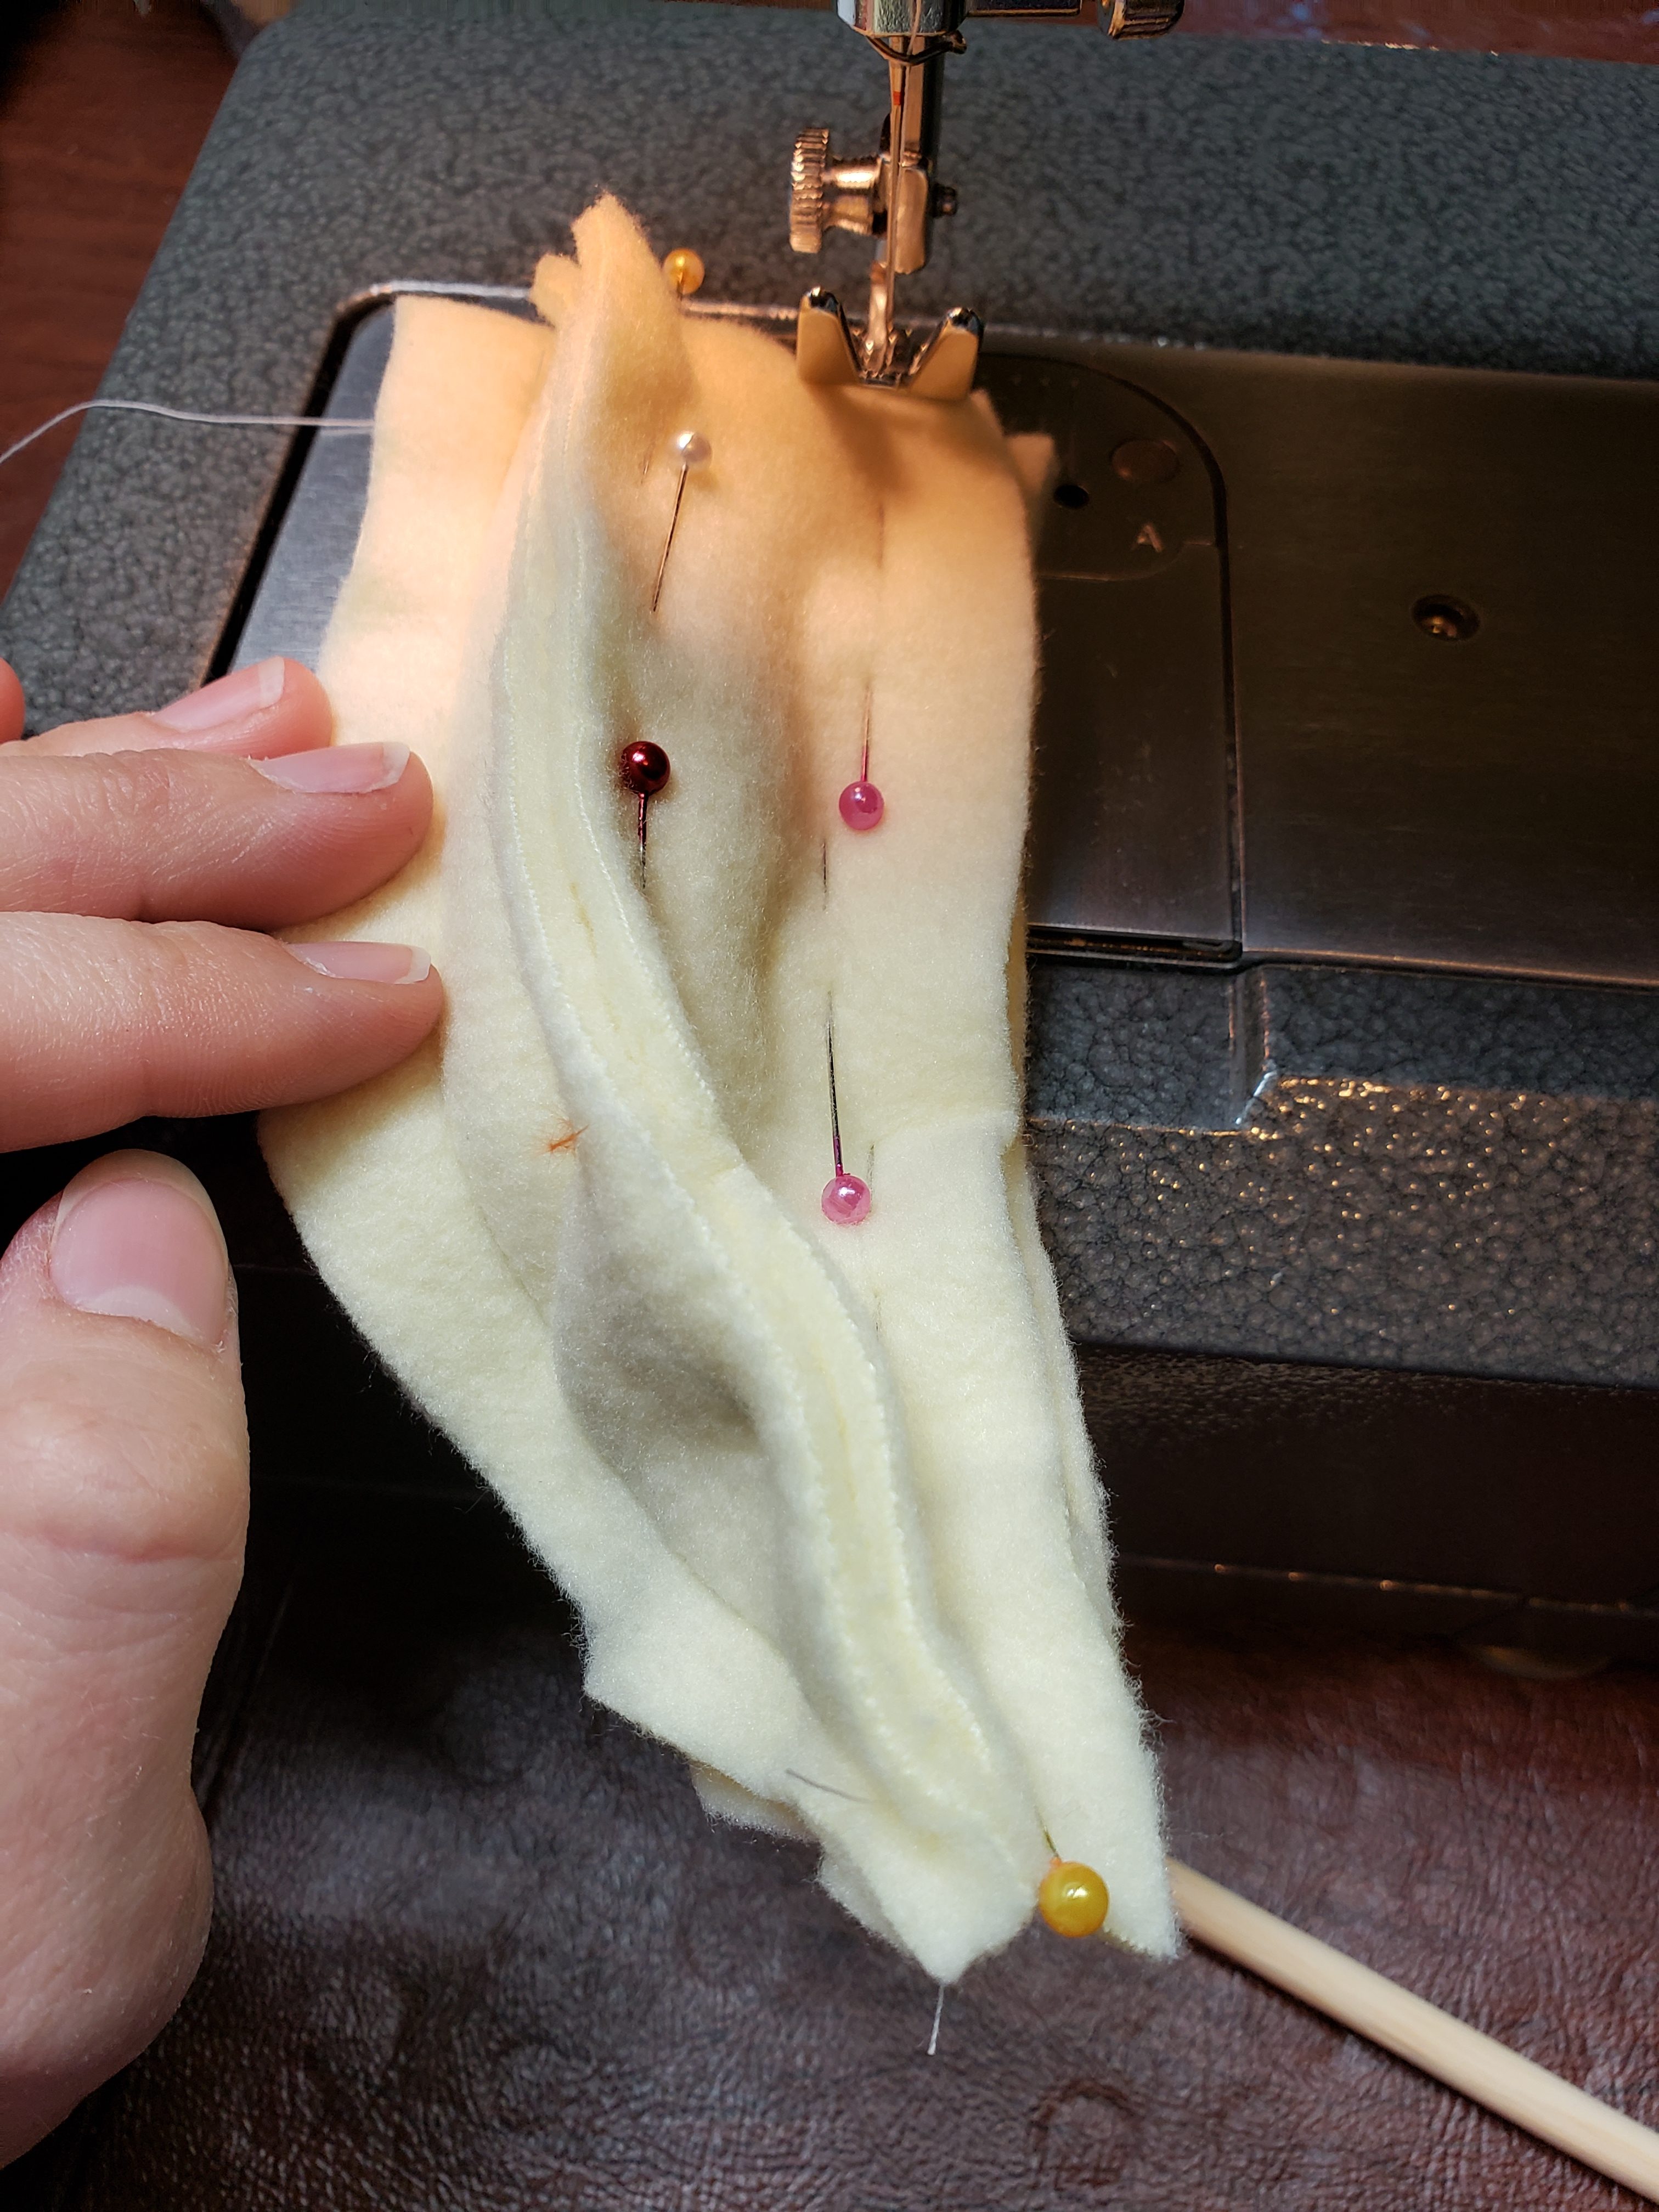
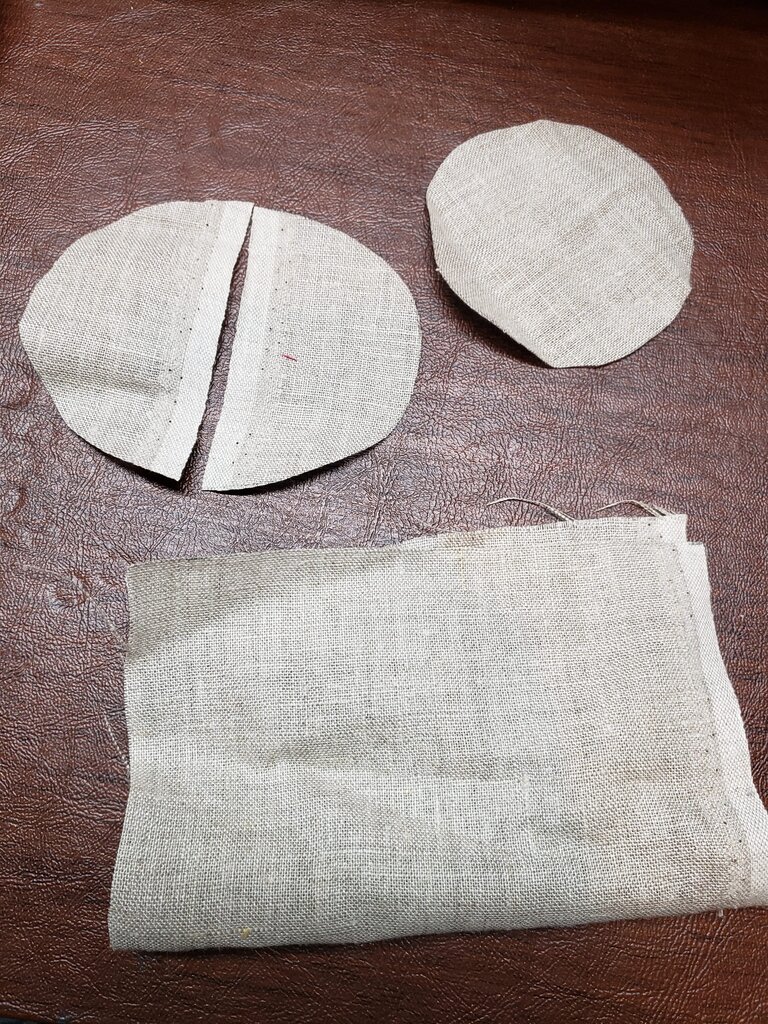
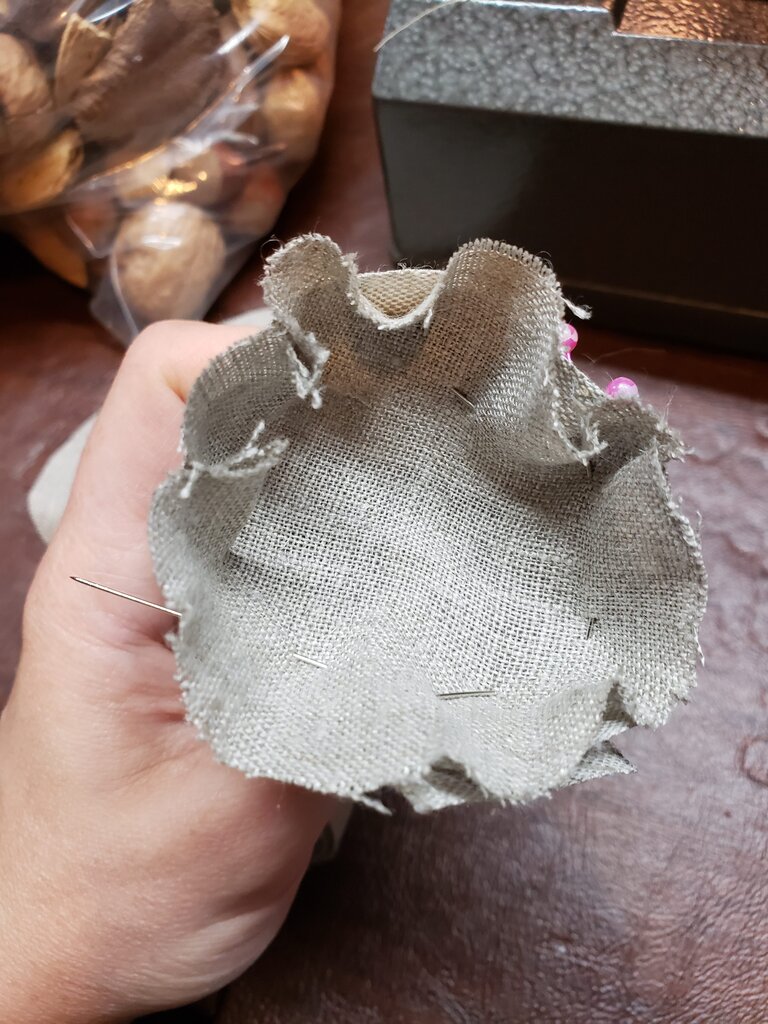
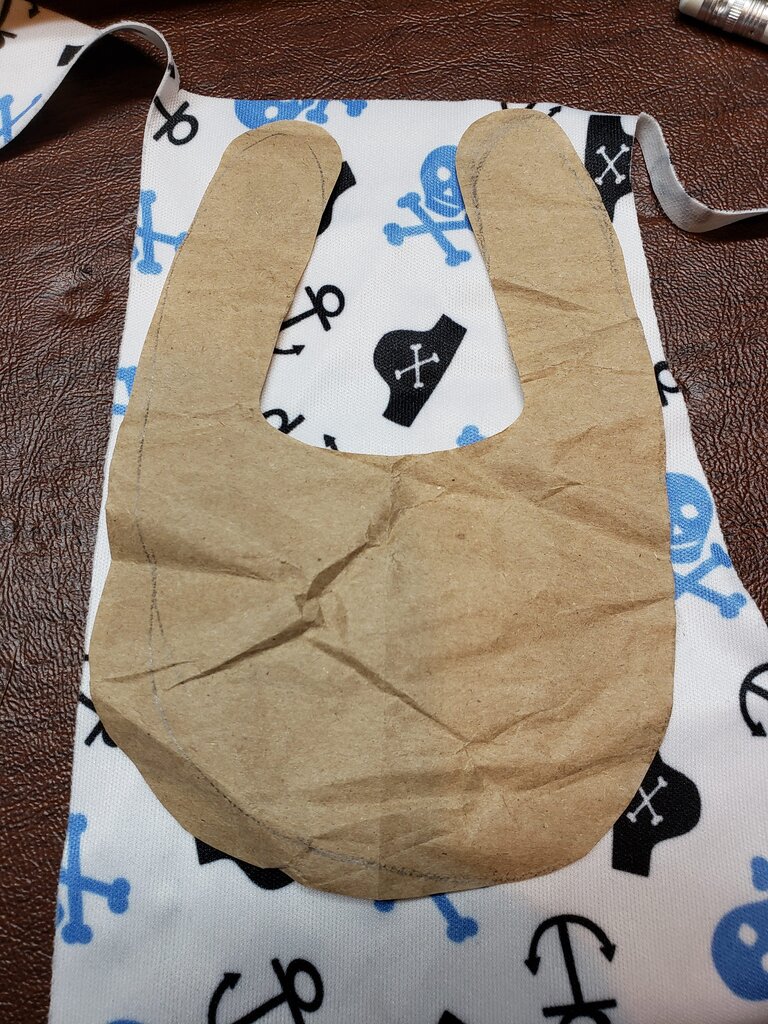
- Cut out all pattern pieces, adding seam allowance as indicated (add to pieces that say NSA/No Seam Allowance).

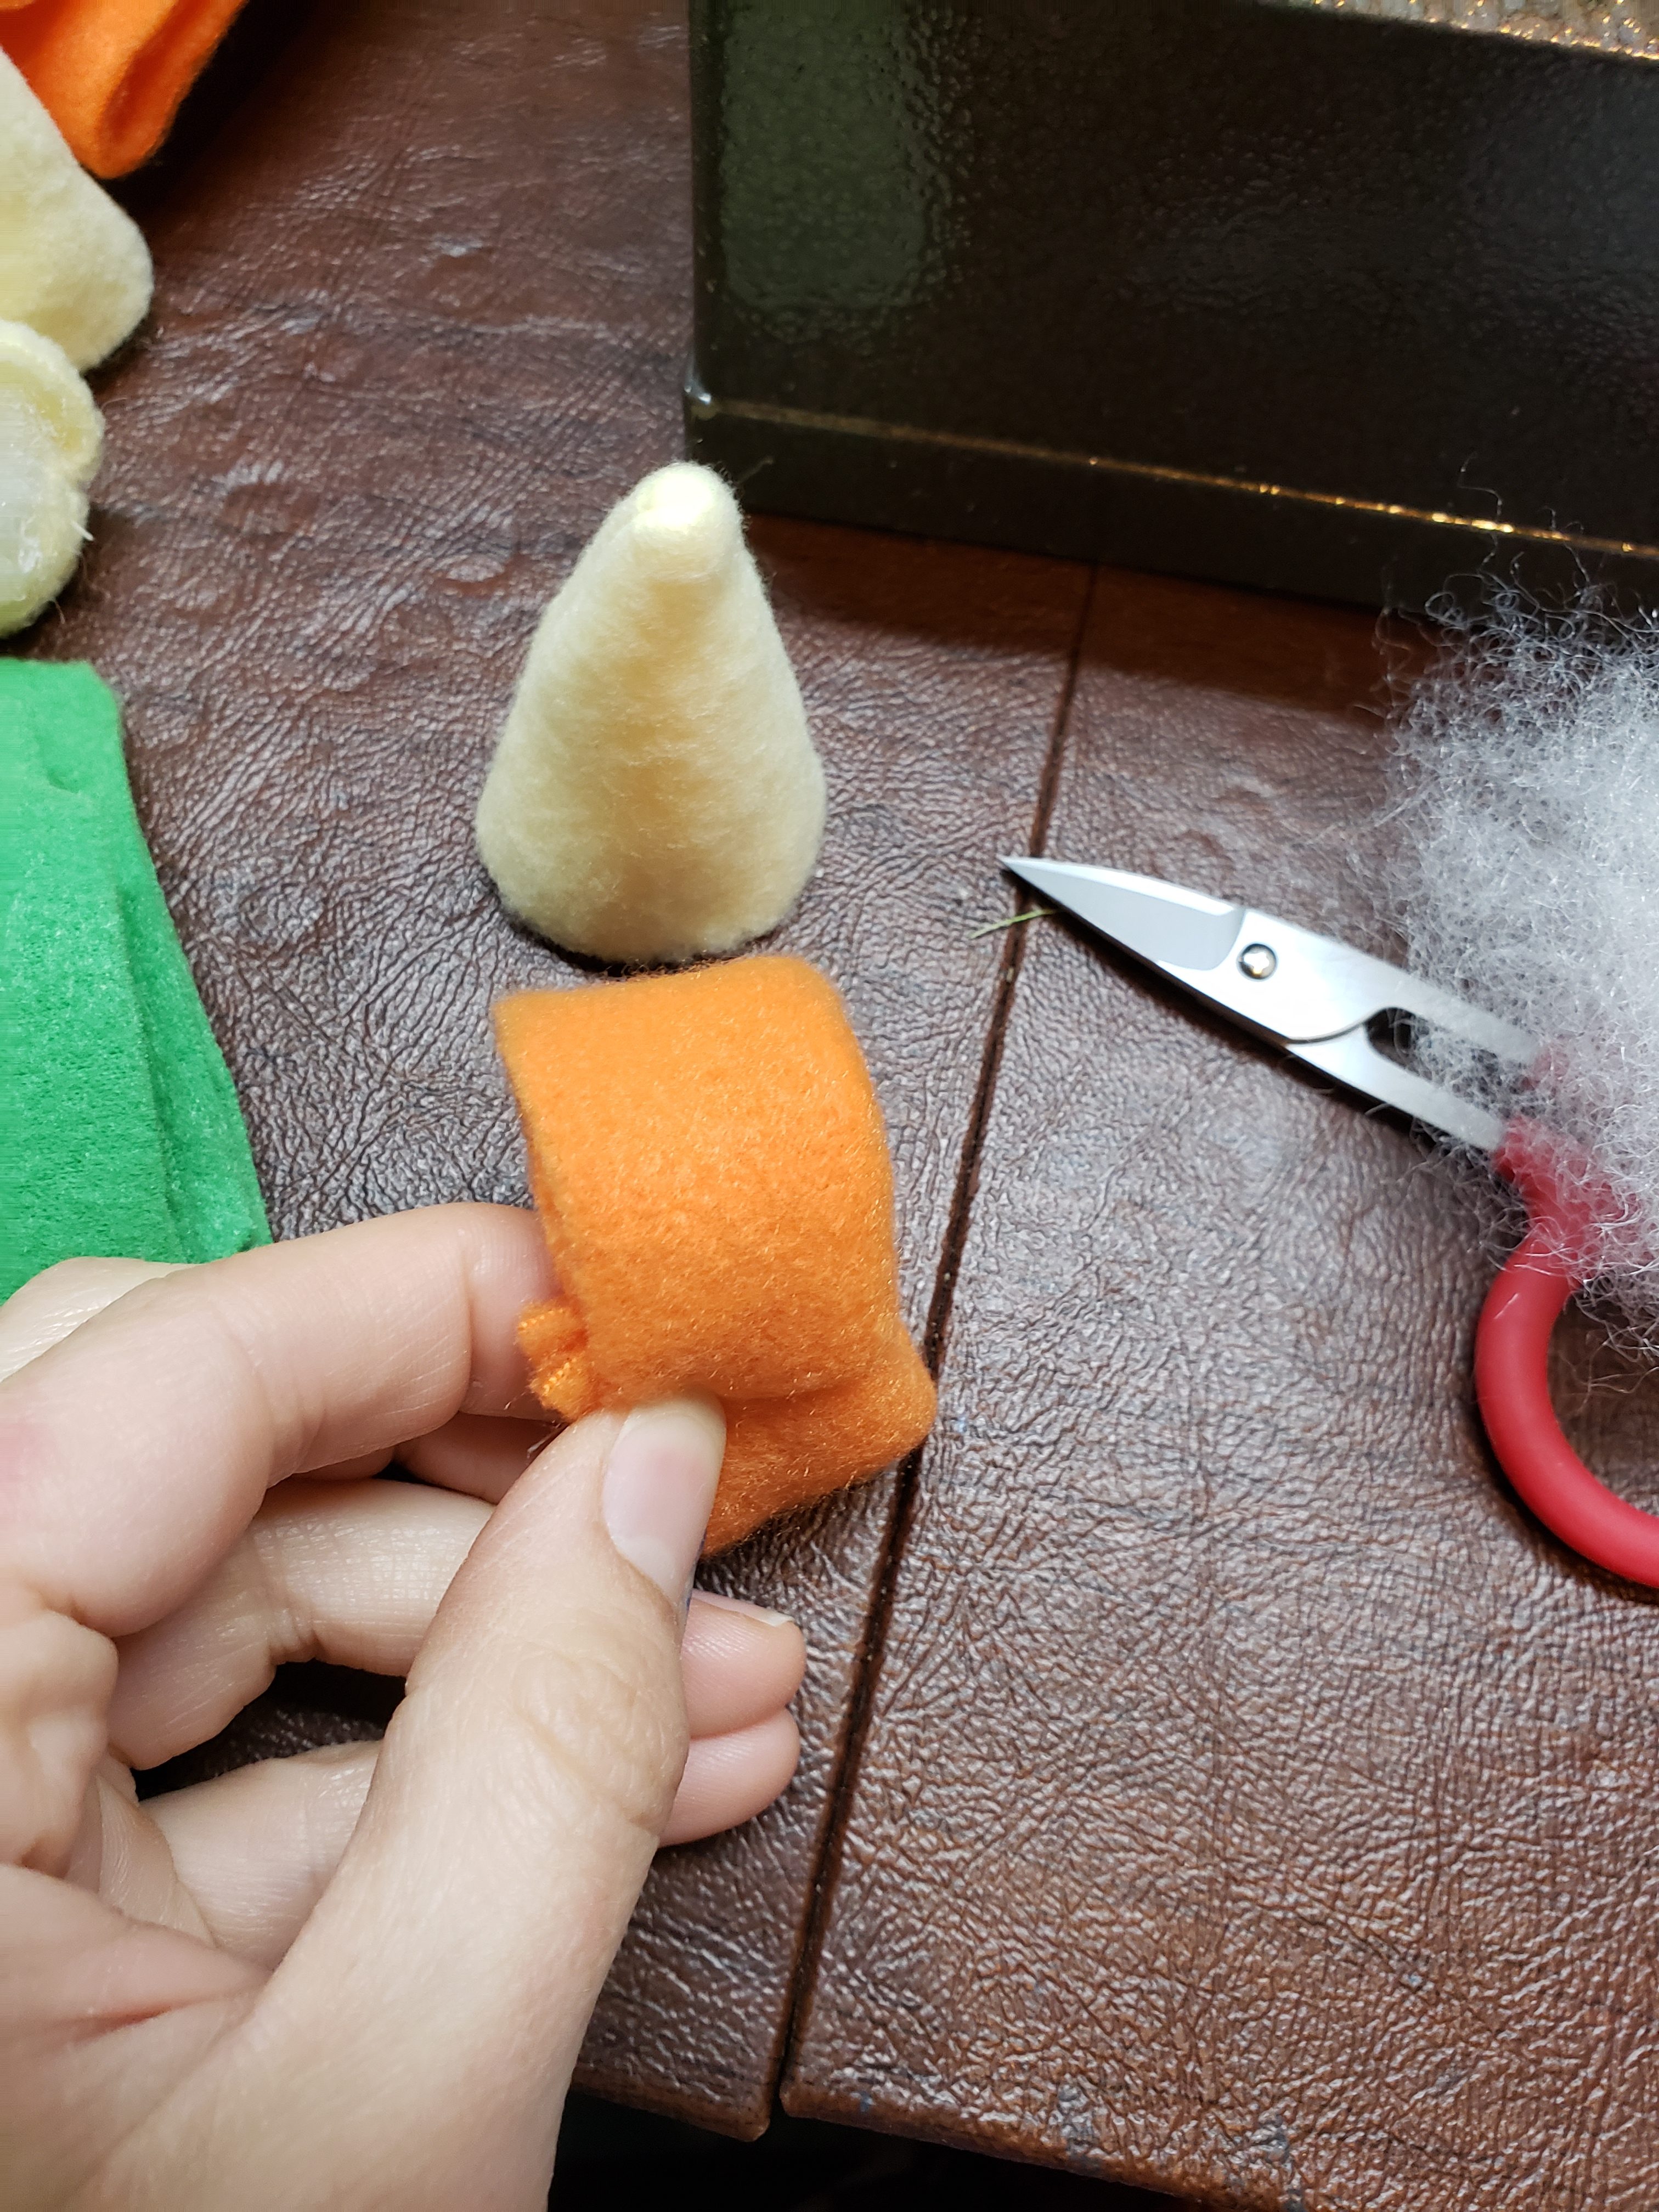
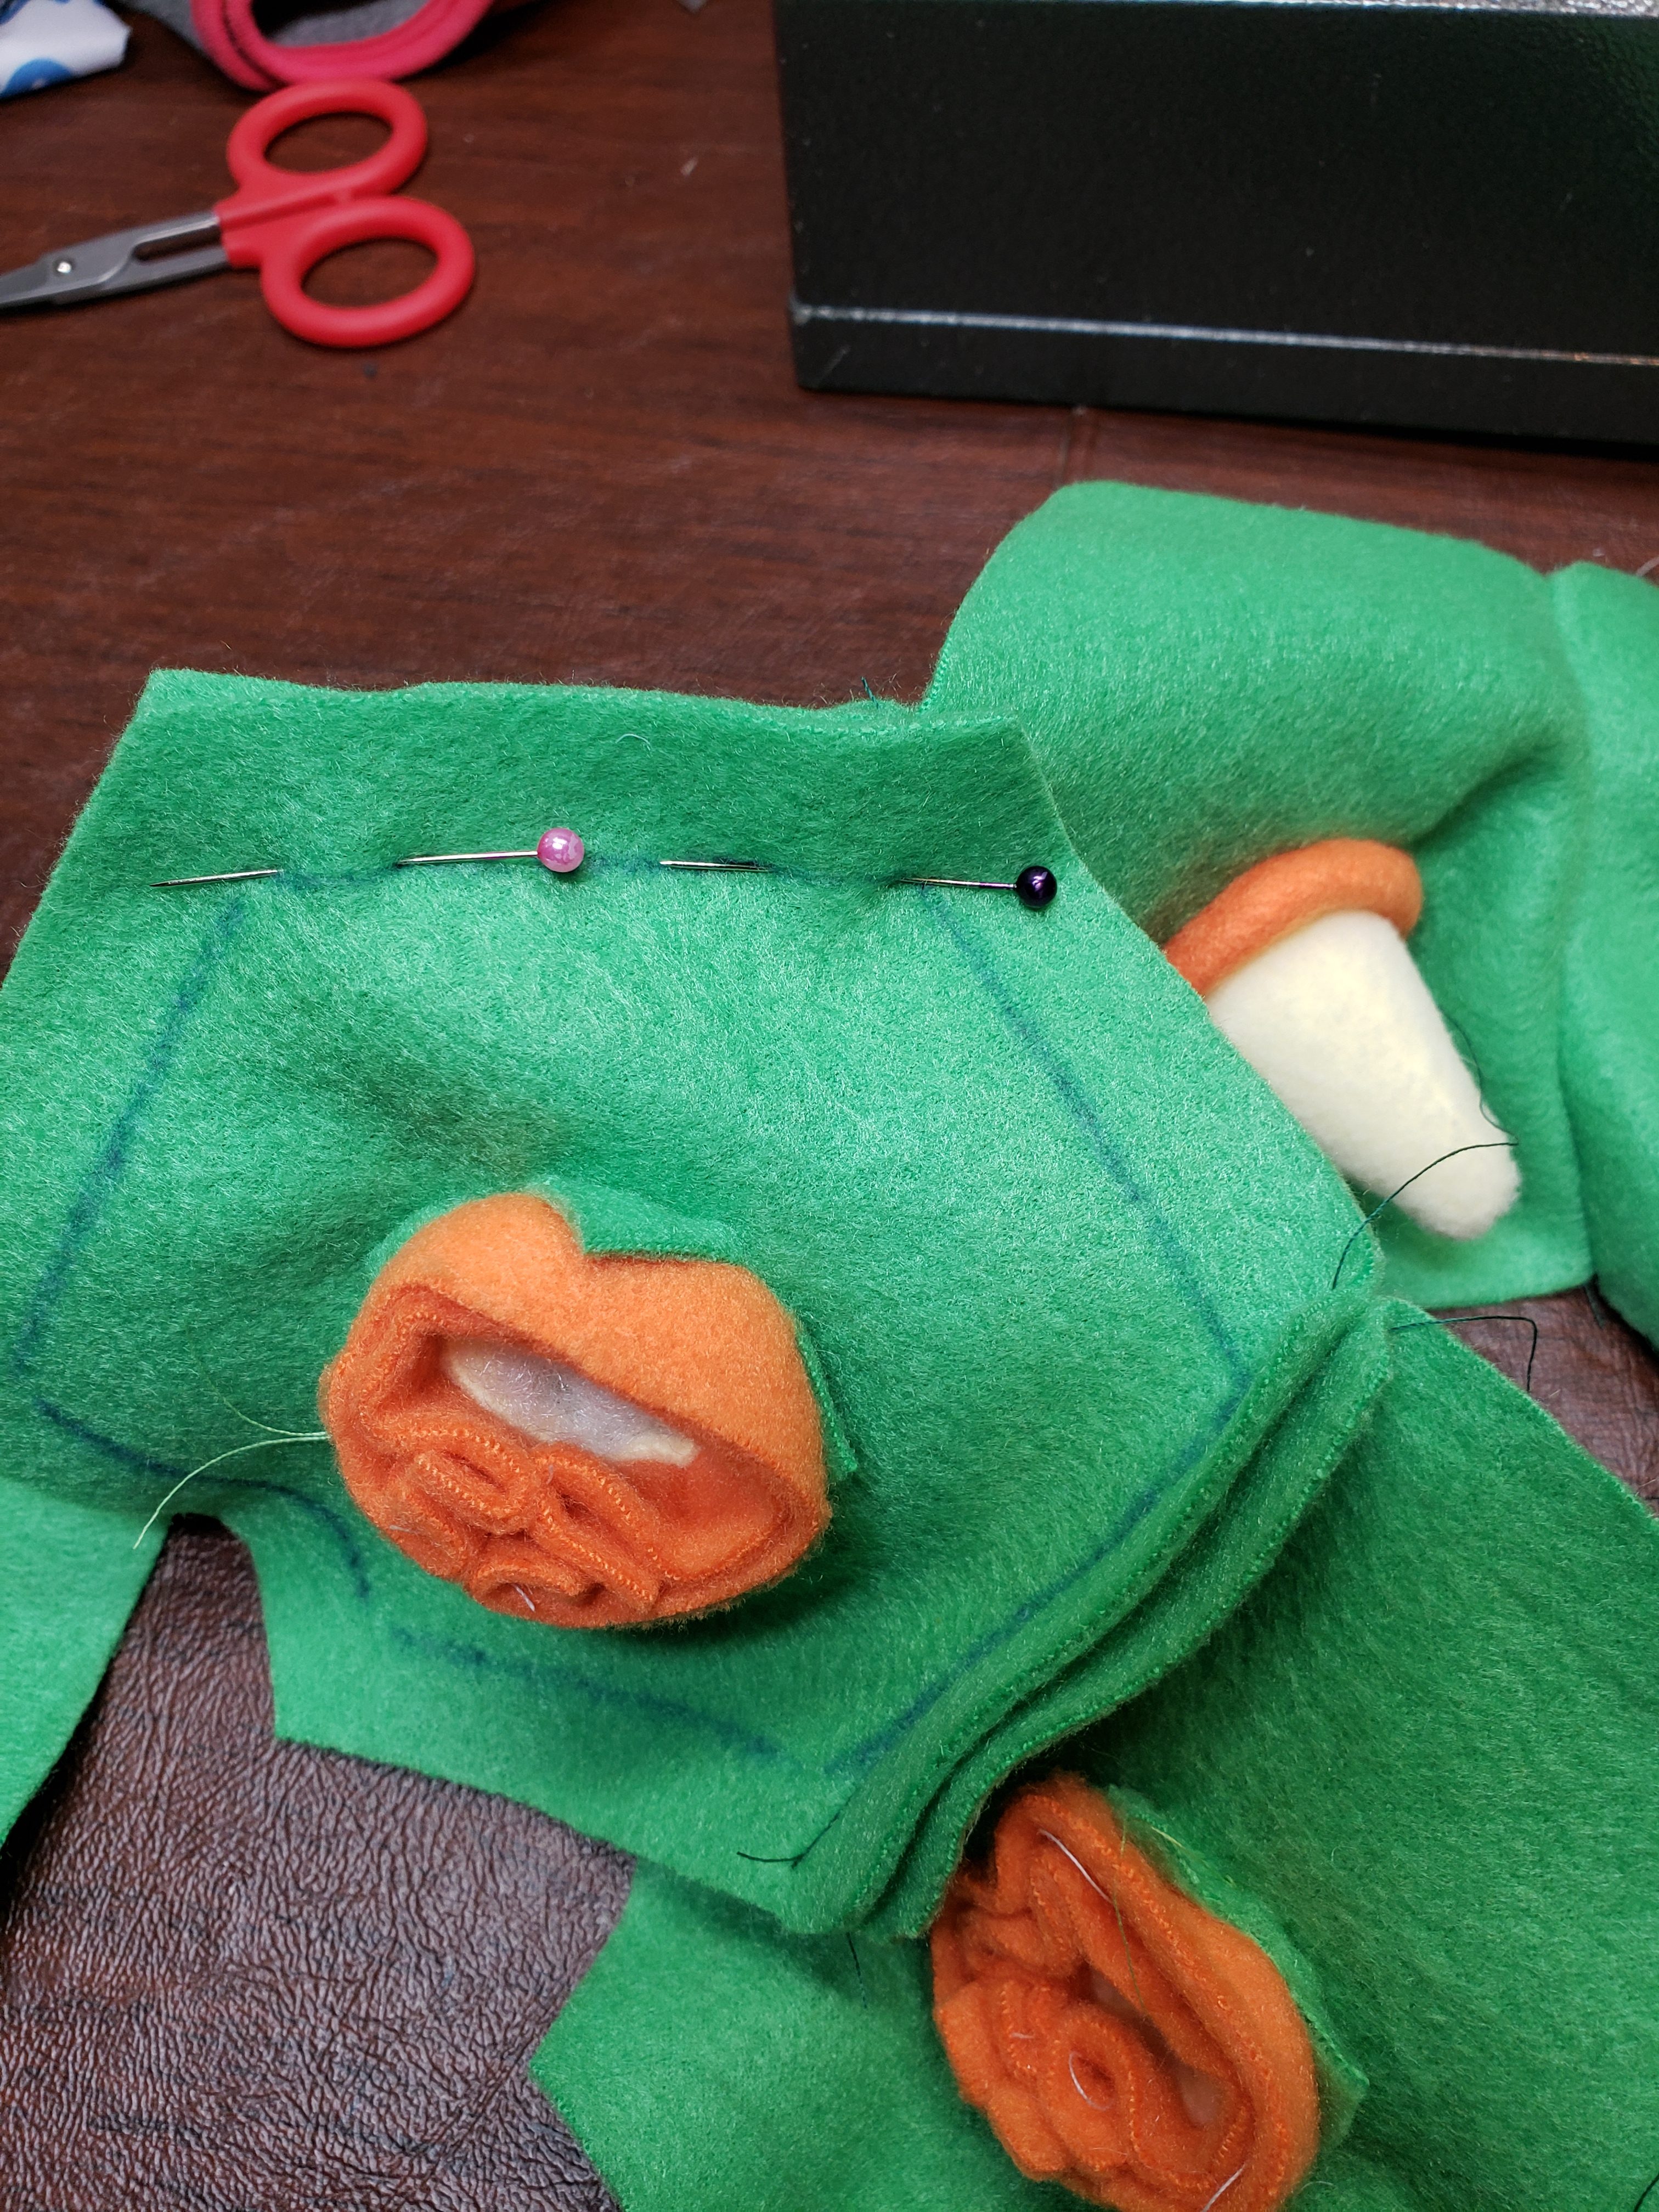
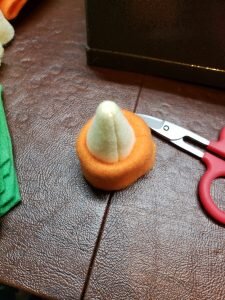
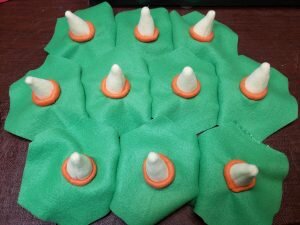
- Take the spike pieces and fold in half to form a triangle with a curved bottom. Stitch along the unfinished edge. Turn right side out and stuff. Repeat for other spikes.

- Fold small orange fabric rectangles in half and stitch to form a loop. Fold loop in half so the loop is now a double layer. Repeat for other rectangles.

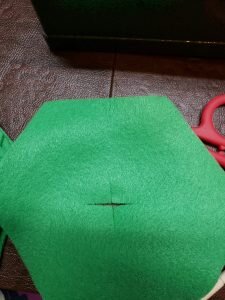
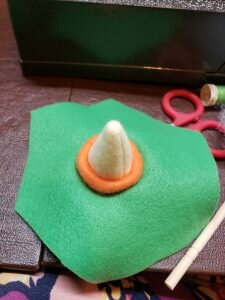
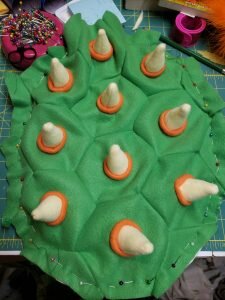
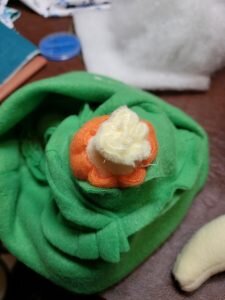
- Fold a hexagon in half and quarters and then snip 1 cm into each fold to create a 2cmx2cm “x”. Repeat for other hexagons.
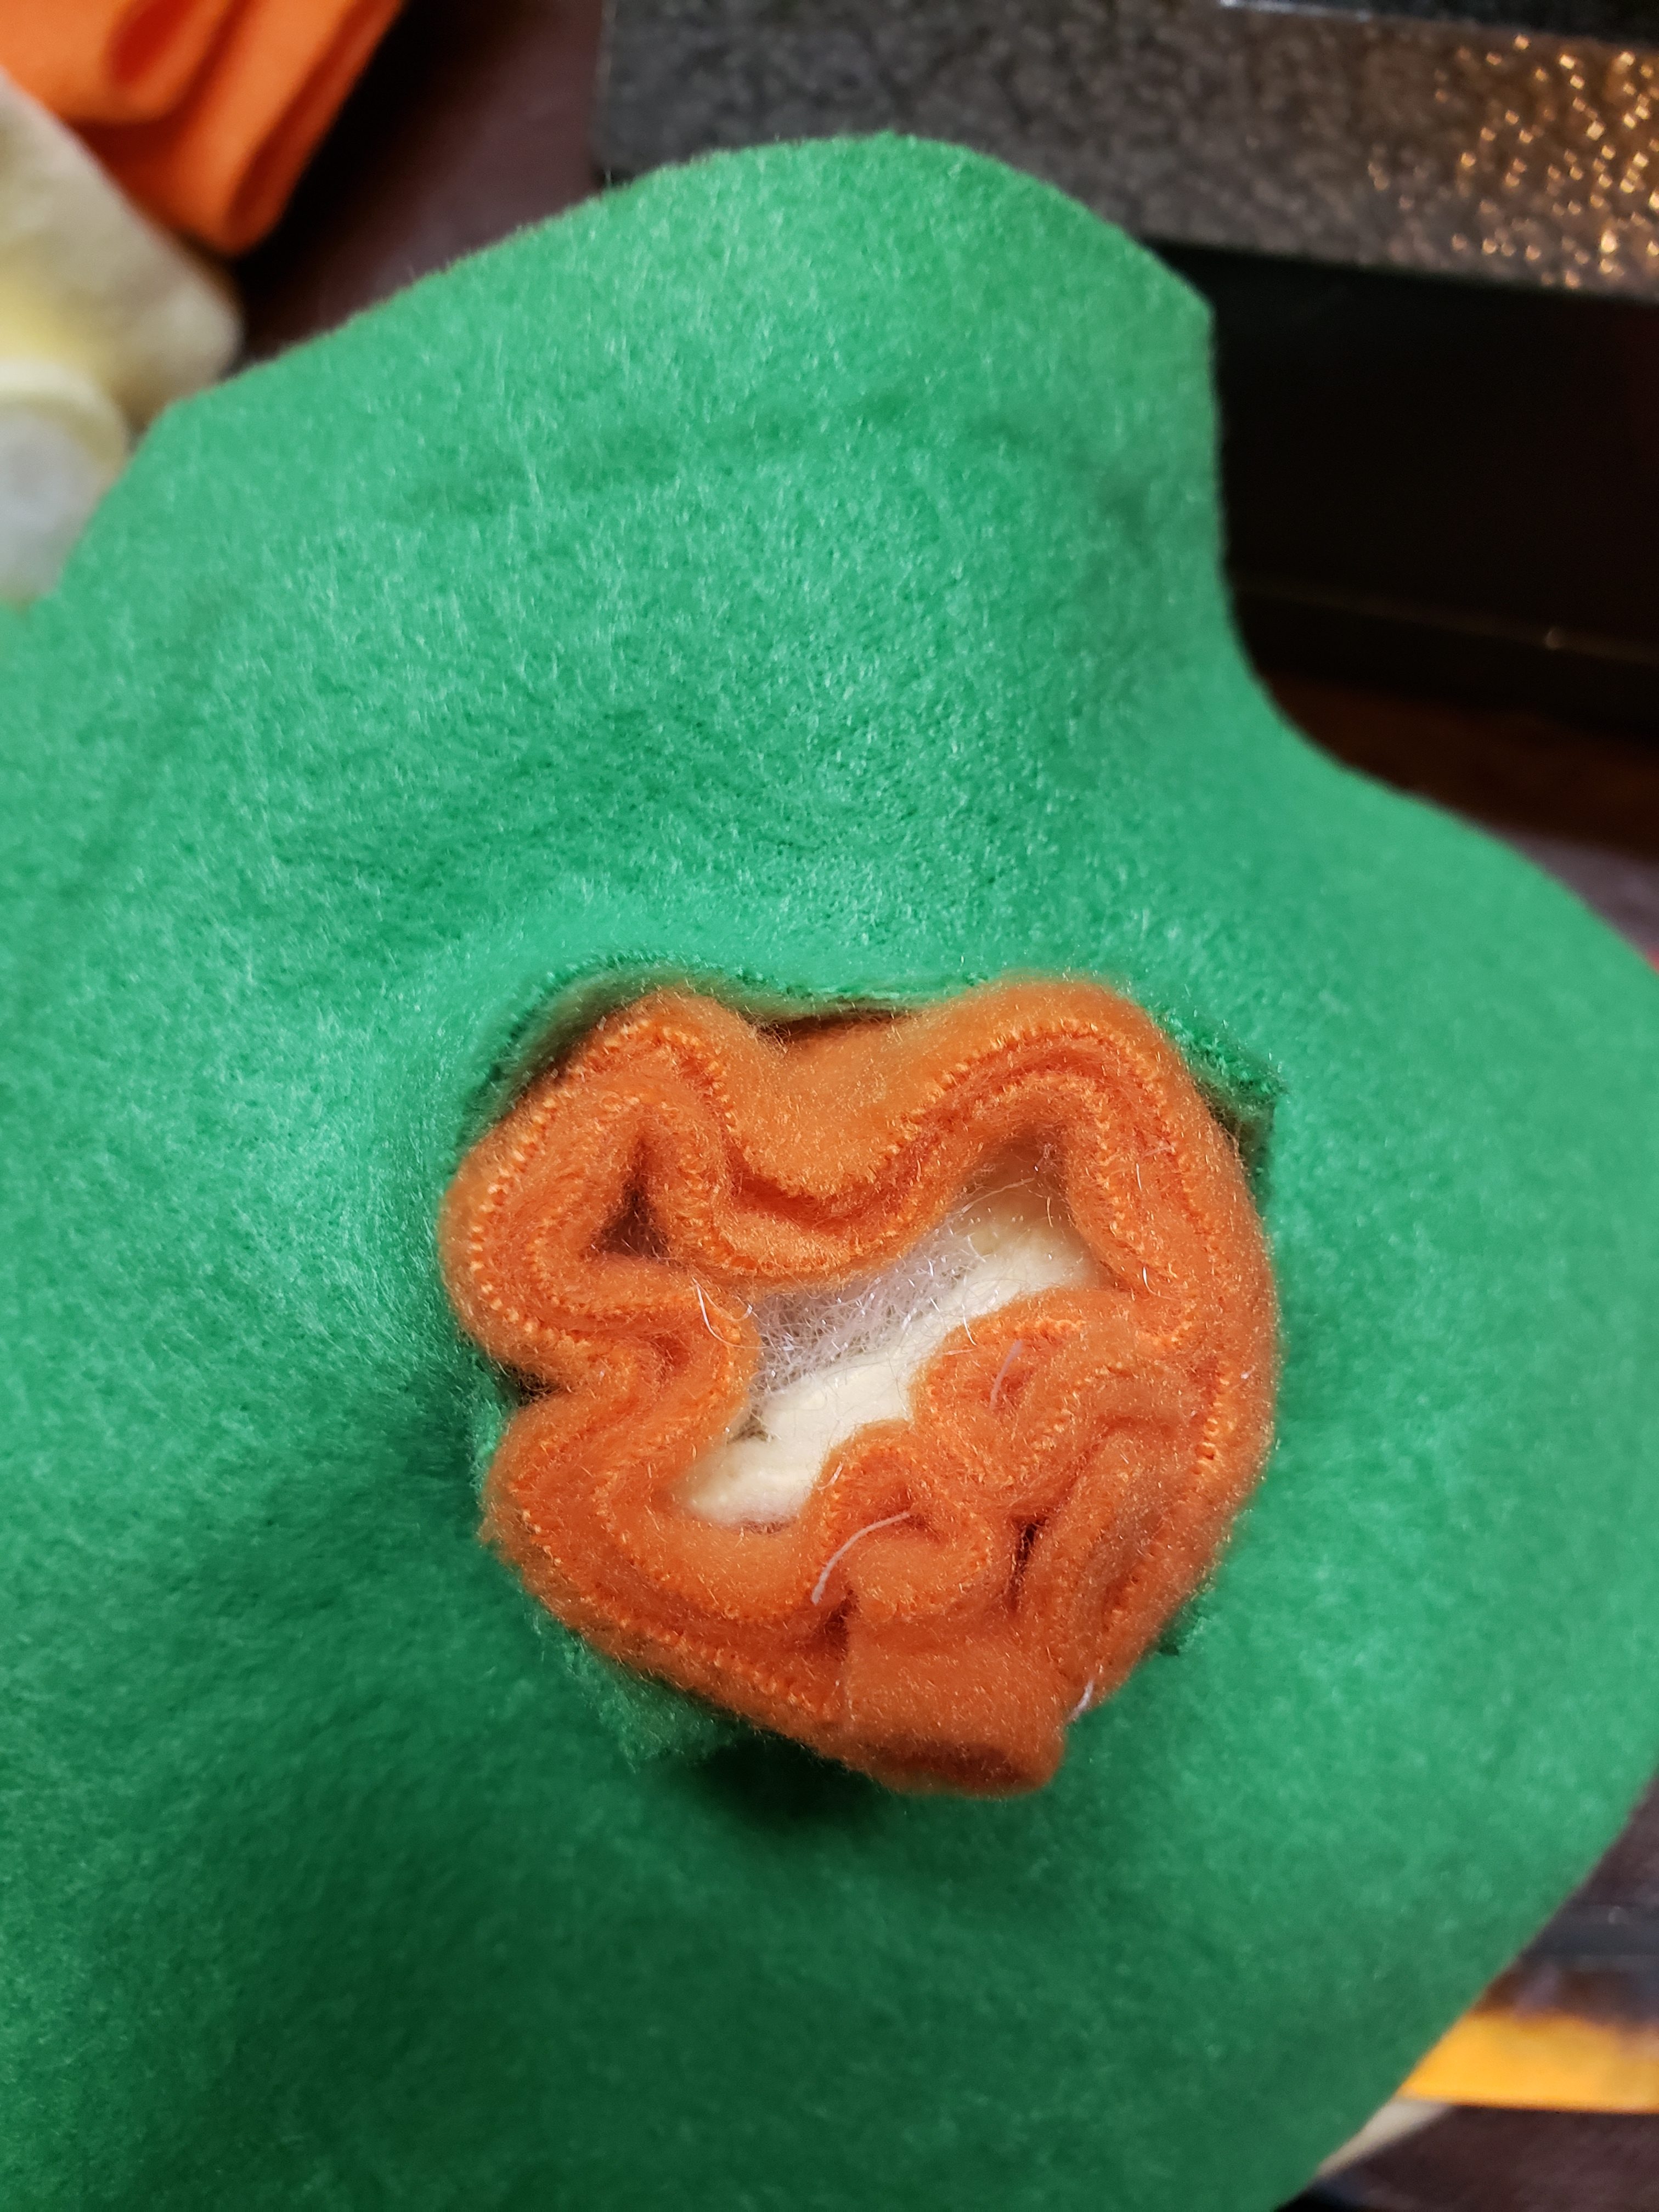
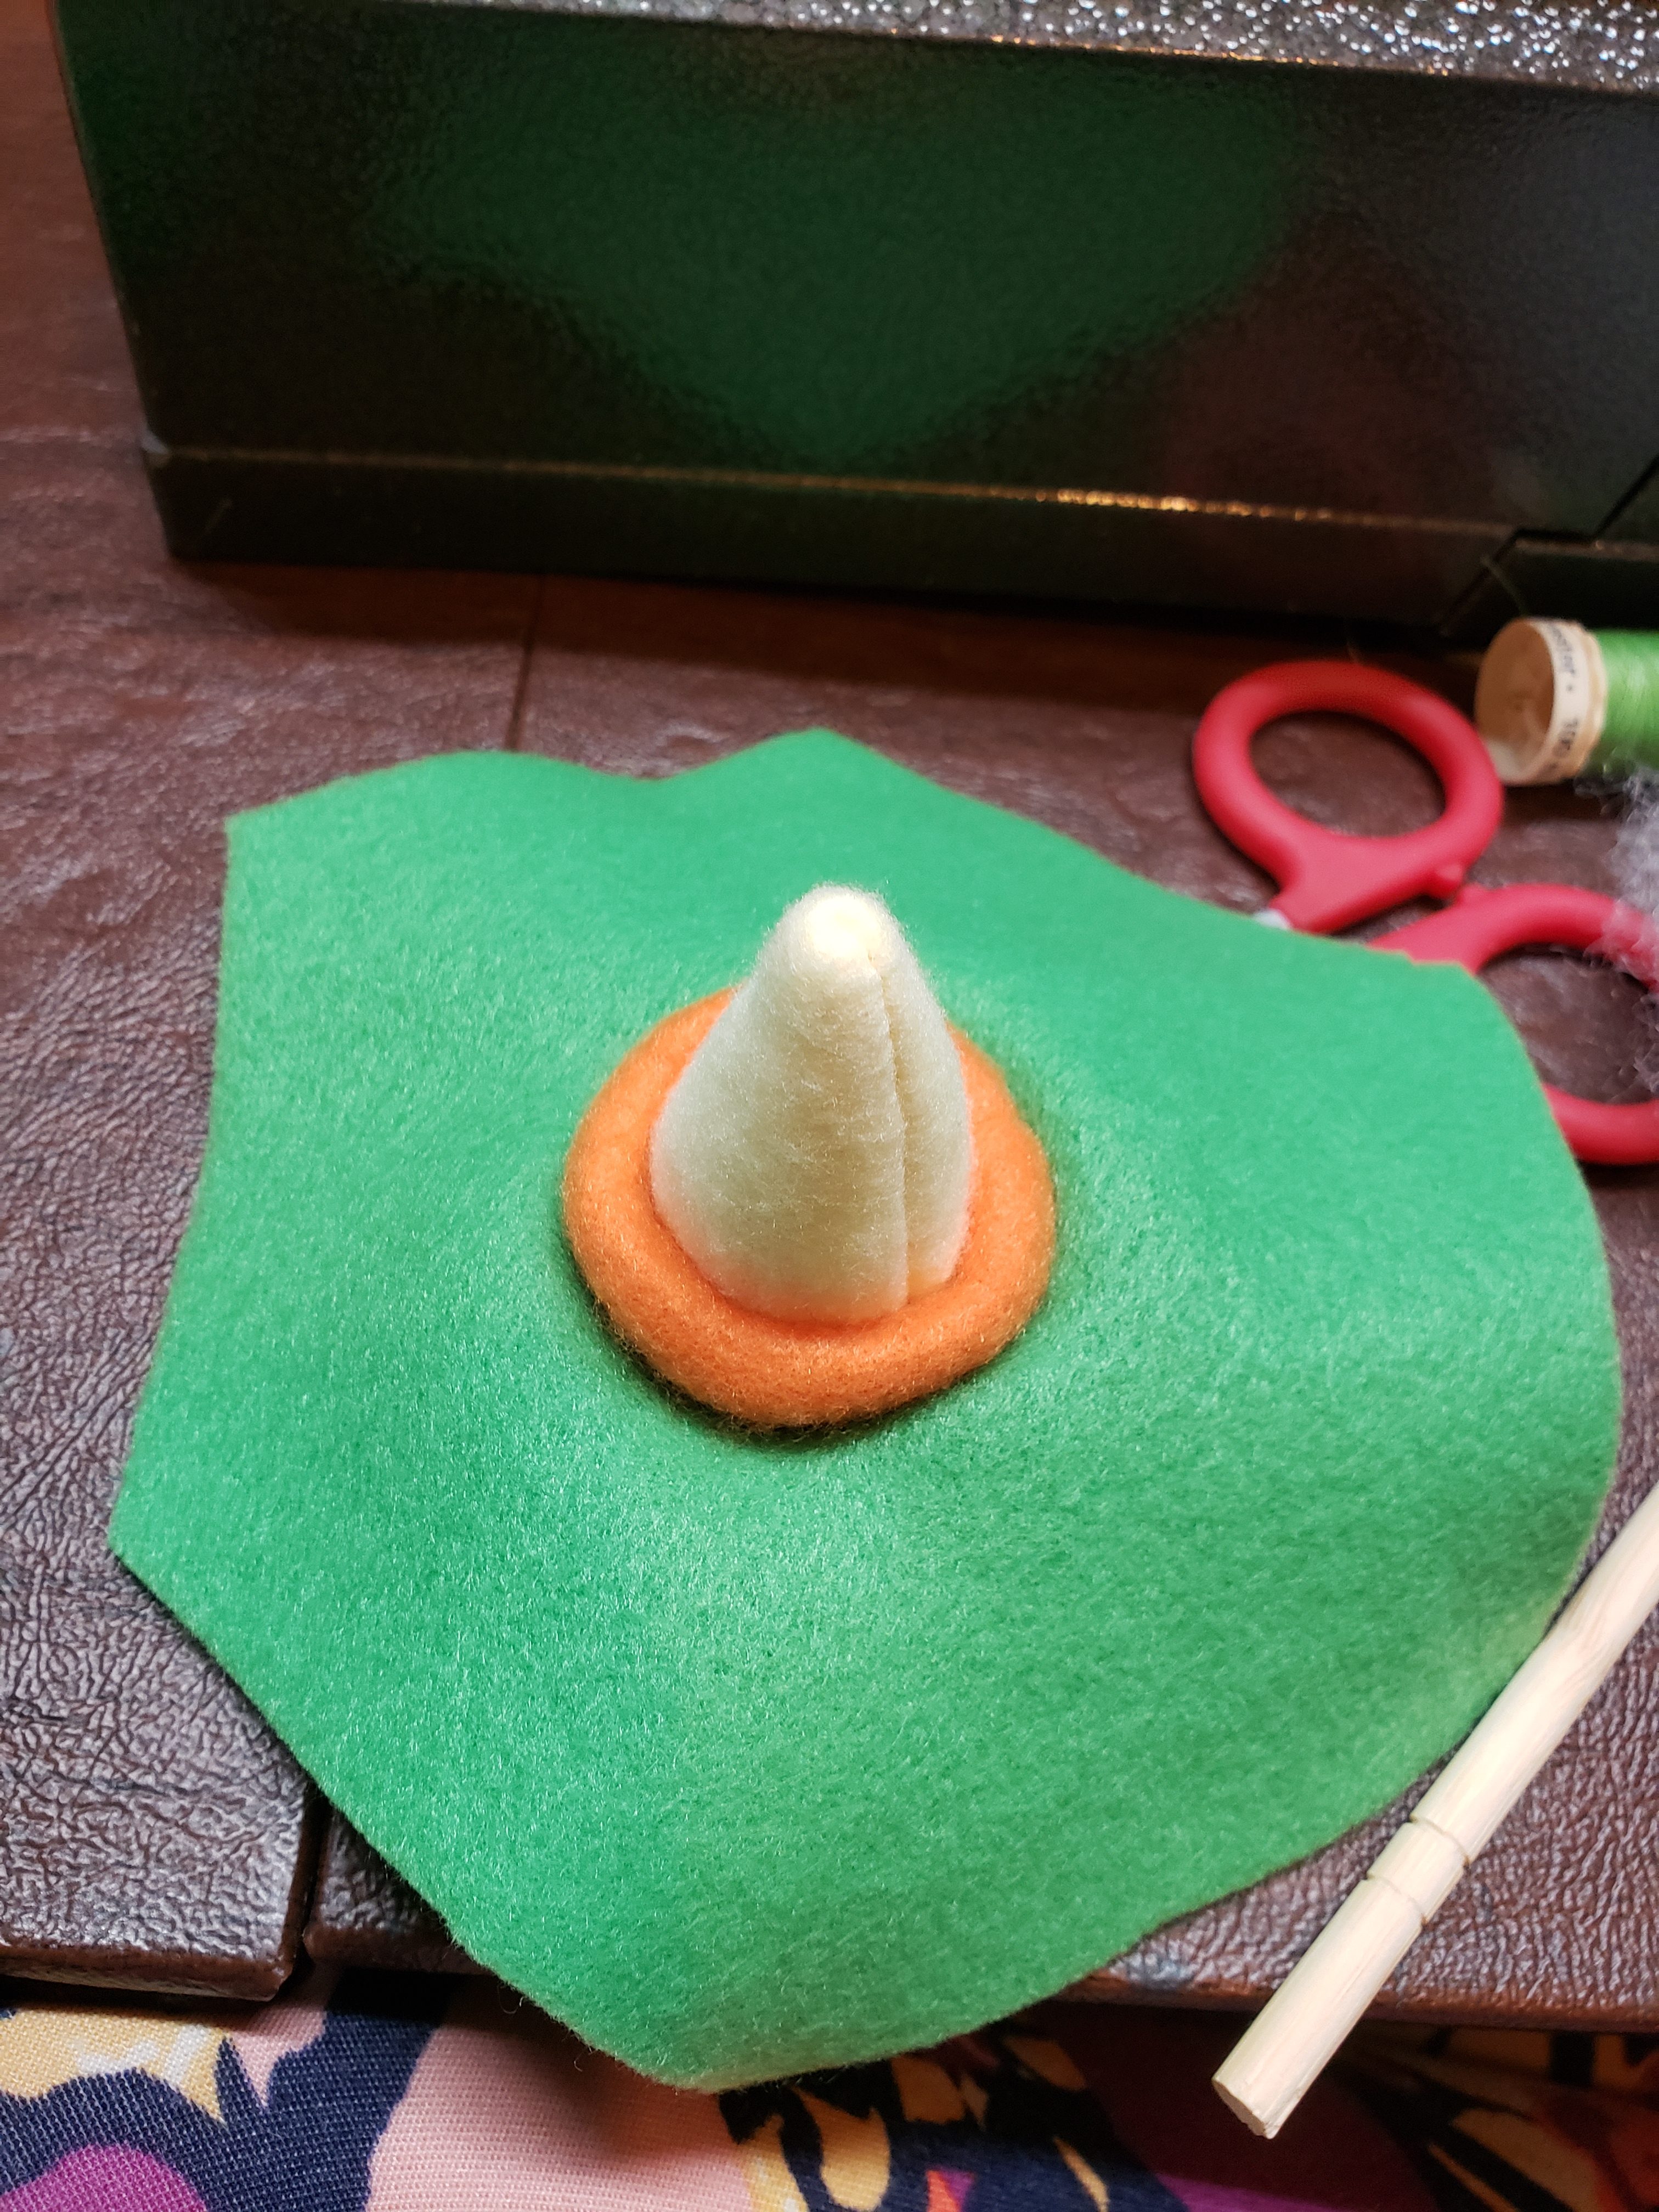
- Insert an orange loop over a spike.
- Pinch the bottom of the spike and gently insert bottom first through the hexagon from front to back. Hand stitch spike to hexagon being sure to pass needle through all layers: orange loop, spike and hexagon.

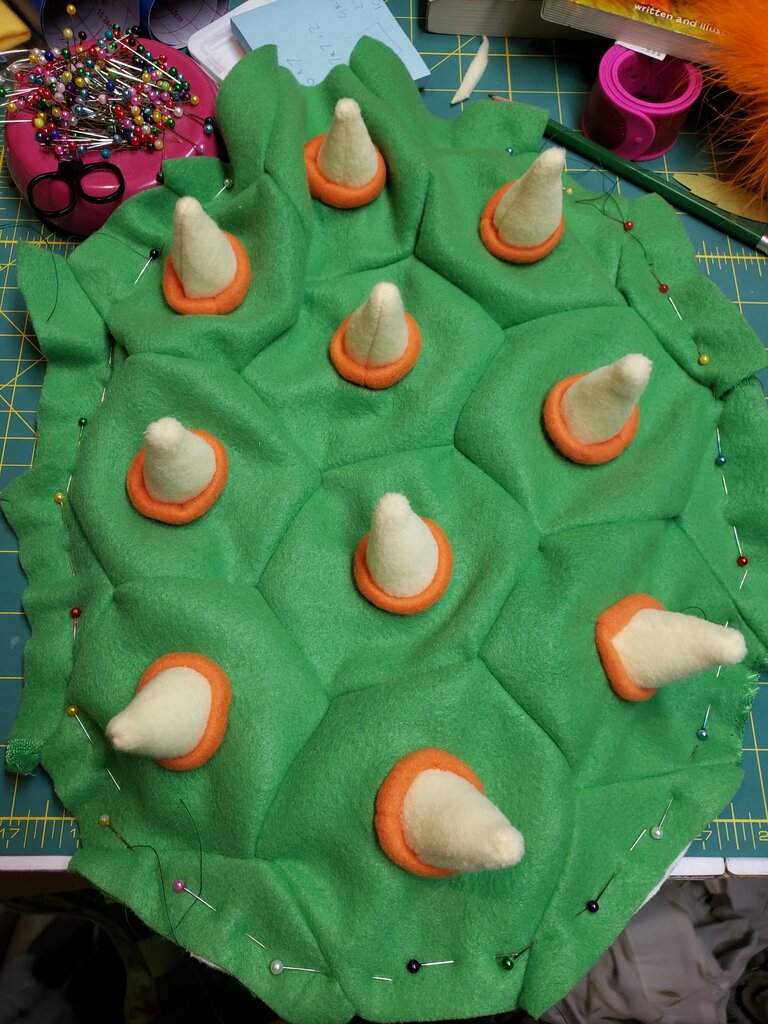
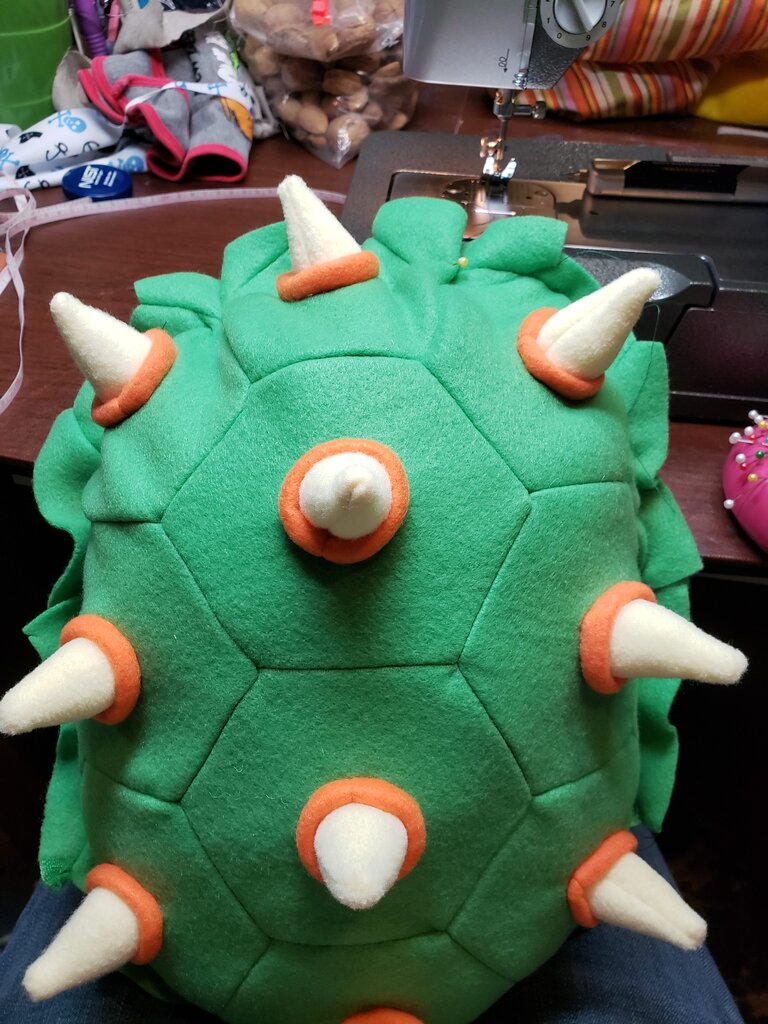
- Make rows of hexagons, 3 together, 4 together, 3 together. Stitch hexagon rows together by placing right sides together and stitching a single side, then placing right sides of next hexagon together and stitching along the opposite side.
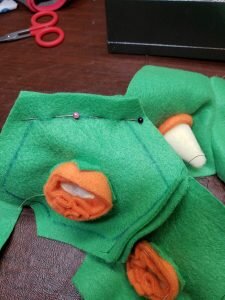
- When three rows are formed, pin 3 row on top of the 4 row, right sides together. Stitch in a zig shape along the end to attach the rows to each other. Repeat for the other row of 3 along the bottom of the row of 4.
- Cut 4 more hexagon pieces and cut in half. Attach on half hexagon to all the sides of the shell so the finished shape has mostly straight edges without any zig zag edges.
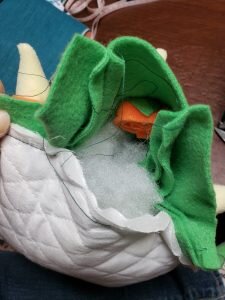
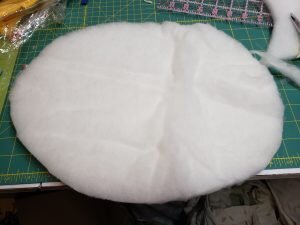
- Pin the hexagon shell to the oval piece of quilted fabric, right sides together. Stitch, leaving a hand sized gap at the bottom.
- Stuff stuffing through the gap and hand stitch closed.
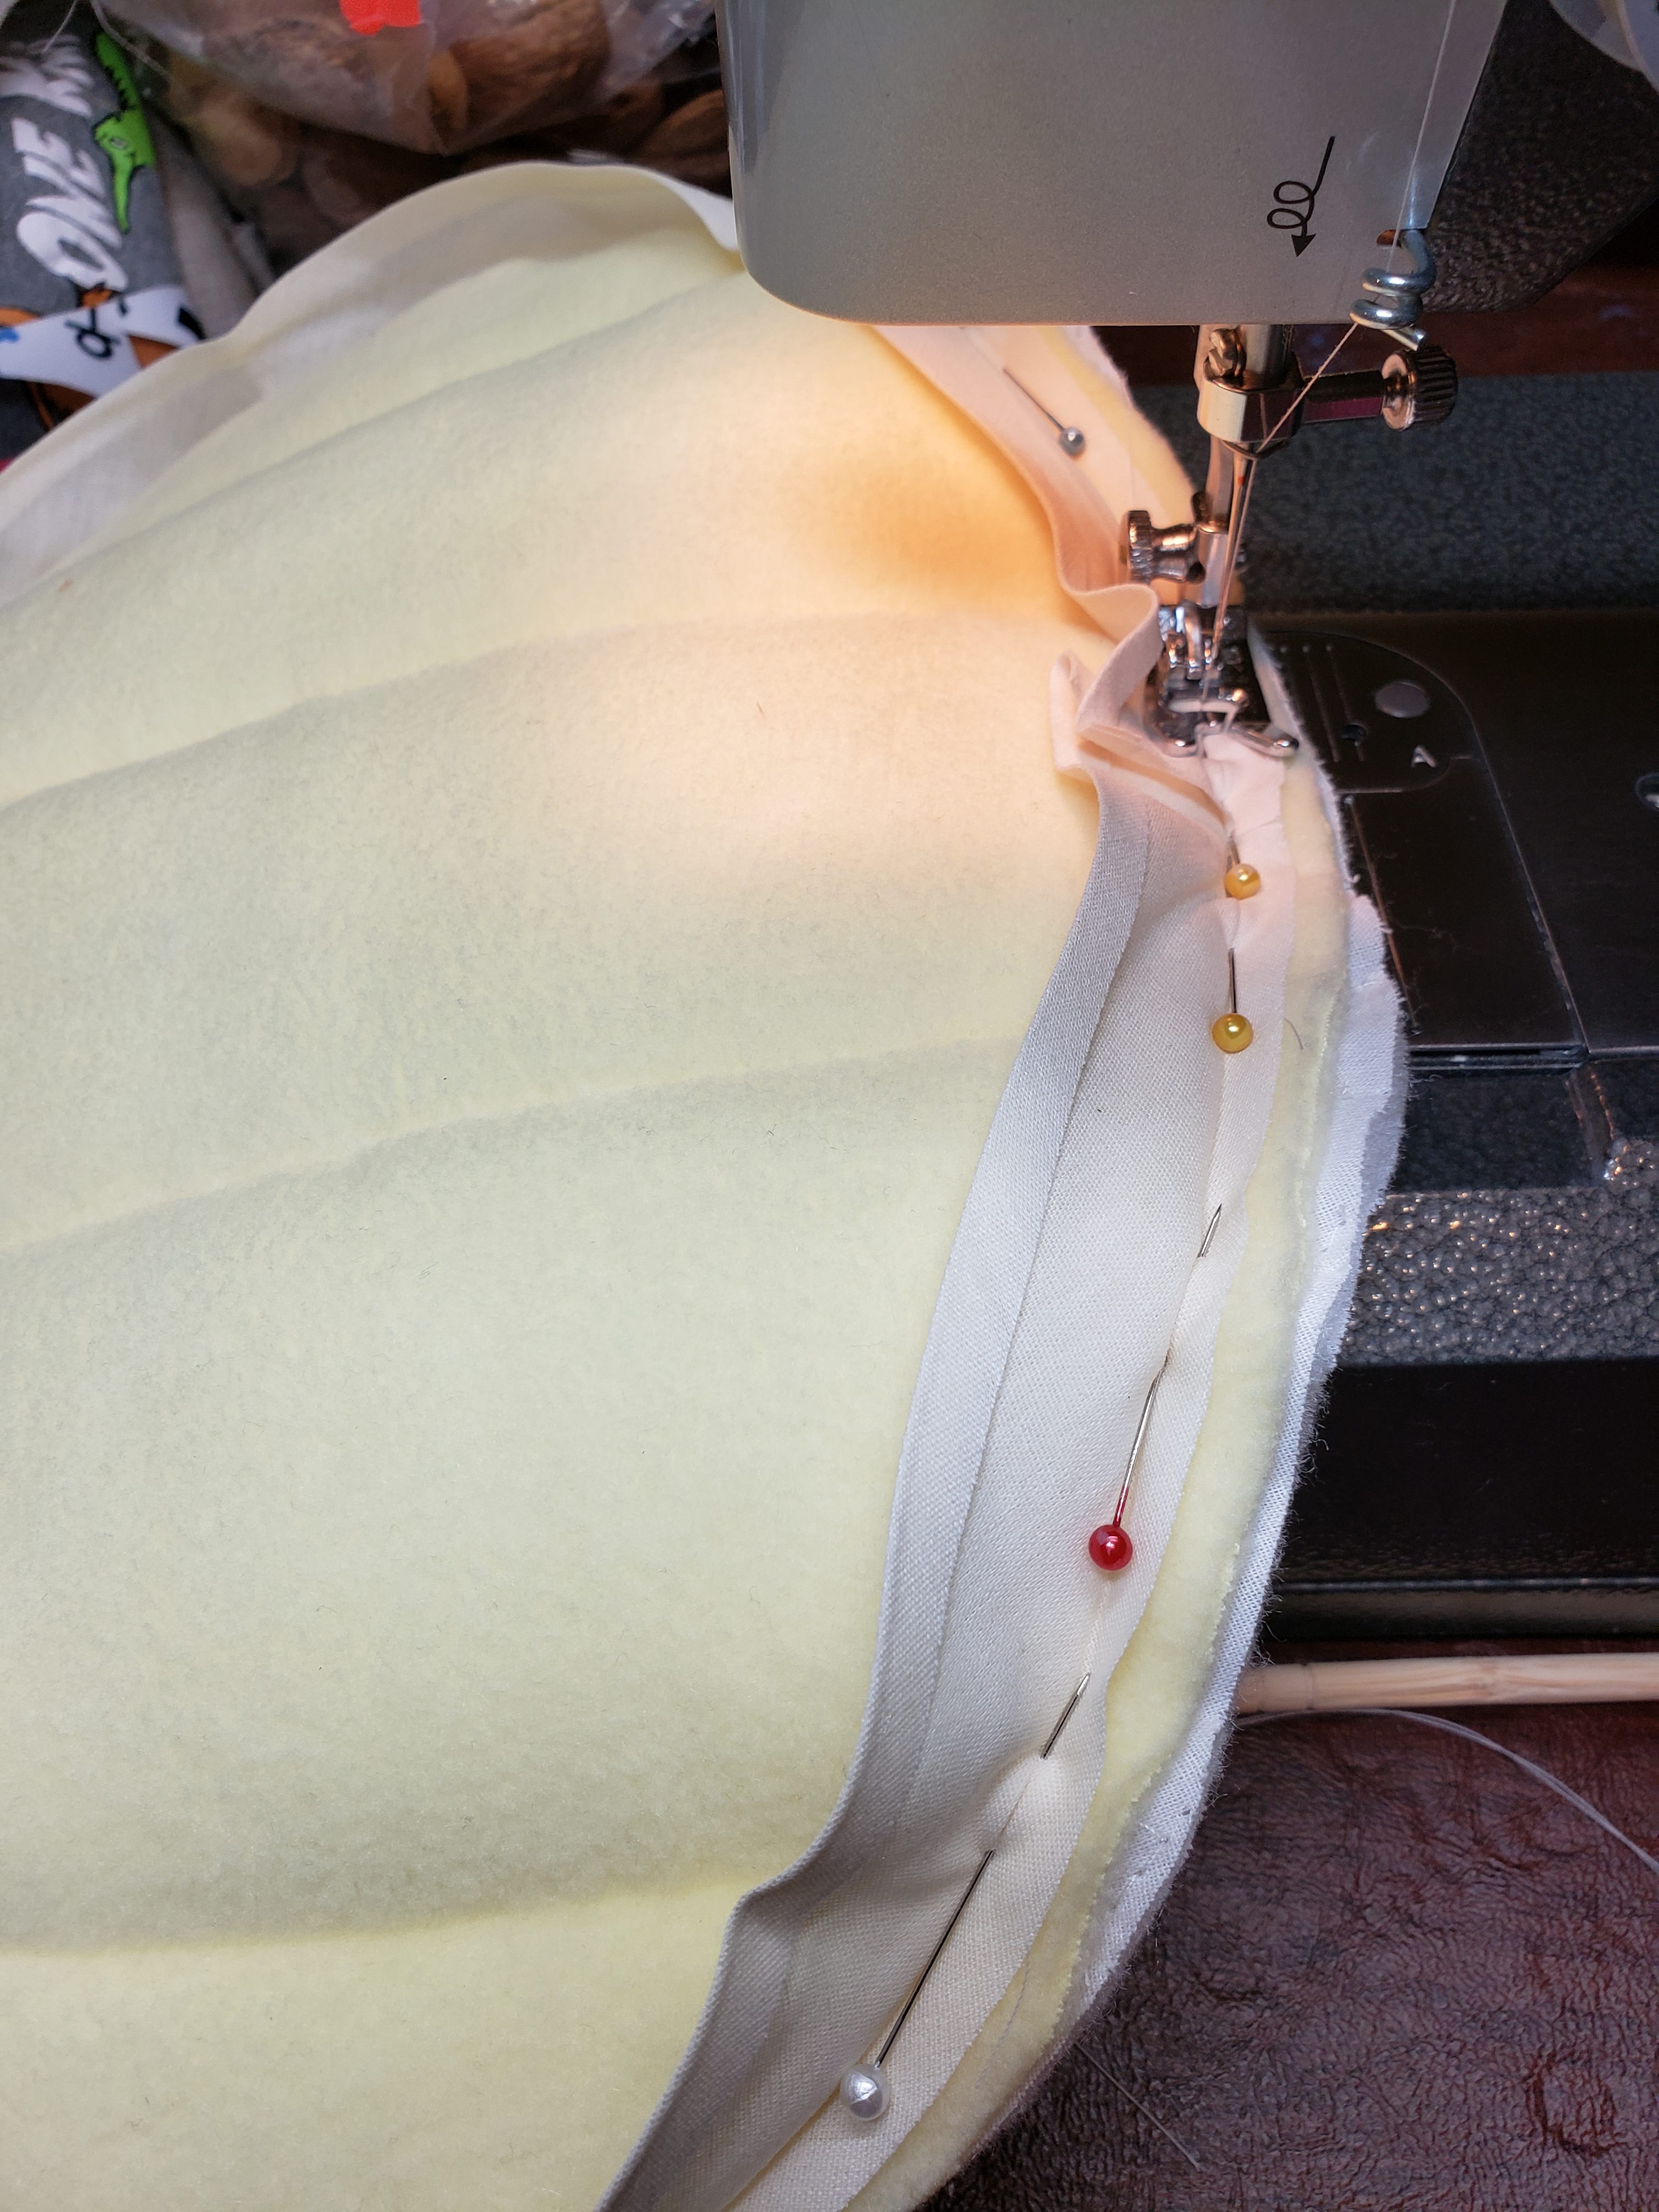
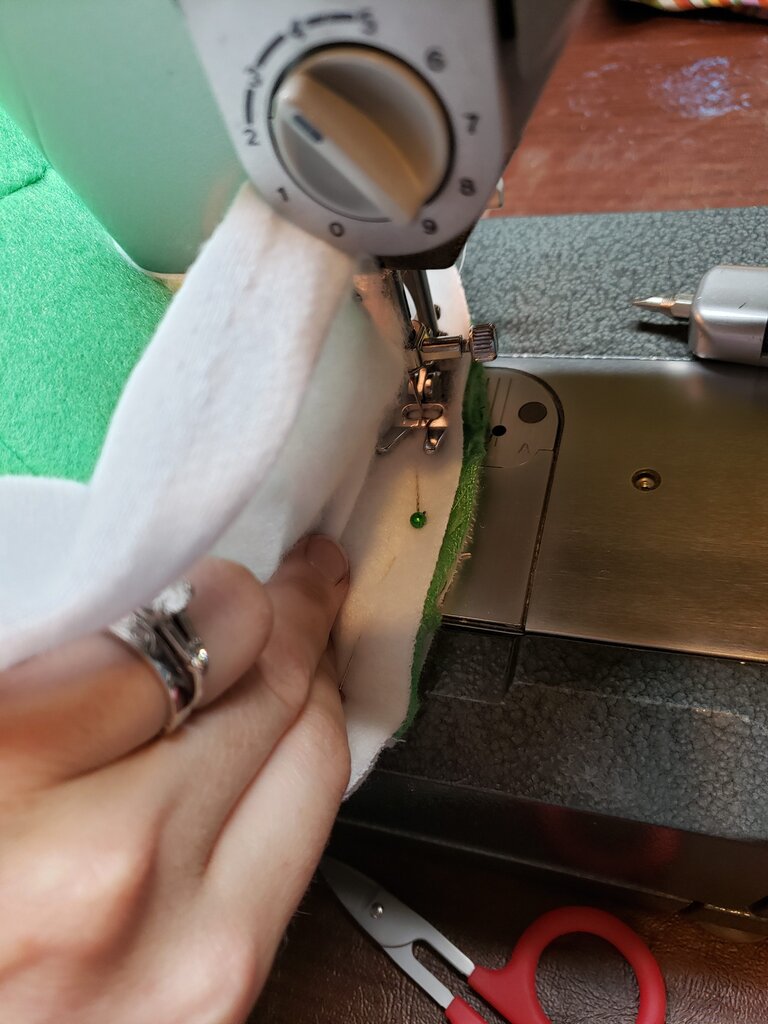
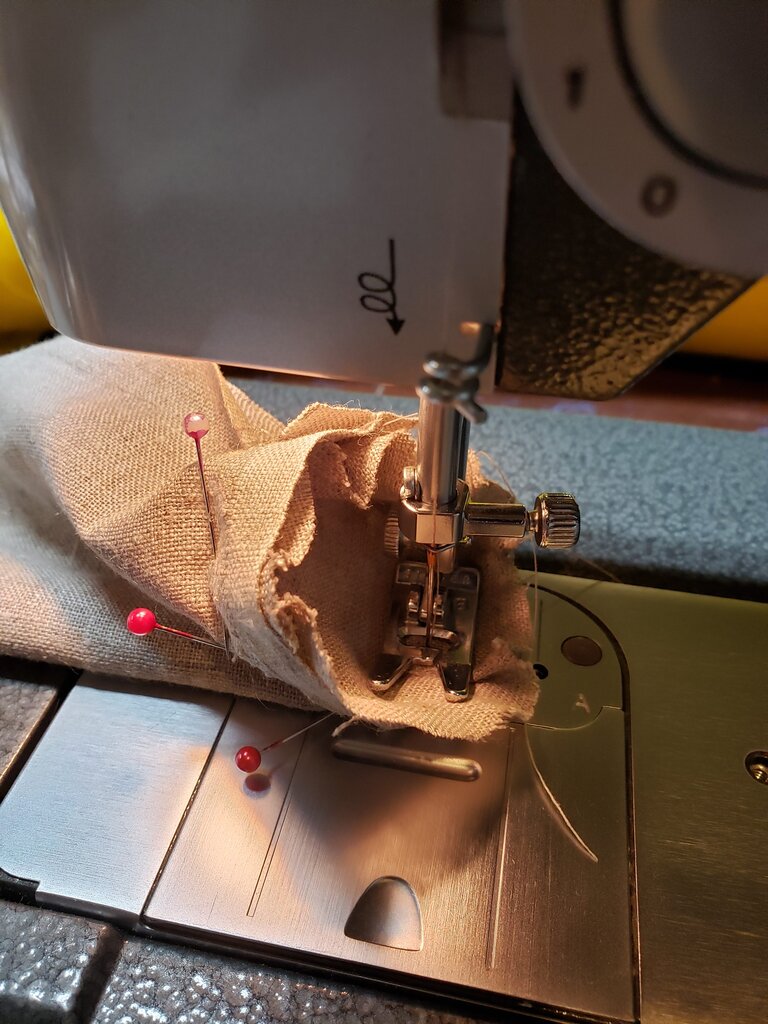
- Take white fabric and cut into strip 37″x6″. Fold in half width wise, right sides together and stitch along the unfinished ends.
- Pin the white fabric loop to the green side of the shell, right sides together. Stitch along the edge.
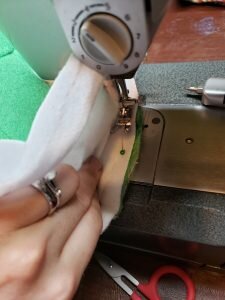
- Add rolled up quilt batting to the white loop and fold the white fabric over the stuffing so it reaches the quilted side of the shell.
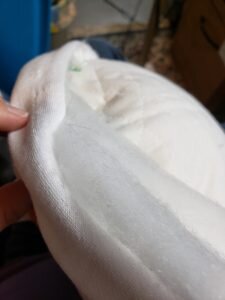
- Tuck the unfinished edges of the fabric under and hand stitch.
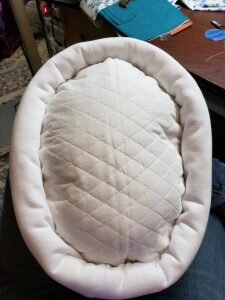
- Fold the puffy white shell outside away from the green shell.
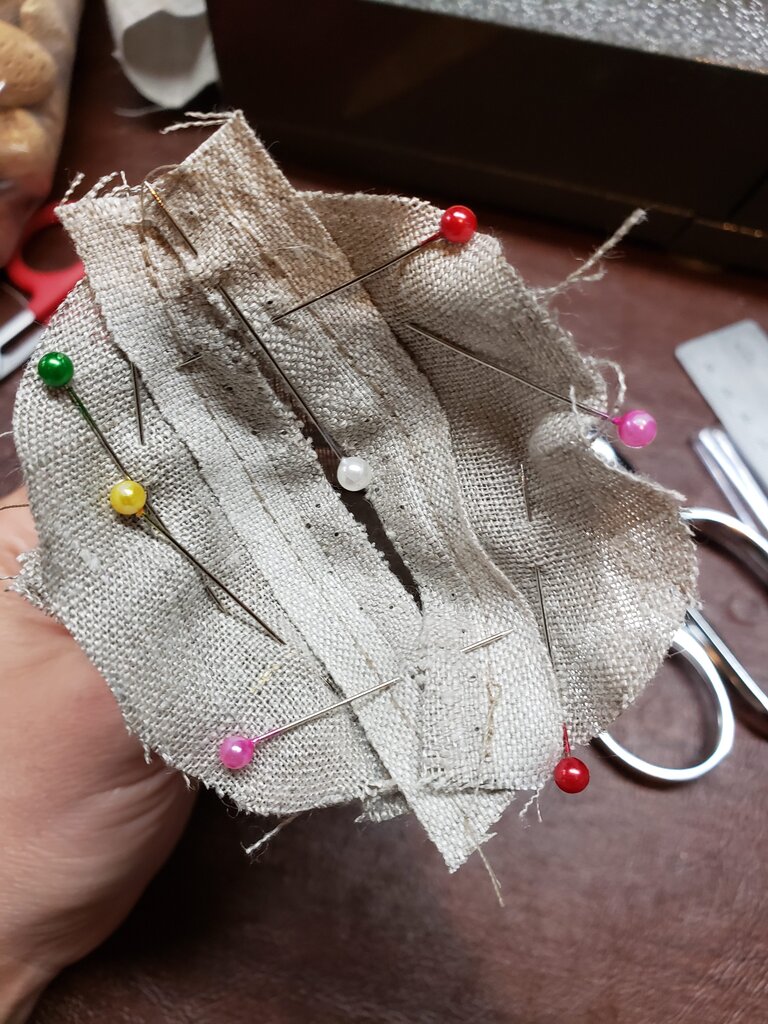
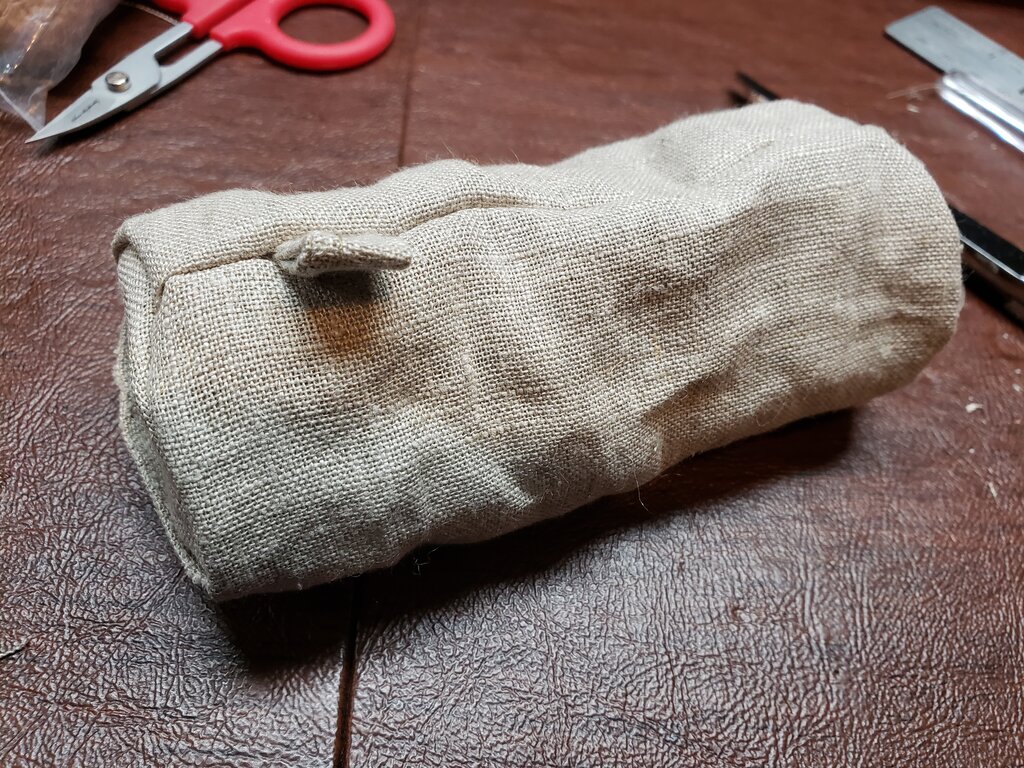
- Stack the belly pieces: quilted material, quilt batting then offwhite fleece. Stitch around outside of the belly.
- Stitch straight lines across the belly, 3″ wide.

- Open up bias tape and pin one of the folds along the stitching on the outer edge of the belly, unfinished edges matching.

- Trim close to the unfinished edge then fold bias tape over the unfinished edge, unfinished edge should be folded under. Pin and stitch.
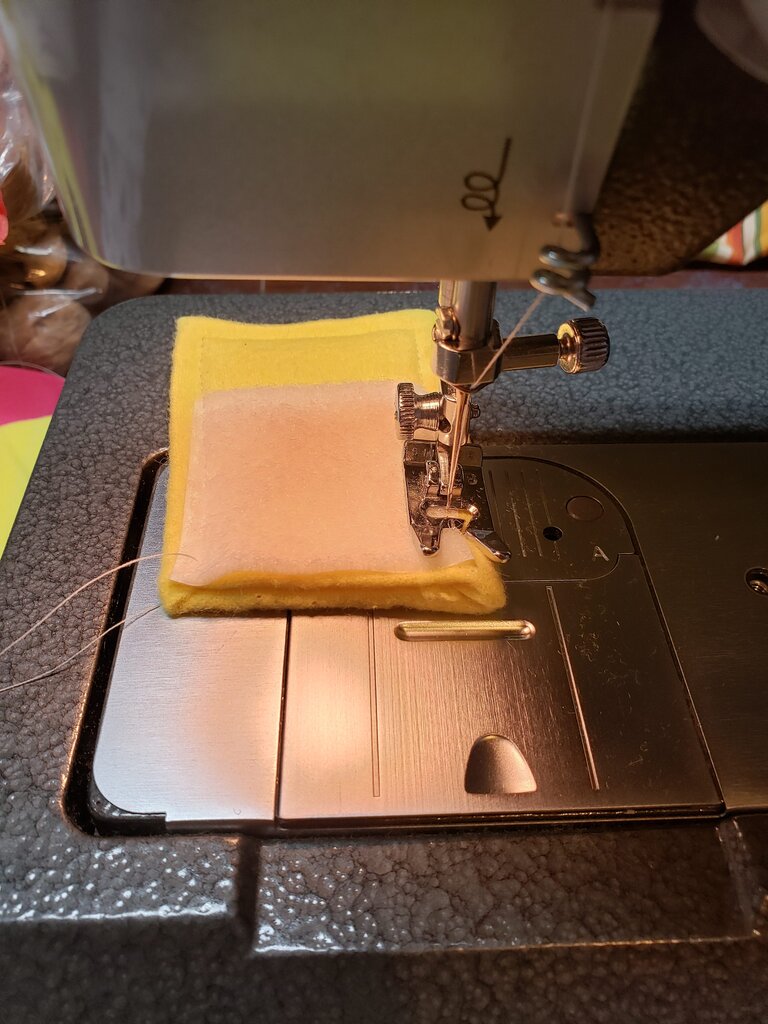
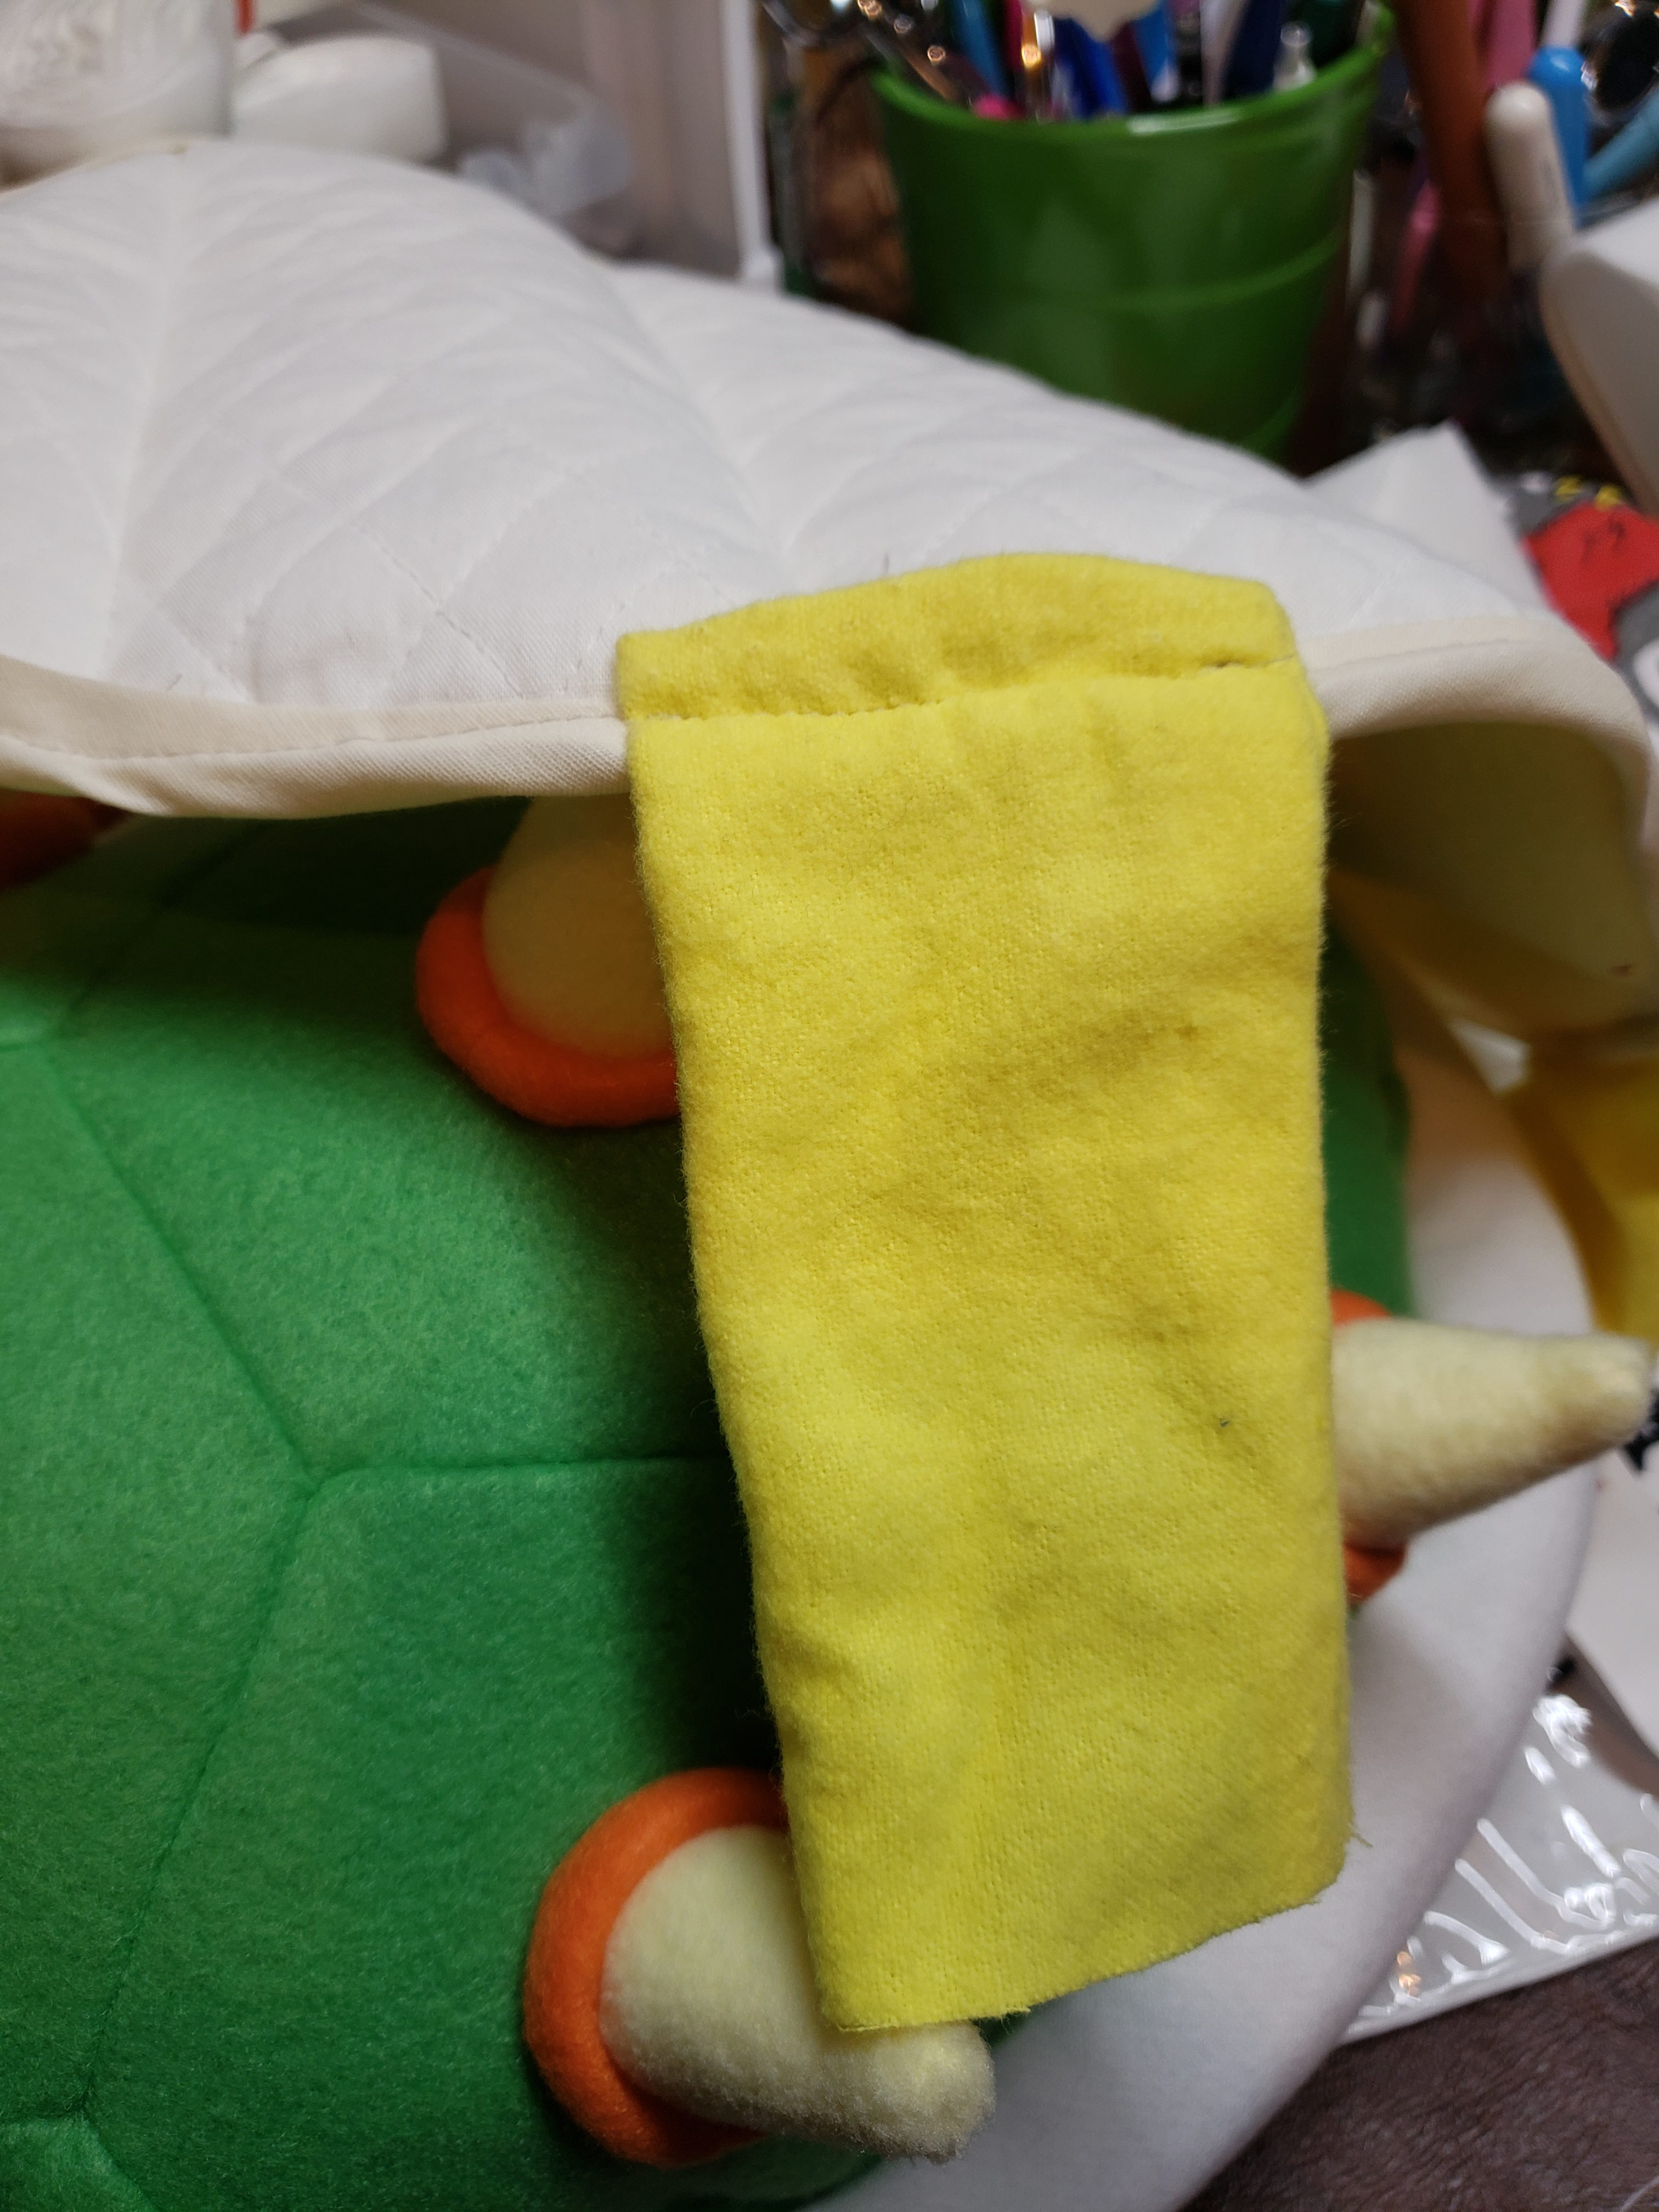
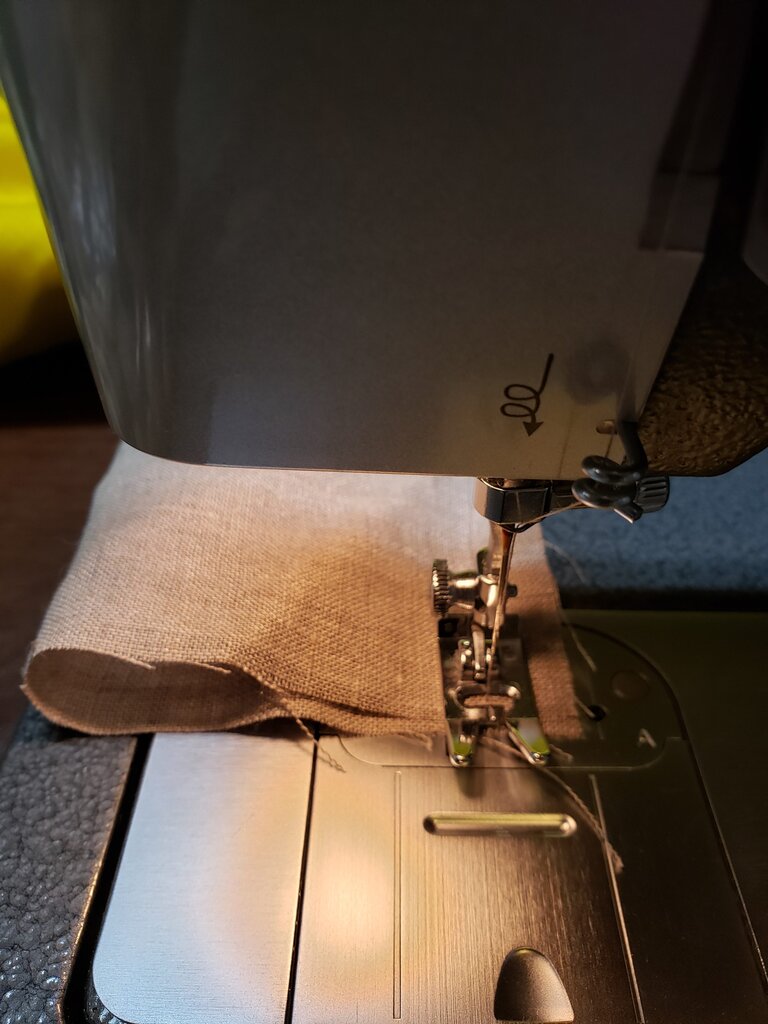
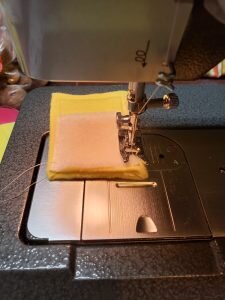
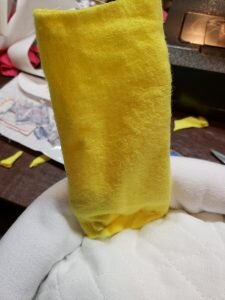
- Cut 6 7″x6″ rectangles of yellow fabric. Fold each one in half to form a 3.5″x6″ rectangle. Stitch across long end.
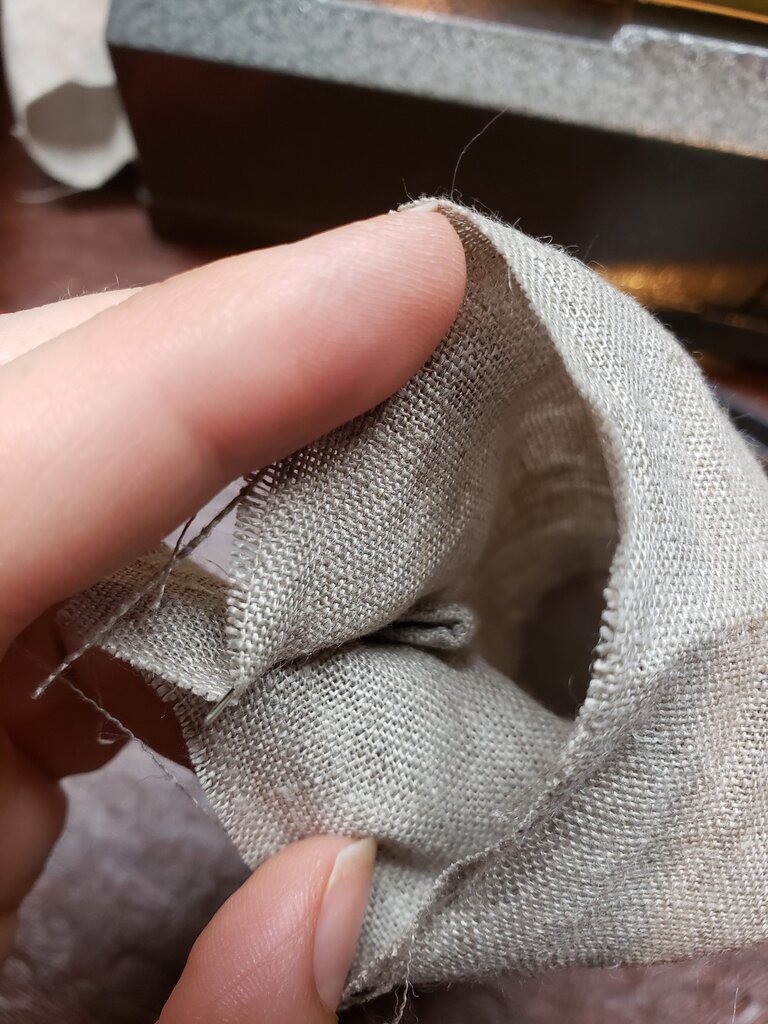
- Turn tube right side out and insert a 3″x5″ piece of peltex 70 inside the tube.
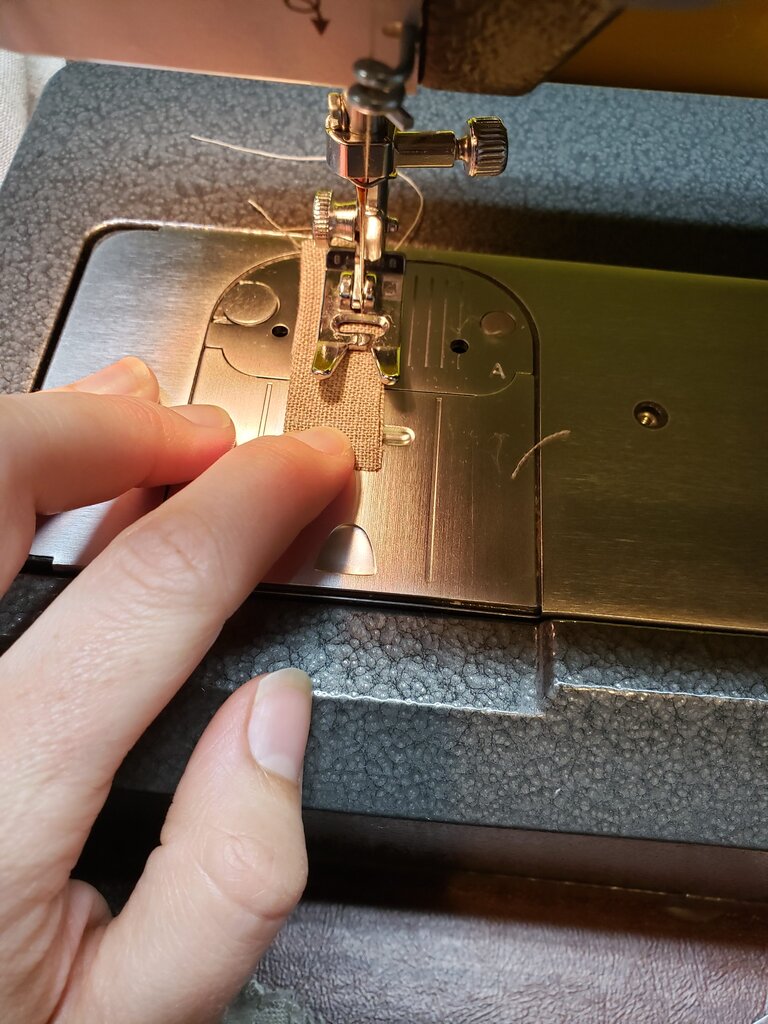
- Fold edges of each tube under and stitch closed. Attach hook velcro to two of the finished tubes and loop velcro to two more unfinished tubes.
- Hand sew the strap to one shoulder on the shell side.
- Sew the other end of the strap to the shoulder on the belly side, stitching to the inside.

- Repeat steps 24 & 25 on the same side of the shell, underneath where the child’s armpit will be.
- Hand stitch the strip with the hook side of the velcro to the shell side, equidistant from other strap, velcro side up.
- Hand stitch the strip with the loop side of the velcro to the belly side, equidistant from other strap, velcro side down.
- Repeat steps 27 and 28 underneath where the child’s armpits will be (across from other strap).
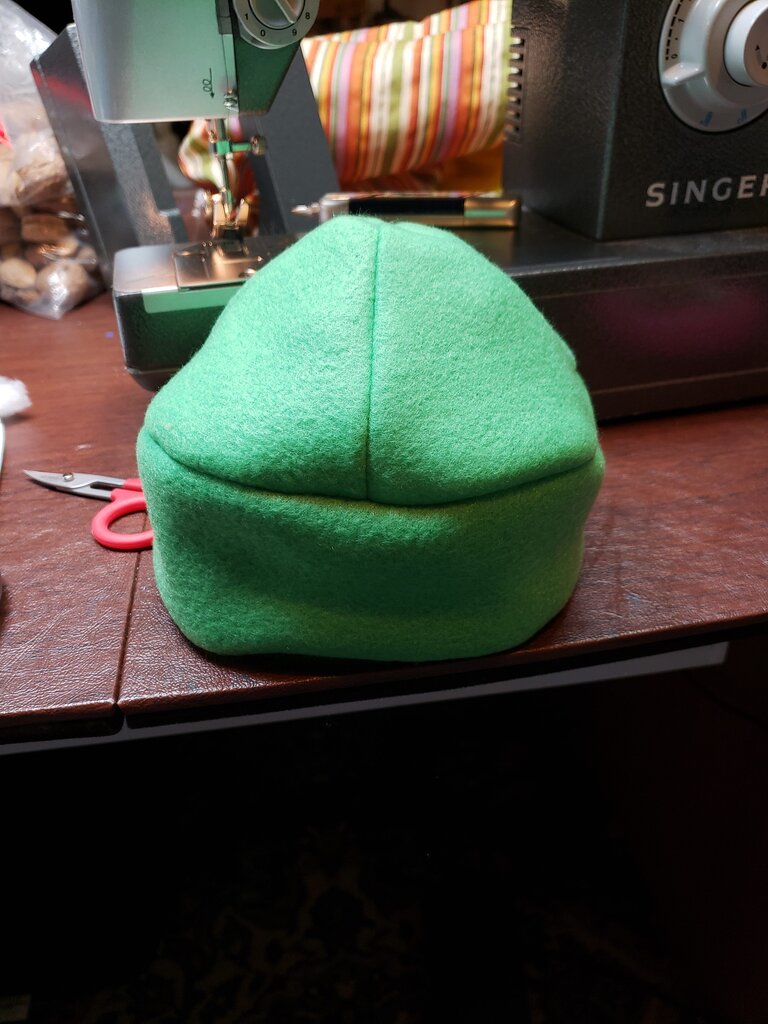
- Follow instructions for pussy hat, omitting ears (step 1, step 4-6). I made it slightly smaller with a 20″ hat band, and moved the hat band slightly closer to the crown.

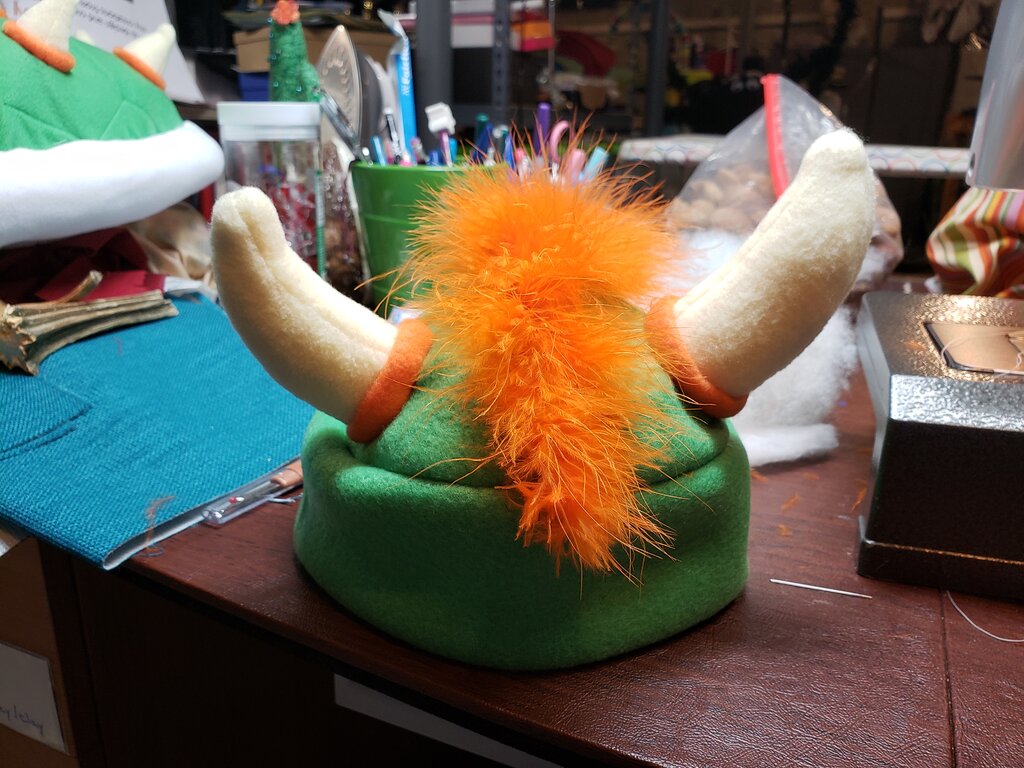
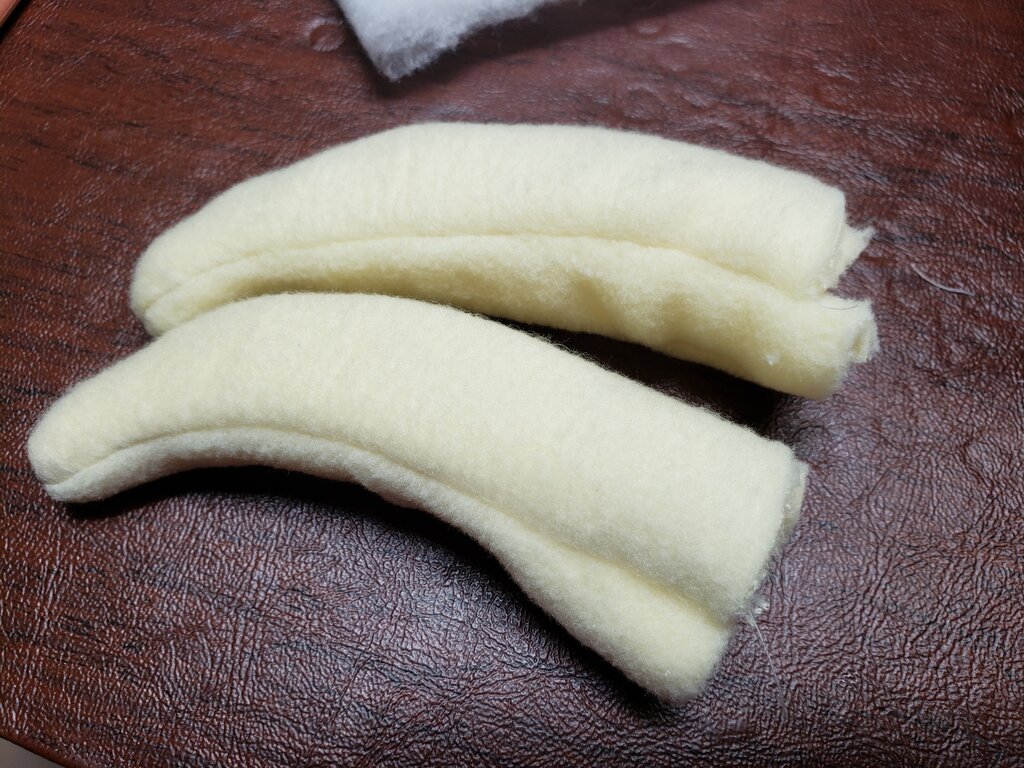
- Pin two curved horn pieces together and stitch across the curved side.
- Add the horn insert piece inside the curved horn and stitch.

- Turn horn inside out and stuff. Repeat steps 31-32 for second horn.

- Follow steps 3 and 4 for larger orange rectangles.
- Repeat steps 4-6 for horns instead of spike and onto either end of the front hat panels instead of the hexagon. Stitch through each horn to keep the stuffing in place.
- Hand stitch a piece of orange boa down the middle of the hat forming a mohawk.