So I may have mentioned that Julius is quite a drooler. He likes to buzz his lips frquently, sending spit everywhere and drools like crazy when he is gloming a toy. He makes Dany starring at a steak look like a cat in a desert. These are probably all reasons that hand, foot and mouth disease spreads so easily amongst babies. Which explains why he is suffering from a fever now because of it. The poor guy has been crankier than usual (which means just a tiny bit cranky since he’s such a cheery little man) and is having a bit of a rough week because of the virus.
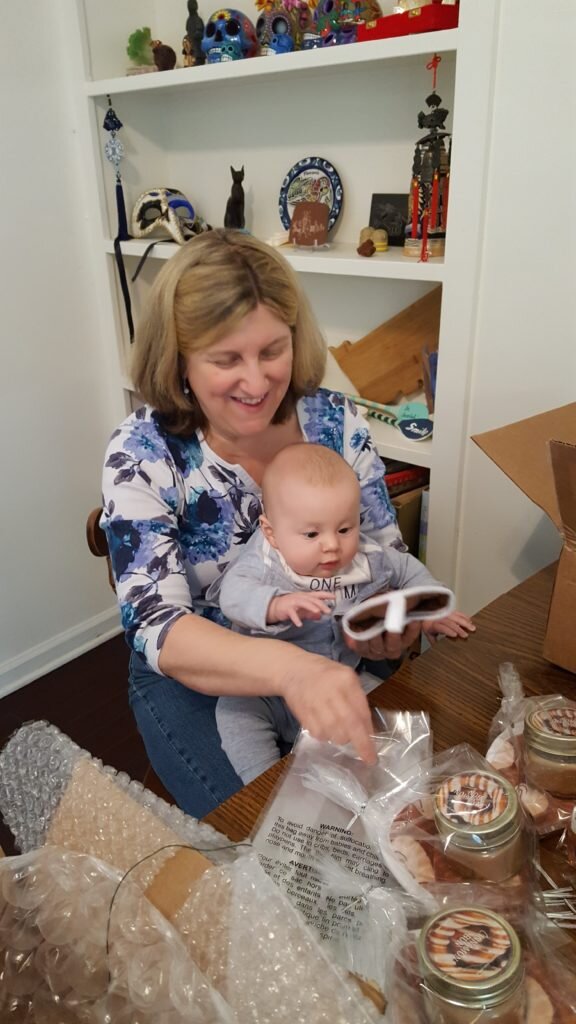
This weekend Julius spent his first night away from us, and of course it was also the night he’s had his highest fever ever. Luckily he was at my parent’s house and I (half) joked that he was in better hands with my mom (the experienced nurse) than with his own parents. Let’s face it, it’s true from a medical perspective.
Anyway, sick baby aside, when he’s his normal drooly self I have lots of punny nick names for him. My favorite one of late is Droolius Caesar. So I finally created my little Caesar a bib that can help with his serious drool problem. On top of that it throughly covers his shoulders and chest and is waterproof so it makes for a great spoon feeding bib! As an added bonus this bib only takes around 2 hours to make, including embroidery! Make one of these for the little drooler in your life today, you won’t regret it!
Waterproof, Full Coverage Bib
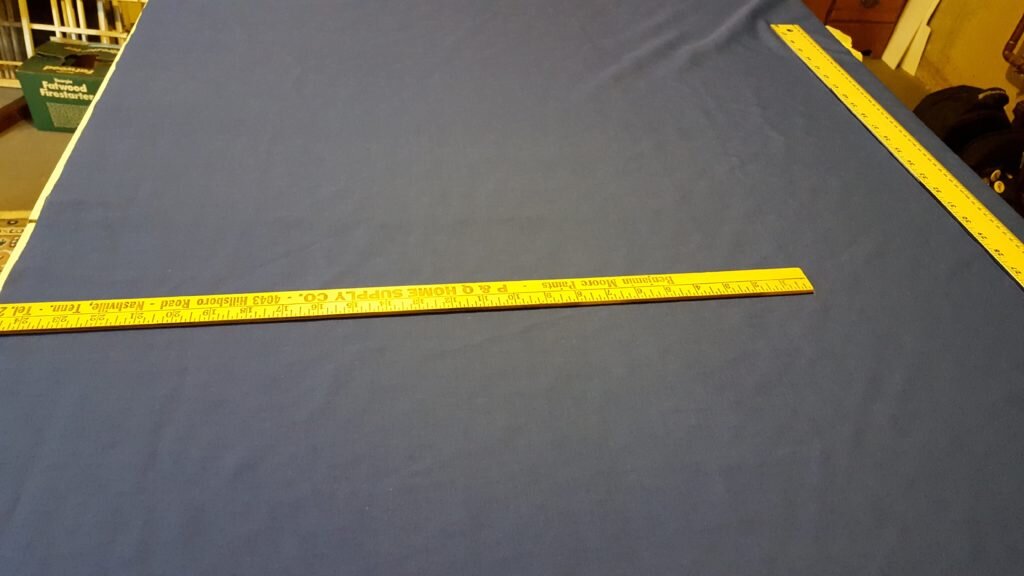
- 1/3 yard PUL material
- 1/3 yard terry cloth
- 2 yards wide bias tape
- 5″ of 1.5″ wide velcro
- bib pattern here
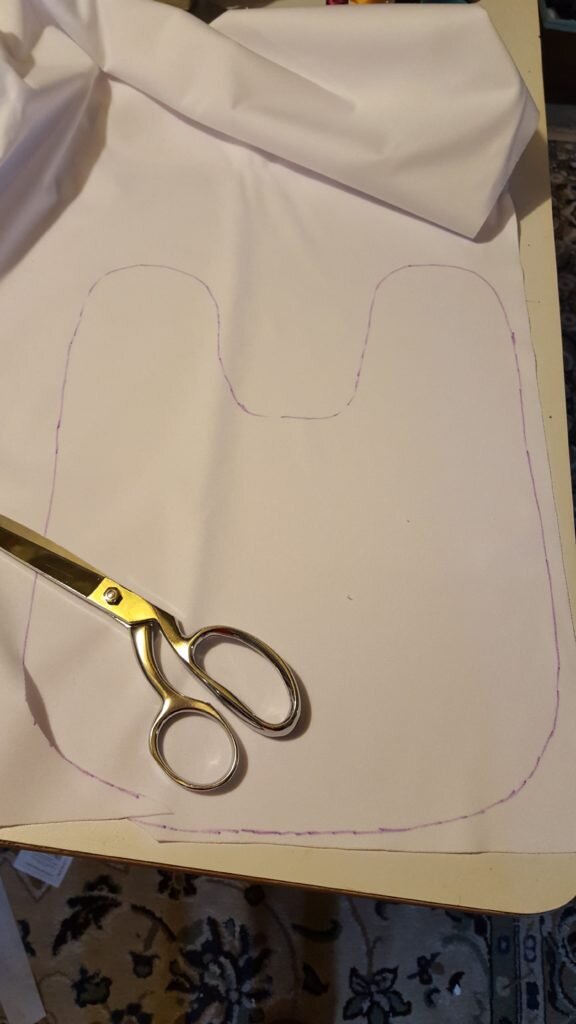
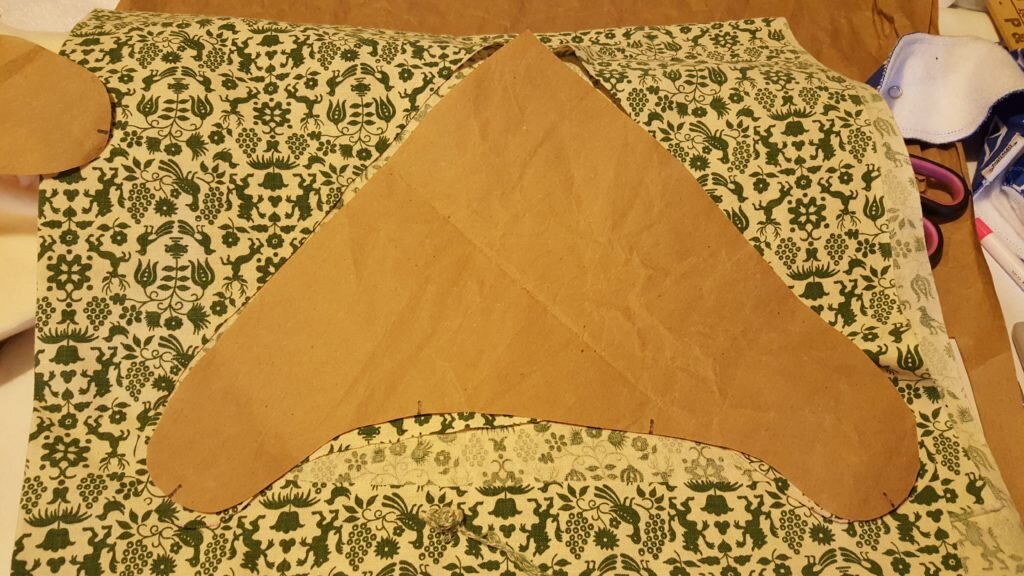
- Trace and cut out bib pattern on terry cloth. Make sure to mark along horizontal and vertical markings to form an ‘X’ in the center of the bib.
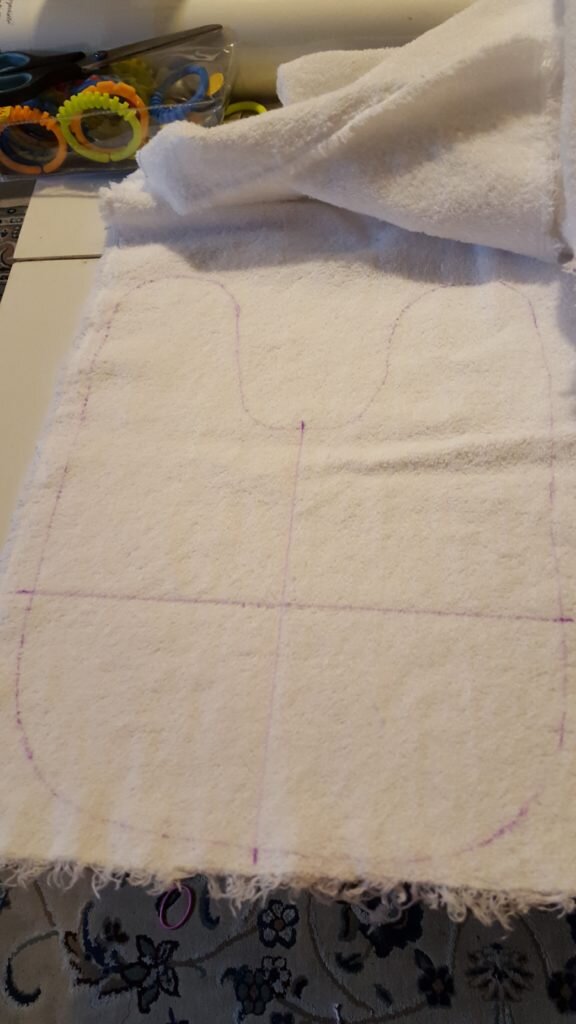
Trace and cut out bib from terry cloth, marking center
- Flip pattern then trace and cut from the PUL material’s non shiny side.
Flip pattern; trace and cut out bib on non-shiny side of PUL
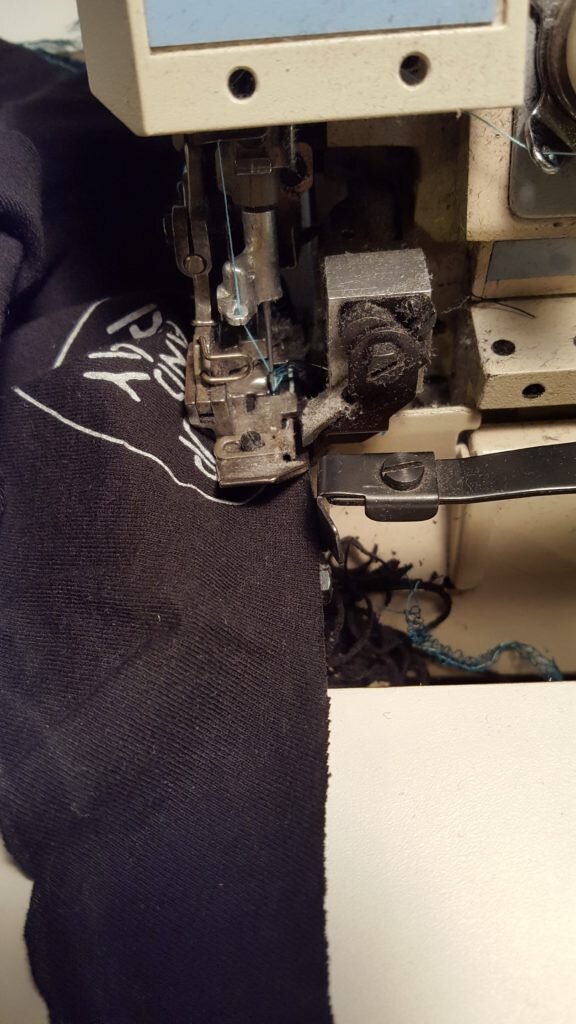
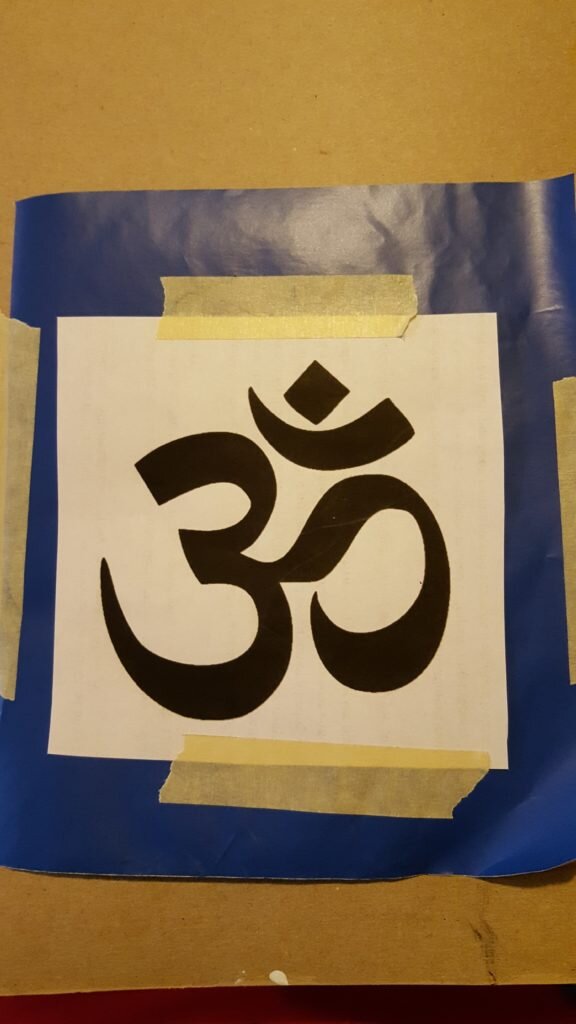
- Hoop and stitch out design as desired on terry cloth.
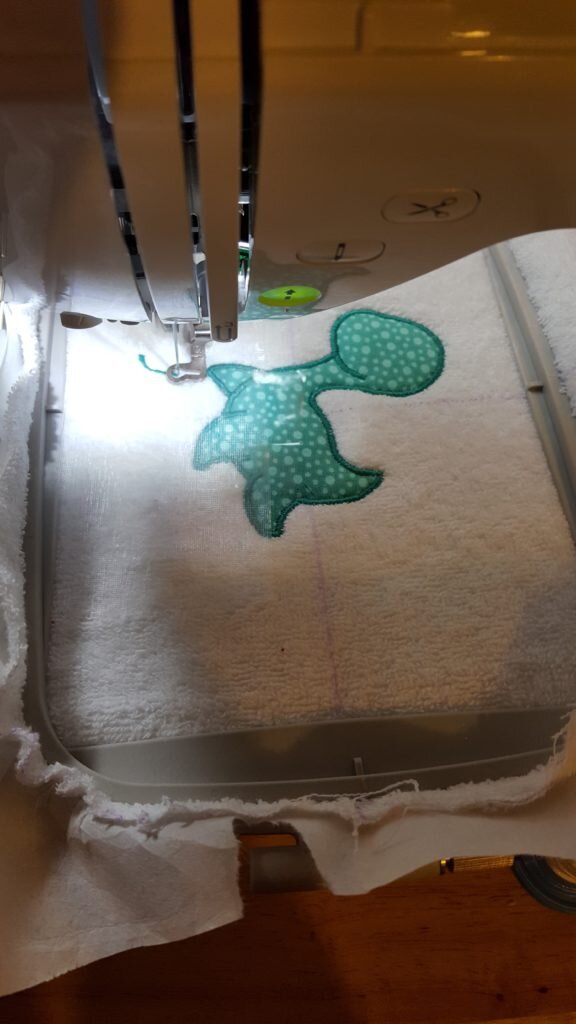
Hoop and stitch out desired design on terry cloth.
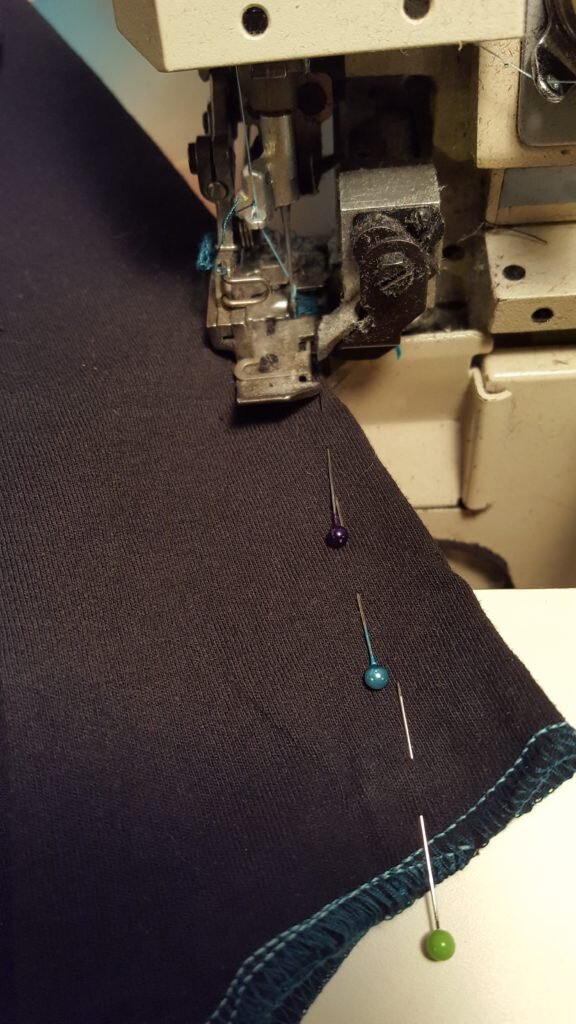
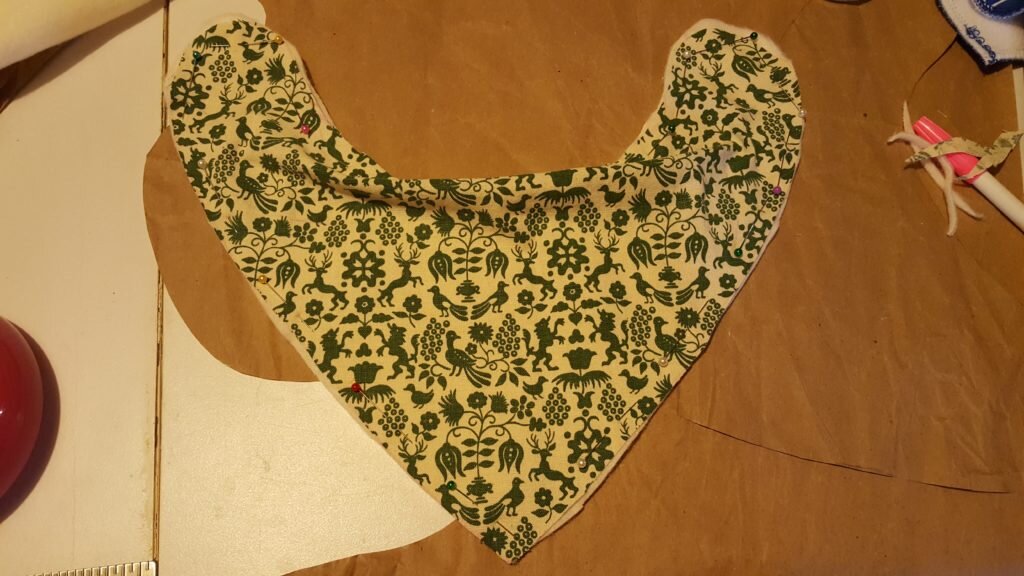
- Pin wrong side of PUL (shiny side) to wrong side of terry cloth. Baste.
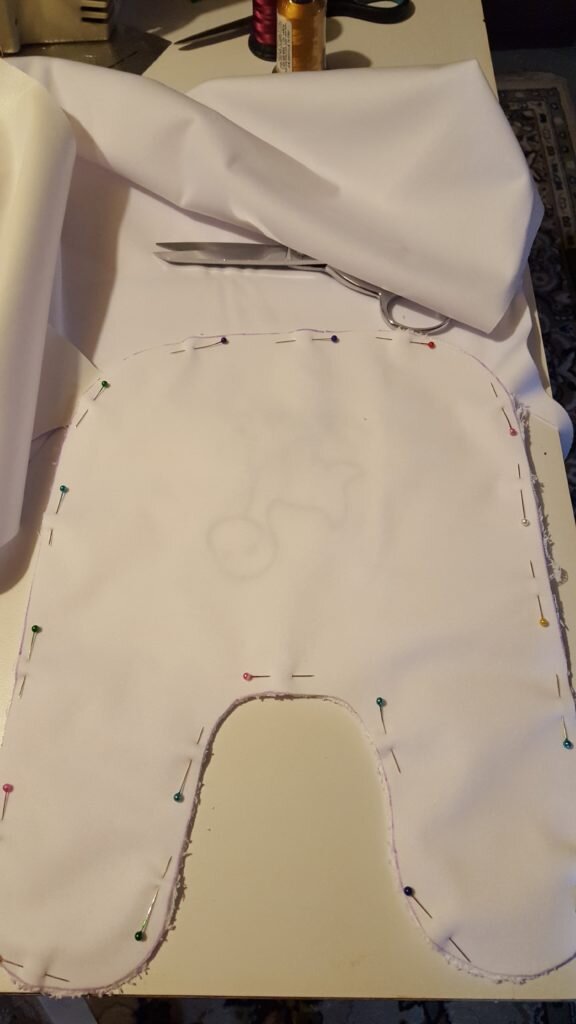
Pin wrong side of PUL to wrong side of terry cloth.
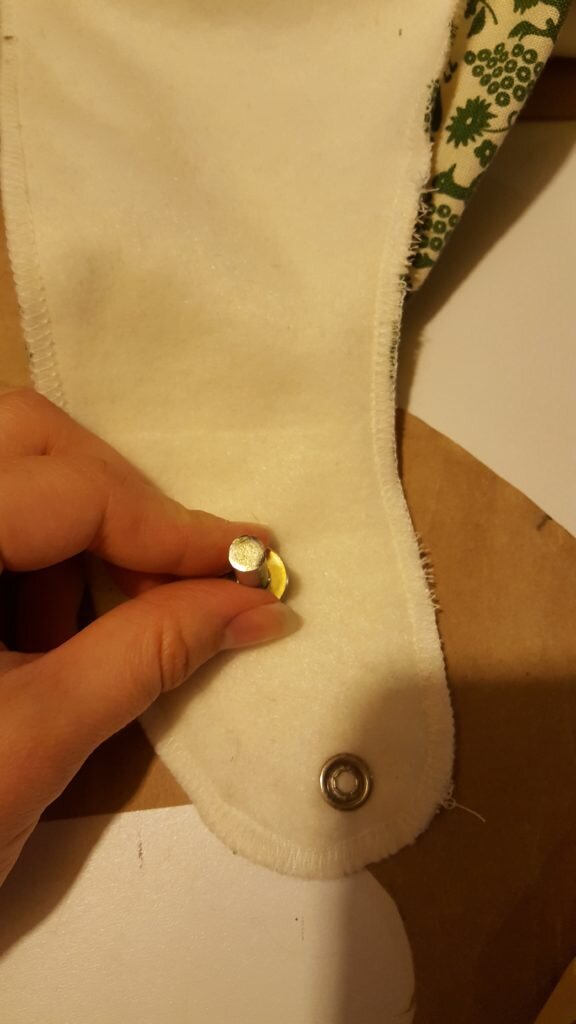
- Cut two pieces of velcro for ends of bib, cutting to match the curve. Pin the loop side of the velcro to the bottom of the right side of the bib. Pin the hook side of the velcro to the top of the left side of the bib. Stitch all around each piece of velcro.
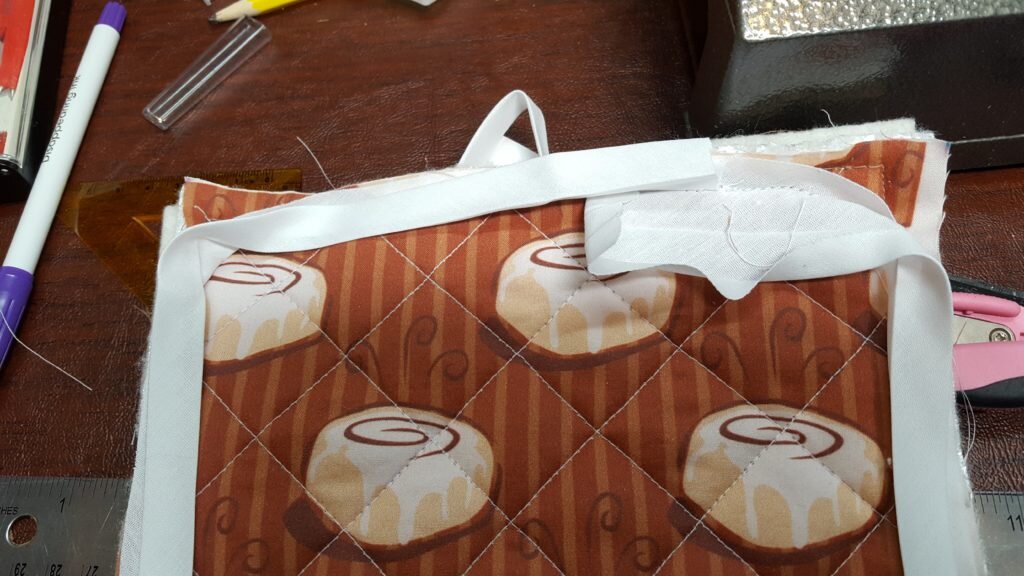
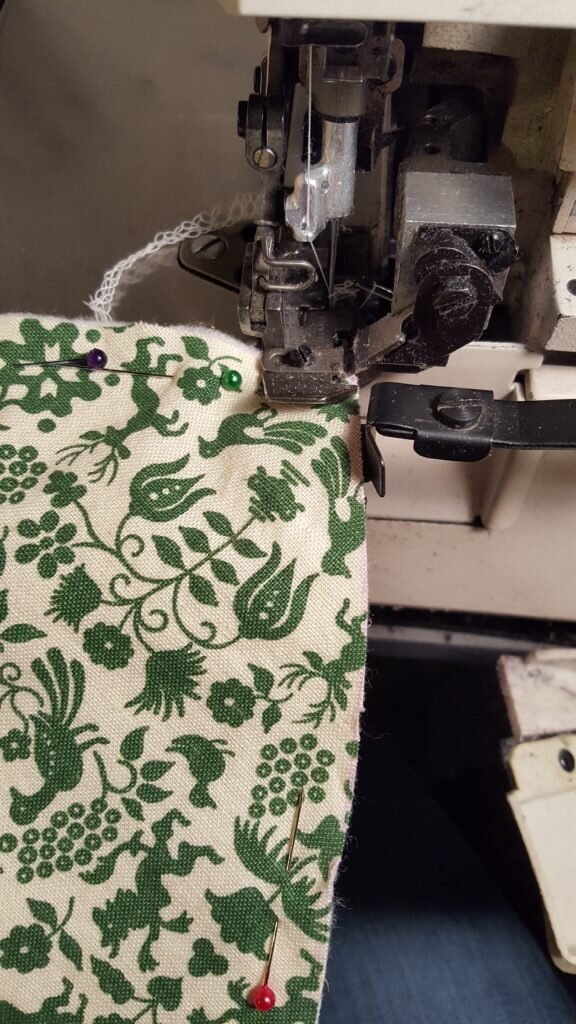
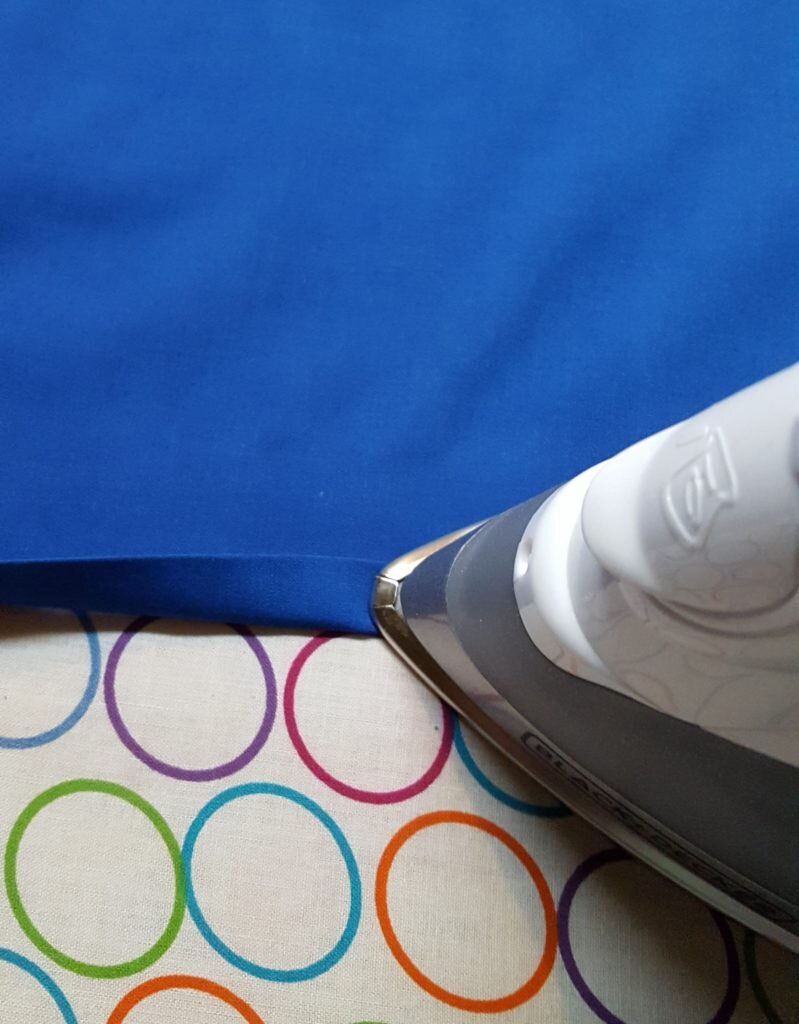
- Open out bias tape. Pin along the fold of the bias tape on the 1/2″ seam allowance mark of the terry cloth, right sides together. When you reach the end of the tape, turn under 1/4″ of an inch and overlap with the beginning of the tape. Stitch along fold line.
Open out bias tape and pin along fold at the 1/2″ seam allowance mark on bib.
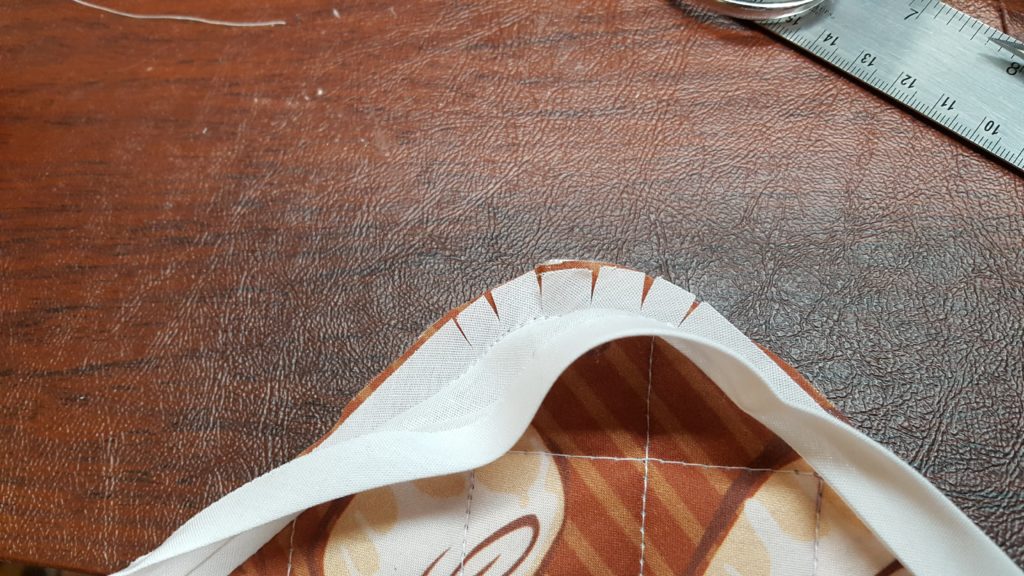
- Clip curves of bib.
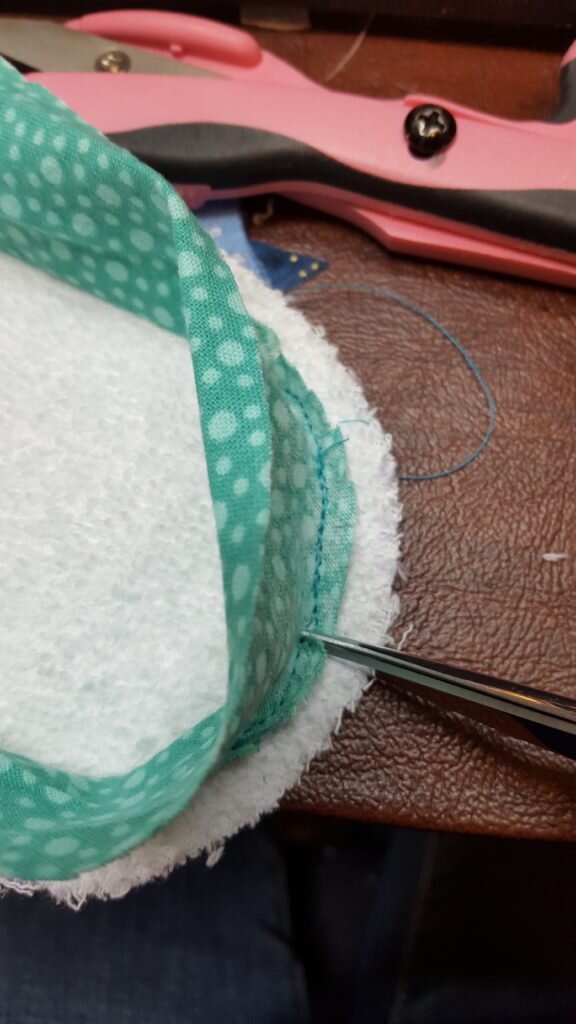
Clip curves on bib
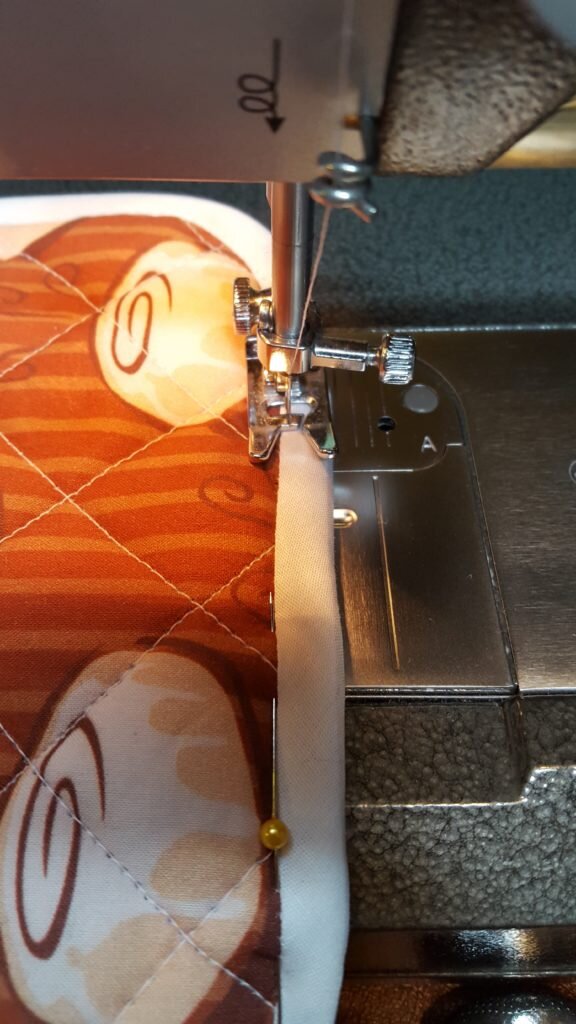
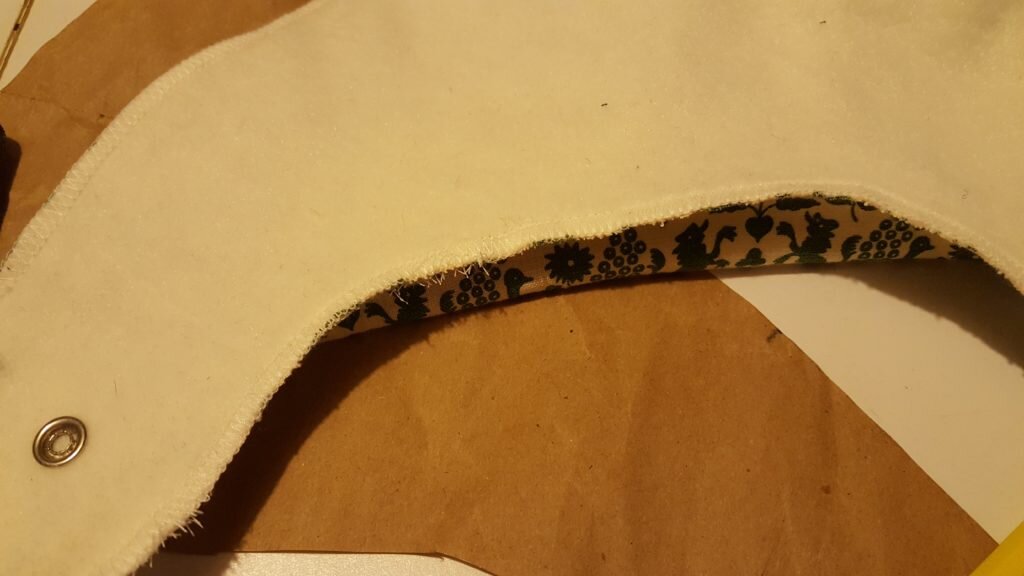
- Fold bias tape over the unfinished edge of the bib.
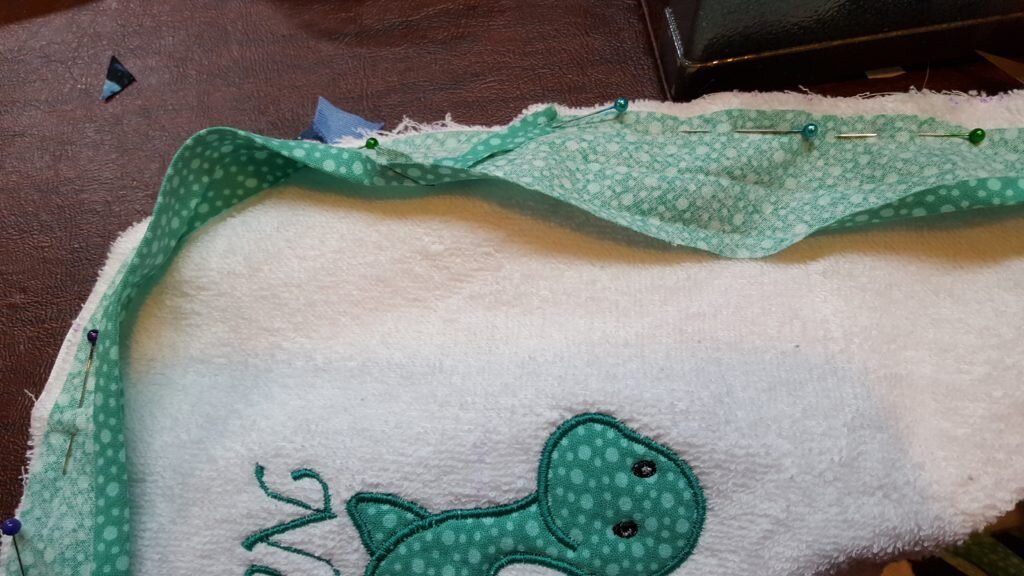
- Tuck unfinished edge of bias tape back under. At the overlap of the tape, make sure to fold the unfinished edge of both pieces of tape. Pin bias tape through front side of bib.
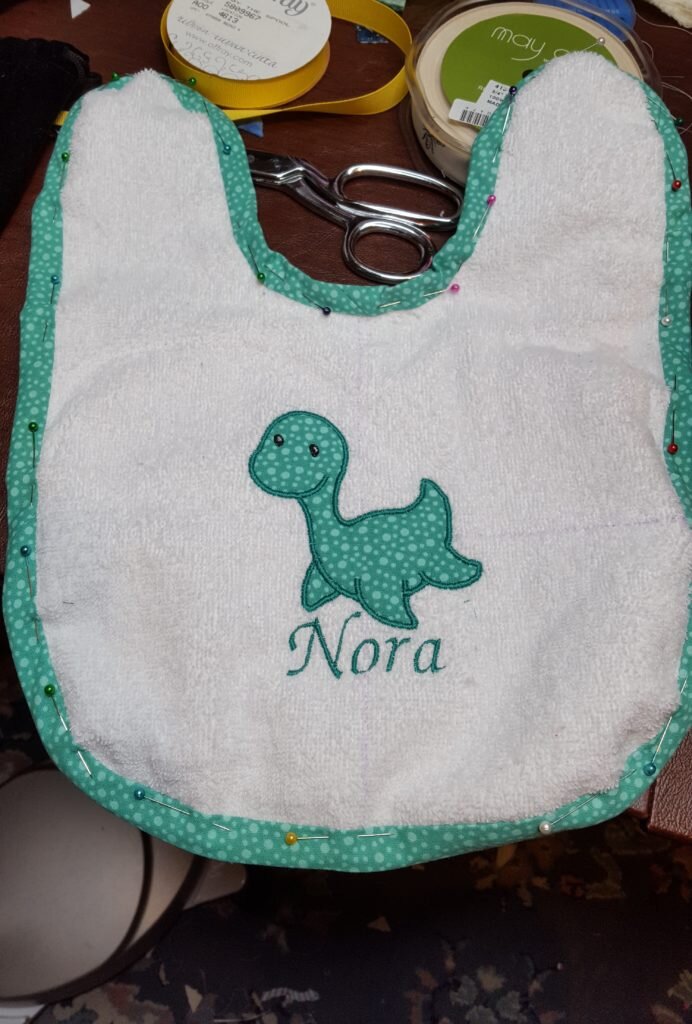
Fold bias tape around unfinished edge of bib. Pin
- On right side of bib, stitch 1mm from the original stitching of the bias tape to secure bias tape on back side of bib.
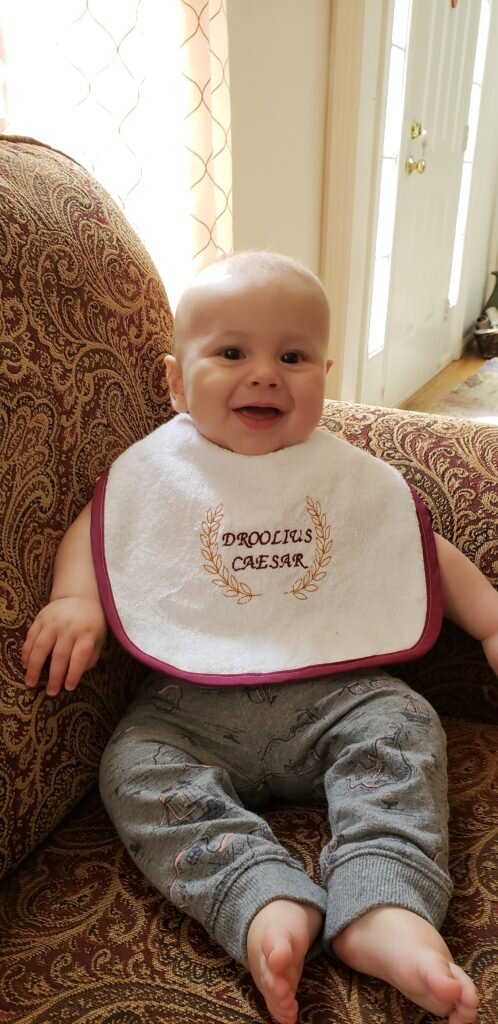
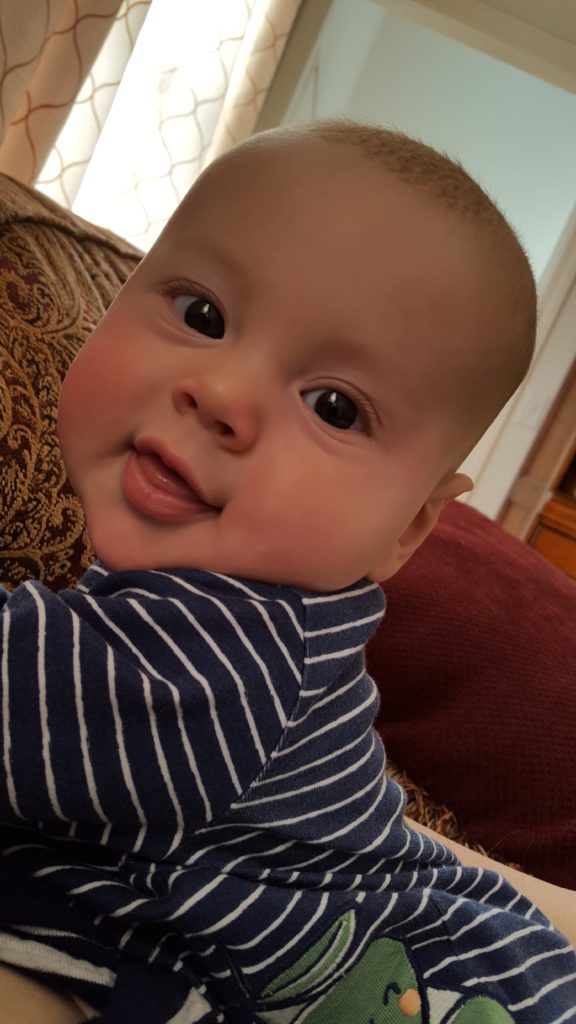
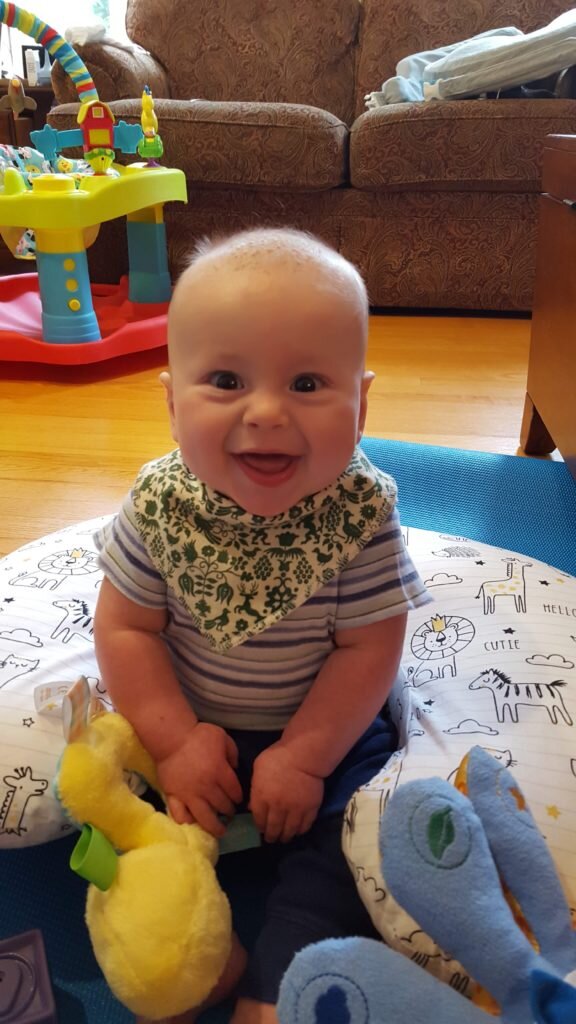
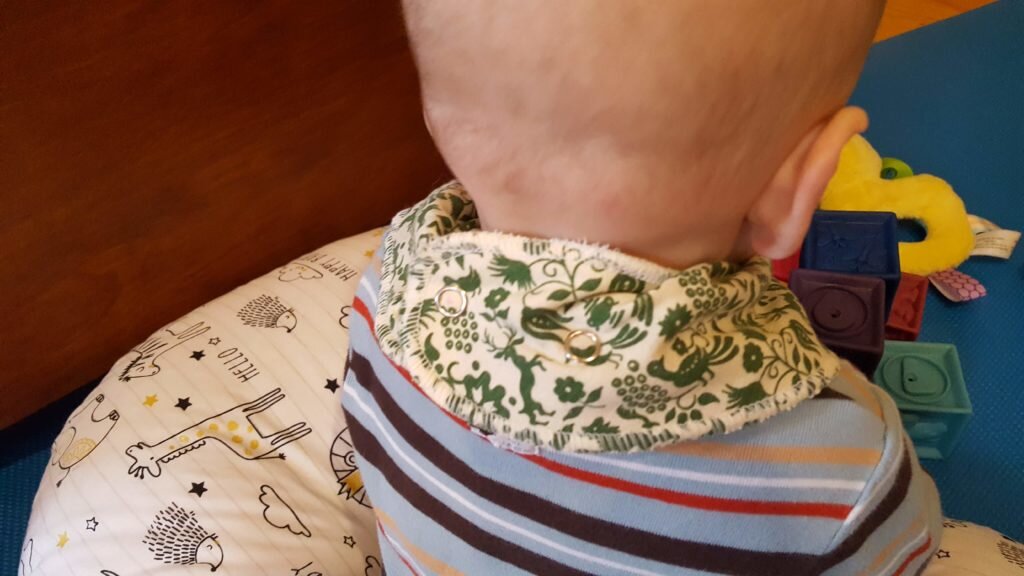
Droolius wearing his eponymous bib.
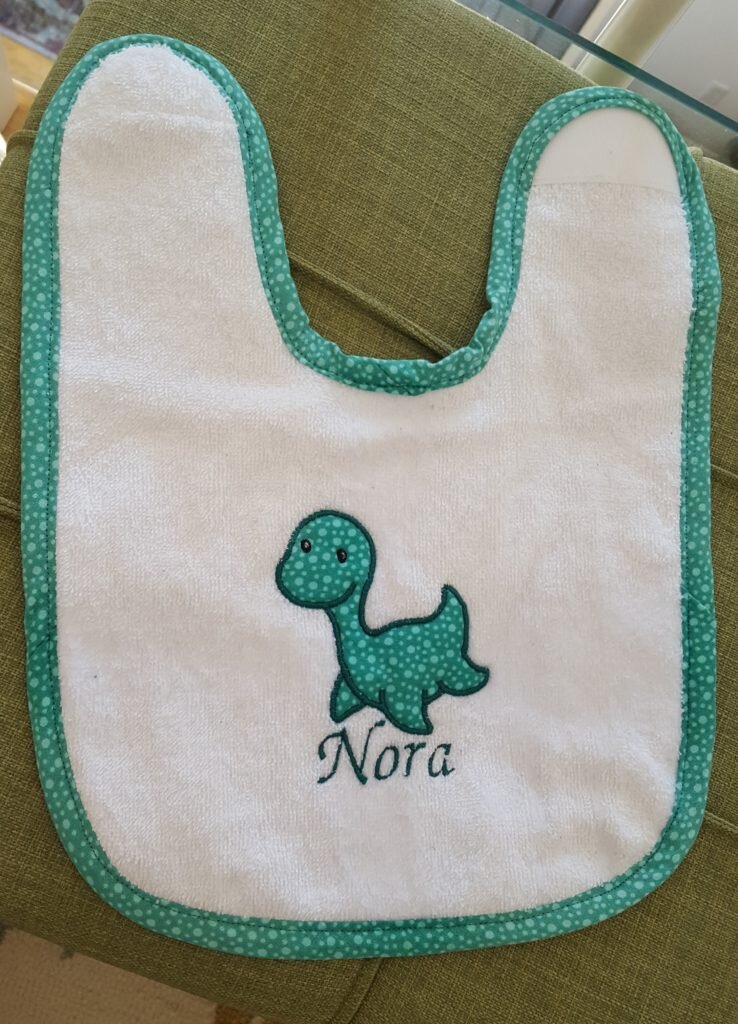
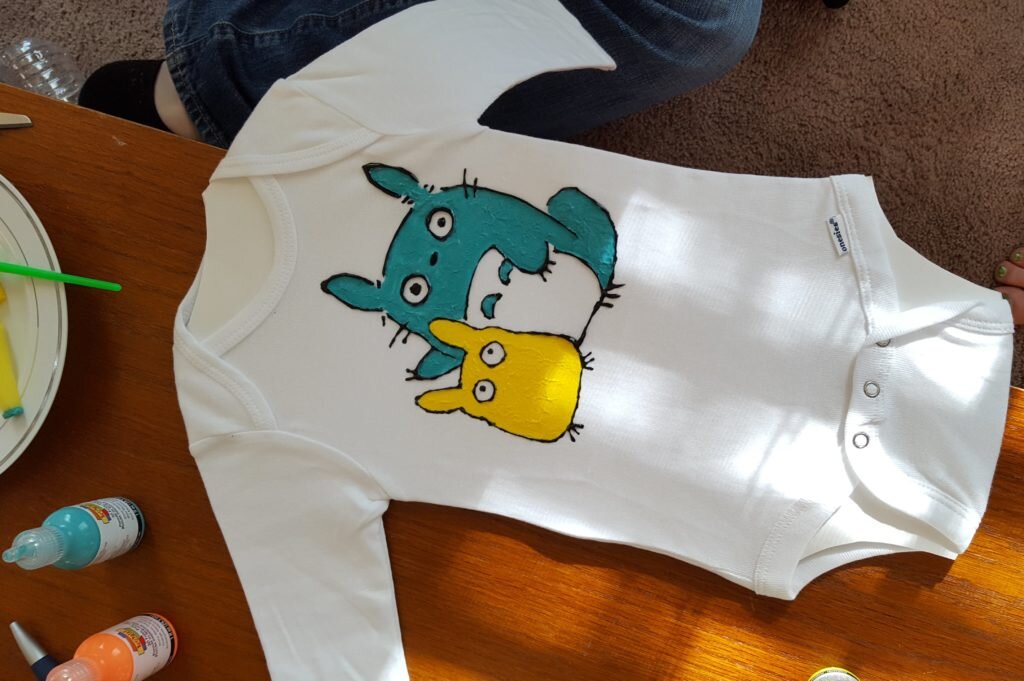
I loved this pattern so much (first applique pattern I created on my own) that I have made two so far for the children of my friends.
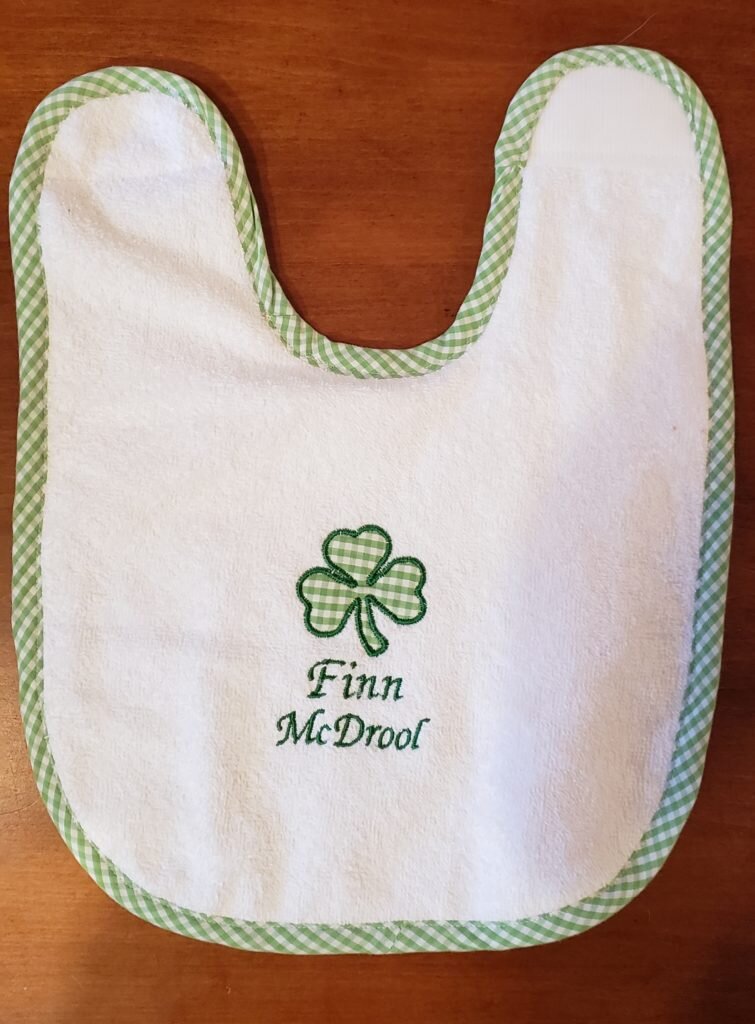
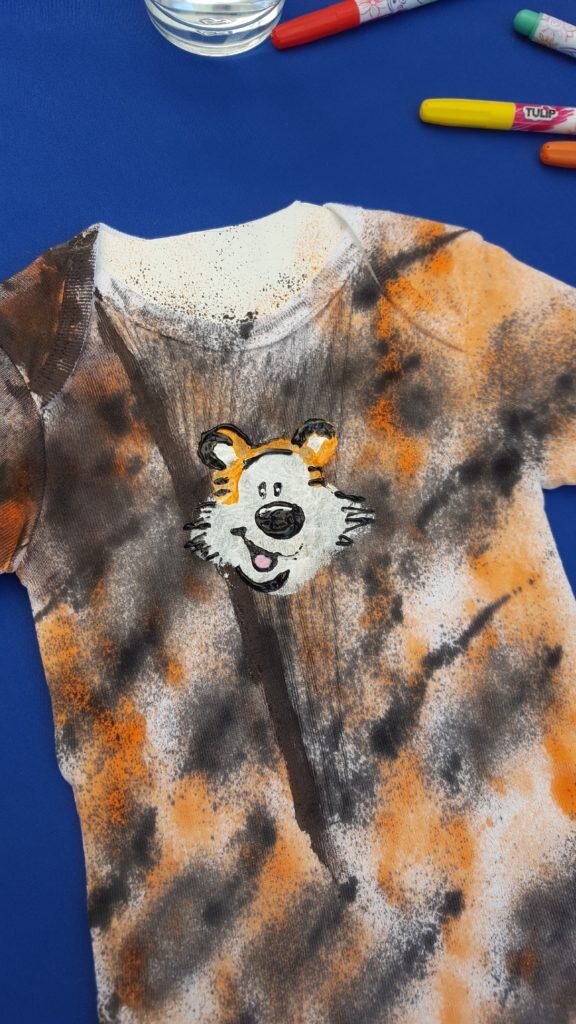
This is an inside joke of an already obscure joke. But I suspect he will be a McDrooler!


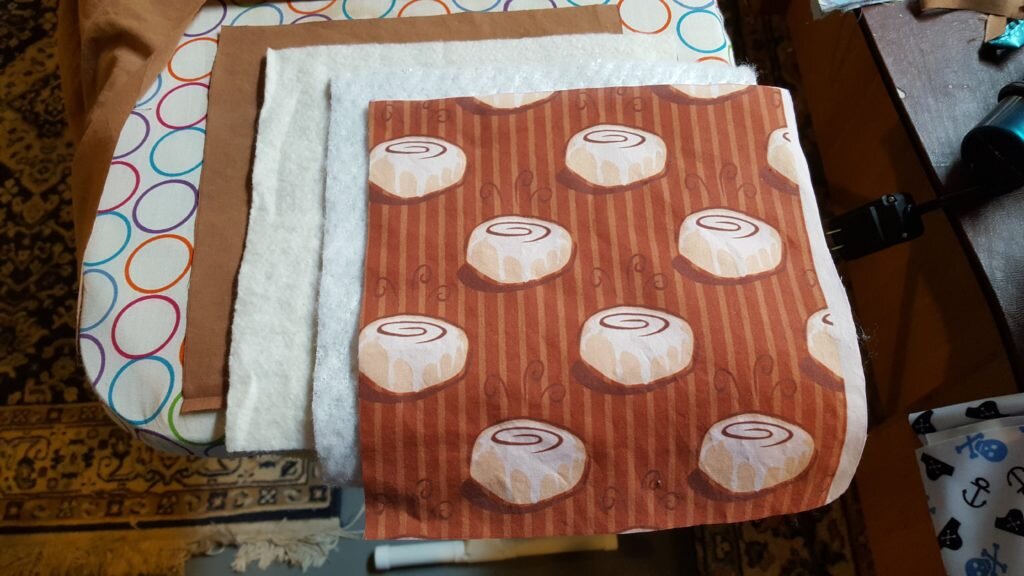
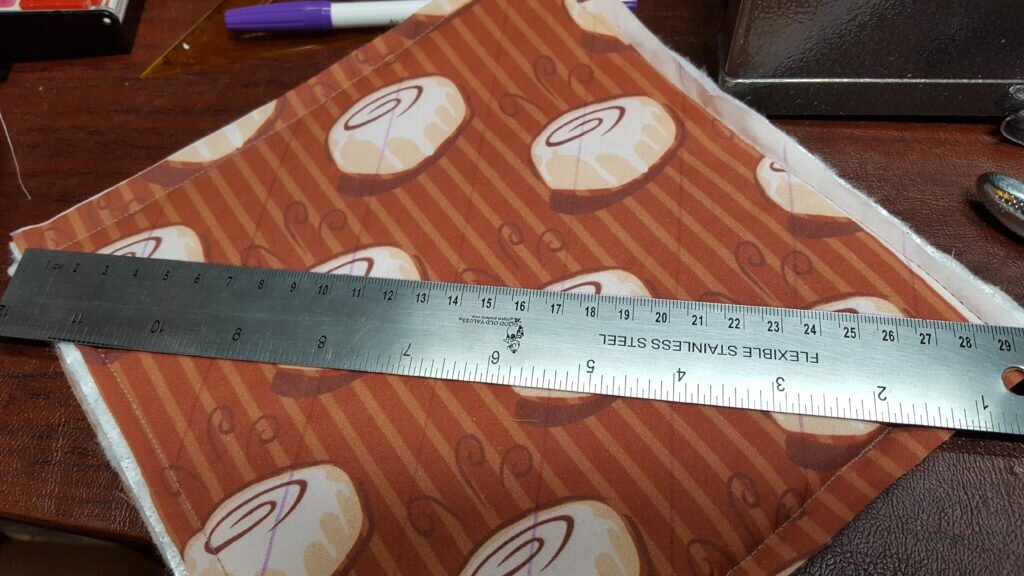
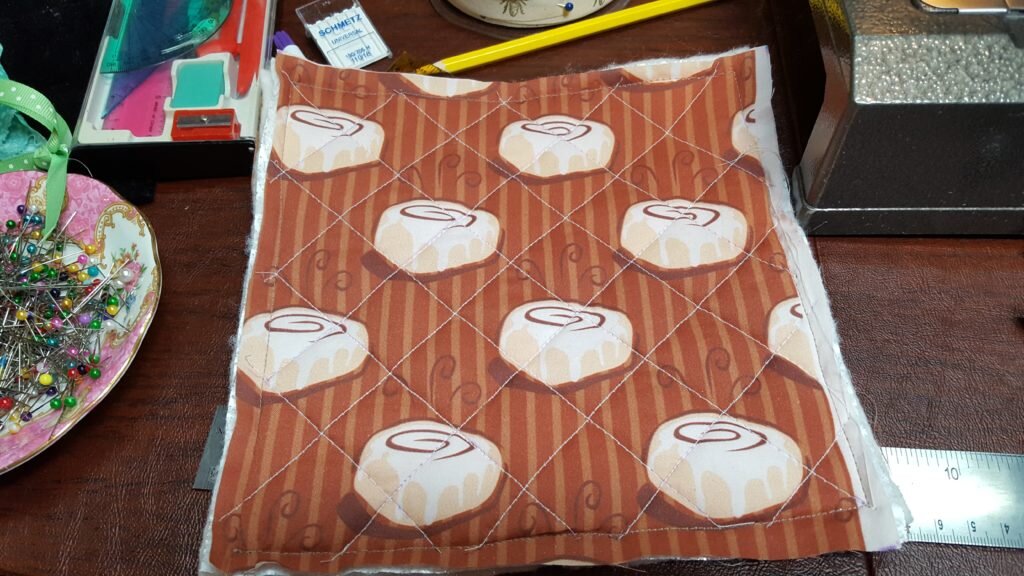
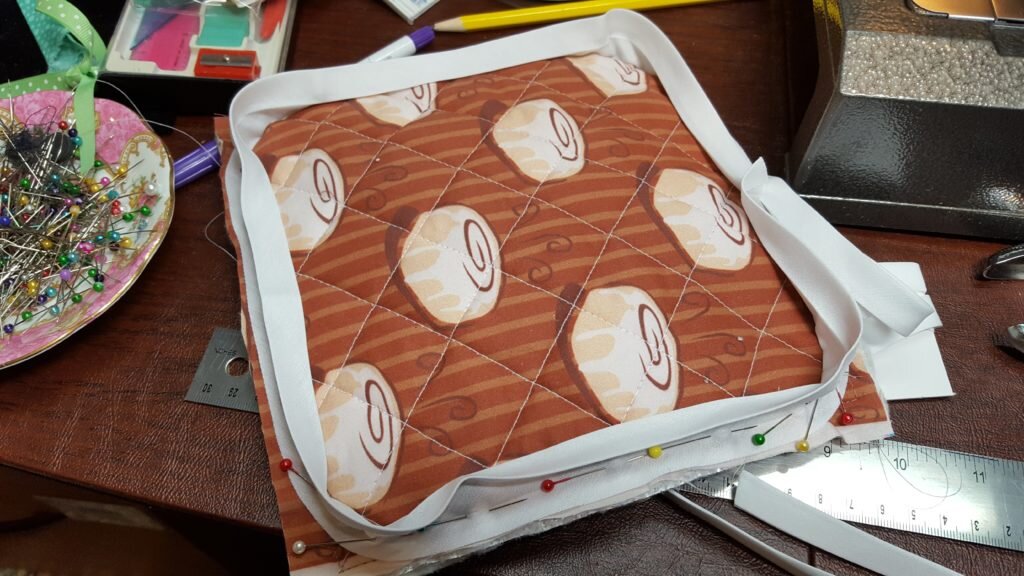
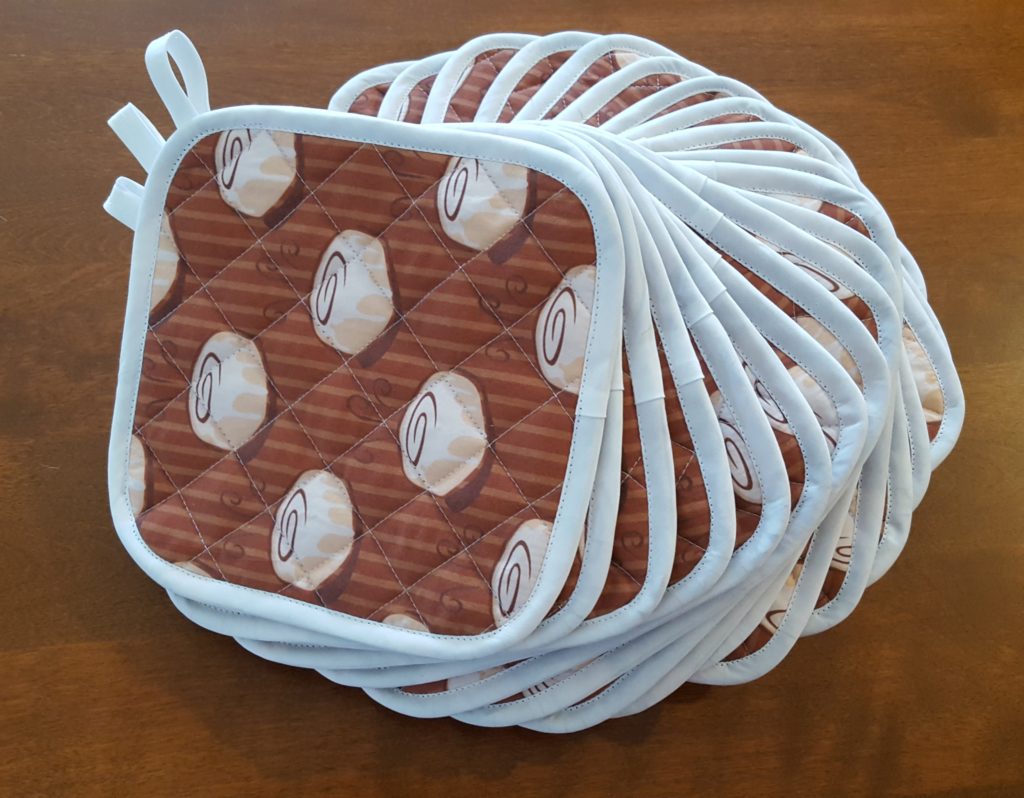
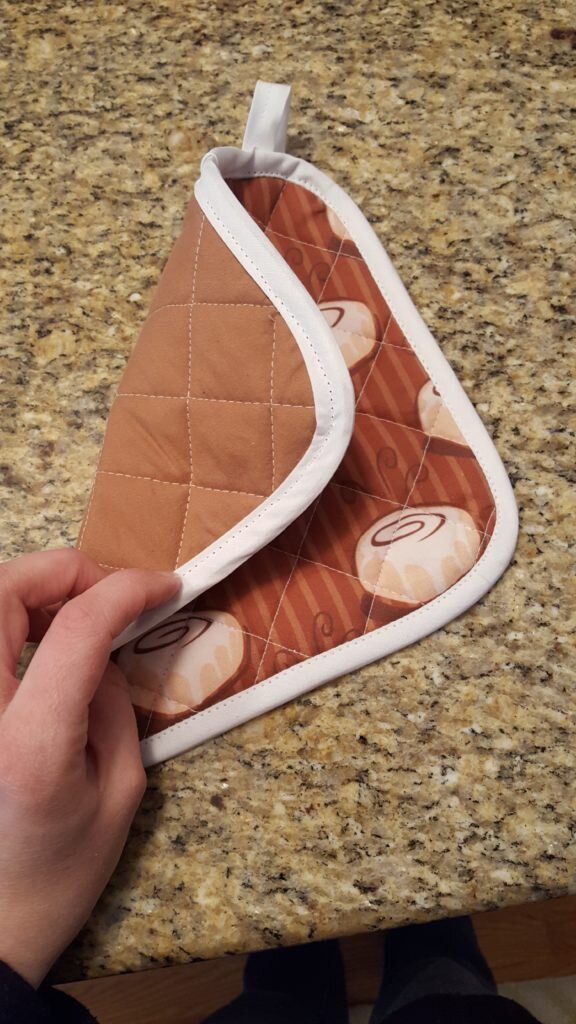
 Quilted Potholder